Larry has been in touch – he’s keen to know how to apply bullfrog snot, and whether it works:
“Hi Al. Keep up the great work on your blog. I have a question for you and your followers.
I have an n guage steam engine buy bachmann. On part of the track it pulls like a champ and on another part the wheels start to spin. I have cleaned the track and same thing happens.
I read on the internet about bullfrog snot. it is a coating you put on the wheels. If you would can you get me an answer if this stuff works or is there another solution?
Thanks,
Larry from Baltimore Md.”

And here’s just on of your replies for Larry on how to apply bullfrog snot:
“Larry, Bullfrog Snot is GREAT stuff, BUT I wouldn’t put it on EVERY drive wheel. Because those drive wheels MUST pick up electric on your Bachmann steamer, that said, look for the driver or drivers that have a little rubber-like band on the “tread” surface.
The part of the wheel that touches the tops of the rail heads. REMOVE that band from the driver, by either cutting it off, OR removing the side-rod and then with the engine upside down, ran at yard speed (VERY SLOW) apply the Bullfrog Snot to the indentation where that band once was.
LEAVE the engine running for about 12 minutes, at that slow speed keeping an eye on the Bullfrog Snot to make sure its as much as needed (thickness of said removed band) and if not, in 24 hours, apply another coat of it to the same place…. AGAIN allowing the engine to run at very slow speed!
Running he engine applying the Bullfrog Snot, you want to keep the wheels turning so the Bullfrog Snot is the same all the way around the driver as if you stop it and the Bullfrog Snot is still wet, it will “lump” at the lowest part of that driver, creating it to not roll smoothly on the rails….
Apply the Bullfrog Snot, with a tooth pick. Allow the tooth pick to literally “drag” the wet Bullfrog Snot AROUND the entire driver…..
Once you have a good first coating, even all the way around, then let it continue to run very slow for that 12 minute time period as after that the Bullfrog Snot, is starting to “set”, once 12 minutes has passed, leave it set for 24 hours to insure its fully “cure” NOT just “dry”!
IF more needs to be added after that 24 hour period has passed, the second application will require the same as the first did on application.
Speaking of this, I have a few that I have to do as well, both steam and diesel!
Hemi”
Now on to Tony:
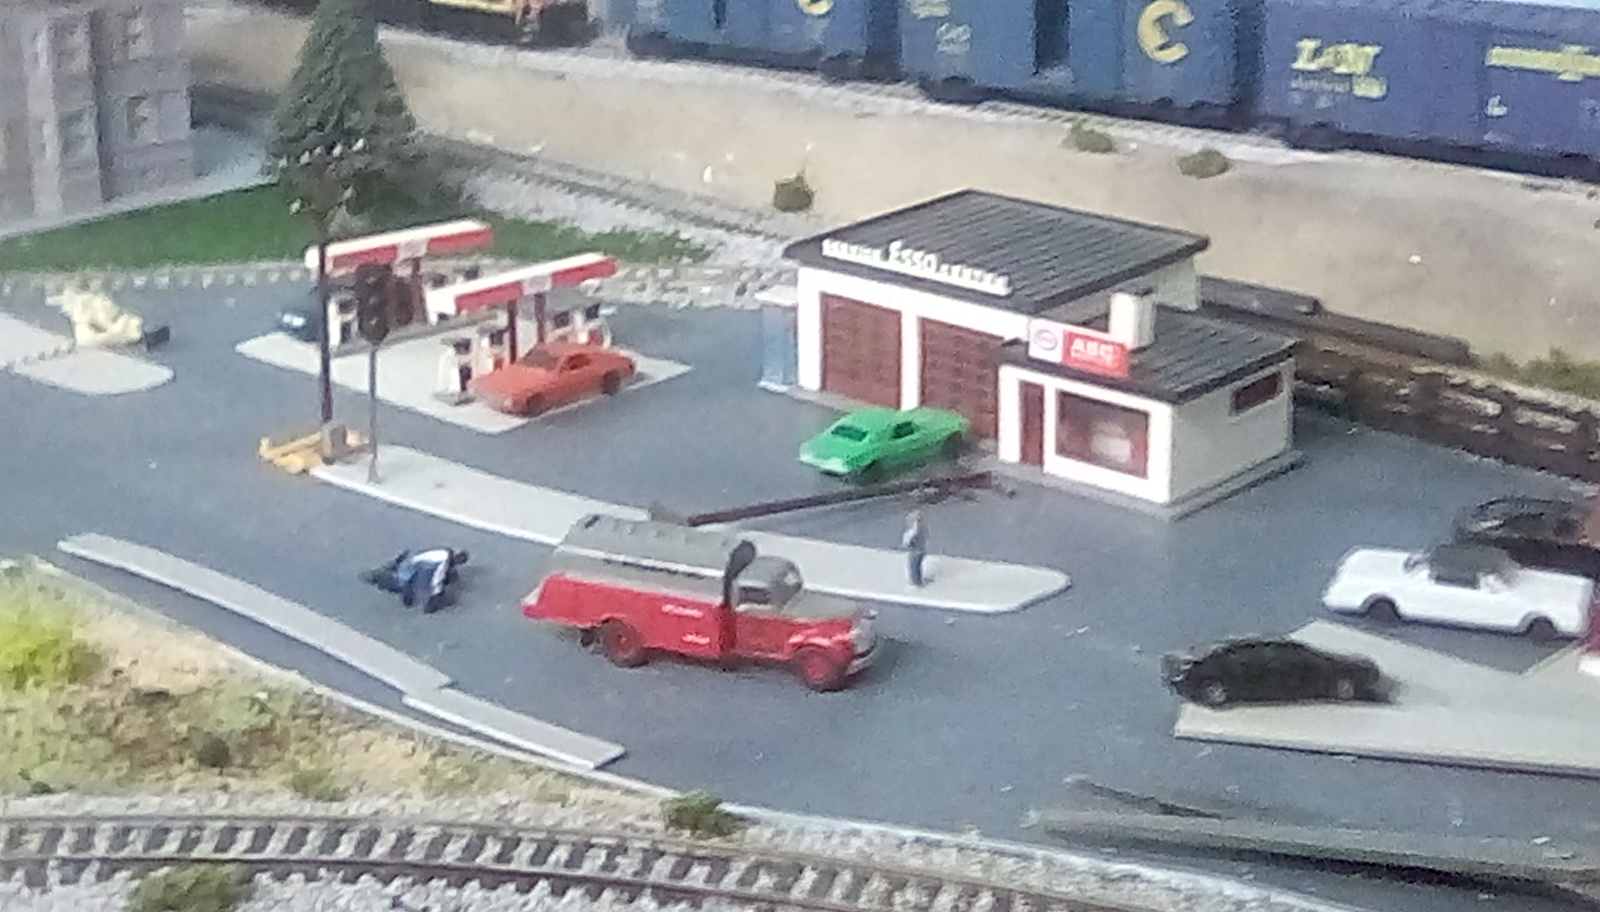
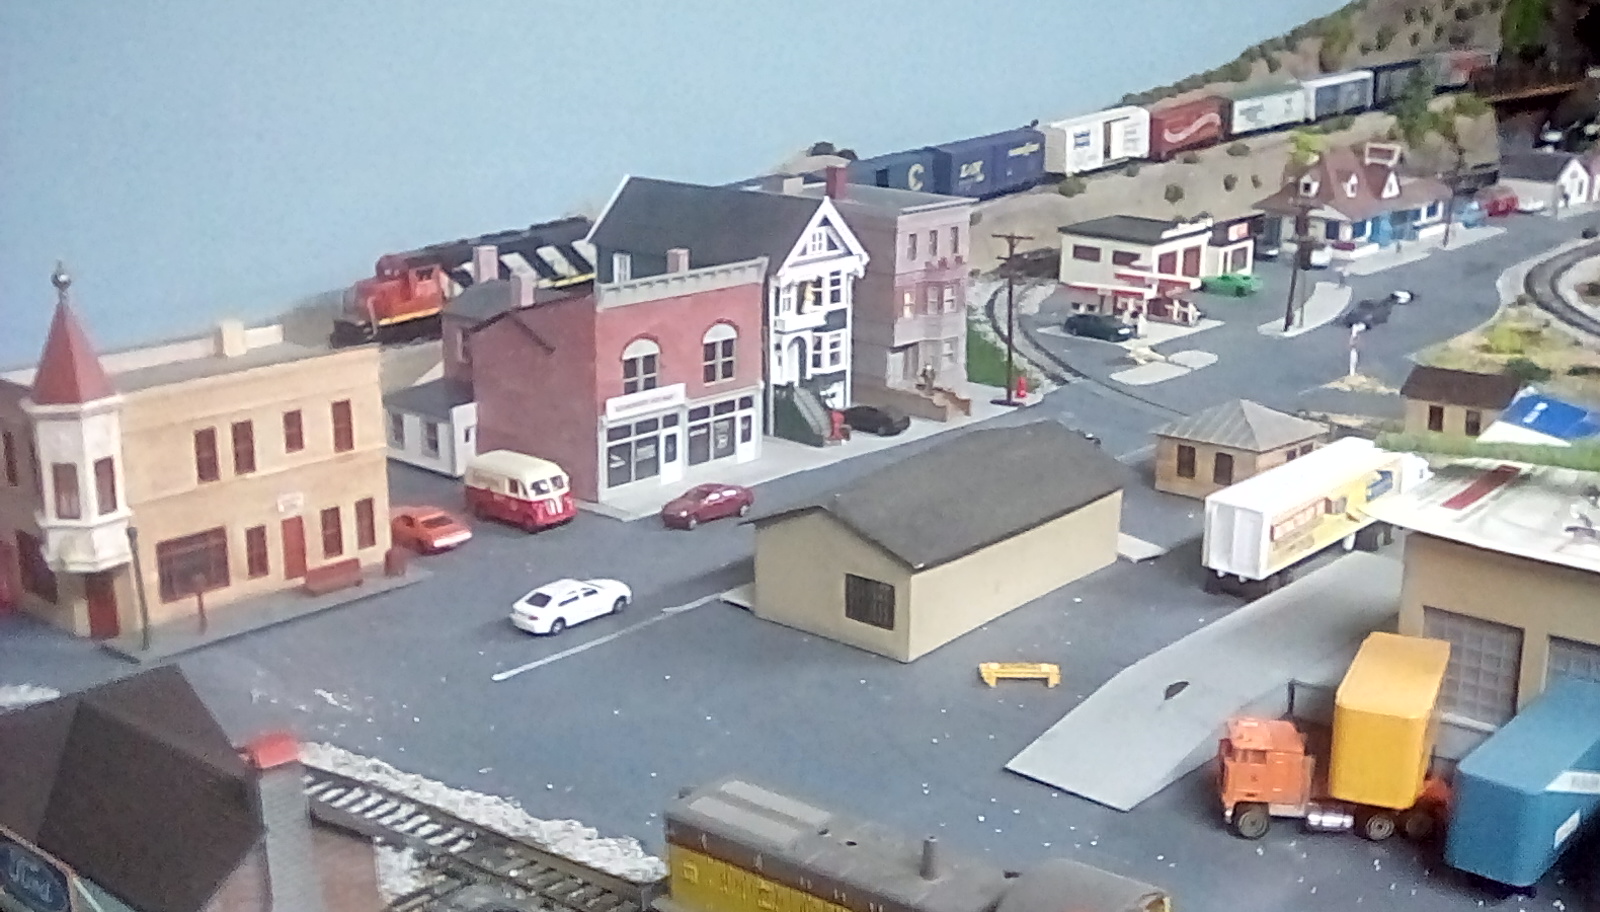
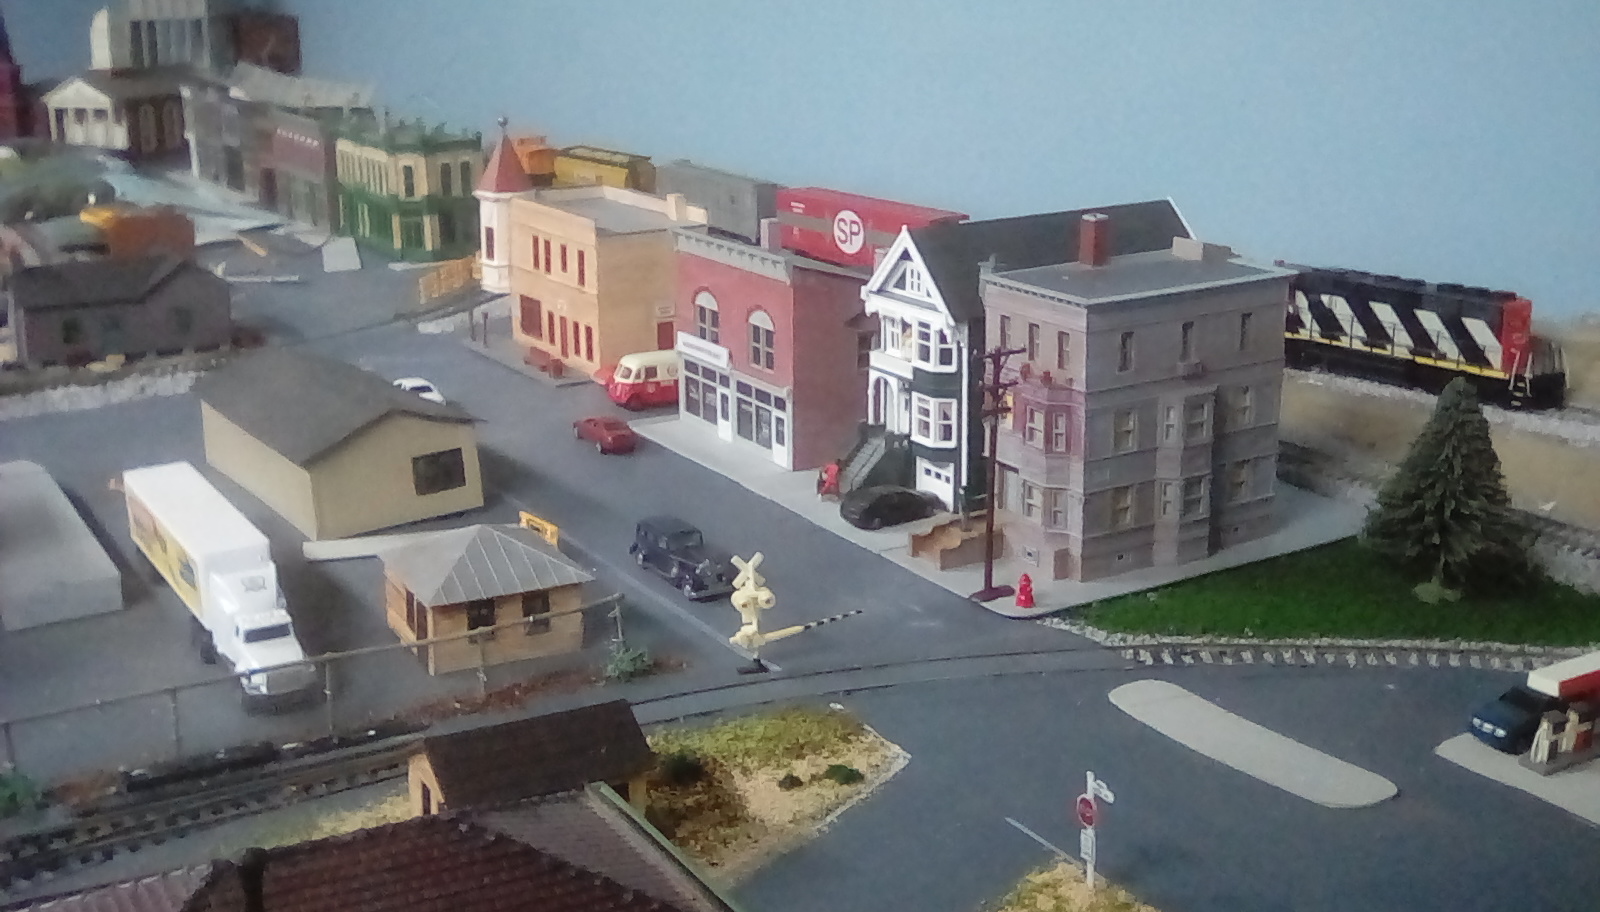
“Well this is my first layout.
I was a carpenter by trade so I just kind of winged it. No track plan or anything.
It’s by far not the best but I feel that I’ve lucked out a bit. I built some of the buildings from scratch. all of the trees except the orchard.and made the mountains from screen and plaster thanks for looking
Tony”

Now on to Tom:
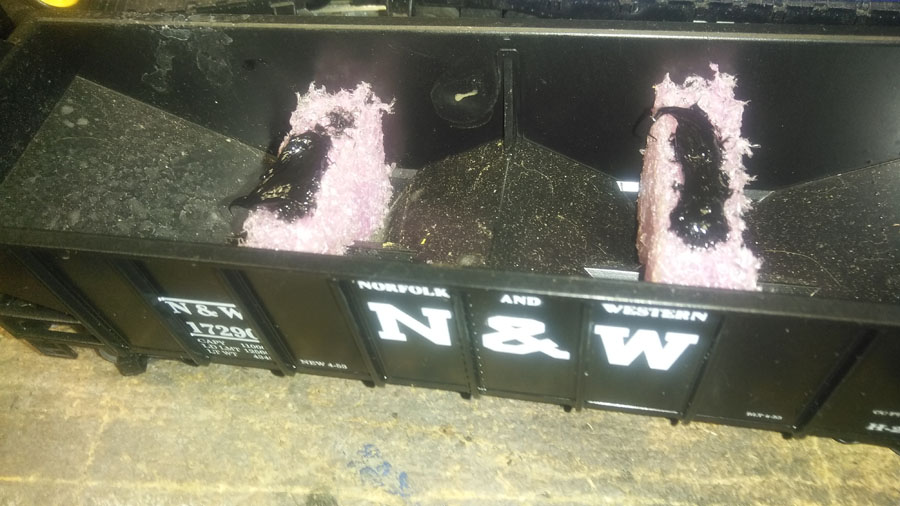
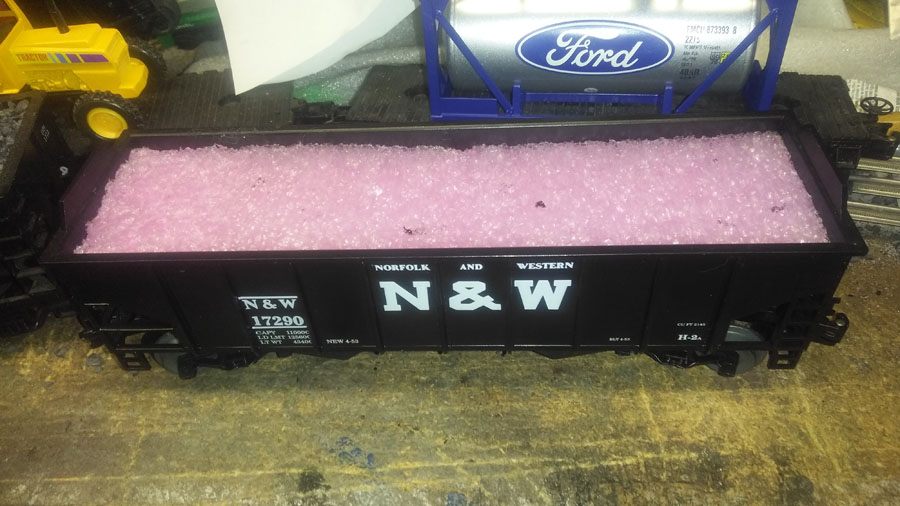
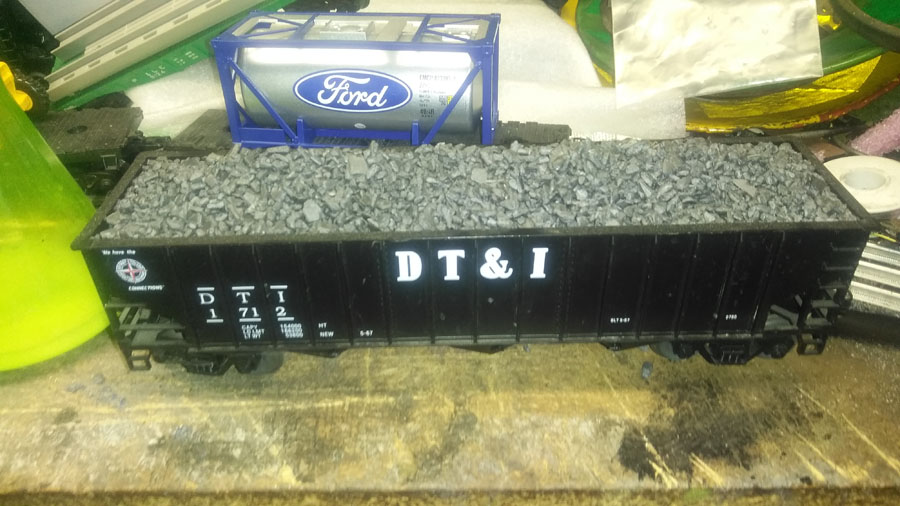
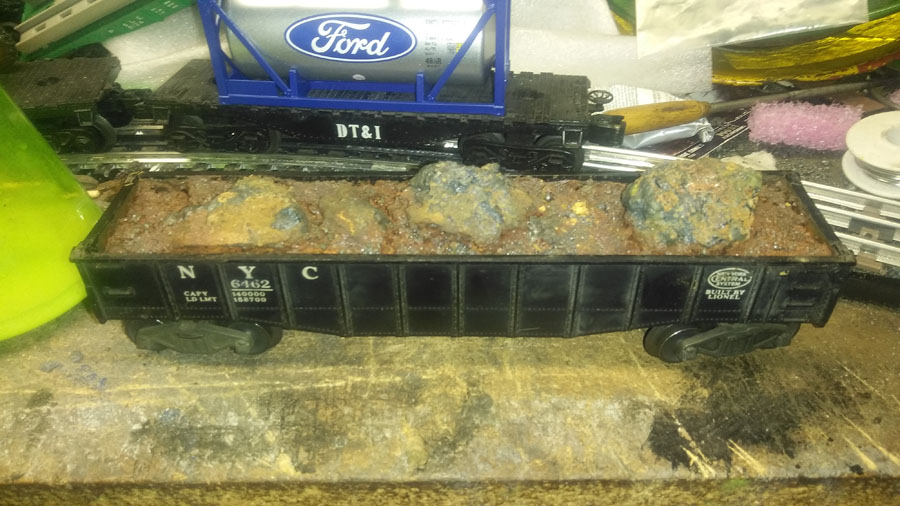
“This is what my coal load looks like from start to finish
( 1 ) I start with a piece of quarter inch From that I trace out from the hopper cut to size
( 2 ) then I’ll make some support in the middle to hold up that foam put a dab of silicone to hold a three pieces together
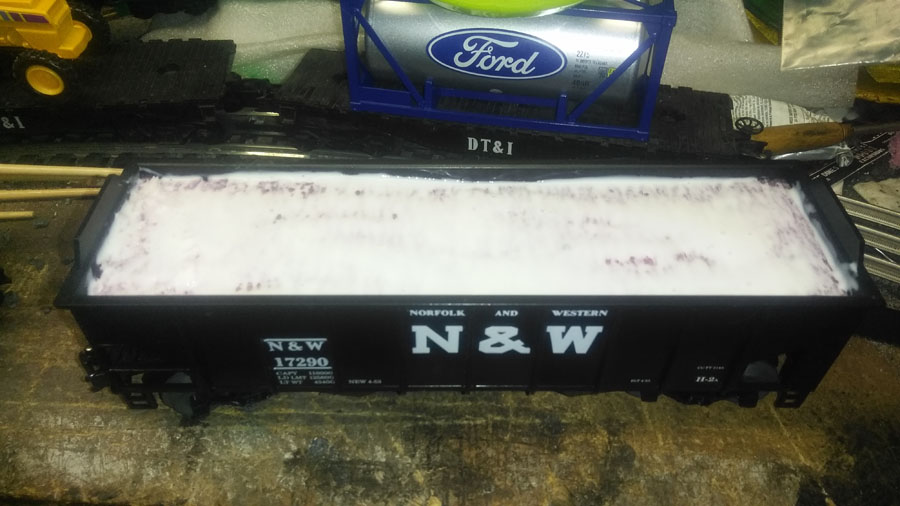
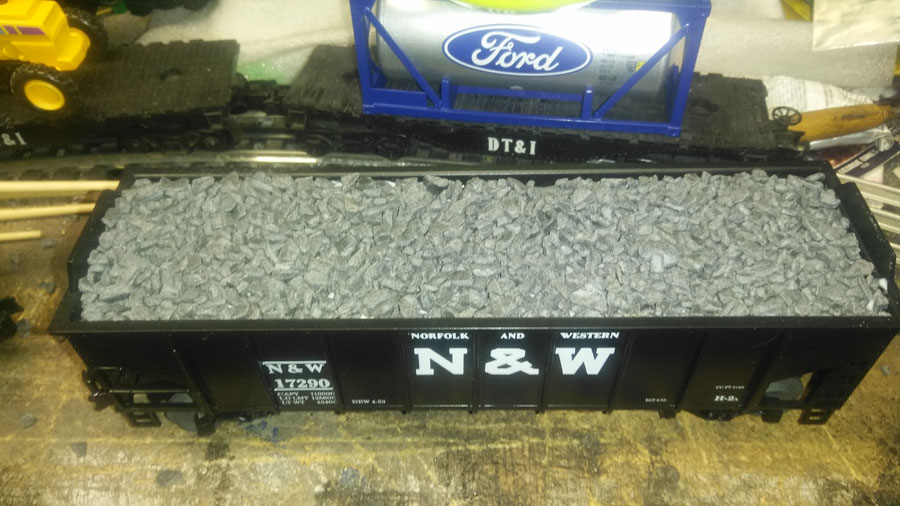
(3) then take Elmer’s School or cheap school glue then brush on the glue light Coat, then pour the ant sight coal, after that dries then I either make 3 mounds or 1 mound the length of the hopper on my. O gauge cars. I also do slag loads the same way.
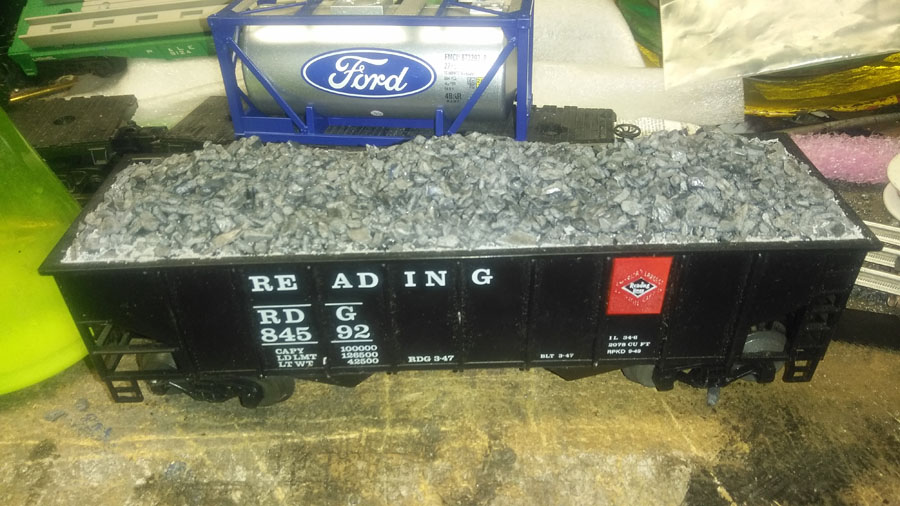
here are the pictures start to finish
Tom”
“Hi Alistair,
Just spent most of Saturday figuring out how to work a new camera , for the layout , trust me, got the wrong pass word in , but once I got it , I could use this with Wi Fi , the result is fairly good ,also a couple of more things I have done , new sounds , and more of the gangway joining with the coaches
Regards
Dave”
New ebay cheat sheet yet still going strong
A big thanks to Tony and Tom.
And who can help Larry with how to apply Bullfrog snot?
That’s all for today folks.
Please do keep ’em coming.
And if today is the day you stop dreaming and start doing, the Beginner’s Guide is here.
Best
Al
PS Latest ebay cheat sheet is here.
PPS More HO scale train layouts here if that’s your thing.


Tony, I wish my first effort had been as good as that! Well done! I have found modelling a very steep learning curve. My skills are improving, if quite slowly!
regards
Dirty Dave
Hi Larry,
It occurs to me you might be solving the wrong problem.
If the engine runs ok for most of the track it suggests there is a problem with this section of track rather than the engine. Is there a curve or some track detail such as excessive ballasting, soldered connections, level crossing etc. This might cause the engine or trucks to drag and cause the engine to slip.
Remove the engine and attach a light elastic band to the front of the train. Pull it gently round the suspect section and see if the band stretches at any point.
good luck and keep investigating
Interesting that the loco only slips in certain places, could be having trouble dragging a train round a sharp curve perhaps, or if you used flexitrack and hammered the pins down too hard into the sleepers maybe the rails are being lifted and turned inward slightly and are tight to gauge? If the loco runs well enough on a good part of the layout there can’t be anything much wrong with it.
Tony, lovely buildings, well done. Dave, thank you mate I was looking for an easy solution to happy gangways, cheers!
Dangerous Dave I’m in USA I see u can only find Bachmann Hornby 101 105 108 110 DMU Gangway Corridor Connectors in UK ebay. What to do?
Hi Larry (also my name)
Keep in mind where the engine is on the track when it slows down. The steam engine I just got recently runs good on the straights. When going down hill it picks up speed. But when it hits the curve it automatically slows down, and even more so on the rises. All this without the wheels spinning. This is a function of the engine. Being new to this hobby I elected to use the four inch rise material that now limits me for that train. It does not have the rubber on the wheels so I have used the Bullfrog Snot successfully. The Snot allowed me to triple the amount of cars it can pull on the rises.
Bullfrog Snot – in the UK we can get it for about £70 (About 100 USD) from Amazon. Phew. Maybe it would pay to fix the underlying problem. Some very useful stuff from D/Dave as always – thanks Dave.
The coach connectors for HO scale …..I can not find any myself , but these being 00 Gaige I should think that with them being that bit bigger the easy option would be just to get these and cut them down to the size of your HO scale , not a big difference …Dangerous Dave
Hi Tony. Your first layout looks great. If you winged it like you said, it turned out very good! Don’t stop building. There is always room for changes or additions. Thanks for sharing
Conductor Dave.
Tony;
You can take the man away from carpentry, but you can’t take the carpentry out of the man. Very nice work.
Larry, Larry, Larry;
You know it is not Baltimore, it is Balmor. Lived in west “Balmor” county before moving to the north woods. I suspect your issue is track/electrical, not traction. That being said, one tire substitute I learned from either here or another blog was to use rubber bands for orthodontia, but not sure they would be big enough for steam driver wheels. Good luck!
Dan
This was your first layout? Wow! I wish MINE would look as good!!! Darn good work there, Tony…
Anton..
Thanks everyone!!!
Looks good, Your buildings on the layout are nicely done. I enjoy building them. Just started my layout after a lot of years. Working on my track layout. I have very limited space, so every inch counts. Just ordered some odd pieces of track and two turnouts. then I can complete the track setup. start test running some engines then put the house’s and buildings on and some scenery. Thanks for sharing,
I tried Bullfrog Snot on an N Scale Farish steam engine that would not go up a 5% gradient with a few coaches behind. It turned the smooth-running loco into a rough runner, and prone to easier derailment. It proved almost impossible to apply the snot o the wheels evenly, and to keep it off the wheel flanges. I ended up cleaning it all off after several attempts, and that loco now operates double-headed when it goes climbing with coaches in tow. Bullfrog Snot may be OK for larger scales, but I’m no fan for N-Scale locos. Pretty expensive too!
Nice layout going on there,Tony. You’ve created some great and realistic street scenes. Looking forward to see more.
Jim AZ
How about a track plan for Dangerous Dave’s layout?
I like the coal car, but i use foam and paint it black and glue. Coal into, I make it so I can change different kinds of loads in the cars.
Tony,
Your first layout is great! I really like the way you laid out the town area with the business block and then the gas station and truck warehouse. For a first layout, you’re doing well. You did an excellent job of keeping the roads prototypically wide enough to look right. My only suggestion would be to add more figures to bring the town more to life. Right now, it looks kind of disserted with only a few figures. Please send more photos when you have more progress to report.
Dave,
Another very nice and informative video. Do you like the new Foxeer minicam better than the Mobius you showed us a while ago? They both seem to work well but peripheral view area is not in perfect focus. Is that an artifact of the macro-type lens?
Pretty kool? I hope mine comes out that good.