Rick’s started a 4×8 HO layout for the grandkids – looks great too:
“Al,
Thank you for your always engaging posts and emails which have been a great support in getting back into model railroading once again. I set up an HO set when the boys were very young while we were in the military. But with a lot of moving around and kids getting older, the trains sat in storage for over 30 years until this past Christmas.
Having grown up with a Lionel O Scale train set around the Christmas tree every year, we finally purchased a Polar Express set for our tree this past Christmas. Seeing the reaction of our young grandkids finally got the fire going again to set up our own set that the kids of all ages could enjoy.
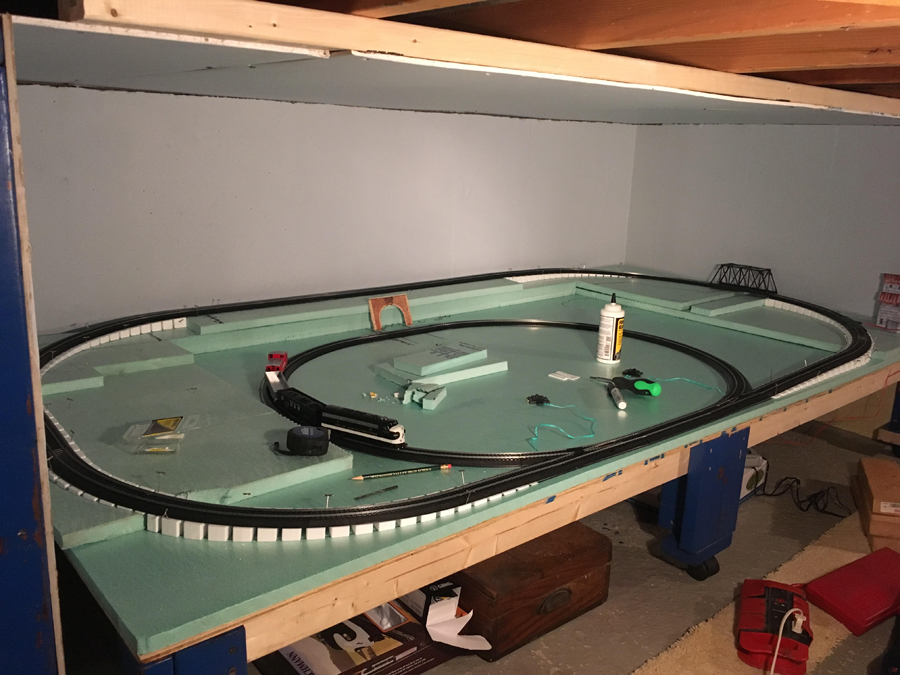
Unfortunately, the only space we have left for year round use is in the crawl space that only has a 40” clearance from floor to ceiling. After spending last winter clearing out the space, I took a corner and began building.
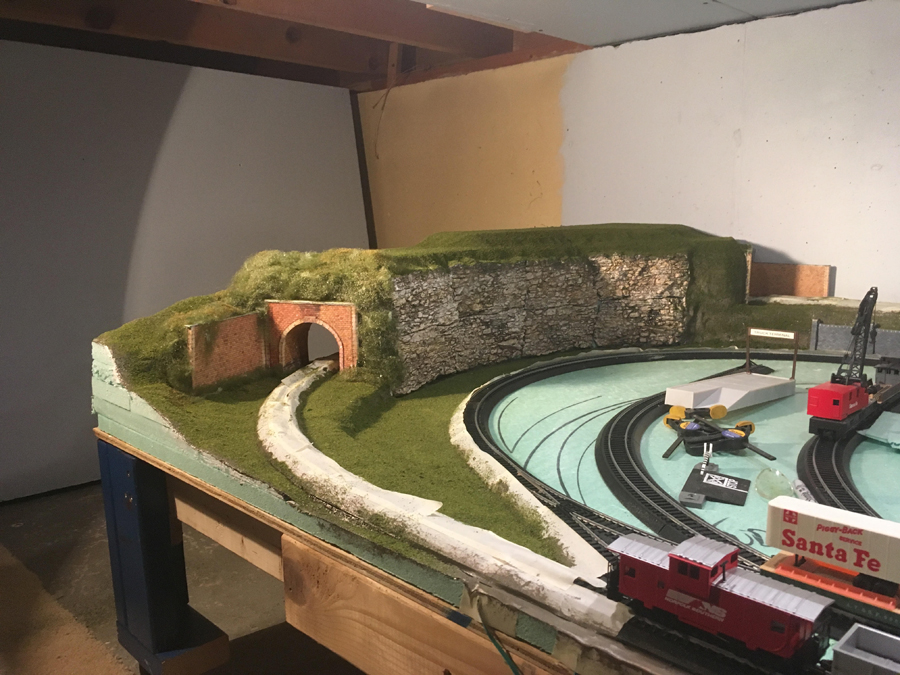
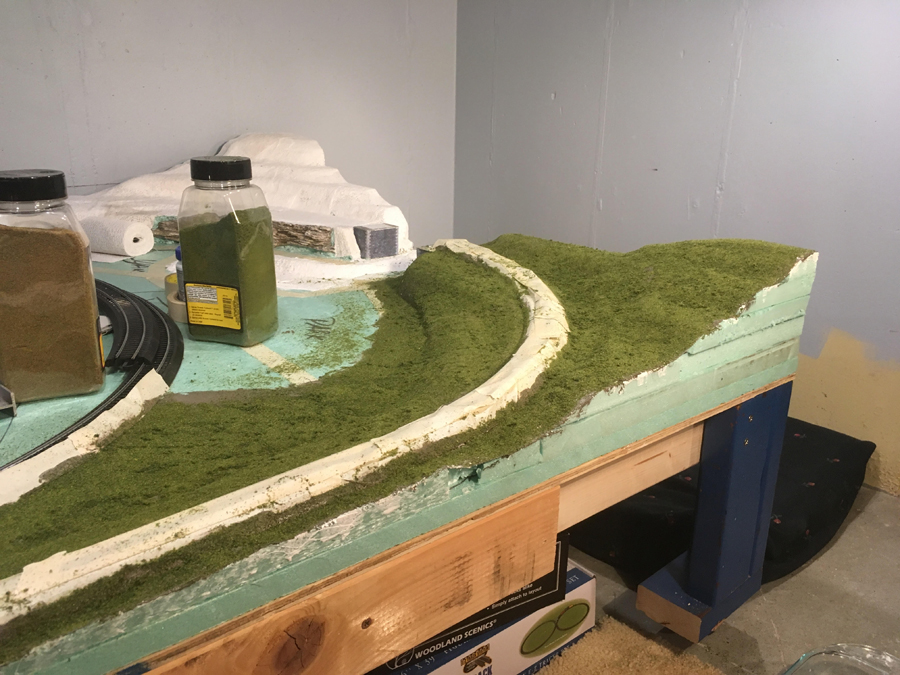
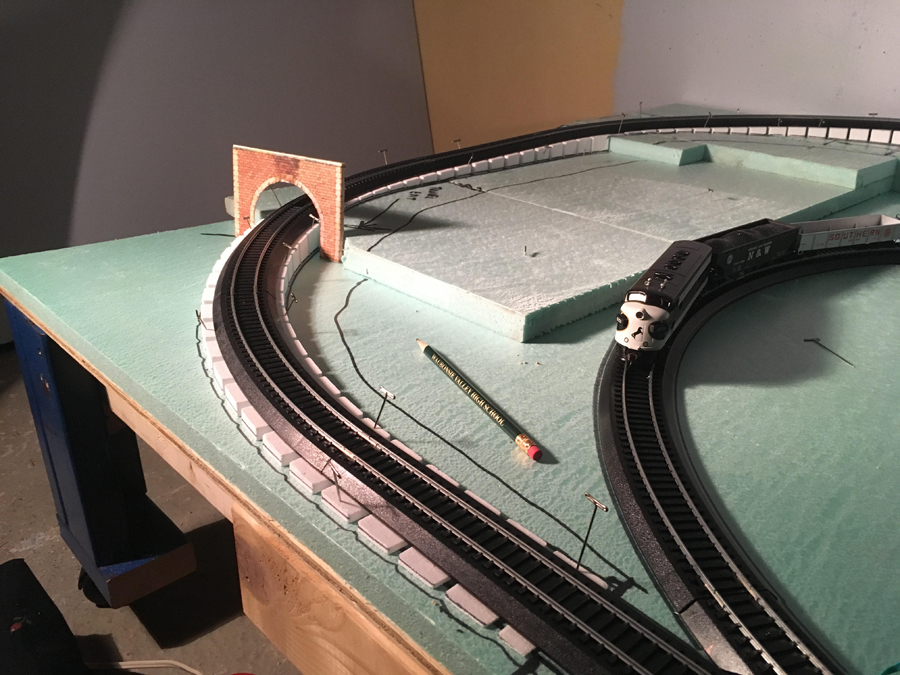
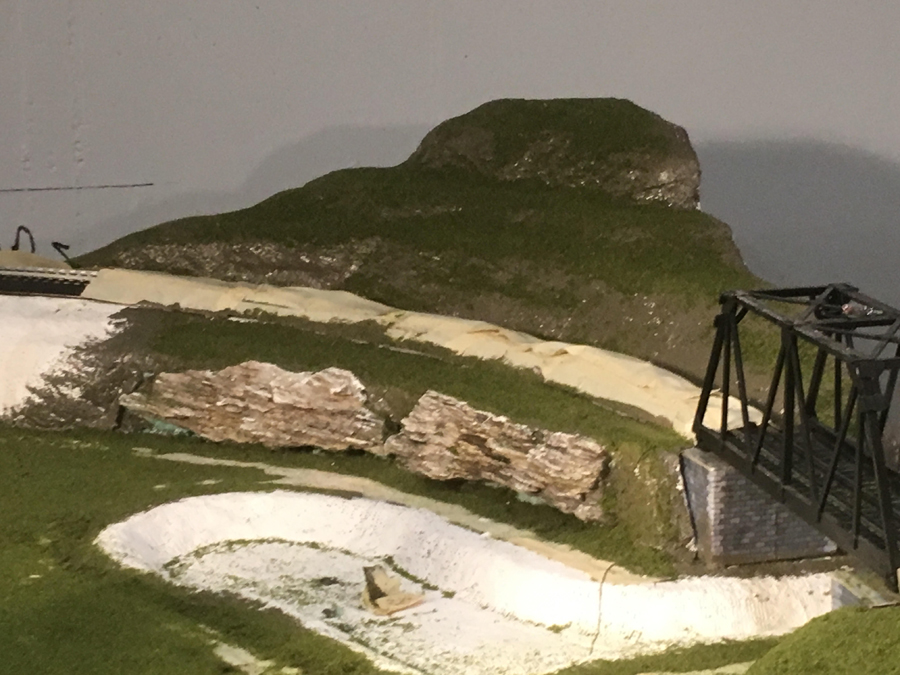
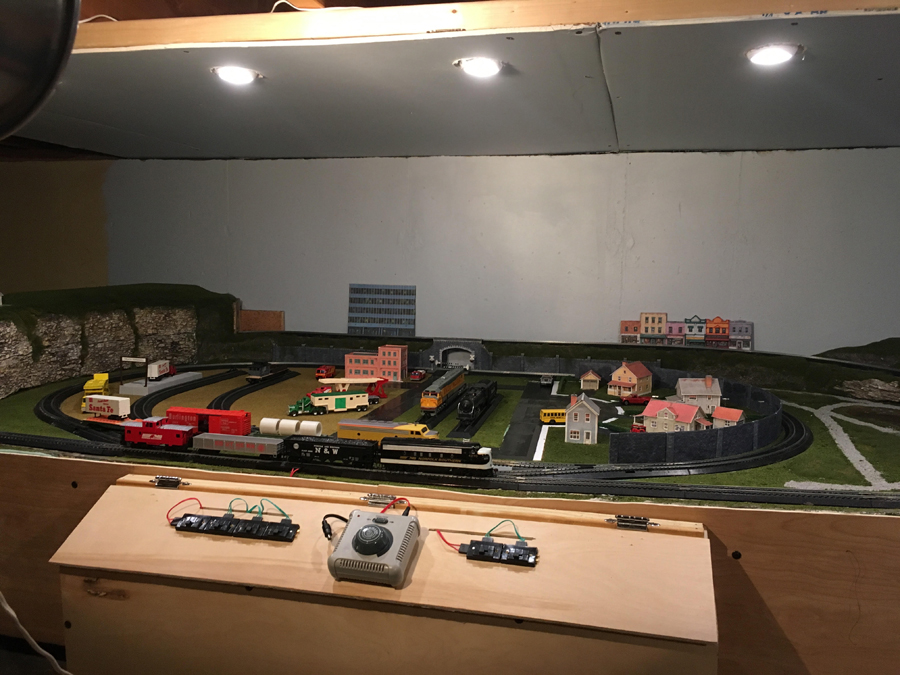
The entire setup is literally assembled on my hands and knees! I first built a 4×8 HO layout’ table on 6 sets of casters so I could move it around while building and for maintenance. I used foam board for nearly all the foundation and hills which I find is easy to work with and mold. I forwarded a few pictures of the progress leading up to the finished (for now) setting. The left wall behind the tunnel is temporary so I can expand beyond the tunnel.
The train yard represents the rich train history here in the Chicago, Illinois area here in the states. The two engines in the middle are both over 35 years old and do not work so I set up an homage to the Illinois Train Museum in nearby Union, Illinois that has quite a collection of engines and cars from many different eras. You can see I made good use of your print-outs for the residential area including the sound wall between it and the park to the right of the table. The park represents several areas where I run and bike to stay in shape to keep up with active grandkids!
You tips and ideas along with the downloaded printouts made it easy to stay motivated based on what others have shared with your community. I am now working on the landscaping, ballasting the tracks and expanding the yard to include container cranes and additional construction as well as an overhead walkway to get from the residential area to the park. As many have said, it is really never finished.
Thanks again for what you do for this community of enthusiasts!
Rick”

A huge thanks to Rick. It’s great to see a 4×8 HO layout – I know it’s a popular size. It takes a lot of determination to make a layout like that in a 40″ space too. And glad to see he’s using the print out scenery for his tunnel.
Speaking of which, don’t forget today is the last day to buy the bundle deal below for just $14.97.
1. You print them out and stick ’em together.
2. They print out at HO scale. For N scale, reduce by 50%.
3. Print as many, and make as many as you like.
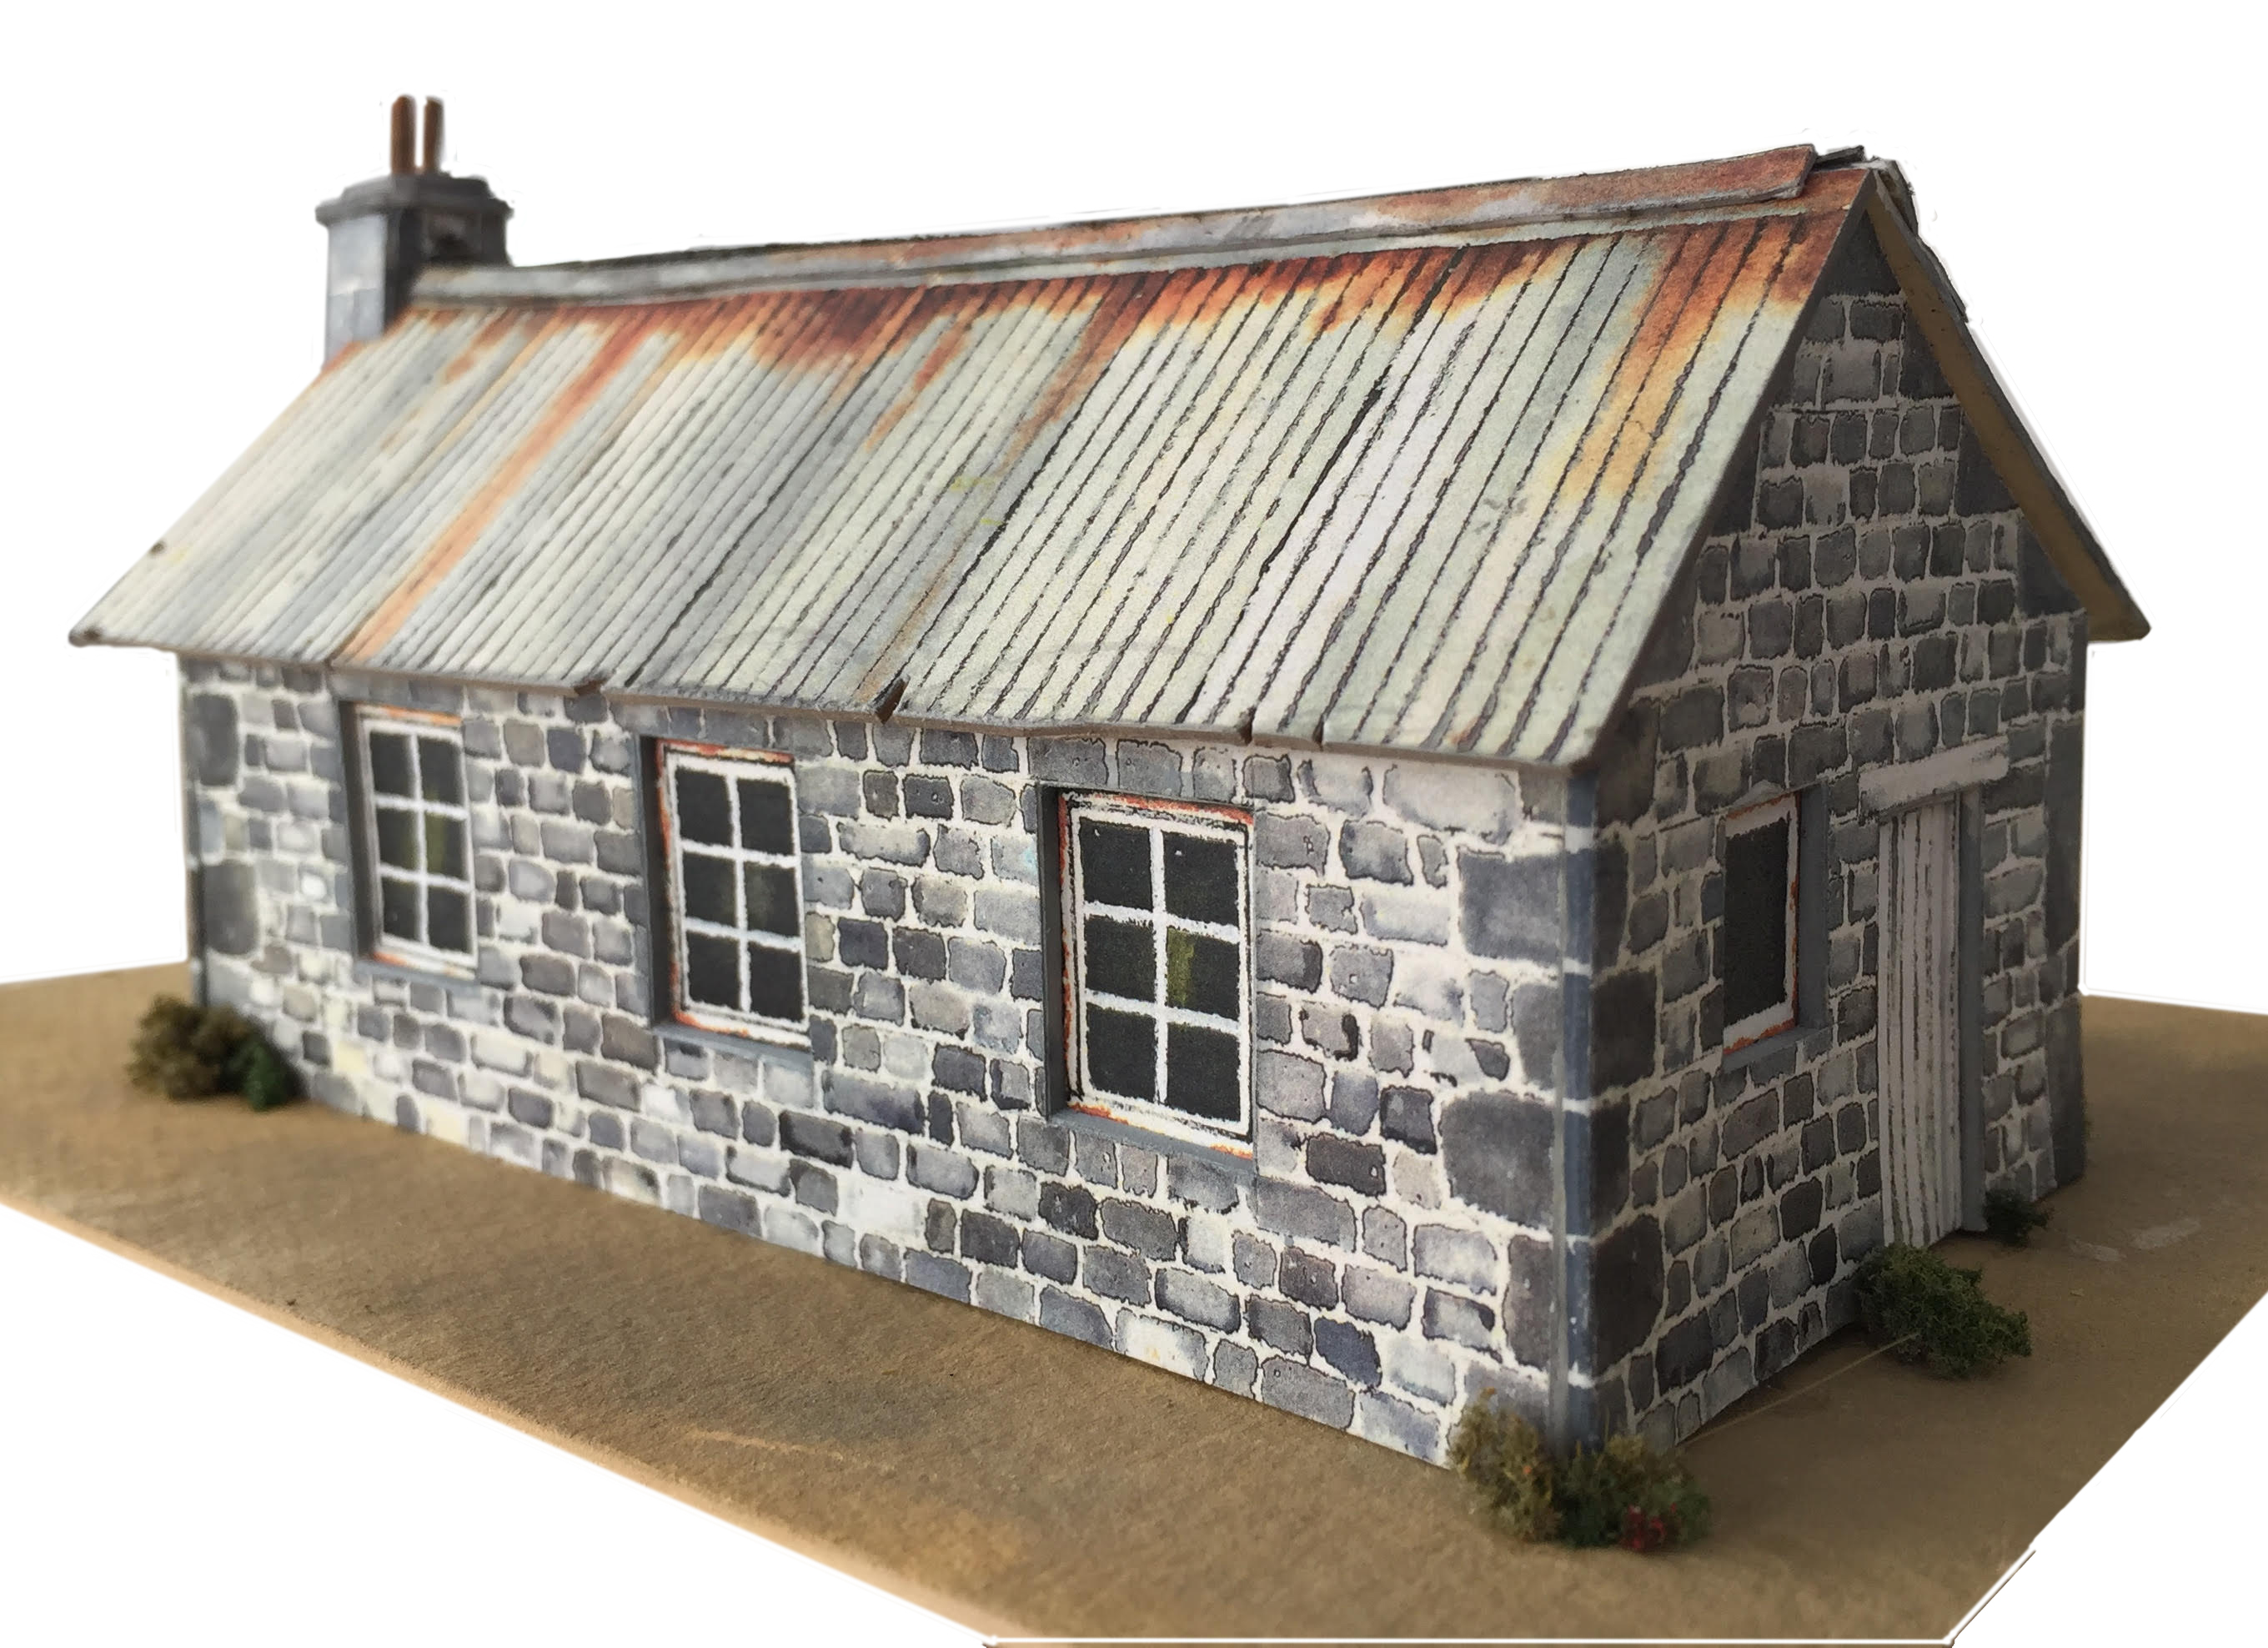
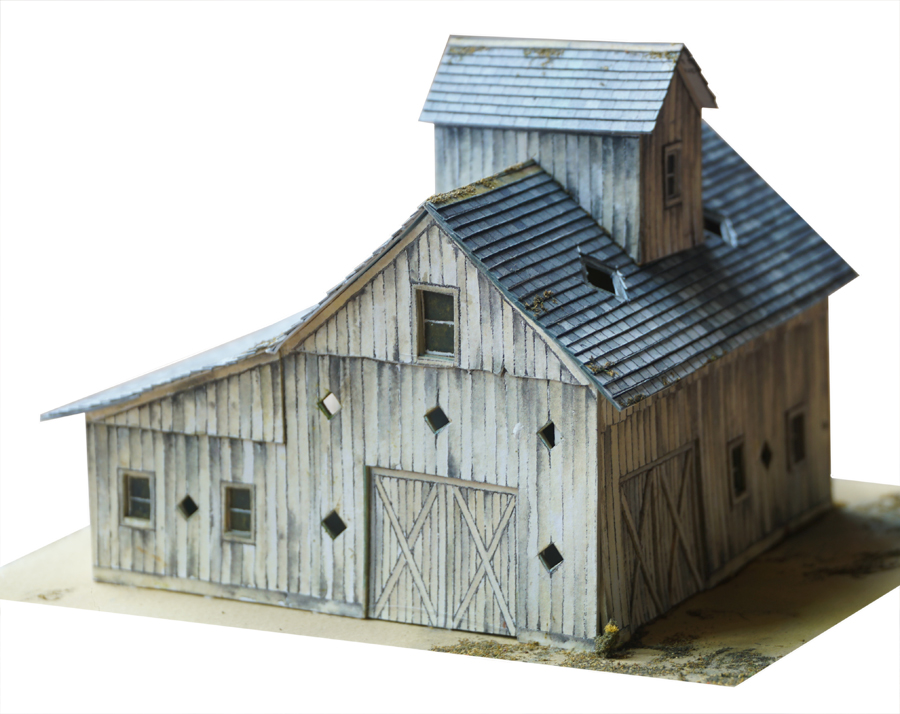
Here’s the page with more details on the wooden barn and stone cottage.

That’s all for today folks. Please keep’ em coming.
Best
Al
PPS More Here’s another 4×8 layout if that’s your thing.


