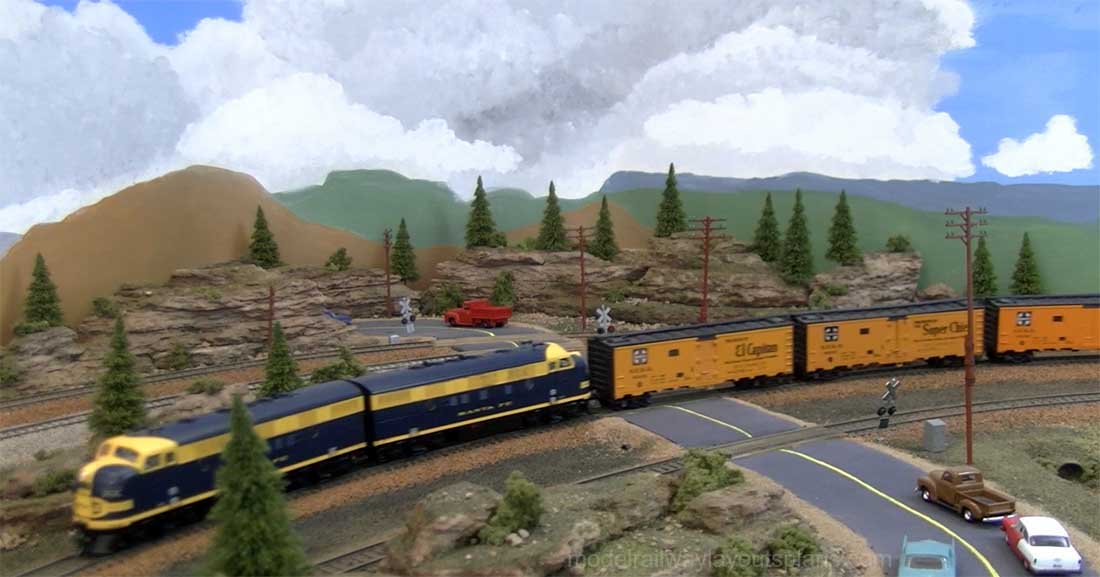
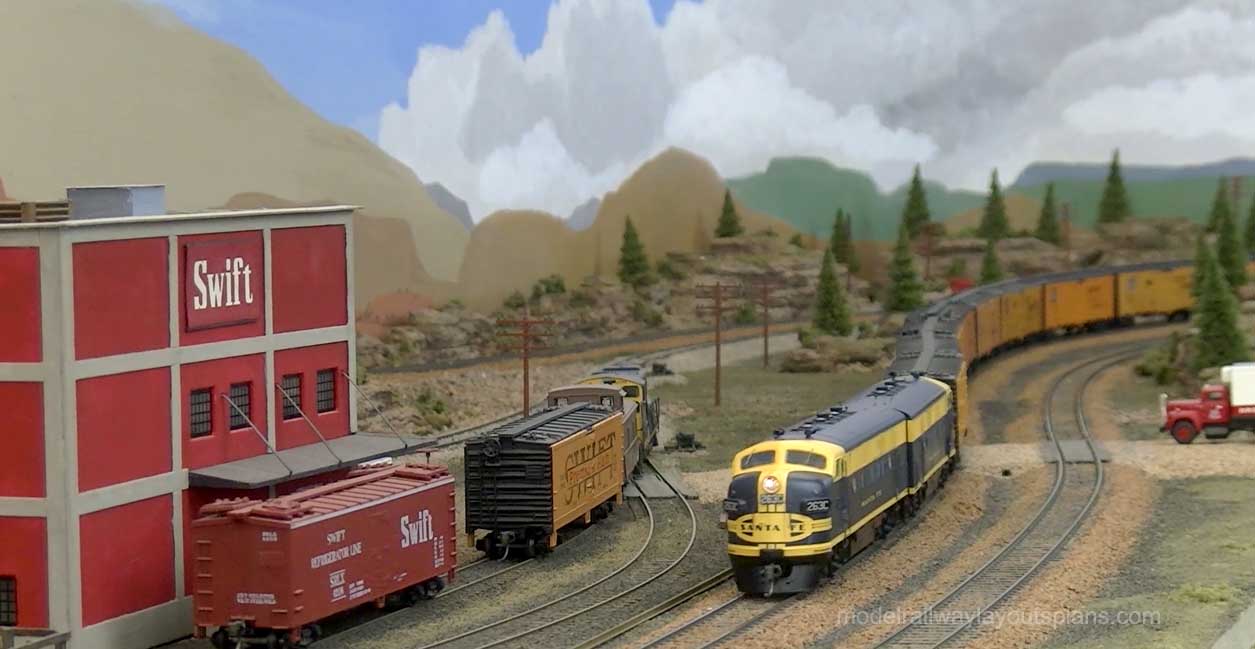
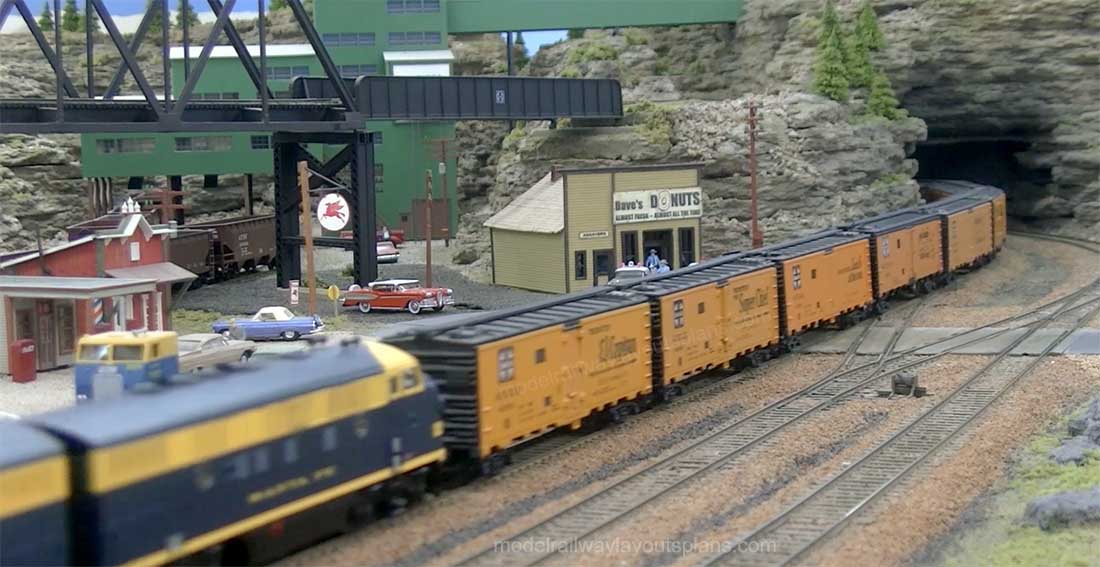
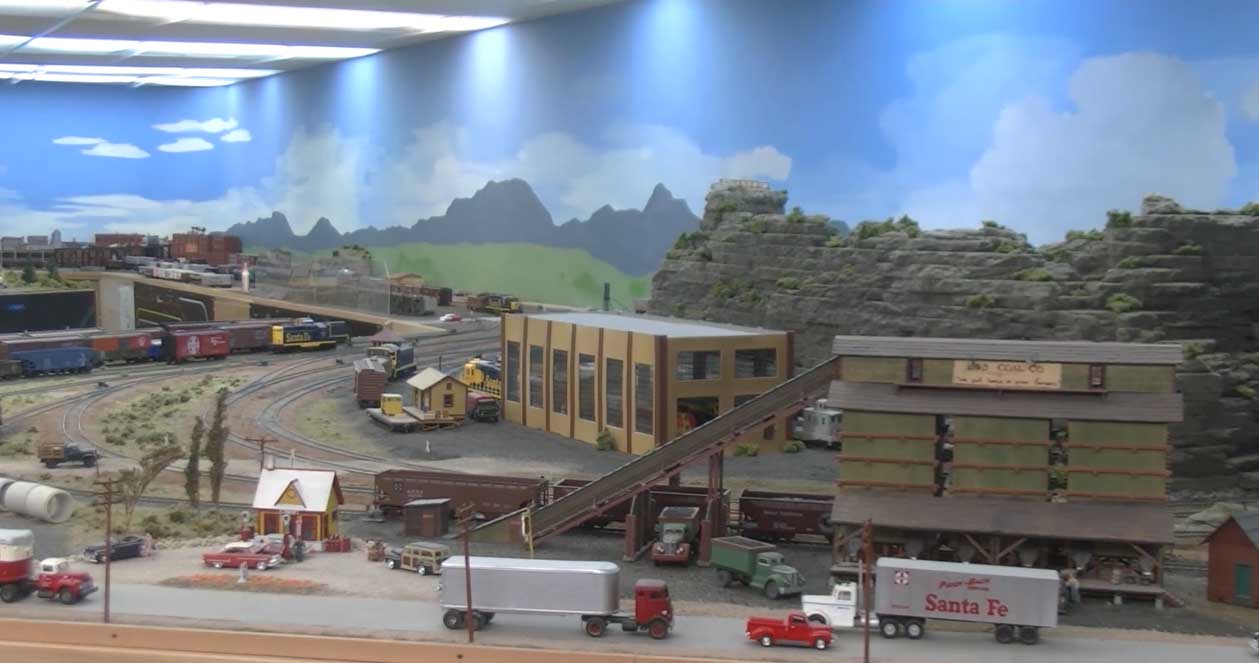
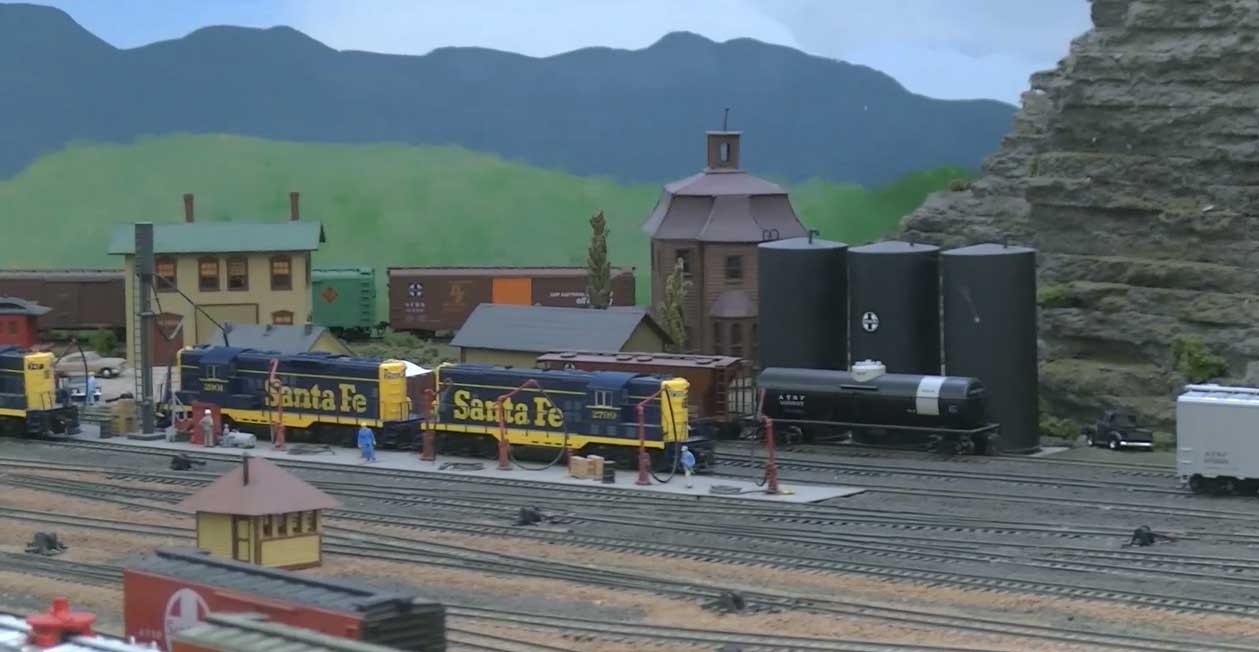
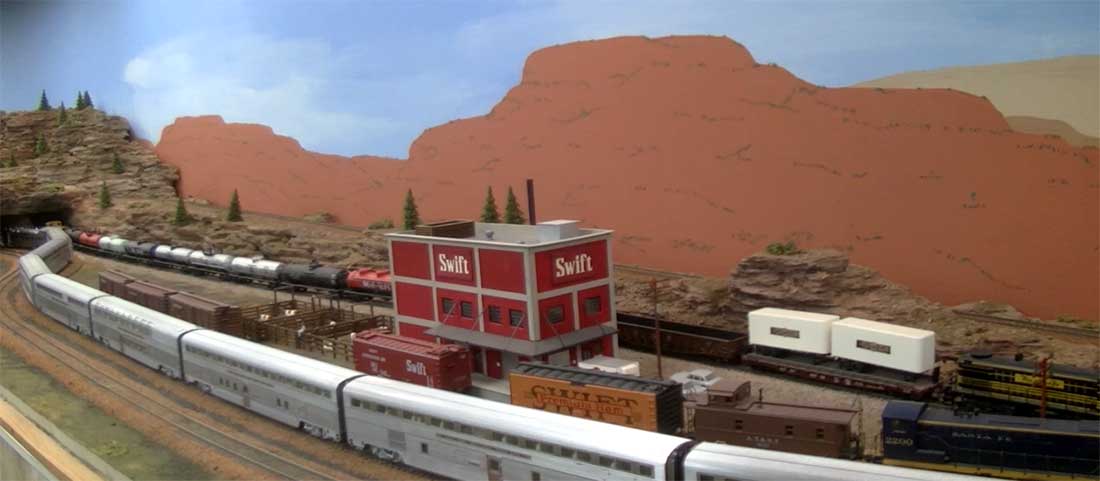
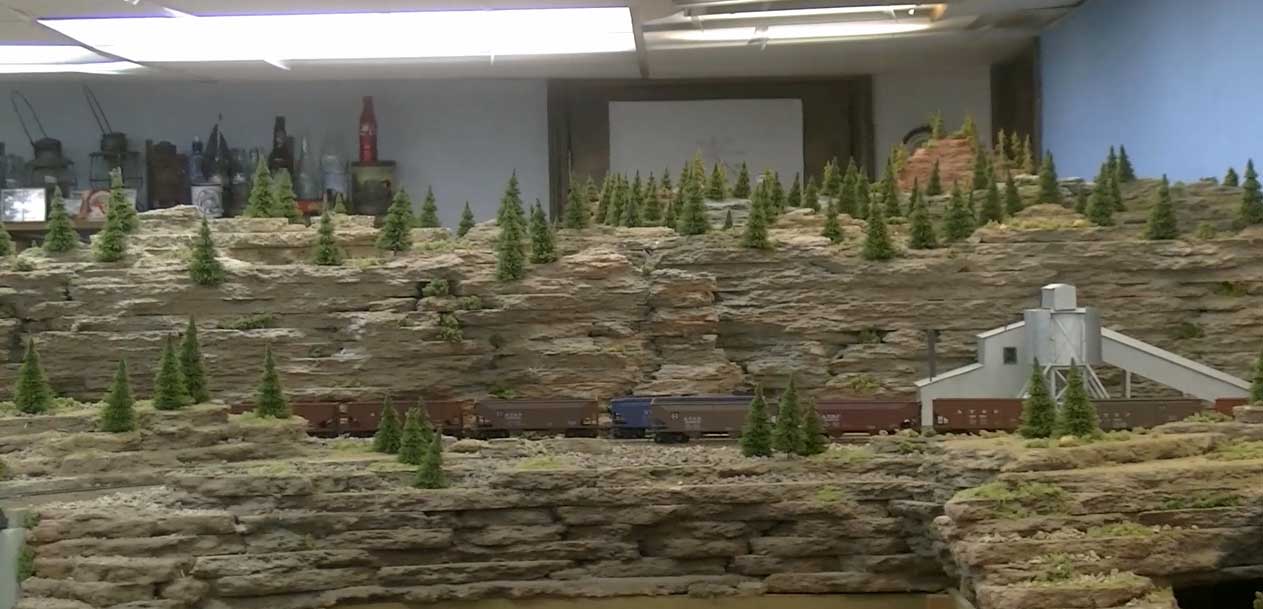
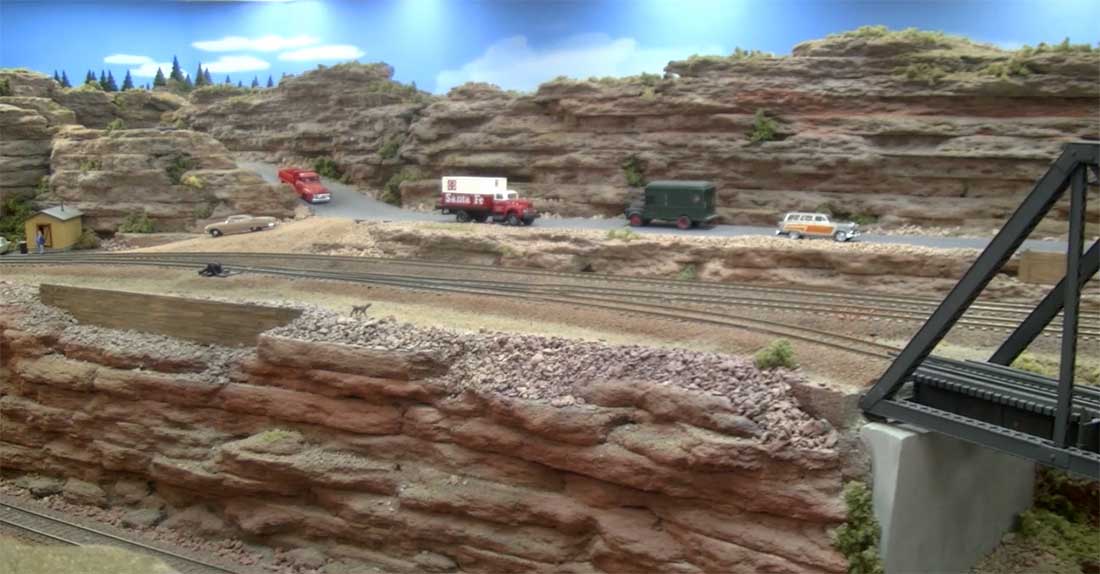
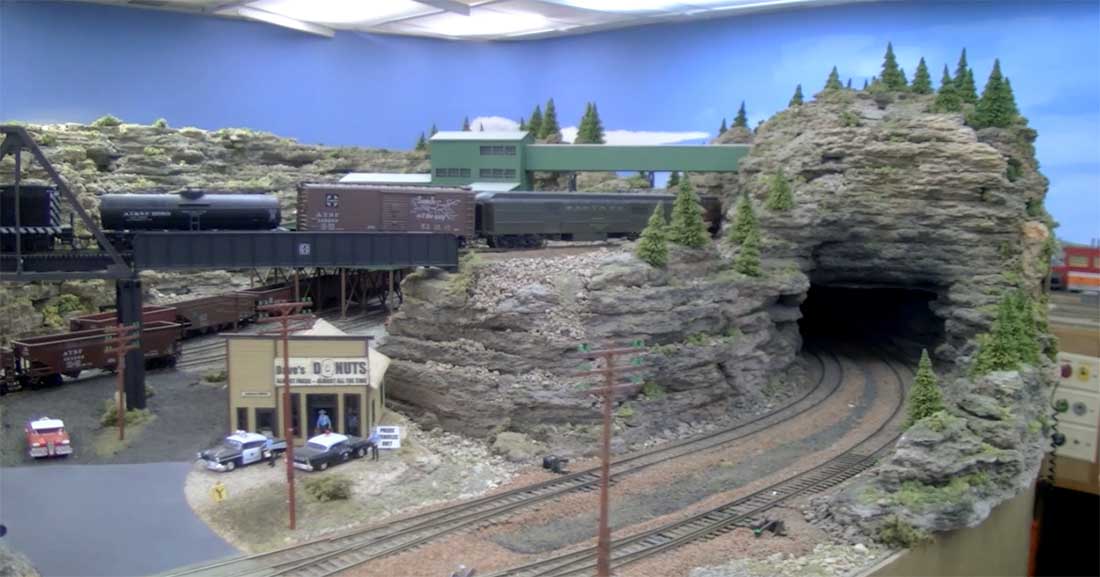
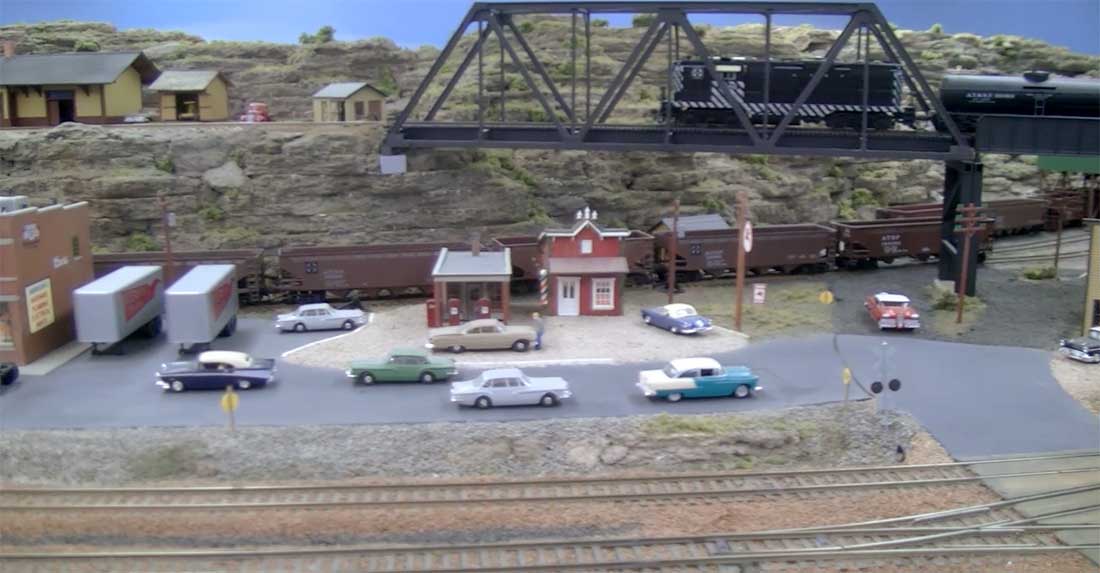
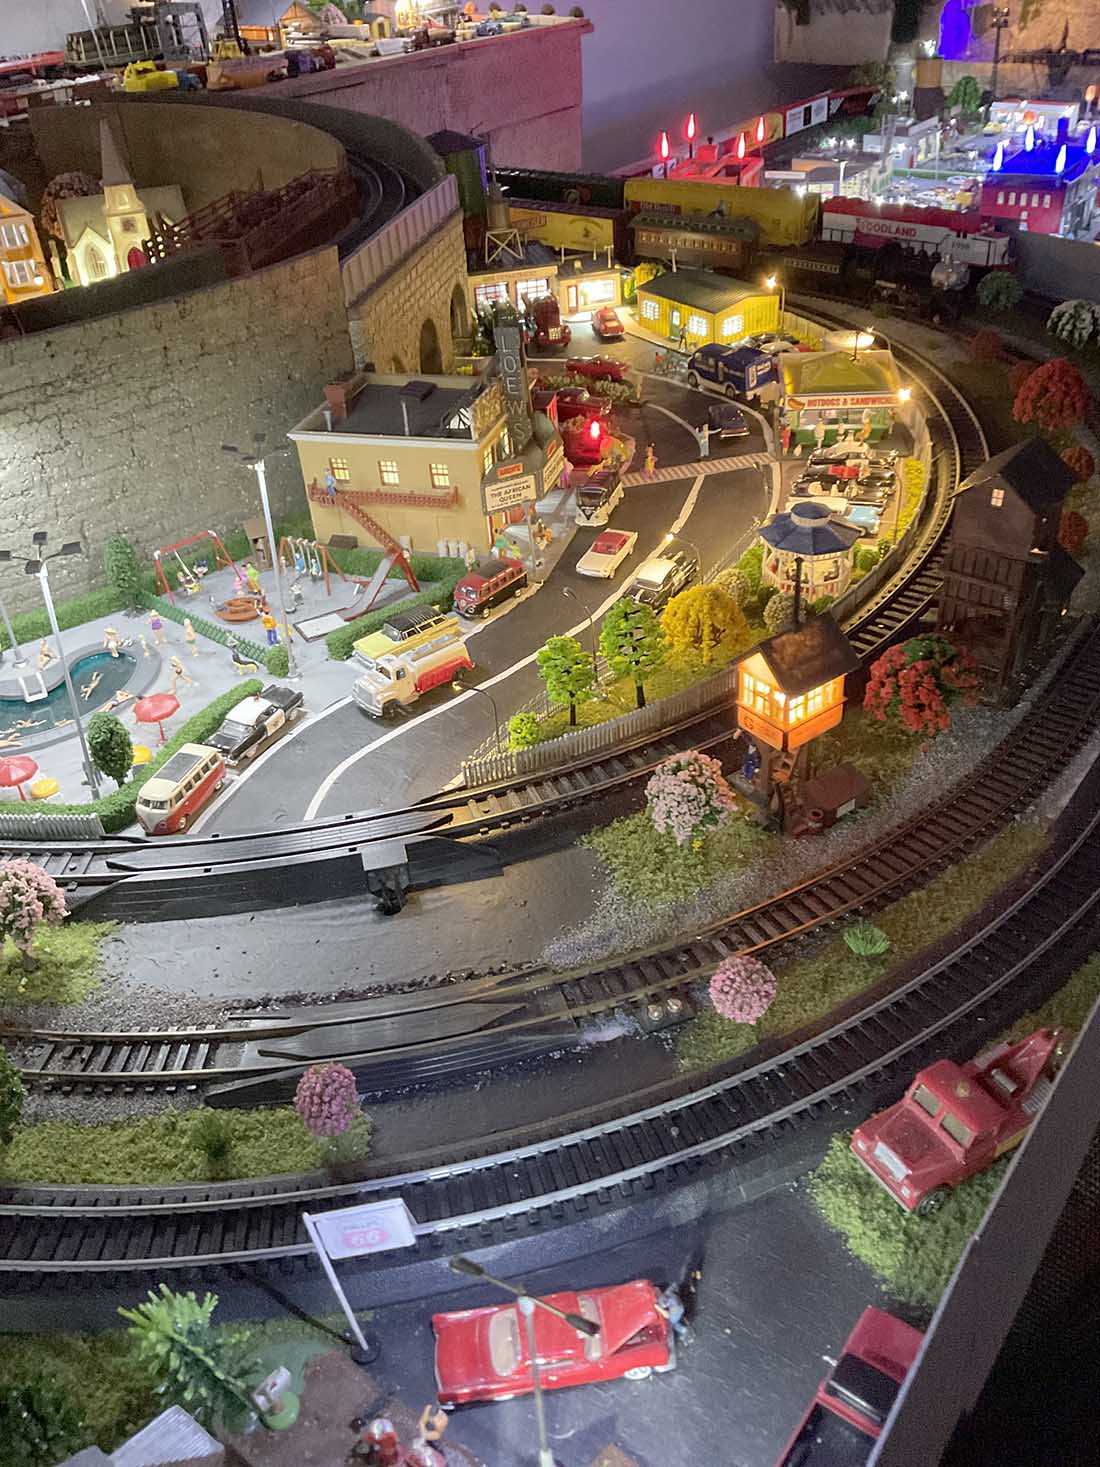
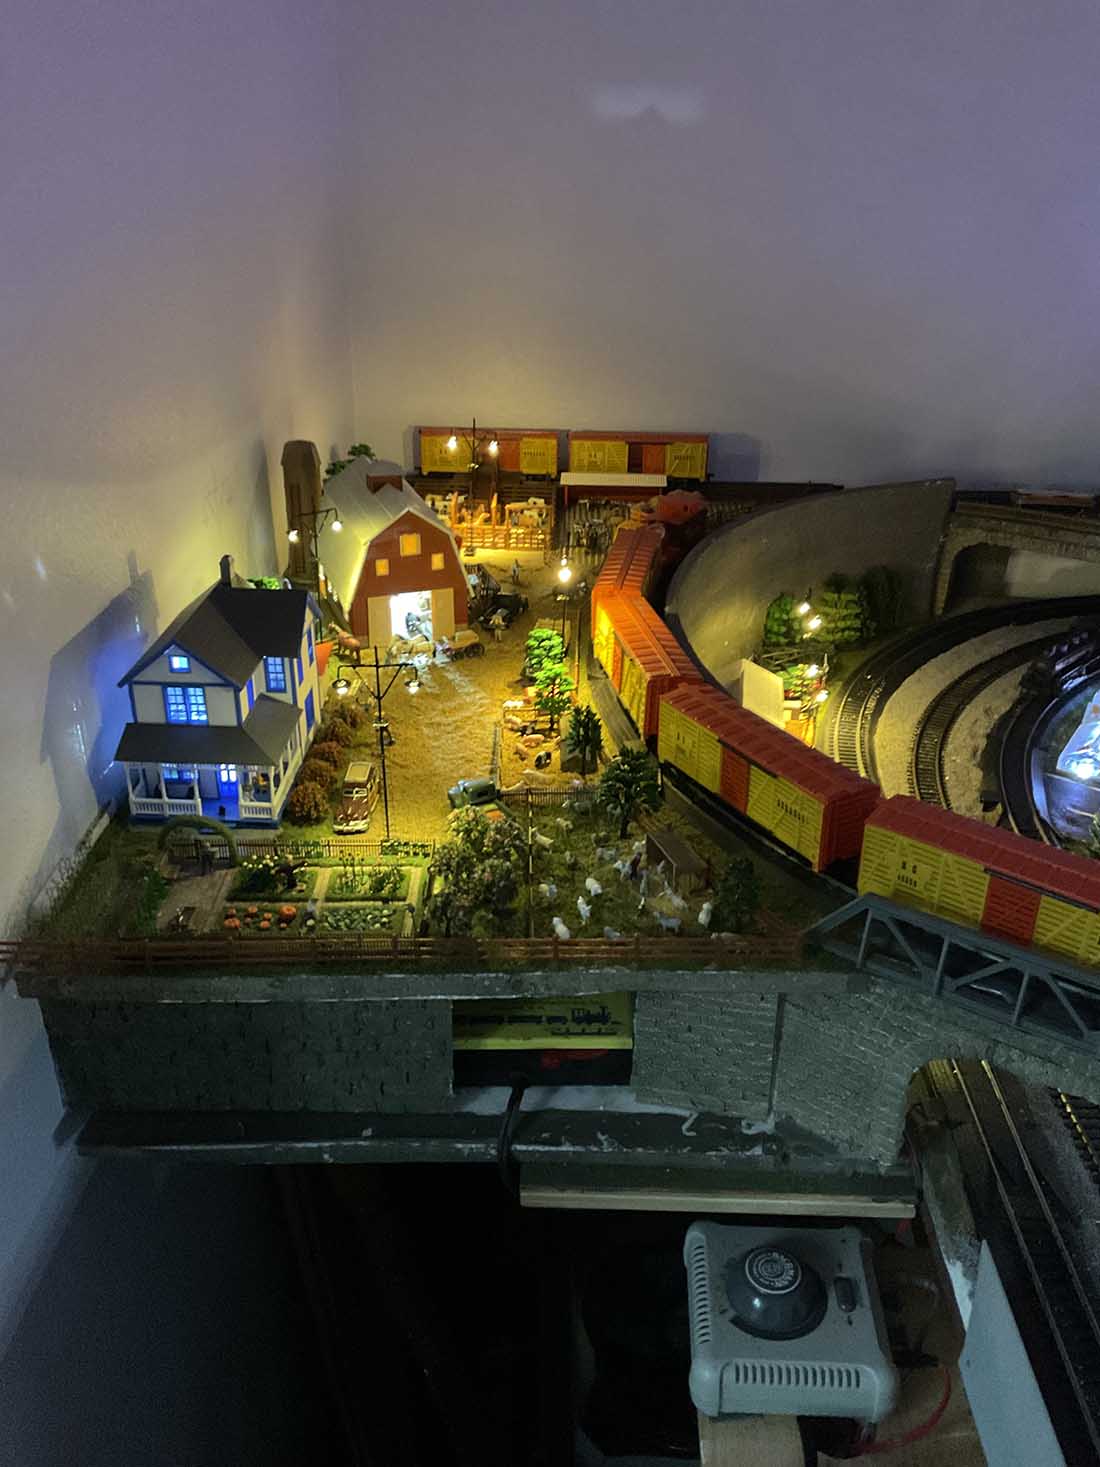
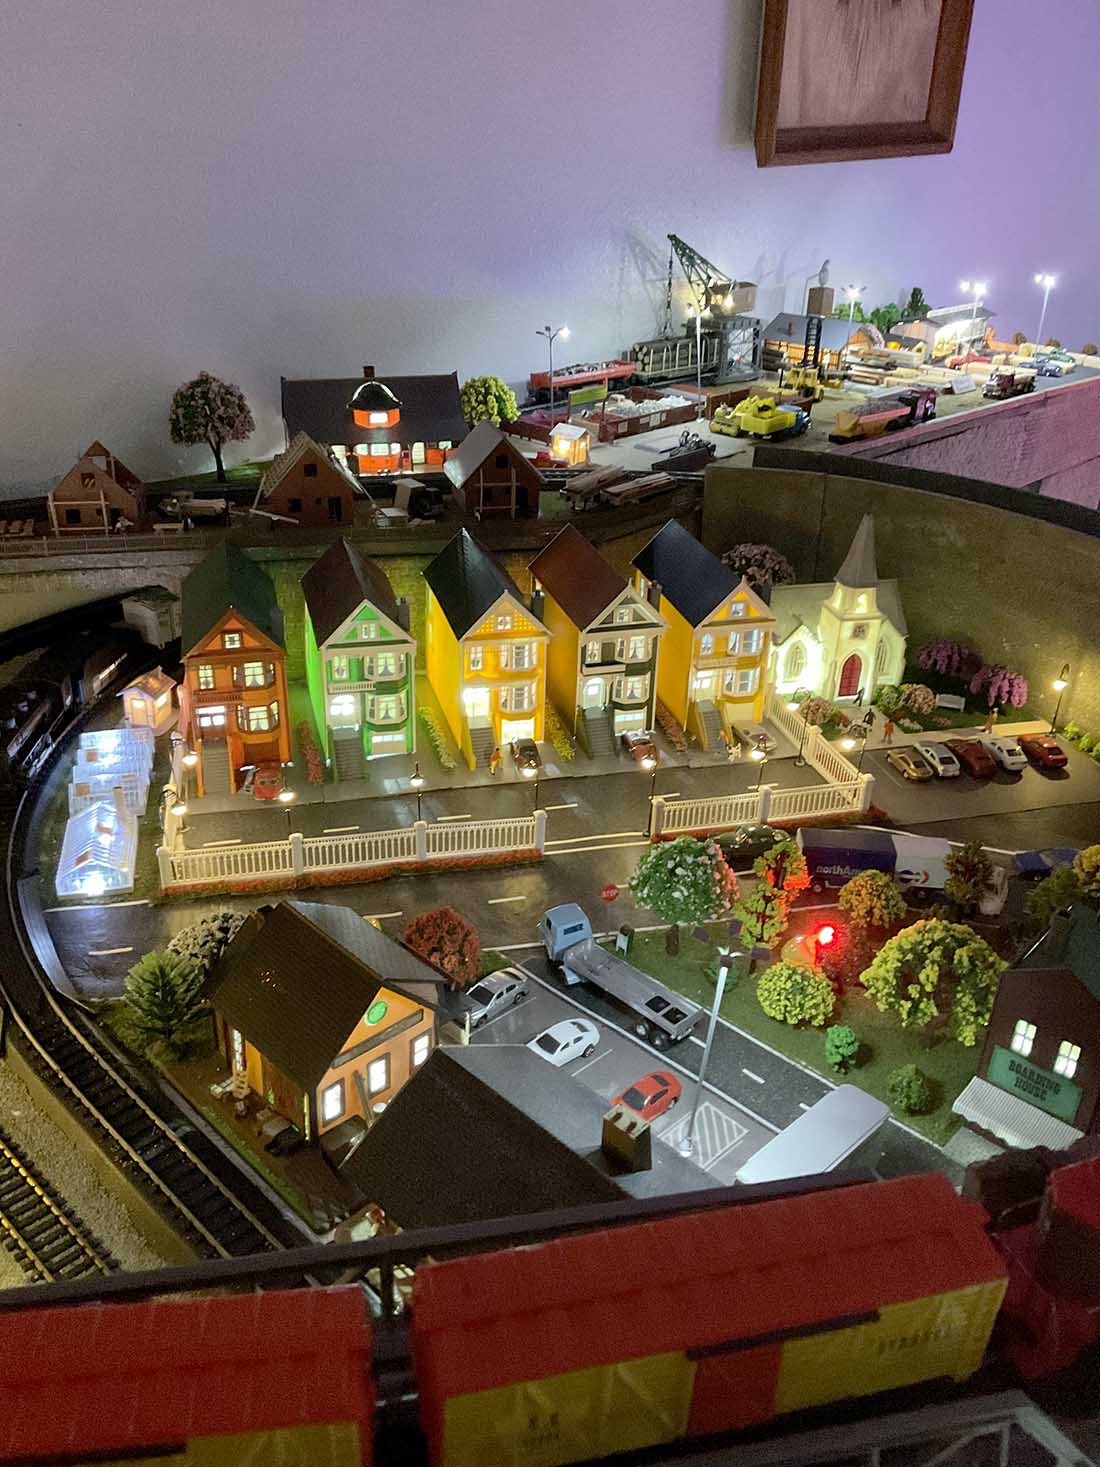
Don’s been in touch with his display which has a whole collection of HO train industries going on:
“Good morning Al,
I enjoy seeing all of the emails about trains displays and figured I would share my train display.
I’ve been playing with trains since I was very young, my Father put up a large Christmas display every year.
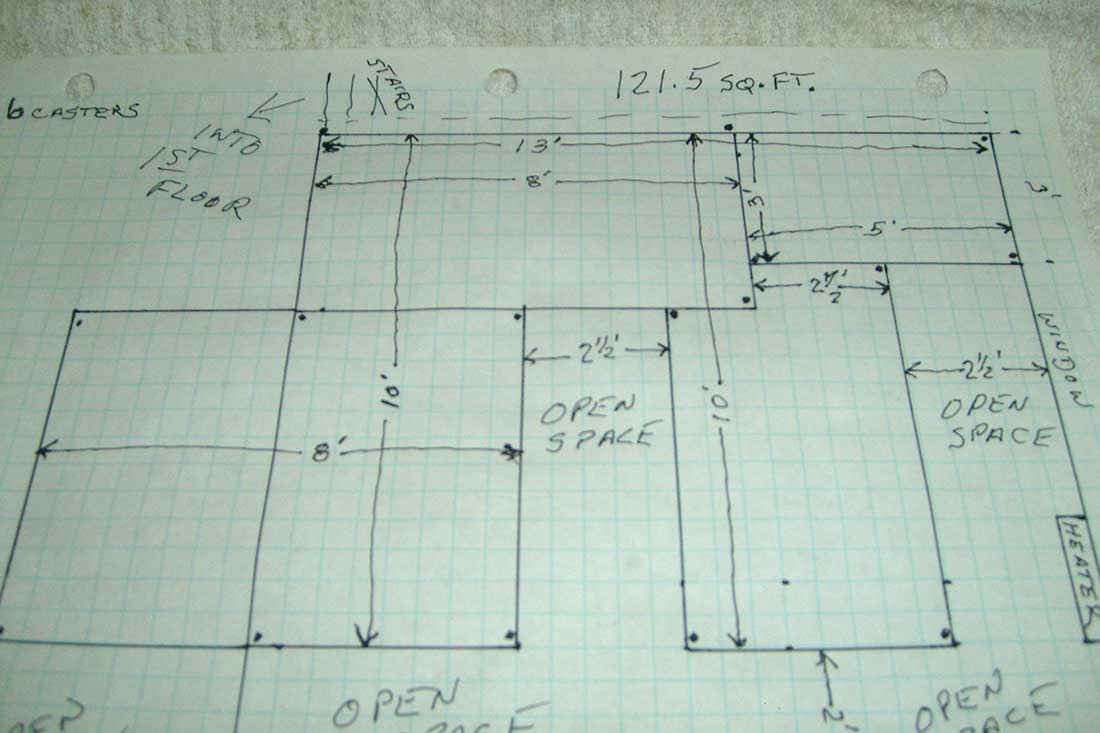
It was shaped in a letter u 12ft x 24ft x 5ft.
One year we had fifteen trains running on his display. I somewhere have pictures of his display, I’ll have to look for them and see if I can post them.
Since my Fathers passing, I have taken on the challenge to put up displays. I change them every year. 2 months to assemble,
Leave up for 4 months and 3 weeks to tear down only to start over again.
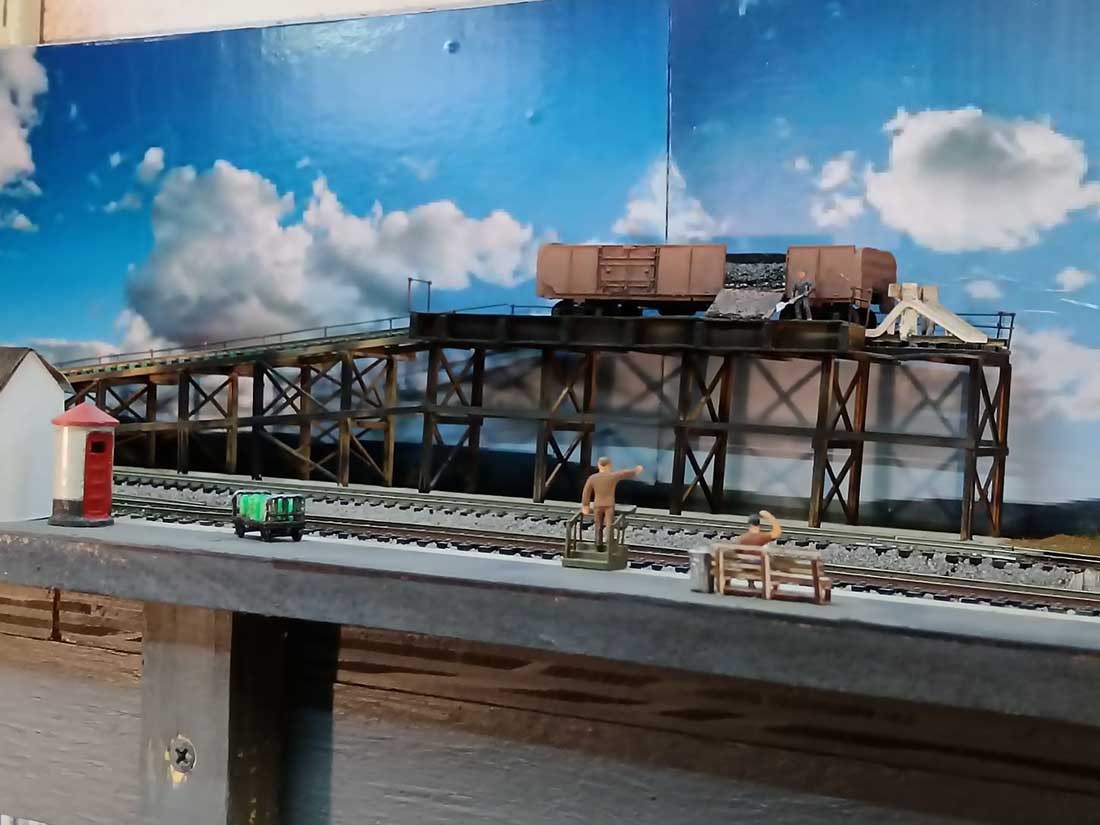
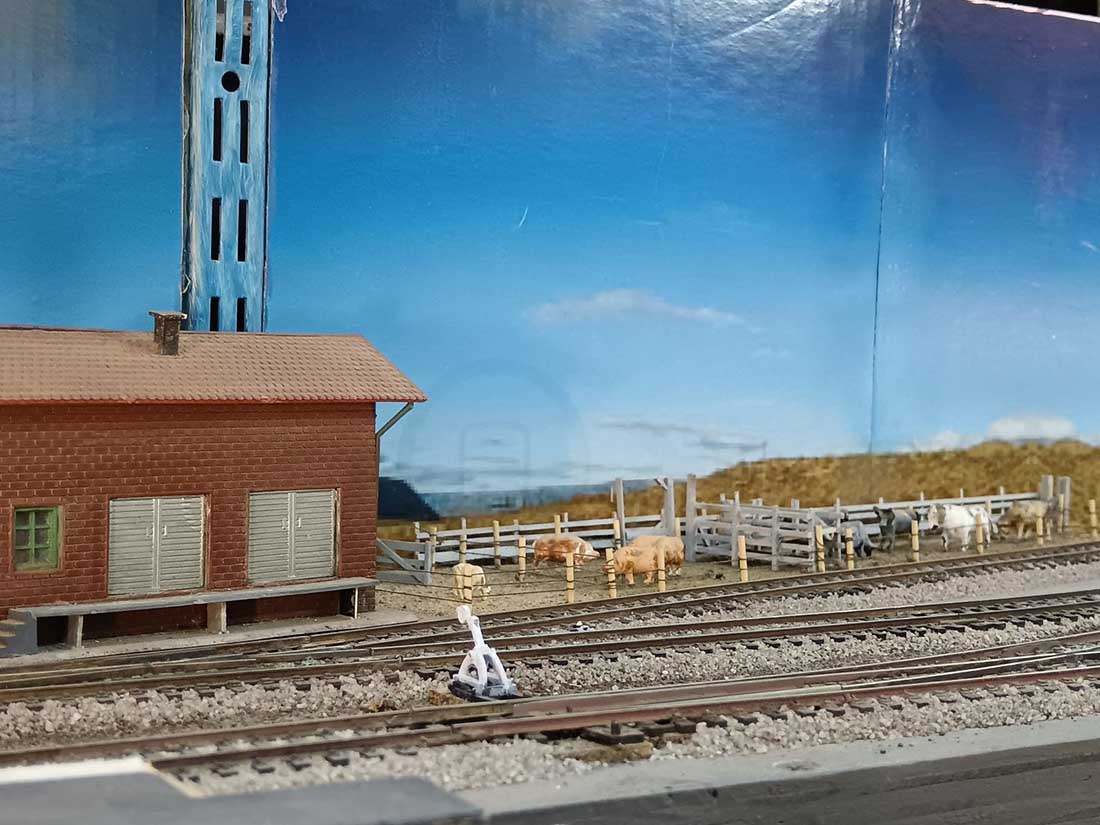
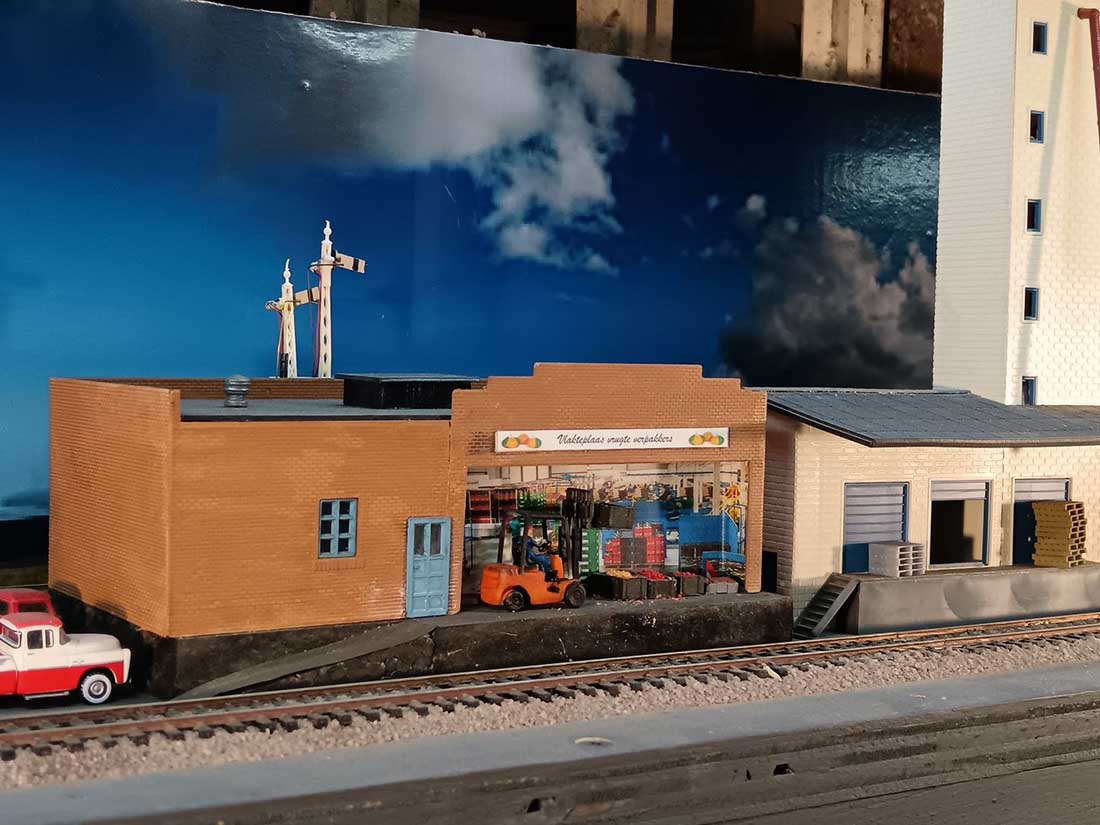
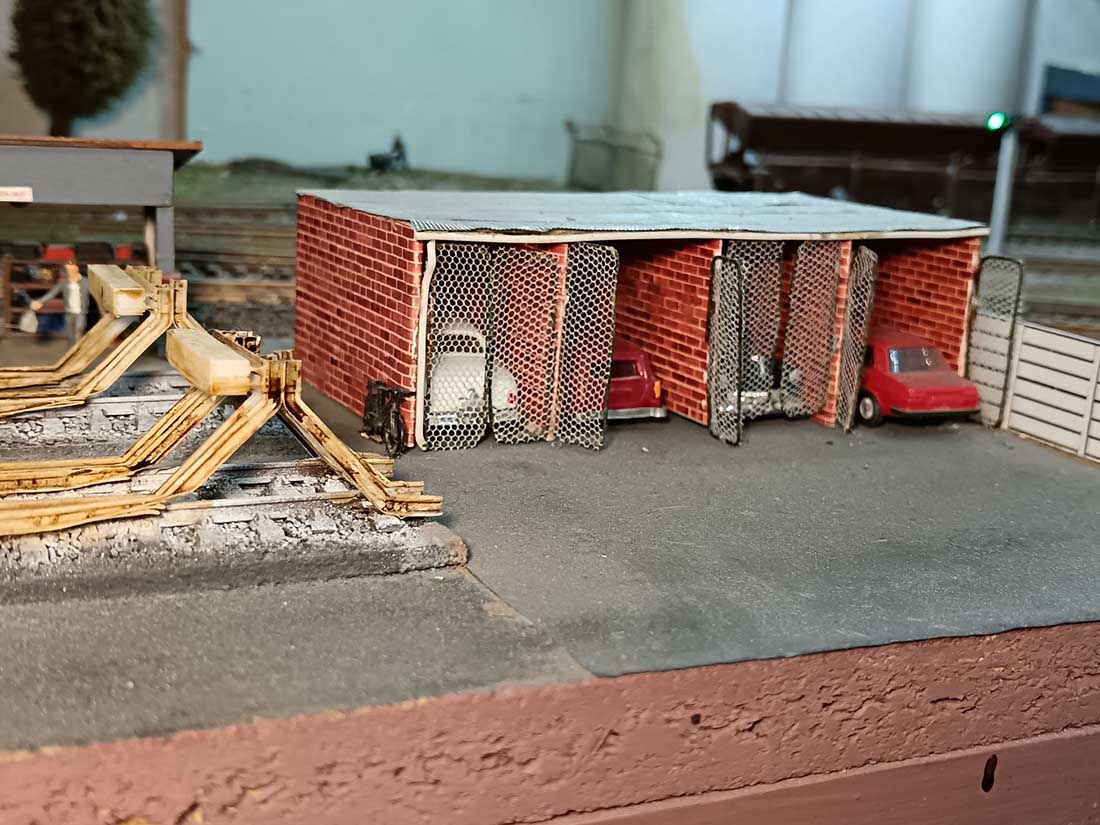
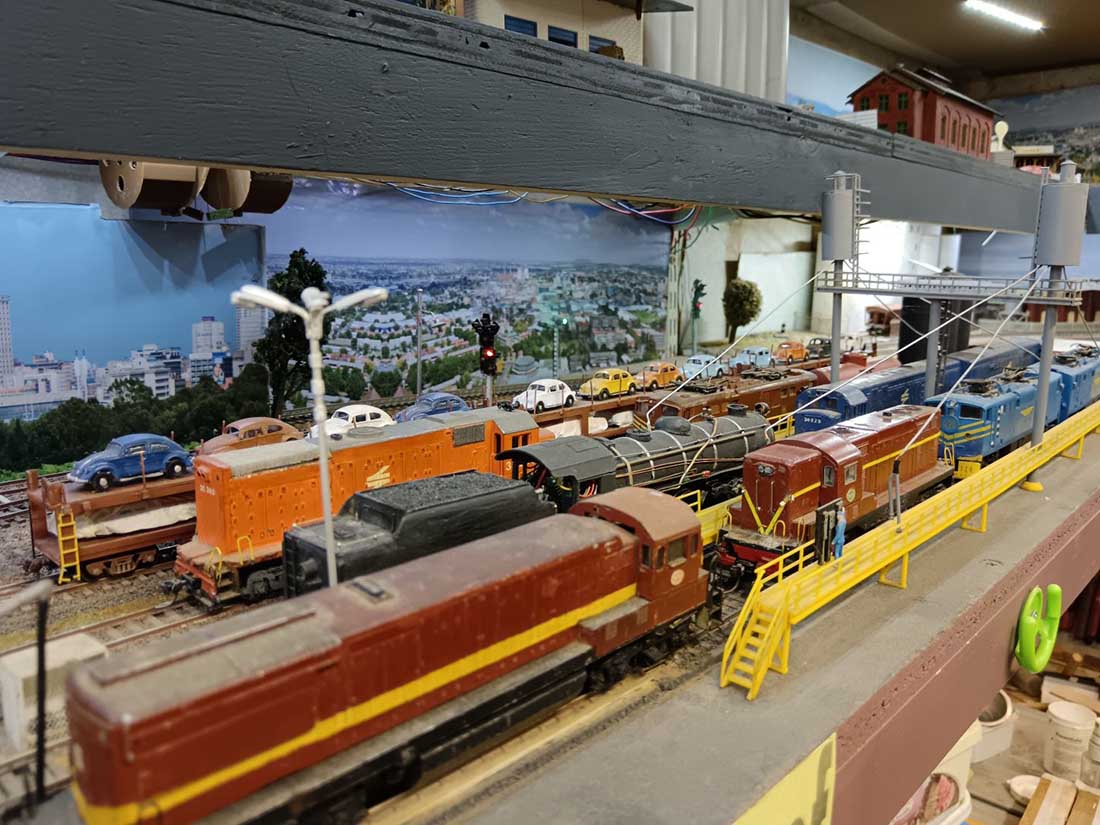
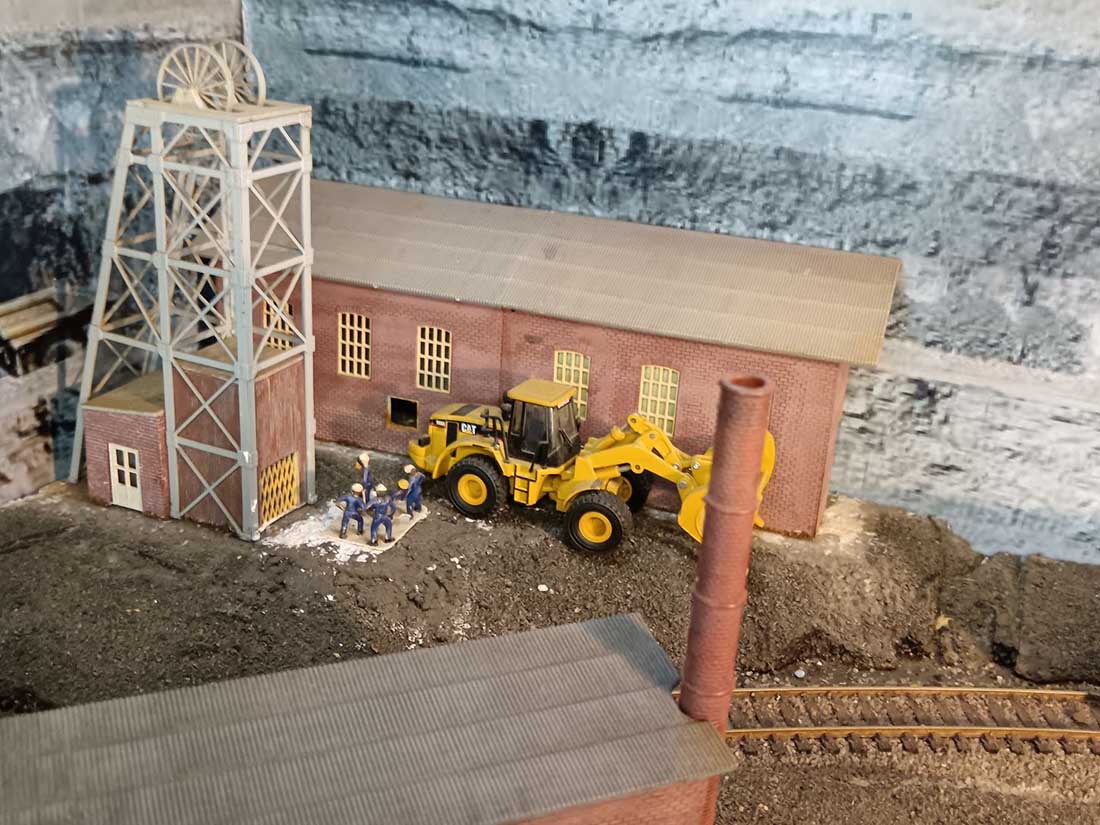
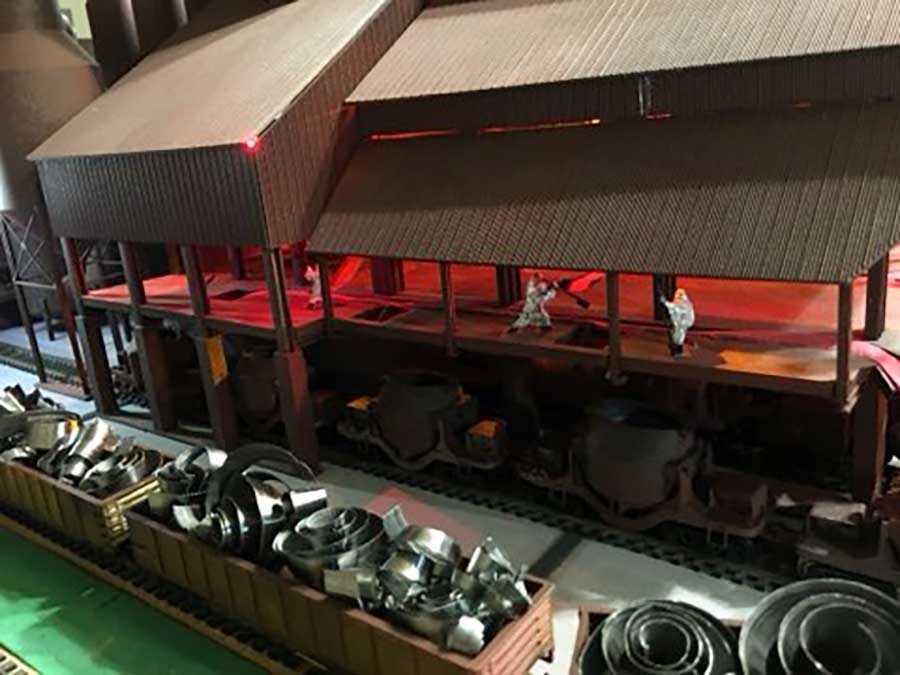
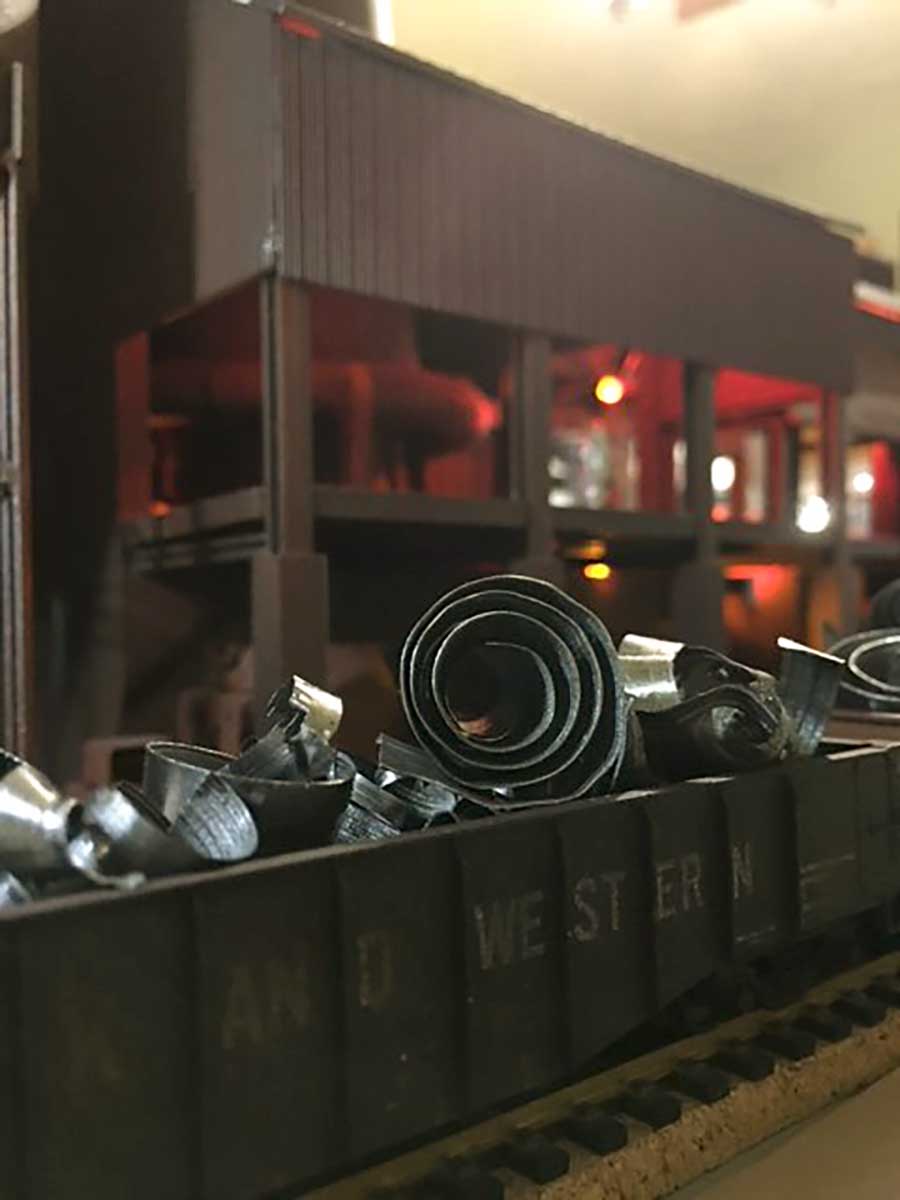
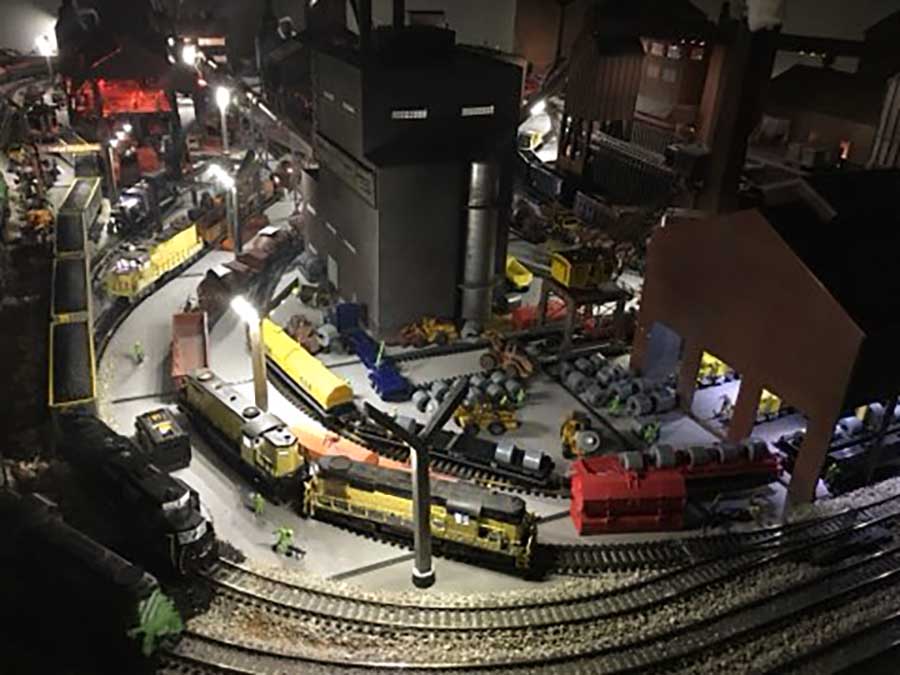
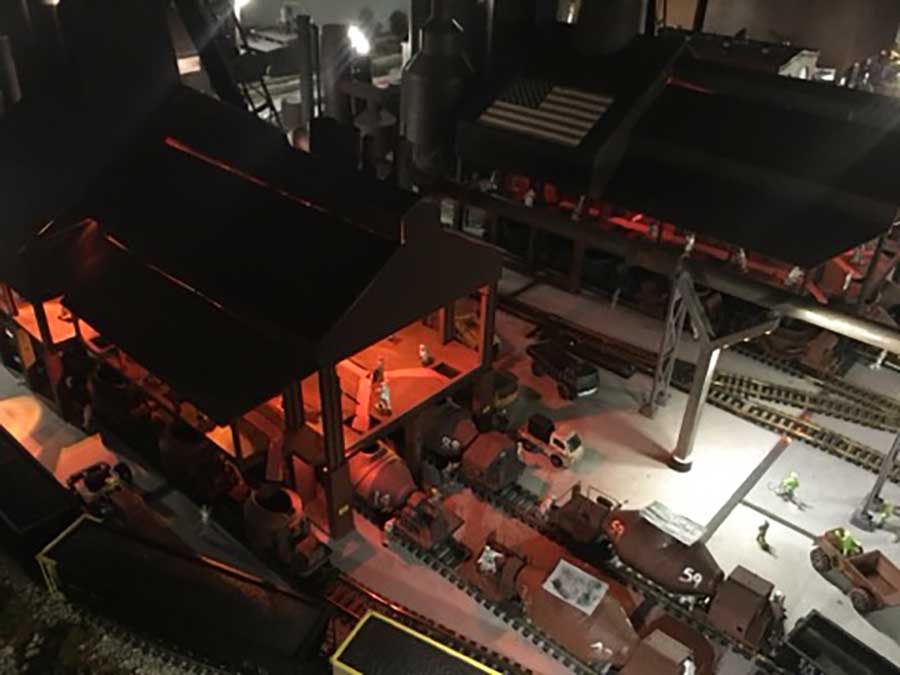
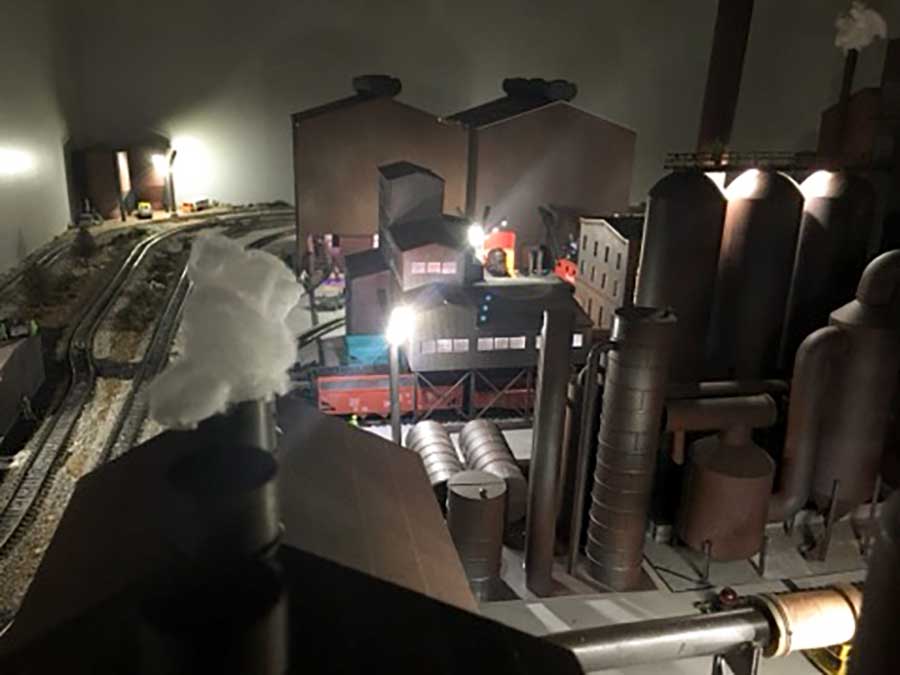
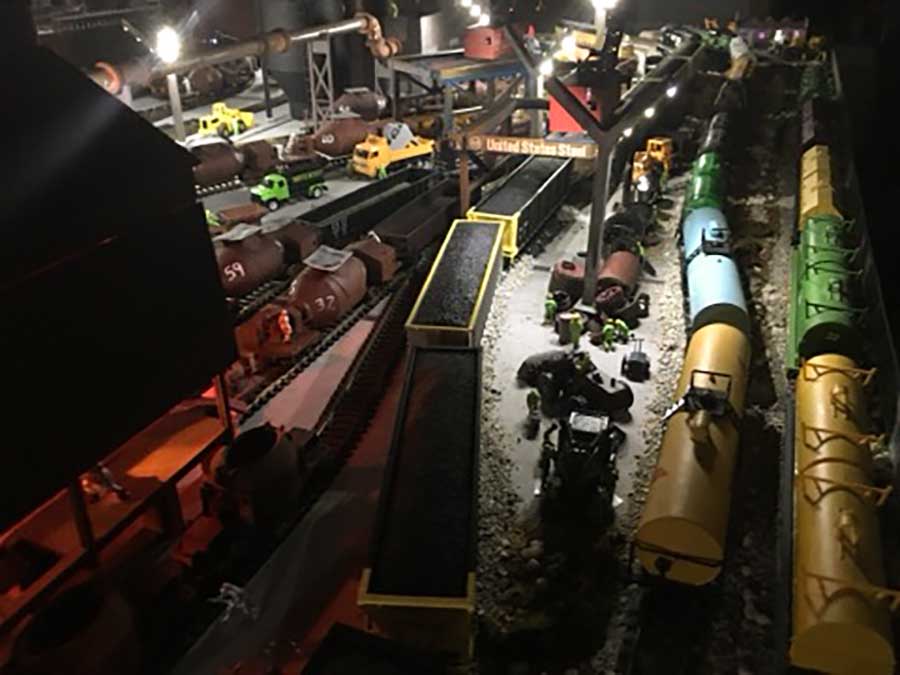
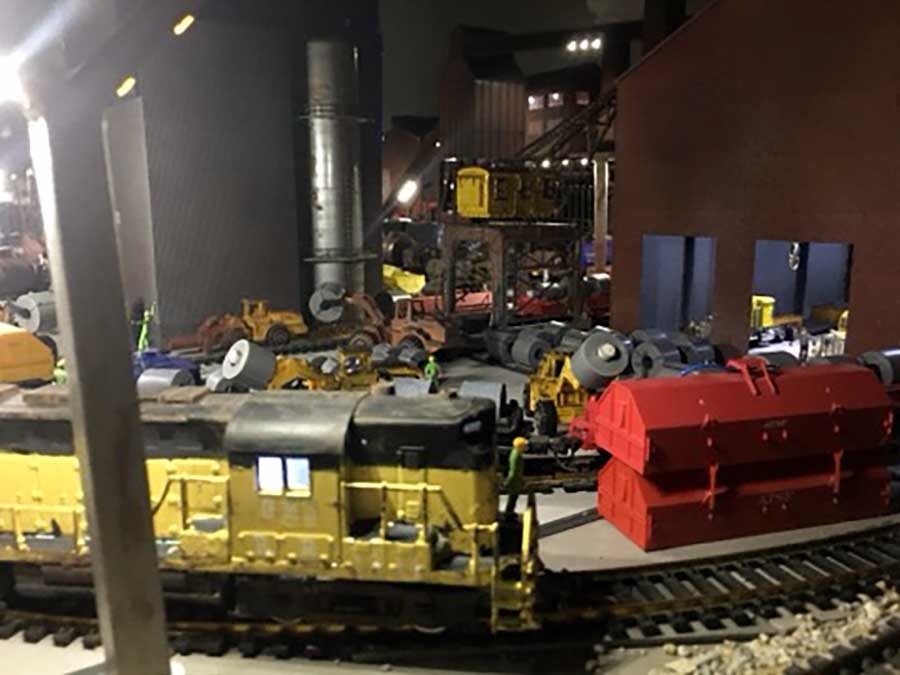
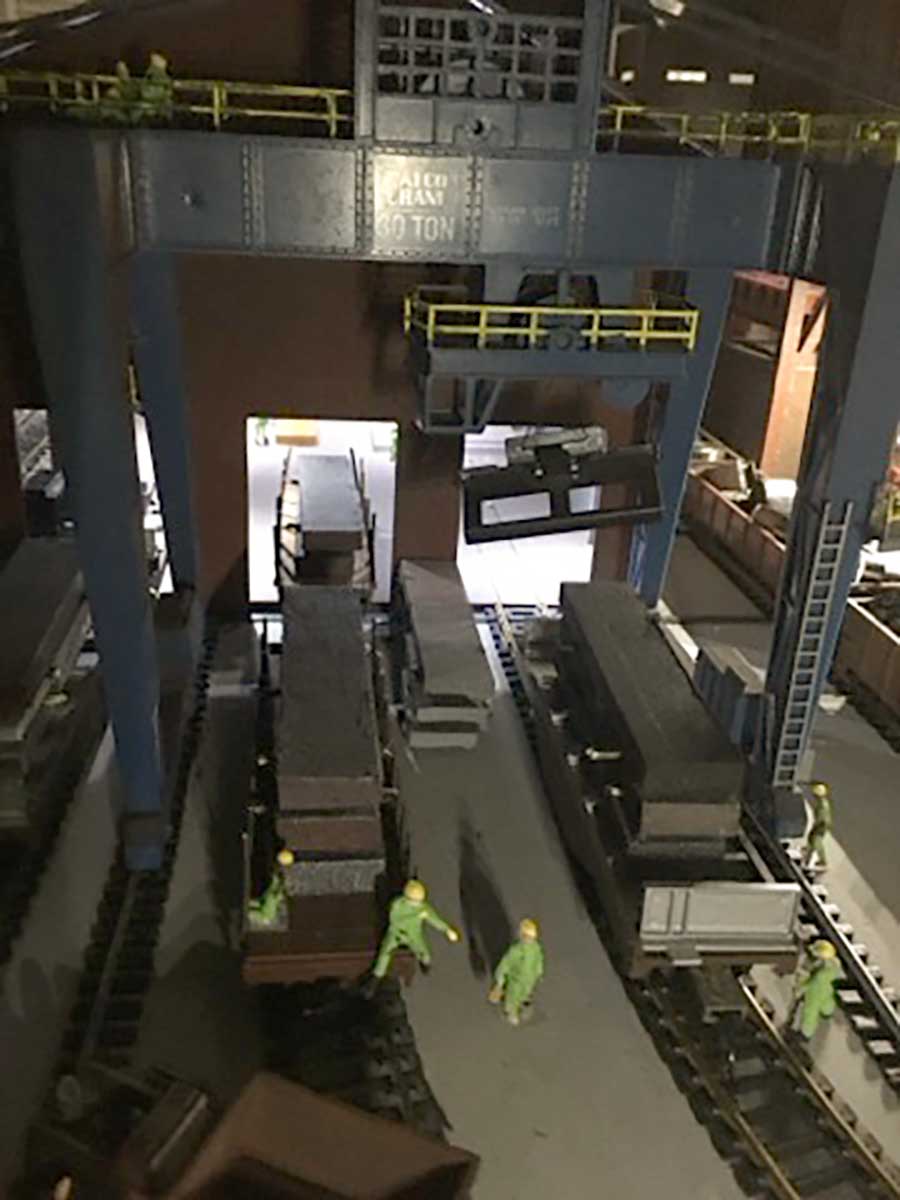
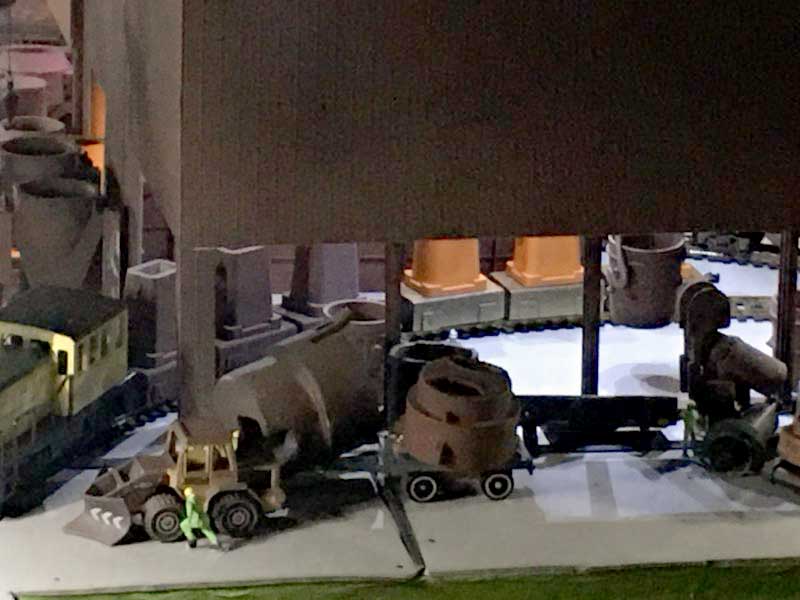
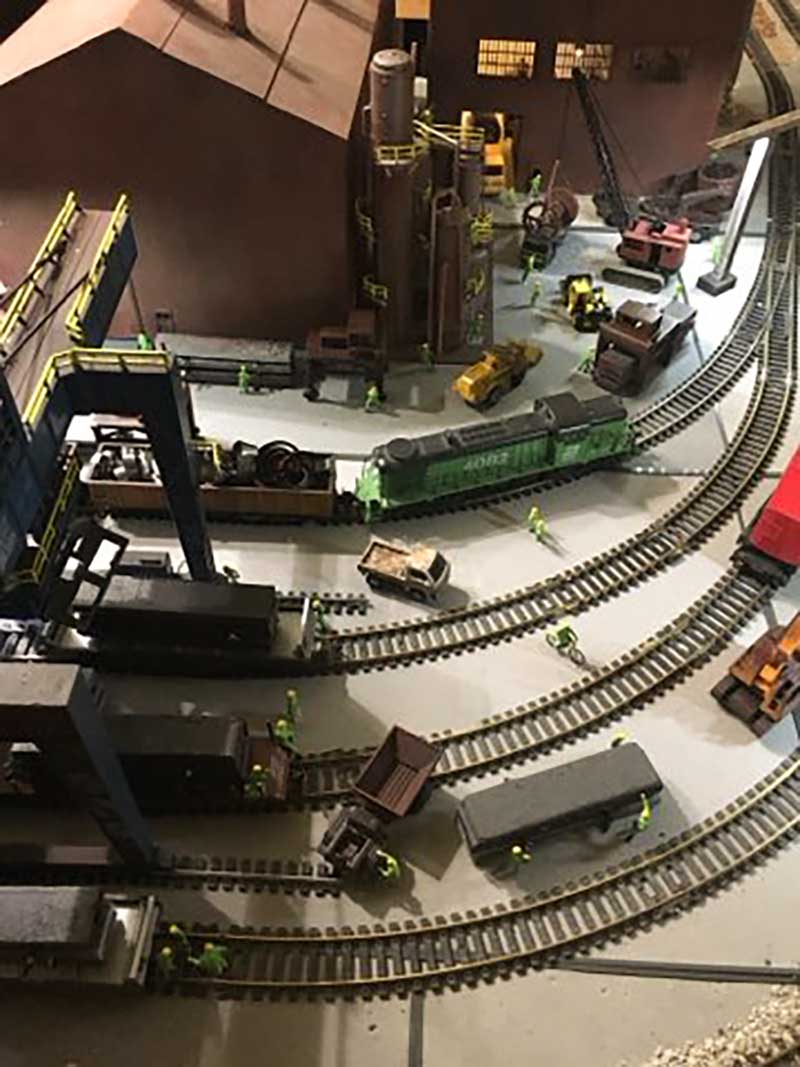
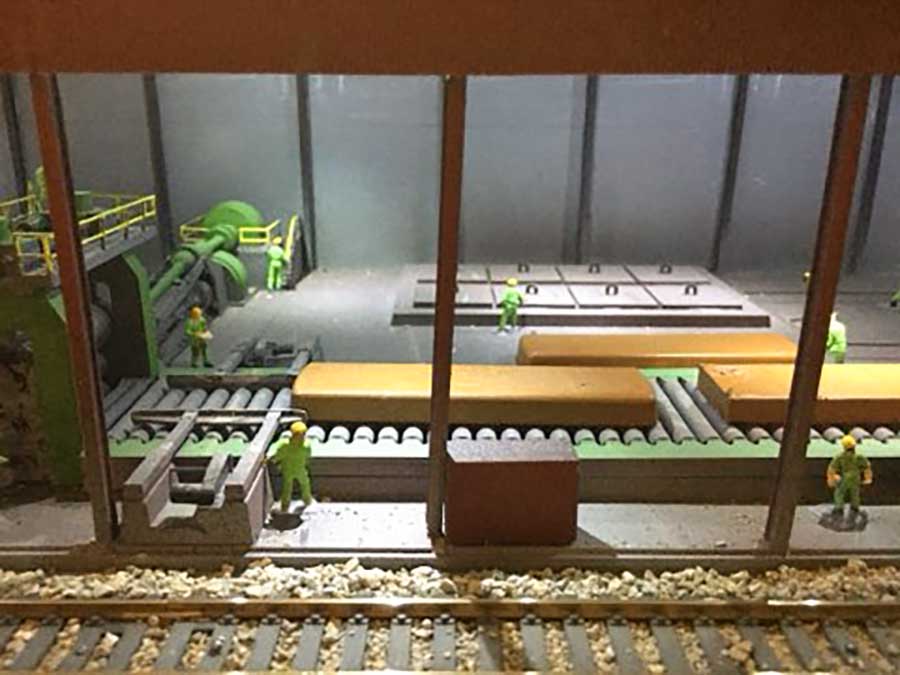
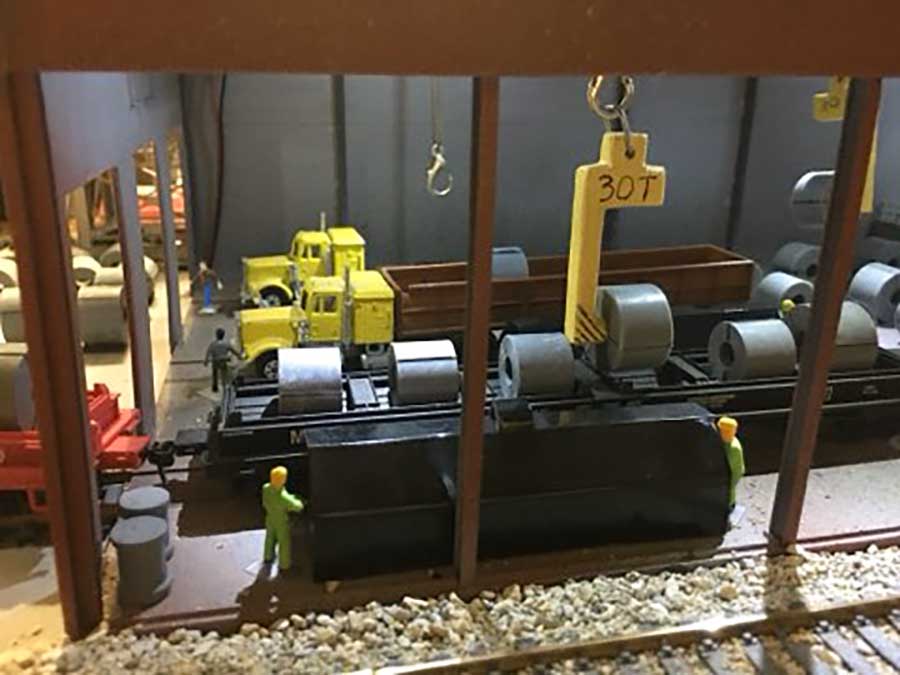
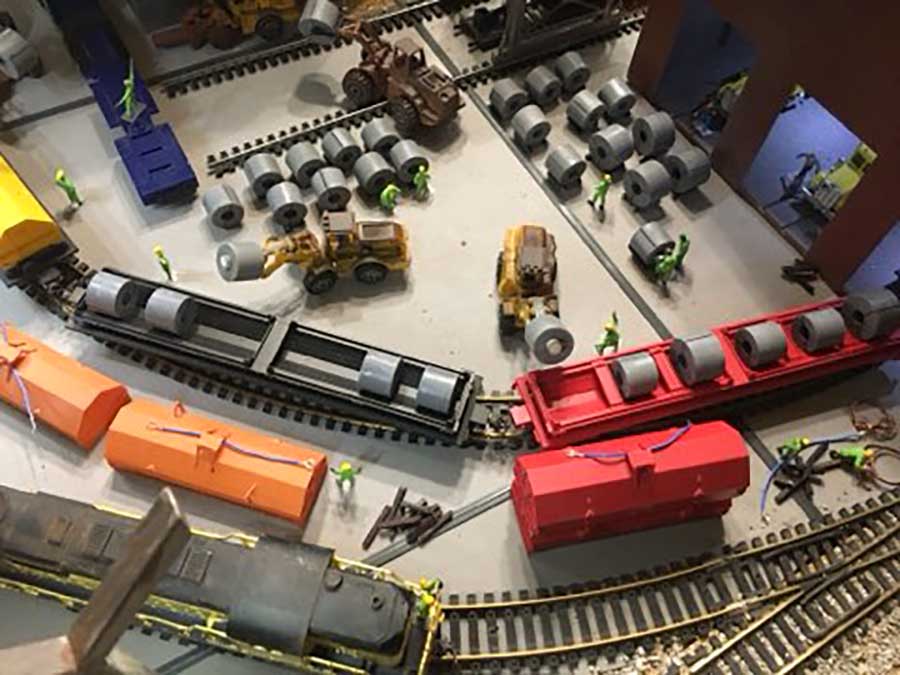
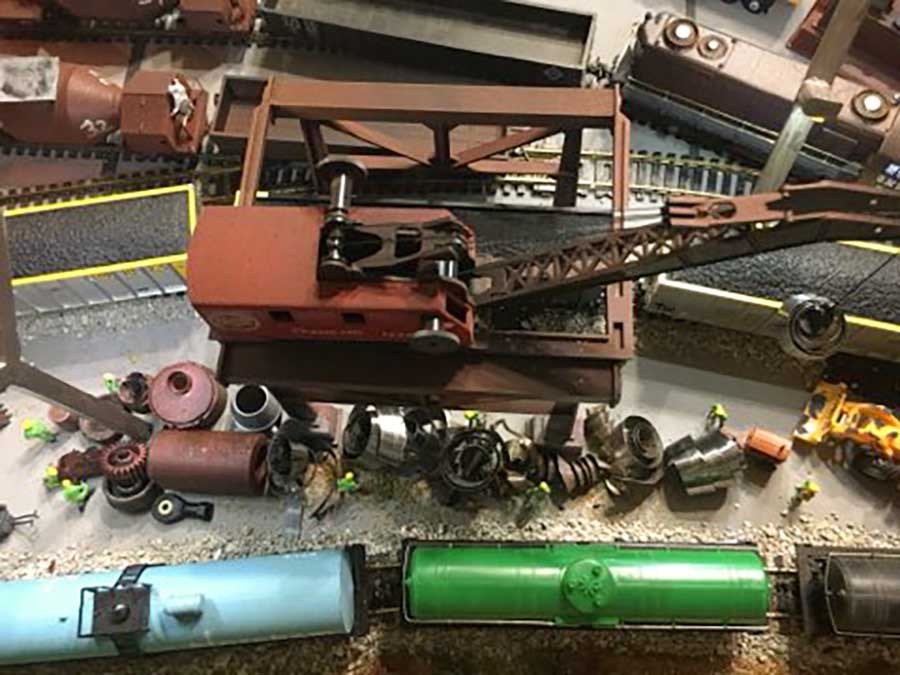
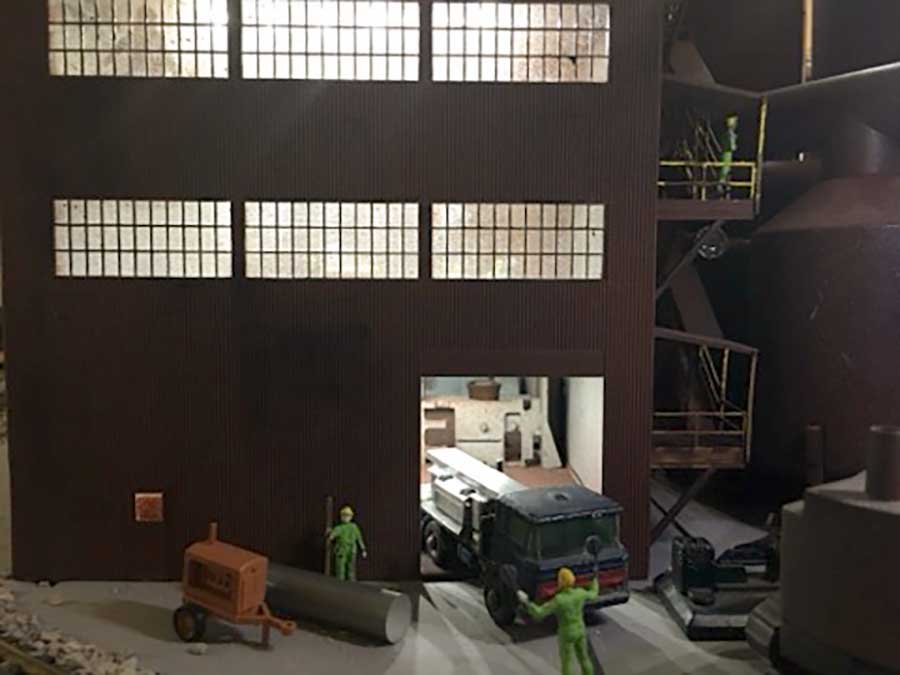
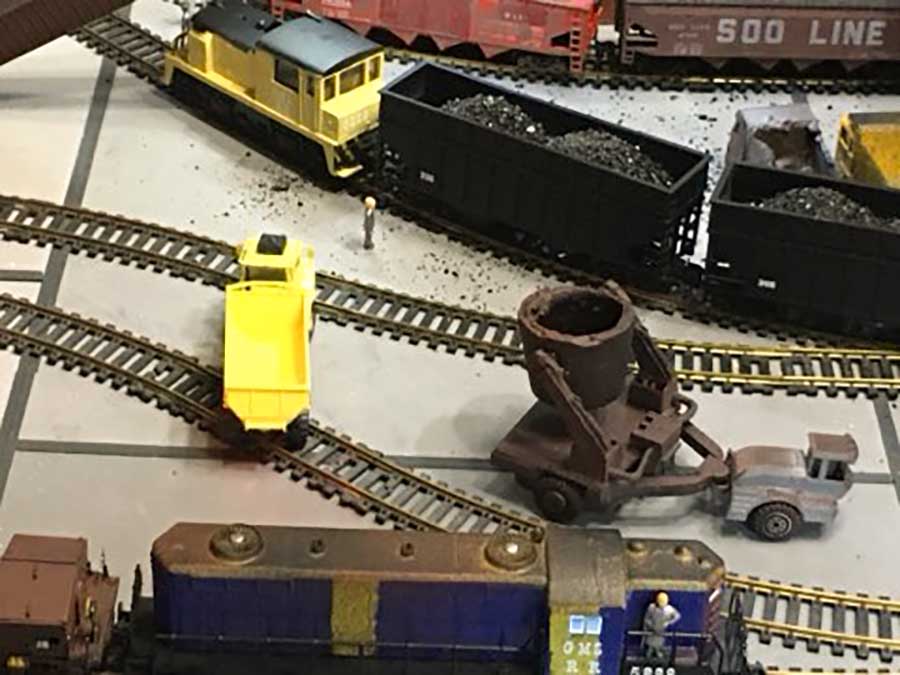
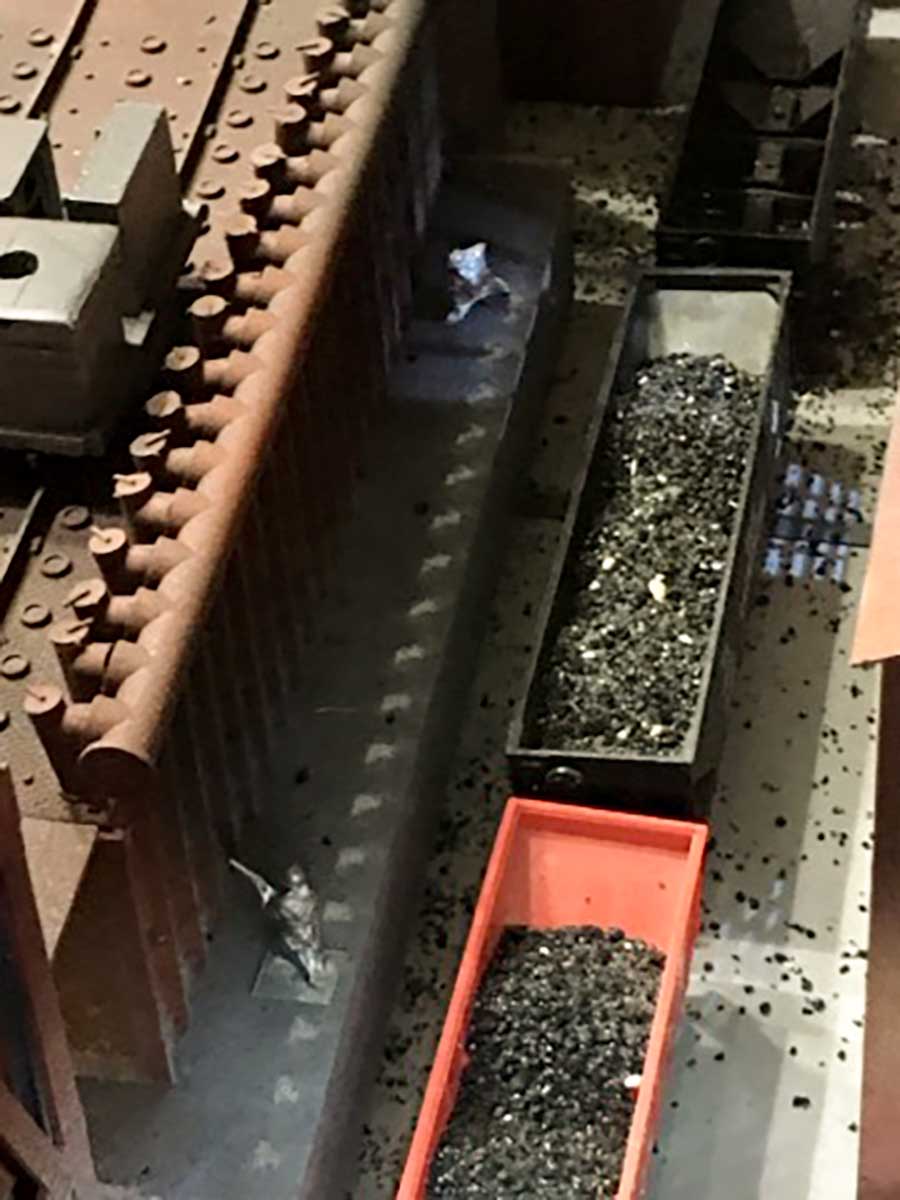
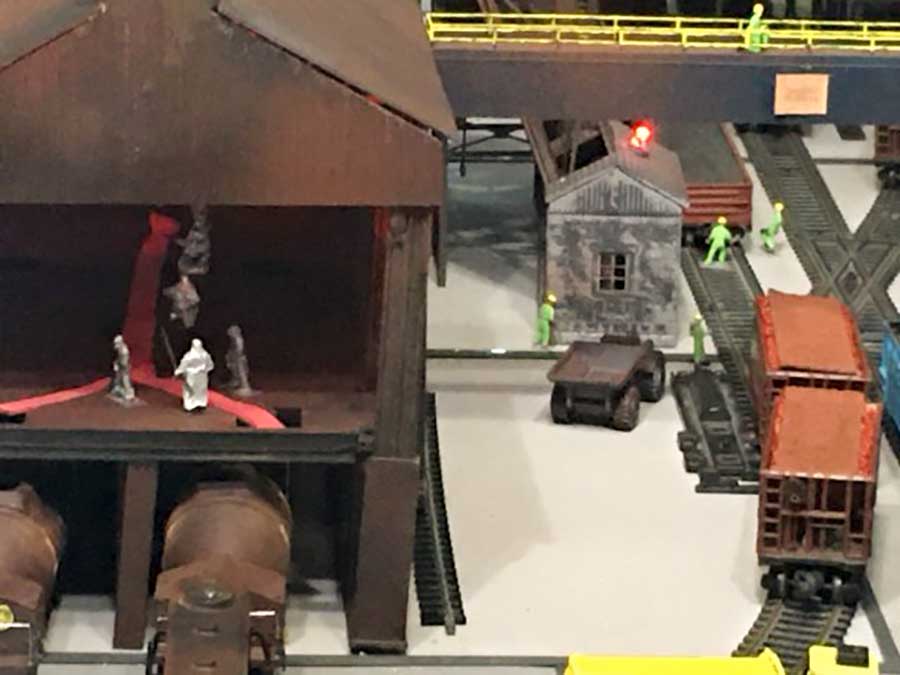
These pictures are from 2 years ago, I was able to find numerous steel buildings, blast furnace (2), rolling mill, coke ovens (4), electric furnace (2), lots of bottle cars, hot metal cars.
And even scratch built some before assembly of the kits for dimensions.
Layout is only 8ft x 11ft. would love to have a larger space, have many more buildings to use.
I learned many tricks from this site, and will continue to follow for more information.
Thank you
Don G”
HO train industries
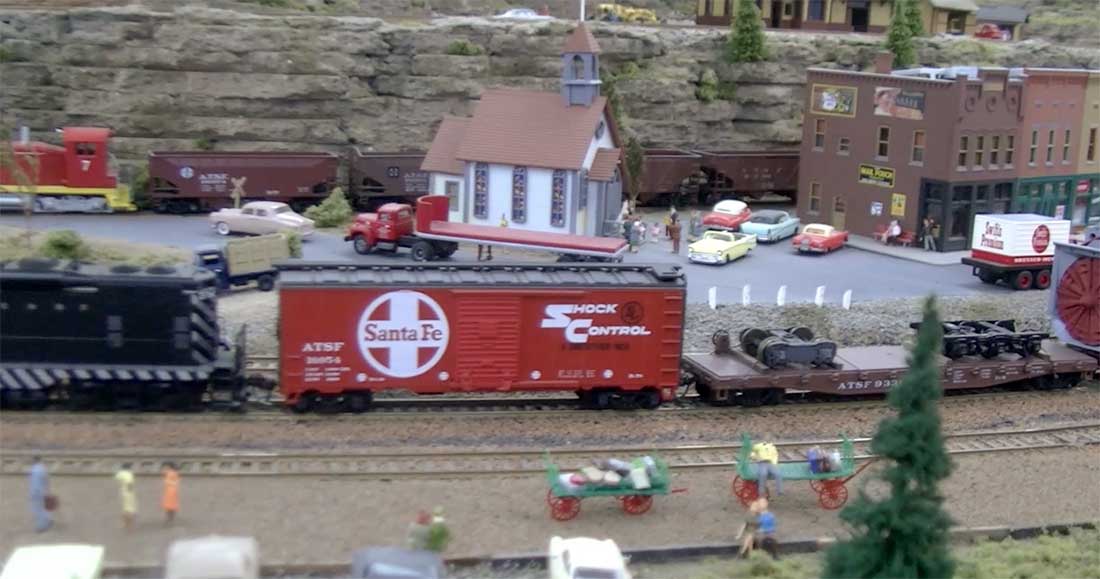
A big thanks to Don and his HO train industries. It reminded me of Carlos’s layout: HO scale industrial layout.
Now on to Jim:
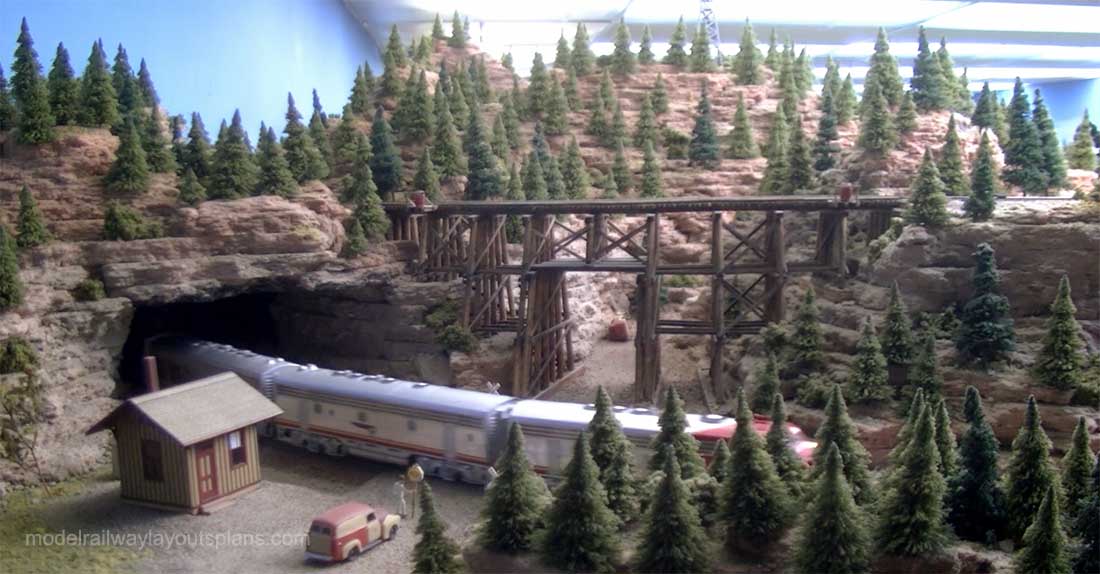
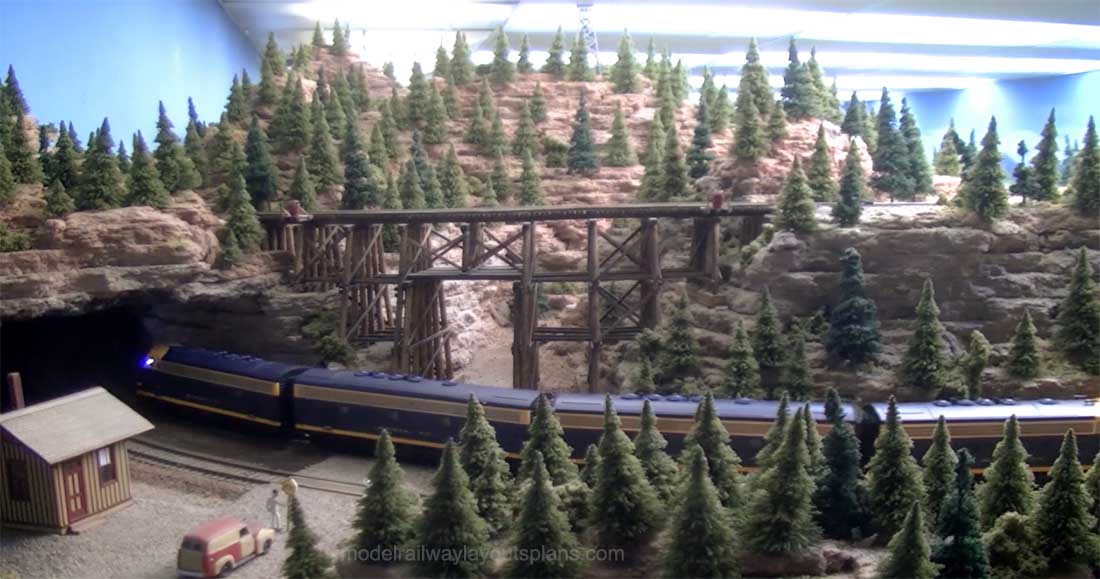
“Hi Al,
I just finished adding some new lighting and thought that I would send some nighttime pictures.
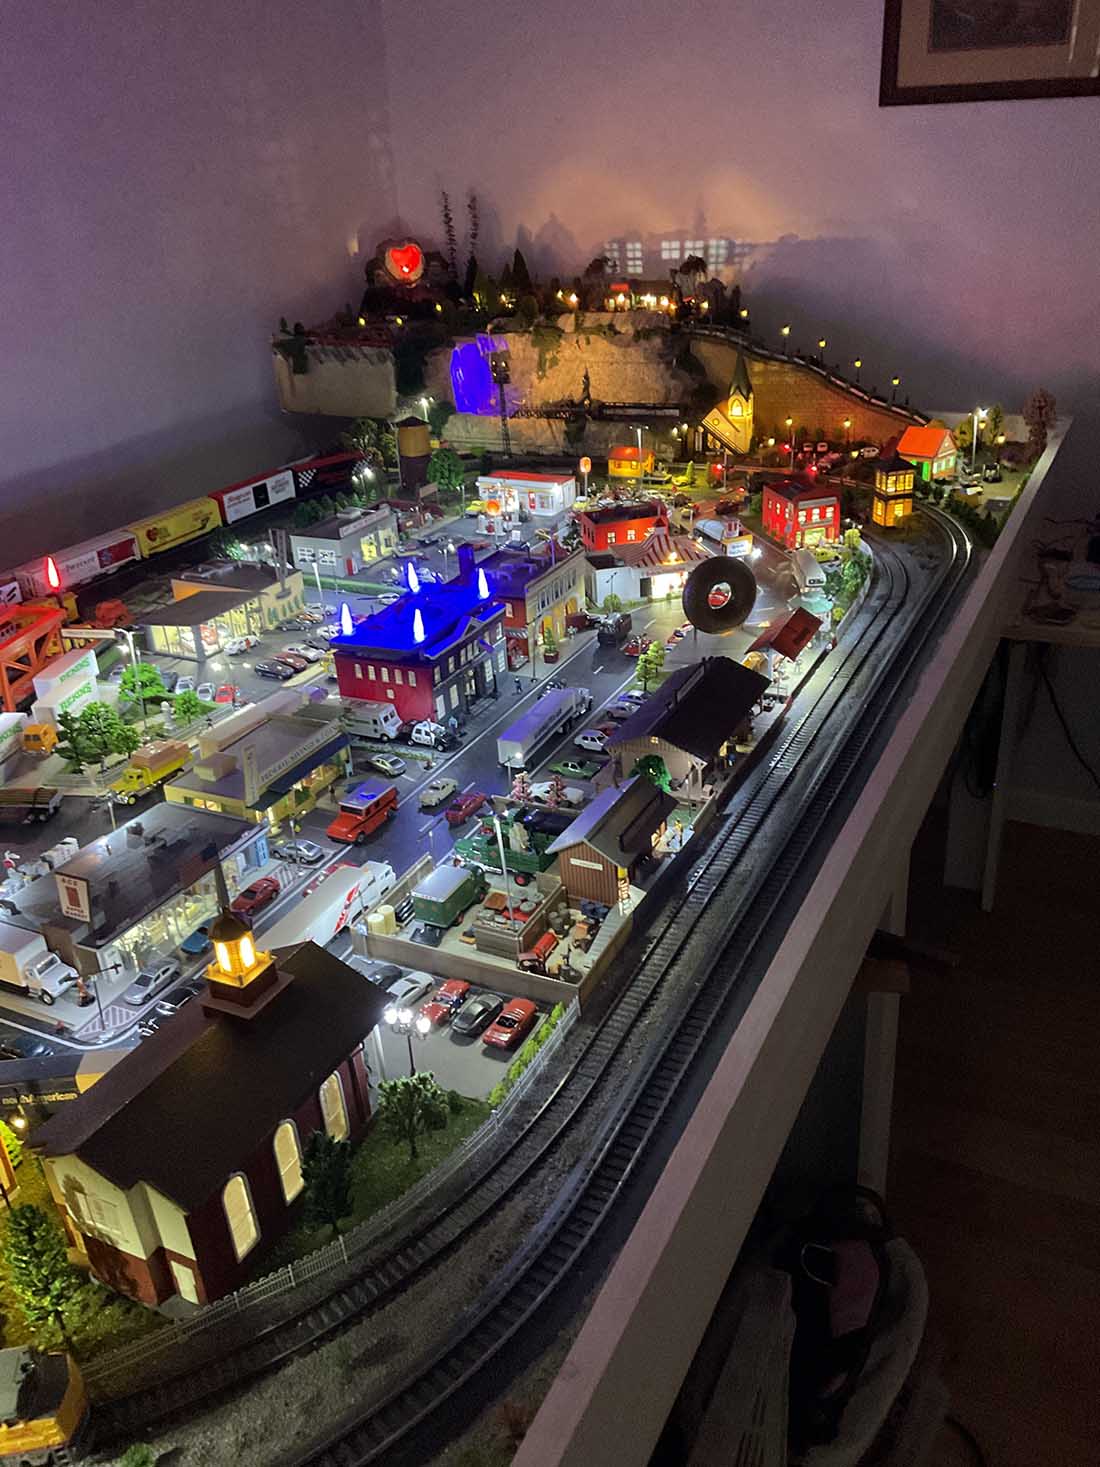
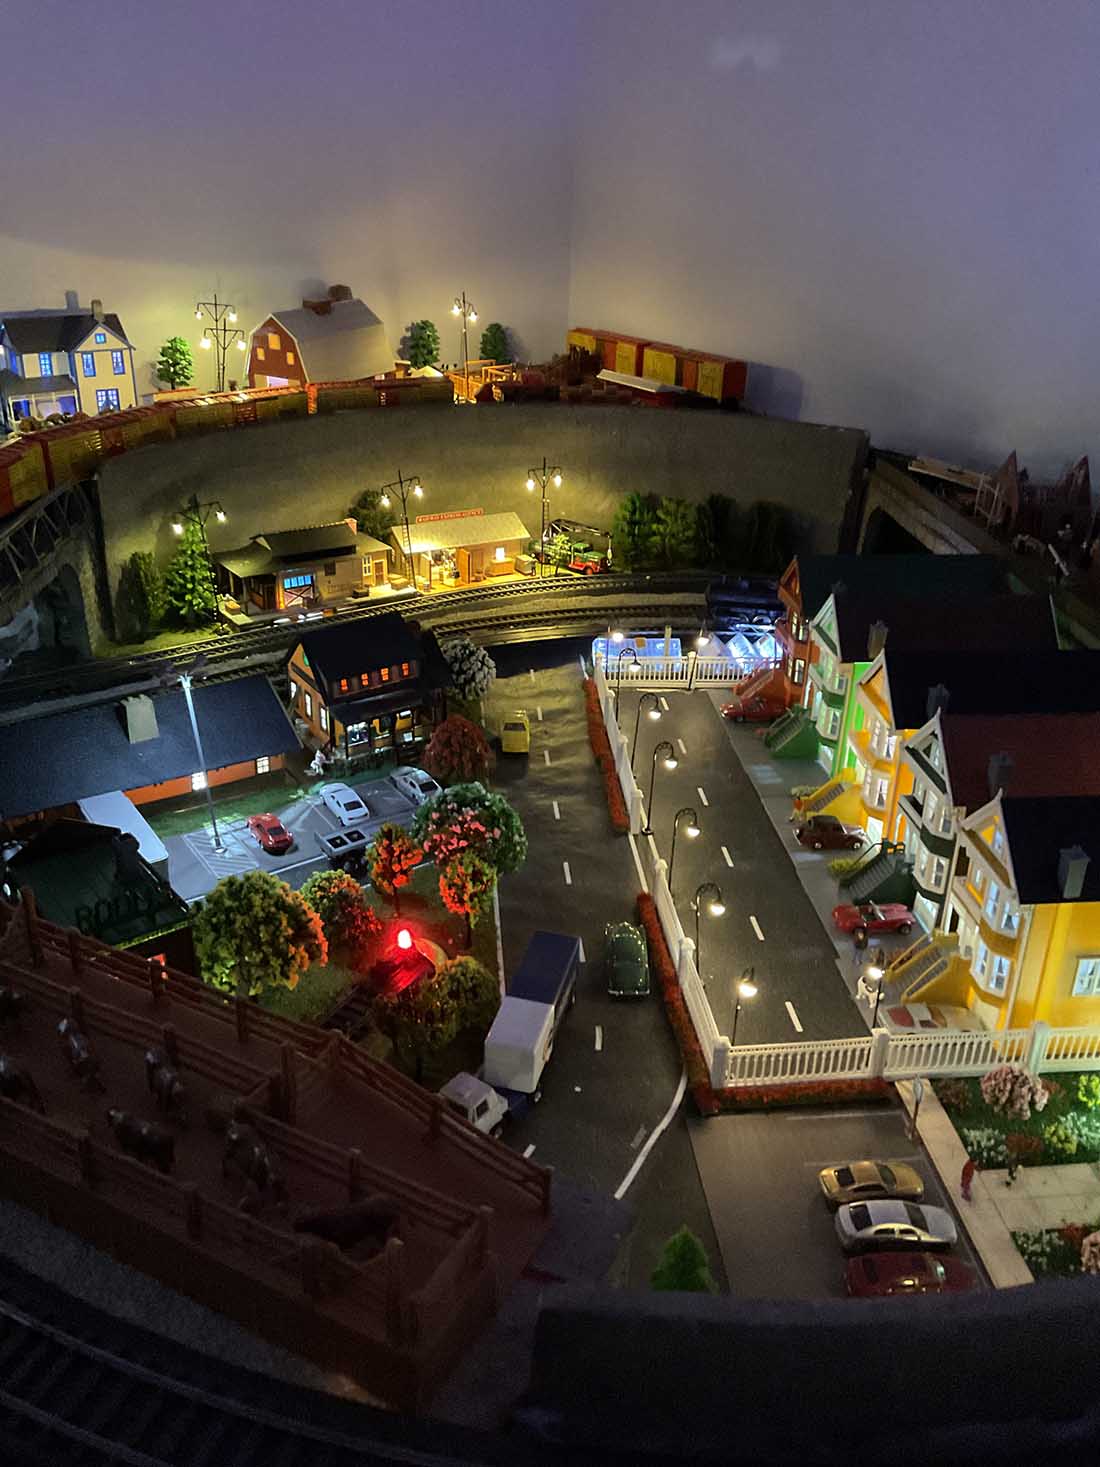
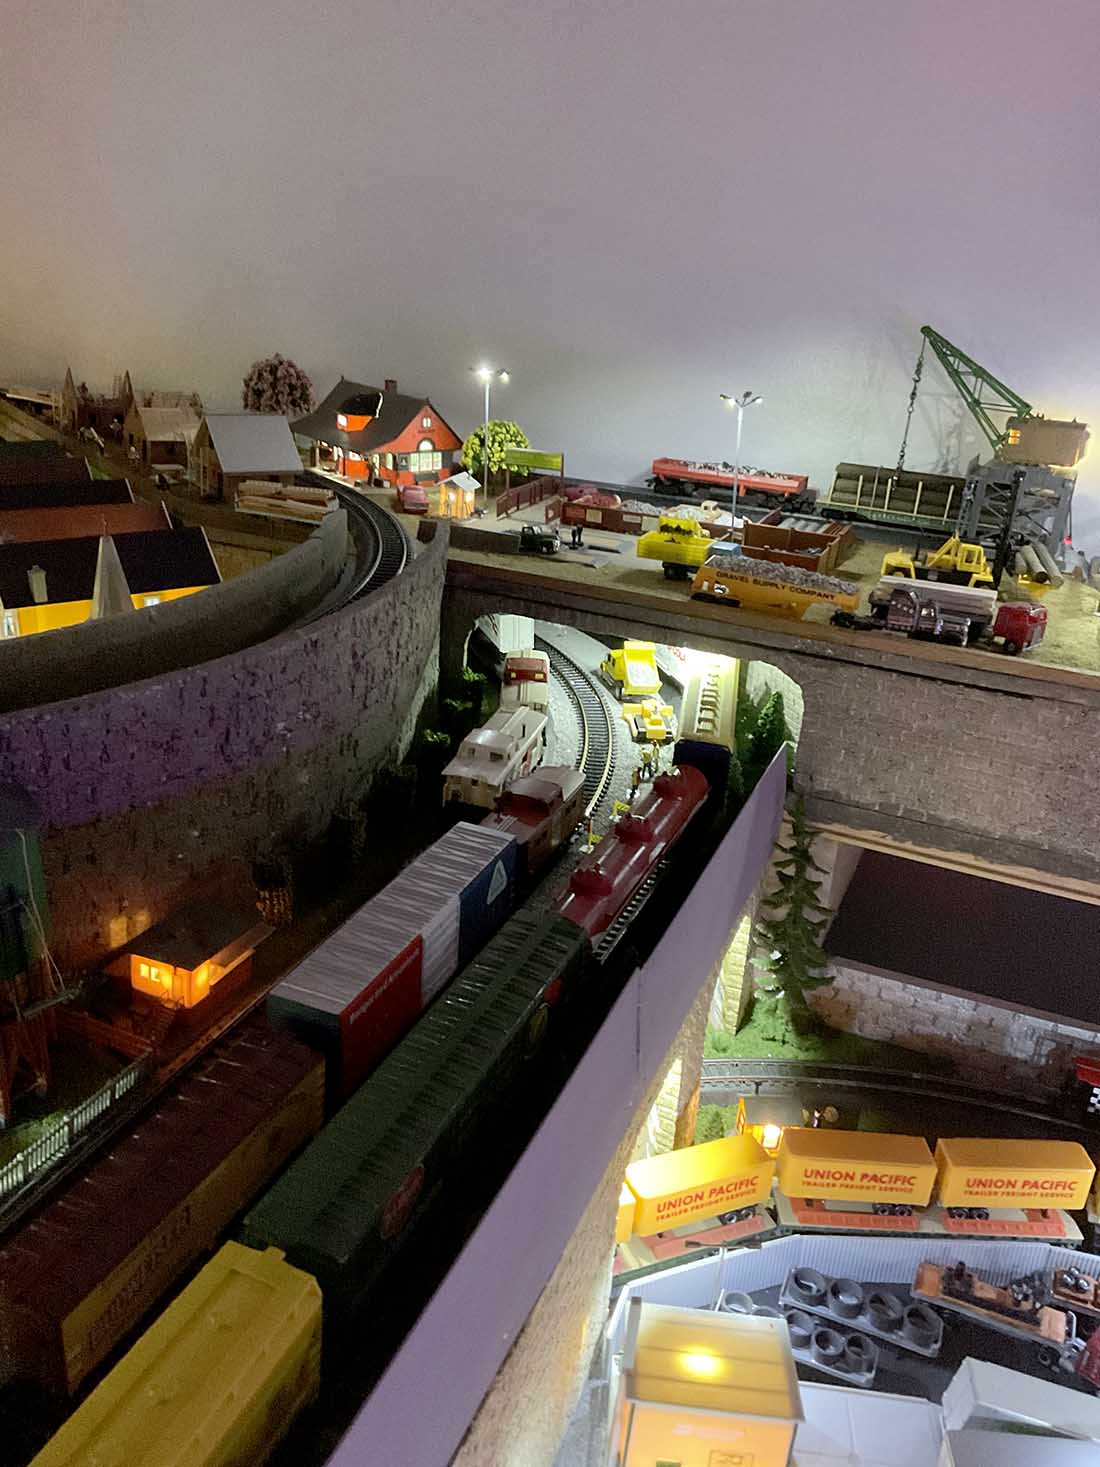
Thank You,
Jim”
(You can see Jim’s previous post at the bottom of this one: N scale diorama.)
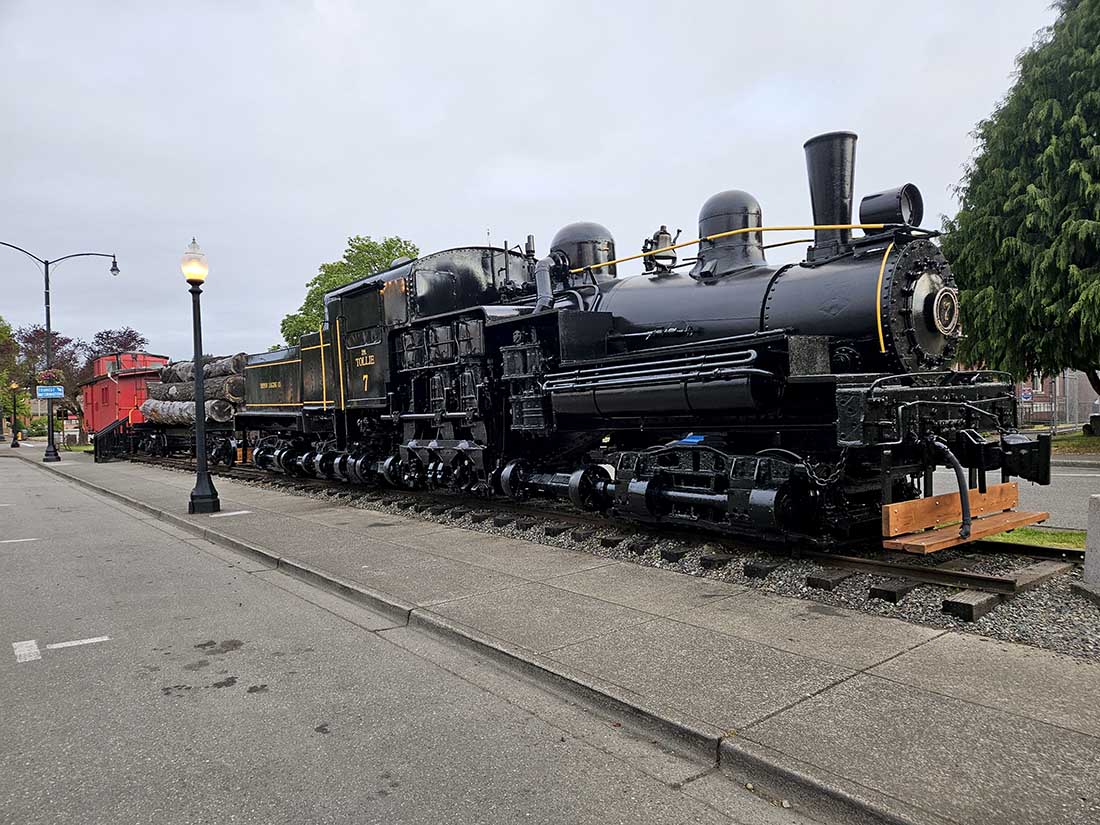
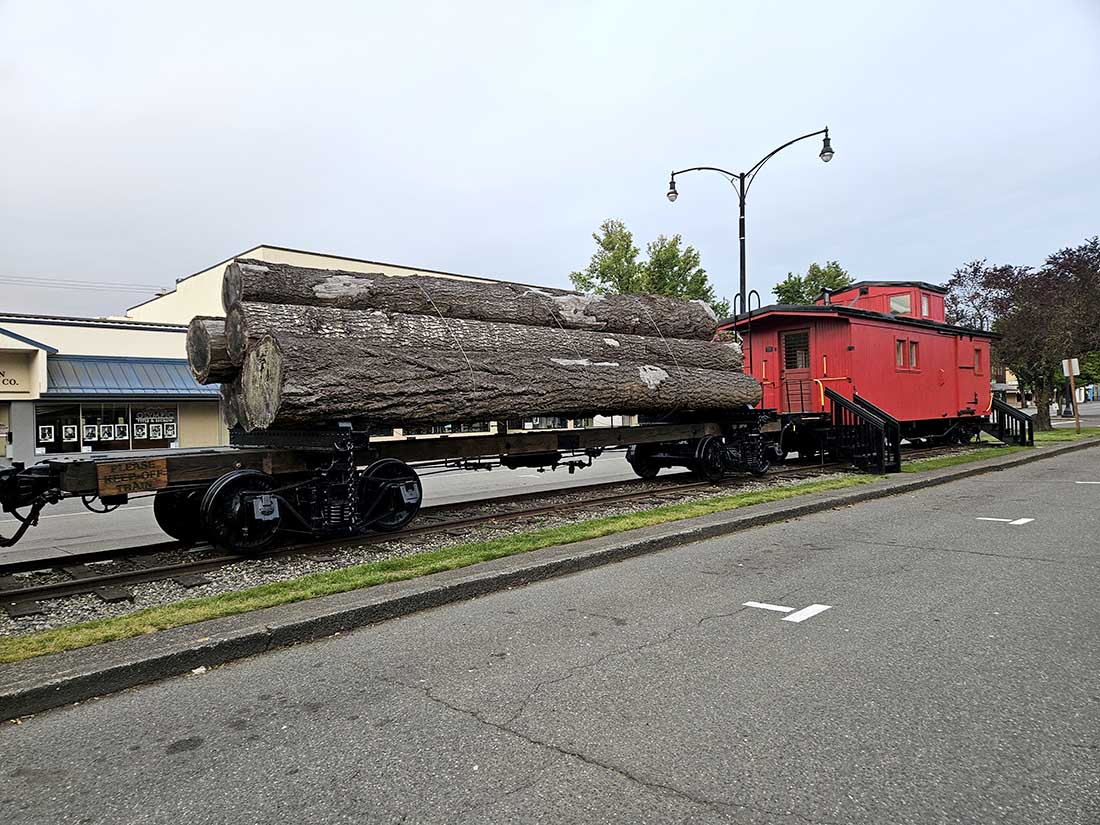
Next up, Dave. He sent this in which I found interesting:
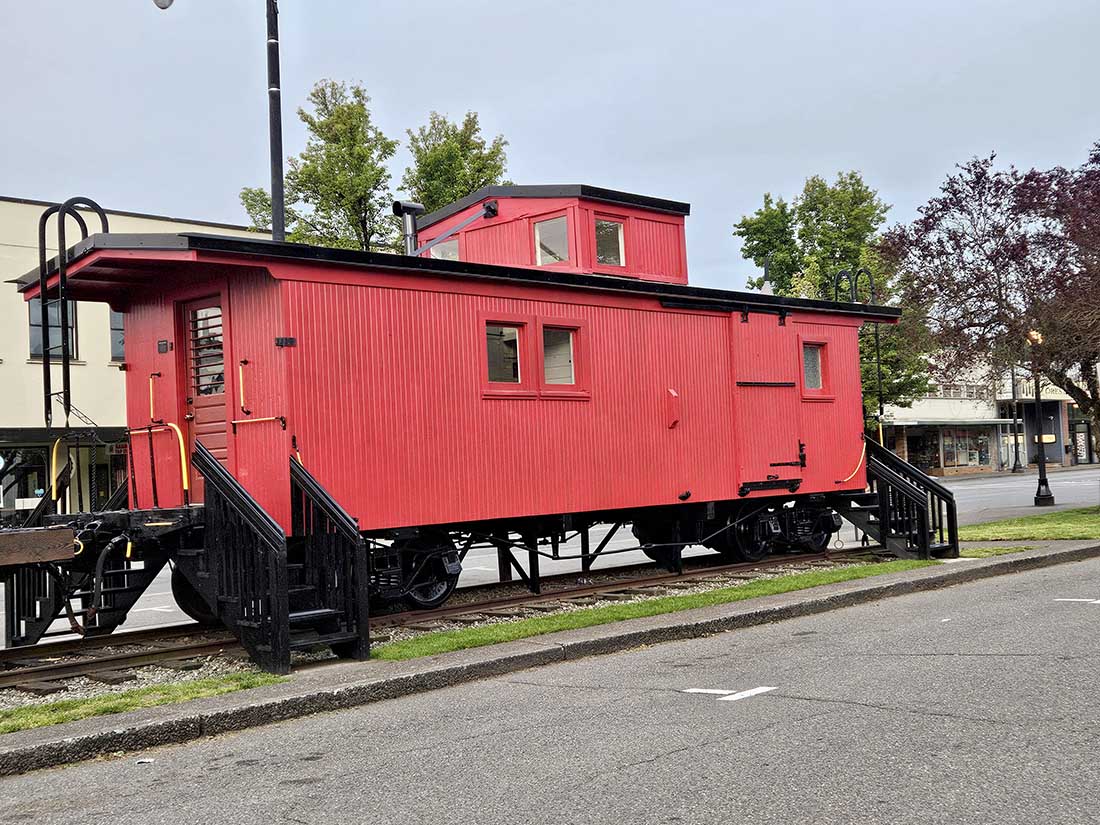
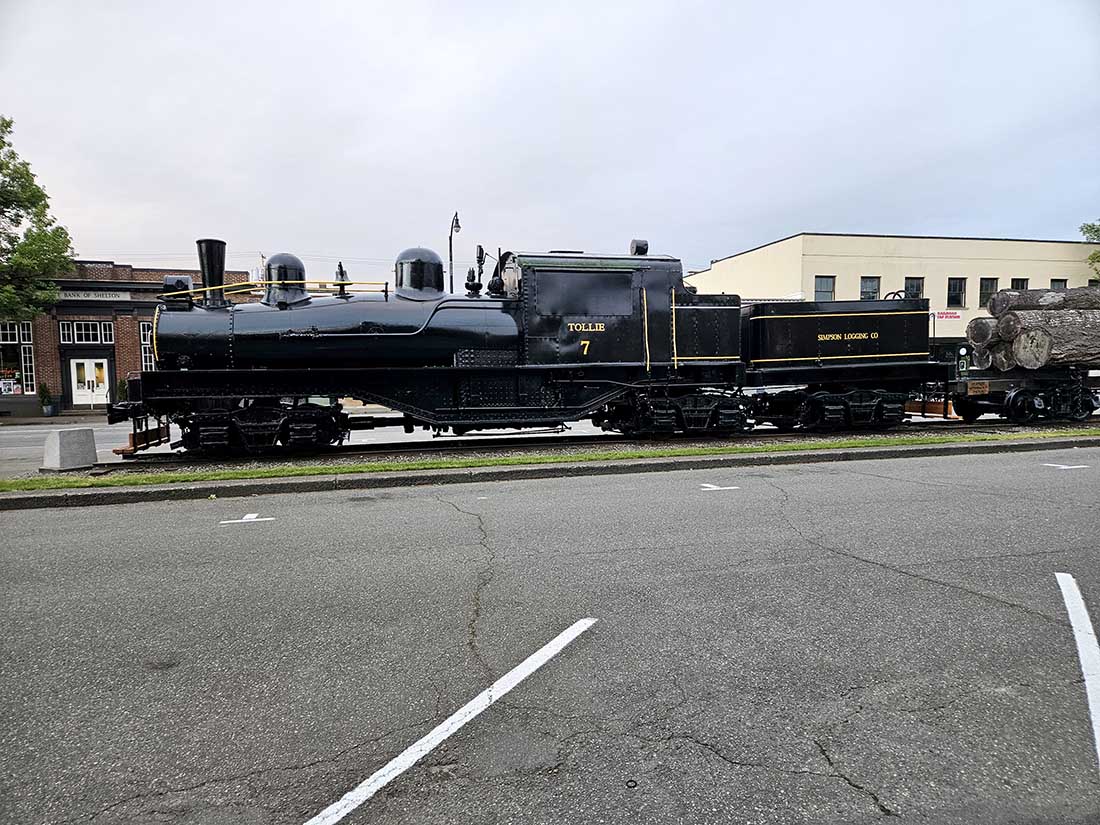
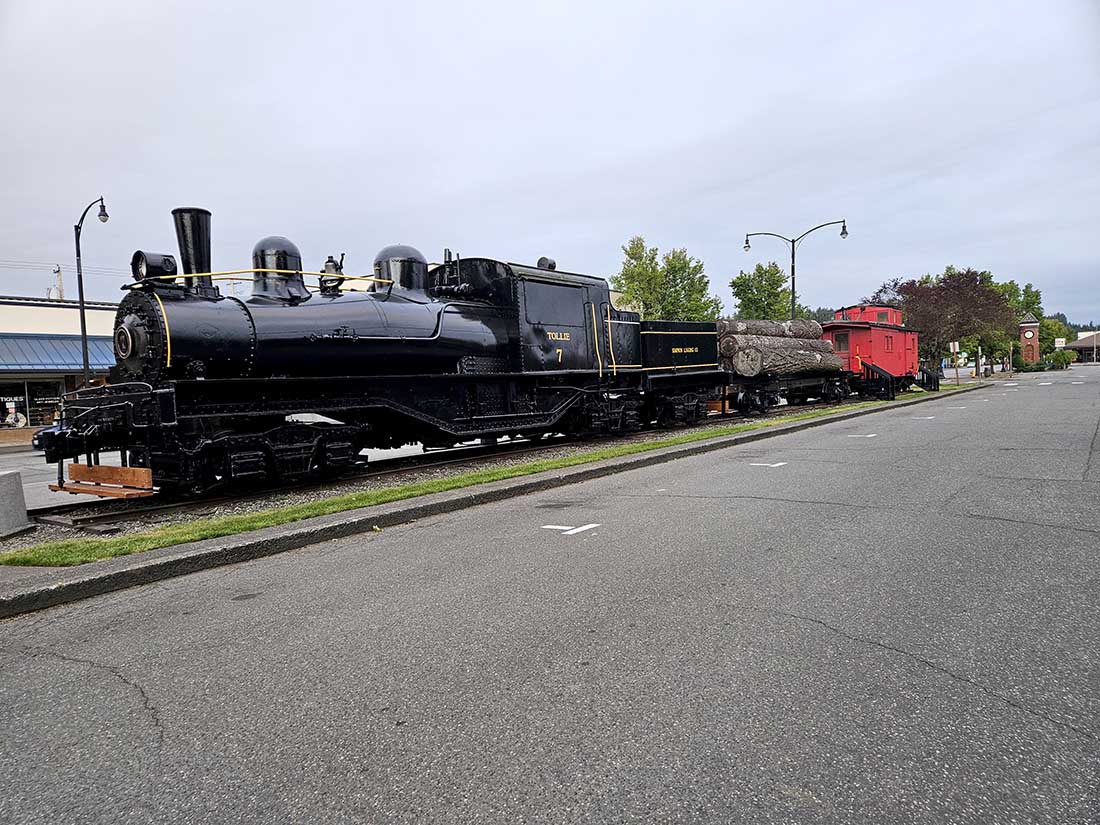
“Hi Alastair.
While not a model train, I thought you might be interested in these photos I took here in Shelton, Washington, the other Washington (lol).
This town around south Puget Sound has always been a timber town. Many mills, one of the biggest was Simpson Timber. They had their own railroad, like many timber and mining companies.
Tollie was one of their first. She, and her load of logs and caboose are permanently positioned in front of the town’s post office.
Hope you enjoy.
Dave”
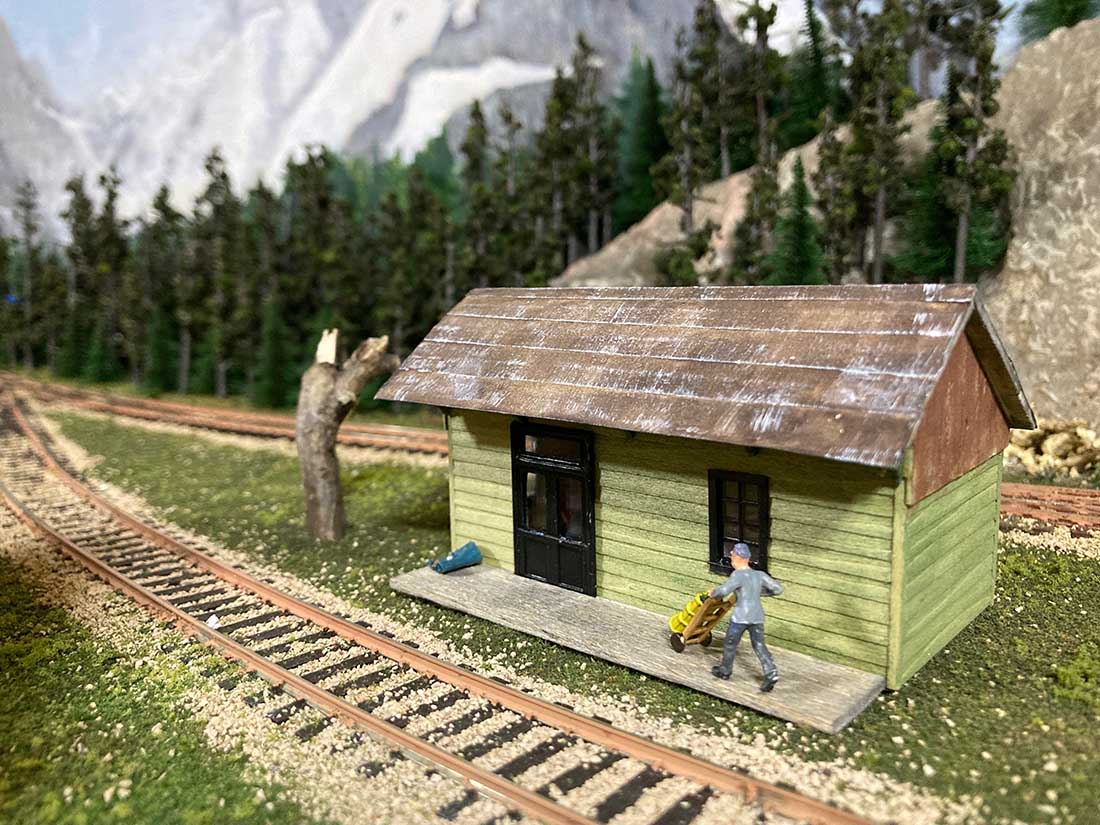
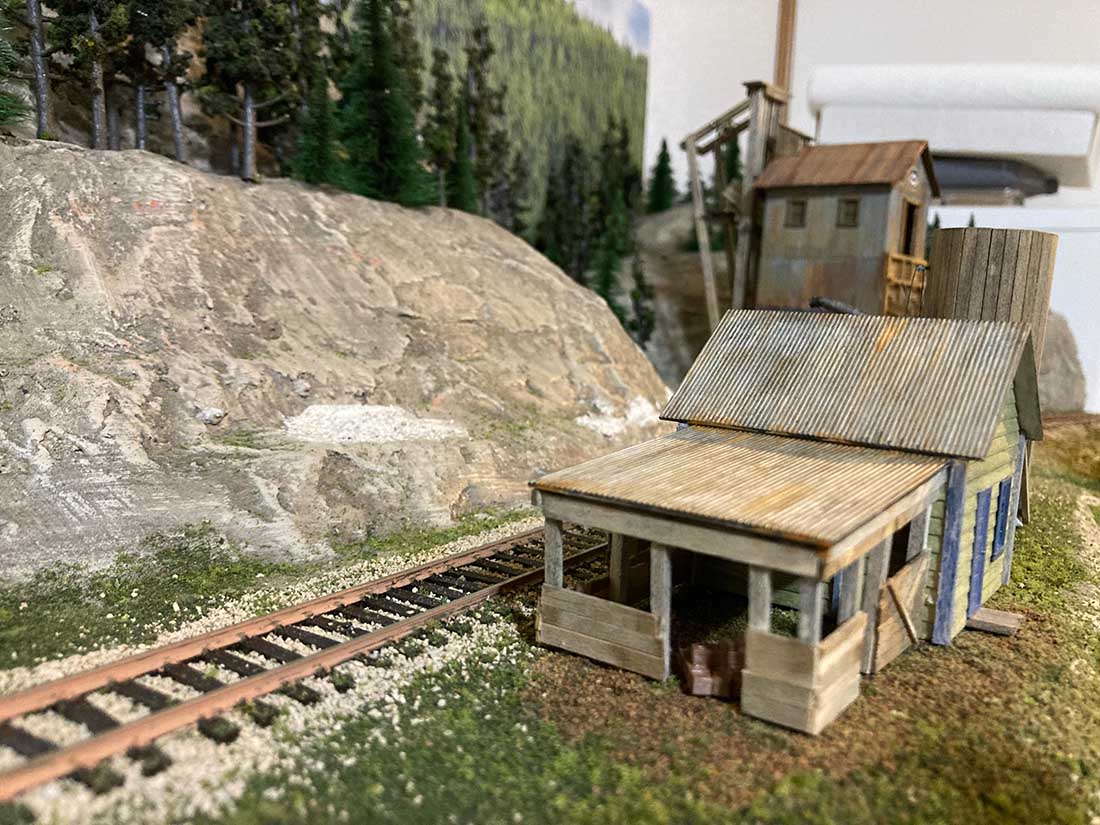
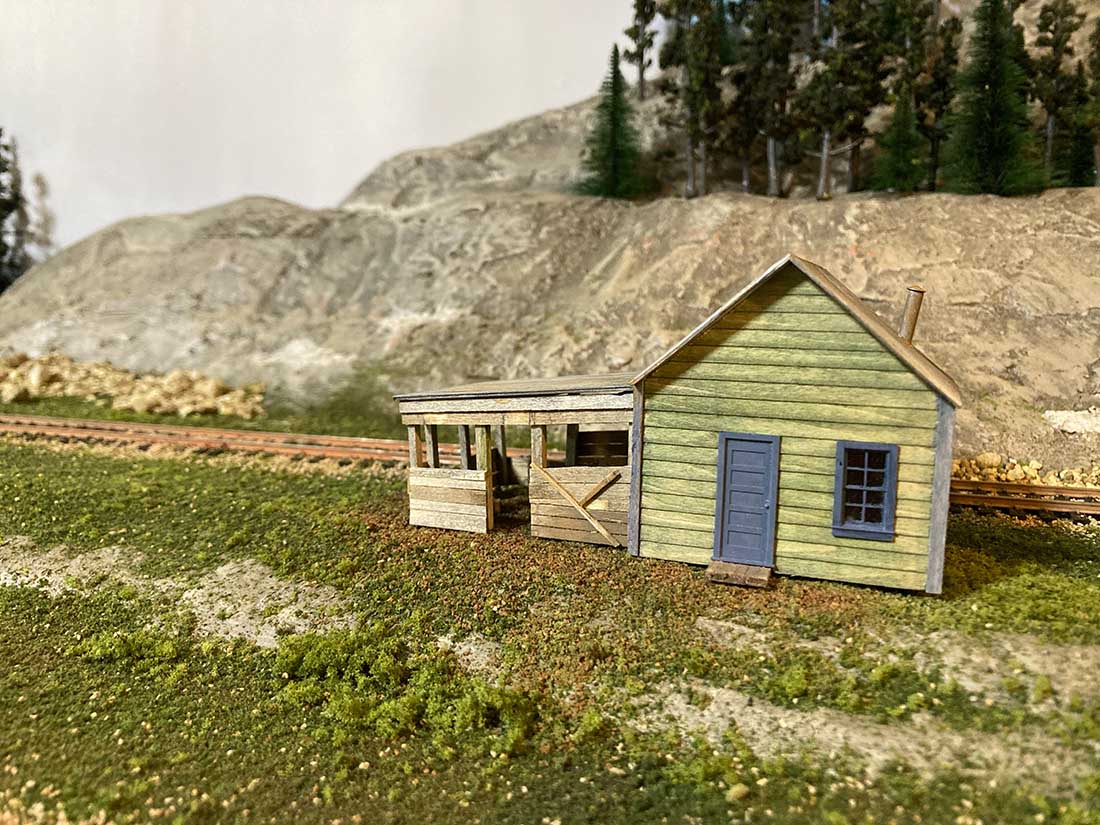
Now on to another Al:
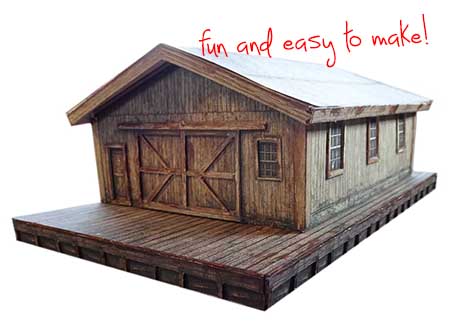
“Attached are photos of 3 of your buildings constructed with basswood.
I consider them as kitbashed as they are exact.
Perfect for the Altoma & Tide Creek.
Thanks again for all you do
Al”
(You can see more of Al’s stunning layout here: HO model train log cars.
That’s all for today folks. It’s been quite a mixed bag today: HO train industries, a bit if real steam, and a whole load of buildings.
I never know what is going to turn up in my inbox – I hope you all find it as interesting as I do.
Please do keep ’em coming.
And if today is the day you join in the fun, the Beginner’s Guide is here.
Best
Al
PS More HO scale train layouts here if that’s your thing.
Need buildings for your layout? Have a look at the Silly Discount bundle.