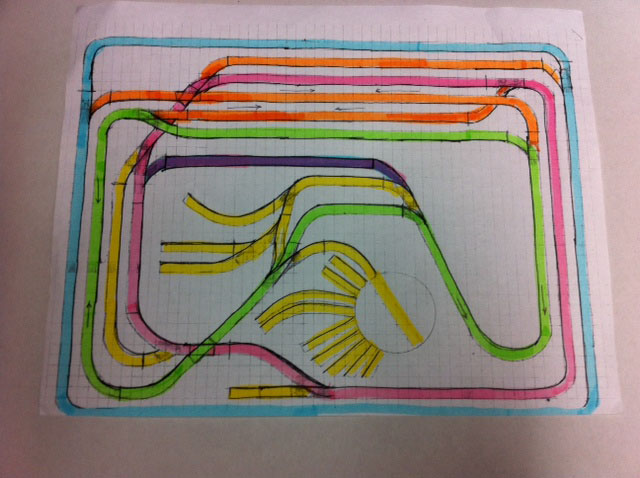
“I greatly appreciate the comments from your readers. Several had asked for the track plan. The Blue (DL&W), Red (PRR) and Green (RDG) are the three main railroad lines. There are two crossovers to be observed.
Mountains provide the cover for much of the ‘behind the scenes’ activity. The Orange sections are activated to run continuously over the three lines. The Yellow sections are sidings and a spur. The Purple section is a reversing line.
I have much wiring to make permanent to include a control box that must be disconnected when raising the layout to the ceiling.
Thank you for a great blog venue. Please know you have a positive fan base.
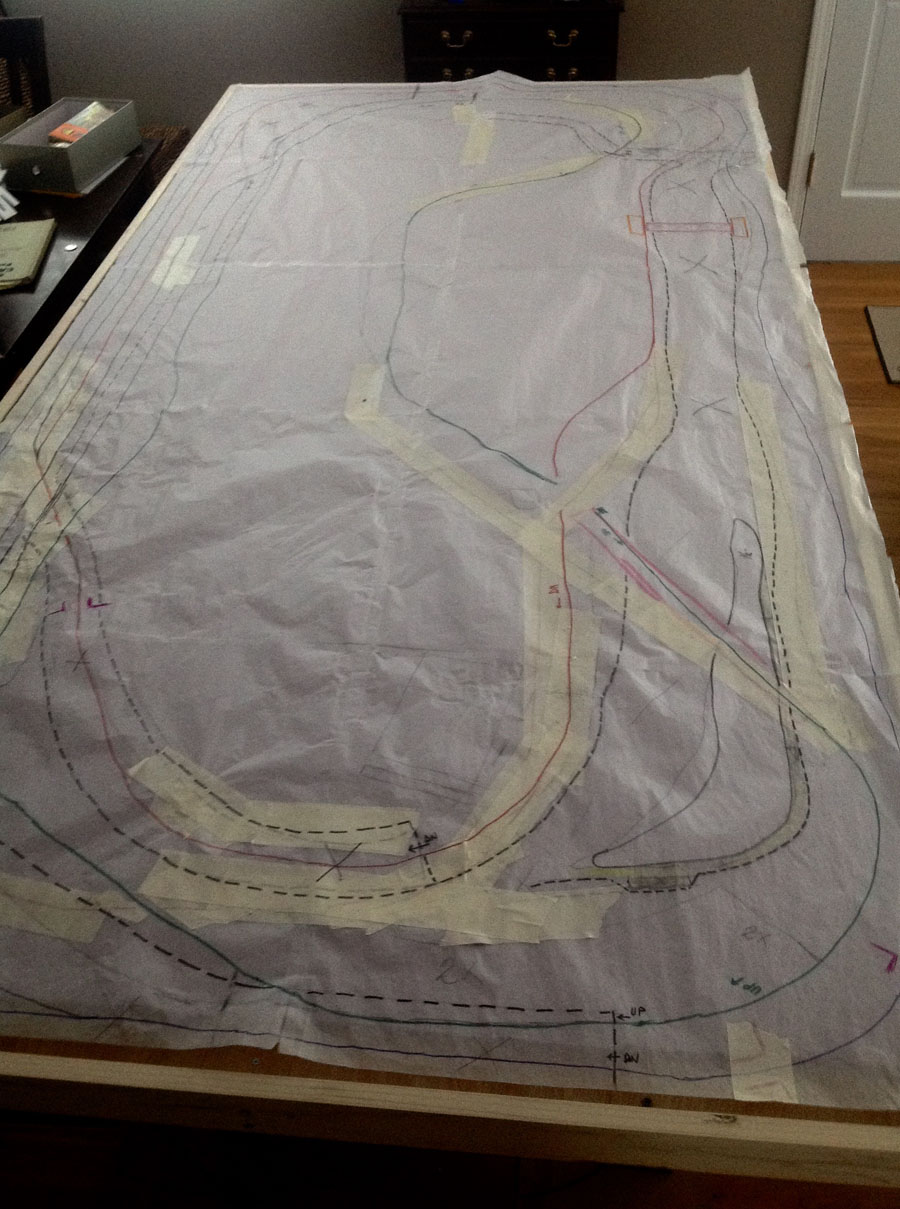
The photo below shows the 4′ X 8′ paper that I used to start the layout planning…before it was gridded for transfer to the plywood sheet underneath.
Much of the trackage shown on the left is hidden/covered by mountains running the 8′ length of the layout.
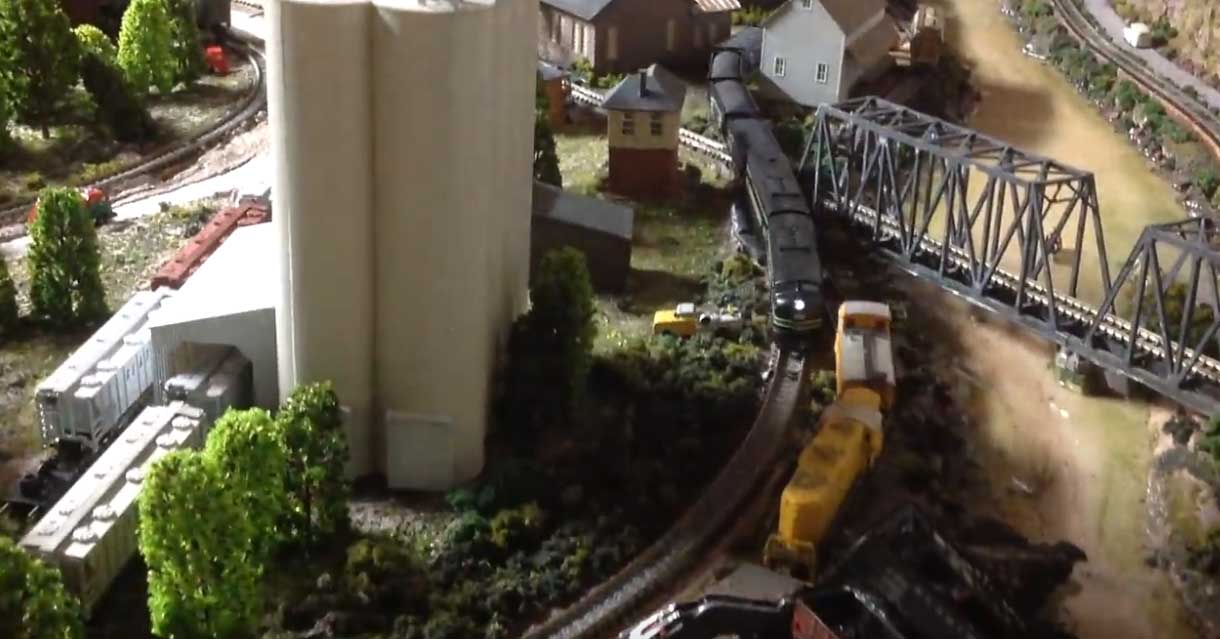
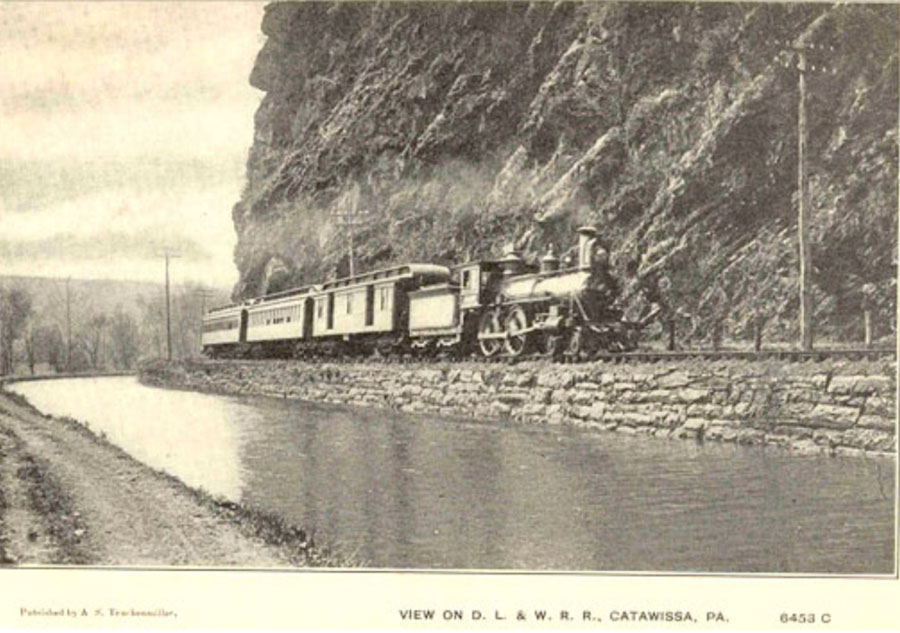
This photo shows the sheer cliff face, a segment of the old canal and between the train and rocks is the narrow road that existed. All lot of detail in a limited space. The Susquehanna River and town of Catawissa is to the left.
This shows the Walthers cement plant that replaced a small engine shed near the train wreck.
Thank you again for your site, your kits, and John’s videos…
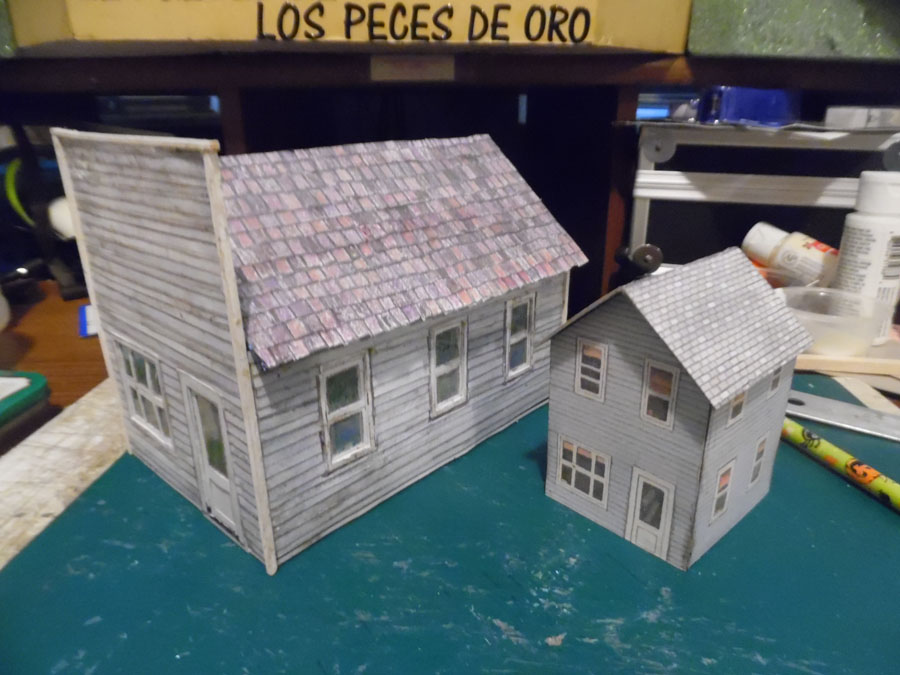
While I have built several of your kits in HO beginning with the corrugated engine house… This is my fist time “blowing one up” to O scale.
You kindly published my tribute to my father with the one I built from a 1950’s era magazine and cut out book… Thank you again for sharing that build. Now I have chosen to build the “Blue House” that comes with The Beginner’s Book…
Of course I followed every instruction to the letter when it came to building the model… And I had so much fun building it that I am thinking on using the same kit to build a few more structures and try other ideas…
It is my belief that the greatest thing about model railroading is the endless opportunity for creative expression. As a further opinion, no where is that opportunity greater than when it comes to building the scenic elements that bring a layout or diorama “to life”.
For many years modelers would “kitbash” various model kits to make structures that were uniquely their own. At the price of plastic, that form of modeling has become a very dear proposition. Worse, many structures that were once available as kits are now only available in fully assembled form — glued together with some industrial strength solvent that makes disassembly all but impossible. Very frustrating.
On your side of the pond, paper models seem to always have been an available and popular option. Here in America, paper fell out of favor in the early 1970’s. That said, it seems that “everything old is new again” and modeling with paper is becoming a popular option again. Part of this return has been due to some amazing work by a few very talented modelers. Another factor is the growing availability of inexpensive models now available a cheap downloads that can be repeatedly printed out and can be easily modified to give the builder their own personal touch to the structure.
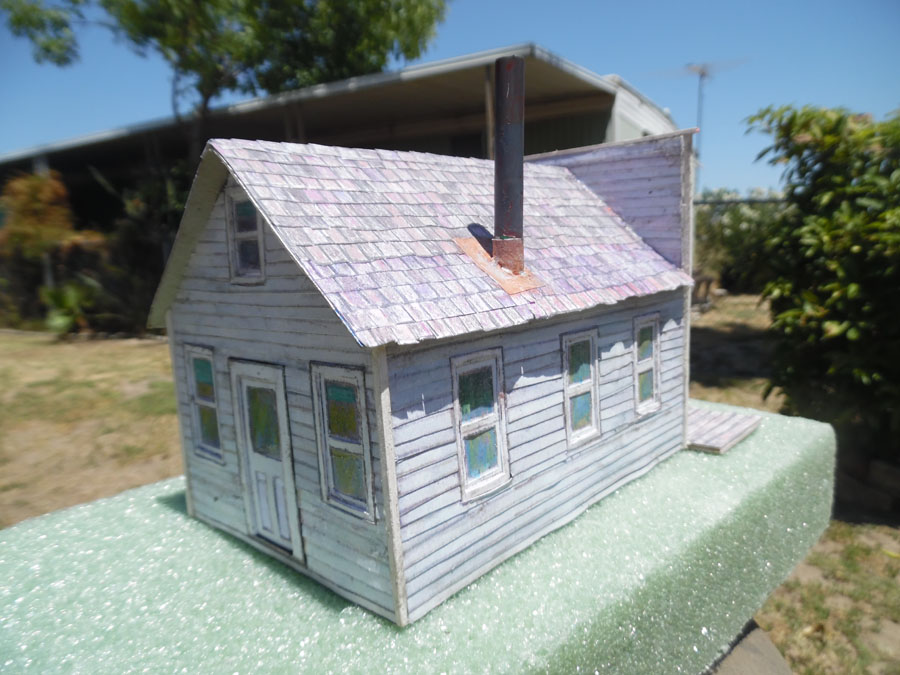
About one week ago I mentioned to you that I was going to build “The Blue House” and expand it to O scale… I gave you some other hints about what I had in mind to do with the model. At that time you asked me to send photos of the completed structure.
Those photos are attached BUT I want to let you know some of the “extras” that I added:
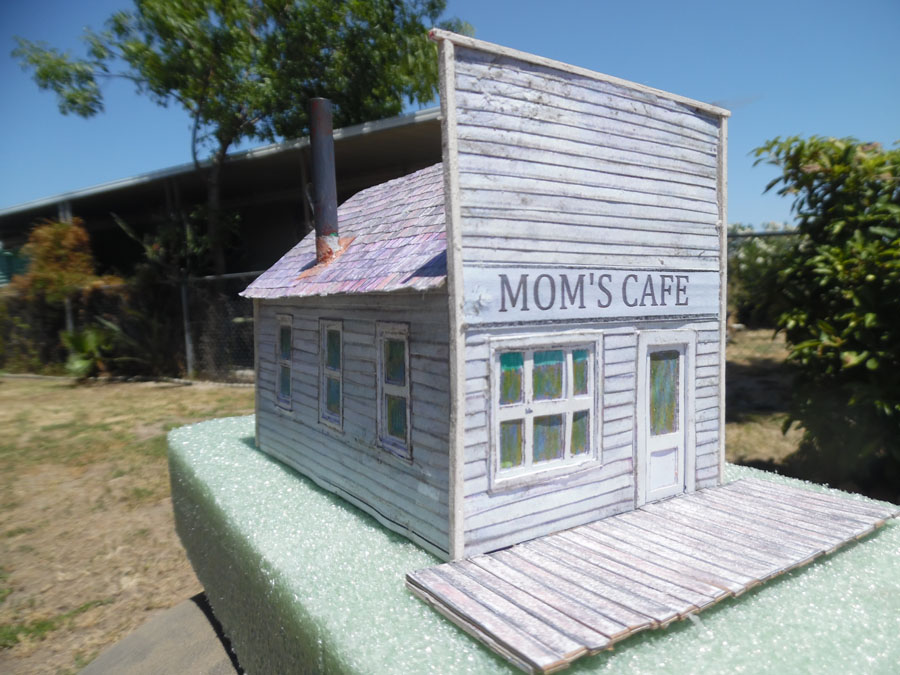
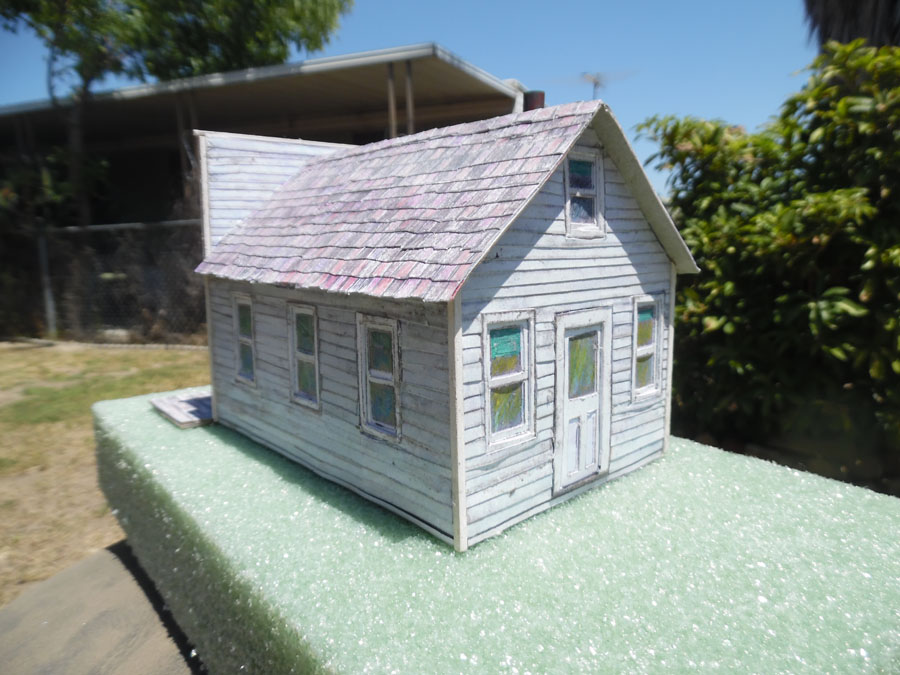
1: On my previous builds I noticed the windows looked a little flat and dull. To add life I began to look at real structures around me and focus on the windows. What I noticed is that windows have a little reflectivity to them. The windows reflect even when there is a curtain and even if what is behind the window is as dark as a coal mine at midnight! I found I could replicate this with the use of clear “Transparent Tape”
2. As I was building my tribute model to my father, I developed a sheet for modeling a “boardwalk style” sidewalk and a shingle roof. These sheets came in hand on my “Blue House” build to give the building a distinctive look more suited to the “western” area I hope to depict when I use these structures on a layout module or home layout soon.
3. The “chimney” for the stove is a bit of painted soda straw finished at the base with a bit of a print from your #1 Brick Enginehouse.
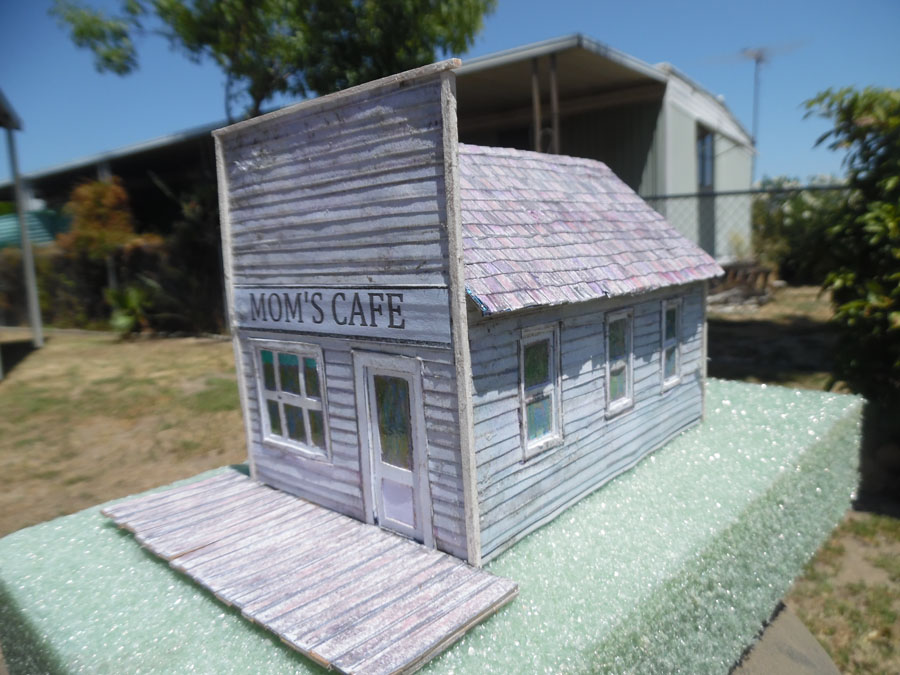
4. The sign “Mom’s Cafe” was printed on blue cardstock and then copied twice to fade it… My printer is not color true so it tends to fade things as it prints them and copies them. You “Blue House”: is a very solid blue but the first print I made was significantly faded. When I expanded the HO print to O Scale, it faded to a light bluish grey (Dorian Grey?). I used this discovery when I went to make my sign.
I hope you enjoy this interpretation of “The Blue House”… Even if you have to look hard to see the original structure that made my building possible (Check the windows and doors). My next interpretation of this same structure may be even more radically interpreted…)
Sincerely,
John
Chatsworth, California, USA”
(All images are clickable)
A huge thank you to John – it does always make me smile when I see the prints on a layout. Here’s a quick vid of what you can do with them:
Thank for publishing my last submission to you, I had a lot of nice comments from around the world.
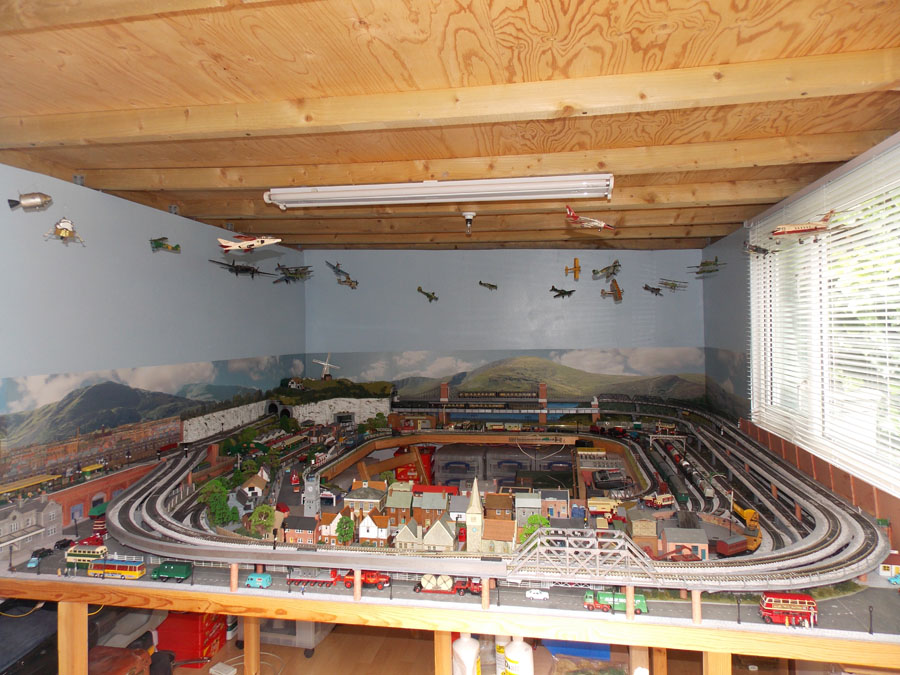
I gained a lot of useful ideas from your contributors whilst building my layout. Here are a couple of tips from me.
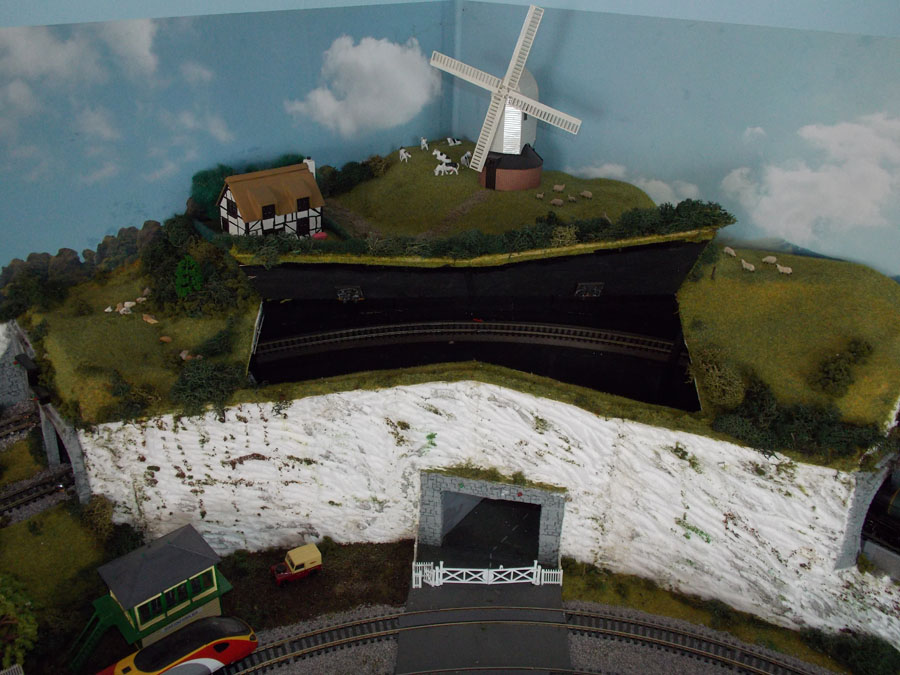
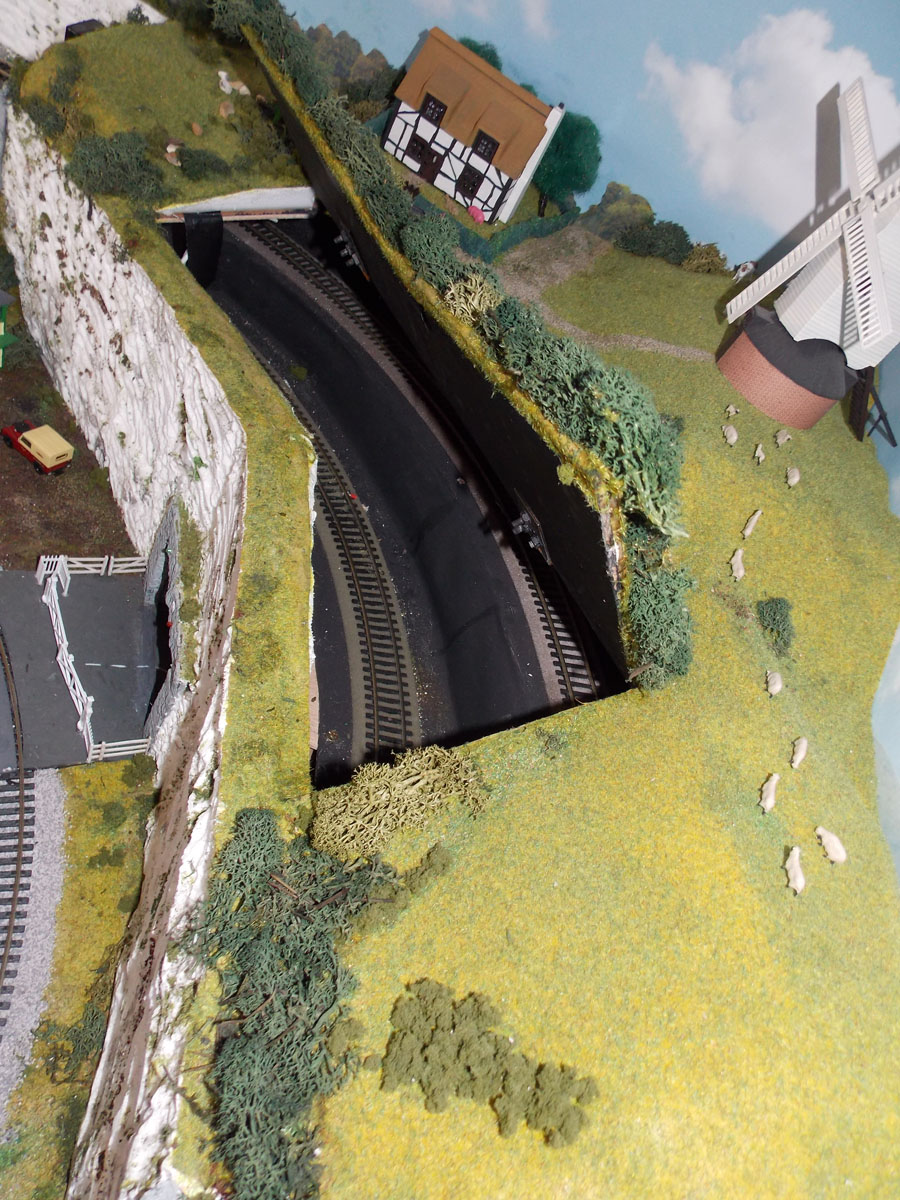
I have a colleague who started his layout before me. He built a tunnel. Then he had a derailment in the tunnel and had to knock it down to get to the trains. So learned from his bad fortune and realised that you must have access to all tracks, wherever they are. So I incorporated a hinged flap into my tunnel allowing access. Saves a lot of future problems.
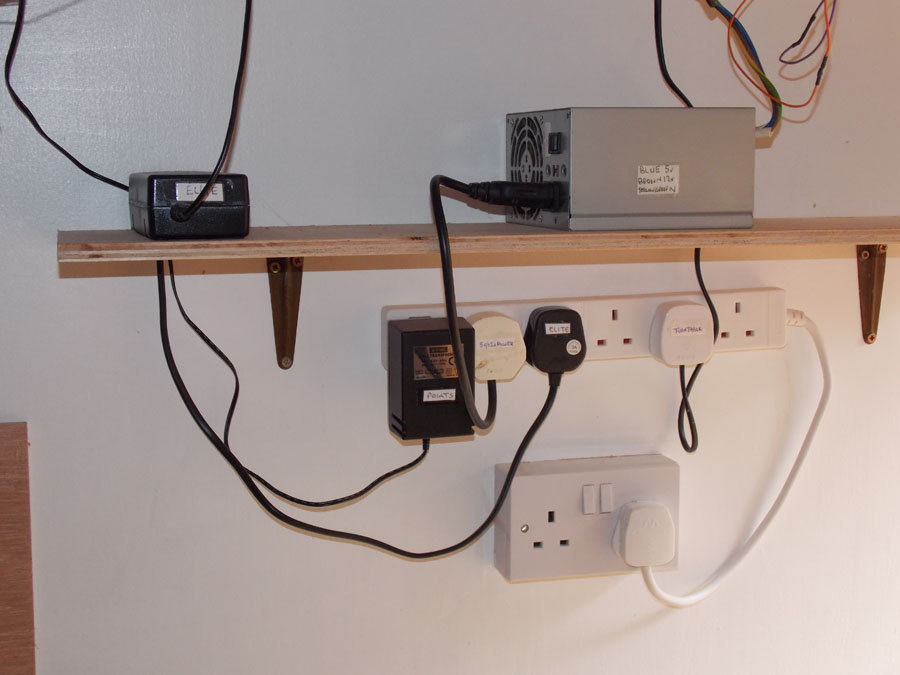
I saw that one of your contributors suggested using computer power supply for model railway lighting etc. this is exactly what I did. I can confirm that it is an excellent idea and gives plenty of power.
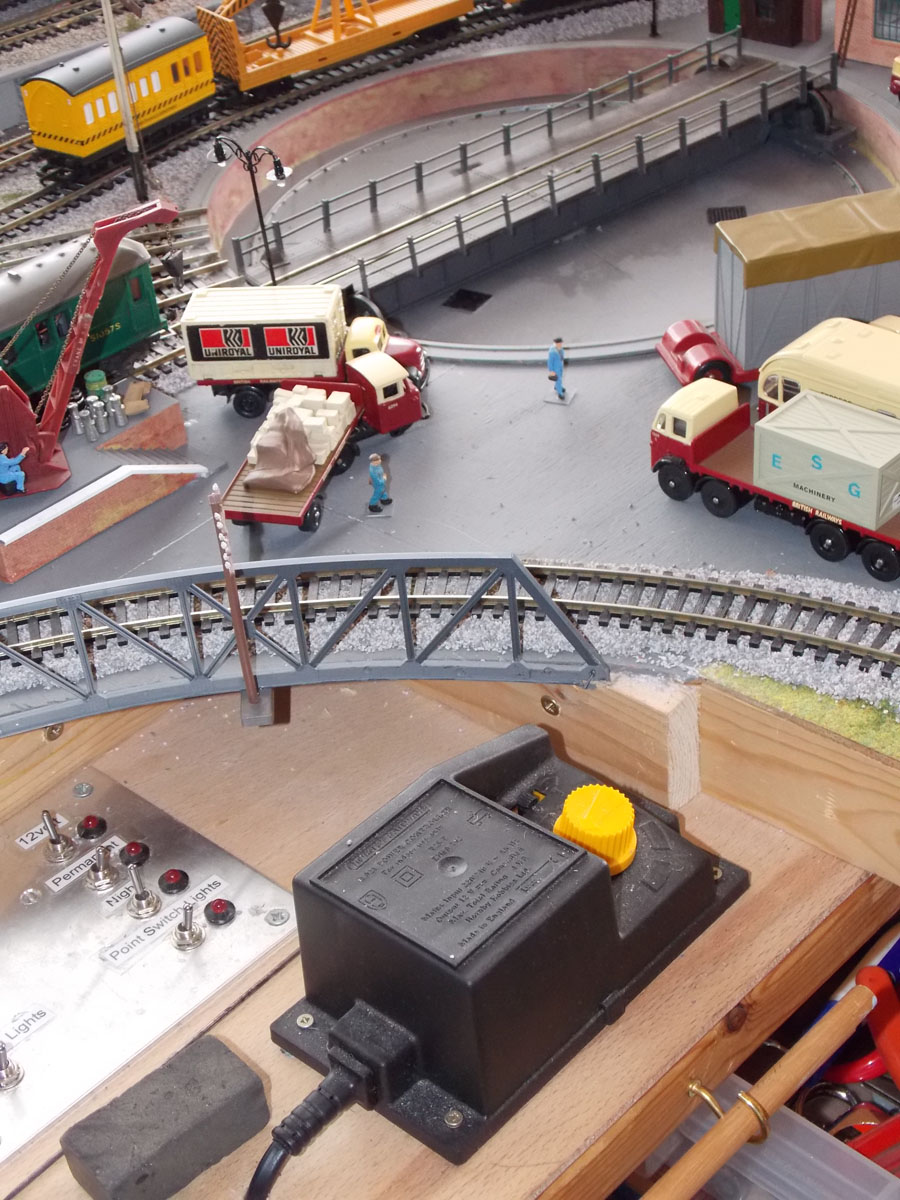
Another tip is to use an old analogue controller to power the turntable. I have also used an old Hornby transformer for the power to my points.
Just a little extra. I came across my old Airfix planes from the 50s and 60s. ‘Never throw anything away’ is something I believed in even then and had kept all the unused parts and decals from them. So after a great deal of refurbishment and rebuilding I decided to add a little extra something to my train room.
Hope you like the photos.
Regards
Paul”
That’s all this time, I’m a man in a hurry today.
Huge thanks to Paul and his thoughts on a computer power supply for model railway.