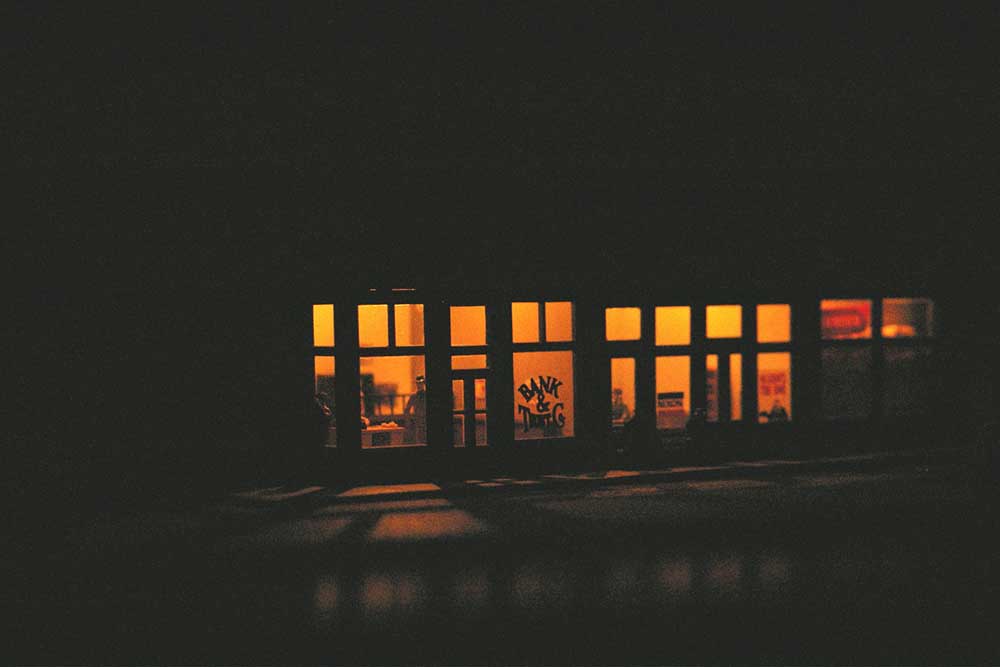
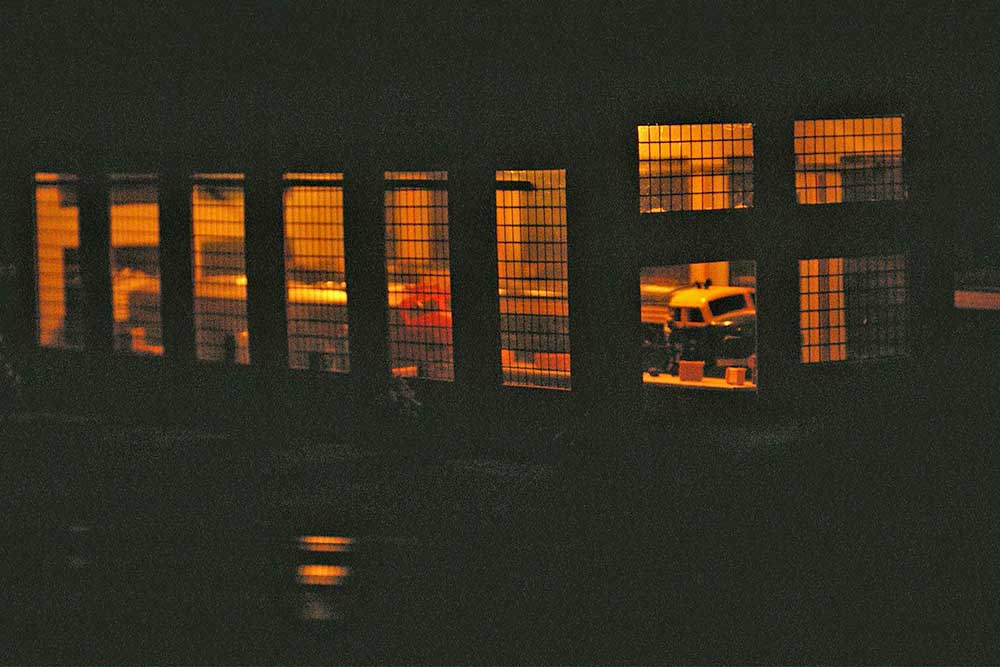
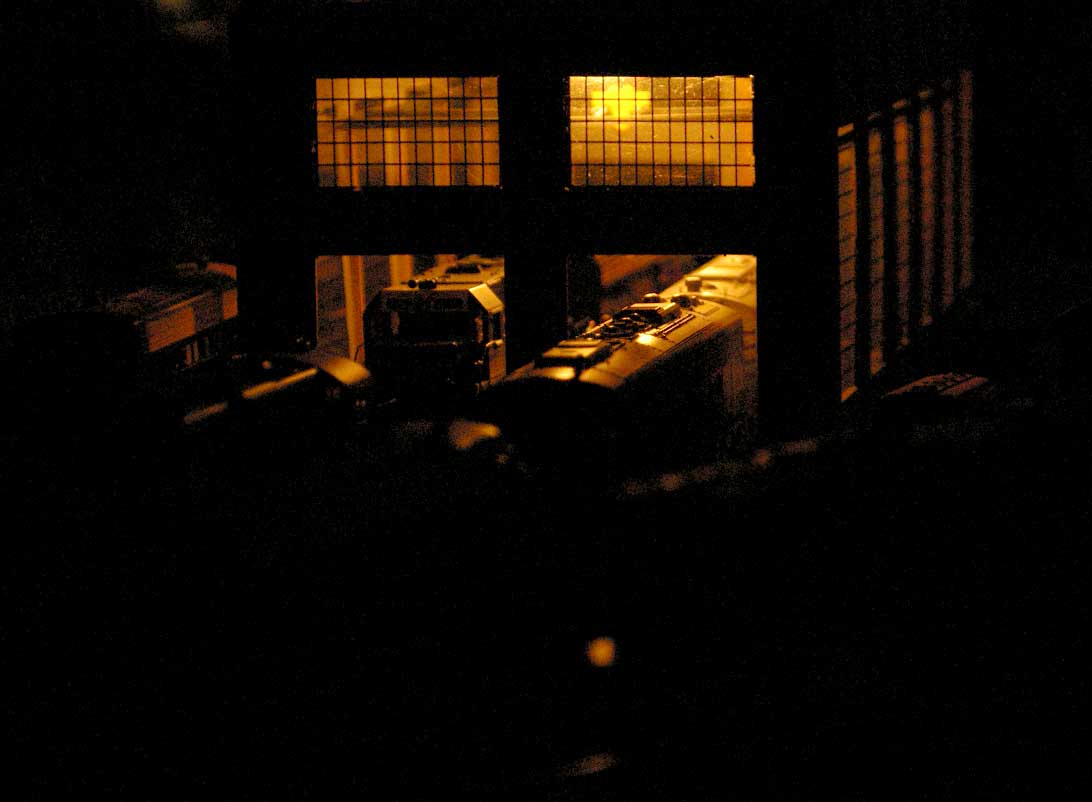
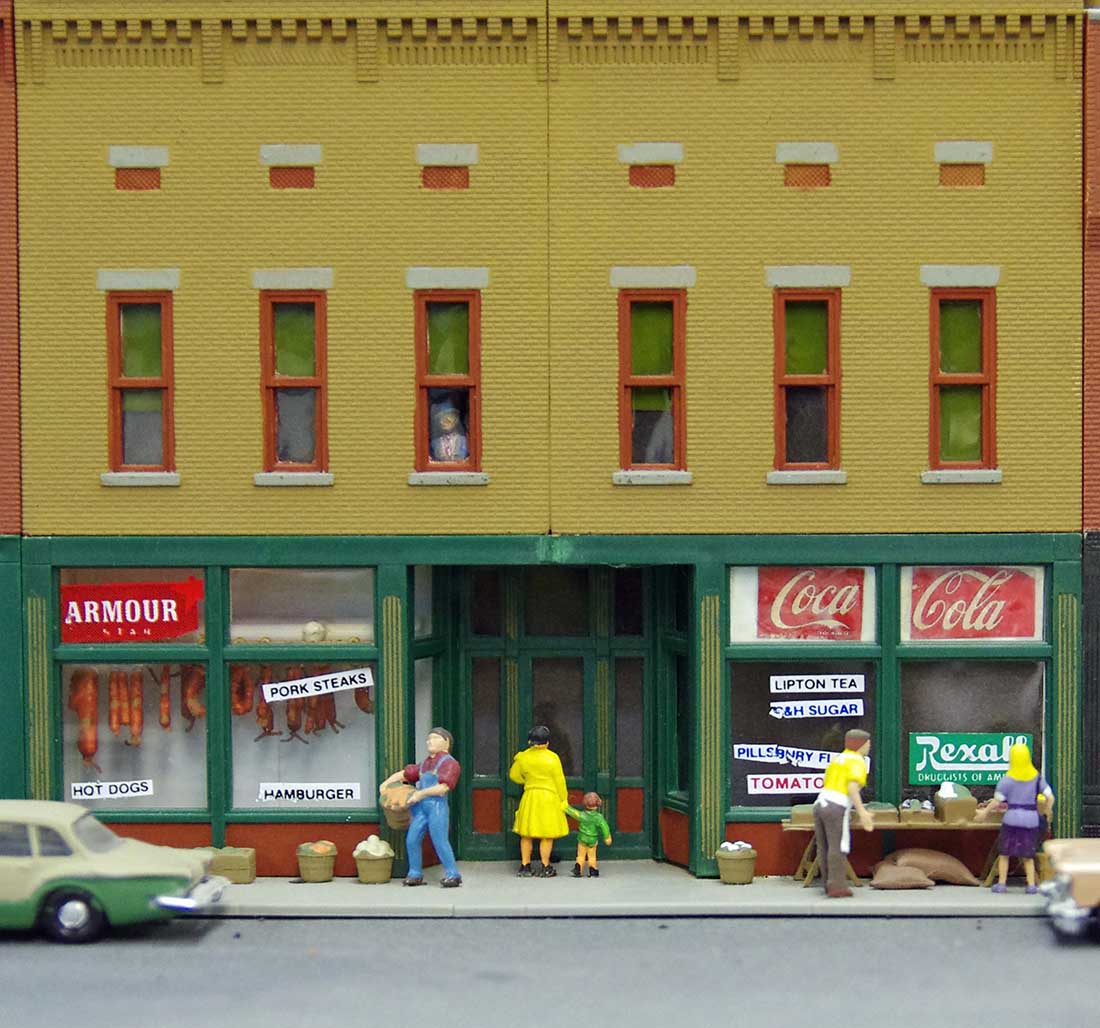
N scale cardstock buildings free

N scale cardstock buildings free – you don’t even need to enter your email address, just download and make!

Here’s the building, it’s a generic freight shed that you can use in most model train layouts:

n scale cardstock buildings free

Here’s the complete step by step, and the download link for the freight shed:

Free cardstock buildings.

Just reduce the print size to 54% for N scale.
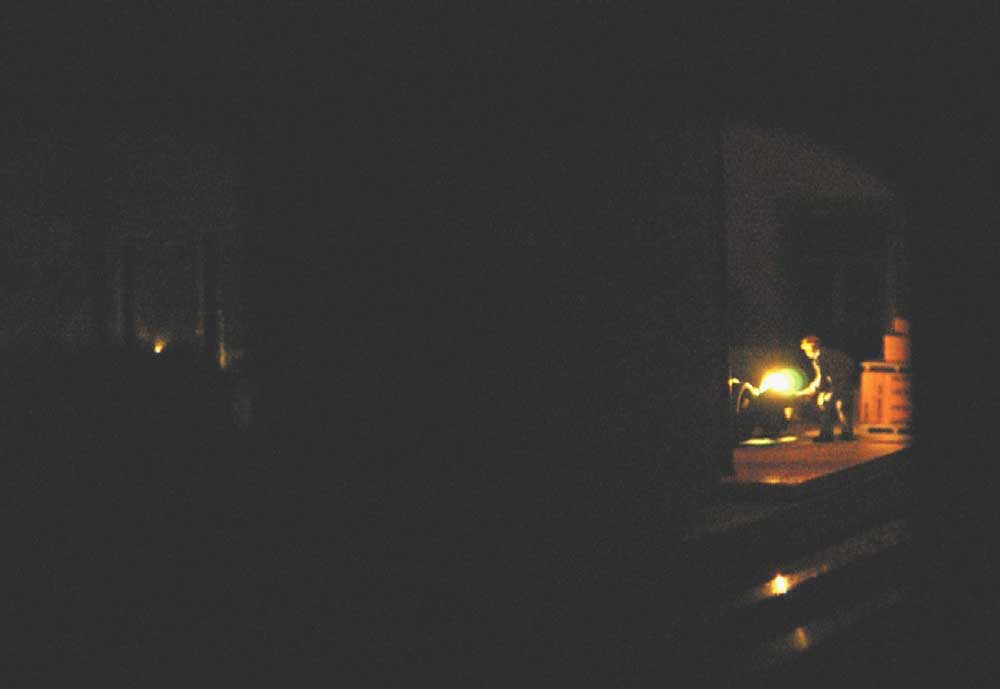
Putting it together is simple enough.

Just print out the sheets (reduce the print size to 54% for N scale) and then stick to card.

Cut out the shape and get building. Here’s the walls coming together:

printable buildings free

The best thing about N scale cardstock buildings free are you can make the interior as detailed as you want:

n scale cardstock buildings free

Once the walls are up, it’s just a matter of placing the roof and in the case, the wooden platform too:

printable buildings free

n scale cardstock buildings free

Making the ramp is simple enough too:

ramp for free printable buildings

n scale cardstock buildings free

Here’s the complete step by step, and the download link for the freight shed:

Free cardstock buildings.

N scale cardstock buildings free – just download, no email or sign up!

All the printable buildings are made in HO scale. For N scale just reduce the print size to 54% and then you have N scale.
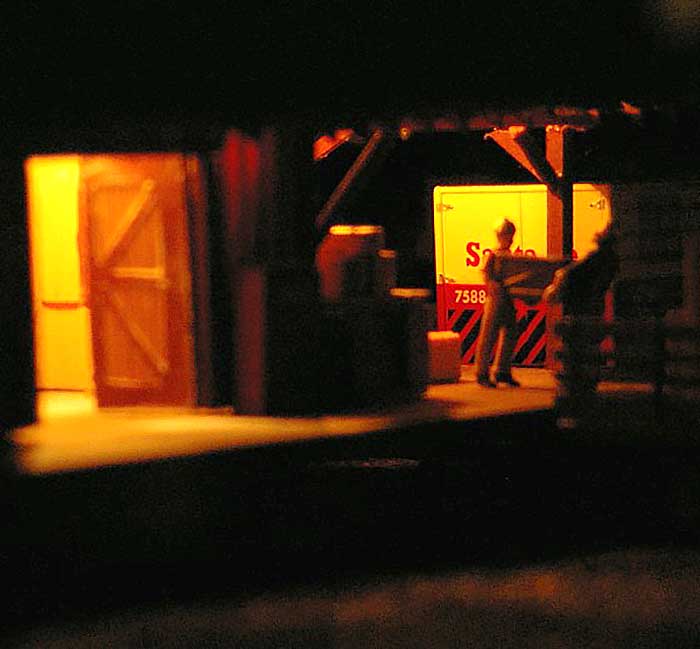
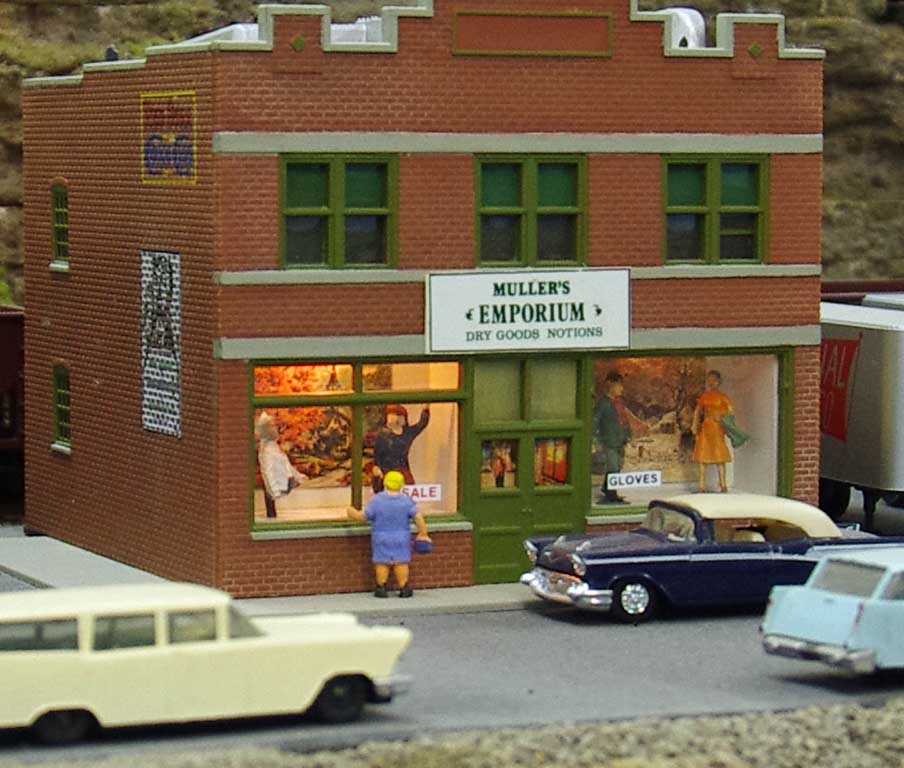
The question I’m asked most about the buildings is ‘are the rigid enough because they look wibbly wobbly?’

Well, here’s how strongthe printable buildings are you make them properly:

There are loads more printable buildings on the blog – full disclosure though, they are cheap but not free:

Model railroad printable buildings.

Of course, I’m biased but they are lot of fun and look great, Here’s the barn which you can see on the store:

printable cardstock building

That’s all for today folks.

Please do grab and download the N scale cardstock buildings free – not even an email required!

And if today is the day you get started on your layout, the Beginner’s Guide is here.

Best

Al

PS Latest ebay cheat sheet is here.

PPS More Free HO scale cardstock buildings here if that’s your thing.


model train answers

Model railroad river scene

Brian’s been in touch with his model railroad river scene.

But before we jump into that, I just want to say a big thank you to everyone that has posted a question on the new forum, and especially to those who have posted answers too (Mike T, Sam H, Buzz, Greg and Bob).

Hopefully, it’ll grow into a really useful resource.

Now on to Brian:

“Hi Alastair,

Herewith the continuation of the corner build and a surprise return of an FSM kit built by me more than 43 years ago.

Continuing the corner build from last month.

Below is a custom built (by me) road bridge for the rear of the left hand side of the river. From here it needs to be dirtied up a lot more to show plenty wear and tear.

scratch built road bridge

This photo shows the ISO board river bed in place and ready for final shaping.

model train river bed

Again, this is where it will be situated in the corner of the lower level.

model train river bed

The plaster cloth has been added and waiting for it to harden and dry.

plaster cloth for model train bridge

Colouring added plus loose dirt/gravel glued in place. I will also place small stones under the discharge pies and alnong the banks of the river. The discharge pipe casting has been levelled and temporary in place. Greenery and foliage will follow once in place on the layout to blend in with the surrounding model train river scene.

painted river bed plaster

Here the level of the bridges are being checked and cuts in the plaster will need to be done to lower the bridges to the correct track level.

model train bridges

It can now be seen that the river bed needs to be lower to match the water level of Pelican Bay.

model train river scene


Model railroad river scene:

Cuts for the bridges have been made and the river bed is now at the correct level.

model train river scene

Birds Eye view of the levels.

The bottom right hand side has been filled using styrofoam in to give the side banks effect.

model train river scene

Another view showing where the water will come out of the pipes and down the river bed to Pelican Bays water level.

model train river scene

All coming together nicely in the photo below. Lots of scenery work to be done here to blend it all in. The masking tape is holding the ‘concrete’ before gluing gluing it in place.

model train river scene

That will be all for now as I am taking a break on my model railroad river scene.

*********

Way back in the 70s (Fine Scale Miniatures (FSM) manufactured the Freight house kit #150 in 1976) I had purchased this kit for a future layout then. But until the very late 70s I still had not the space to build one.

On my many business trips to East London – South Africa, I got to know a fellow modeller who had a fantastic HOn3 layout at that stage. He had plenty of empty real estate on his layout and never had a FSM kit on it – never mind not having seen one at that stage. Because of our continuing friendship I decided to give him this built up kit for his layout. He was over the moon with it.

Later on in years, he switched scales and went into S scale – D&RGW Sn3.

This FSM kit was then put into his display cabinet for safe keeping.

He eventually became best man at my wedding in 1989.

We were chatting on the phone (as we do nearly every second week) about modelling as always and I asked him about the kit. After a little bit of persuasion and coercion he finally parted with it and gave it back to me. It will now take its place on my layout at Pelican Bay. ??Yay?? Shown in a few photos below.

This is the Fine Scale Miniature kit shown below. All FSM kits came in a yellow box.

fine scale minature kit

Below is an advert out of a model magazine in black and white.

fine scale minaure kit advert

Photo below shows its position on my layout. Still in excellent condition – the kit that is after 43 years. I think that my construction methods and weathering at that stage was pretty good.

fine scale minature kit

fine scale minature kit

fine scale minature kit

As per FSM kits, complete interior and exterior detail supplied with their kits.

fine scale minature kit

It is now situated on my layout amongst other FSM kits at the forefront.

Until next time – keep modelling.

Brian – the HOn3 guy in Knysna.”

A big thanks to Brian for sharing his model railroad river scene – and his FSM kits, which I thought looked amazing.

His previous post on the model railroad river scene is here: HO scale waterfront layout.

That’s all for today folks.

Please do keep ’em coming.

And if today is the day you get started on your layout, the Beginner’s Guide is here.

Best

Al

PS Latest ebay cheat sheet is here.

PPS More HO scale train layouts here if that’s your thing.


model train answers

Marklin layout – Glyn’s

Glyn’s been back in touch with his Marklin layout:

“Hello Al

Seasons greetings to you and many thanks for all you do to enhance our hobby.

As you may recall, I retired to Santa Fe full time 2 years ago after 40 years of surgical practice and commenced re-doing my Marklin layout that I had previously built in Peoria IL.

The layout is built in a 23’x13′ former wine cellar with an asymmetric U-shaped design.

The left hand limb is 16′ long due to the presence of a stairwell from the patio and features the Swiss German component.

Across the transverse limb at the far end of the room are upper and lower double mainline tracks over 2 sets of bridges spanning a deep river gorge.

These move into 2 sets of tunnels entering a large mountain which I have just built this past week.

The upper tracks pass through a small rural station before heading 23′ downhill toward a large loop circling what will be a 1920’s era American New England town.

I know this will drive the rivet counters crazy but I have about 6 US steam and diesel locomotives with rolling stock and a significant investment in Fine Scale Miniatures building kits which I need to build and display. The only way to achieve this with the space available was to combine the 2 different country systems into a large folded wishbone as I have done.

I know that the prototypical modelers will probably have a meltdown at such heresy but who cares – it’s my railroad and it’s all about having fun, not so?

From there the tracks pass into a concealed 6 lane staging yard before exiting through the lower tunnel to cross back over the lower bridges before passing underneath the main Swiss German town.

Completing a hidden loop beneath the town, the track passes up a long parade incline, circling behind the roundhouse complex to return to the mainline station (see layout overview).

I’m including images of the coaling station, diesel fuel depot, the bridges over the gorge and the multi-level tunnels.

A DB V200 diesel is shown at the head of a cargo consist and a KayBSt S2/6 passenger express is awaiting clearance to leave the station with the town and castle visible in the background.

Once I’ve figured out how to compress all my video footage adequately for email I’ll send these along so you can see the Marklin layout trains running with a CS2 digital control.

Best regards and Happy New Year to you all.

Glyn”

Castle & upper town Marklin layout

Coaling station Marklin layout


Marklin layout:

Diesel depot Marklin layout

Mainline bridges

Marklin Layout overview

Mountain tunnels

S2_6 express marklin layout

A huge big thank you to Gyn for sharing his Marklin layout update – stunning stuff!

There are lots more of pics of his layout in his first post: Marklin HO layout.

Here’s a pic taken from the first Marklin layout post too:

model train stone bridge

And it reminded me of this post too:

Marklin HO 3 rail.

That’s all for today folks.

Please do keep ’em coming.

And if today is the day you get started on your layout, the Beginner’s Guide is here.

Best

Al

PS Latest ebay cheat sheet is here.

PPS More HO scale train layouts here if that’s your thing.


model train answers