Frank’s been in touch with a video on a Shay locomotive, and I’ve got another weird and wonderful train today too:
“I found a photo of New York Central Railroad’s experimental jet engine, I have attached a copy,
Greg, Waterford Pennsylvania, U S A.”
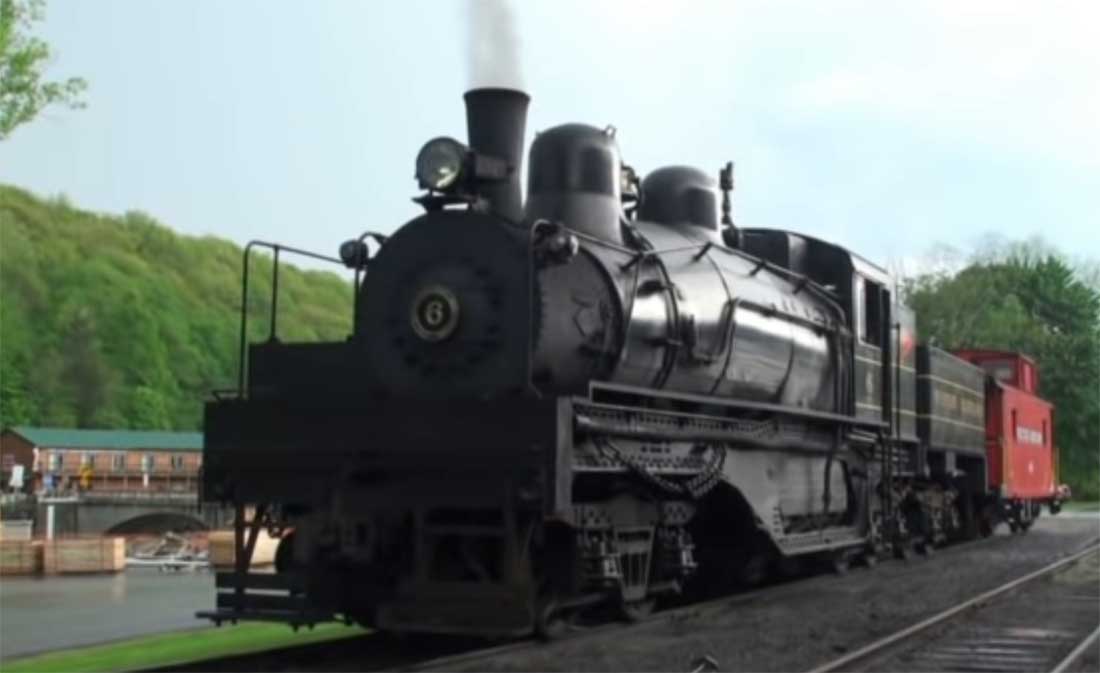

Now on to the Shay Locomotive – all the useful stuff is in the comments as usual:
“You should show the Gear Drive models still used in West Va at Cass Scenic Park !!
Fantastic place to visit locomotives 100 years old operating daily !!
Fred”
Fred’s pics reminded me of Mark’s: Shay locomotive train.
Now on to Bob:
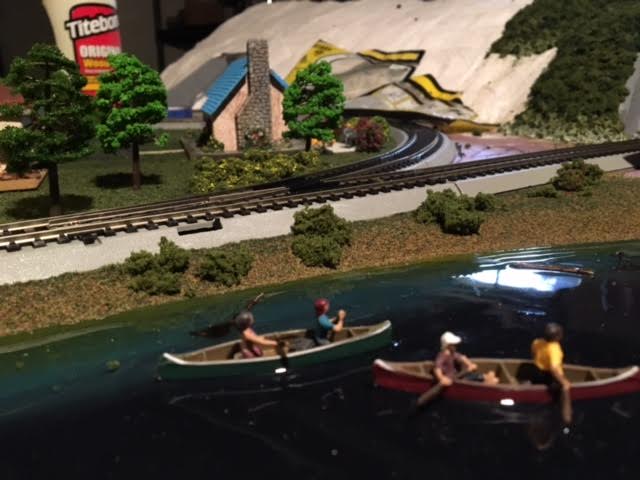
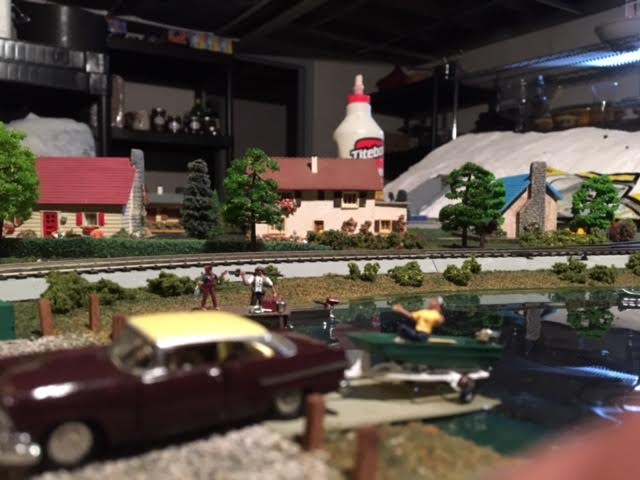
“Hi Al,
Love your site and all the tips that your readers come up with.
Here is one of my own.
I built a power supply for my layout out of a discarded computer power supply.
It has 12volt, 5 volt, and 3 volt connections.
12v for incandescent lights, 5v for led lighting and 3v for other lighting( I have a tree in the town square that has a very small light string taken from a battery operated unit )
Also has a USB for charging a phone which I use to control the DCC / JMRI hookup for my trains.
Bob”

“Hi Al,
I have not been able to work on my (read Grandson’s) layout for about 3 years now since the wife got ill. What I was playing with at the time it was mothballed was sound using my LapTop and the sound on the trains. This was my first (and only) attempt. (yes I know there are more door slams than doors on the train, but hey ! )
Once I can get back to working on it I want to get some sounds going for my underground trains ……. train coming into station, doors opening, ambient noises like old time guard shouting ‘Mind the dooooorrrs !’ etc
John”
Latest ebay cheat sheet is here.
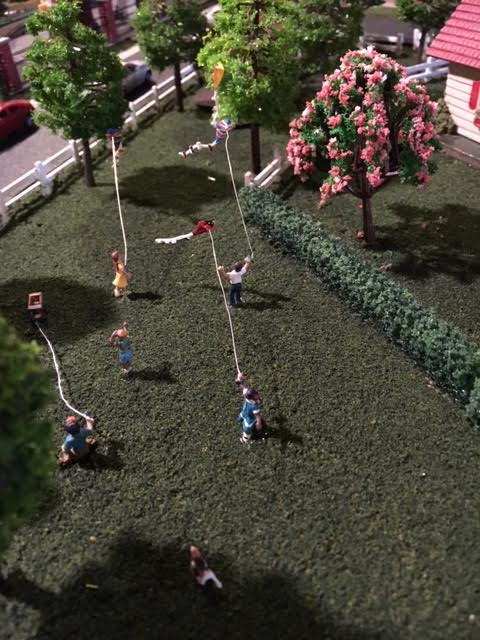
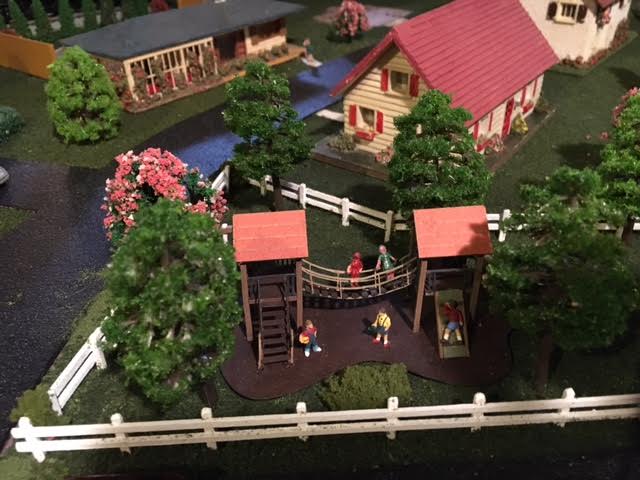
I know there isn’t much to John’s video but after doing this blog for so many years, two things struck me. Layouts can be put on hold for years – that’s life. You just have to keep going.
And secondly, it always amazes me how much a little bit of sound can transform a layout. I think John’s little vid shows that in spades.
A big thanks to Frank for sharing the Shay locomotive vid.
I’d never heard of a ‘geared steam’ engine before. It’s certainly an interesting video. Does anybody know how/why geared engines came about?
And please don’t forget the Beginner’s Guide if you want to get going on your layout.
That’s all this time folks.
Keep ’em coming.
Best
Al