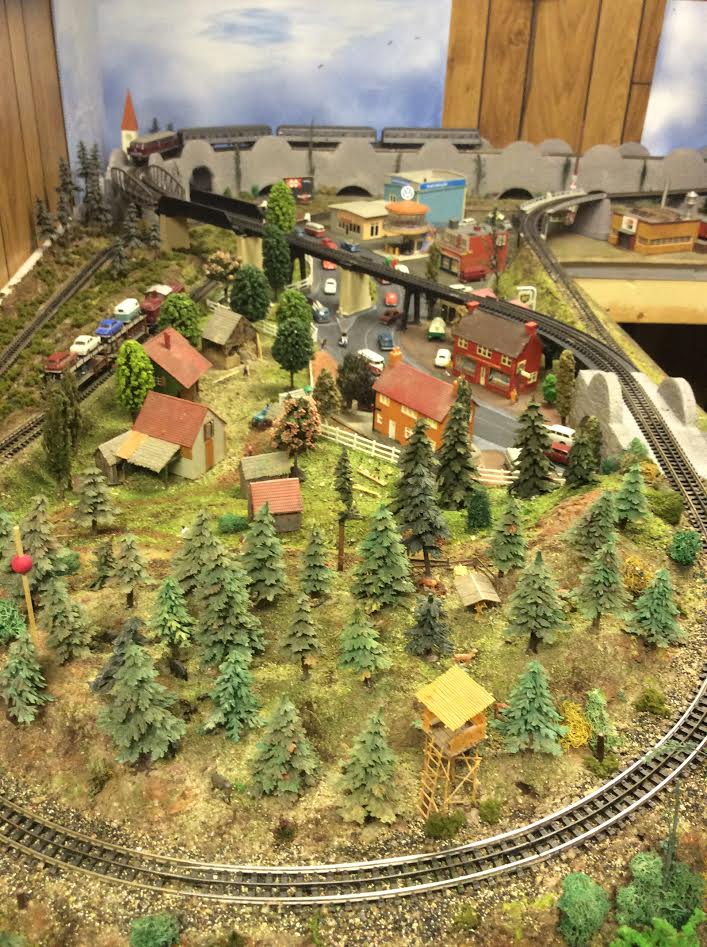
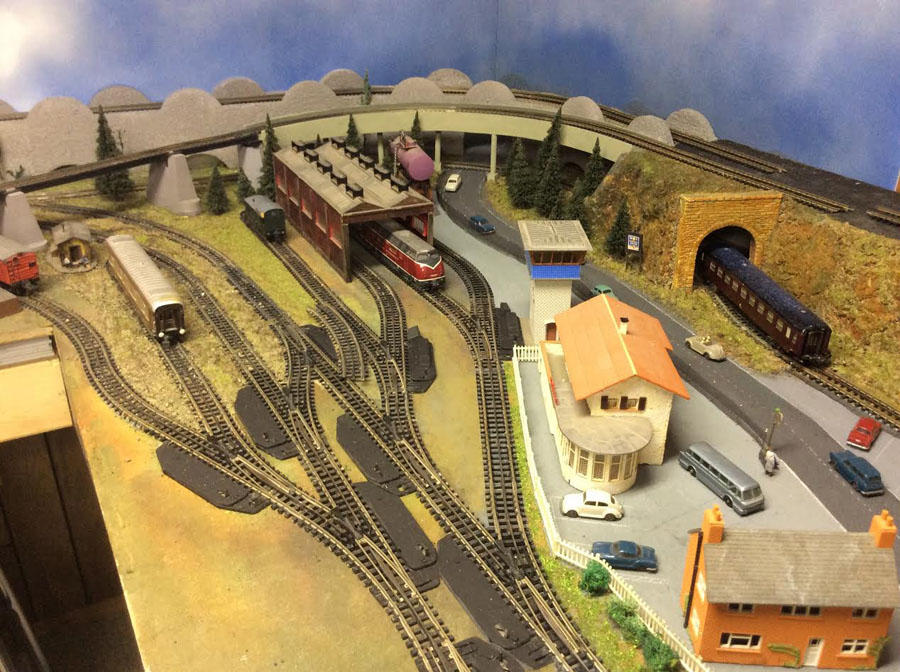
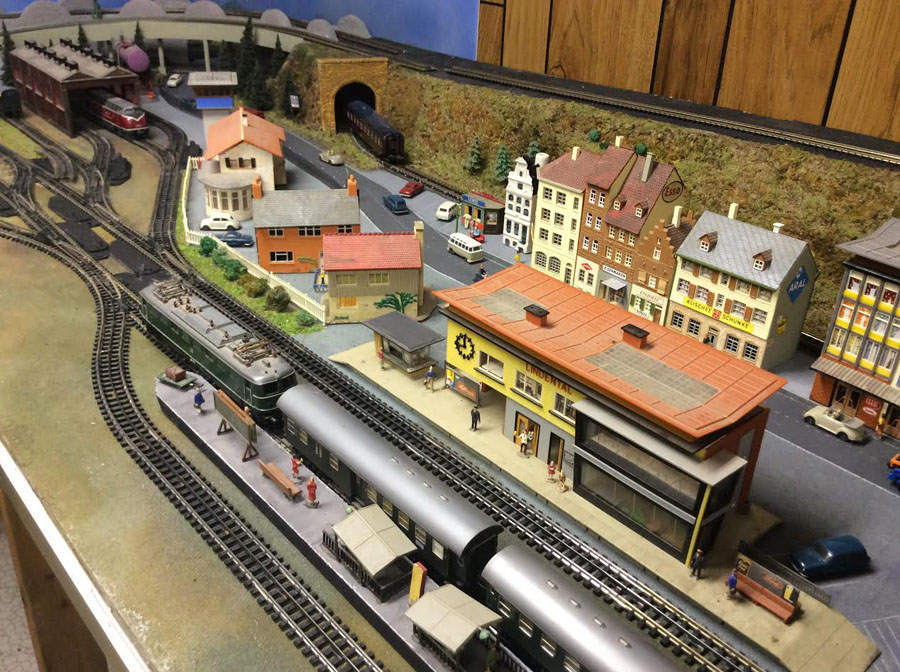
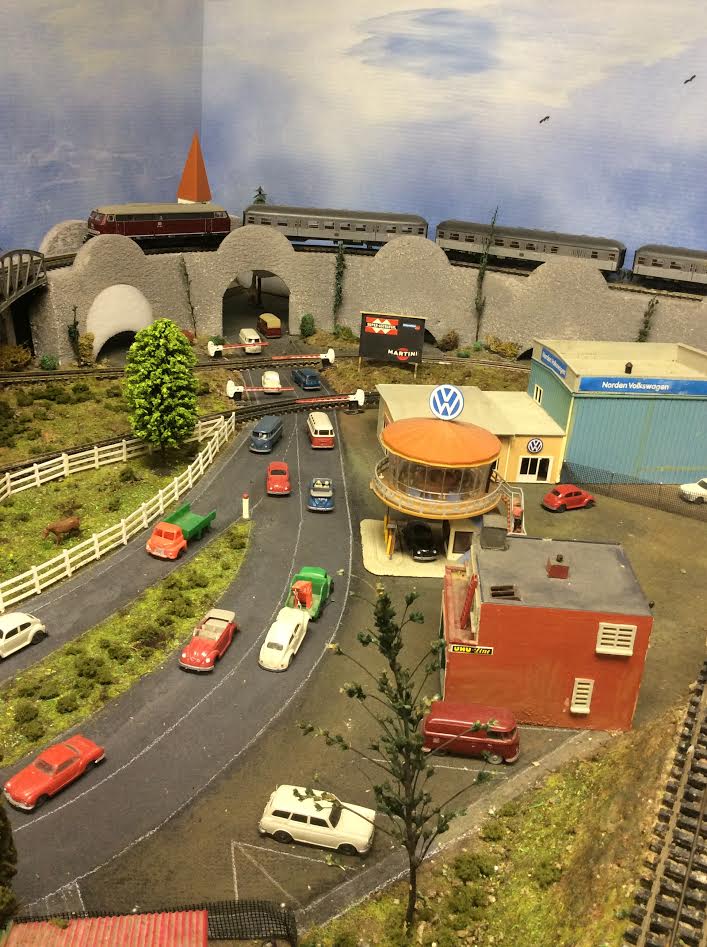
N scale logging

Steve’s been in touch with his N scale logging layout:

“Al,

I always enjoy your posts – learning quite a bit from more experienced model railroaders.

Over the years, I’ve started and stopped several layouts. After our kids grew up, I decided it was time to build a layout to completion in one of the spare bedrooms.

I started building the benchwork after finishing the “Enterprise 1799” sailing ship I had received for Christmas. It has taken about 2-1/2 years to get to this point, and will probably take another year or two to complete.

The majority of the work on the layout has been done during the dreary Midwest winter months – spending the rest of the year flying RC planes & helicopters.

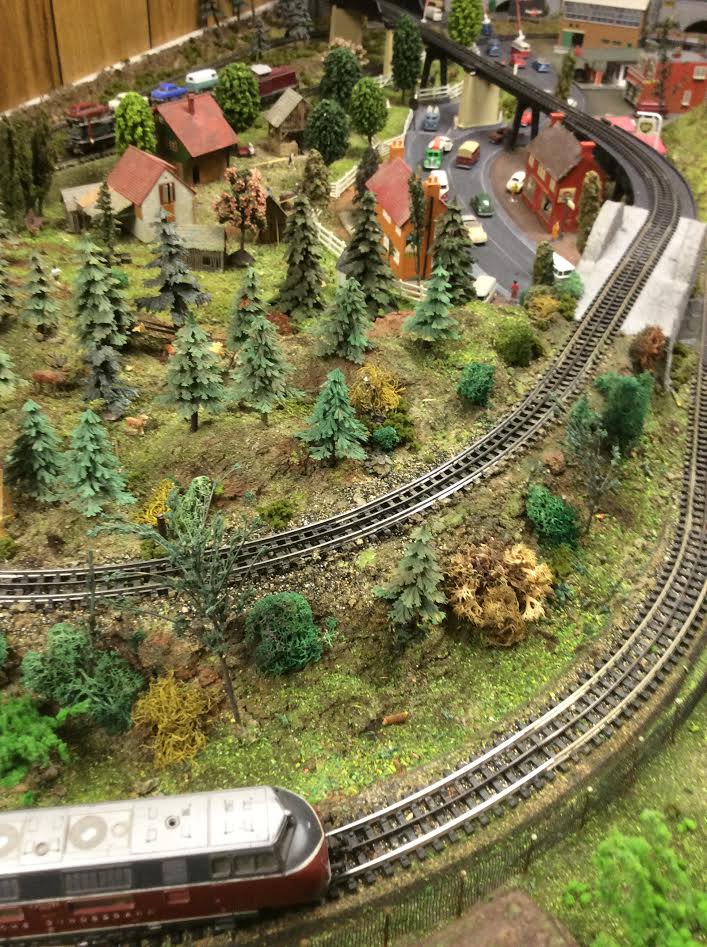
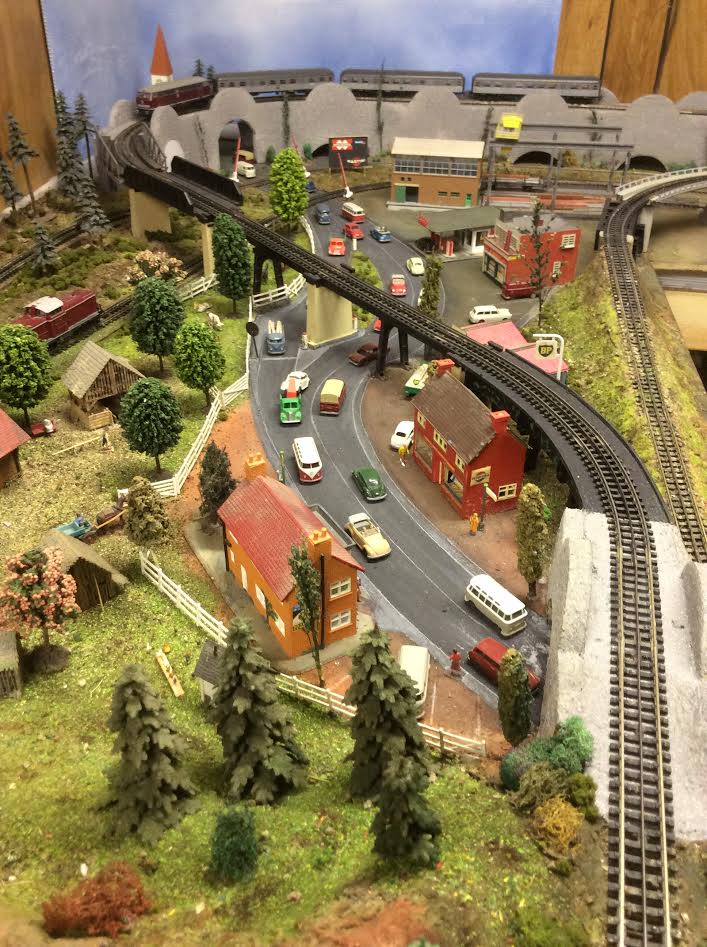
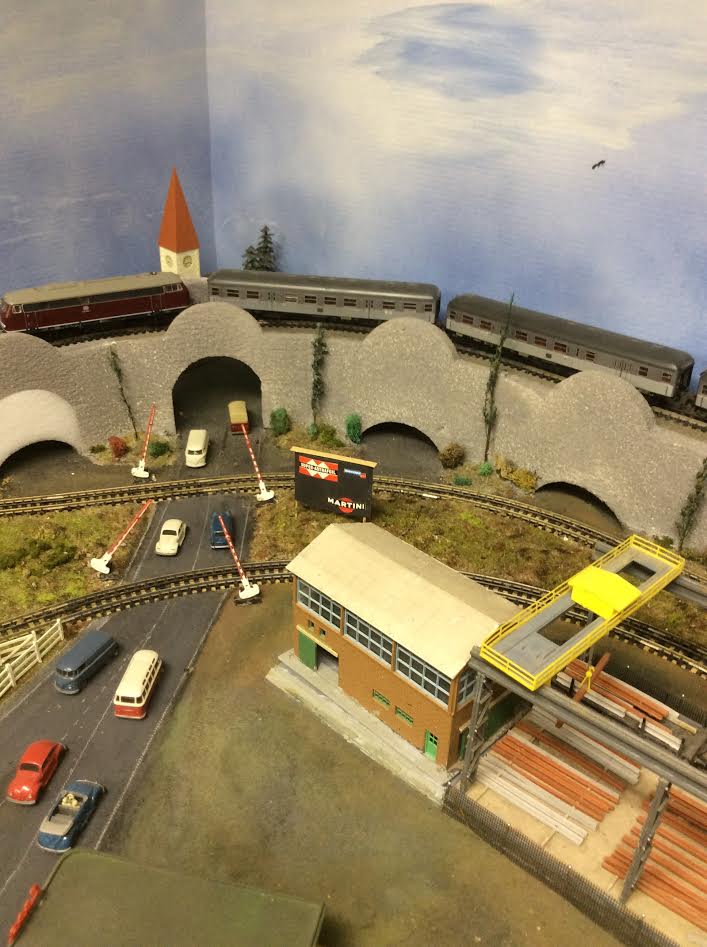
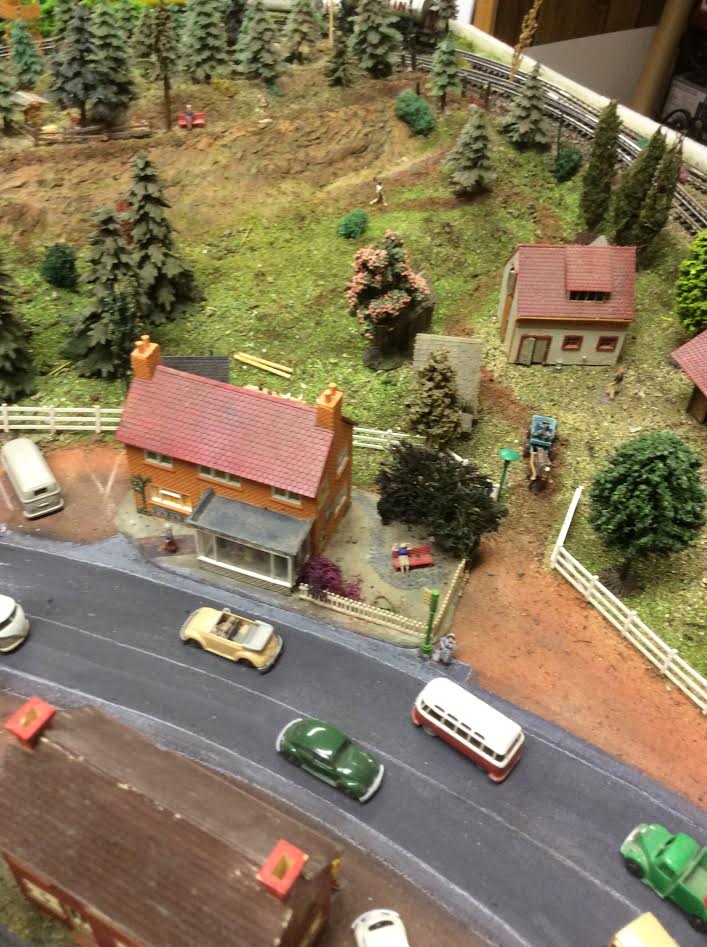
The Ohio Western & Lima Shortline (OWLS) layout is a N Scale logging layout and designed to fit into a spare bedroom with about 2-1/2 feet walk-around space – so it came out to 5’ x 7’. It is loosely (OK, very loosely) modelled after my hometown, and set in the late 1940s to early 1950s. Choosing this period allowed me to use early diesel powered and steam powered locomotives.

The layout is centered around the logging industry feeding the large demand for post-WWII housing, in the western Appalachian Mountain area. It is built on insulation foam sheets with plaster cloth covering. The sub-roadbed and risers were also cut from foam sheets on a table saw.

The layout itself is a folded dog bone with sorting/ interchange yard and rises to pass by the small town of “Mt. Healthy.” The main line runs by the logging camp, down to the sawmill and back up to a siding, feeding the lumber yard and a brickyard (also used in many post-war houses in the area.)

The track is Peco Code 55, with Peco Code 55 Electro-rail turnouts. Power to the rails is DCC supplied by a LENZ 100 system.

The turnout frogs and reverse loop section are powered by TAM Valley frog juicers, and turnouts thrown by under-the-table mounted servos controlled by ANE Smart Switches. Using the under-table mounts made it easier to connect the turnout throws at the different elevations – you just make the guide tubes and connecting wires longer.

There are four control panels located around the N scale logging layout, each controlling a portion of the track with overlapping sections controlled from multiple panels. All wiring (about 1500 feet), electrical switches and panel LEDs were purchased from a Midwest electronics supply company.

The town structures are Woodland Scenic Town and Factory, and houses scratch-built from Scale Model Plans, Tichy Train windows & doors and RS Laser strip shingles. For the town buildings, the signs and storefront windows are ink jet printed decals – many copied from original artwork of those particular businesses.

The N scale logging camp is a JV Models wood kit, complete with dining hall, bunk house, company store and engine/ car service shed. Lighting for the businesses and houses are SMD LEDs powered by a separate 12 volt power supply. Most of the ground cover and foliage -currently being installed- is Woodland Scenic.

risers for model train

Sub Road Bed: All made from pink, ridged insulation foam. The risers and sub-road bed were cut and formed on a table saw.

model train laying track

Roadbed & track: Peco Code 55 flex track & Peco Code 55 turnouts.

model train plaster mountains

Buildings placed: Mountains & terrain are formed with rigid foam, carved and covered with plaster cloth

n scale logging

N scale logging cars were from N Scale Kits with MicroTrains couplers & trucks


N scale logging:

n scale logging town

Looking south on “Main Street”. Engine servicing shed is visible in the background. Woodland Scenics Town & Factory buildings. “Hilltop Glass” is scratch built from Scale Model Plans.

n scale logging town

Close up showing pharmacy & local theater house

n scale logging town

Looks like the local theater is showing “101 Dalmatians” and “Bambi” this week!

n scale logging town

Looking east off of “Main Street” showing the local hardware store

model train town

Looks like the small town warranted a new United States Post Office branch!

model train town

JV Models N scale logging camp loading logs (albeit too large- have to get smaller ones) for the lumber mill.

n scale logging

N scale logging Lumber mill with stacks of cut lumber. Low spot in foreground will be a pond for receiving logs before cutting into lumber.

n scale logging

Interchange and N scale logging lumber mill sidings

n scale logging

Brick Company (left) and lumber yard (right).

n scale town

Dusk is falling on the town, so house porch lights are on.

n scale control panel

Main Control Panel. Red buttons control turnouts, yellow LEDs show turnouts that are “open”. Red and green LEDs show which tracks are powered. Bottom 3 switches control building, street and house lights.

n scale mountains

Starting to add foliage, trees & ground cover. Most rocks & outcroppings are castings, with some hand carved rock faces.

Regards,

Steve”


My word – what a write up. Really enjoyed reading this one, seeing a layout step by step really adds life to it, especially when the pictures show it taking shape too.

A huge thanks to Steve for sharing his N scale logging layout.

There are quite a few logging themed layouts on the blog now:

HO scale logging camp

HO scale logging railroad

HO logging railroad

HO logging railroad layout

HOn3 logging railroad

HO scale scenery

And don’t forget, you’re only a one step away from creating your own masterpiece: The Beginner’s Guide and track plans are here.

That’s all this time, folks. Please do keep ’em coming.

Best

Al

PS More HO scale train layouts here if that’s your thing.


Need buildings for your layout? Have a look at the Silly Discount bundle.

HO scale lumber mill

JD’s been in touch with his HO scale lumber mill.

“Hi Al ,

I started model trains when I was a teen and over the years I made several attempts to build a layout, however there was always something that came along to prevent it from happening.

Now that I am 75 and fully retired, I have finally got something going.

Your e-mails are awesome. So much information and a huge help and big money saving ideas. I love your e-mails and everyday I look forward to receiving them.

I have attached a few pictures. My layout is called Cedar Junction, The theme is western mining and lumber operations in Colorado and California in the late 1800 s to early 1900s. Take a look at my HO scale lumber mill.

I have been working on it for about 4 months now. My mainline and all sidings are operational.

Your web site has helped me so much. I did not realize what it takes to build a model train layout.

JD”

HO scale lumber mill:

HO scale lumber mill

model railroad trestle bridge

HO scale model train

HO scale trestle bridge

trestle bridge by HO scale lumber mill

My HO scale lumber mill:

HO scale lumber mill

bridge by HO scale lumber mill


“Hi Al,

I was at the Scottish Model Rail exhibition in Glasgow last week and I took these photographs of an amazing exhibit.

They are of a model of the Forth Rail Bridge in ‘T’ scale, I have never seen so much accurate detail on a model before. The guy must have lots of skill and patience.

The thing is, I can see the bridge from my house, it’s about 5 miles away as the crow flies. He even got the detail of the hotel my wife and I had our wedding reception in many years ago…

I only hope you can share this on the site, if only for the sheer skill and detail.

Eddie”

model railway bridge

“Hi Alister.

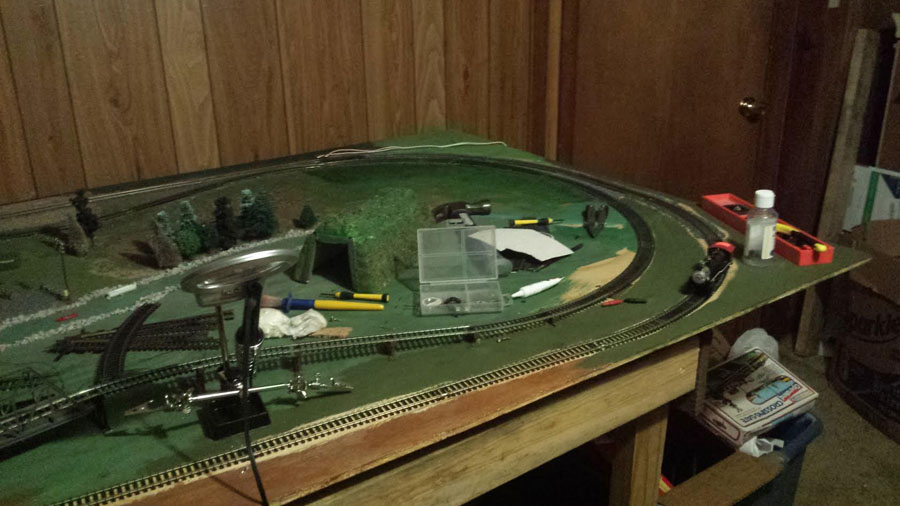
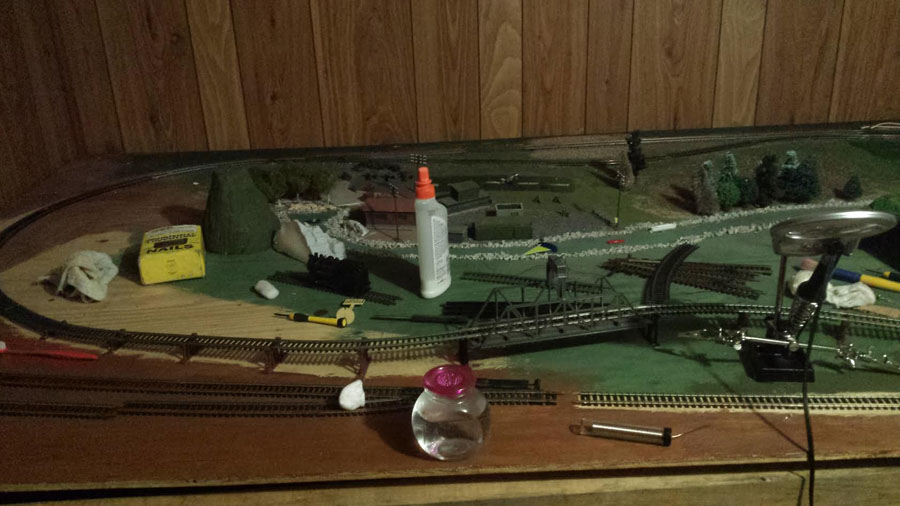
I’ve been dreaming of a layout since my dad bought me 2 n scale sets 49 years ago. Here’s my first n scale modded layout I’m working on. I wanted a small layout So I went looking on the web and found a printout for a door top that had a turn table, round house, a bit of yard, and was.

I had a Arnold turnable and 6 stall round house for years and was looking for a nice layout to base around them. Now it was time to re educate myself on the world of model railroading. What type of track. DCC or DC. types of turnouts and controls. Etc. So I decided to go old school with DC control. I did a mockup and was not pleased with traffic logic nor the amount of spurs.

I also was thinking modular. So I created a two way main line for expansion when I turn 102, and use them as spurs until then. My idea is to build it as a portable unit with a lid for storage and transport. Sort of an over sized suitcase. One thing I thought about is scenery.

I kept the KISS acronym in mind and decided on a engine maintenance theme. So no hills rivers and tunnels. I have not forgotten DCC. The track electrical will be wired for DC and have wiring for DCC for future upgrading. I’m looking at Turtle and NEC switch controls as they can be used both systems. I’ll be building a switch/ traffic control board and hope to make it detachable. I’m sure I can find a place on the lid to have a storage pocket for it.

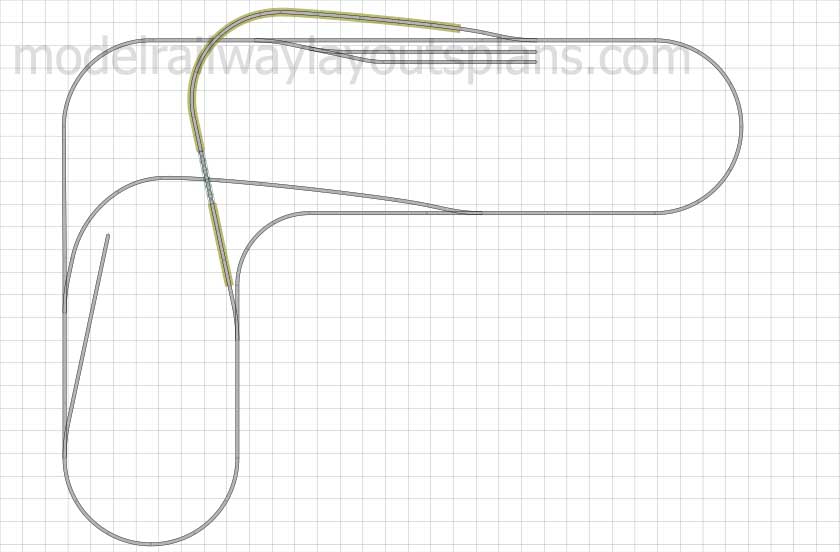
Attached is the original plan and a pic of the current mockup. I’m sure things will change as I learn more and problems crop up.

Any input will be considered.

Thanks

Eric”

A huge thanks to JD for sharing his HO scale lumber mill, and thanks to Eric and Eddie too for today’s missive.

I did enjoy reading JD’s words: it’s really nice to read the site is helping folk turn their daydreams and thoughts in to a real layout. Sounds corny, I know, but it makes it all worthwhile.

That’s all this time folks.

And if today is the day you get started on your layout, the Beginner’s Guide is here.

Best

Al

PS More HO scale train layouts here if that’s your thing.


Need buildings for your layout? Have a look at the Silly Discount bundle.

Model railroad backdrop painting

Fred’s been in touch again, this time with some advice on model railroad backdrop painting.

He’s very kindly put the below together in response to all the comments on his last post (which is here).

“Many thanks to all of you for your over-the-top compliments, which were greatly appreciated.

What you see has taken me a full time effort for a year, and it gets lonely in the basement – I appreciate the support.

Iʼll try to answer some of the questions sent me, but first let me explain my background and what excites me about modeling as a pastime.

While I had trains as a boy, as an architect I made a lot of architectural models in the 70ʼs and 80ʼs, and did a number of them professionally to earn extra money in what eventually became a non lucrative vocation that I quit in 1984. (Modeling was my favorite part of architecture.)

Iʼve always loved modeling, though, and as a pilot, I did a lot of RC aircraft modeling, with large scale models of WWII fighters and the like, until I tired at the heartache of seeing a half yearʼs work shattered by a violent crash into a fence or treetop!

So in my retirement I opted for more “permanent” subjects, and my preference is definitely on backgrounds, structures, scenery, etc.

Trains, per se, are less important, and mainly a way to bring the static part of the model to life, rather than the other way round. Iʼm not making a value judgement, itʼs just a personal preference.

Iʼm also finding that the painting of both scenery and structures, rocks, etc. is as fun as it is challenging – architectural modeling is almost always white, which is a bore.

For model railroad backdrop painting, determining a color “palette,” “atmospheric scale,” or the degree to which color changes and fades with distance is interesting to me, and Iʼve enjoyed the chance to explore this in the layout.

There are a number of fascinating articles about the dioramas at the Museum of Natural History in New York, which consumed me as a kid, and inspired me to make my layout as much a full “diorama” as my basement space would permit.

Of course this decision complicated a lot of processes. For instance, I have now learned that I couldnʼt really do the backdrop and the scenery sequentially.

While that might seem more efficient, I was unable to make the judgements about color value, conventional perspective lines, lighting, and decided other things that for visual reasons are best done at once!

So I find myself going back and forth, even with buildings and trees in the way, and I have repainted the majority of the backdrop two or three times already.

Here are some earlier pictures of my model railroad backdrop painting which I never sent Al, which show the dam and backdrop before Iʼd remembered what my high school art teacher once taught me, and before Iʼd even figured out that early fall was the most interesting season to depict from the color standpoint:

Model railroad backdrop painting

Model railroad backdrop painting


For the fellow that expressed some intimidation that he “wouldnʼt be able to meet the grade,” all I can say is that the fun part of this hobby is that we are first our own critics.

So if you feel you arenʼt doing what you wanted to do, just keep pounding away….youʼll
eventually improve and be very happy with it!

My first efforts at this backdrop are barely polychromatic, flat, and too sketchy to be anything but a big distraction.

Interestingly, when I progressed last November to a phase of psychological abandon from hating my backdrop so much that I wanted to start all over again, I had had the time to stare it and figure out what was wrong:

1) Mountains were too exaggerated in form. (When you enter my basement and view
the backdrop from an angle, the foreshortening effect makes this even worse.)

2) I had chickened out initially from showing any source of light in the painting. This is sort of a no-no in most landscape painting.The most recent version has strong light from the right hand side, which helps define the shape of the topography, bring out some color, etc. By the way, Iʼm starting to experiment with shading and coloring of the shady side of my buildings for added effect. Anybody else tried that?

3) I hadnʼt yet defined my street layout in the village, so I couldnʼt integrate roads and river in the painting.

4) Color palette was out of whack with available ground matte and scenery foams from Scenic Express and everybody else. Now it works, but the choice of foams definitely drove the show, and I think that most of the greens they offer are way to green to look really genuine. I made most of my trees with yellow, olive green, or light green. Iʼll be adding more “aspen yellow,” and subtle orange/red in places. But a little red goes a looong way!

For those who requested videos: Iʼll try. Videography is not my strong suit, and for some reason the video Iʼm taking on my iPhone6 gets out of focus and the color turns reddish and washed out. Anybody have any ideas what Iʼm doing wrong?

Itʼs hard to photo this layout from farther back…my furnace gets in the way. I gave Al a couple additional photos at the other end. Hope that works.

For the question about the dam “penstock,” Iʼve been working on that. The dam was not a kit. I made the face of the dam with built up plywood and foam, then layered with rough stone “tiles” roughly 50ʼ by 25ʼ at N scale which I made with one of my many latex plaster molds.

I ground the edges and thickness of these on a large bench grinder until they roughly coincided with the lines of the stone courses from the mold, then “grouted” in by hand with plaster of paris. All my exposed natural rock and cut stone in the layout is stained with 3 thin acrylic washes (yellow ochre, burnt sienna, black….in that order)

And I had the predictable problems with spots that wouldnʼt stain due to glues, “Sculptamold,” and basically anything beyond plaster. Nothing that a little shrubbery wonʼt hide! Railings are ABS, and dam turrets were “kitbashed” from parts of other DPM kits.

The penstock is going on the face of the dam as a pair of enormous pipes down to the turbine level inside the power house. Iʼve been putting this off while I search for something pre-made that looks like 8 to 10ʼ diameter industrial pipe.

Itʼs tricky at this scale, because without the requisite details like the pipe flanges at the proper thickness, and maybe even the mating bolts, a pair of half inch hoses running down my dam may actually spoil the effect.

Artistic license is necessary. Or maybe I can find a source to do it in brass. Iʼve just discovered etched brass fire escapes for my buildings, and I love them, but maybe it should become the “damn penstock!”

For the fellow who asked about track height, itʼs all on the same level. I dropped the level of my river/ravine to accomodate the dam by building a lower section of the bench work thatʼs about a foot lower than the rest of the benchwork, which is 48” off the floor.

Itʼs fatally incongruous though that I actually wound up with a river thatʼs below sea level! But since Maxwell Falls exists way down at one end of the layout, nobody has yet noticed this but me.

And for the guy who wants to get in his truck to come see the layout…youʼre welcome (and anybody else) any time. Even if youʼre trucking in from Cape Town! Just get in touch first, thatʼs all I ask.

Fred”

A huge thanks to Fred for sharing his take on Model railroad backdrop painting – sound advice.

(Here’s the link to his original post again).

Stunning stuff – and I so love his comment that I think really captures the spirit of this hobby: “…all I can say is that the fun part of this hobby is that we are first our own critics”.

That’s all for today folks.

Please do keep ’em coming.

And if today is the day you start your layout and paint that backdrop, the Beginner’s Guide is here.

Best

Al

PS More HO scale train layouts here if that’s your thing.


Need buildings for your layout? Have a look at the Silly Discount bundle.