“I like to use cardboard or thin sheets of balsa wood to make my buildings with. I cut out the windows so they can light up, using a small 12 volt lights. For the windows I like to use transparent overhead film, ( you can get at Office Max). Then I paint the film with a crafters (Glow-in-the-Dark) paint to give it a yellowish tent. This also allows the windows to glow after turning the lights out. You can get this paint at Walmart or most hobby stores. After the paint dries I cut the film to size and when I paint the inside of my building I will apply the window film while the paint is still wet.
I hope this adds to some fun to some of the readers.
Thanks for all your help,
Mark”
“Hi Al ..Just put this Xmas video together ..bit of fun and also showing a few of my Loco`s at work ..along with Santa paying a visit to Dave`s Model railway ..all the very Best to all your Members ..and a Happy New Year to All ….
Looking Forward to What The New Year will bring Regards Dave …and all the very best for Xmas and the New Year to you and your Family
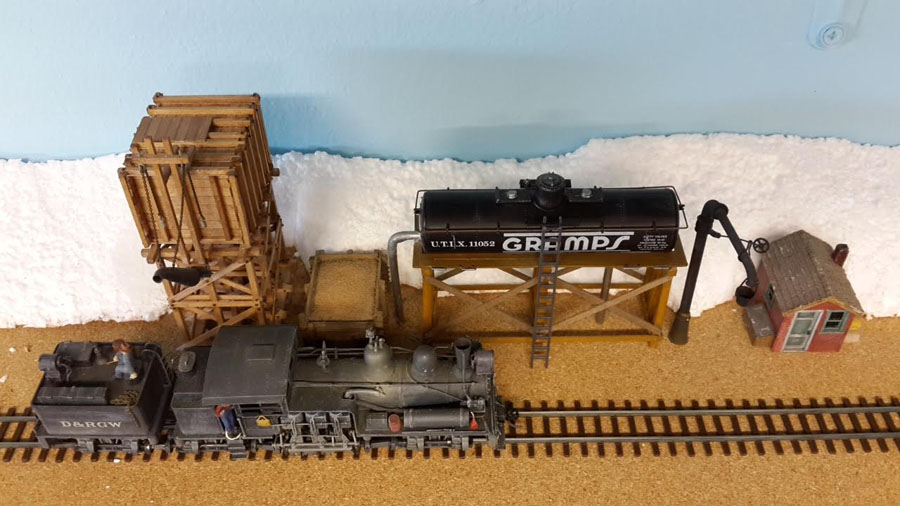
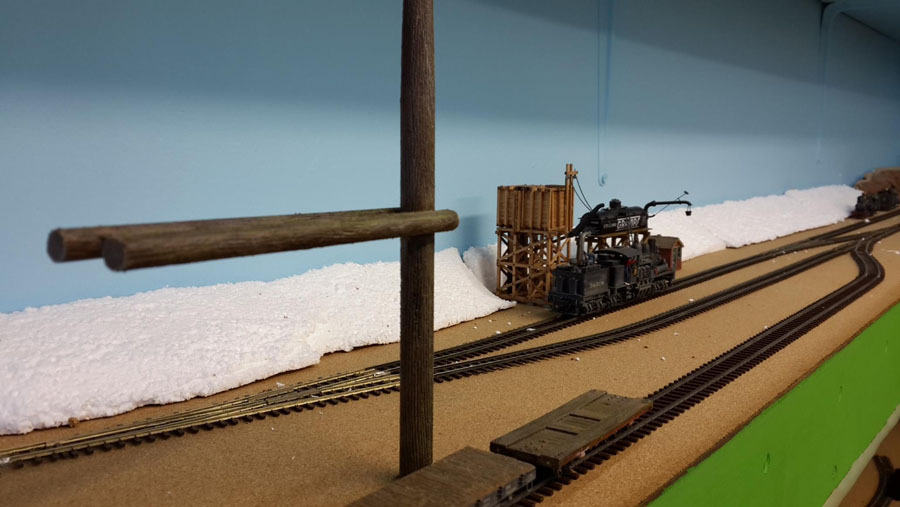
“Hi Al, an update on my layout. The logging area has all the track and points in place, all the wiring done including wiring the live “frogs” and finally able to run a train. 20 second long Video link attached.
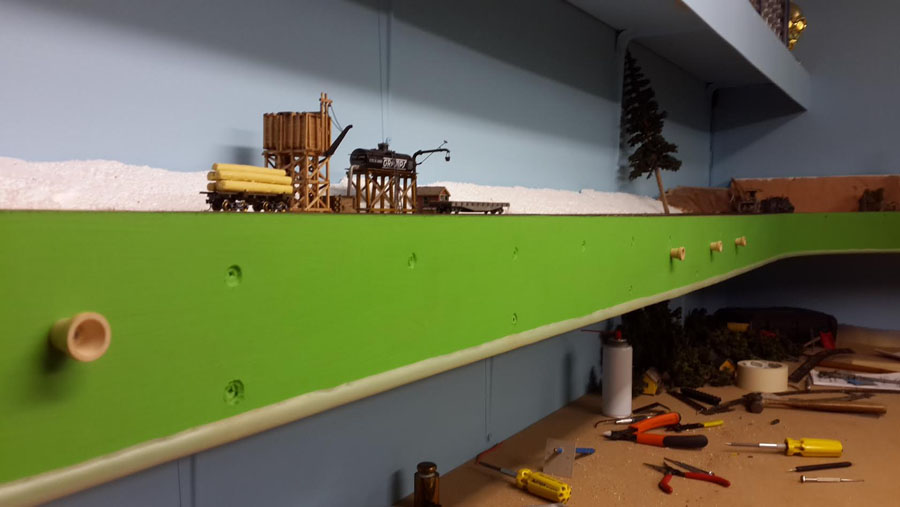
Blue point switch machines, mounted under the layout, manually operated by push / pull knobs in the corresponding positions on the front valance operate the points.
Next will be the scenery behind and then all the trees and ground cover for this section.
Bottom photo will be the Spar Tree used to load the logs onto log cars.
What I love about the past few posts, is they show in spades how important it is to claim a space of your own, and make a start, then just tinker away…
With that in mind, I thought I’d share Tim’s pics. If you think you dont have space for a layout, think again:
“Hi Al,
I am Tim from Down Under and I have been receiving your emails since early in 2016. I have attached some photos to share to show another way to have a model railway layout when space is limited. But first I will introduce myself. I have managed to reach 63 years of age and have at last started my first model train layout.
When I was 9 or 10 I was allowed to play with a family friends Marklin layout they had in their back shed. I fell in love with Marklin trains then but it has taken until now to get one. In my early working life I moved every couple of years so a train layout was not practical.
Now I am heading for retirement I can settle down to modelling. Last year I convinced my wife to buy me the Marklin starter set that ALDI had on special for my wedding anniversary present. I have since purchased some more goods wagons, inspired by the make your own loads DIY’s in your emails, so my next project is to get started making them.
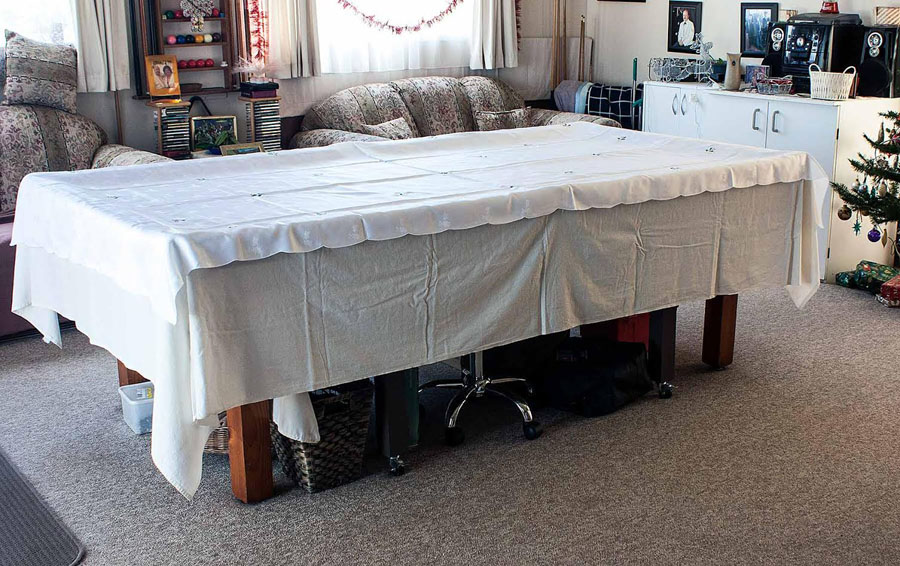
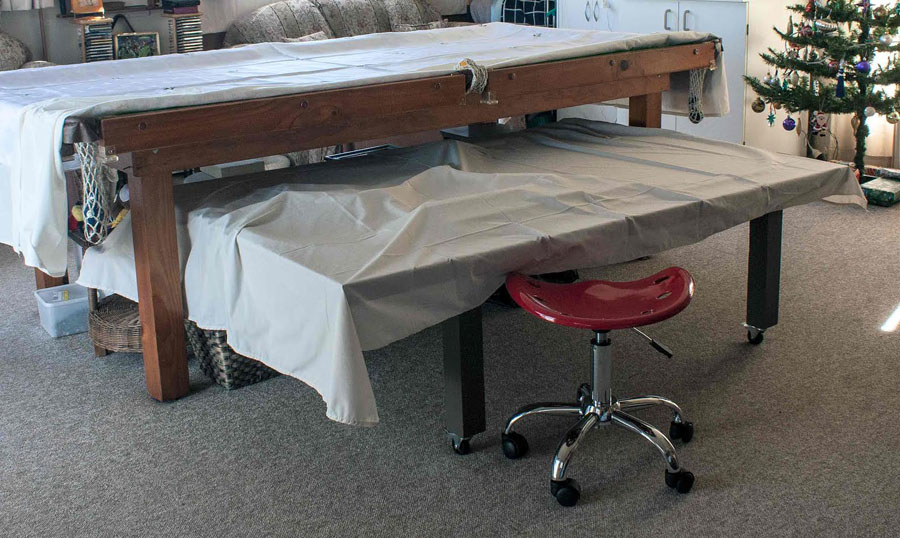
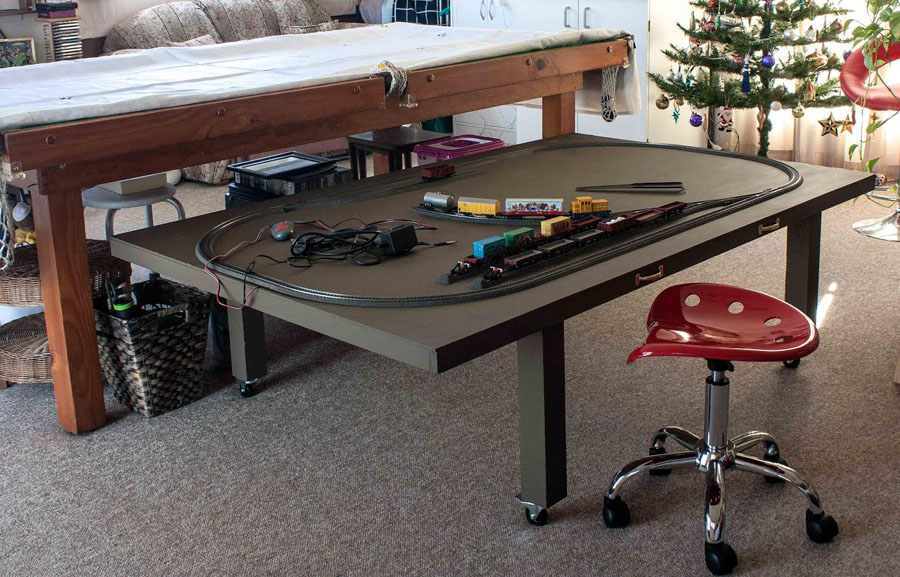
But firstly I needed somewhere to create a layout. I don’t have a basement, loft, or suitable shed, so my wife suggested a table under the pool table! (playing pool and driving trains on the same table top don’t mix very well). I have an 8’x4’ wooden top pool table, with no middle legs like a slate top.
I have been able to build a 6’ x 3’9” table top on wheels that rolls under the pool table. As this is the space I have at the moment that is the size of the layout. Don’t look at the layout yet, this is just to show how to have a layout to get started when space is limited. It is too low to stand at so I bought a low stool on wheels to sit on, and as the table is on wheels if I don’t want to move around I move the table instead. Over the next few years I will start creating scenery and work within the limitations that this layout presents (height under the pool table).
When I retire I will work out where in the house I can create a more permanent layout. I hope anyone with space limitations gets some inspiration to help solve their own particular problem. And if it has already been done then here is another one.
And thanks for your great website and emails. I have purchased some disposable razors to try the bridge, and I keep collecting bits & pieces mentioned in the DIY blogs so I can try them out.
Cheers,
Tim
PS The technical stuff for those interested.
Firstly, a major Australian hardware chain is currently going out of business so I purchased almost everything at 30% to 50% discount.
The table frame is made from 18mm x 47mm dressed pine, and some same size dressed red oak because they ran out of pine. There are five main beams running long ways, with appropriate shorter cross pieces. All the outside joins are fixed with metal T brackets. The legs are 70mm square pine that I got for free from another hardware shop because they came as rough sawn packaging in timber deliveries. I ran my belt sander over them and they came up almost as good dressed timber.
The wheels were 50% off and are all locking wheels because they were $3 cheaper than the non-locking ones, which also means I can secure the table. The table top is a sheet and a bit of MDF that I had already paid full price for elsewhere. I have painted the top in Mud Pie colour for now. And I put two handles on the side I pull out. The legs are positioned so they move between the things that have collected under the pool table. It also means sagging in the middle is reduced. The whole thing is light and manoeuvrable.”
A huge thanks to Brian and Tim. And they’ve inspired you, don’t forget the Beginner’s Guide is here.
That’s all this time folks. Please do keep ’em coming.
Hall of Fame member, Dangerous Dave, has been in touch again:
“Hi Al …just uploaded a new video showing that class 24 from Suttons , now run in and pulling a rake of coaches with the lighting fitted , also shows how to make trees for model layout cheaply and easily , and how to add pedestrian crossing lights, again without spending fortune …
“You don’t have to run wires under the model layout for the lights in the building, you can run them through the power lines and actually have the power running through them. I have built my power poles out of broken or bad track and than solder wire to the track and insulate it, run it into one of the windows and than place the wire inside.
Jon”
That’s all for this missive I’m afraid folks – I am hopelessy short on time today.