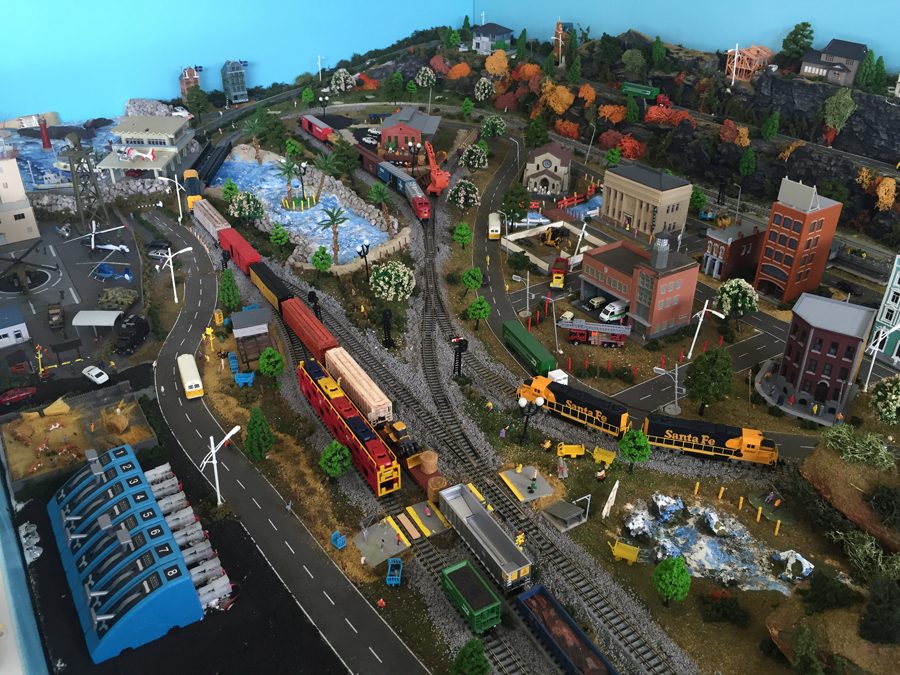
Indoor G scale

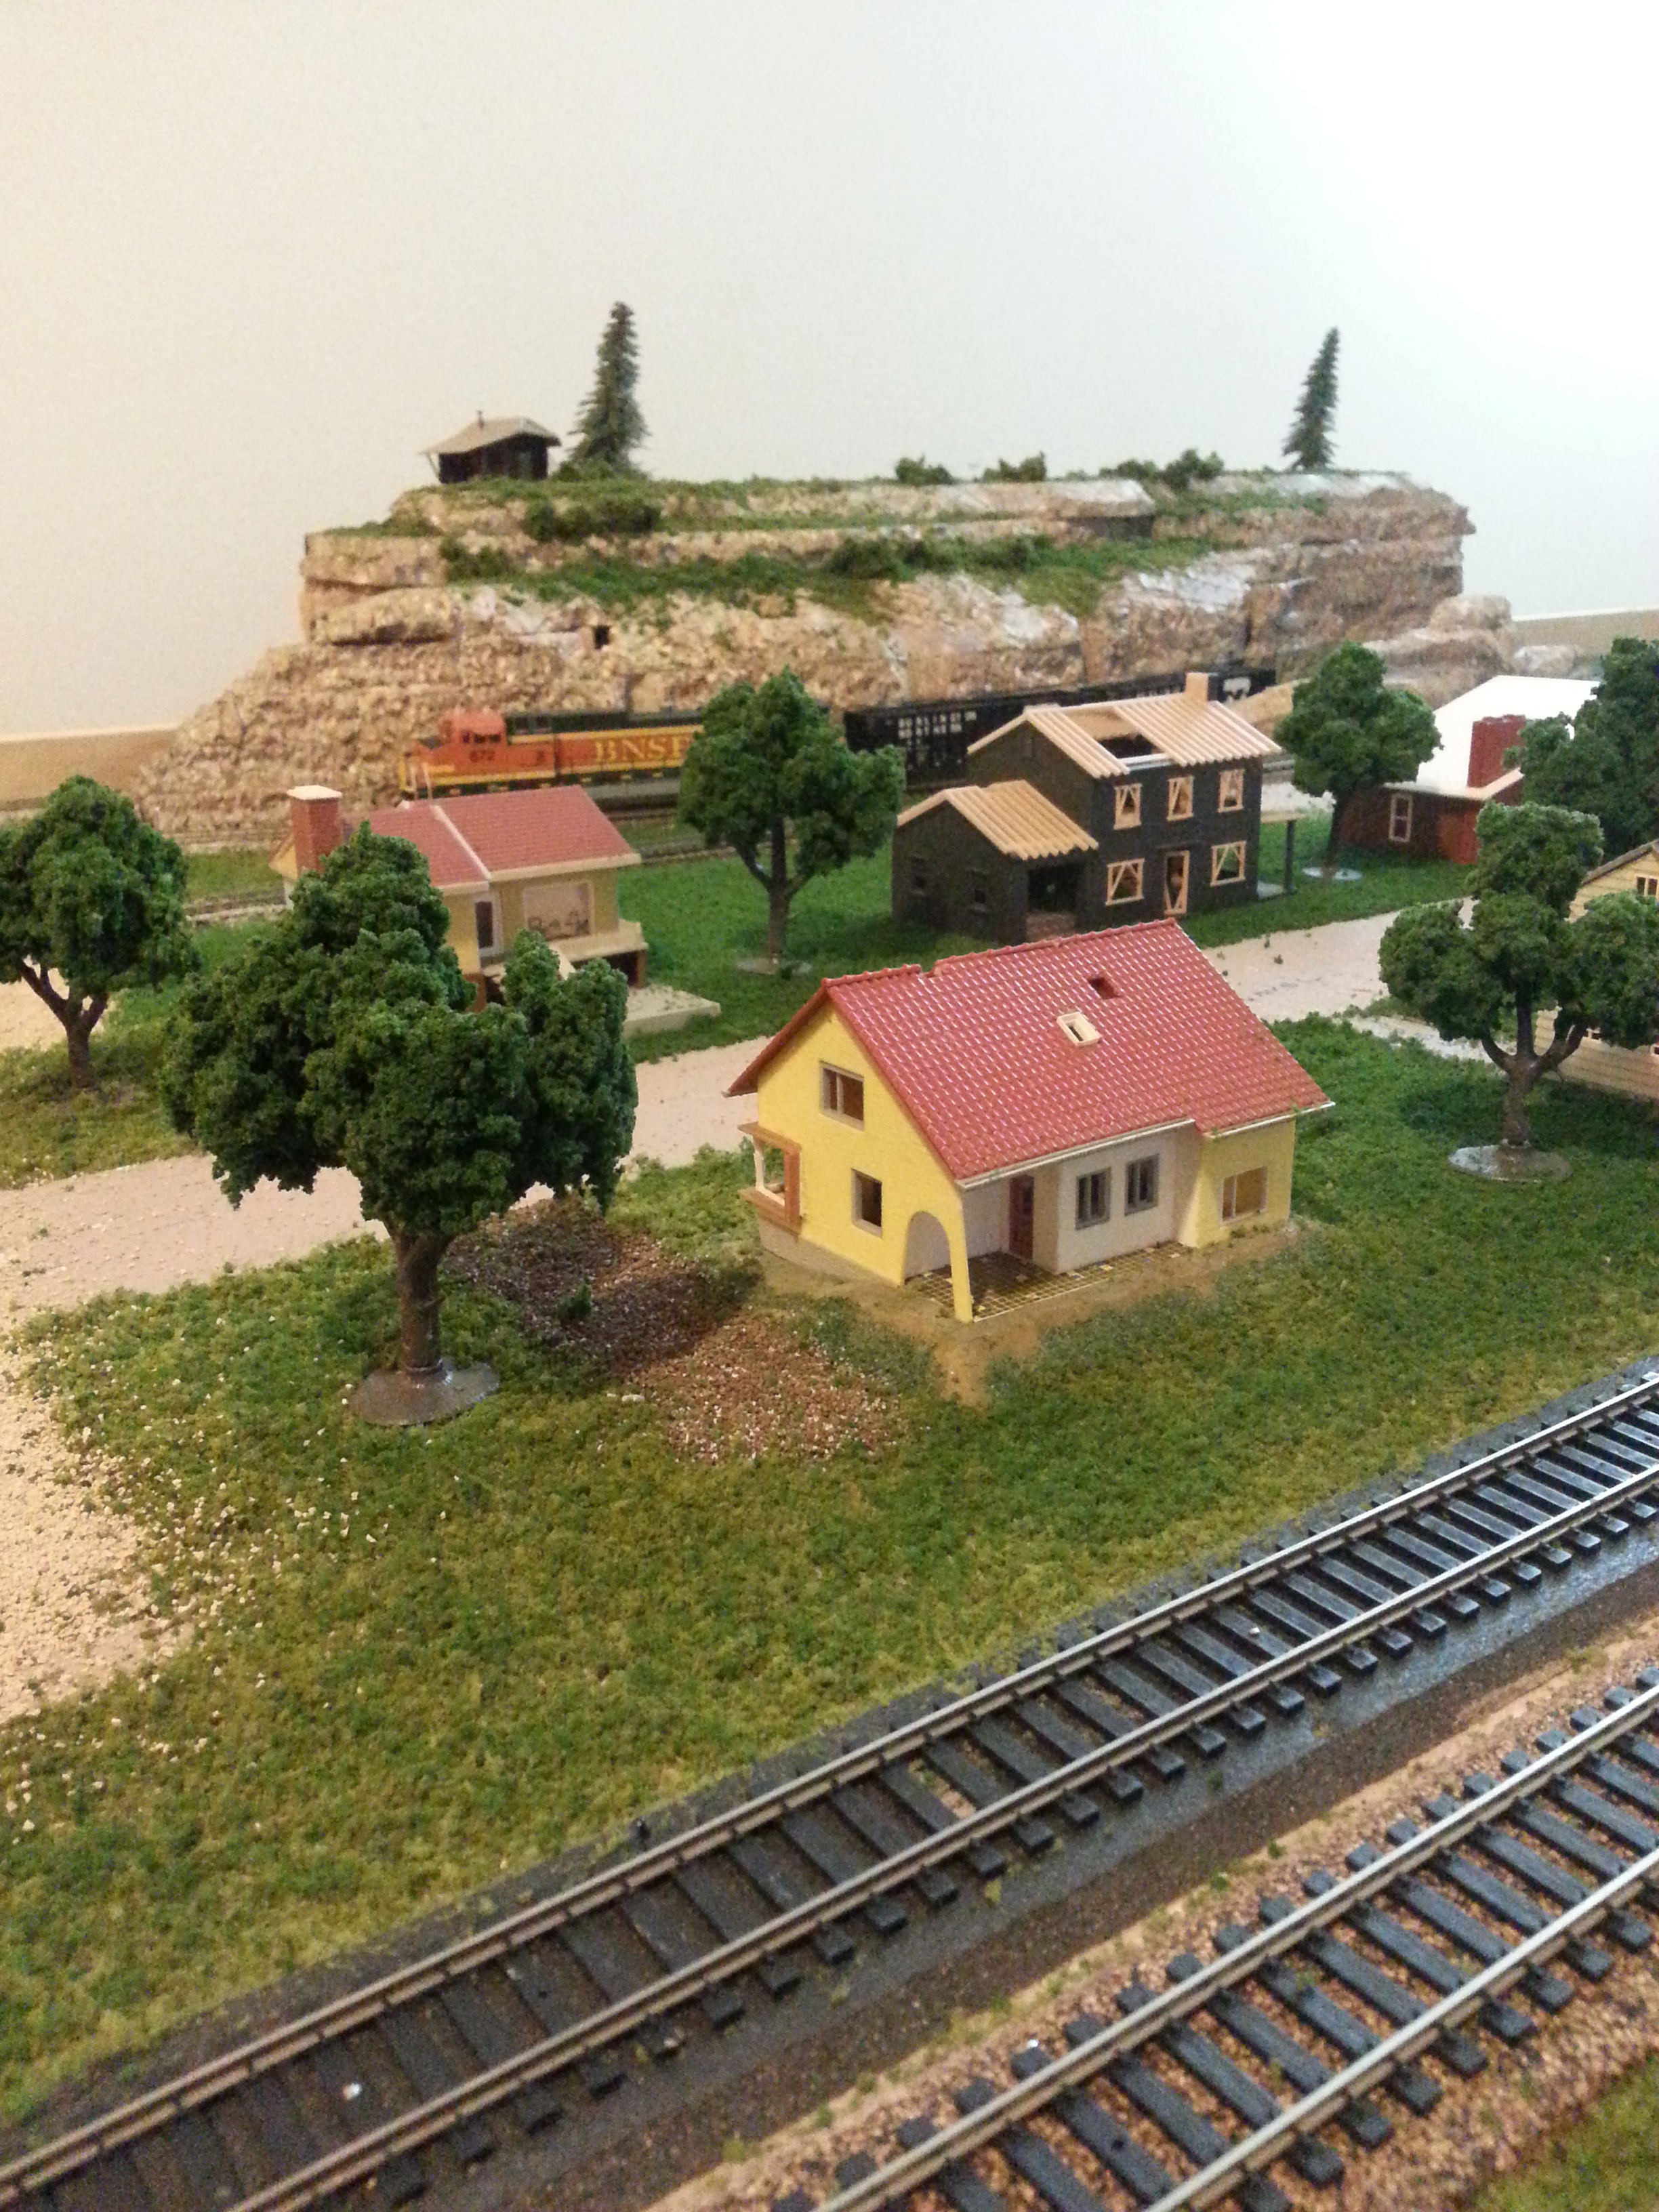
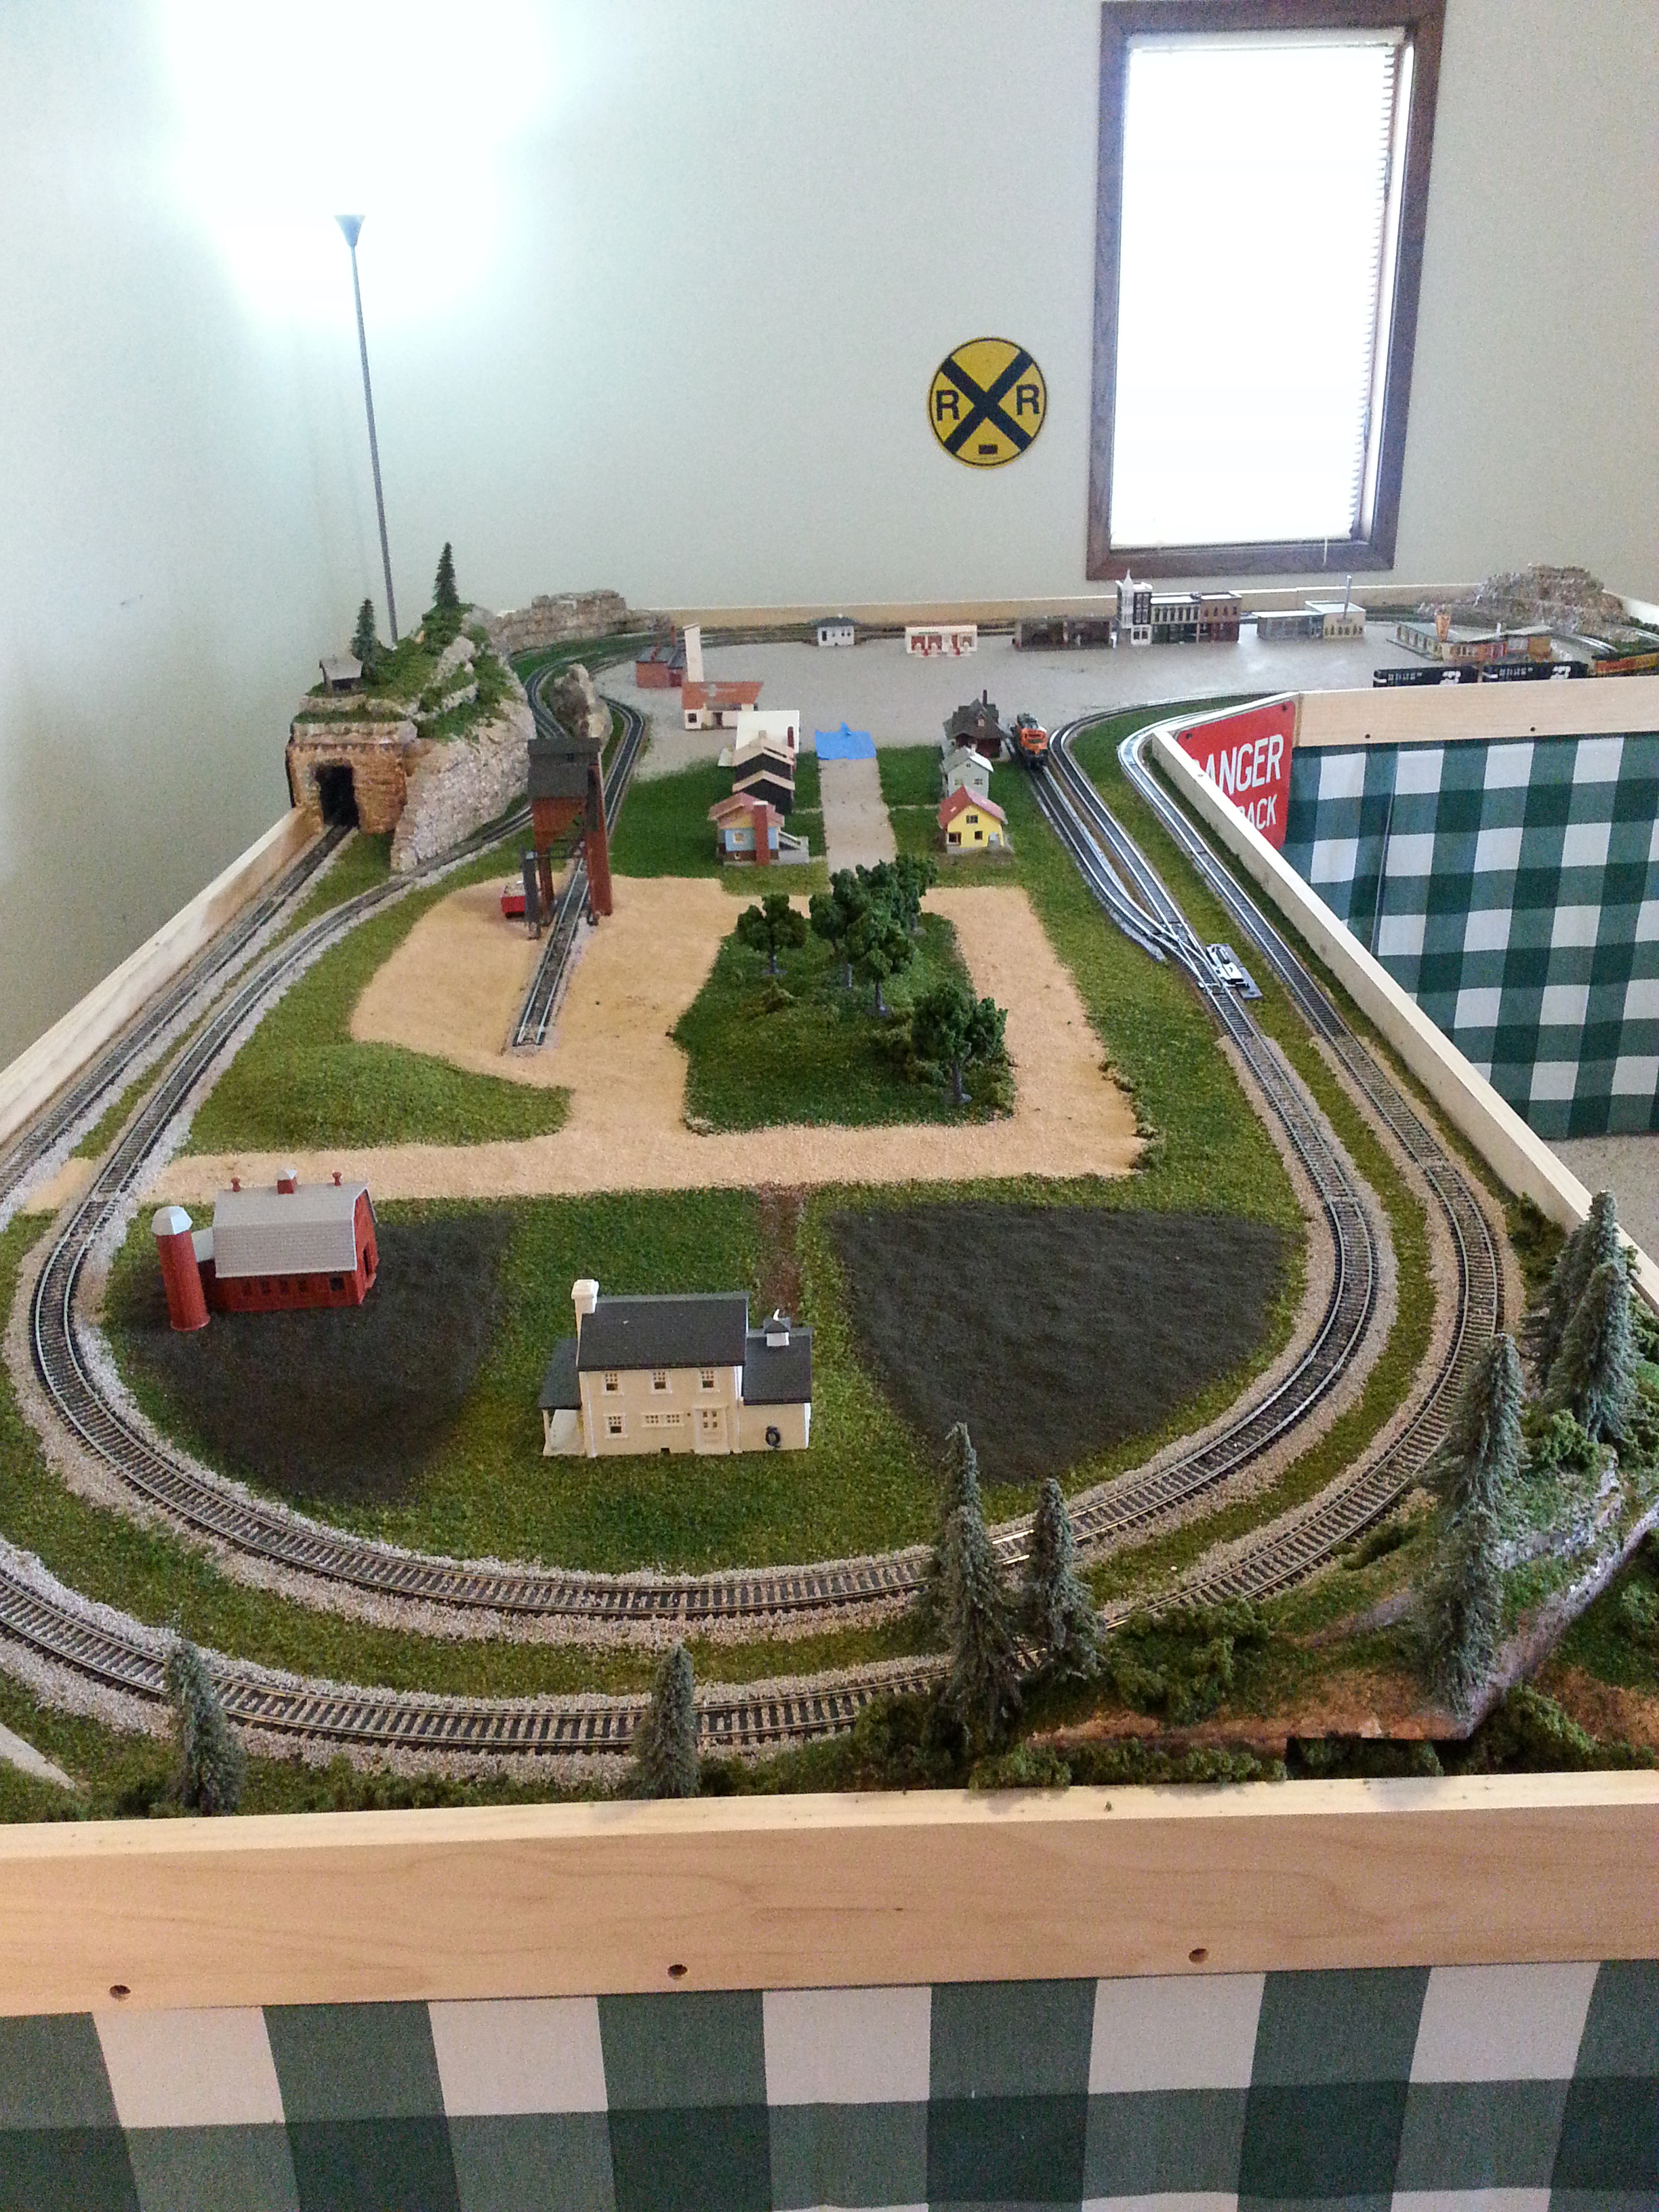
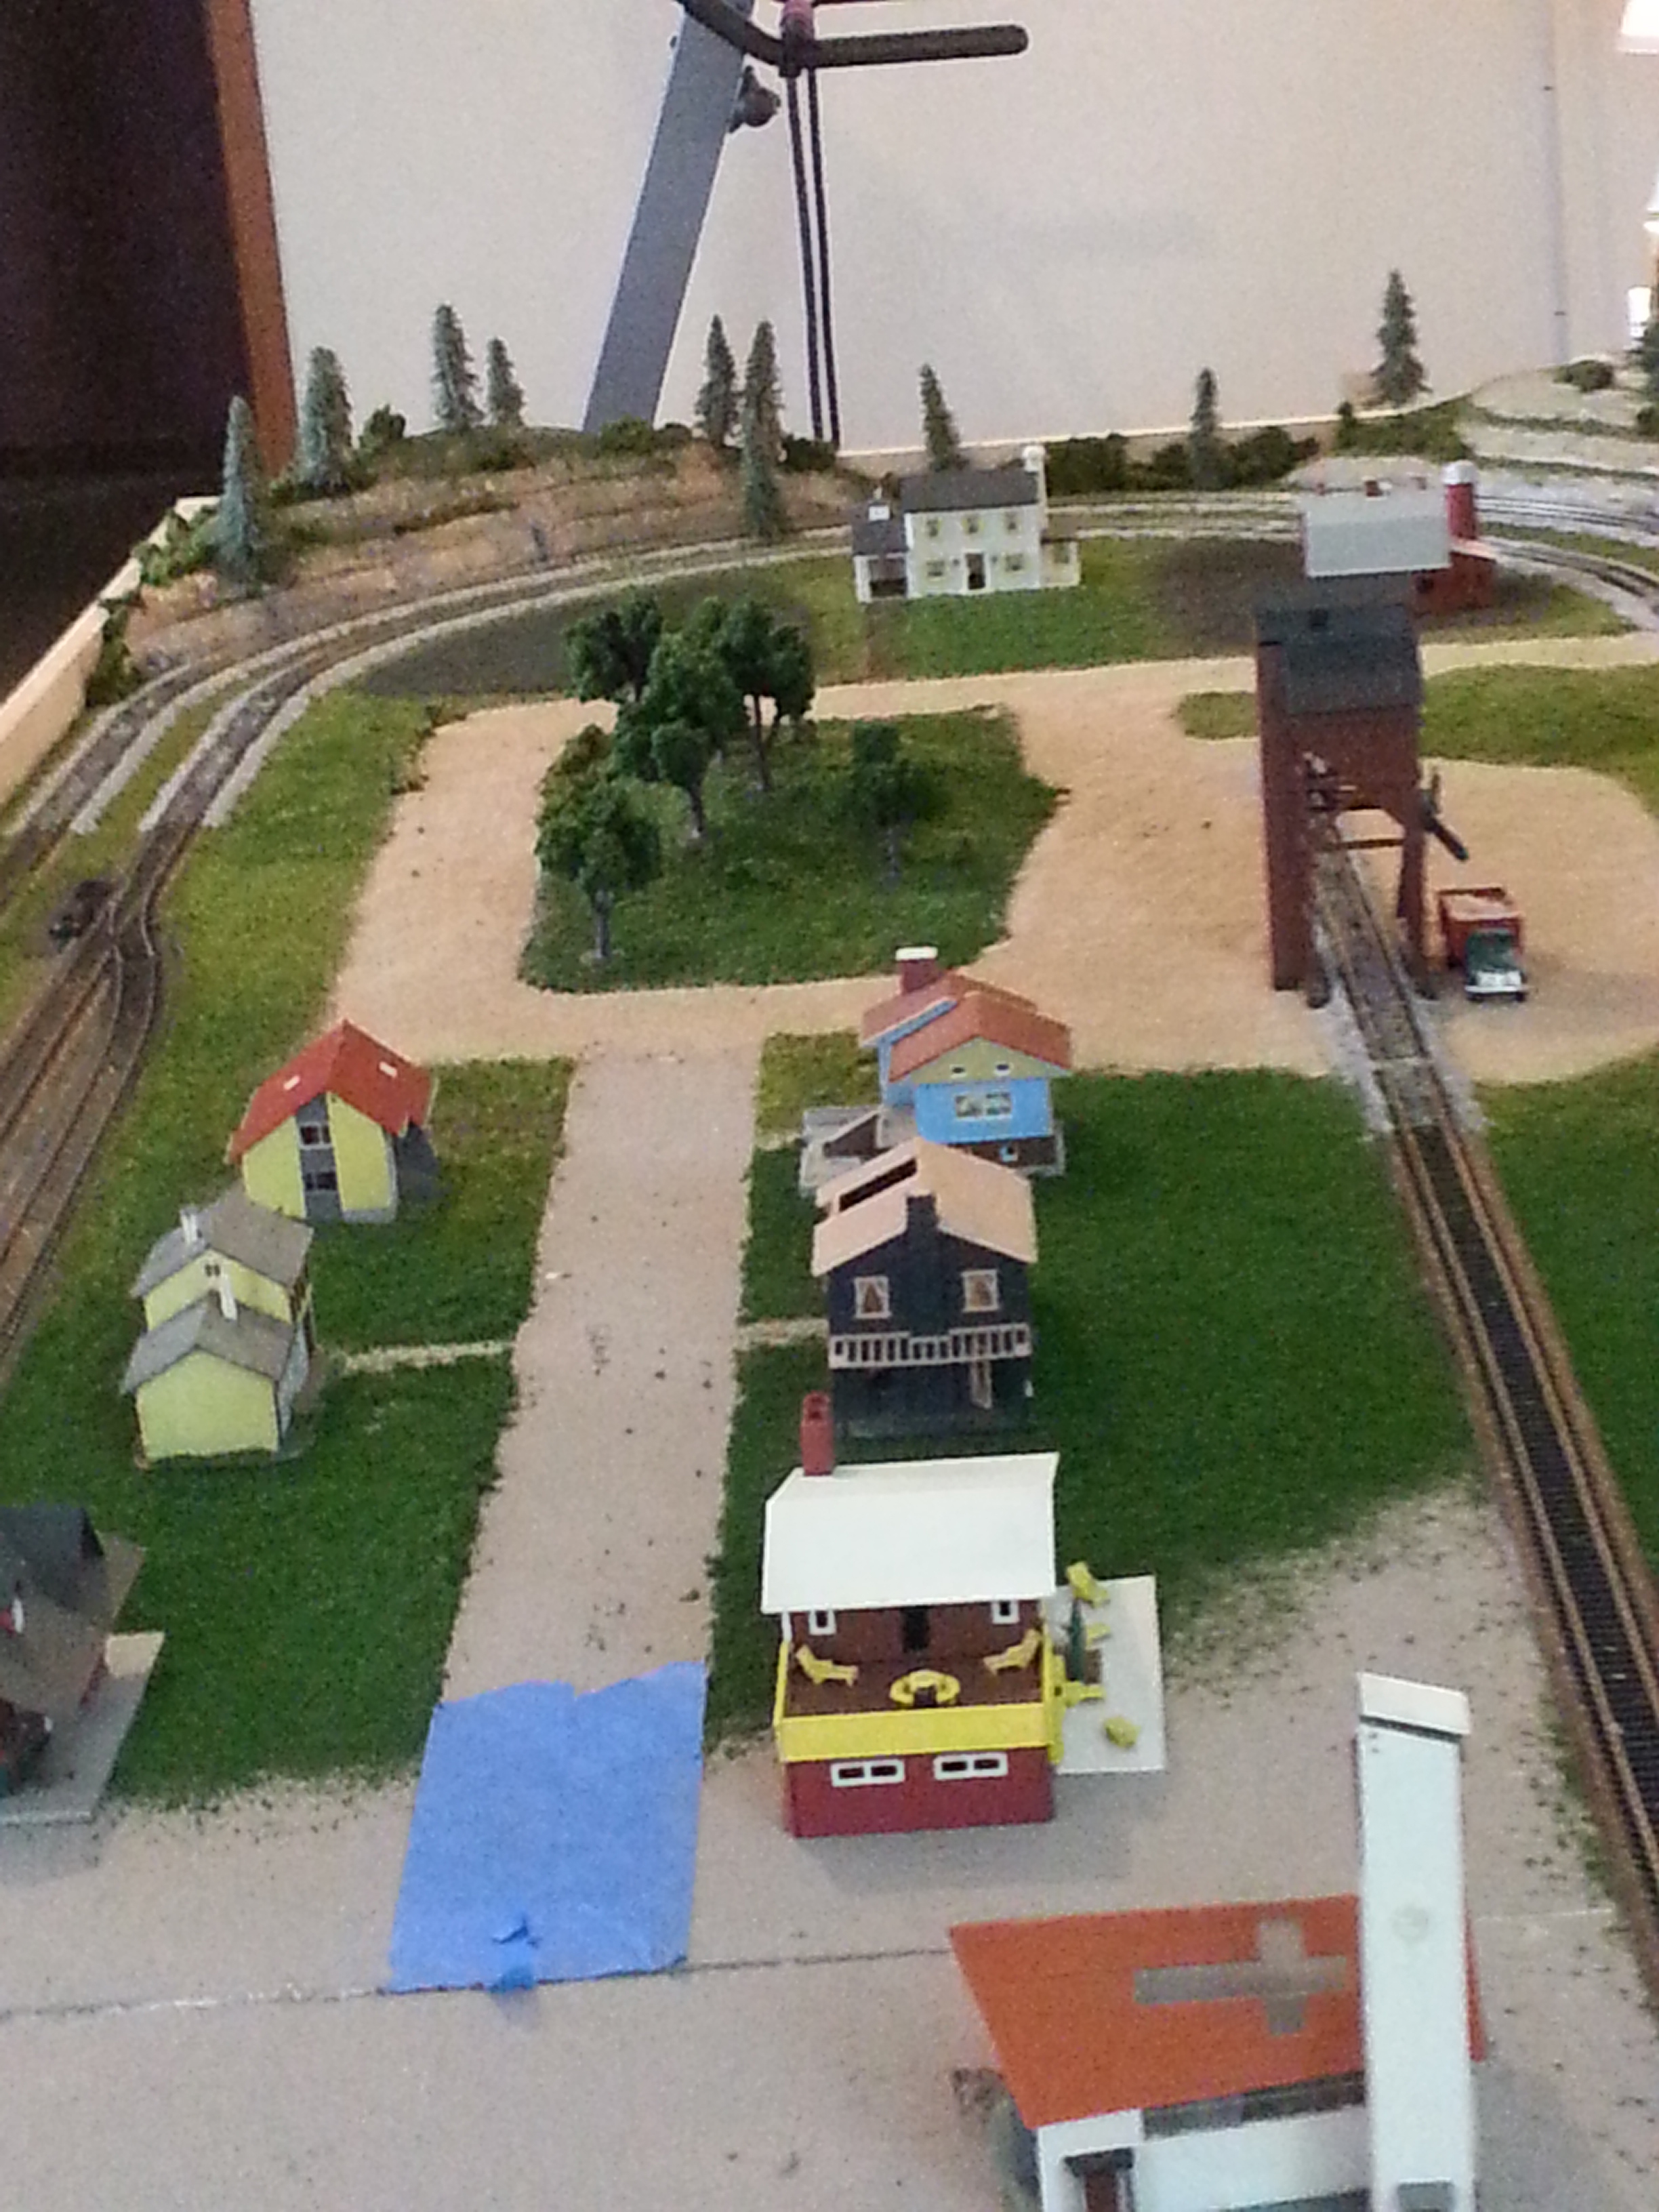
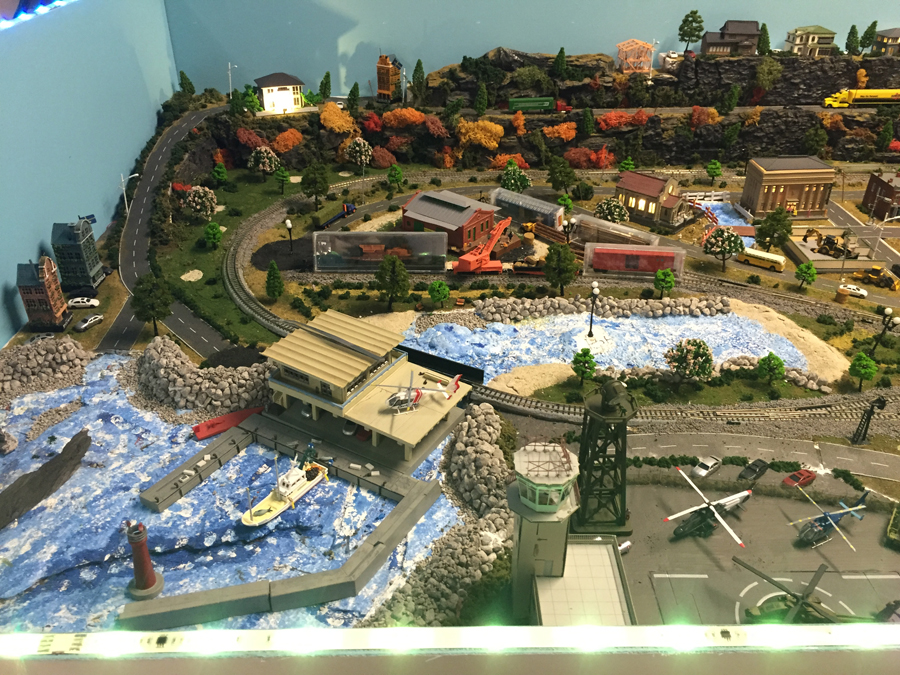
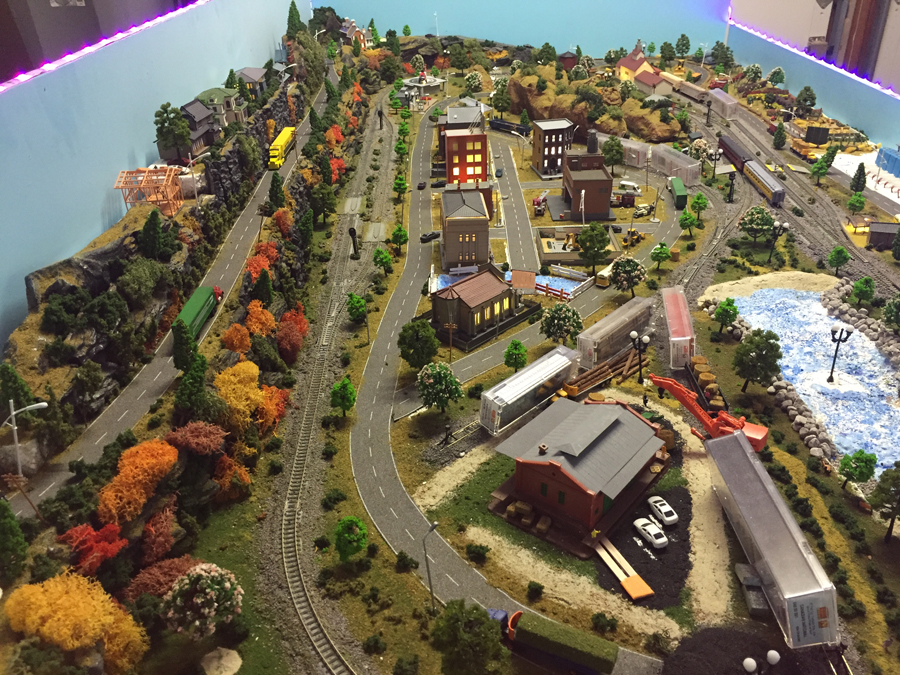
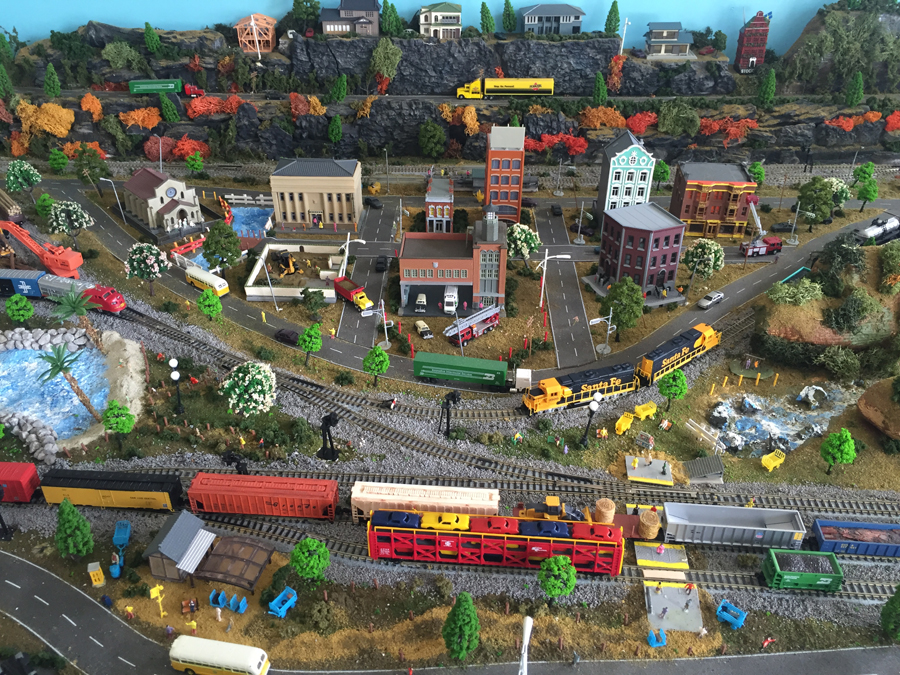
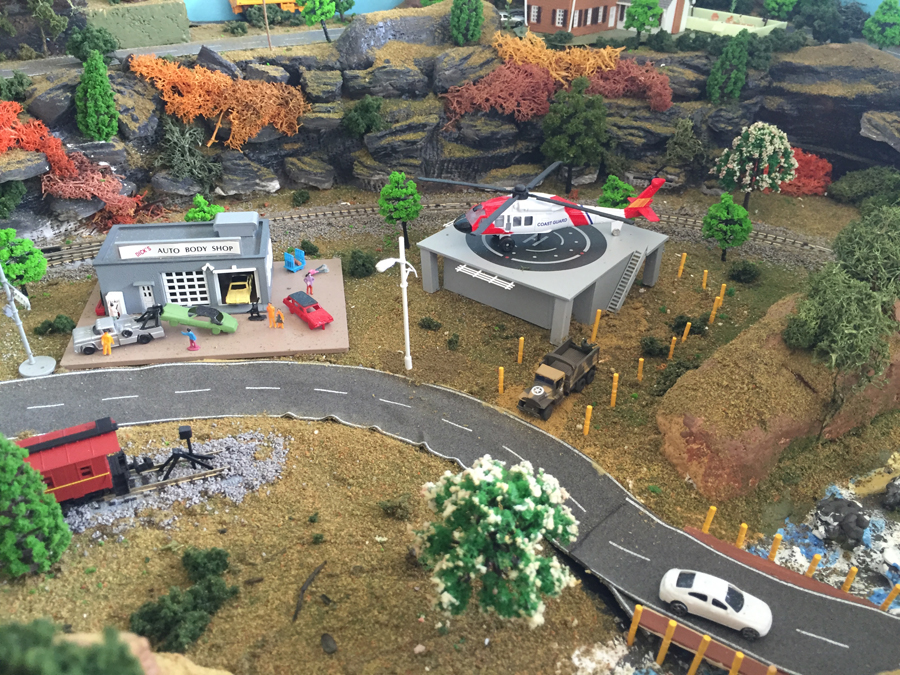
Dick’s been in touch with his indoor G scale layout:

“Al:

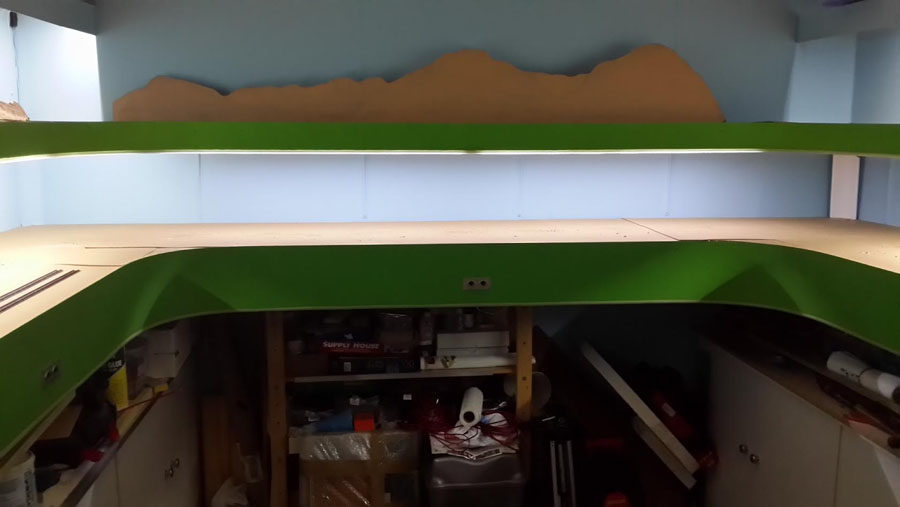
As mentioned before, I decided upon using 3′ by 6′ tables as standard.

24 tables were made. I precut all required 2 by 2’s for perimeter frames, cross braces, legs, and leg wings.

All holes for screws that attach leg assemblies to the tables are pre-drilled in the exact same spots so the leg assemblies are interchangeable. Only 2 crew sizes are needed.

I hate to waste lumber, so I figured in all of my cuts to use up every last bit of wood I had.

All framing is glued as well as screwed together. The result is lightweight tables that are strong enough to support my weight along the edges and centers of each table.

Should the need arise to actually climb up on top of the tables I lay a thicker mat of plywood or 2 by 8’s or whatever on the tables to rest my hands and knees on.

Just like using dominoes, I can make most any configuration with these tables.

When the tables are in place, then short metal bars are used to tie the tables together as can be seen in the photos.

The tables are kept sandwiched together by using simple metal strips connecting adjoining tables.

Each table is identified as table 1 through table 24. Each table has a North end and a South end labeled.

Each leg assembly is also labeled with table number and North or South.

Even though the leg assemblies will interchange with the tables I found slight variations so decided to number the legs as well.

Next came the scaled detail diagram showing table layout, and table orientation, I plotted a track diagram that would fit nicely, then using my diagram as a guide, I then drew the layout in pencil on the tables.

Next came the track sections to match the layout center lines drawn on the tables.

After all track was in place, I labeled each track section and marked it out on the table also so I would know where each section went each time the track was assembled and taken apart.

The roadbed was then painted on which looks very good really, using a mixture of paints and stippling them on for a 3-d effect.

More pictures to follow will show the simple painted on rivers, some greens and browns. The majority of the tabletops were left bare as they already have a fairly nice earth color to them.

Wiring is kept very simple, all wiring laid on top of the tables, no permanent under table wiring to snag. Wiring on top is easy to disguise when necessary.

For this layout all curves are 8′ diameter and 10′ diameter with many 20′ diameter curves tossed in also. turnouts are all #6 Aristocraft switches.

Next up will be some discussion on era chosen, some scenes of Crow Agency Mt which is on the Crow Indian Reservation.

Thanks again Al.

I will work up part 4 next, after a couple days here when I have more time.

Dick Chapple Sr”

wood for layout

table legs for layout


Indoor G scale:

 width=

indoor g scale

indoor g scale

indoor g scale

indoor g scale

indoor g scale track plan

A huge thanks to Dick for sharing his indoor G scale. It’s funny how what you choose to make your layout on is so important – it affects so many things.

Make your layout table too low and you’ll end up with a lot of back ache, and of course, getting underneath the table is also a problem. But at least the little people can enjoy the trains too.

Making your table higher means it’s easier to get under it for the wiring – but then reaching the middle of it gets to be a pain the backside. And the little peeps won’t be able to see so much of it. And of course, derailments can whizz of the side of the table which sometimes becomes expensive.

In fact there are lots and lots of posts on this subject – because it really does have a huge bearing on your layout. Here’s one from Rob that proves the point

That’s all for today folks.

Please do keep ’em coming.

And if today is the day you get started on your layout, the Beginner’s Guide is here.

Best

Al

PS Latest ebay cheat sheet is here.

PPS More HO scale train layouts here if that’s your thing.



Suspended ceiling layout – Joe’s

Joe’s been in touch with his suspended ceiling layout:

“Hi Al,

I’m a retired police officer from nj and got back into ho trains this past feb, when i had to quit golfing due to two leg surgeries.

It’s been over 50 years since a had a layout and when a saw dcc i knew it was time to do it again.

My layout is in my garage 6 ft by 12 ft attached to cables and a 1500 lb. winch. the table top is pressed plywood and 2x6s and 2×4 framing.

Here’s pix of the buildings, some manufactured plastic but most i built using balsa wood and pix from online.

Joe”

HO scale farm

model train tunnel

model train waterfall

model tran station


Suspended ceiling layout:

HO scale model train

100_9211

100_9213

suspended ceiling layout parking lot

suspended ceiling layout

suspended ceiling layout printable building

split-level

suspended


Latest ebay cheat sheet is here

Now on to Ian’s suspended ceiling layout.

Last time I posted pics of Ian’s suspended layout (It’s here if you missed it).

Since then, Ian has kindly sent in some pics, and Joe has also got in touch with his suspended layout too.

“Al,

Ray asked how I suspended the layout I hope these photos will show how it is achieved.

Regards

Ian”

suspended ceiling layout

suspended ceiling layout

suspended ceiling layout

suspended ceiling layout

I think the first suspended layout on the site was Paco’s, which was quite some time ago now.

I also came across these tips while looking for it, which I thought were worth another visit. And these too.

Peter’s too: Suspended layout 10×8.

That’s all this time folks.

A big thanks to Joe and Ian for sharing their suspended ceiling layouts – there are quite a few of them on the blog now.

Please do keep ’em coming, because it’s getting very thin on the ground again this end.

And if Joe or Ian have inspired you, the Beginner’s Guide is here.

Best

Al

PS More HO scale train layouts here if that’s your thing.


Need buildings for your layout? Have a look at the Silly Discount bundle.

Suspend model railway from ceiling – Ian’s

I always marvel at what’s in my inbox each morning. A suspend model railway from ceiling? No problem, here’s Ian’s

“I have been building this layout over the last three years starting at the age of 65.

It is hung from the garage ceiling on four steel rods and can be winched up to allow my wife to park her car.

The board is 8X4 feet. Because of the tight curves I have used a number of diesel locomotives. I hope it is of some interest to your members.

Regards

Ian”

suspend model railway from ceiling

suspend model railway from ceiling

suspend model railway from ceiling

suspend model railway from ceiling

suspend model railway from ceiling

model train track plan

Ian’s suspended layout is fantastic – it reminded me of Gary’s, which isn’t suspended, but folds away:

Folding model railroad table.

Now on to Dangerous Dave, who has been in touch. I think he’s been on the sherry again:

“Hi Al

Not a lot happening as yet …been away on holiday ..then been doing a lot with my Koi Pond ..so to day first time for a while got to visit my loft and Model Railway …I have a new Loco coming this next week the Class 43 HST which of course has had a lot of publicity this last few weeks as its the 40th Anniversary of this famous High Speed Train …but to be going on with I have just made a fun video trailer which I am sure a few will find amusing !!

Regards

Dave”


Latest ebay cheat sheet is here

“I’m a 3 rail O gauger. I use Gargraves track and turnouts. I use chicken grit for ballast and paint the platform an earth brown. I decided that it is to critical to attempt ballasting the point area. Everything else gets ballasted and no one notices, or if they do, do not comment.

Thanks for the tips.

Ernest”

“Hi Al, I want to tell you about a rack I made to reduce neck strain while working on couplers and upside down ho engines. Can you help with that?
Thanks,

Tricky Dick”

couple-table

A big thanks to Dick, Ernest, Dave and to Ian for sharing another suspend model railway from ceiling on the blog.

That’s all for today folks.

Please do keep ’em coming.

And if today is the day you get started on your layout, the Beginner’s Guide is here.

Best

Al

PS Latest ebay cheat sheet is here.

PPS More HO scale train layouts here if that’s your thing.