Rob starts again

“Al,

I have been following your site for a while now and I enjoy all of the posts and tips.

As with many of your readers, I have gotten the “BUG” again after many many years thinking about it.

I had a large HO layout in my parents house as a boy but after college, marriage, etc, I never had the time to start another layout.

Well, my in-laws came across a box of Lionel Tin plates (Pre-war). For those who are not familiar with Lionel grading, they made all of their trains out of metal until WW II. After that they started using plastics.

I was always fond of Lionel trains but HO was the popular scale in the 70’s so that’s what we built. Well, I jumped in with both feet, started with a small 2-4-2 steam engine and some track.

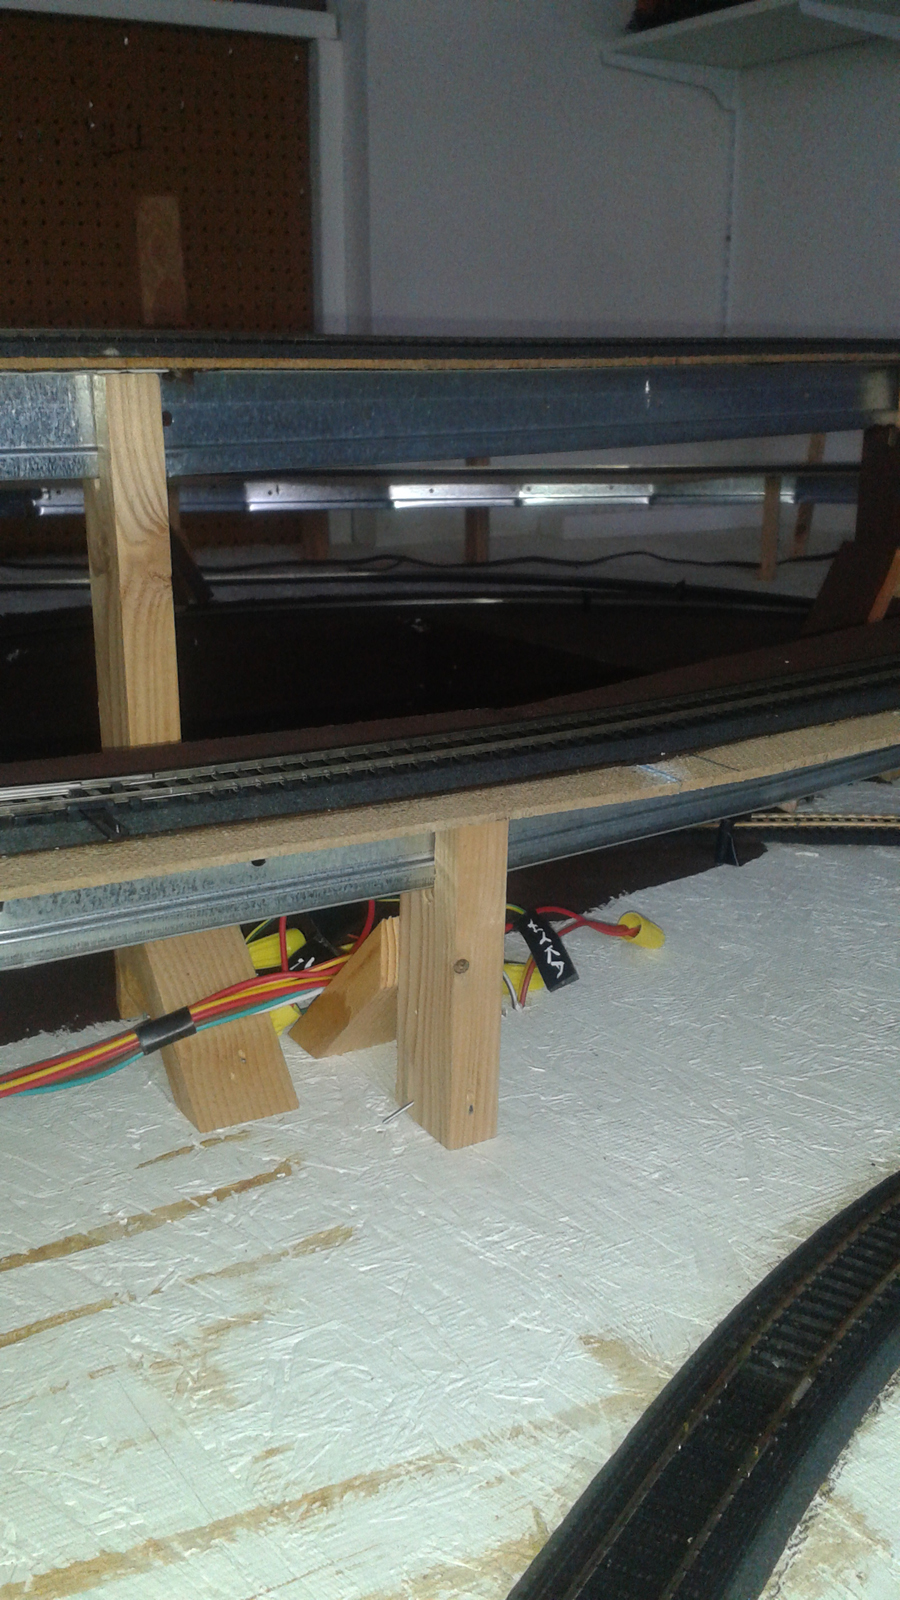
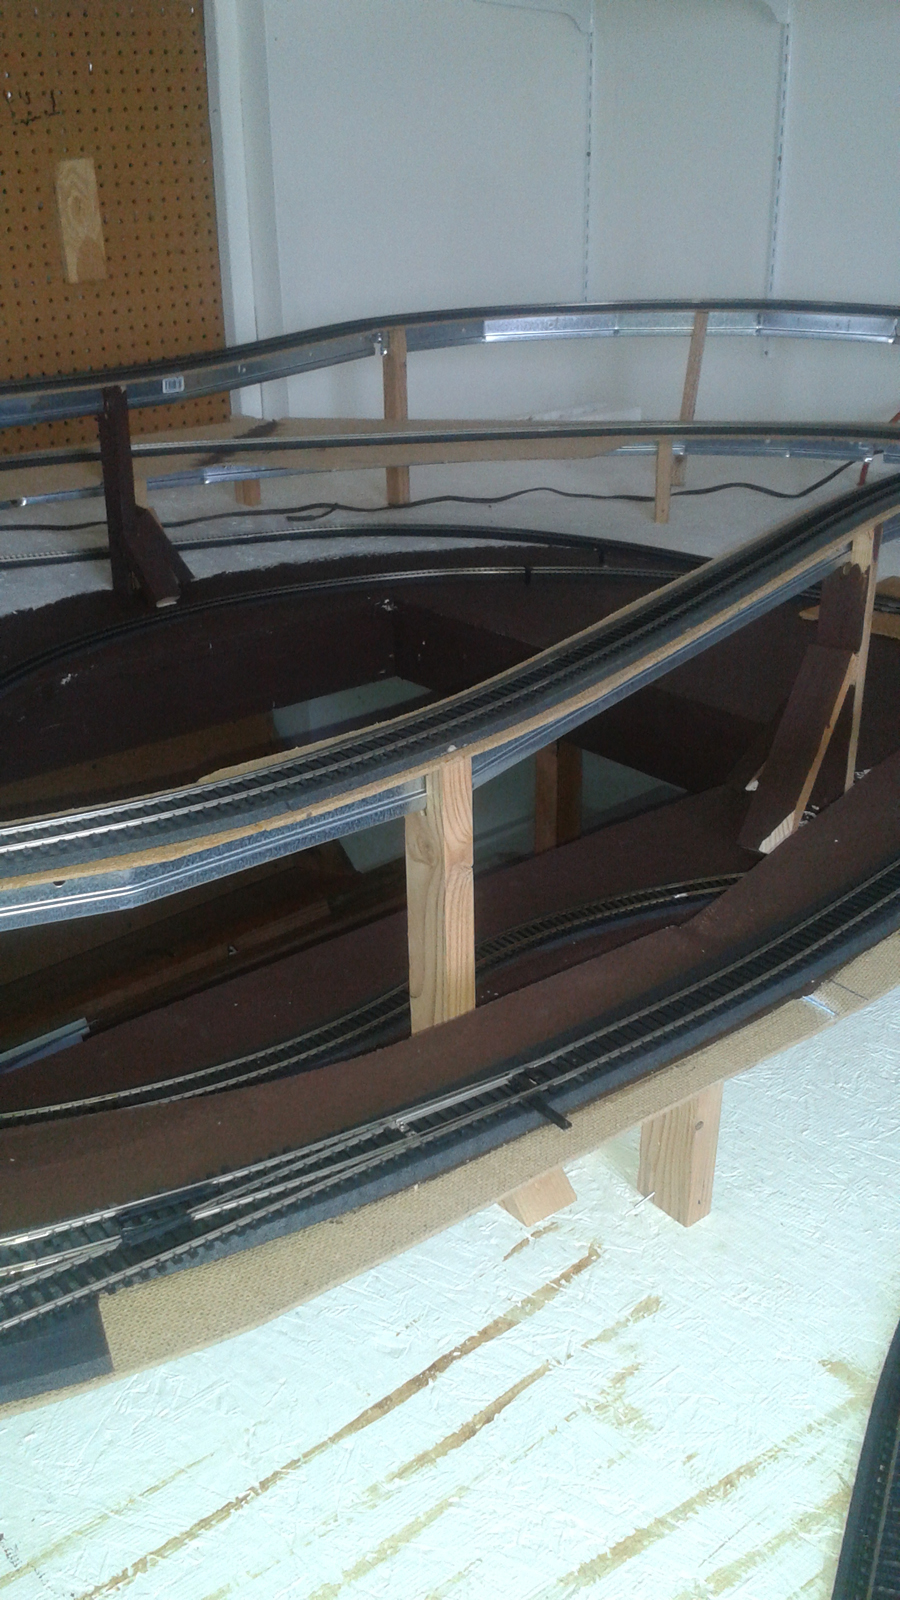
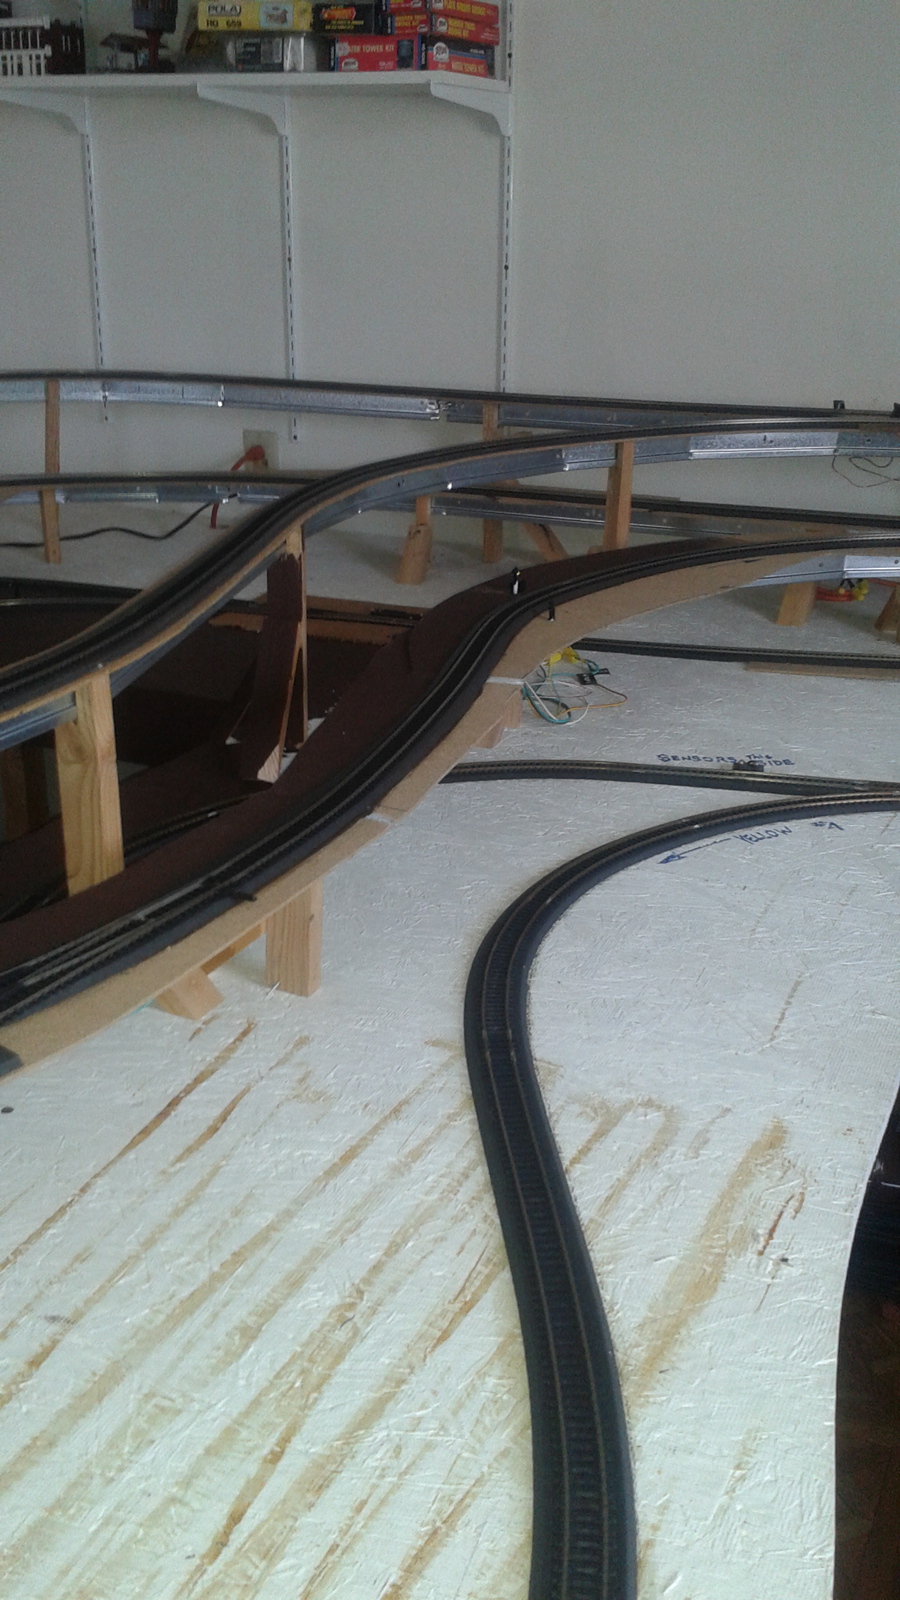
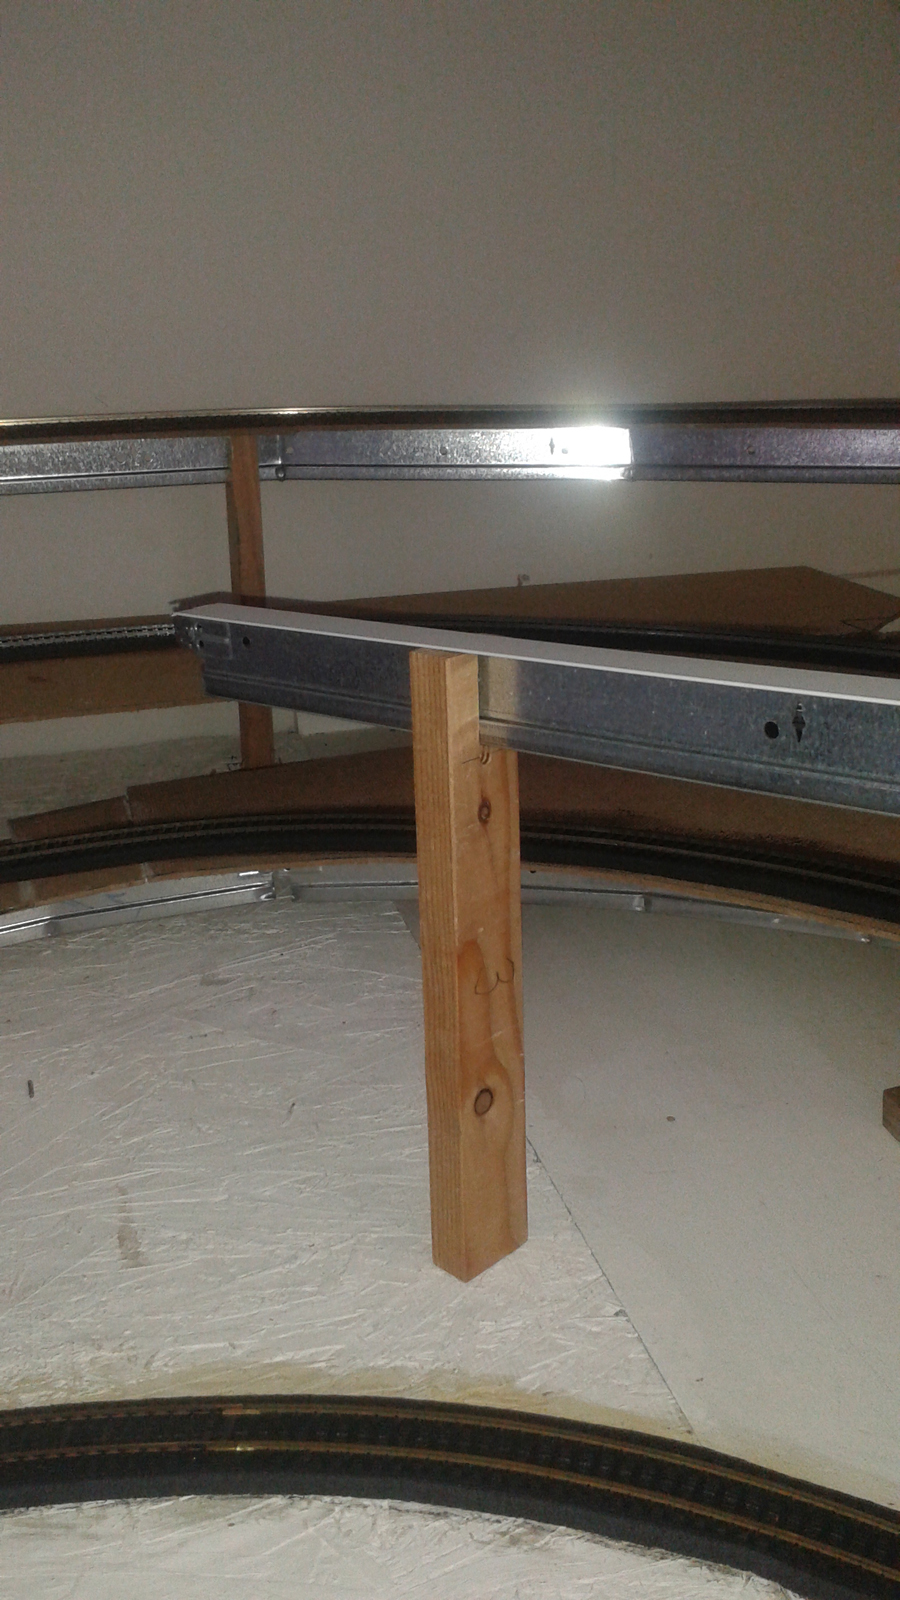
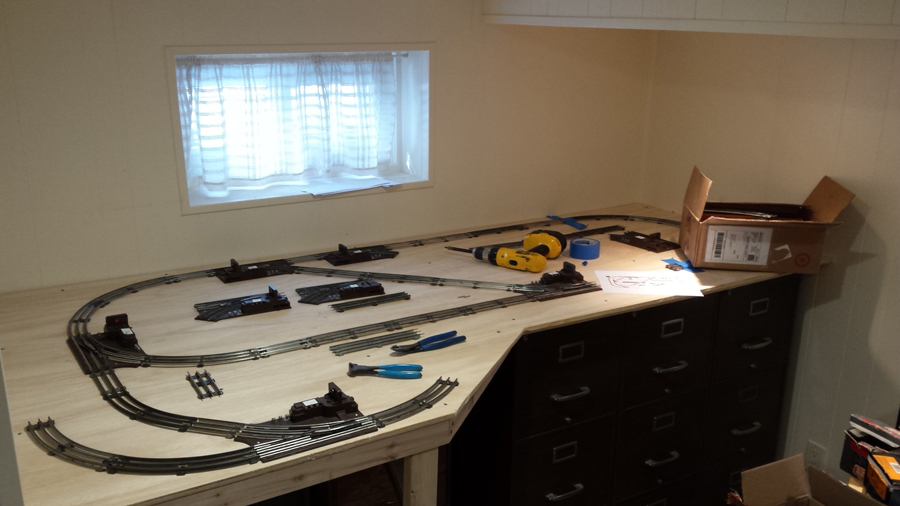
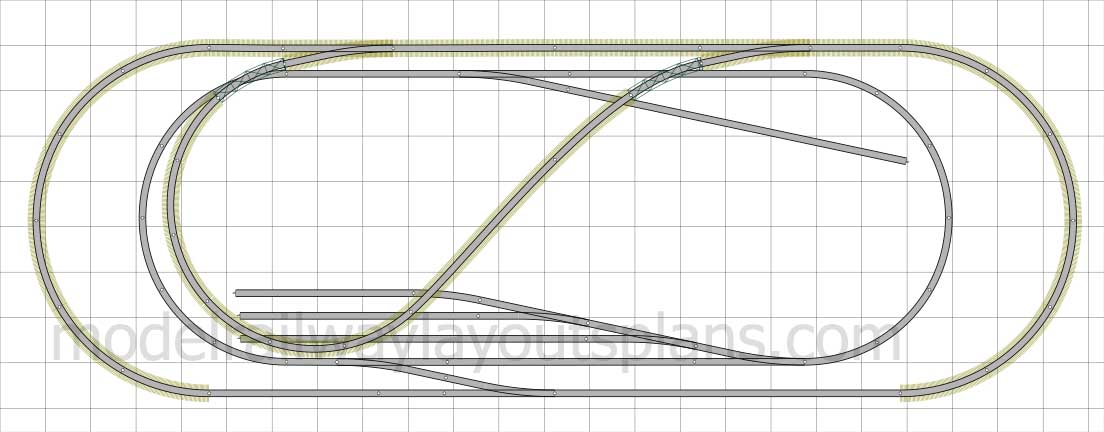
I recently negotiated for some space in the basement for a 4 X 8 table and began construction.

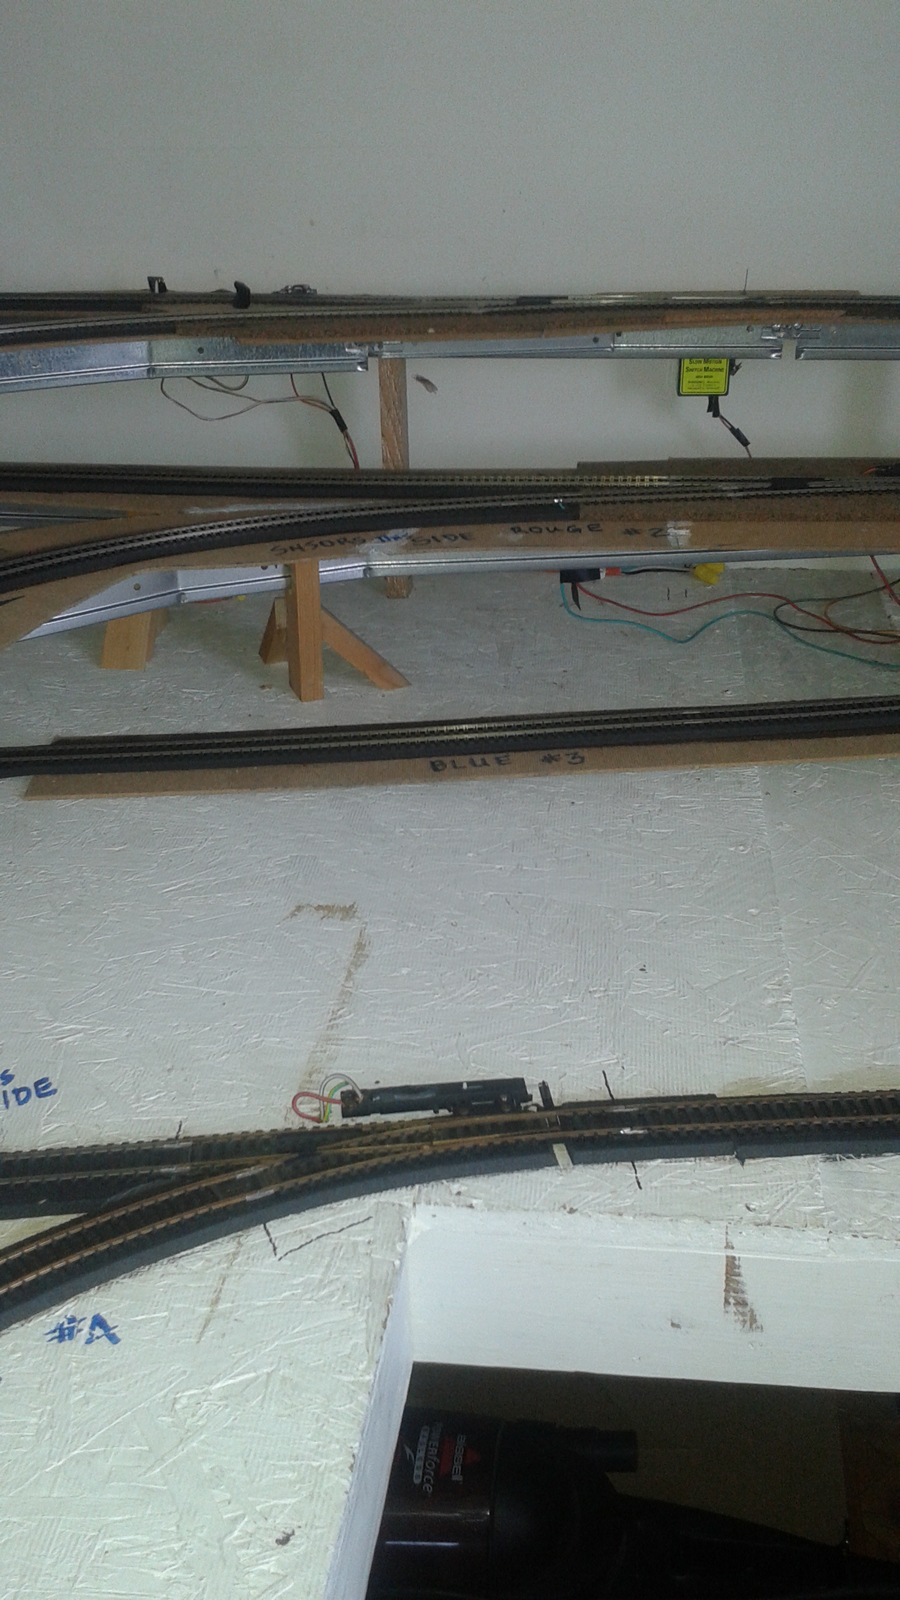
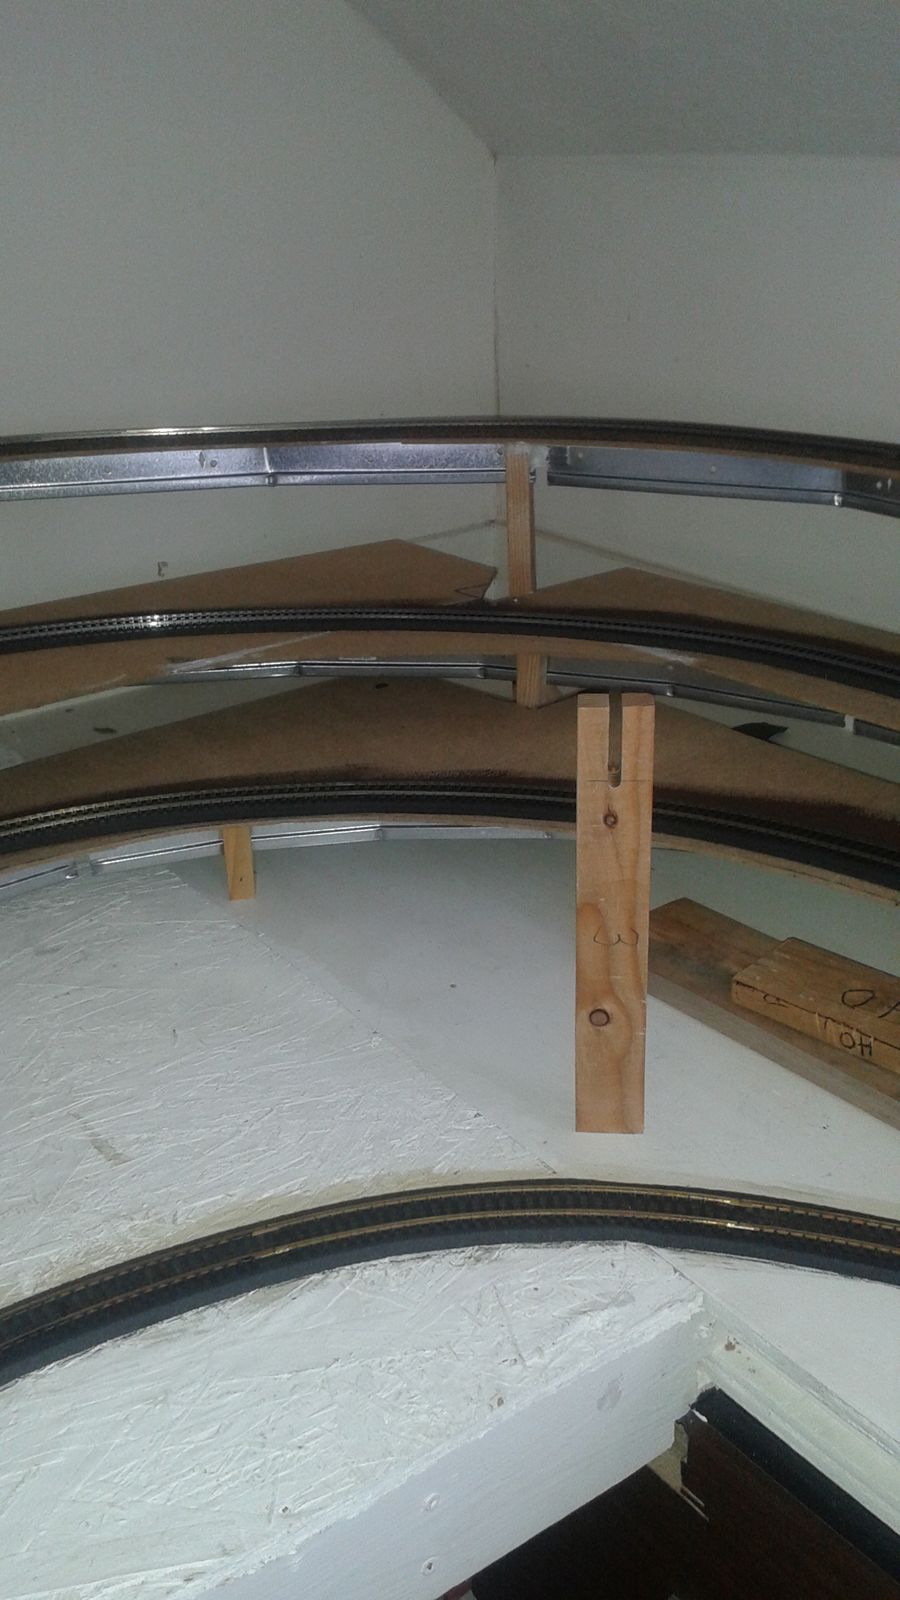
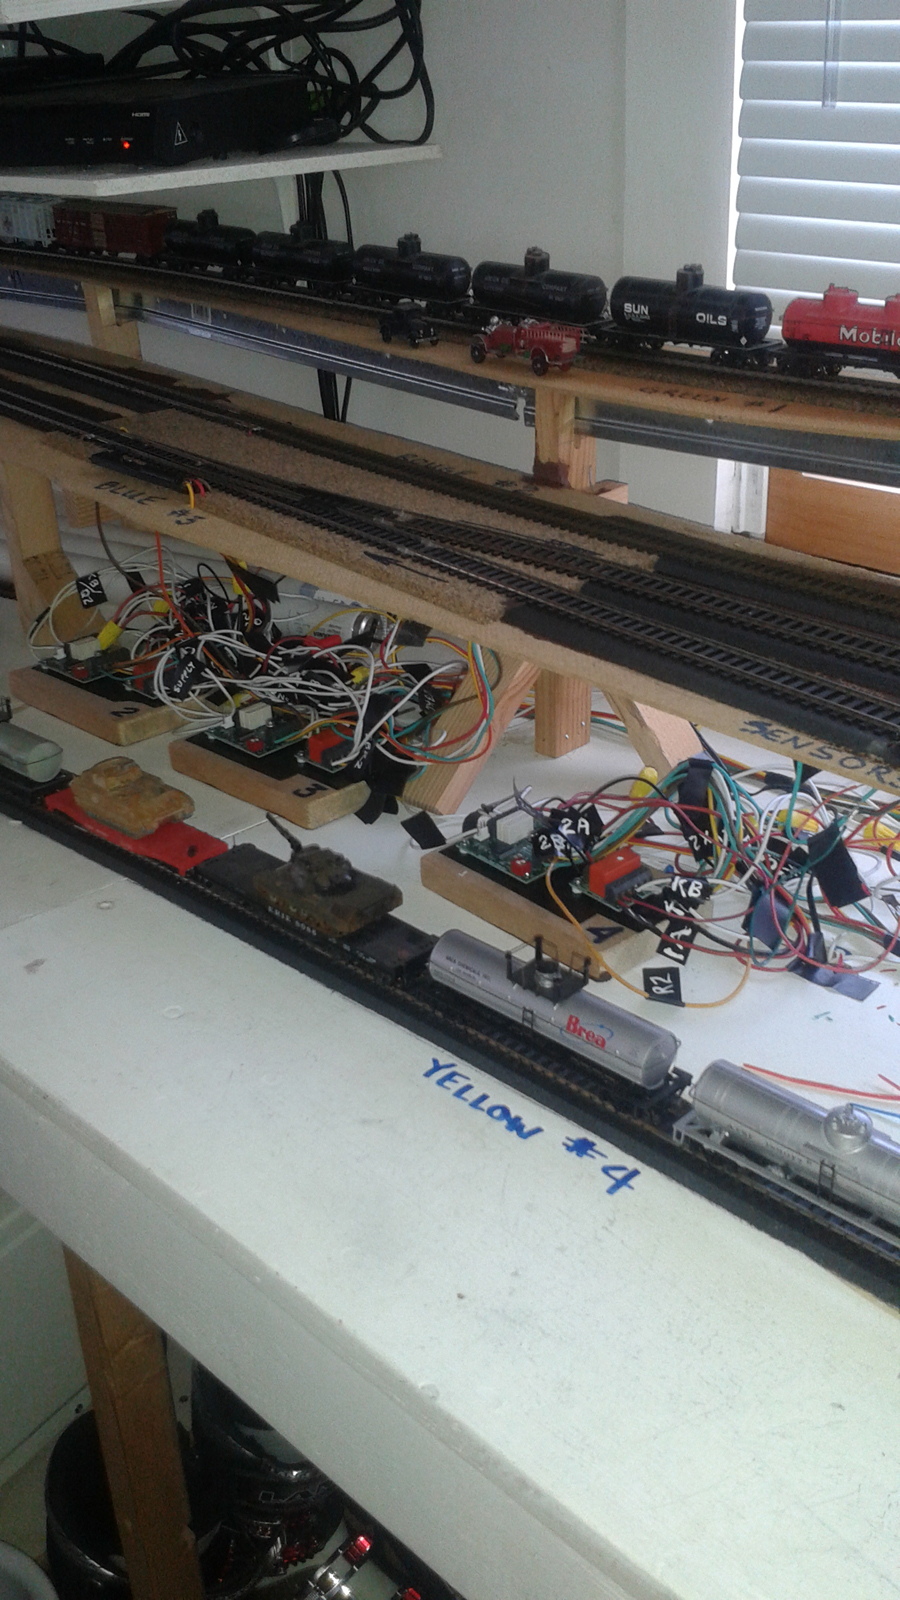
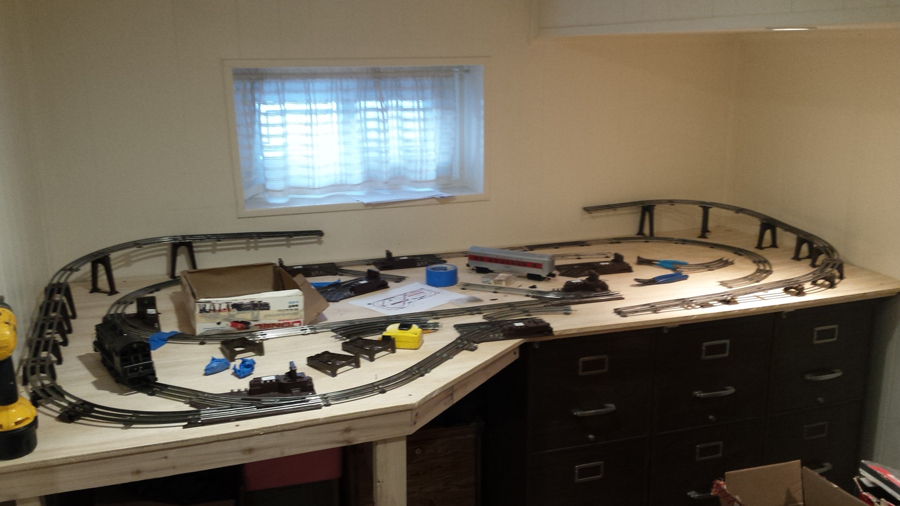
I have always been more interested in running trains than scenery so I have jammed in as much as I could fit. The track it all O27. I have just about finished laying the track and will be wiring next.

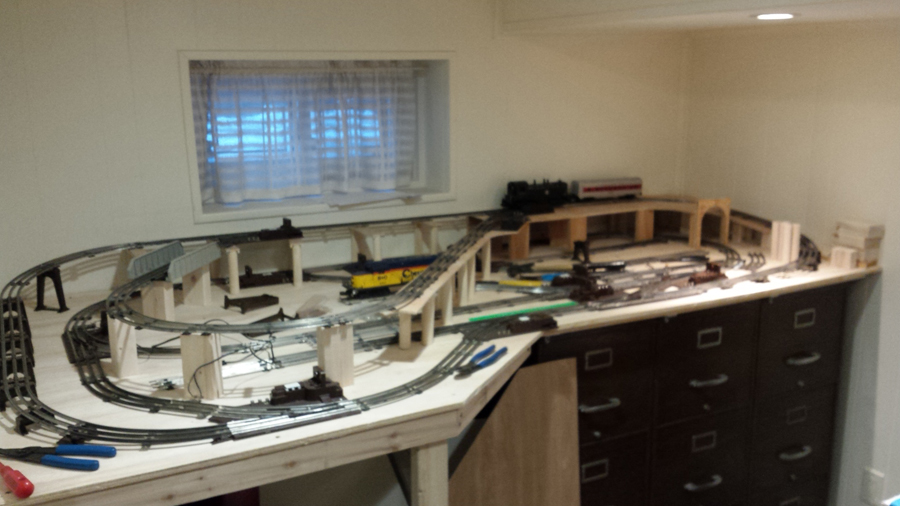
I have done some test runs and so far so good. I will work on the scenery last, but I will do it this time.

I have a mix of steam and diesel, passenger and freight so I can keep changing as I like.

No particular line or theme to the plan as of now.

I got my 11 year old son the Lionel Polar Express set for Christmas and he is anxious to see it run.

The detail that Lionel put into the set is amazing, one of the best Berkshires I’ve seen.

I have attached a few progress photos and a short video.

Thanks,

Bob S,

Long Island, NY, USA”

2016-01-31 13.24.32

2016-01-31 16.05.16

2016-02-07 16.59.12

model train track plan


“For me the important part is to get as much out of my hobby as I can without spending too much money.

To that end I go to flea markets, garage sales and train shows to find good deals on collections of old Tyco rolling stock. For not much money I can detail, repaint, add knuckle couplers and steel wheels, and other minor items and get a nice looking and nice rolling fleet of cars for not much money, but a bit of time and work.

Rick”

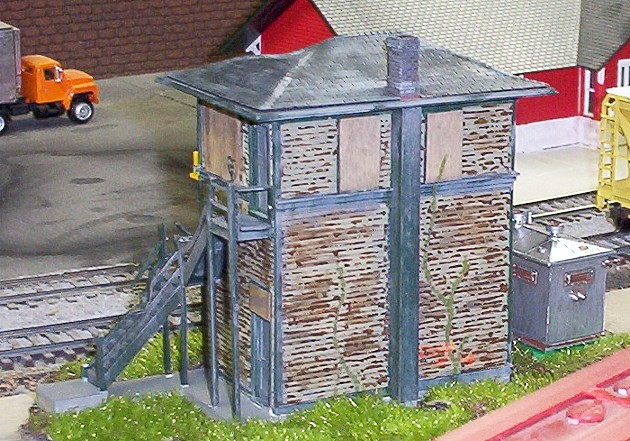
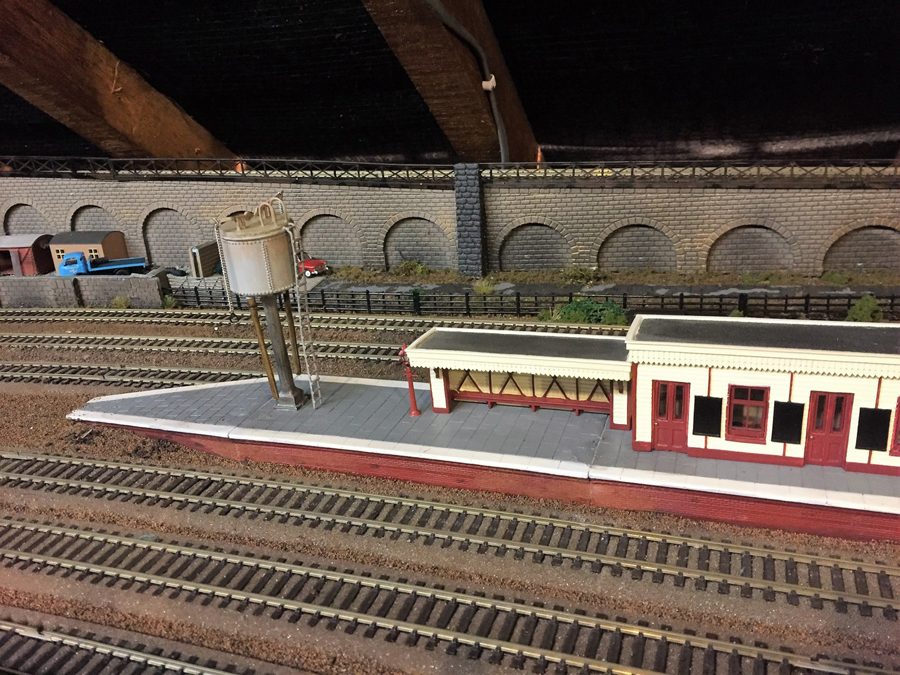
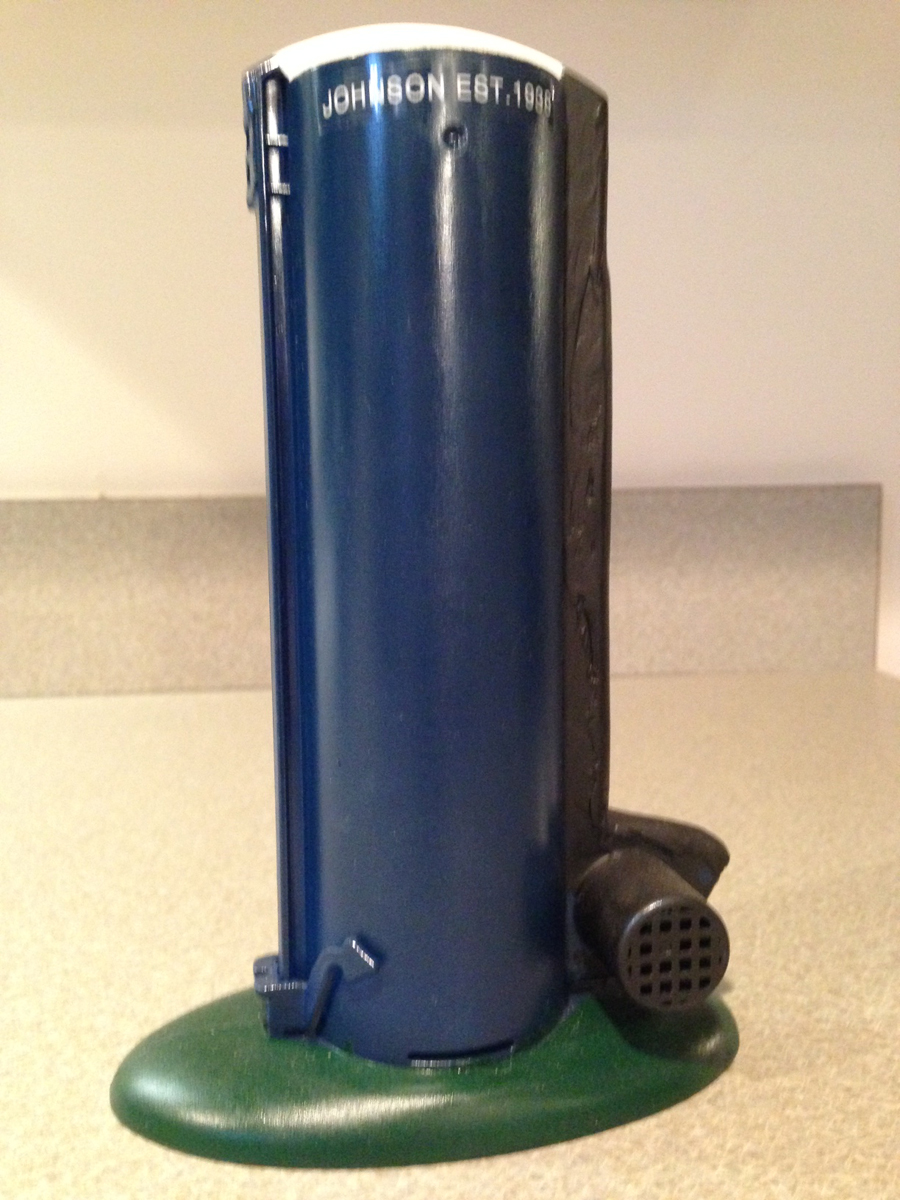
“I signed up for your emails about a week ago. One of them mentioned what you do with oddball things you find that you can use in your train layout. Was laying in the hospital bed a couple years ago and was looking at this breathing machine that was supposed to blow into to see if I had enough strength in my lungs. I said you know that looks like a silo. So here it is!

Roger”

silo


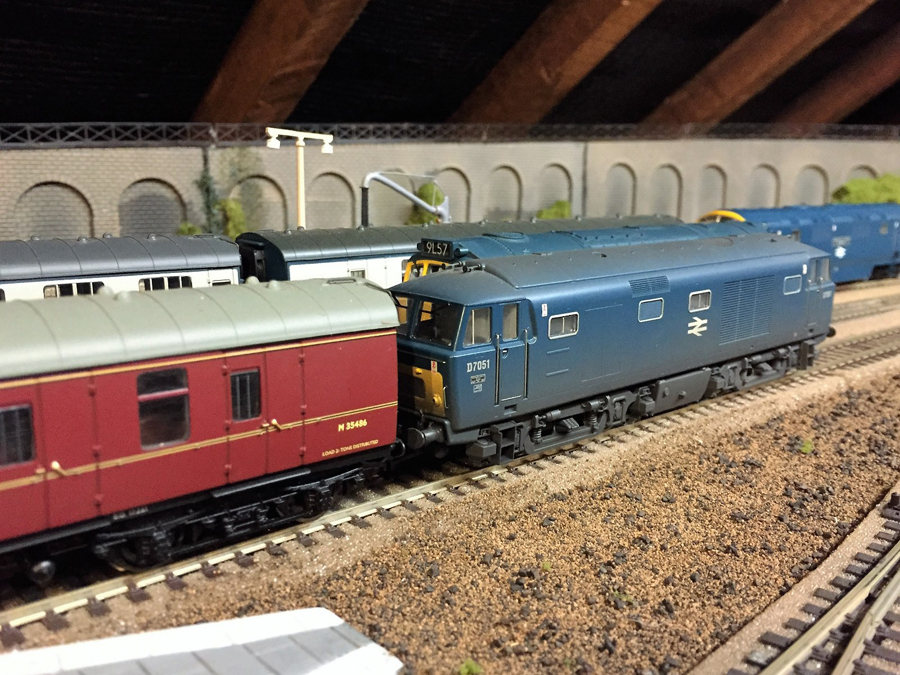
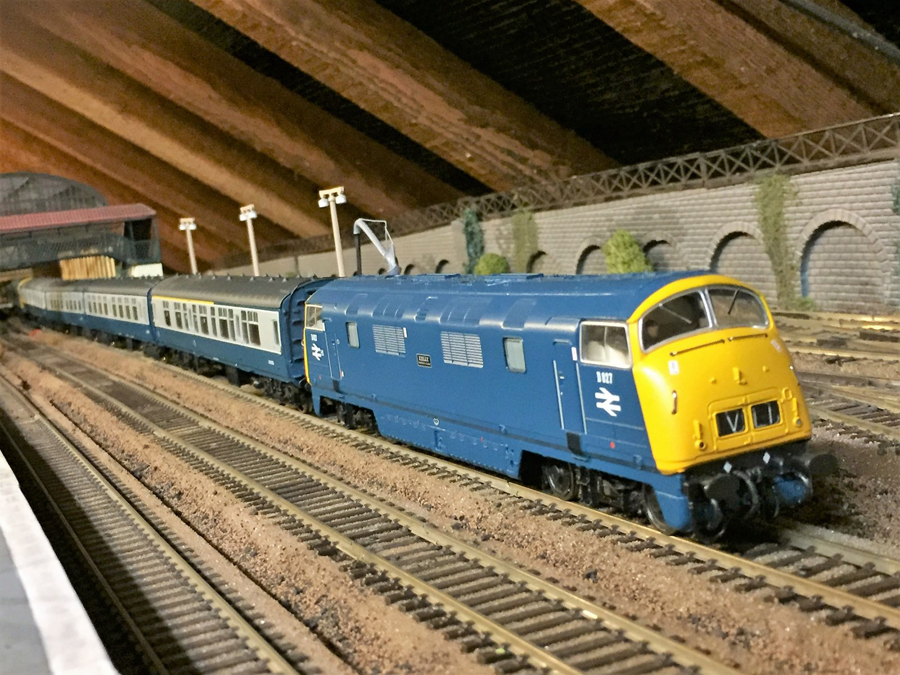
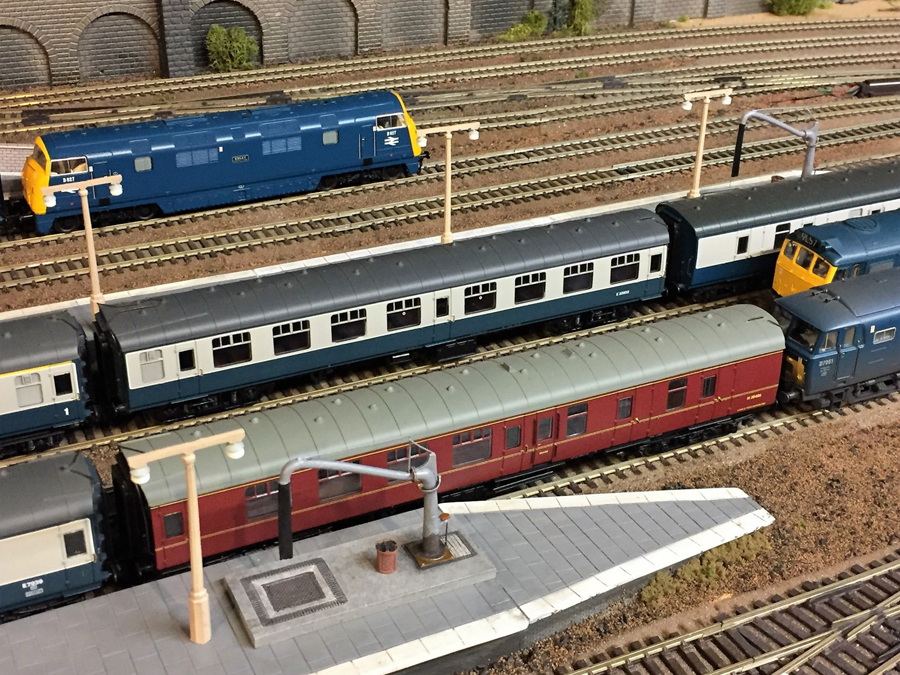
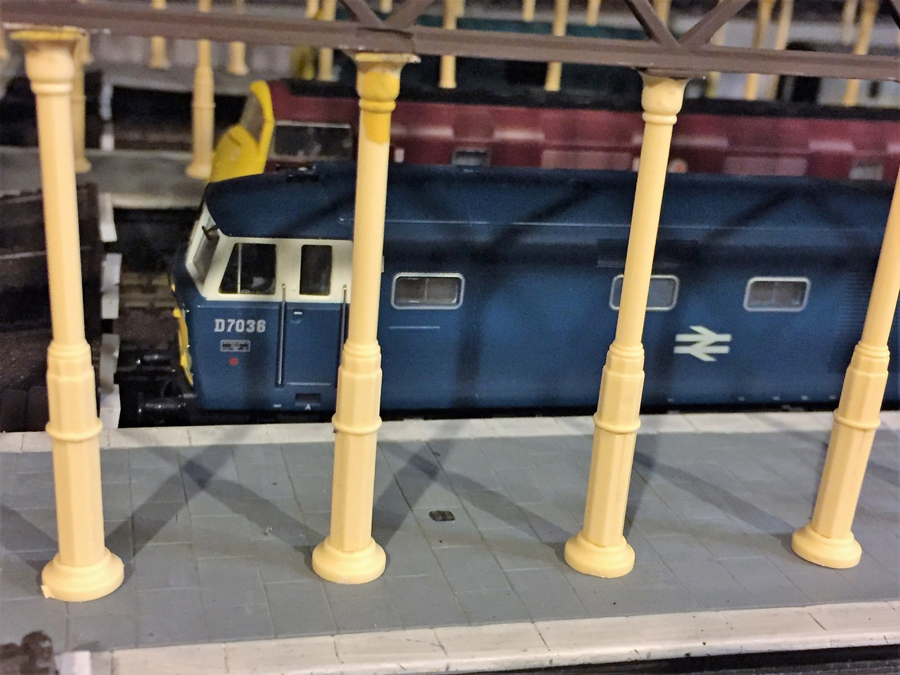
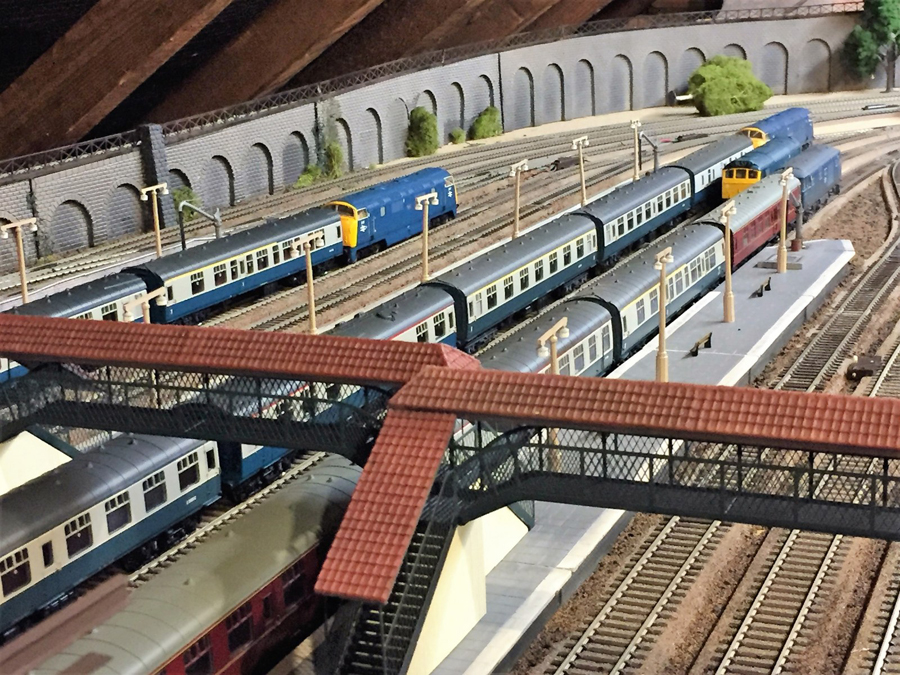
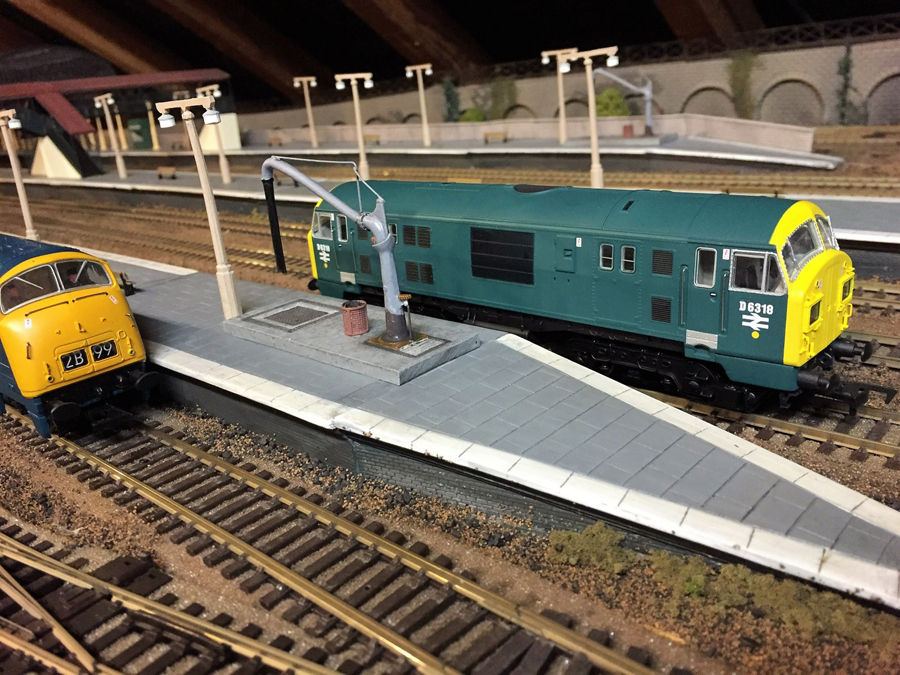
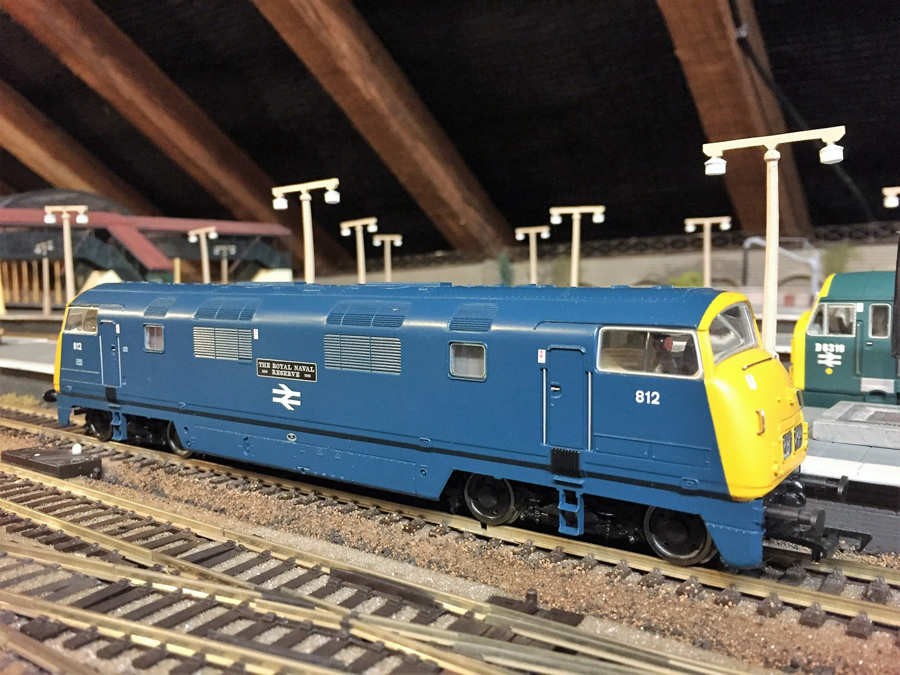
“I have just made a requested video showing the pulling power of a couple of diesels pulling a long rake of coaches, bit of fun, but not realistic on a model railway.

Regards

Dave”


Latest ebay cheat sheet is here.

Thanks to everyone – enjoyed Rob’s narrative, it’s all about getting started! And Roger proves a point – it really is amazing what you can make use of if you keep your eyes open.

Lots more like this in the Beginner’s Guide.

Keep ’em coming folks.

Best

Al


Dave adds rust to his rails

“Hi Alastair,

My son and I have a layout under construction and we found a product that resembles wild grass or dirt, depending which side you use.

It is available in many craft stores and is called “pot toppers”. They come in 2 sizes, 10.16 & 17.78 cm..

You fit the topper into the top of small clay flower pots and push the stems of your artificial flowers through the topper to create a potted plant.

We created the abandoned signal tower using one 17.78 cm pot topper.

Tommy USA”

junction tower 2009-01 (a)

junction tower 2009-01 (b)

junction tower 2009-01 (c)


“Hi Al

Thanks for putting these pictures up for people to see and comment, here are few taken of the terminus station with some trains this time!

This was the first test run a couple of days ago, with some final track tweaking a couple of minor electrical issues and thorough cleaning it all works OK. The pictures show a typical view of somewhere in south west England in the early seventies as an example.

The work continues, detailing the engines which some are “straight out of the box” the buffer beams require full detailing, people, signals the list goes on as we all know! While again I stress virtually all what you see is off the shelf I estimate about 30 hours total to create this station.

If your readers wish to know the sequence and checks along the way I would be happy to list them as even with this simple approach there are pit falls and I have fell into many of them! Hope you like the station coming to life at last! Engine sheds next! As I am sure your readers might notice I am a diesel hydraulic fan! but I have steam and other diesels awaiting a run!

Regards

Steve”

IMG_6062 (5)_1600x1200

IMG_6077 (5)_1600x1200

IMG_6078 (5)_1600x1200


IMG_6082 (5)_1600x1200

IMG_6086 (5)_1600x1200

IMG_6097 (5)_1600x1200

IMG_6105 (5)_1600x1200


“Hi Al
Just uploaded a video again, this shows the upper level now near complete with the track rust added and viewed with the truck cam, also a good tip starting at 5.40 on how to make a card building look like a stone dressed or pebble dashed cottage / out building.

Dave”


Latest ebay cheat is here.

A big thanks to Dave, Tom, and Steve. Particularly liked Dave’s truck cam. And yes, Steve, we’d love to read your check list! I know what you mean about the pitfalls – there are lots listed in the Beginner’s Guide.

That’s all this time folks, please do keep ’em coming.

Best

Al


Model railway station platforms – Steve’s

Steve’s been in touch with an update on his Model railway station platforms:

“Dear Al,

I am constantly amazed at the skills shown in your posts from people! I thought I would offer a few of my humble attempts at creating my two stations on my layout.

This is an update as I sent a few early stage pictures last year.

One is a through station which has a junction on each end permitting trains to come off the main lines into a station platform without passing though a station on the main line every few seconds! This offers more interesting train working within the confines of a loft space!

This arrangement permits the train to change engines from the nearby engine depot ( not complete!). The terminus station feeds from one direction only off the main line via the through station taking a slow middle road through it before entering the terminus station on the other side of the layout.

It is the old fashioned analogue so isolating sections and switches permit the engines to be uncoupled at the front of the terminus platform and a replacement engine to be backed on at the other end. The buildings are out of the box items as I said before as I have not got the great skills shown by many of your contributors (or the time – later perhaps!).

I have weathered many of the station features and is roughly based on the Western and Midland regions in BR days in my case the 1960’s. The terminus roof looks part finished and this is deliberate!

I am planning to put scaffolding round the open end suggesting the overall roof is partly dismantled and will be demolished in the the near future – which was common place during this period ( a pity but that’s another discussion).

Sorry no trains on it yet as they are still in the boxes while I get the stations up and running and the scenery behind them, I think some work on the sheds and then trains can run again after a thorough track cleaning session!

After that I need to think about signals and people and roads and and and…

Good modelling everyone

Regards

Steve”

Model railway station platforms

Model railway station platforms

Model railway station platforms

Model railway station platforms


Model railway station platforms:

IMG_5993_1600x1200

IMG_5995_1600x1200

IMG_5996_1600x1200

Model railway station platforms

“Al,

Thank you for the many layout suggestions, from yourself and many others.

Attached are some photos of how I build elevated or hillside track. I use 4 foot ceiling tile “tee rail” from Home Depot, and this makes for easy slopes and level runs. The tees are topped off with 1/8″ press board.

One picture shows a notched column made from 1×2, an example of how to raise and support the tees. I used a brad gun to attach braces and columns. But I used caulk to lay the press board on the tees, to keep the press board smooth and even.

The tees can be notched underneath for tunneling track.

Another photo shows the convenience of hiding lots of electronic gear under the long “tee” spans. My layout so far has four automatic reversing loops using Atarax prefab circuits with optical sensors.

Another trick: “Cheap” wire in long lengths, and with efficient multistrand core, can be had from Harbor Freight or your local parts store in the form of trailer wiring kits. They come with 24′ continuous lengths multicolored.

Hope these ideas are useful if not new.

Thanks,

Dennis”

20160208_110025

20160208_110036

model train becnhwork

20160208_110127

20160208_110146

model railroad benchwork

20160208_110606

A huge thanks to Steve for sharing his model railway station platforms, and to Dennis too.

I’ve been doing the blog a number of years now, yet I’m still surprised at what comes in sometimes. You really are a clever lot out there.

Thanks to everyone who has sent in a contribution – and this is probably a good time to say, if you’ve sent me something and I’ve not replied, please be patient. I get a gazillion emails a day and I do my best.

That’s all for today folks.

Please do keep ’em coming.

And if today is the day you get started on your layout, the Beginner’s Guide is here.

Best

Al

PS Latest ebay cheat sheet is here.

PPS More HO scale train layouts here if that’s your thing.


model train answers