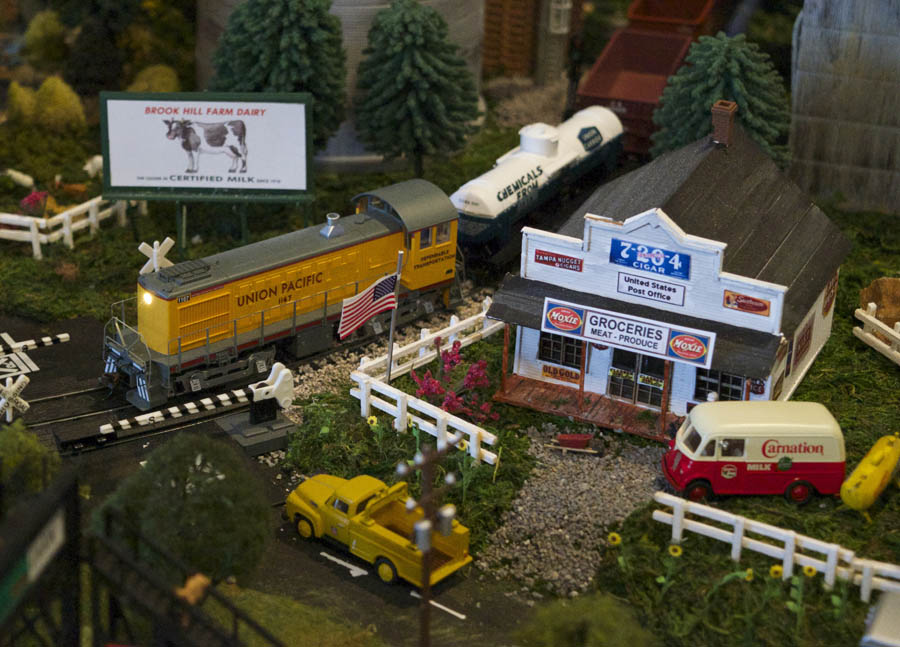
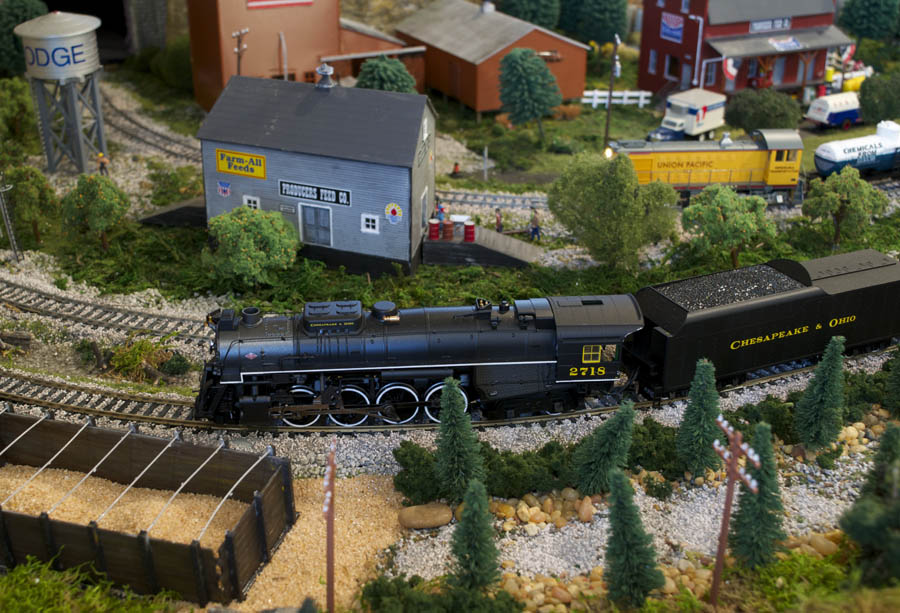
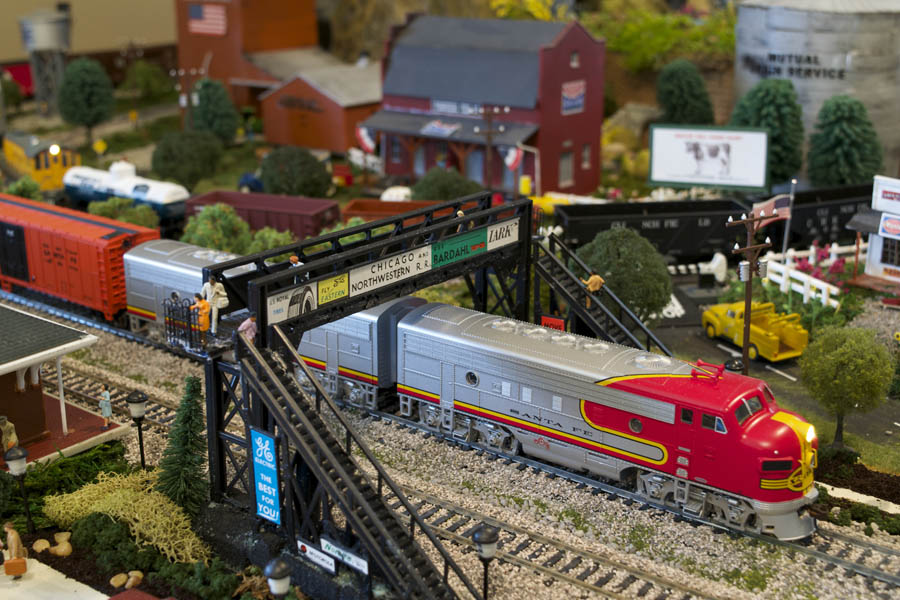
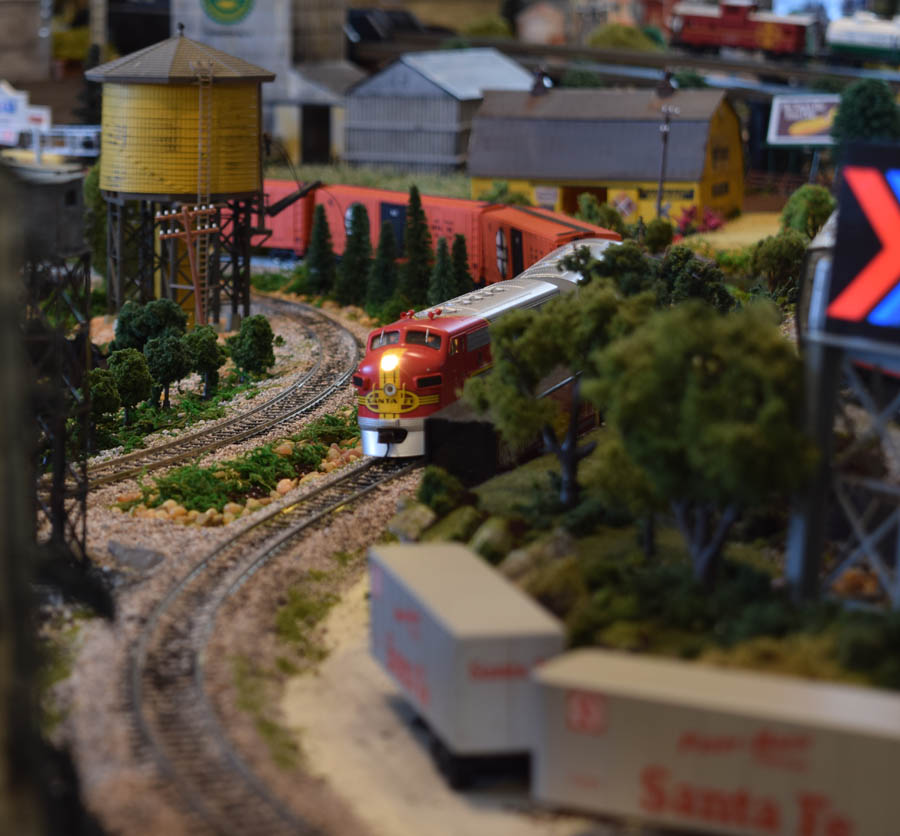
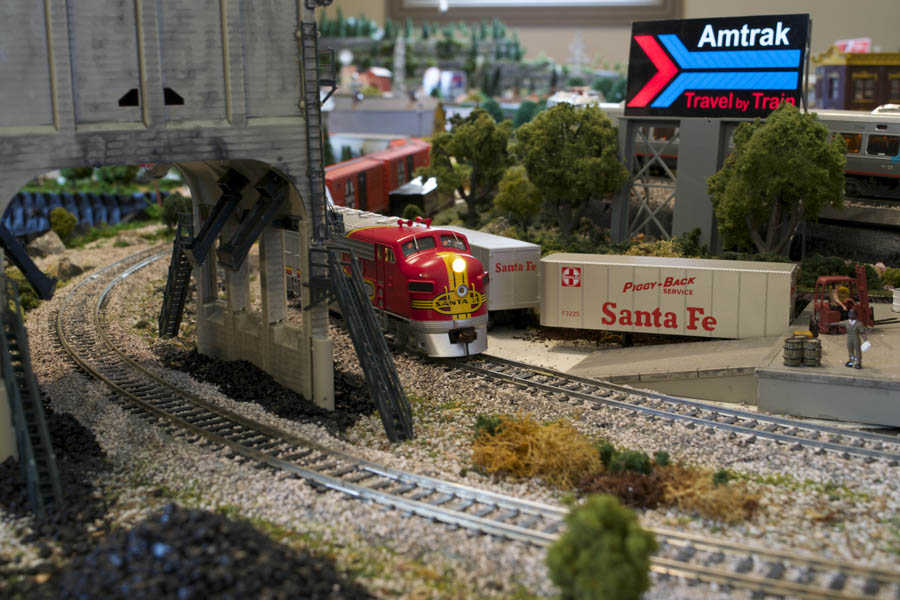
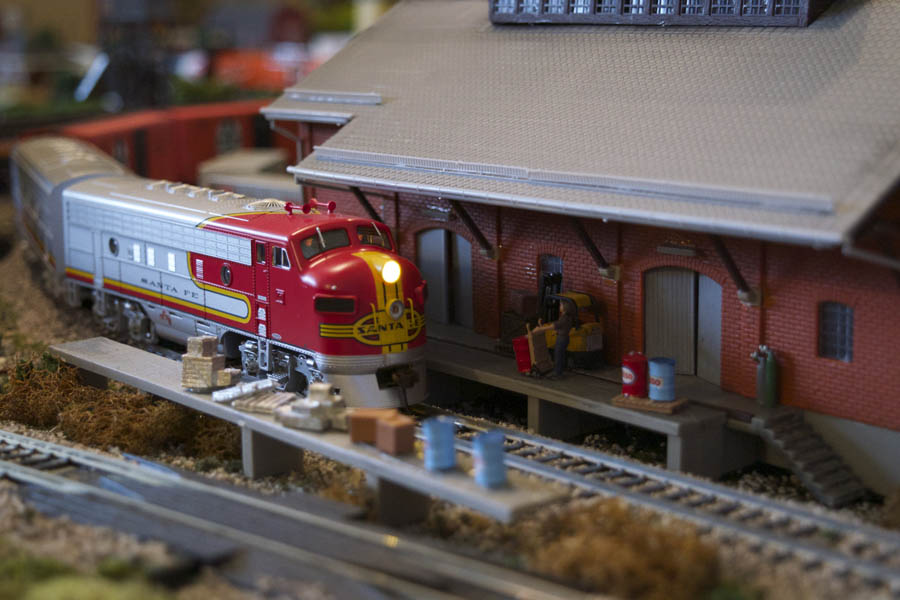
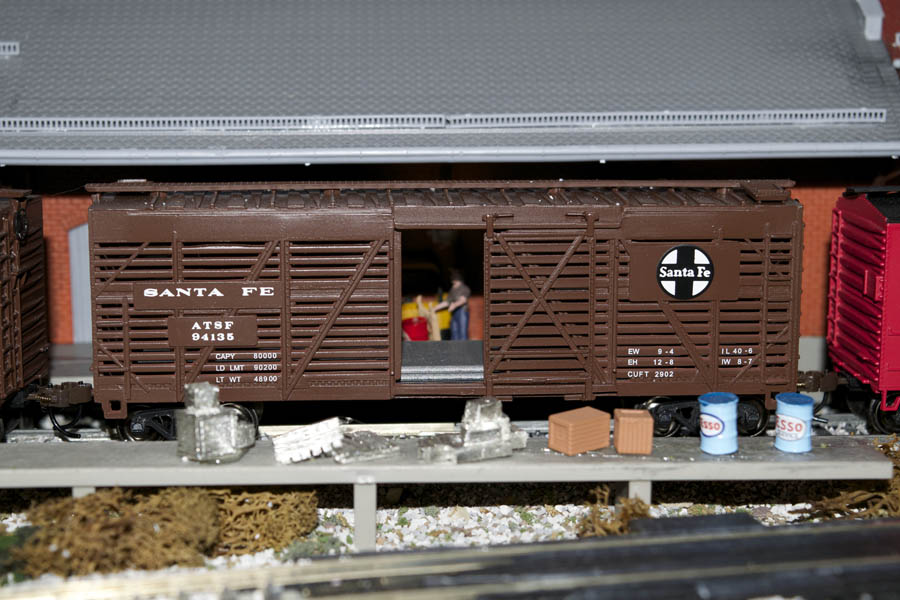
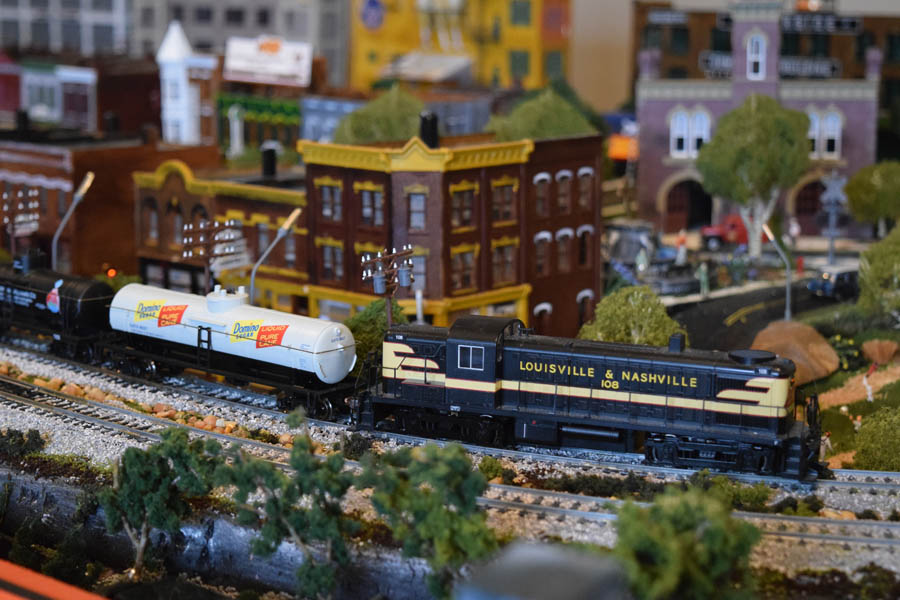
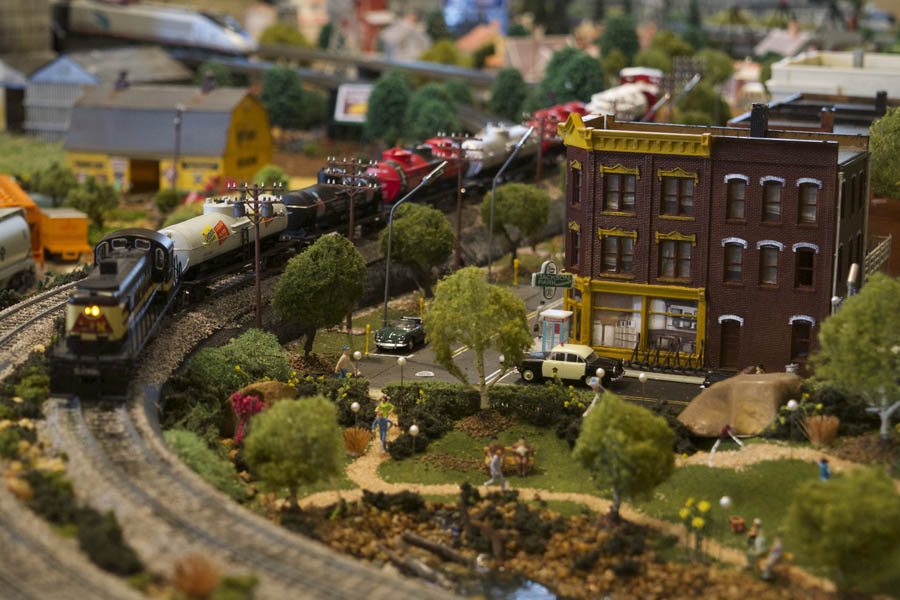
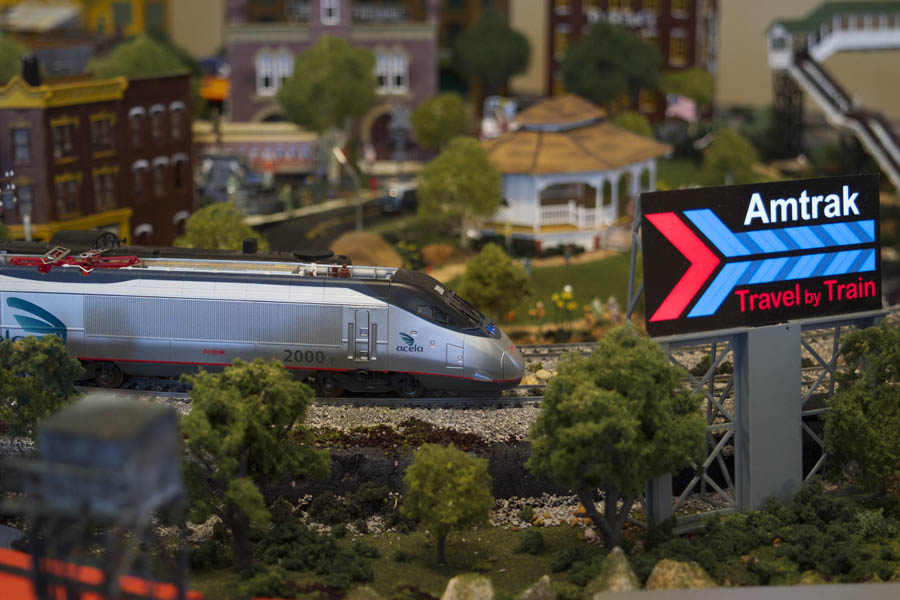
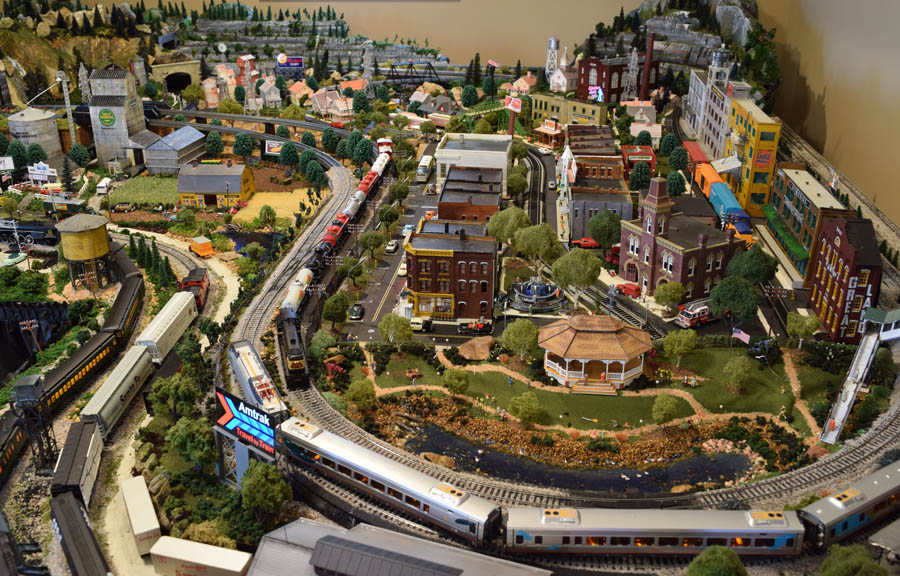
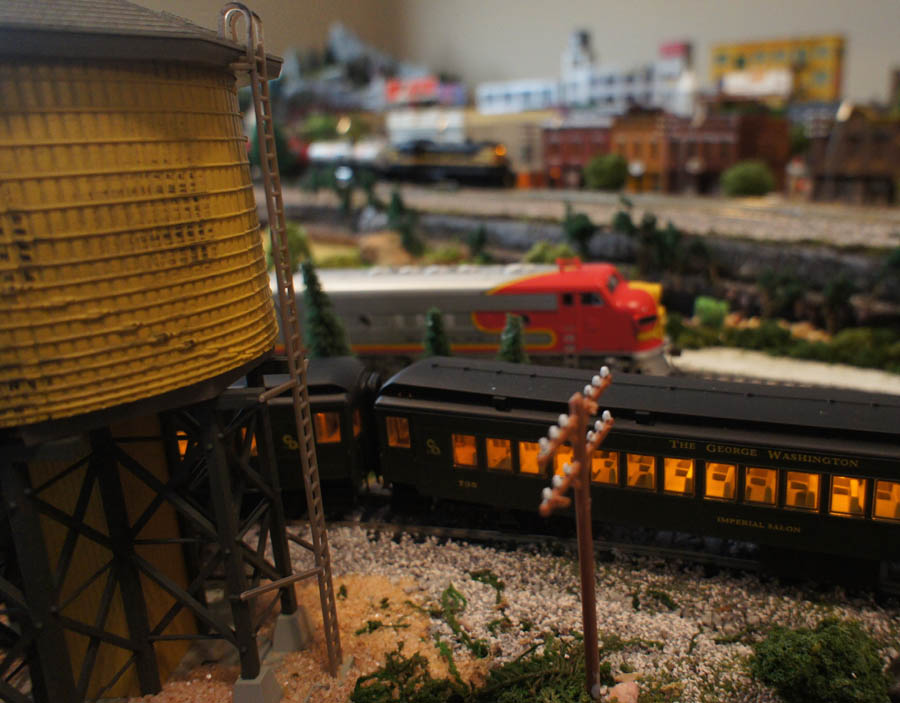
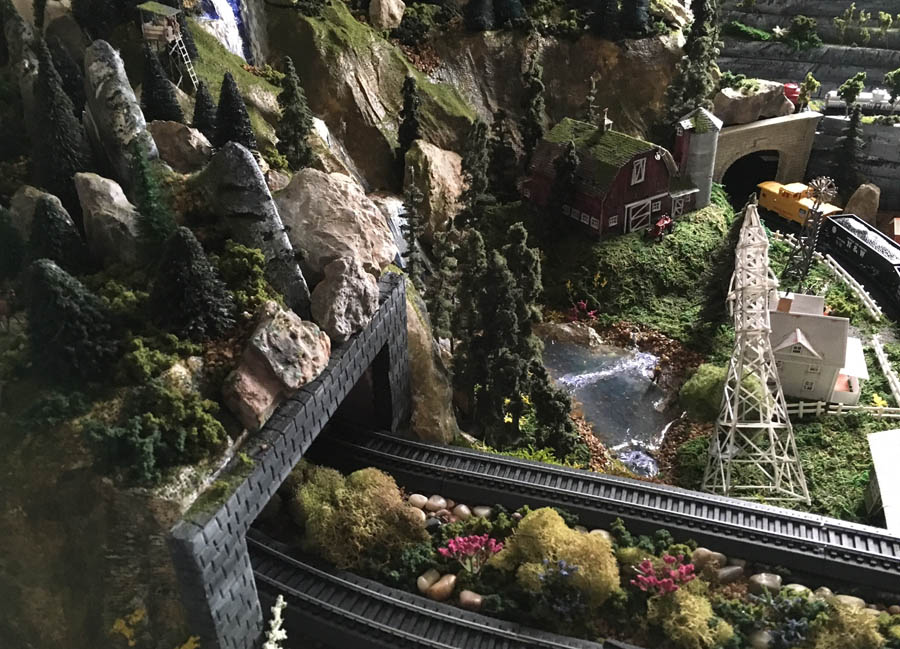
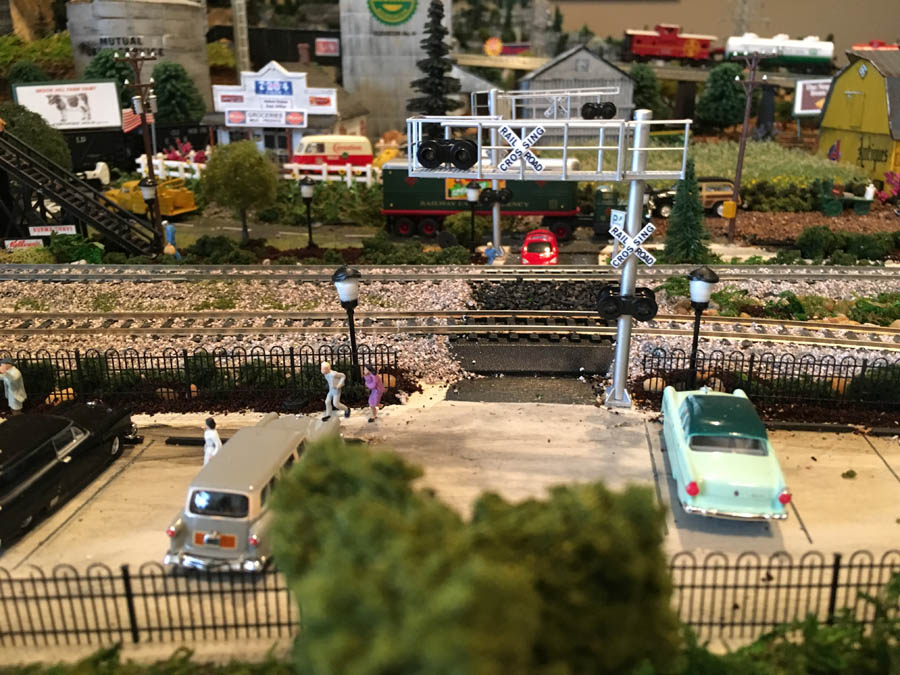
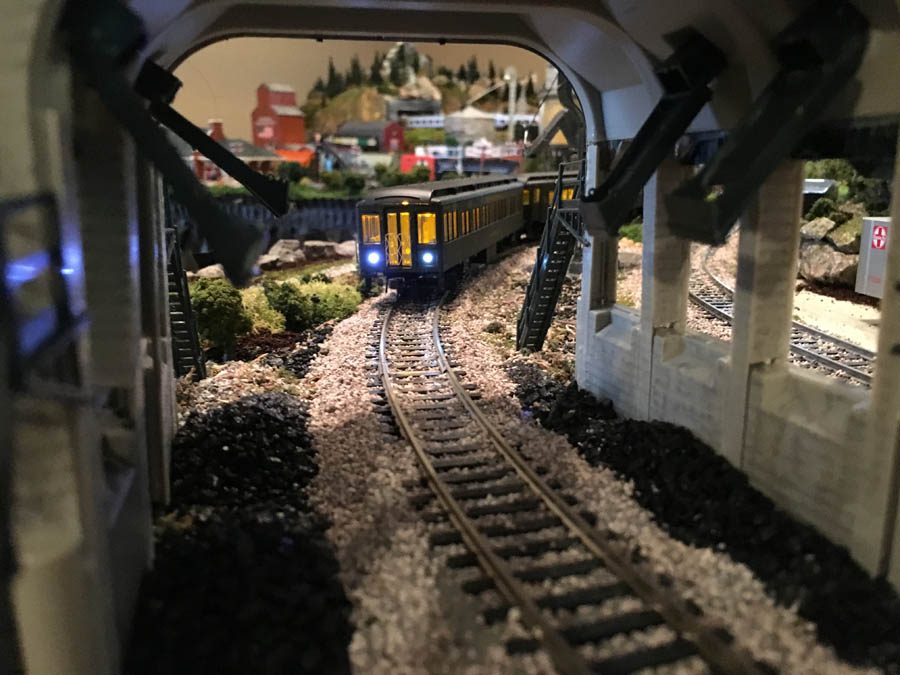
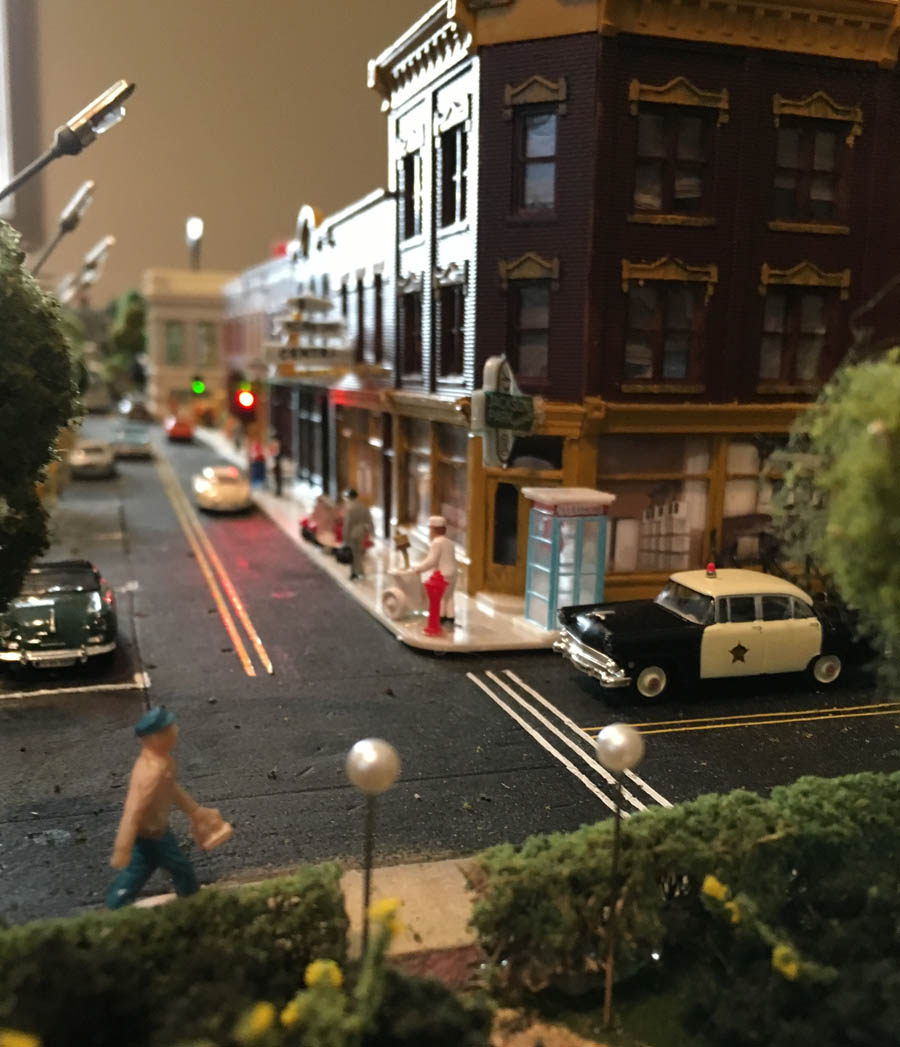
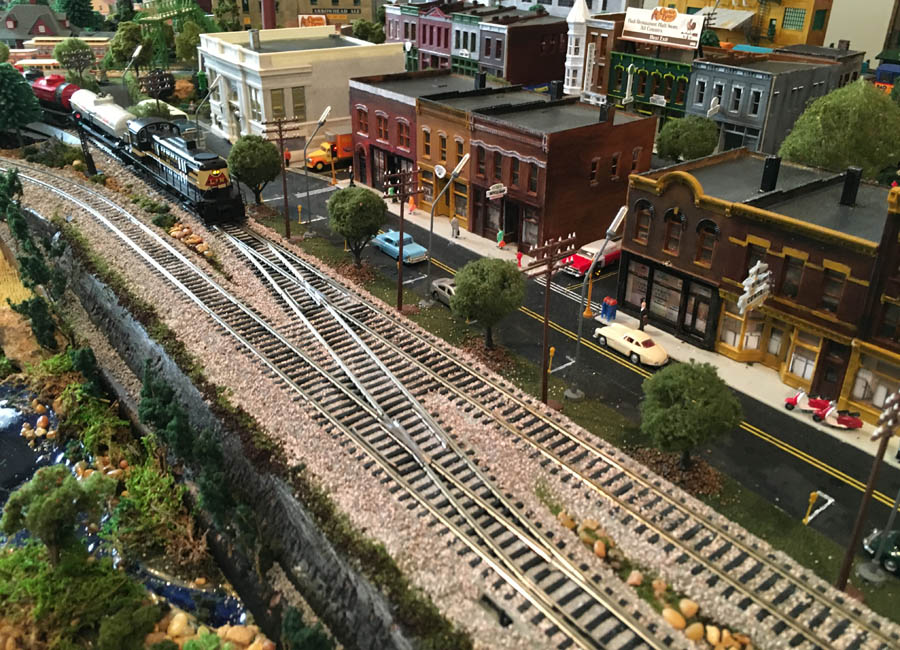
Mike’s been in touch with his Union Pacific HO engine layout:
“Good afternoon Al.
I Shot a video showing each scene in my layout and all my engines.
Santa Fe Freight
Chesapeake & Ohio Passenger
Union Pacific
Amtrak Passenger
Louisville & Nashville
I’ve updated my layout based on feedback from my last post.
I added ballast to my e-z track. It looks much better.
I added one set of traffic lights, crossing lights and street lights.
I’m still not that great with my wiring so I only have the traffic lights operating.
I’m also sending some pictures of each engine and some scenery and one more video that I had some fun with.
I want to thank you and your readers for all the tips and suggestion.
Now its time to enjoy.
Best,
Mike”
Union Pacific HO engine:
And this one is the video:
And lastly Dan sent this in which I rather liked:
“Alastair,
Well, the D&W RR has been in mouth balls for quite a while, so I have been absorbing the tips from all the other modeler so,but I think I have one or two.
The D&WRR has had box cars that were always what they call “shake the box”, they were quality cars, I believe they were Athern, just add the trucks,add the sliding doors ,etc. what they lacked was a good weight.
One day in a magazine, they said what an HO box or Hopper should weigh, I got a small light scale, to start weighing my cars, many were not heavy enough, which sometimes caused tipping on curves.
One day at a train show, I bought a couple of 40 ft. Box cars, and noticed how nice and “heavy” they were,opening the doors, I found a fairly large steel nut glued inside, to increase the weight.
I bought those cars, and started to add the nut to my box cars, covered hoppers,and Cabooses. The extra weight rides better and smoother.
Dan, Danville and Western RR”
That’s all for today folks.
I can’t thank Mike enough for sharing his Union Pacific HO engine update – stunning stuff.
If I’m not mistaken, I think a lot of the pics in the Beginner’s Guide are from Mike’s layout. And no wonder, they are superb.
Hope you enjoyed Mike’s pics and vids as much as I did – have a look at all the comments below.
And if you model in HO or N scale, have a quick look at the ebay cheat sheet. It’s a silly time of year for some great bargains.
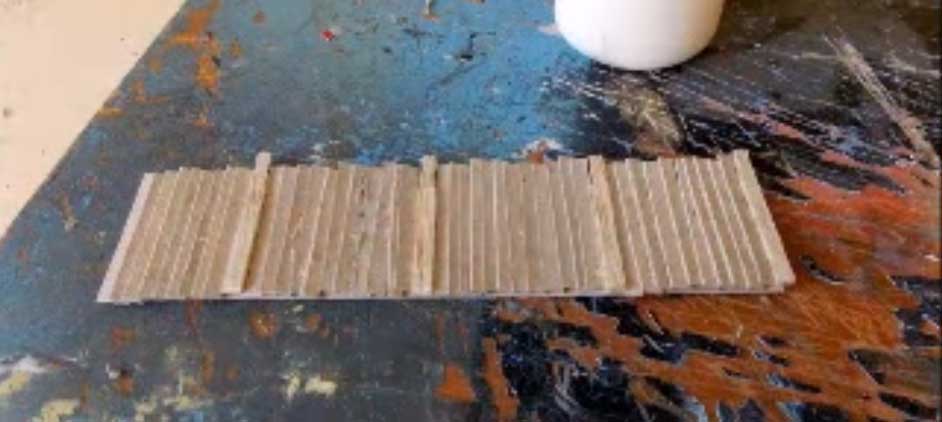
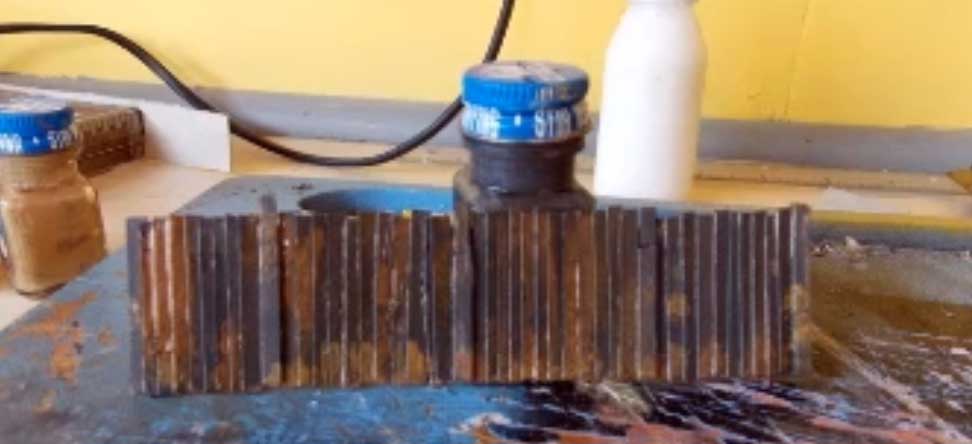
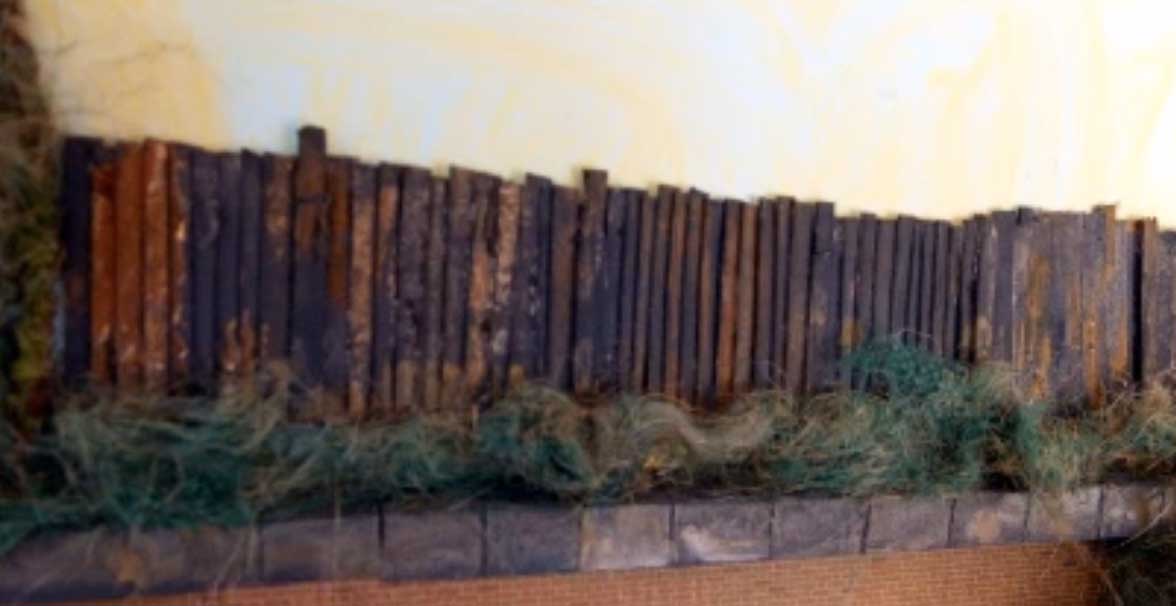
I got this in from Paul: ‘How to make fence for ho train scale’.
It’s always the simple ideas that work best.
“Hello Alastair,
Here’s a simple idea of mine that might be of some interest.
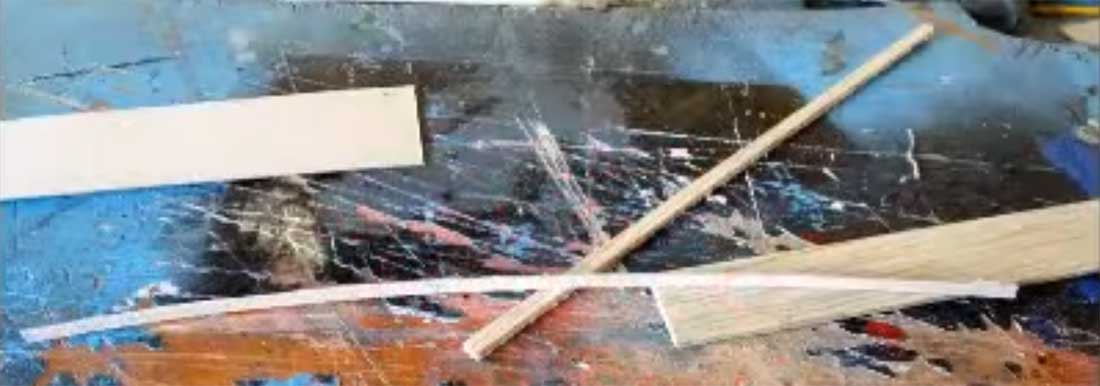
Chop up some balsa wood and card
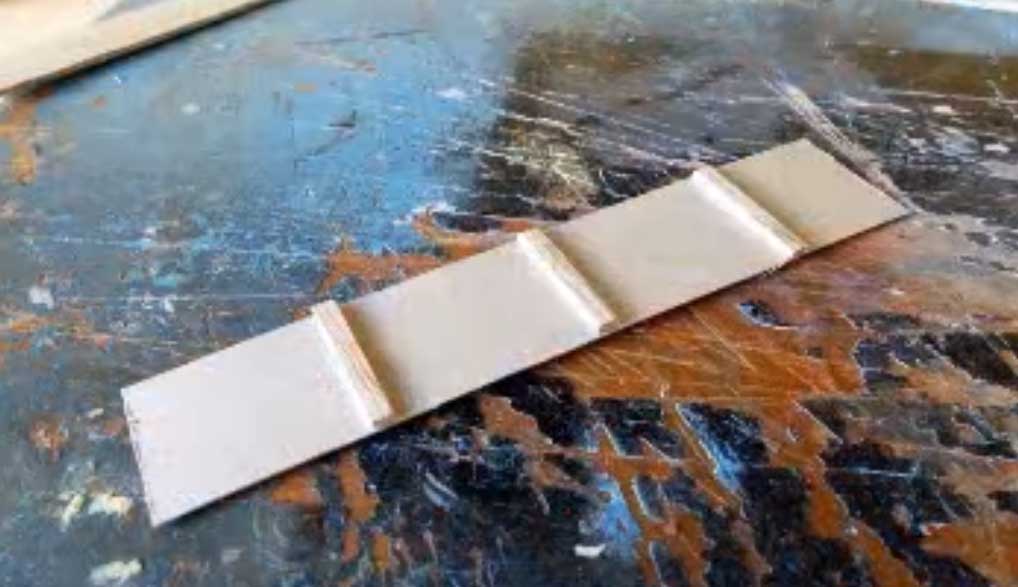
Create a fence frame.
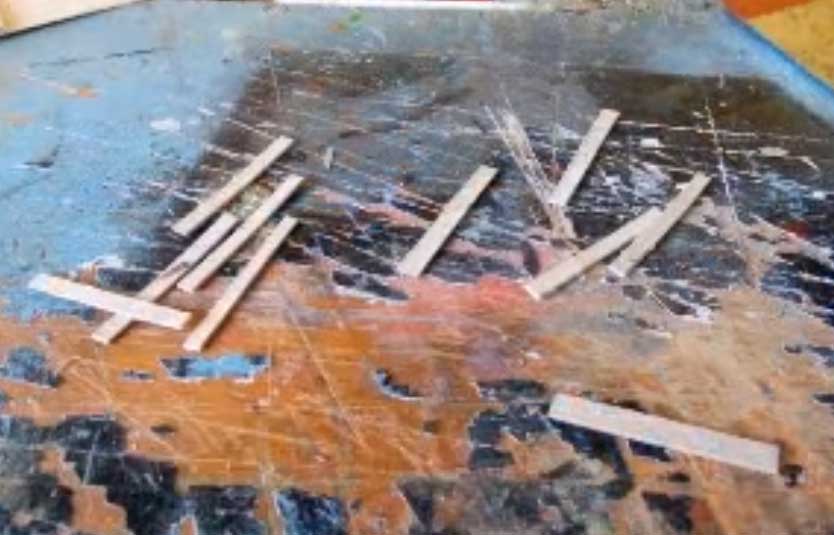
Cut out some planks
Add to the frame.
Paint with random dark browns.
Paul”
Next, some tips from Donald, Tony and Gary:
“Another idea for fence is to find lace ribbon in the type of pattern you want for the fence and lay it out flat and spray paint it silver or black, or any color you like and use 1/16 square stock balsa wood for posts and top/bottom rail, glue ribbon to wood. The materials are cheap and go a long way.
Tony”
“Hi Al,
A great tip for making chain link fences; depending on the scale your modeling, get two different sizes of solid wire use the thicker wire for top rail of fence & the smaller wire for your posts, cut to sizes you need, make jig on a piece of wood ( 1 x 4 ) works well, lay out your pattern on wood, cut grooves in wood to form your fence.
Next cut wire into lengths & lay in grooves & solder posts to top rail, set aside, then get some material that a dress shop makes wedding vales, cut vale material into strips to match fence size , hang strips & add a small weight on one end to stretch then use silver spray paint ,paint both sides of strips and let dry.
Next glue to your fence frames this makes a good looking fence.
Donald
P.S. I wouldn’t use your wife’s wedding vale unless she lets you.”
“You need to understand what you are modeling. Understand the era. The people, clothing, furniture, tools, locomotives, rolling stock, cars, trucks, buildings.
Take lots of pictures or find pictures to download.
Visit the area and look at the geography and plants. It is hard to model a railroad without Knowing the prototype. Being in love with the railroad and the era also the area it is built in.
Also how it was built and the reason it was built in the first place. Did it haul coal or logs or was it a general merchandise carrier. Was it a branch line or main line.
If you love what you are modeling you spend days or years in the research end of things before you build.
Even after you are up and running you will never tire of researching your railroad and it’s history.
There is always more to learn about your favorite area and railroad. Even if it is a fictional line. It will be based on a real era, area or railroad.
Gary”
That’s all for today folks. A big thanks to Paul for sharing his take on ‘How to make fence for ho train scale’.
Do you know how this site started all those years ago?
I just began publishing the questions and tips folk emailed in, because you won’t get any better answer to a problem than the ‘collective wisdom’.
And then the site just grew and grew…
So I thought it would be nice to get back to grass roots for a post or two!
“Dear Alastair,
I am sorry that I don’t have much in the way of tips as I don’t do any modelling at all and actually never have done.
However, a nearby friend suggests a really clever tip which I am more than happy to send along the line to anyone who wishes to give it a go.
The idea is in itself very simple. A discarded grape twig converts very neatly into a scale tree with little to add but using much ingenuity. I have no idea if this is a generally shared concept but it sounds fine to me and avoids putting said organic leftover into a food waste bin.
Can it be categorised as food waste?
Maybe not.
The other practical side of modelling coaches is glazing for the windows.
Seasonal moments throughout the calendar produce much plastic packaging, so much of which gets thrown away or on a good day, recycled.
As clear plastic seems to be ‘gauge free’, it can be used over and over again in so many ways.
I put some by from time to time like a sort of squirrel, in the hope that I might use it in a practical setting.
One can but hope.
Greetings from myself here in /on a very windswept tiny island.
Alistair”
“Don’t get into model trains if you are married.
George”
“30 years in boxes and decided to set up my HO for the grand kids. Boy has it been a fun project.
For those looking for a great 4×8 layout, I highly recommend the Atlas “Yardmaster” layout. Six switches, 7 zones, two sidings, a bypass and a figure 8. I put a 15″ radius trolley circle in the middle of one of the figure 8 circles to boot.
Its a lot of fun to operate and with a high level of focus, I can run two trains at once plus the trolley.
Landscaping has been fun as well. Currently using some of my old plasticville buildings which I will probably upgrade at some point. I upgraded all my light posts from incandescent bulbs to both 3mm and 5mm LED lights. (don’t forget to use resistors) and I run them at 5 volts off an old computer power supply. For building lighting I bought 12 volt multicolor LED strip lights, cut them into 3 LED sets and wired them into the computer power supply… lots of soldering which I’ve become fairly proficient at.
For the control panel, I made a track layout pattern onto a piece of 1/4″ plexiglass painted gloss black, and wired in directional indicator LED’s controlled by DPDT momentary micro switches located where the turnouts are (green for straight, red for turnout) One side of the DPDT switch controls the AC for the turnout, the other for the DC LED red and green. It looks and works super.
For streets/roads I used rubber sheeting left over from an outdoor pond I built a few years ago. It looks just like asphalt and has some thickness to it to raise it above the surface(unlike paint.). My biggest challenge moving forward will be to upgrade to the knuckle couplers as I currently have all horn hook couplers. Most of my rolling stock is of the cheap variety,(30 to 50 years old) and it does not look like I can switch them out. I’ve been working on the layout for two months and the grandkids will be in for Christmas in a few days…can’t wait to share it with them.
Craig”
“Hi Al,
I have no model train tips to share. Recently picked up childhood trains and for the first time in 60 years I have a place for permanent set up. Set is from the early 50s. Lionel 027 with some very cool working cars, switches, coal ramp, steam loco etc. Have never done scenery or had a smooth working setup. KW Transformer needs new cord, Engine needs cleaning etc. I’m excited about learning from the beginning. Zero knowledge, but if I had to give a modeling tip…?….Whatever you do, decide, attempt enjoy and have a good time!! The most important thing is does it give you and others joy.
Jeffrey”
“Well this is pretty basic but consider I am for all practical purposes a newbee returning to the hobby a half of century after enjoying it as a kid.
I was working on Ballast on some curved track and didn’t want to have too much fall off roadbed onto finished landscape terrain. Thinking I needed something besides my hand to catch the overspill I saw a scrap from a curved a bridge I was making. The outer, discarded radius from the bridge proved to be a good catcher of the ballast overflow as it snuggled right up against the track.
Jack”
“I’ve been working with layouts around 30or so years.
The savings for ground cover and even a bit of therapy is using white silica sand and latex paint. The silica sand isn’t that expensive and the latex paint is usually around the basement or garage.
You may also by it in smaller cans at the hardware, or big box stores.
Using a polished metal bowl with 3″ to 4″ sides large enough to hold 18 Oz. of warm water and a glob of latex paint.
Colors can be mixed to just about any choice.. A GLOB of paint is approximately 4 OZ .
Place the paint into the container.
Then using a 9 OZ cup of hot water pour into the container which has the paint glob.
Begin mixing the paint and water together using a good 3″ paint brush. When the mixture is mixed to your satisfaction, you should pour the second cup of hot water into the container and mix again.
The painted water is ready for the white silica sand to be poured in. Do this with a small scoop. To make it less messy begin placing the paint around the inside edges first. This will keep the painted water inside the container.
When you get to the middle of the container and the sand is painted, Gently tap the container on a hard surface (concrete). The painted water will come to the surface for you to place more sand on. Do this as many times as it takes until the product begins flaking.
When completed place a large piece of metal foil on an out of way table and dump the sand onto the foil. Use a Cabinet chime or wedge and chop the sand to leave more of the product exposed to the air. The chopping should be done at two day intervals until completely dry.
The last step is to screen the product. Using a 2′ x 3′ cardboard box, a large plastic bag and a window screen.
Place the box into the large plastic bag and push the bag down into the box. Place the window screen over the box with the plastic bag already inside. Then you rub the product through the screen slowly. You’ll have some larger pieces which won’t get screened, The larger pieces can be used as stones further on down the road.
Not to worry if the product seems a bit damp after 4 days. Just pour the product into a one gallon kitchen bag, leaving the top of the bag open.
REMEMBER; THE SILICA SAND IS NOW PAINTED SAND .
Application:
Always use the darker painted sand first (blacks, browns, grays)..
Then the middle colors (dark greens, blues, light reds etc.)
Then the lighter colors HIGHTLITES. (Light greens, tans, off white, yellows and white)
In the end you’ll be paying 20 cents a pound compared what ever the market is charging.
Eugene”
There you go. Some wonderful tips and some wonderful description of the hobby. Hope you enjoyed them as much as I did.
Lastly, Dangerous Dave has been in touch again:
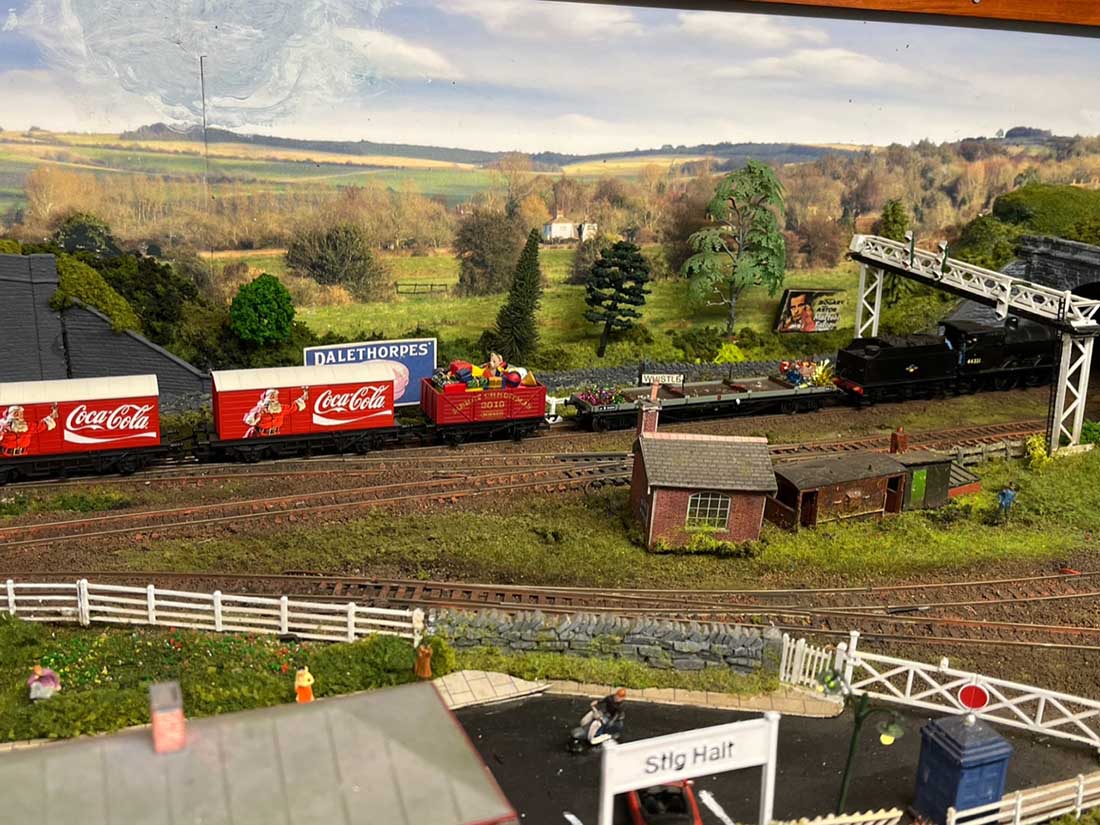
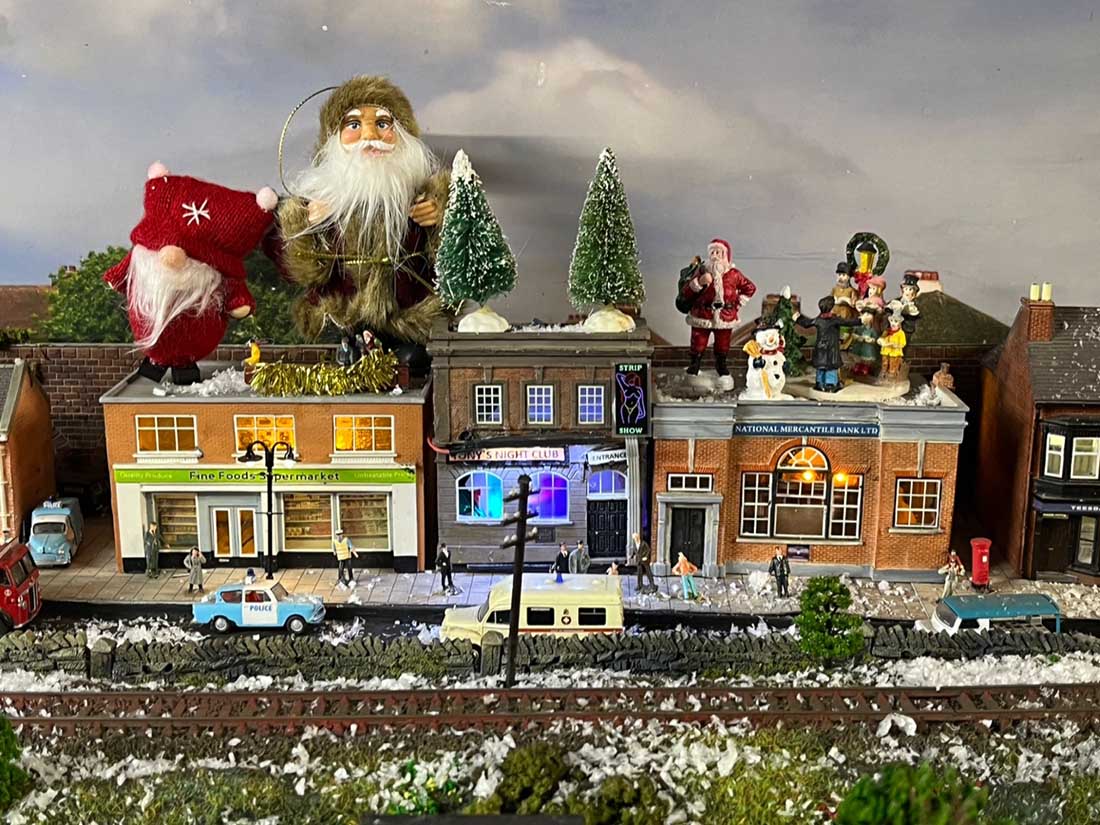
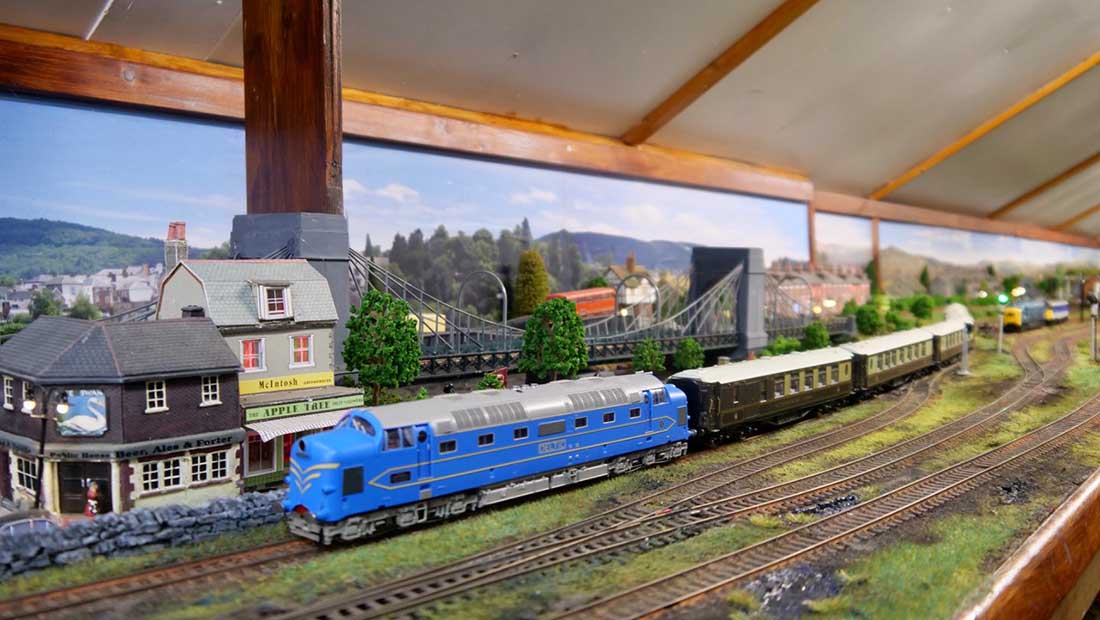
“Hi Al ..just downloaded my Railway Christmas video, bit early but like to get it up and running, bit of fun for all to enjoy at this time of the Year.
Hope you are all keeping well and gearing up for this time of Year.