I got this in from Paul: ‘How to make fence for ho train scale’.
It’s always the simple ideas that work best.
“Hello Alastair,
Here’s a simple idea of mine that might be of some interest.
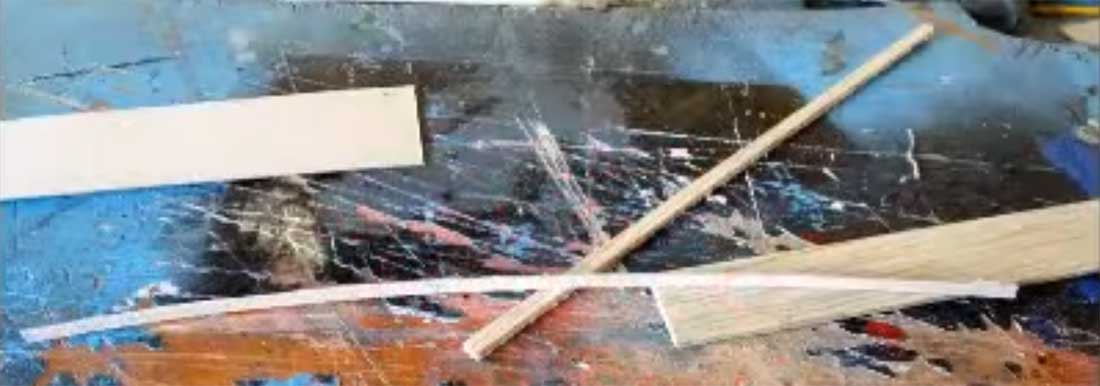
Chop up some balsa wood and card
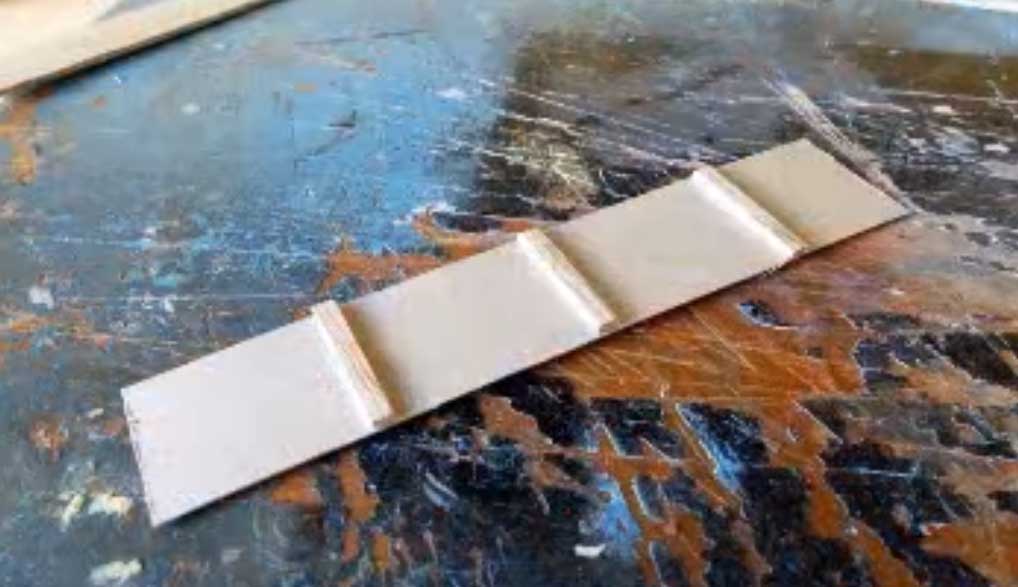
Create a fence frame.
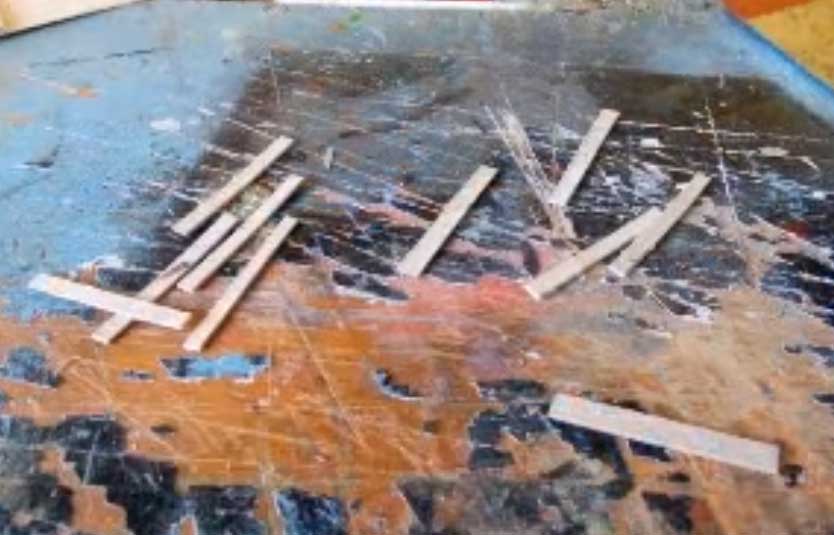
Cut out some planks
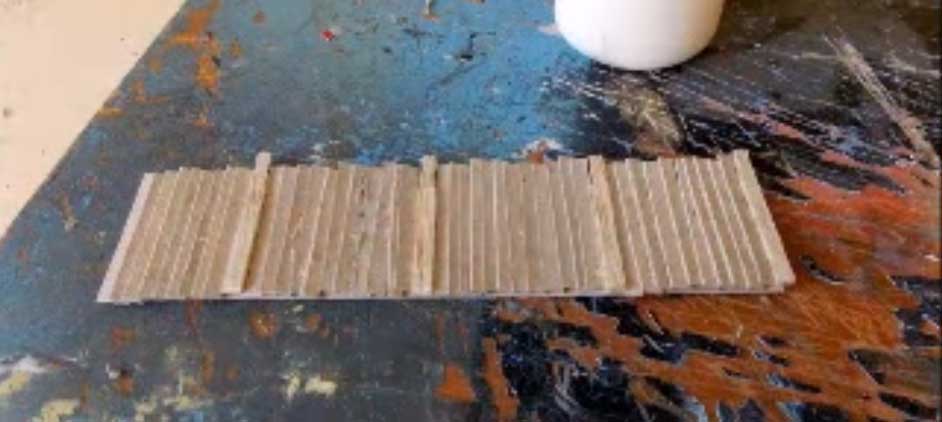
Add to the frame.
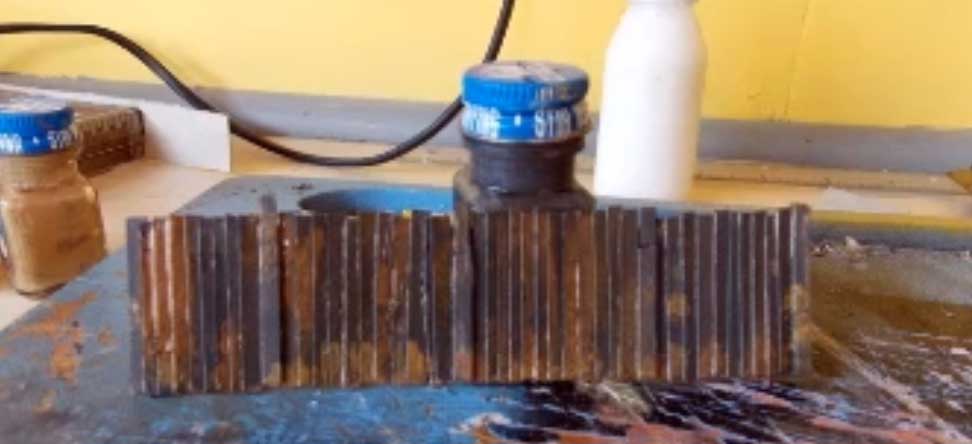
Paint with random dark browns.
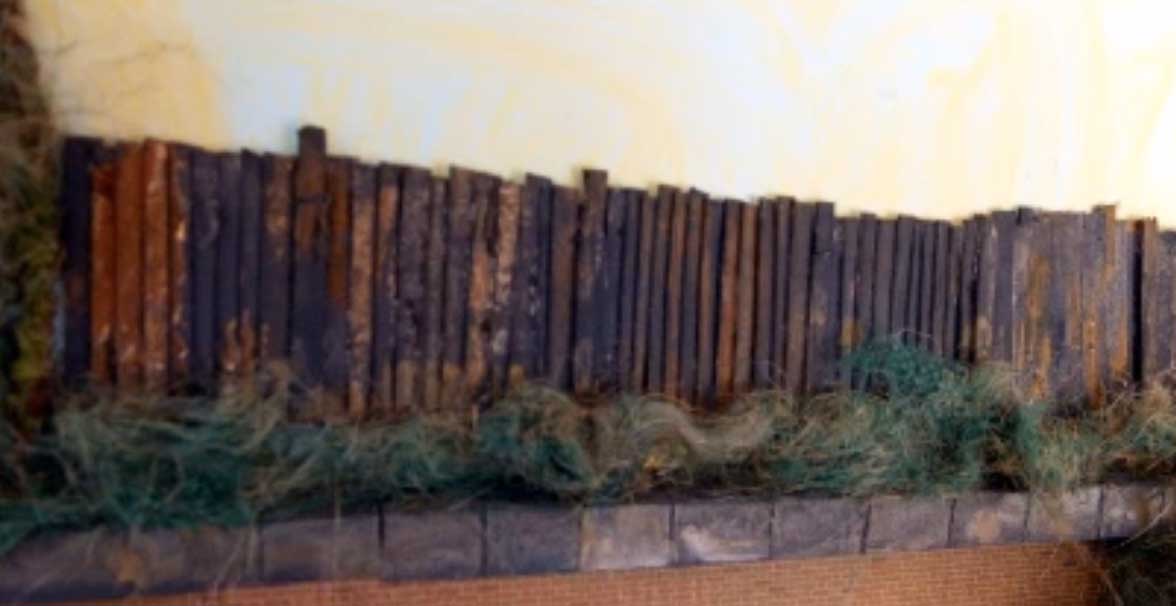
Paul”
Next, some tips from Donald, Tony and Gary:
“Another idea for fence is to find lace ribbon in the type of pattern you want for the fence and lay it out flat and spray paint it silver or black, or any color you like and use 1/16 square stock balsa wood for posts and top/bottom rail, glue ribbon to wood. The materials are cheap and go a long way.
Tony”
“Hi Al,
A great tip for making chain link fences; depending on the scale your modeling, get two different sizes of solid wire use the thicker wire for top rail of fence & the smaller wire for your posts, cut to sizes you need, make jig on a piece of wood ( 1 x 4 ) works well, lay out your pattern on wood, cut grooves in wood to form your fence.
Next cut wire into lengths & lay in grooves & solder posts to top rail, set aside, then get some material that a dress shop makes wedding vales, cut vale material into strips to match fence size , hang strips & add a small weight on one end to stretch then use silver spray paint ,paint both sides of strips and let dry.
Next glue to your fence frames this makes a good looking fence.
Donald
P.S. I wouldn’t use your wife’s wedding vale unless she lets you.”
“You need to understand what you are modeling. Understand the era. The people, clothing, furniture, tools, locomotives, rolling stock, cars, trucks, buildings.
Take lots of pictures or find pictures to download.
Visit the area and look at the geography and plants. It is hard to model a railroad without Knowing the prototype. Being in love with the railroad and the era also the area it is built in.
Also how it was built and the reason it was built in the first place. Did it haul coal or logs or was it a general merchandise carrier. Was it a branch line or main line.
If you love what you are modeling you spend days or years in the research end of things before you build.
Even after you are up and running you will never tire of researching your railroad and it’s history.
There is always more to learn about your favorite area and railroad. Even if it is a fictional line. It will be based on a real era, area or railroad.
Gary”
That’s all for today folks. A big thanks to Paul for sharing his take on ‘How to make fence for ho train scale’.
Please do keep ’em coming.
And if today is the day you get started on your layout, the Beginner’s Guide is here.
Best
Al
PS Latest ebay cheat sheet is here.
PPS More HO scale train layouts here if that’s your thing.


A great idea Paul …Dave
Great idea. I will definitely use this technique! NJ Mark
Very effective and remarkable simple – Thanks
Great stuff! Recently dug out my 55 year old Marx die cast 666 loco with all the original cars. Runs great! Looking for a basic wooden platform that a beginner can build or buy. Any help would be appreciated. Thank you
A great idea with just a few words. I loved it. Thanks Paul
Excellent….a very simple yet good looking and functional addition,,,,,,to any layout…..just adjust size for scale.
This is so simple and looks great.
Nice one Paul.
It is always the simple that is the most effective.
Keep the ideas coming.
A man after my own style…As seen in my previous things…I am a user of cardboard..paper…balsa…big and small boxes…and whatever else is available…Your fences are awsome….Now try siding a building the same way….Mike
Another reply…to “Old Loco 666….Make his fence without the supports…on stiff cardboard with support under…VIOLA!…you have your deck…Mike
For an old man had trouble reading that fast but got the idea and sure to use when I finally get started Thxs
I used window screen (scrap or store-bought) to make fencing and fence gates.
Just cut at 45° to the grid and it’s instant Tornado Fence. Distance of cuts to match modeling scale of fence height.
Straight pins or clipped paperclips make great posts, top rail of fence, and diagonals.. Again, sized and spaced to match modeling scale.
Note: “Window screen” comes in various grid spacings–find your scale. .. John
great looking fence. you have opened up ideas for sides of building etc .great how to goes straight into the library.
A very rustic fence, it looks real neat.
Paul from Ozzie.
Alastair I have got a lot of good ideas from you’r site. This one from Paul is so simple and be converted to a lot of projects. Thanks Terry from the US
awesome job on the fence. coconut fiber is what we in New Zealand use for hanging pot liners, it made that section of your layout completely awesome.
thanks for sharing your tips.
What a great addition to a model railroad. I have some buildings separated in a town setting need some filler. Fence will work just fine to fill in some of the area.
Thanks
Tom, Central Maryland, USA
Truly a keeper. I will definitely use it on my layout. Thanks
Perfect idea! Thank you.
Nice job Paul…….good instructional video.
You can build a fence like Paul did but you can neetin it and make it look new not necessarily old and rustic choose your look for your particular application.
The Critic
Great approach, simple and very effective technique Bravo!.
Paul’s fence idea is a good one.
Paul’s video was simple and to the point.
There are things I would do different and I need to learn how to make my own videos. I have been modeling with card now for quite a while — I got my start with Al’s print out enginehouse and John’s video tutorials. Since then I have developed my own techniques to get the most I can out of the medium.
The biggest difference between what I would do and what Paul did would be to paint or stain each “board” separately before gluing them to the fence. The advantage is that you get more variation in the colors which makes the fence more interesting to the eye.
Stay Calm and Keep on Modeling!
Great Job. I have done it with Balsa Wood and Tooth picks since I am Building a “N” Scale Layout. Painting was done by using Stains and Dry Brushing Highlights with India Ink. Takes awhile, but the end Product looks good.