Arnie has been kind enough to answer your questions too:
“Al, thank you for posting the viewer responses to my new video.
I want to thank all the respondents for their enthusiastic support and for stroking my ego.
The responses that were most moving for me were those that spoke of memories of their personal past; recollections of good memories of places and people that the sites and sounds in the video seemed to have sparked for them. I never thought that this video would have that effect.
But on a more concrete level, if I may, I’d like to address some of the many questions that were raised about the layout.
I don’t want to completely de-mystify the impact of the video, but I’ll give you some facts about the layout, and my style of scene creation and things I used to accomplish the end result.
Let me start by saying the layout took about 2 years to build and is an analog, DC powered layout.
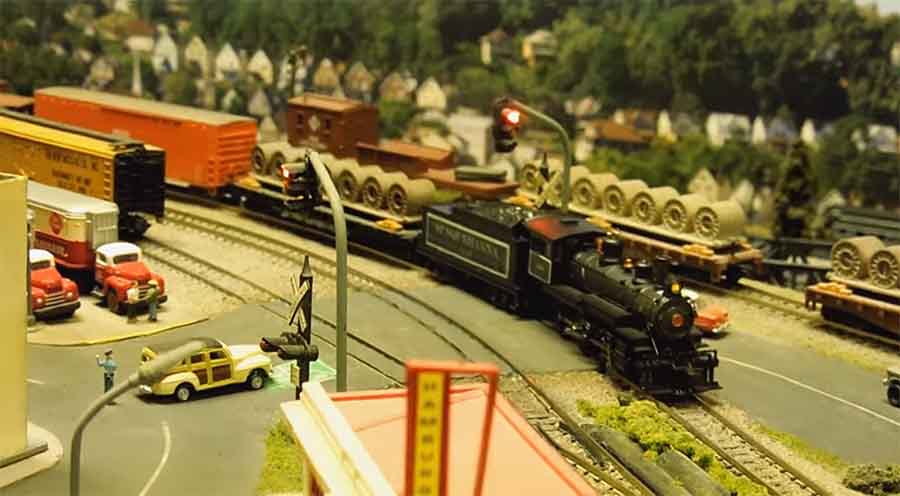
While I run locos with dual mode (DC/DCC) decoders and some with sound, including some steam locos, 98% of my locos are only DC equipped.
The 4-6-0 ten wheeler in the video is DCC equipped but does not have sound on the decoder.
The use of sound in a video can magnify the video’s impact 10 fold. To give the closest sense of realistic sound I used real sound clip recordings of steam locos of the era and general configuration of the 4-6-0/ten wheeler.
I therefore used sounds of chuffing at different speeds that might also include bell and whistle, and approaching and passing of the 4-4-0 American and the 2-6-0 steam locos.
You can’t get more realism than using the actual sounds of the prototypes themselves. I always add environmental sounds. I use birds chirping and the sound of running water. Even if only subtly applied, it often reaches the viewer subconsciously.
And the power of music cannot be denied. The ten wheeler would have had far less glamour and impact without a musical background.
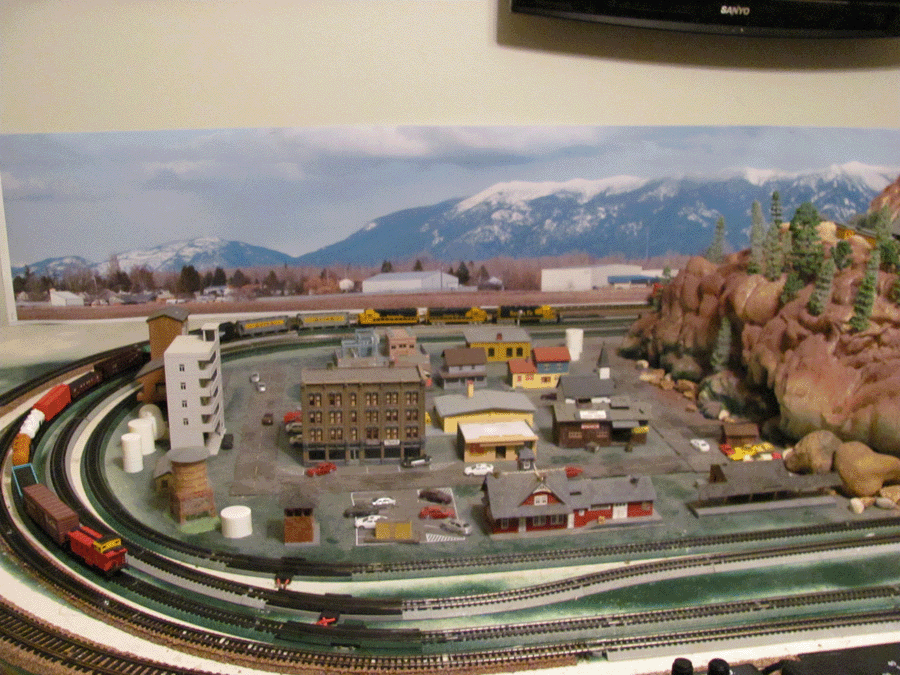
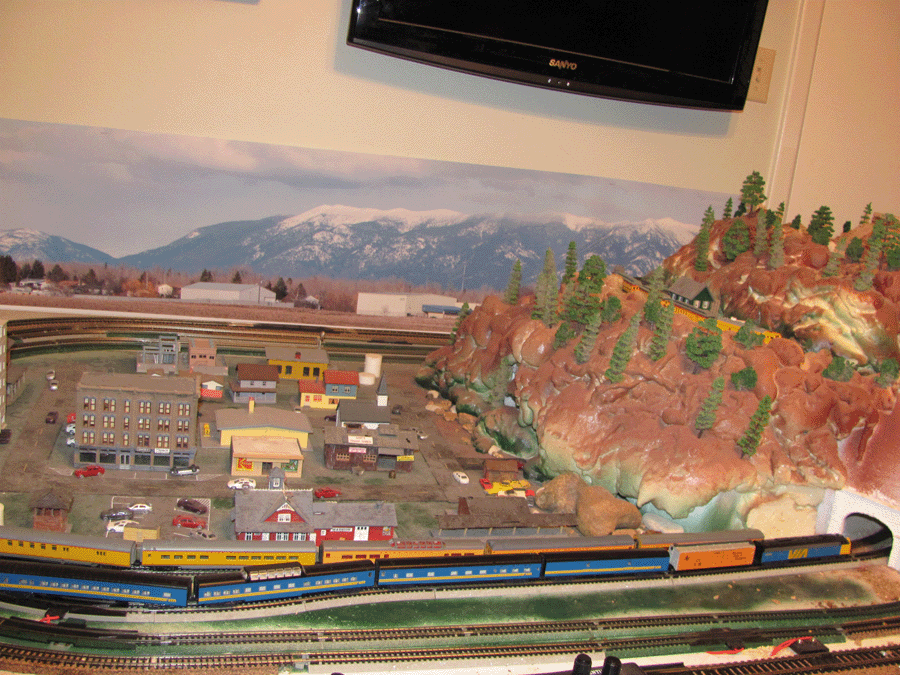
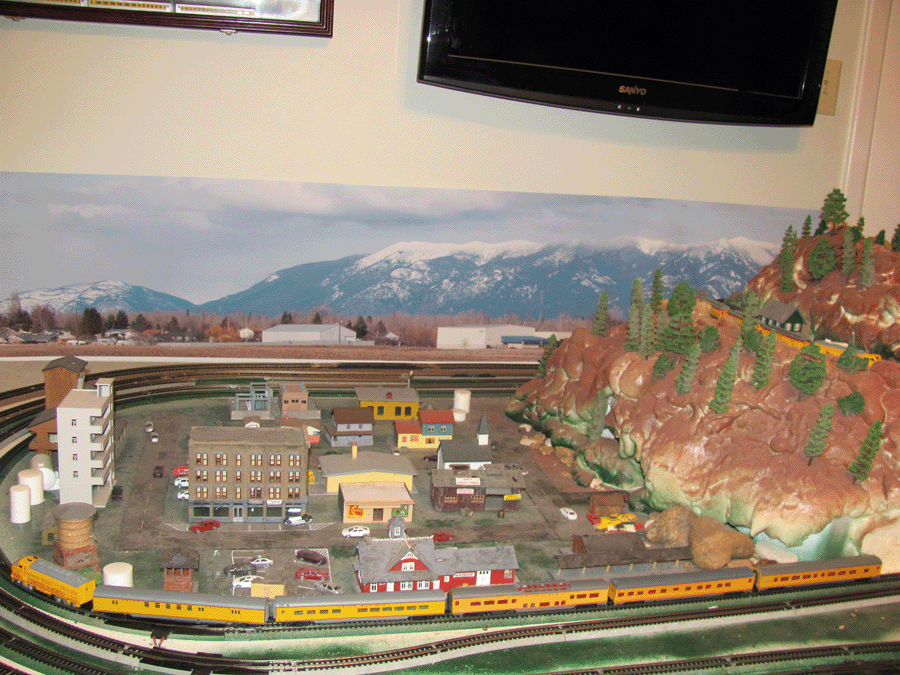
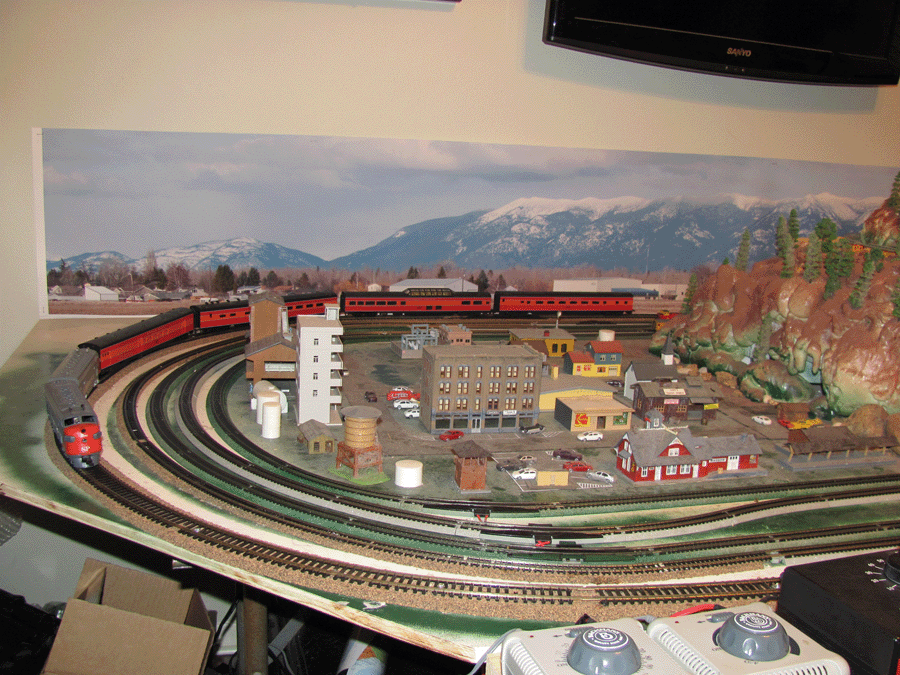
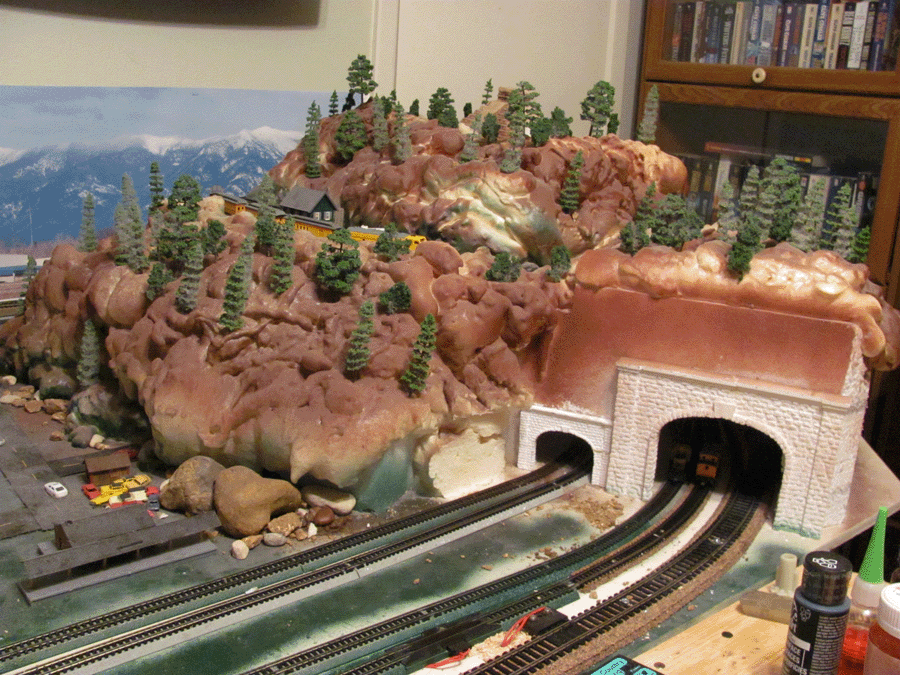
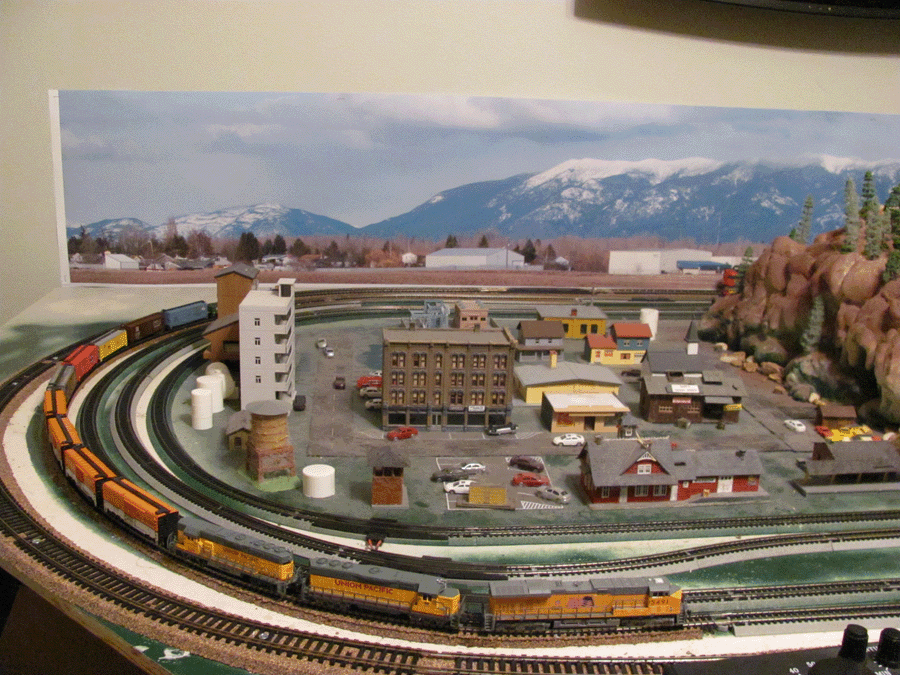
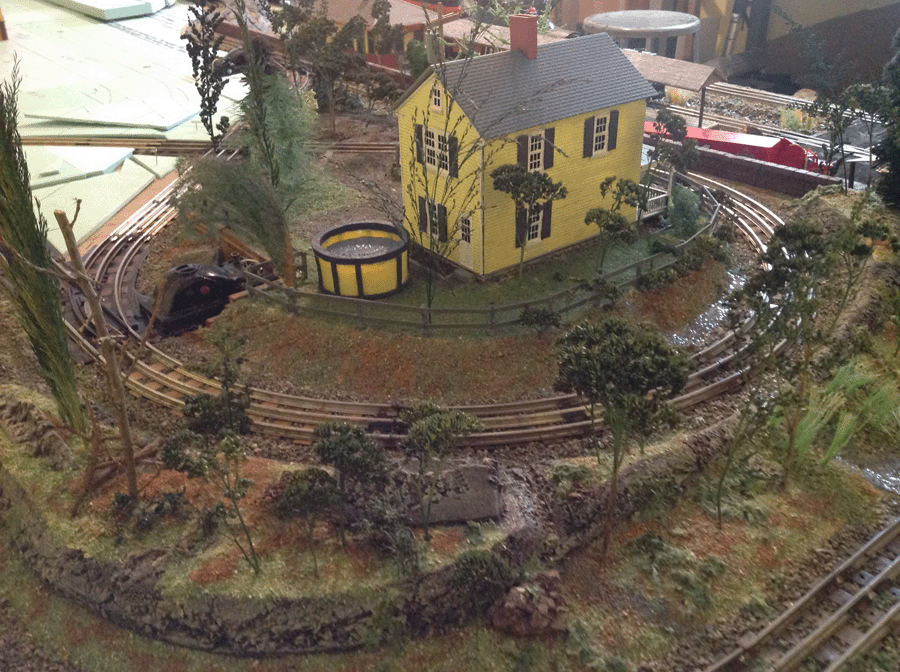
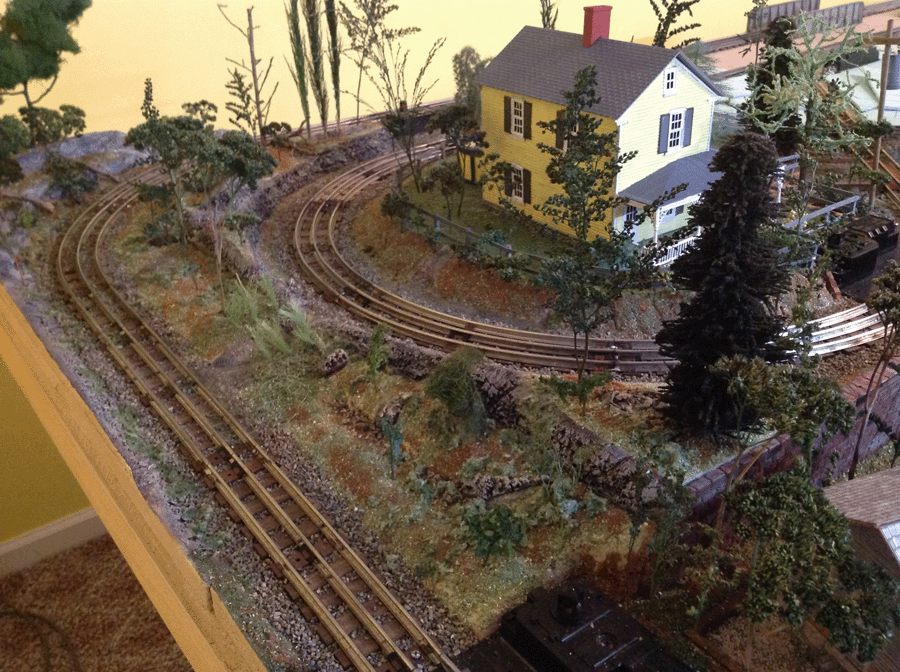
I think the question asked most often was about the size of the layout since viewers were impressed with the scenic detail.
Despite the effect of greater depth and perspective, the layout is relatively small. It is a simple, totally open rectangle/island design and measures only 8ft. by 5ft.
To accomplish the greater perspective of larger vistas, I incorporated several elements:
1. The main thing is the use of portable, not fixed, backdrops that blend well with the fixed scenic elements on the layout. Moving the backdrops around the open perimeter of a small layout can make a world of visual difference in a video. It’s sort of a touch of Hollywood movie making. Hide the edge of the layout and create the illusion of continuous depth.
2. I shoot the same scene from various angles and vantage points and present them sequentially to keep the eye fascinated with the content (as in the sequence of the 4-6-0 going up the steel bridge). Also, the layout is very confined. So I am bound to return to the same location as I go around the layout. But I try to keep the interest and illusion of newness and expanse by videoing from another vantage point (as in the differing views of the river — overhead, one side of the river then the other bank).
3. I used changing elevations of terrain in building the actual layout (e.g., like my tracks that change elevation; the valley vs. the gulf summit) in the same view. This provides the impression of more real estate despite the small space and limited view of the scene.
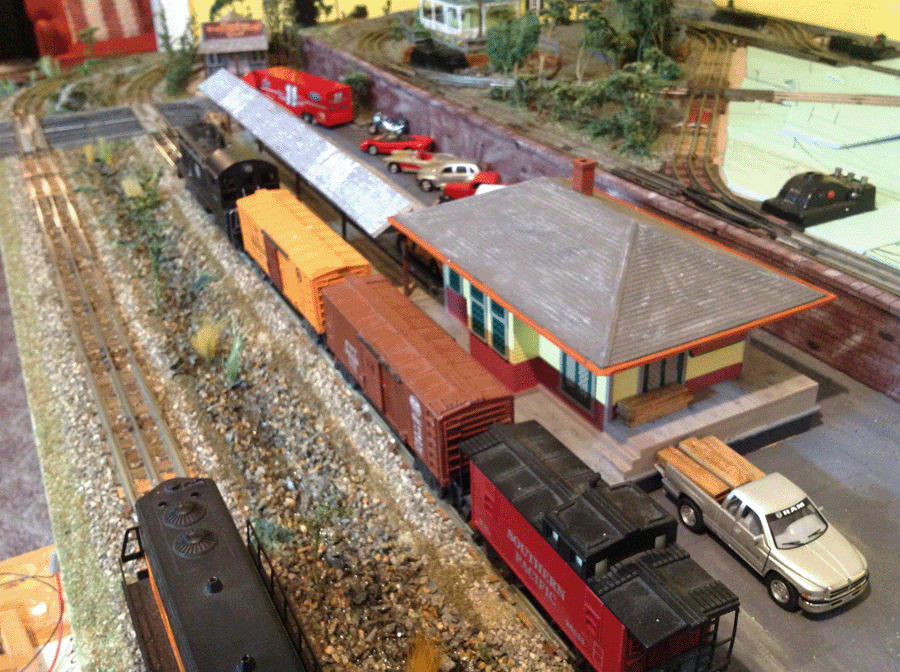
Attention to detail is another thing most cited by the viewers; in particular the natural scenic detail.
For example, I made extensive use of detailed cliff and rock faces. These were made using finely detailed rubber molds (by Woodland Scenics) and hydrocal (an extremely fine powder plaster that picks up minute details in the molds) and then “painting’ the rock castings with various shades of diluted dyes.
Then add various colors, shades, sizes and textures of ground cover to simulate soil and foliage; you’ve captured the look of nature and terrain.
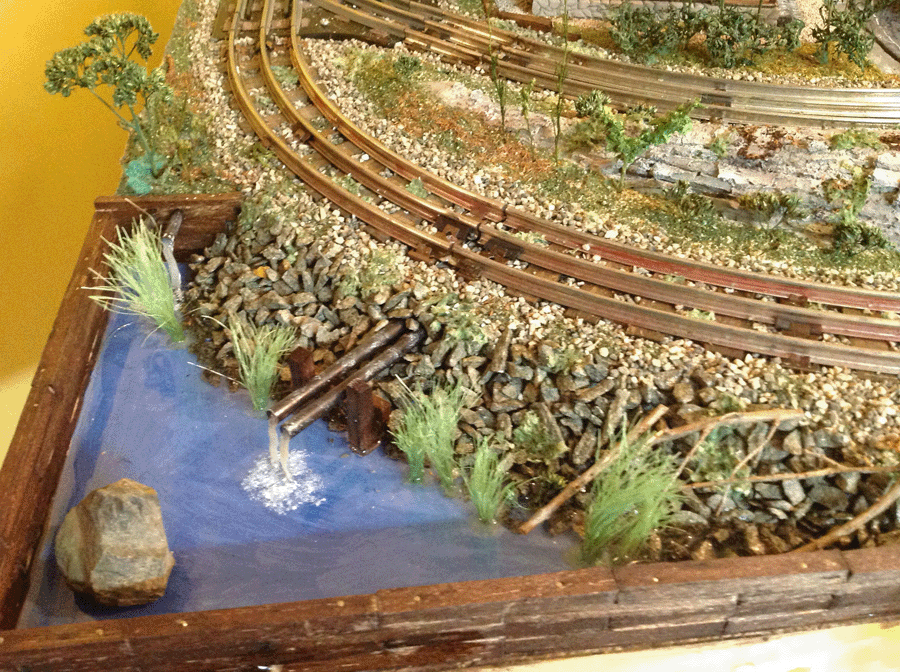
And wherever possible I try to incorporate a sense of life and movement (e.g., people and animals and water (e.g., the waterfalls, bears and deer roaming about, people captured in the act of doing something).
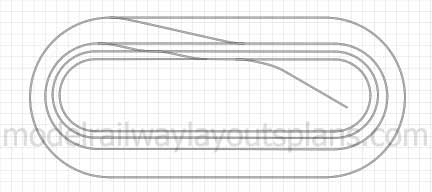
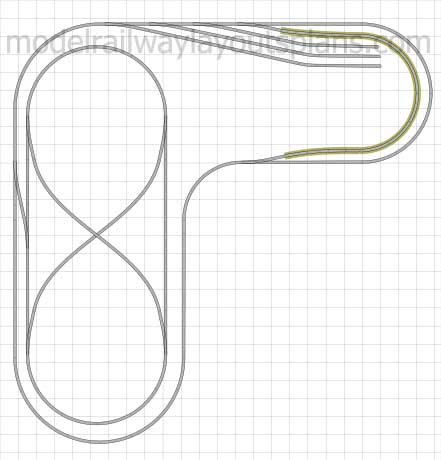
Many people asked to see the track plan. So I have attached an illustration of the track plan of my free-lanced SV&GS Railway.
Model train sound generator:
Lastly, there was a major element that was out of place on the train. One viewer noticed it. I apologize.
The error is the box car. It’s a box car type that didn’t come out till the late 1960s.
But I liked the car and I chose to leave it in the video footage and try to account for it by expanding my ten wheeler’s operations into the 1960s story line. After all, it is a fictional account.
Again, thanks to you Al and all of the viewers for their heartfelt, supportive and lofty praises.
Arnie”
It should be me thanking you, Arnie. Thanks a mill for sharing your model train sound generator vid and all your input in to the Beginners Guide.
And if there are any more questions for Arnie, please do post them – that way we can all learn something!
Stephen has added to the collection of O scale model train layouts on the blog with this beauty:
“Hi Al
Previously I sent in a 2′ X 2′ O scale practice layout for next to no money.
It worked pretty well. I learned a lot and found out how much l had to learn and teach myself.
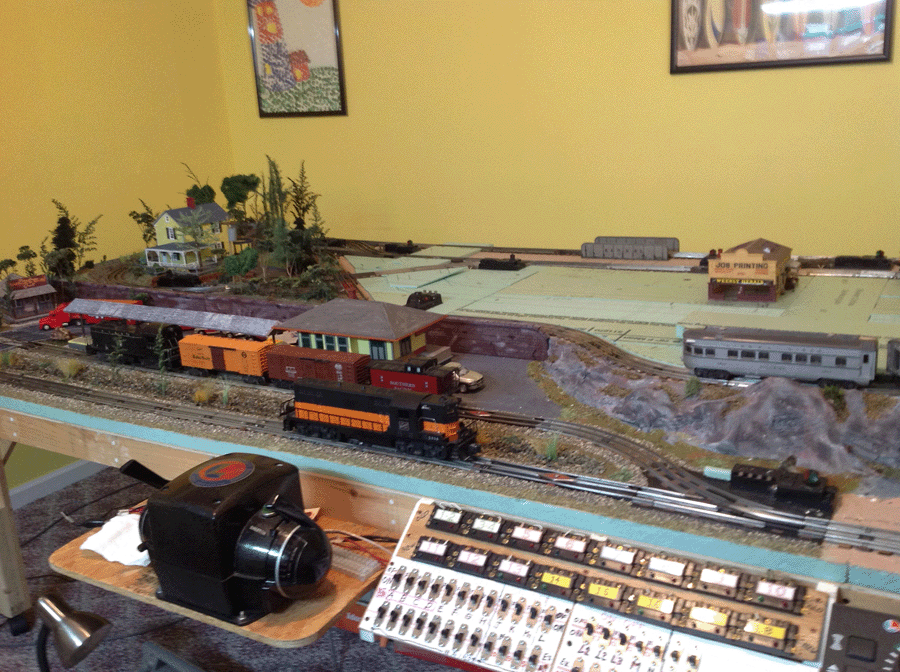
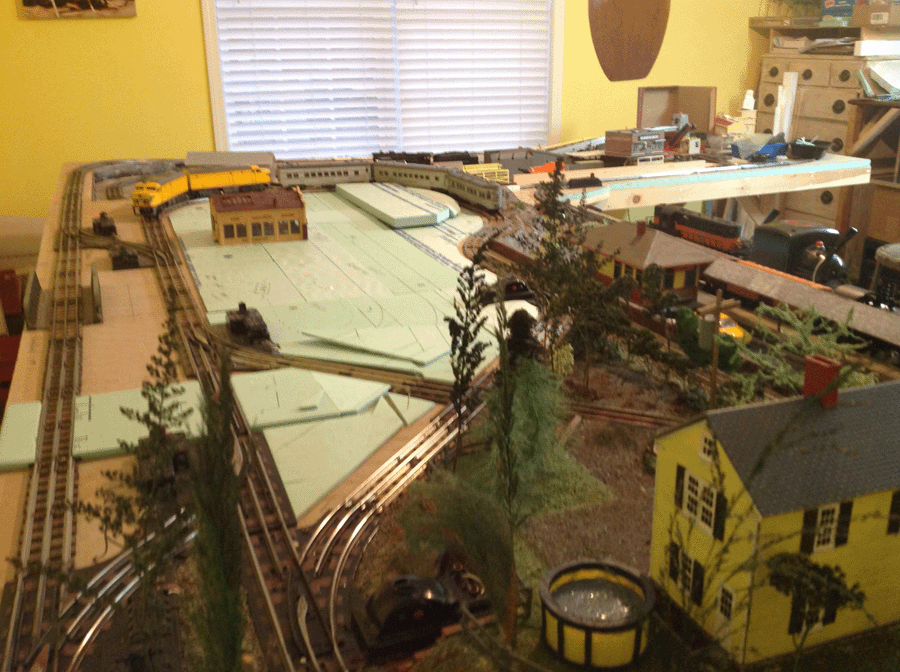
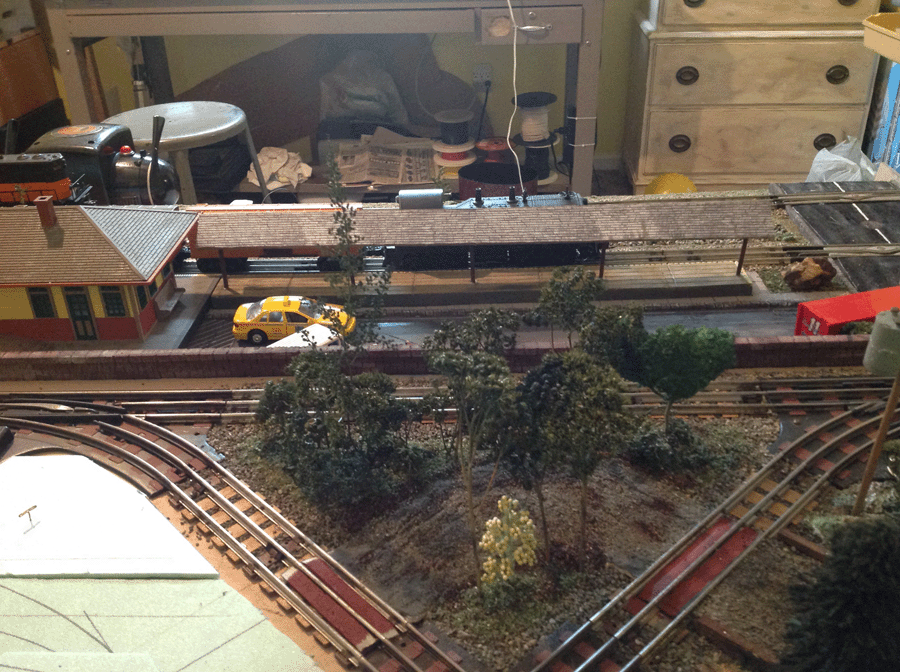
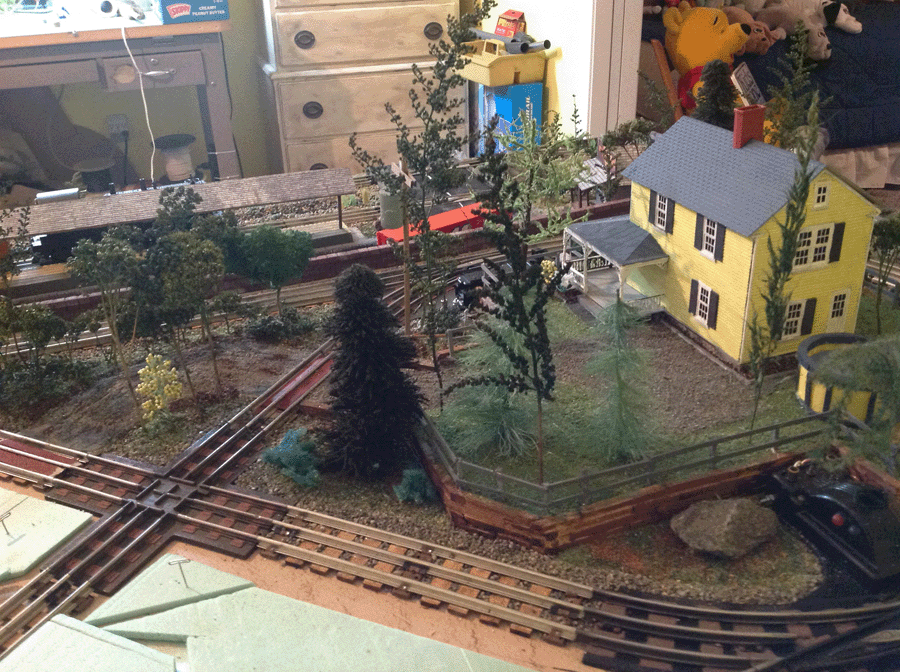
About 6 months ago I started a 6′ X 9′ board in our home office.
Well my wife didn’t like all the train stuff around the room so she gave me a spare room.
The first thing I did was add a 3′-6″ X 12′ L to the board.
I had to change my plans quite a bit but I am very happy with the extra space.
I have the track down and the trains running the way they should. Now I started the scenery.
I am using old Lionel but a lot of the accessories are more toy like than I want. So I have to see what I can and can’t use. With a little creativity I think I can make it work.
I am starting at one end with a loose idea and I am in no hurry. I pick up building and scenery bits and try them out. So far so good.
Here are some pictures of my progress
Steve from Toms River NJ.”
O scale model train layouts:
I can’t wait to see how Stephen’s layout progresses. I loved the water coming out of the pipes in the second last pic.
I though it was really interesting too, how he started with a ‘small, no cost layout’ to get his hand in – then moved on to this one. Well, for a second layout, I think it looks smashing.
Big thanks to Stephen for sharing and adding to the O scale model train layouts.
And thanks to everyone who takes the time to post a comment on the site too.