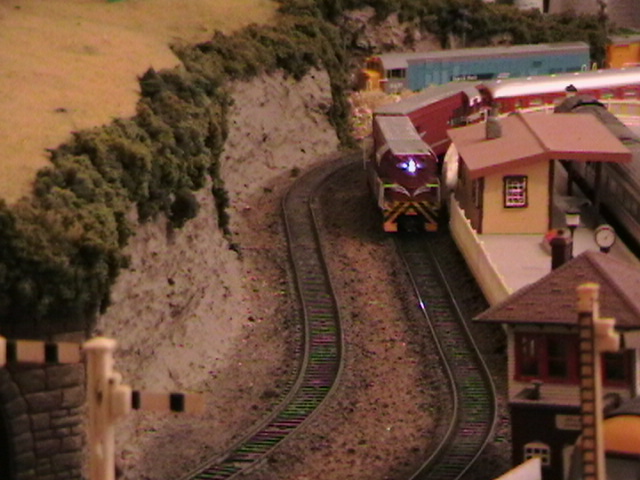
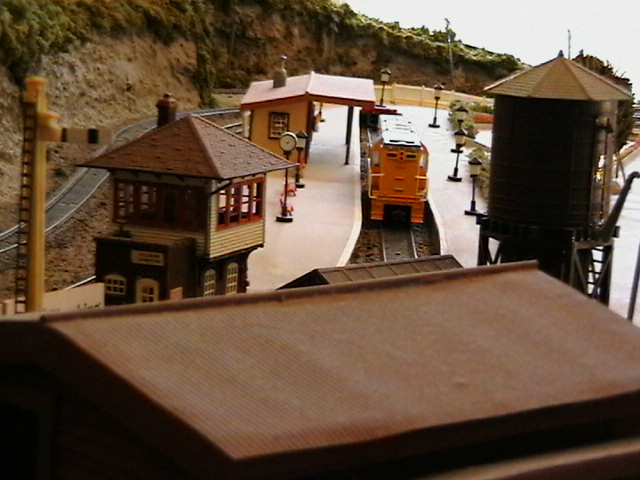
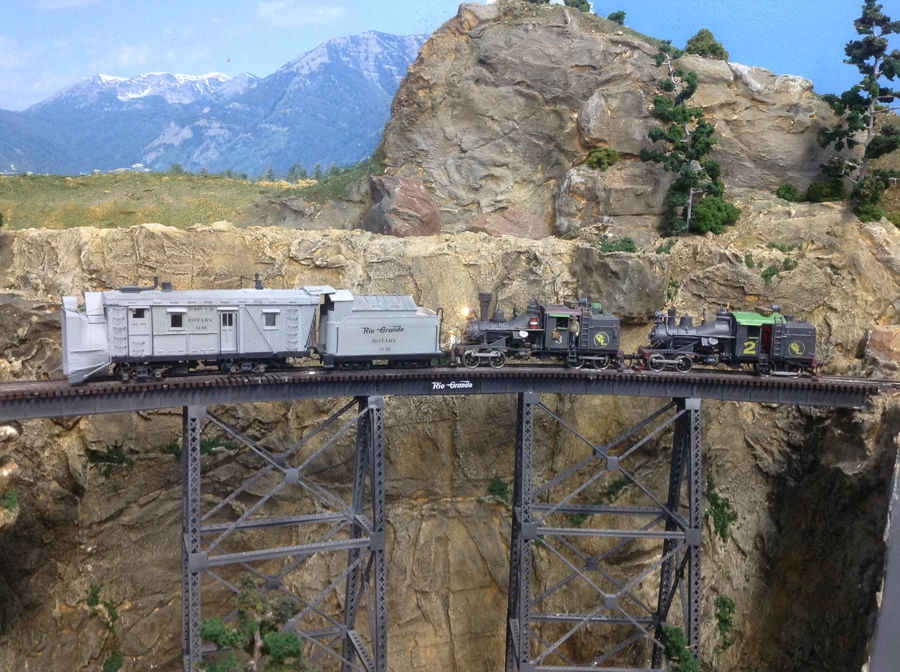
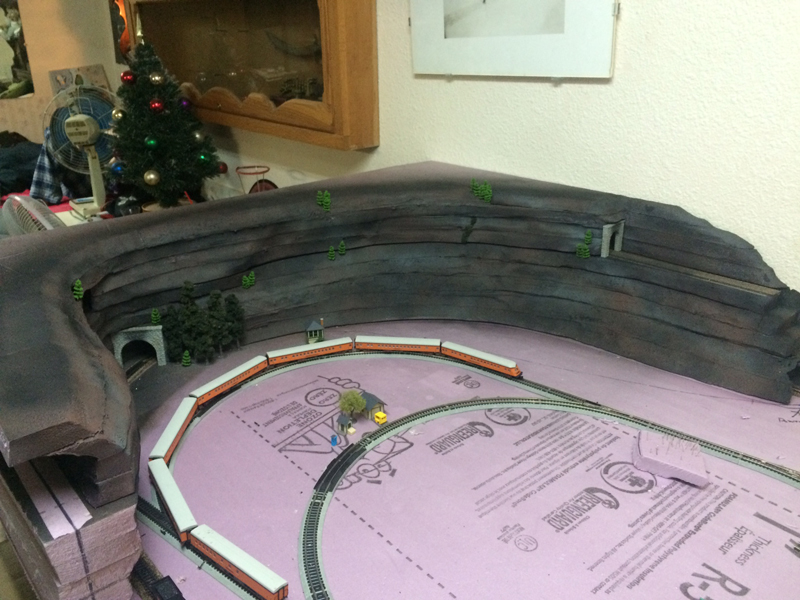
“The landscaping is ‘Layered’ 1 inch thick polystyrene sheet pinned then sprayed, as i mentioned in a comment to Neal’s layout. Other pictures are the layout just back from a show with a bit transit damage – a few fences and trees missing but gives the idea of the polystyrene use
Wayne – Downunder kiwi”
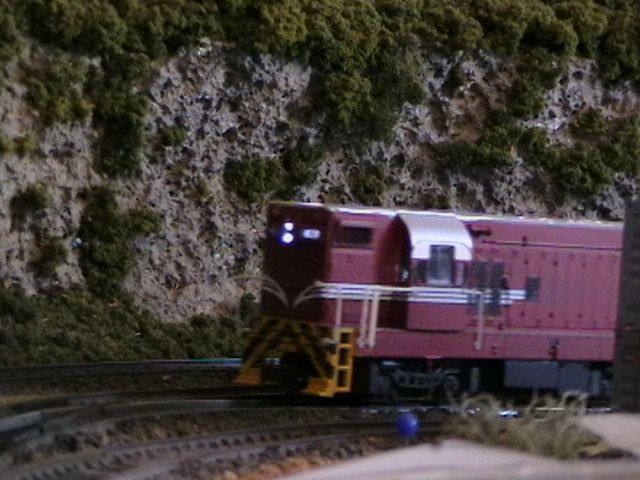
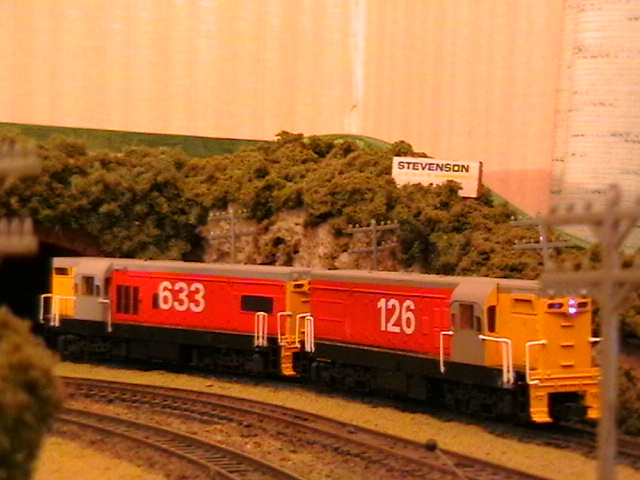
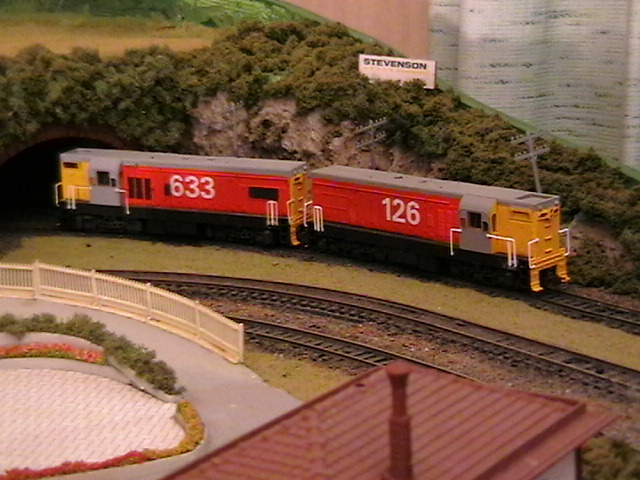
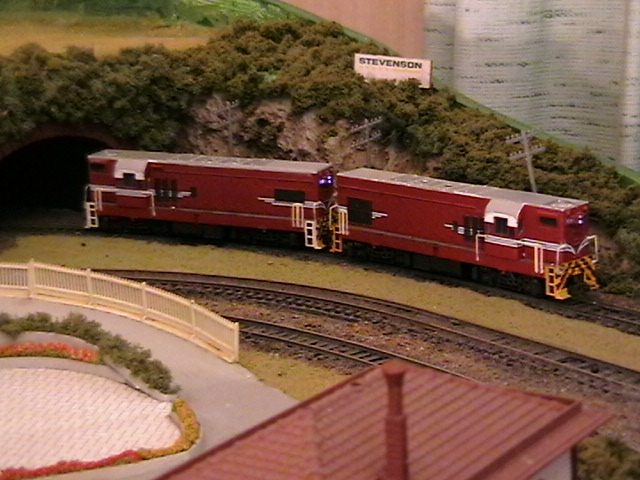
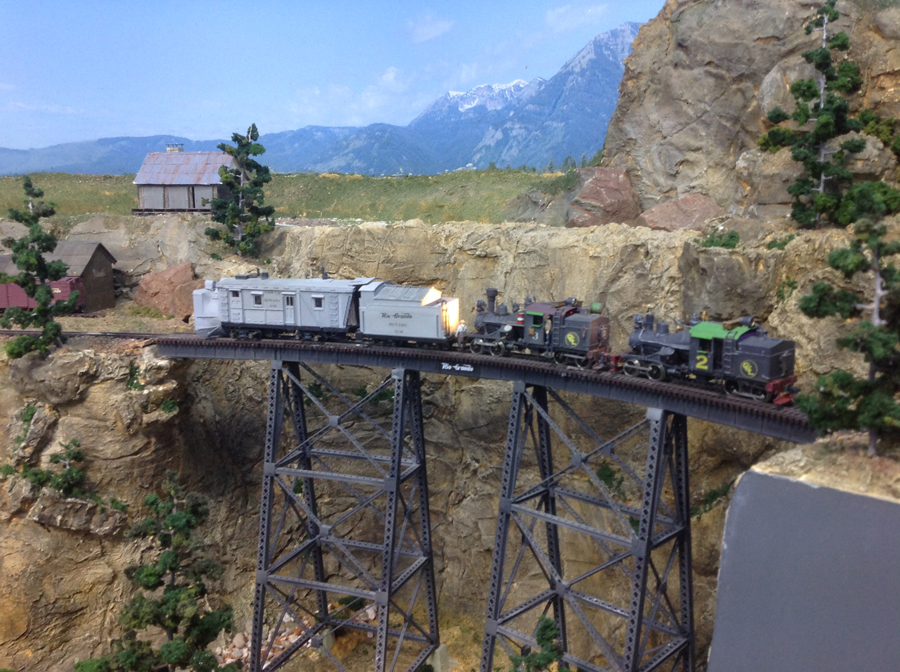
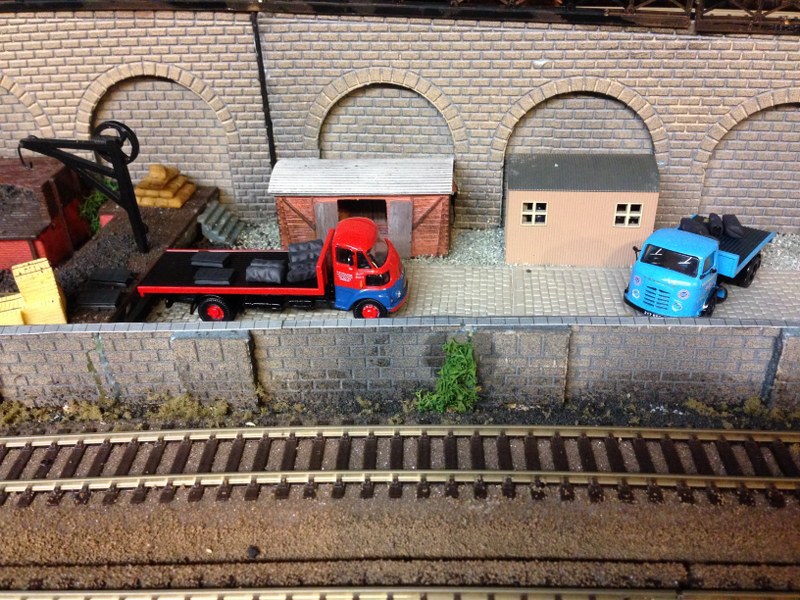
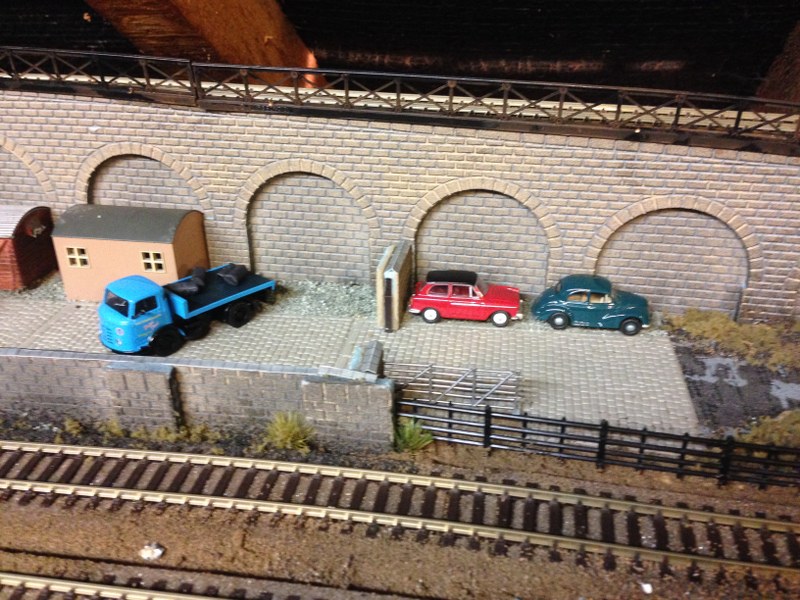
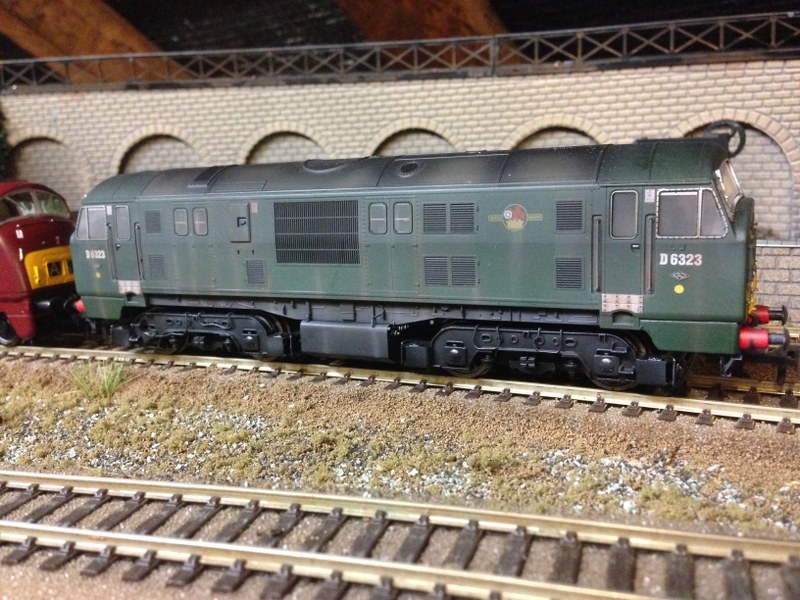
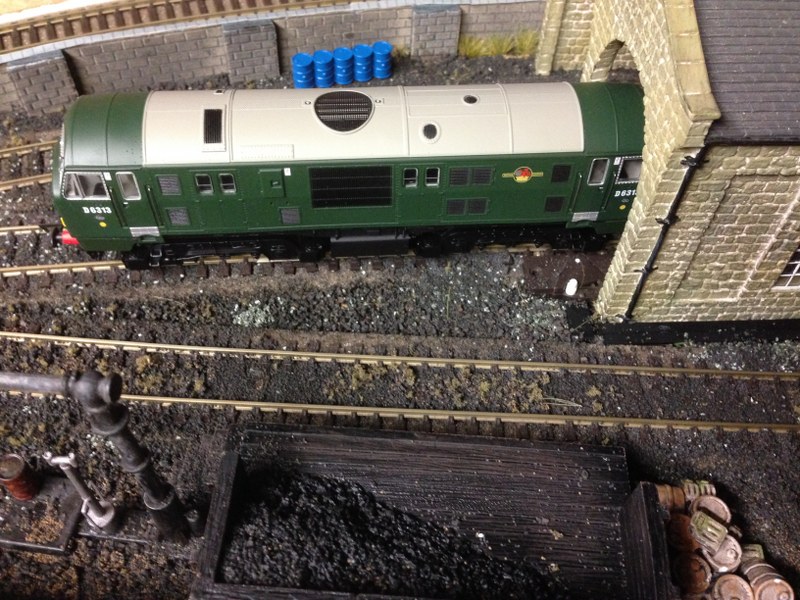
And here’s the latest from Brian. It’s no wonder he’s in the Hall of Fame.
All of his stuff just seems to have bags and bags of character. Have a look and see what I mean:
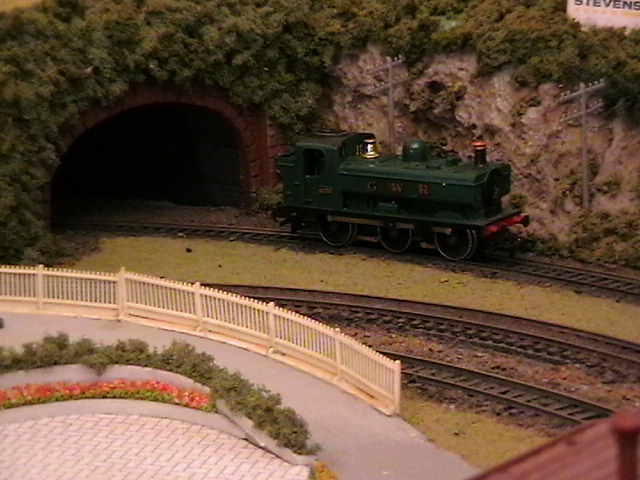
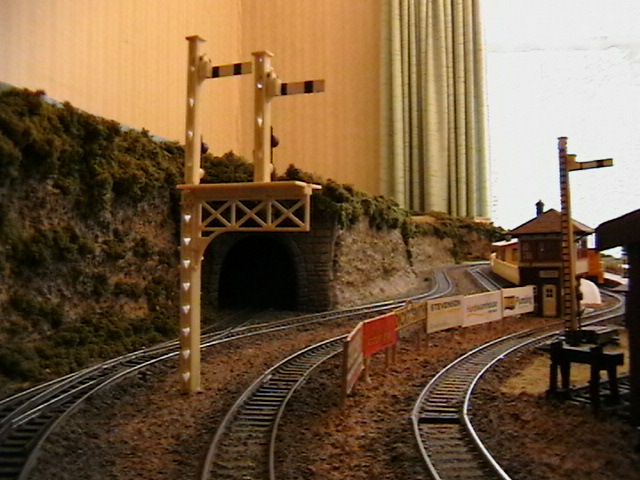
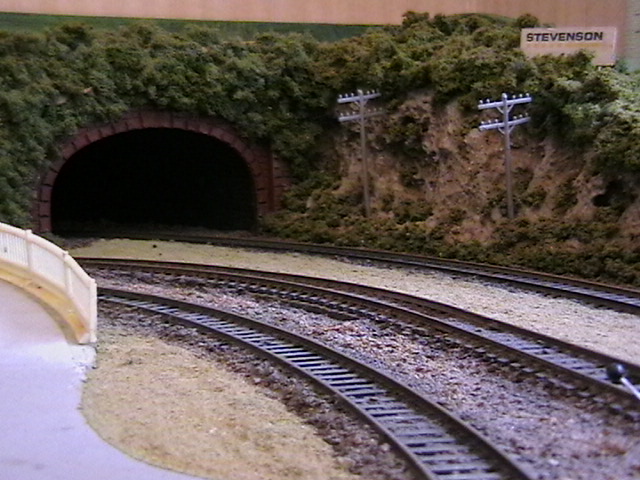
Ed’s been in touch with a Styrofoam train tunnel ‘how to’:
“Hi Al,
Sorry this email took so long to send, life got in the way, lol. I see a lot of discussion about paint and styrofoam, and what works with what.
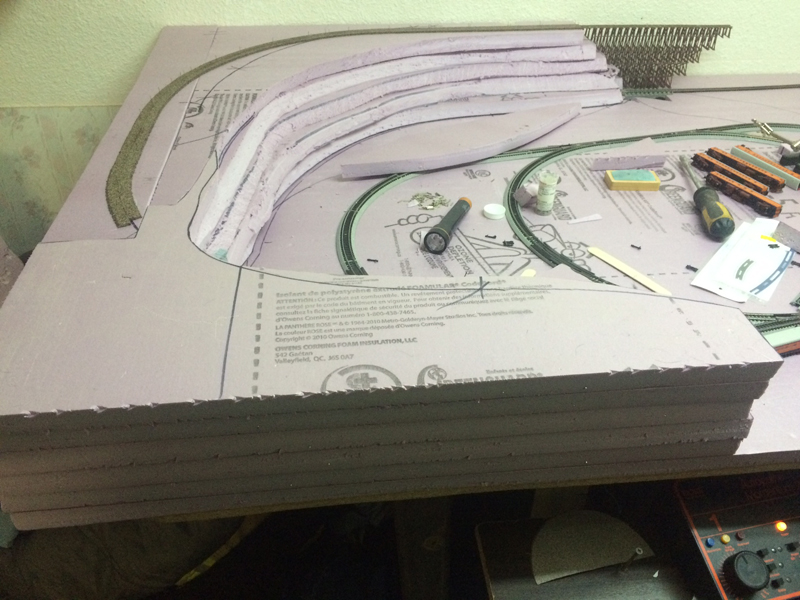
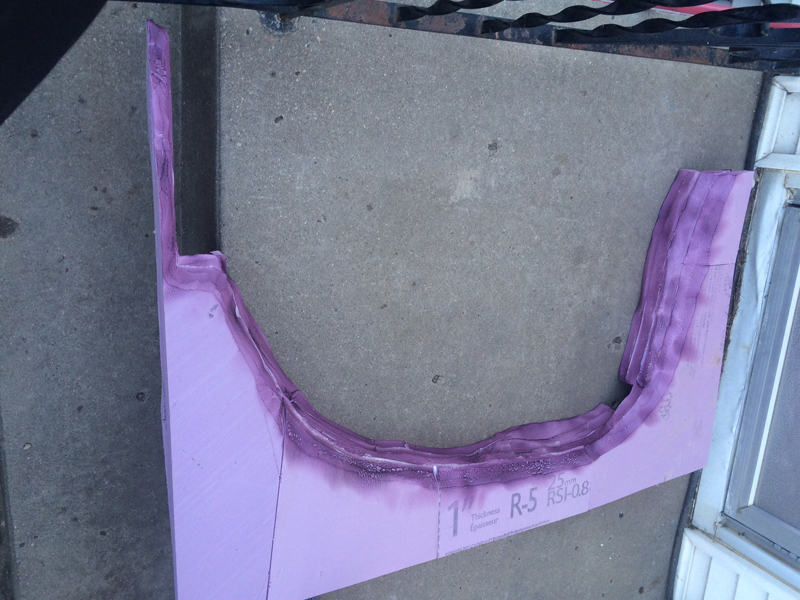
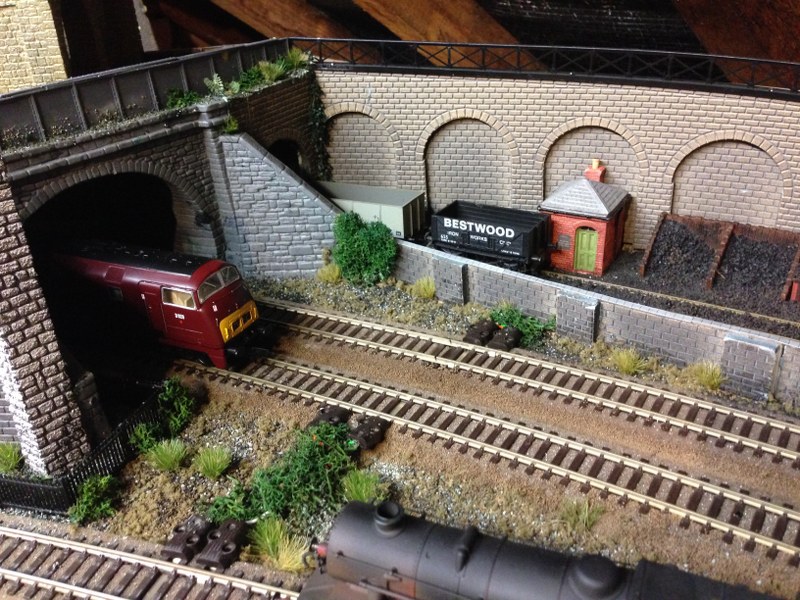
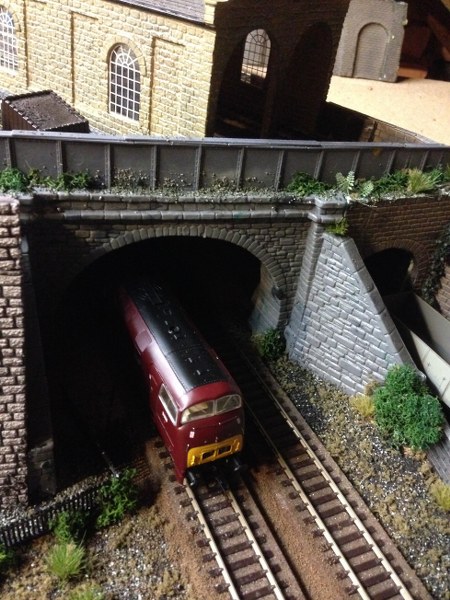
I have been making mountains with a insulation board that come in blue and/or pink. It can be glued together in layers with white glue, sanded, and even accepts any spray paint. I use Tremclad and Rustoleum.
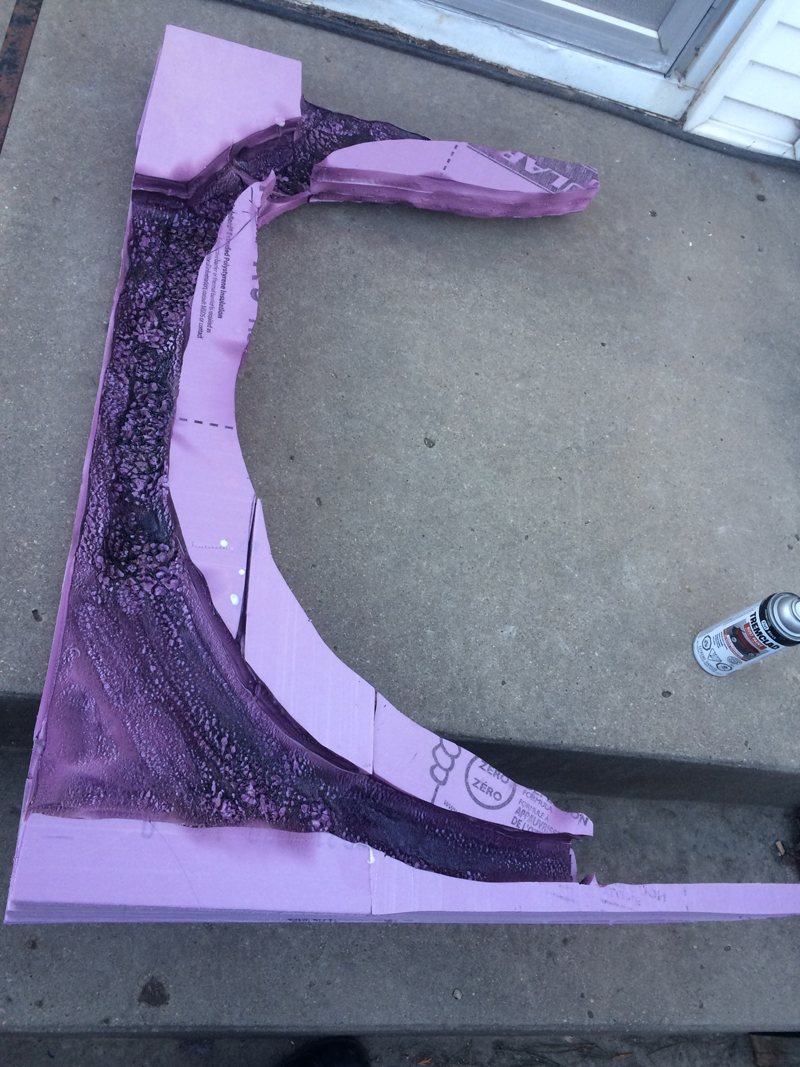
I use an Exacto knife to rough it to shape, finish with sand paper, then spray my colour.
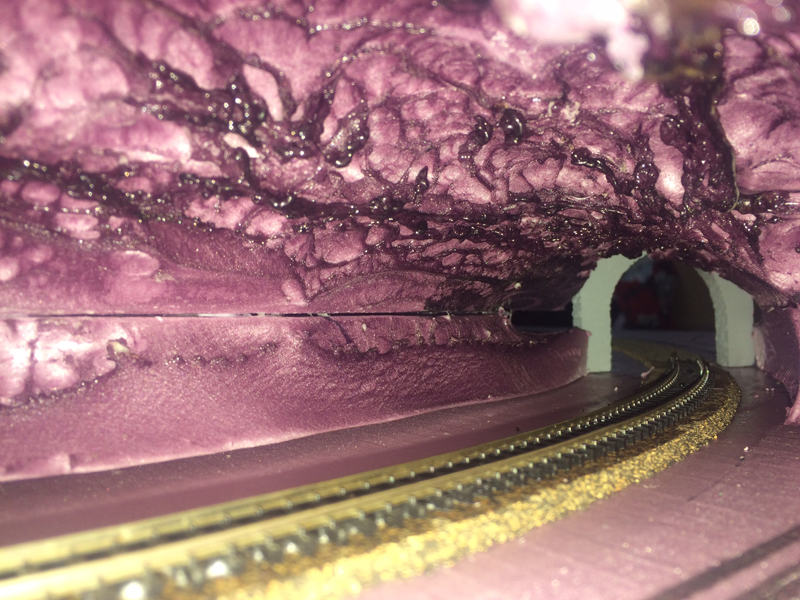
I have been experimenting with different techniques to form tunnels and find a plumbers torch or heat gun work well for forming them. Outdoors, with a mask, of course. The wife isn’t fond of the smell it produces.
I wait for it to cool, then spay colour into them. I have include some photos of them for you.
Sincerely,
Ed”
Next, on to Kevin:
“Hi.
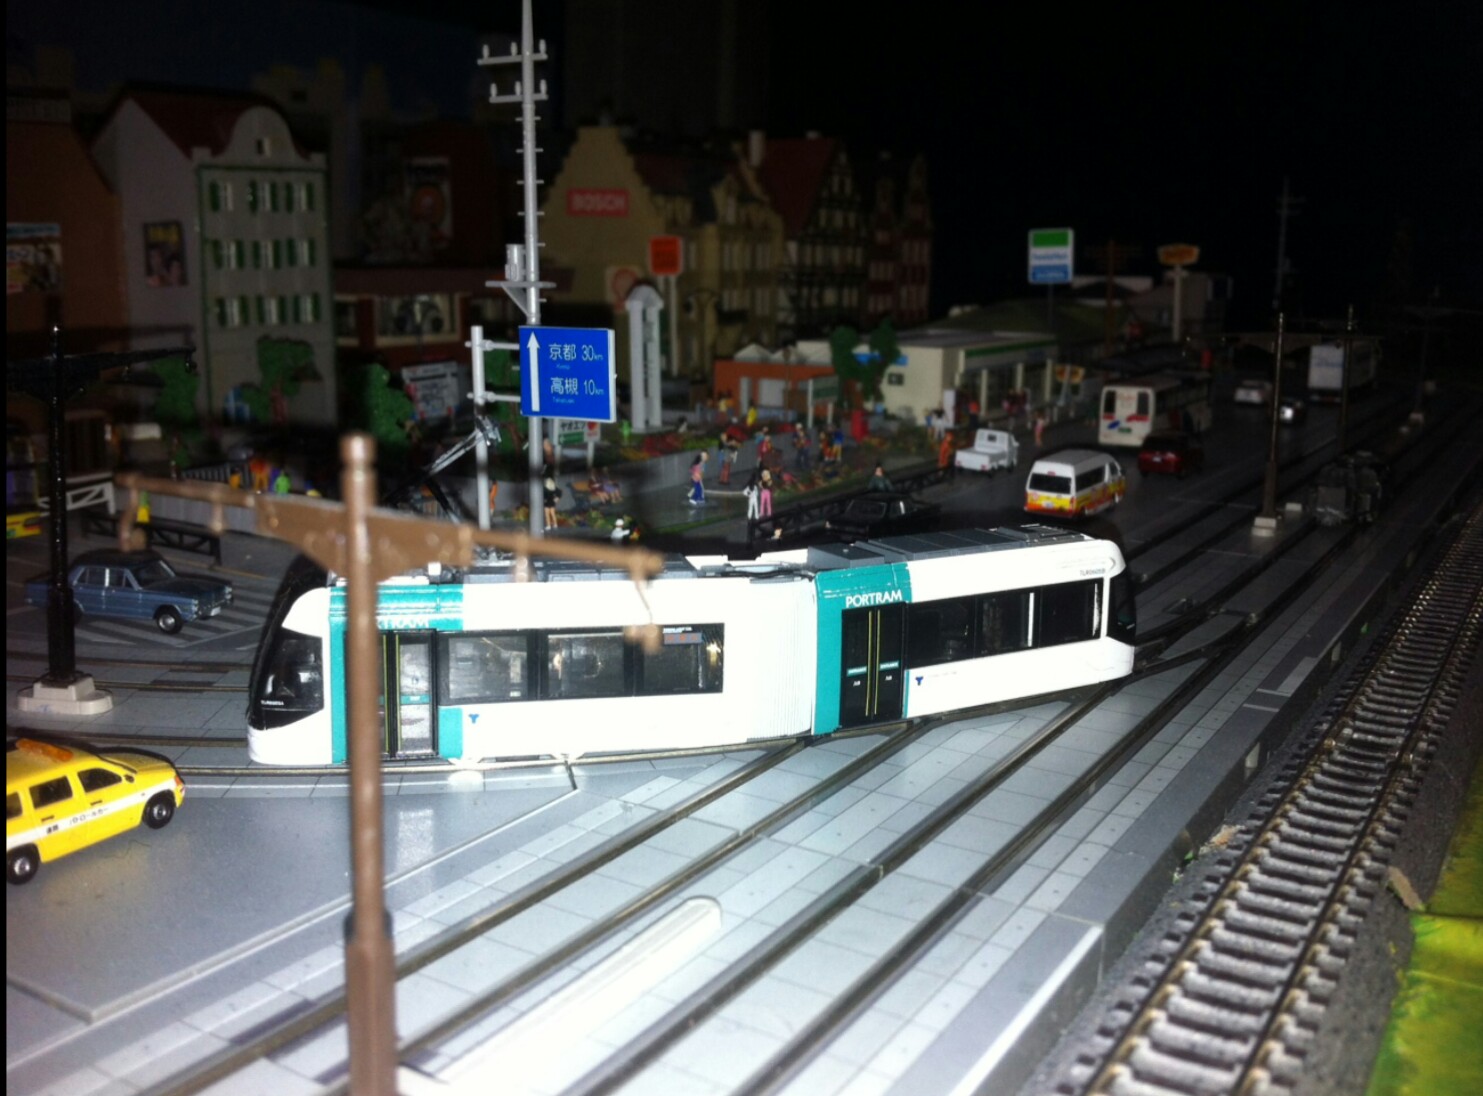
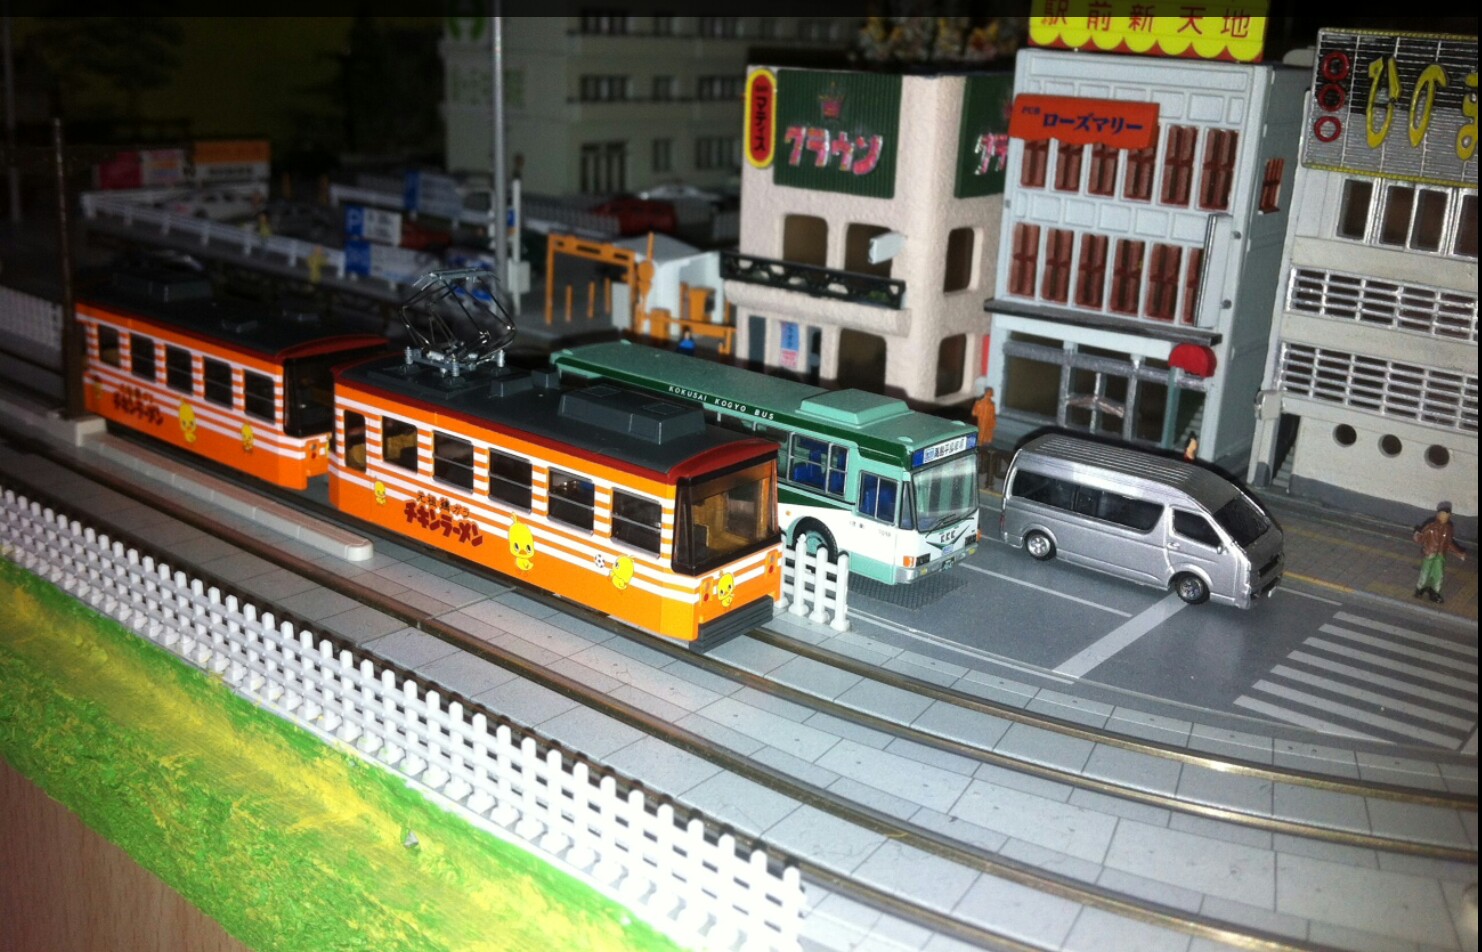
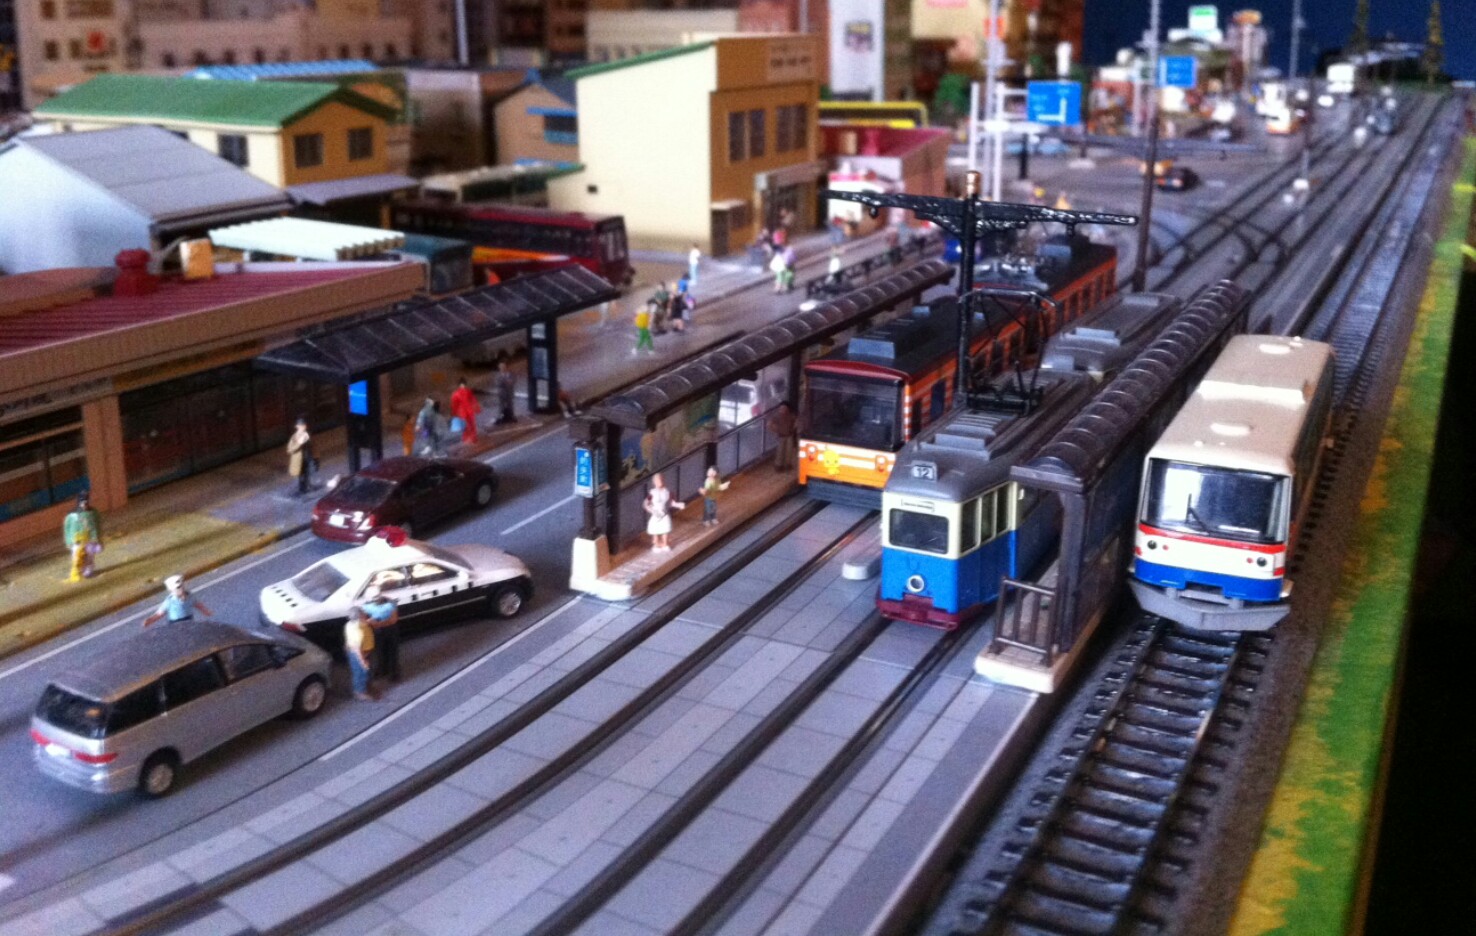
I attach 3 images from my Japanese N scale tram layout.
I have various shots along my tramway which I’ll attach soon.
Kevin”
“Hi Alastair,
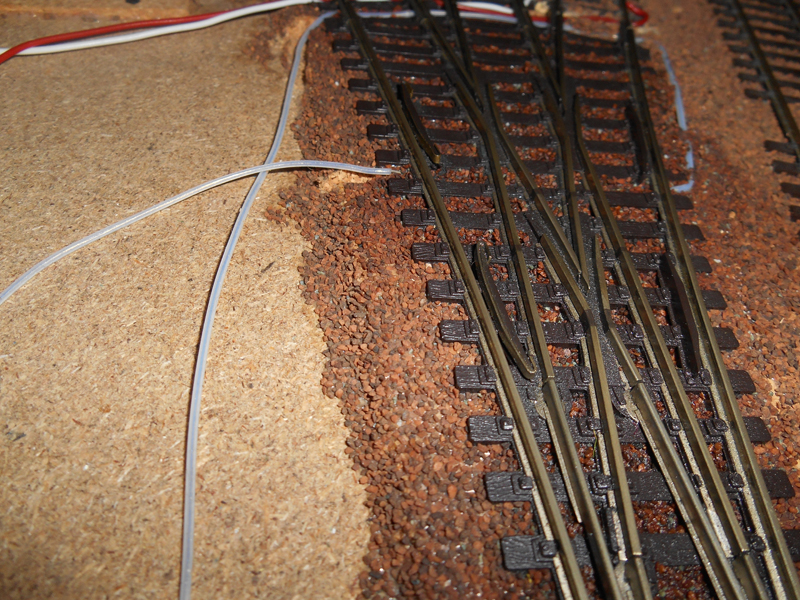
Some while ago I promised a photo of the shim I found I had to put round the checkrail on a code 100 Peco three-way point, to get the finer-flanged wheels on continental rolling stock to follow the curve, instead of pushing out through the gap in the crossing towards the middle route.
I think you can just see it in the photo, incidentally the sheathed wires carry current to the crossings (or “frogs”) of the points from the switches attached to the point motors.
This section of the layout is not sceniced as yet since its part of the fiddle yard, but I ballasted the track anyway as it may have a cameo scene built round it later
Rod”
Loved Kevin’s trams – I don’t think I’ve posted any tram pics before.
Styrofoam train tunnel tutorials always go down well too. Just goes to show there’s a million and one ways to do one thing.
And great to hear from Rod again.
Please do keep ’em coming folks. Thanks for all your comments on this too.
Steve’s been in touch with some good advice on model train platform materials:
“Dear Al
Thanks for putting the few photos of my layout up for viewing my hope is it provides some inspiration at basic level. Here is the first set I sent to you in case you forgot as the second lot caught your eye clearly!
I know this is basic stuff this is deliberate as it shows realistic views from the eye are achievable. This lot took a few afternoons of patience in the holiday period! There is nothing expensive here apart from the engines of course!
Tip! – If you use foam or similar track underlay which many do, this of course raises the track height ( again this pure amateur level stuff!) then the standard platform height is too low either in card kit or resin model forms ( which are shown in my photos earlier).
The easy solution is you can buy thin balsa strips, ( my model shop supplies a kit of various lengths and thickness in a pack). They easily cut into shape for any length, use them as a packer under the edges of the platforms, glued to the base then glue the platform to the balsa runner.
Its about 1/8″ thick and works very well is solid and easy to do. This improves the look and creates a realistic platform height when viewed from the engine or a coach running by the platform.
The balsa runners are covered when you apply the scatter on the side of the foam underlay to blend in, the slight increase in height at the platform end where it slopes to the ground is also covered when you put in place the timber sleeper walkway to cross the tracks as it used to be to get from one platform to the other side of the track.
Regards
Steve”
“Hello Al,
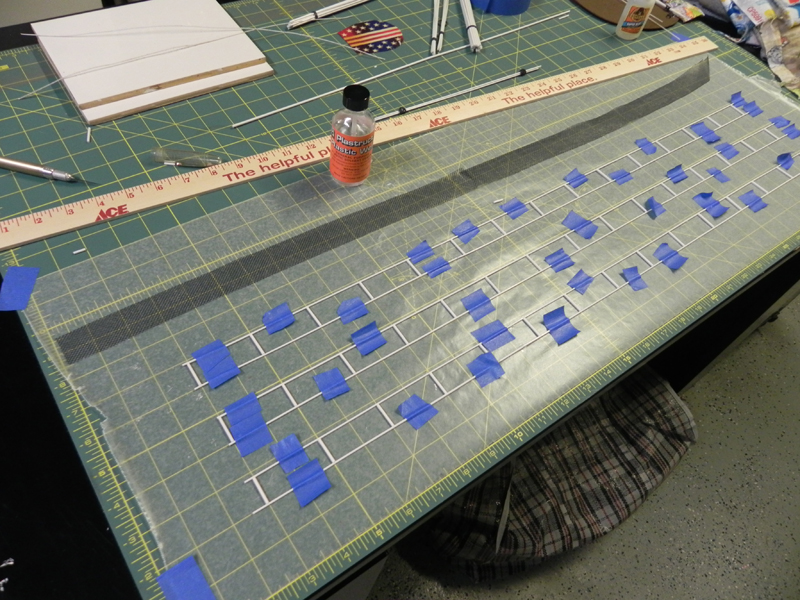
I’ve been getting so many ideas from your website, and contributed nothing. I’m sending in these pictures on fence building, It is time consuming but there is no way to affordably purchase this much fence to fit your needs.
My wife sews, so I had the fabric cutting board, and roller cutter at my disposal. It makes the job easer, but not mandatory, a sharp scissors works fine.
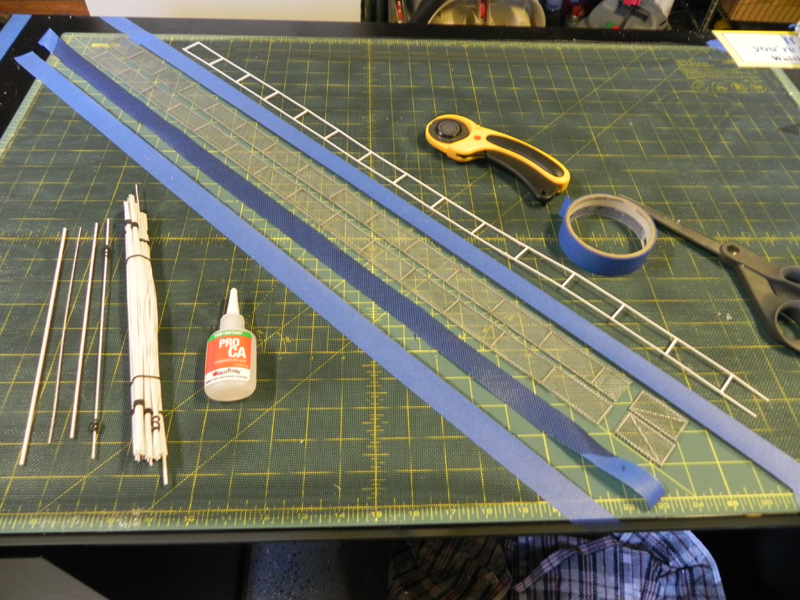
Materials list
Wax paper, styrene rods (eBay), PRO CA glue, household vinyl screening material, Painters tape (Thickness to your scale), strait edge 36″, sharp scissors, silver spray paint, and clear coat semi-gloss spray paint.
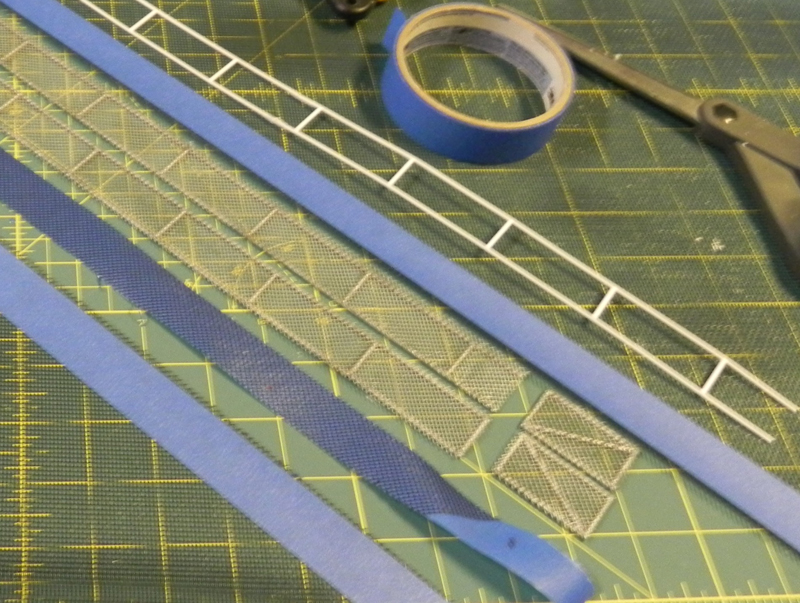
I’ve sent the included pictures to place the idea across. Measurements are critical, the screen is to be cut on a 45 degree angle to give the spikes on top of the fence. These are not finished yet, I’m placing barbed wire on the top, I’ll send the completed pictures complete with gates in the follow up installed on my rail.
John”
And lastly, thanks for all the comments on this. I’ve been getting quite a few like this now:
“Al,
I collected my train set for over 30 years knowing someday I would get it out and start putting it together for my hobby. Well I started a couple years back and found out how much model railroading has changed. I am working in the HO scale. Well I got on the internet and started to search for answers to several problems I was experiencing, thus I came upon your web site and it offered endless suggestions and advice. When you went to a pay site I had no hesitation to get onboard. The input from the readers is invaluable and your ebay short cuts has more then paid off for me! It would be a true honor to meet you in person and shake your hand to thank you for all you have done to help me foe fill a live long dream. Thank you and hopefully you have many more years of great advice!
Evor”
So, if you’re like Evor, and scratching your head at all the changes, have a read of this and make your own mind up.