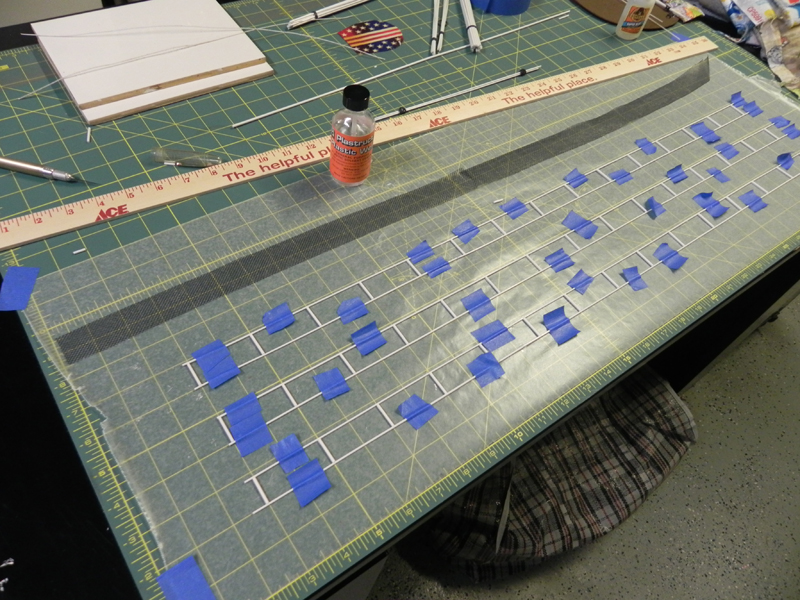
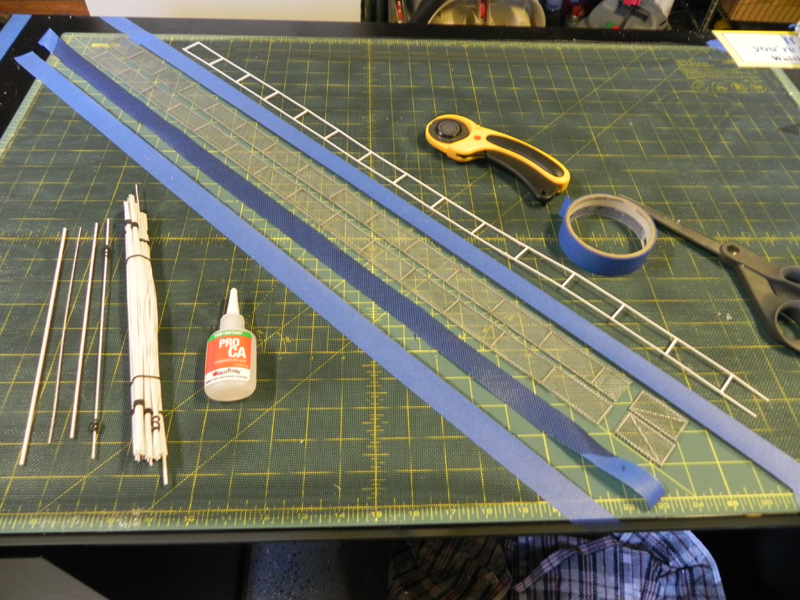
Ed’s been in touch with a Styrofoam train tunnel ‘how to’:
“Hi Al,
Sorry this email took so long to send, life got in the way, lol. I see a lot of discussion about paint and styrofoam, and what works with what.
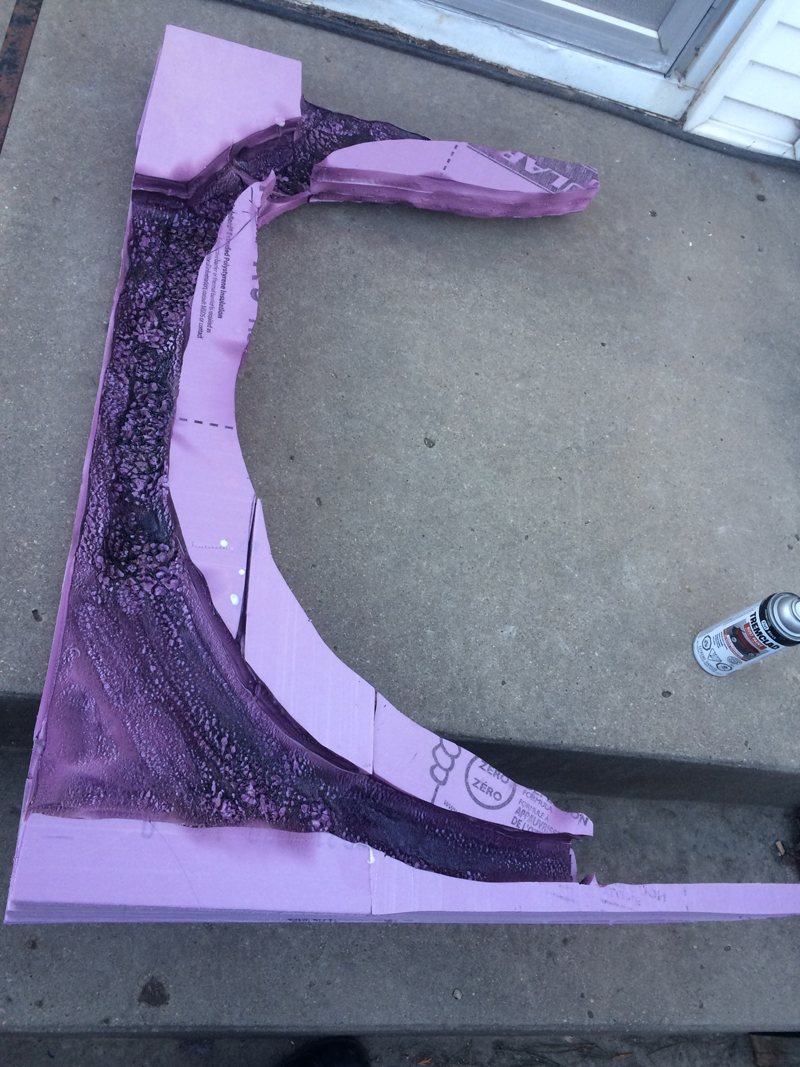
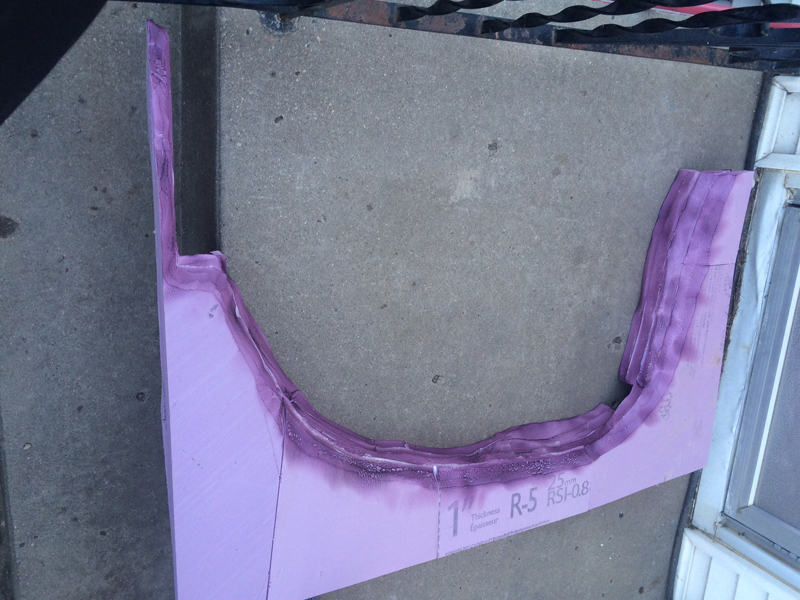
I have been making mountains with a insulation board that come in blue and/or pink. It can be glued together in layers with white glue, sanded, and even accepts any spray paint. I use Tremclad and Rustoleum.
I use an Exacto knife to rough it to shape, finish with sand paper, then spray my colour.
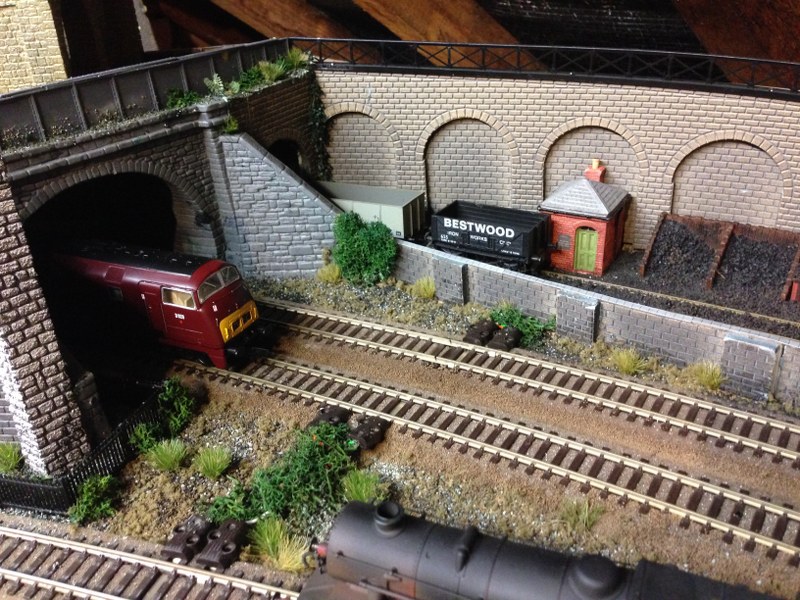
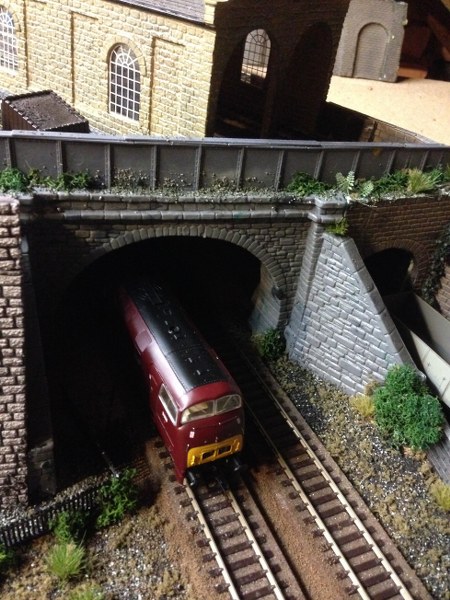
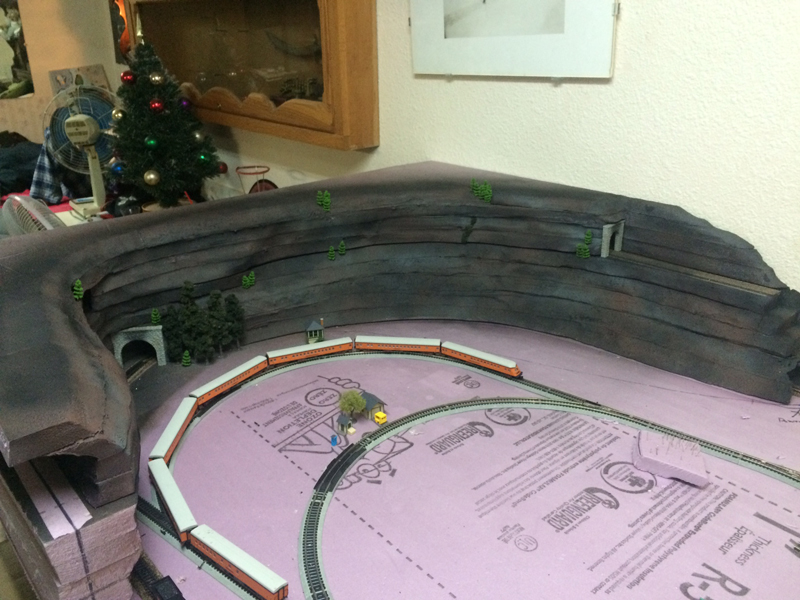
I have been experimenting with different techniques to form tunnels and find a plumbers torch or heat gun work well for forming them. Outdoors, with a mask, of course. The wife isn’t fond of the smell it produces.
I wait for it to cool, then spay colour into them. I have include some photos of them for you.
Sincerely,
Ed”
Next, on to Kevin:
“Hi.
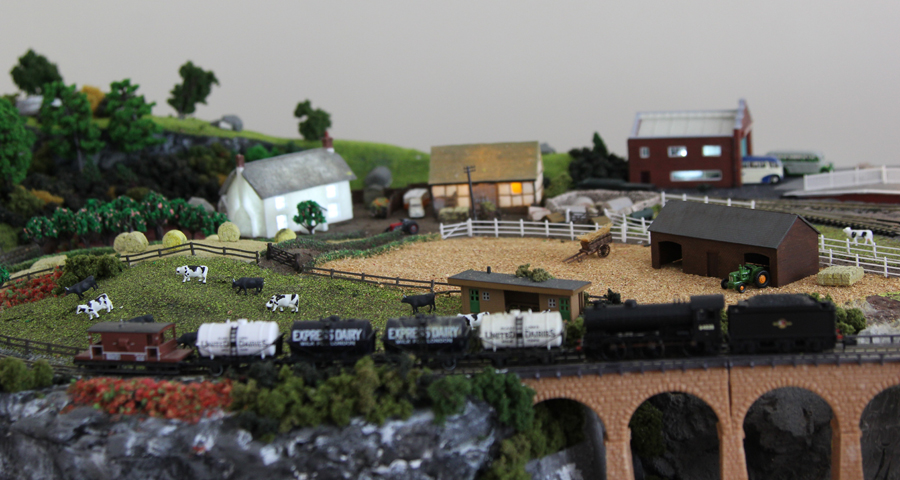
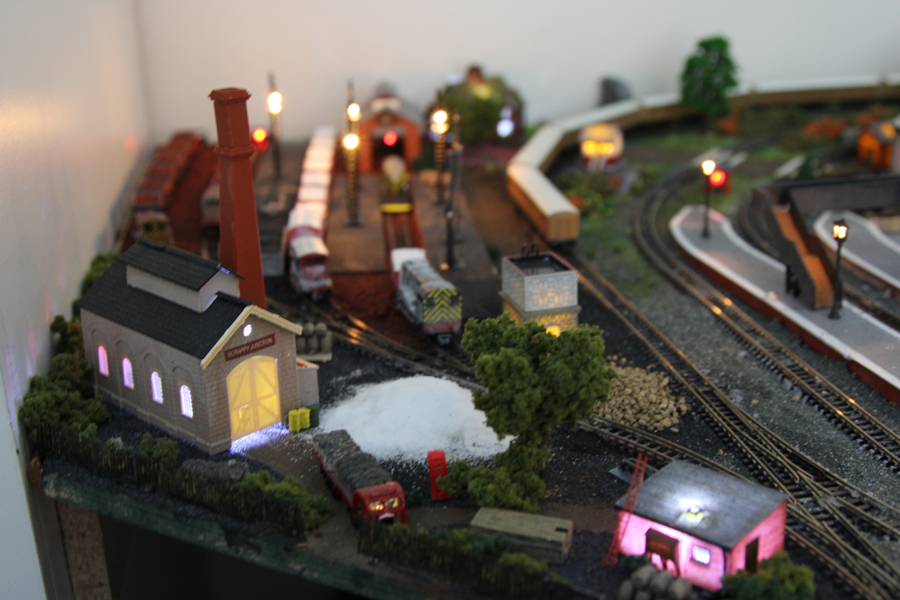
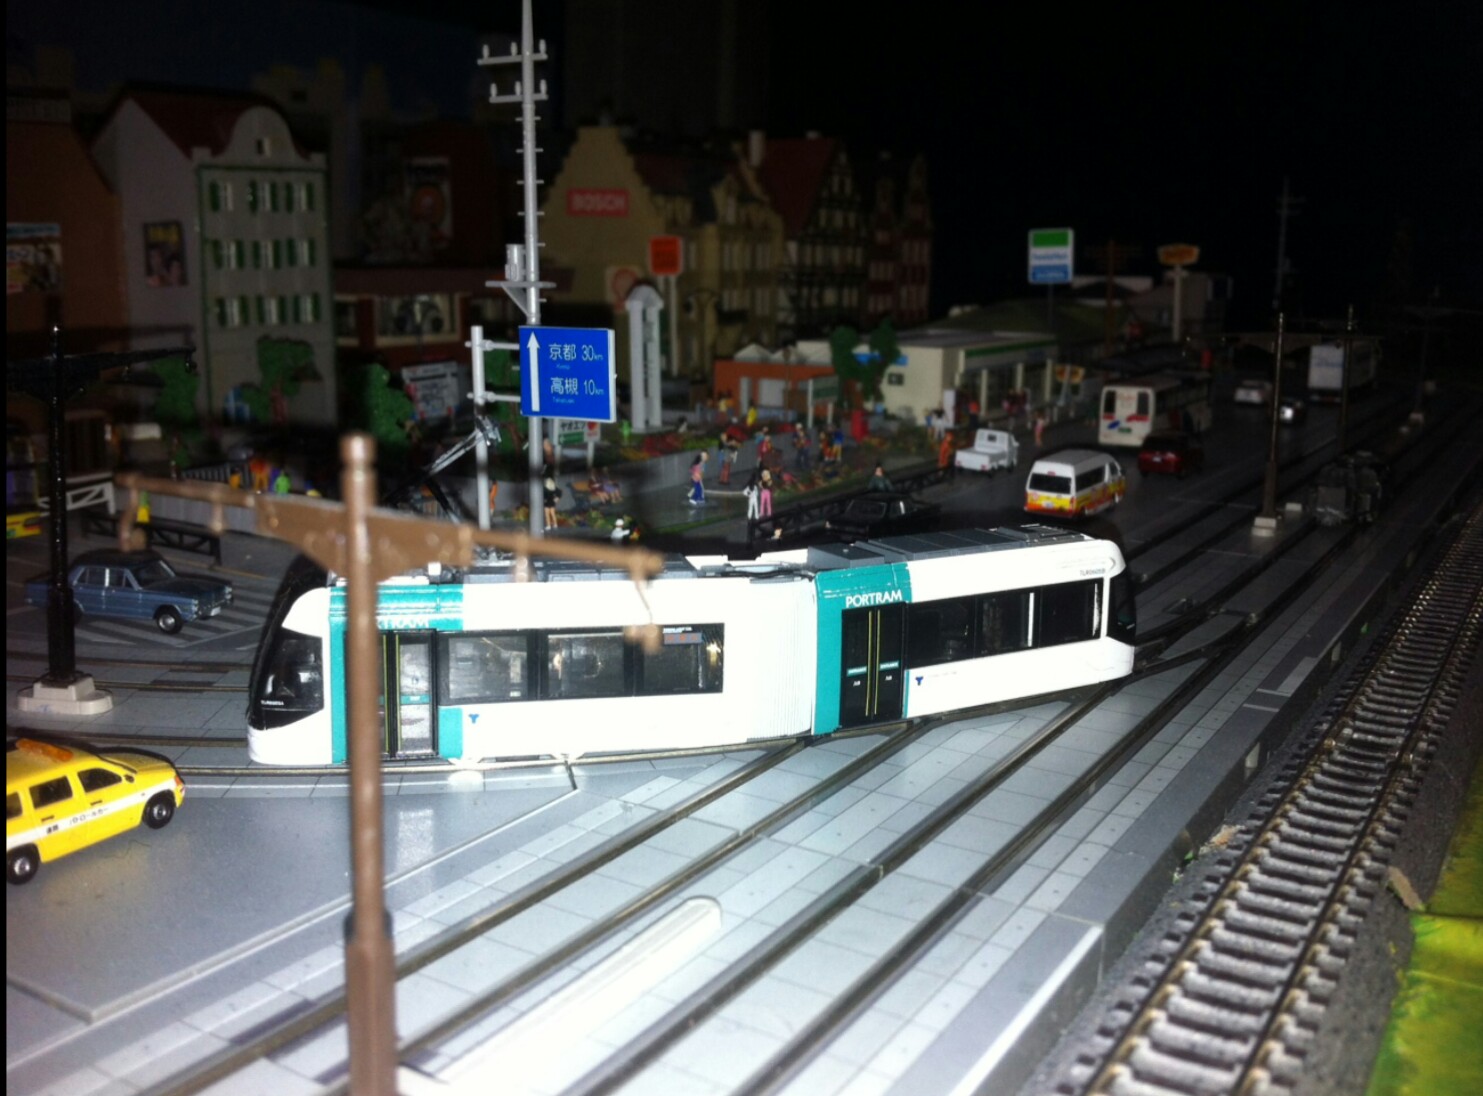
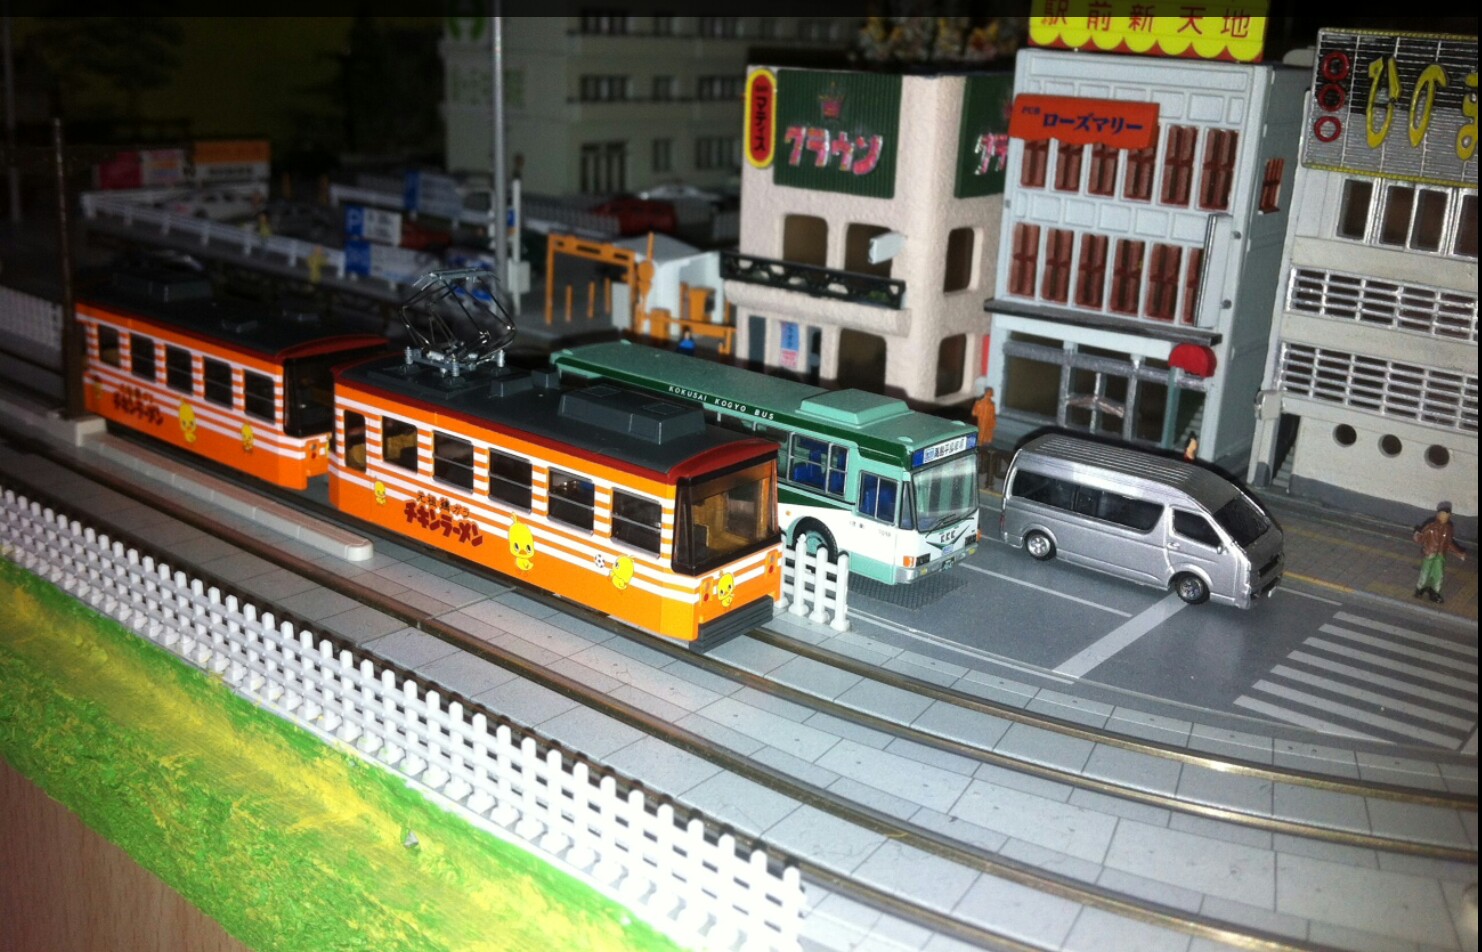
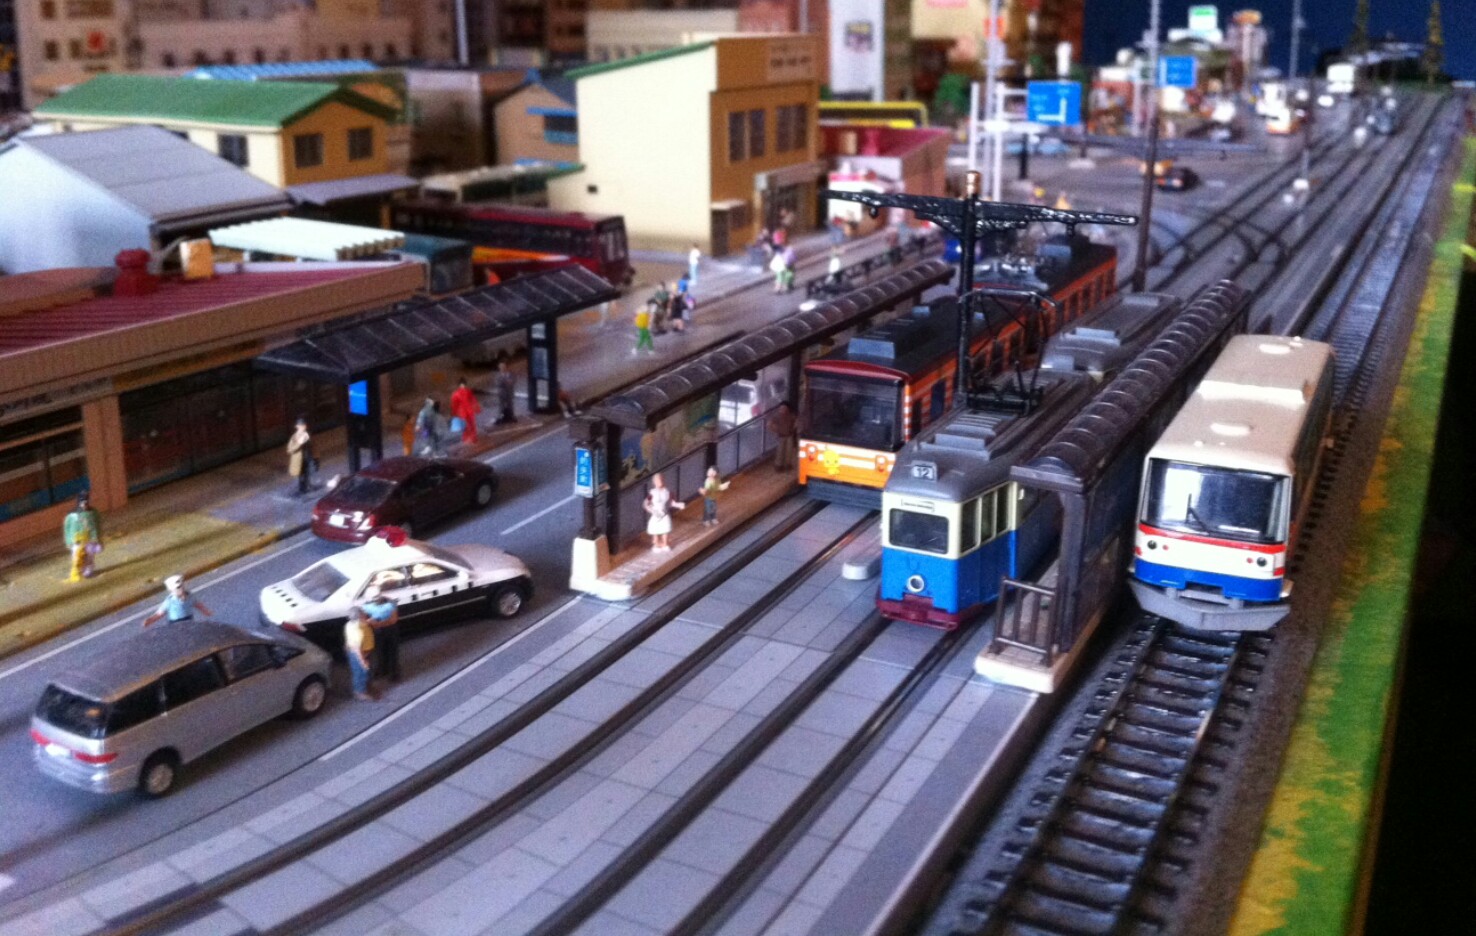
I attach 3 images from my Japanese N scale tram layout.
I have various shots along my tramway which I’ll attach soon.
Kevin”
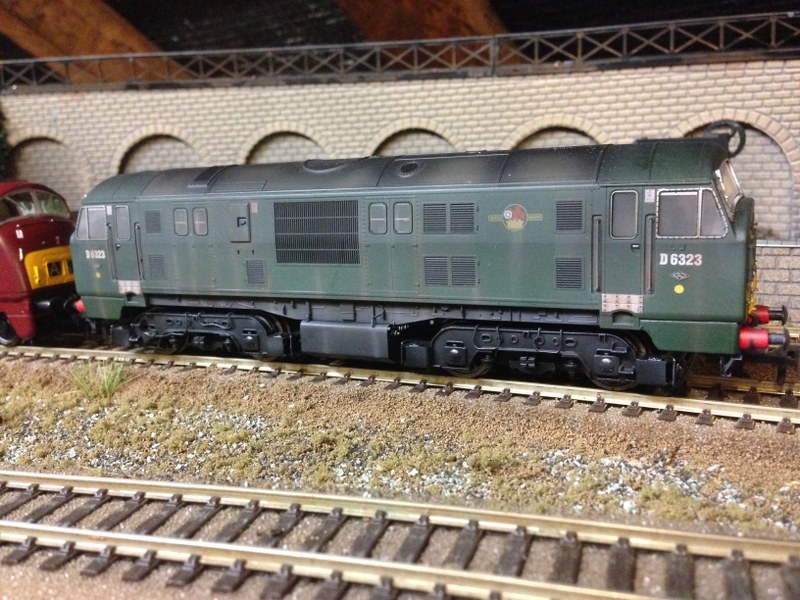
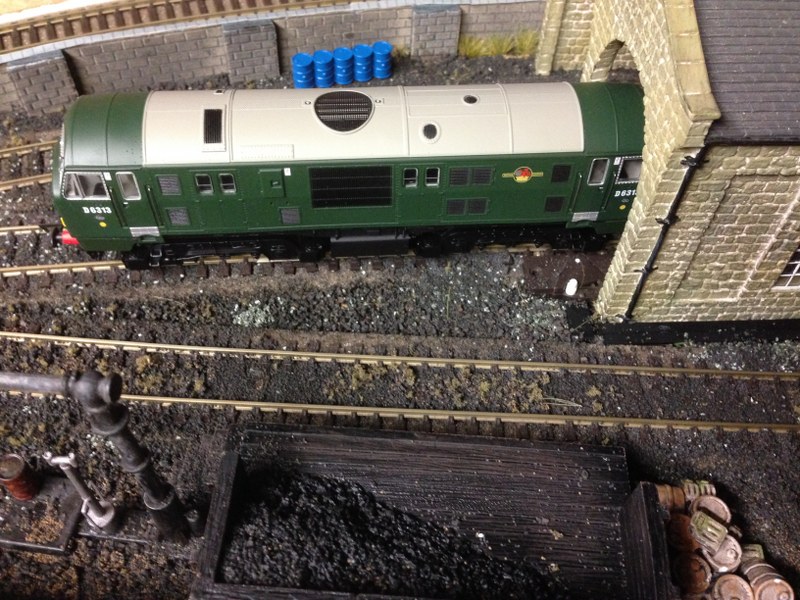
“Hi Alastair,
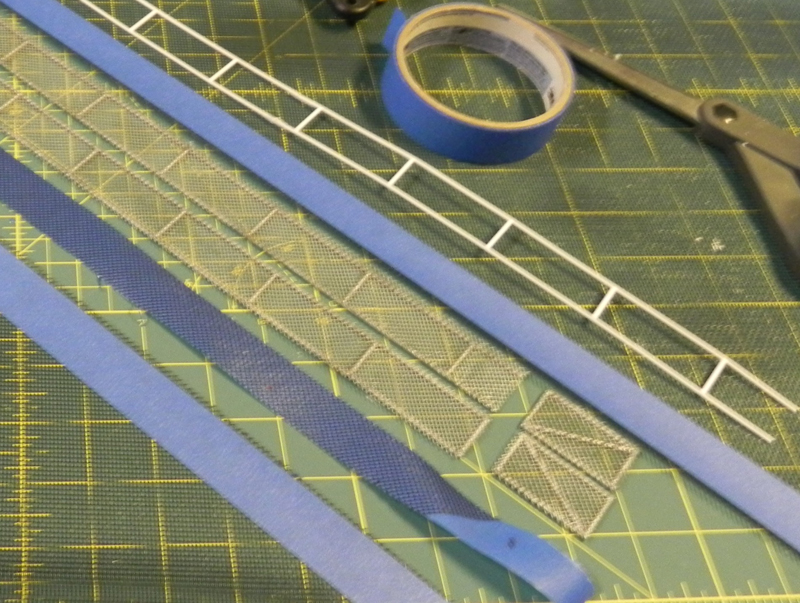
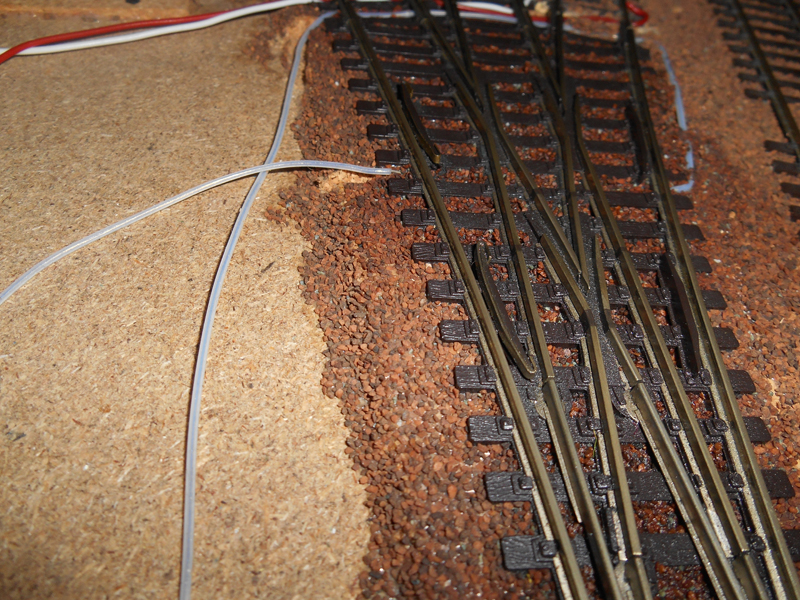
Some while ago I promised a photo of the shim I found I had to put round the checkrail on a code 100 Peco three-way point, to get the finer-flanged wheels on continental rolling stock to follow the curve, instead of pushing out through the gap in the crossing towards the middle route.
I think you can just see it in the photo, incidentally the sheathed wires carry current to the crossings (or “frogs”) of the points from the switches attached to the point motors.
This section of the layout is not sceniced as yet since its part of the fiddle yard, but I ballasted the track anyway as it may have a cameo scene built round it later
Rod”
Loved Kevin’s trams – I don’t think I’ve posted any tram pics before.
Styrofoam train tunnel tutorials always go down well too. Just goes to show there’s a million and one ways to do one thing.
And great to hear from Rod again.
Please do keep ’em coming folks. Thanks for all your comments on this too.
Best
Al
PS Ebay cheat sheet still charging along.