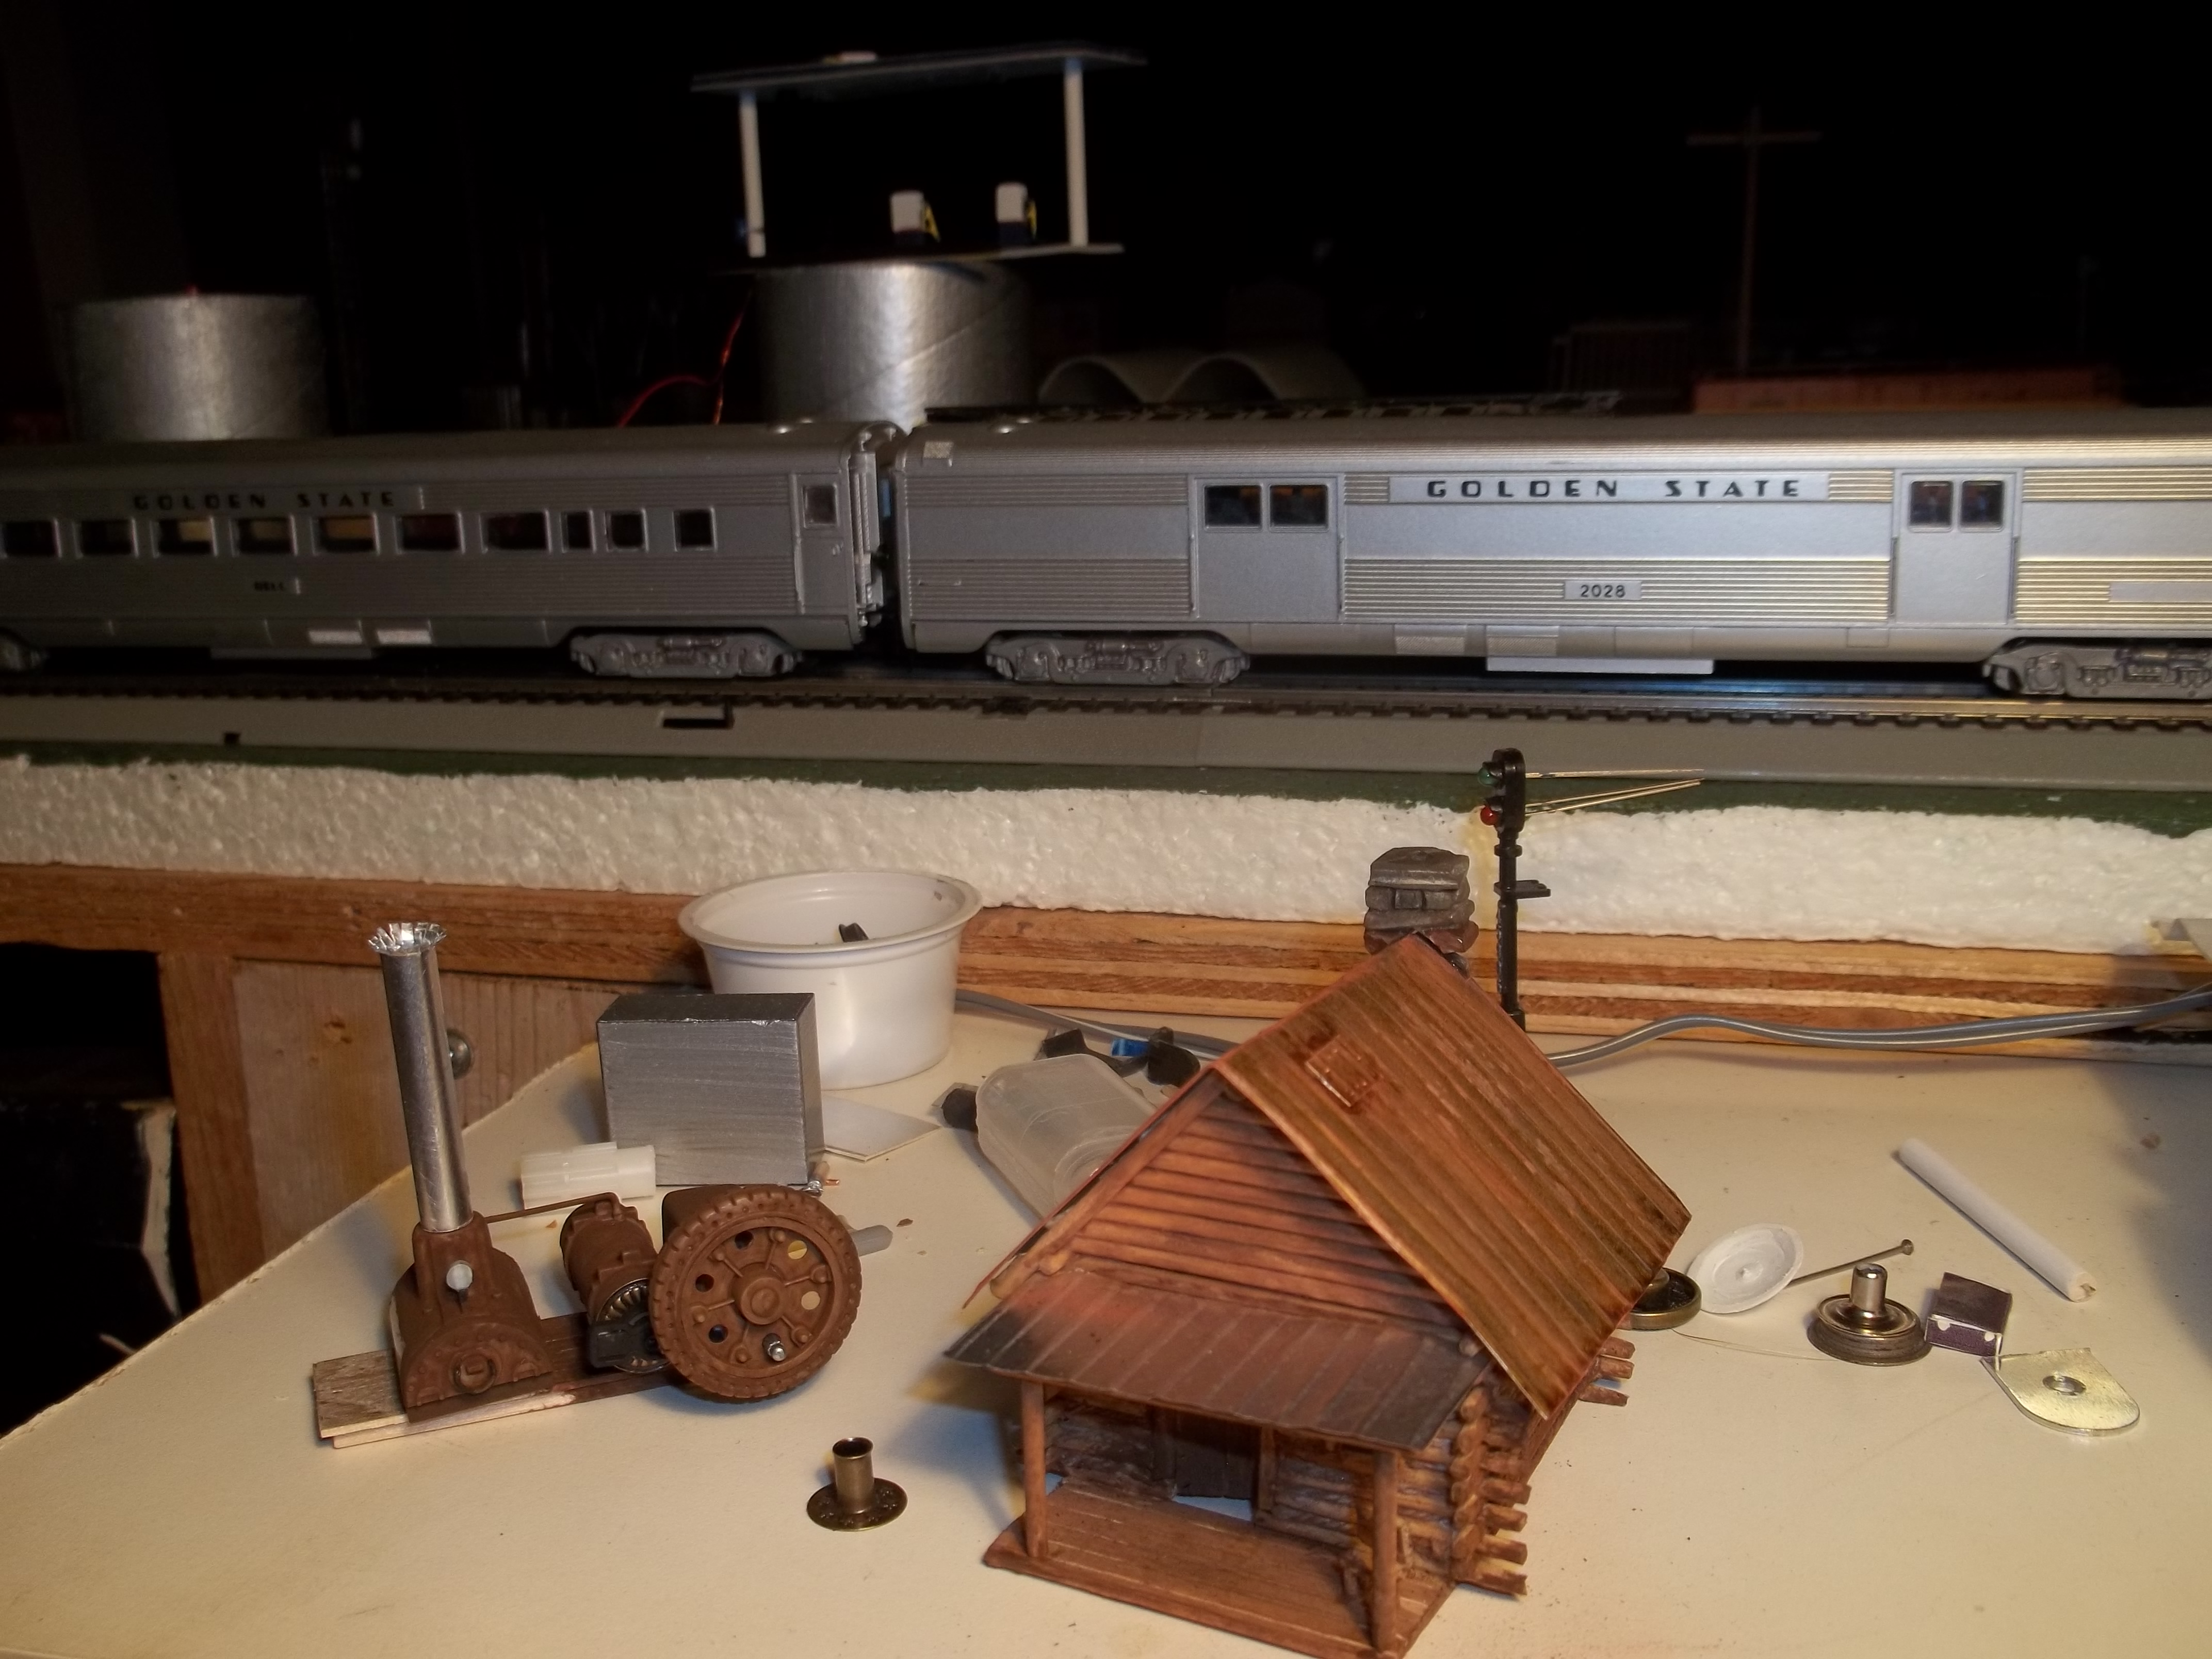
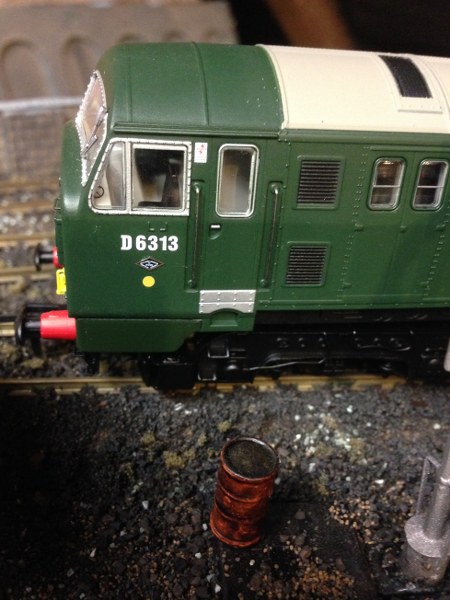
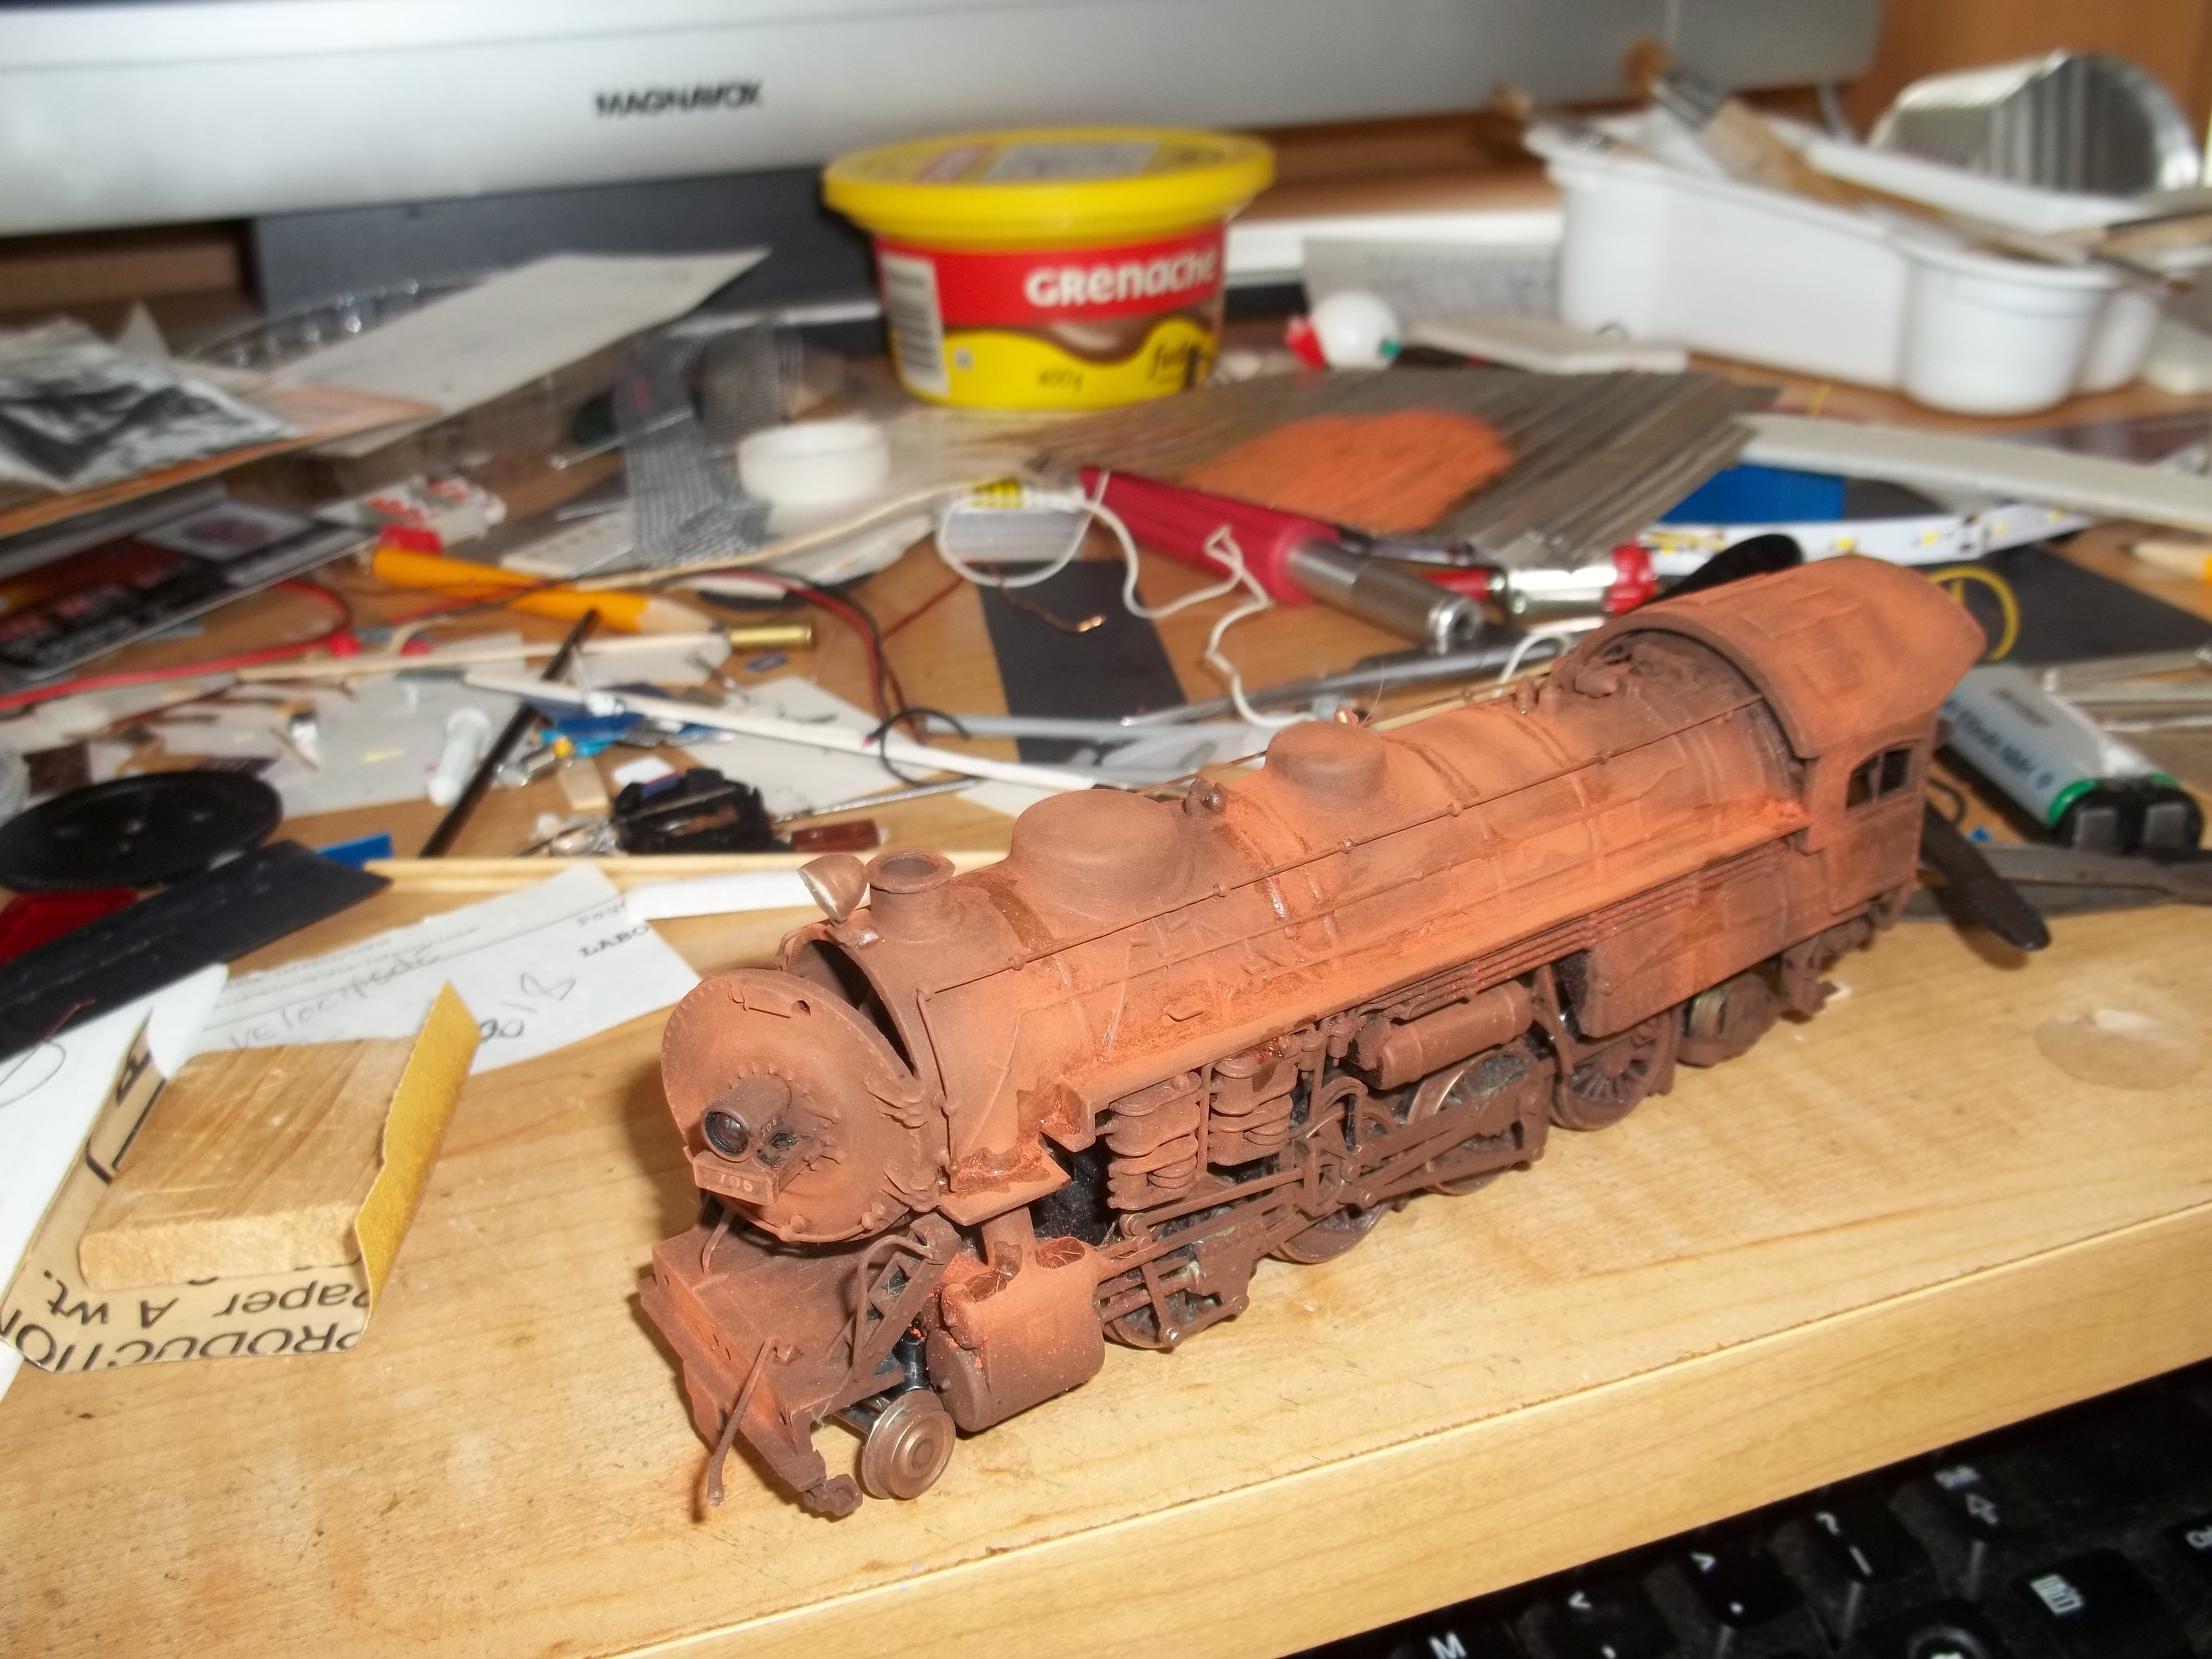
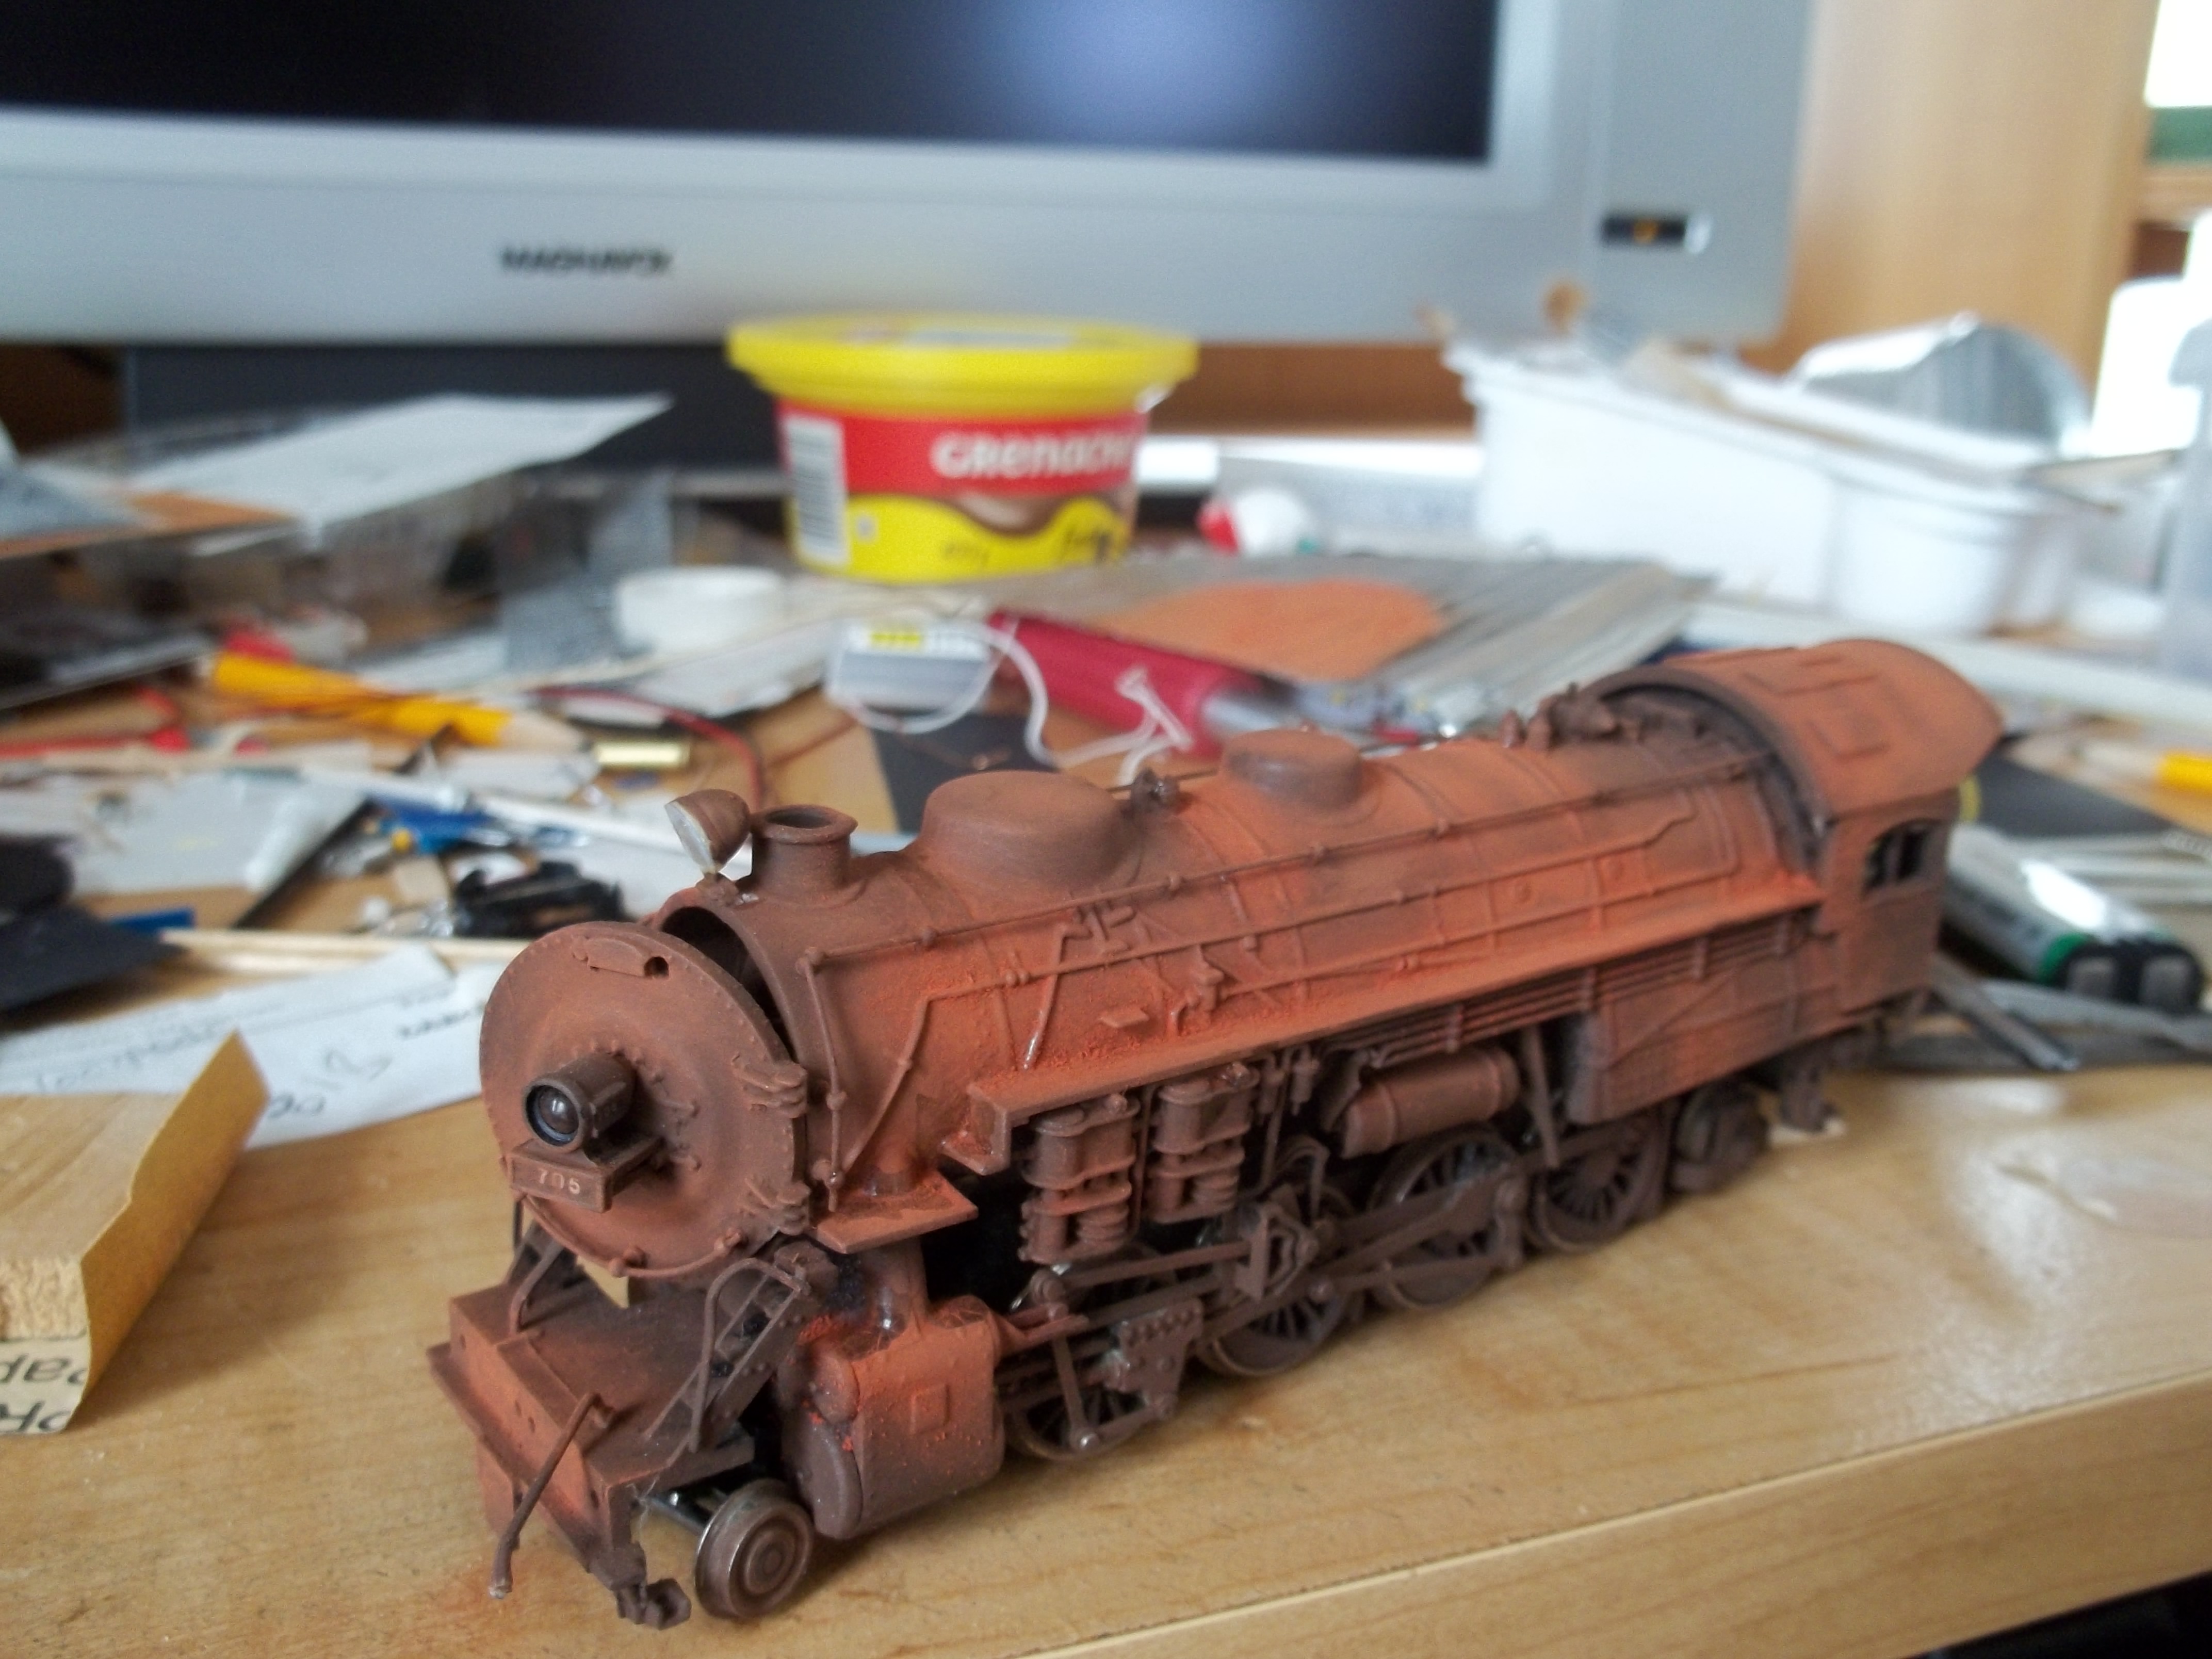
“Hi Al. I been trying to weather this old locomotive. Im new at weathering and need lot’s to learn. So only way is try it and then ask other’s for there opinion .
I did a brown acrylic crafter’s paint along time ago and found it was t0o brown. This is my learning stage of weathering. I noticed how coffee get’s when you leave a little on the bottom of your cup and air evaporates the water. The coffee thicken’s to a nasty brown sludge. I painted coffee in different area’s of the locomotive . Place’s where rust or corrosion would take more of a hold. Then I let dry and added more cold coffee to the same spot’s.
The coffee started to sort of layer on it. Then I took crushed brown chalk and went over all the area’s . I will add moss and such to crack’s and corner’s dirt as well. I will paint the wheels black as pure iron doesn’t rust like the rest. The locomotive will be set in a diorama of a swamp and very wet scene and almost sunk in it.
So just wanted your opion and if you think other’s would like to see and give there’s as well. It be a learning thing from other’s who know how to do weathering. so go ahead and put on the net. Unless you think it’s to crappy a job wont hurt my feeling’s. thank’s Al.
Kim”
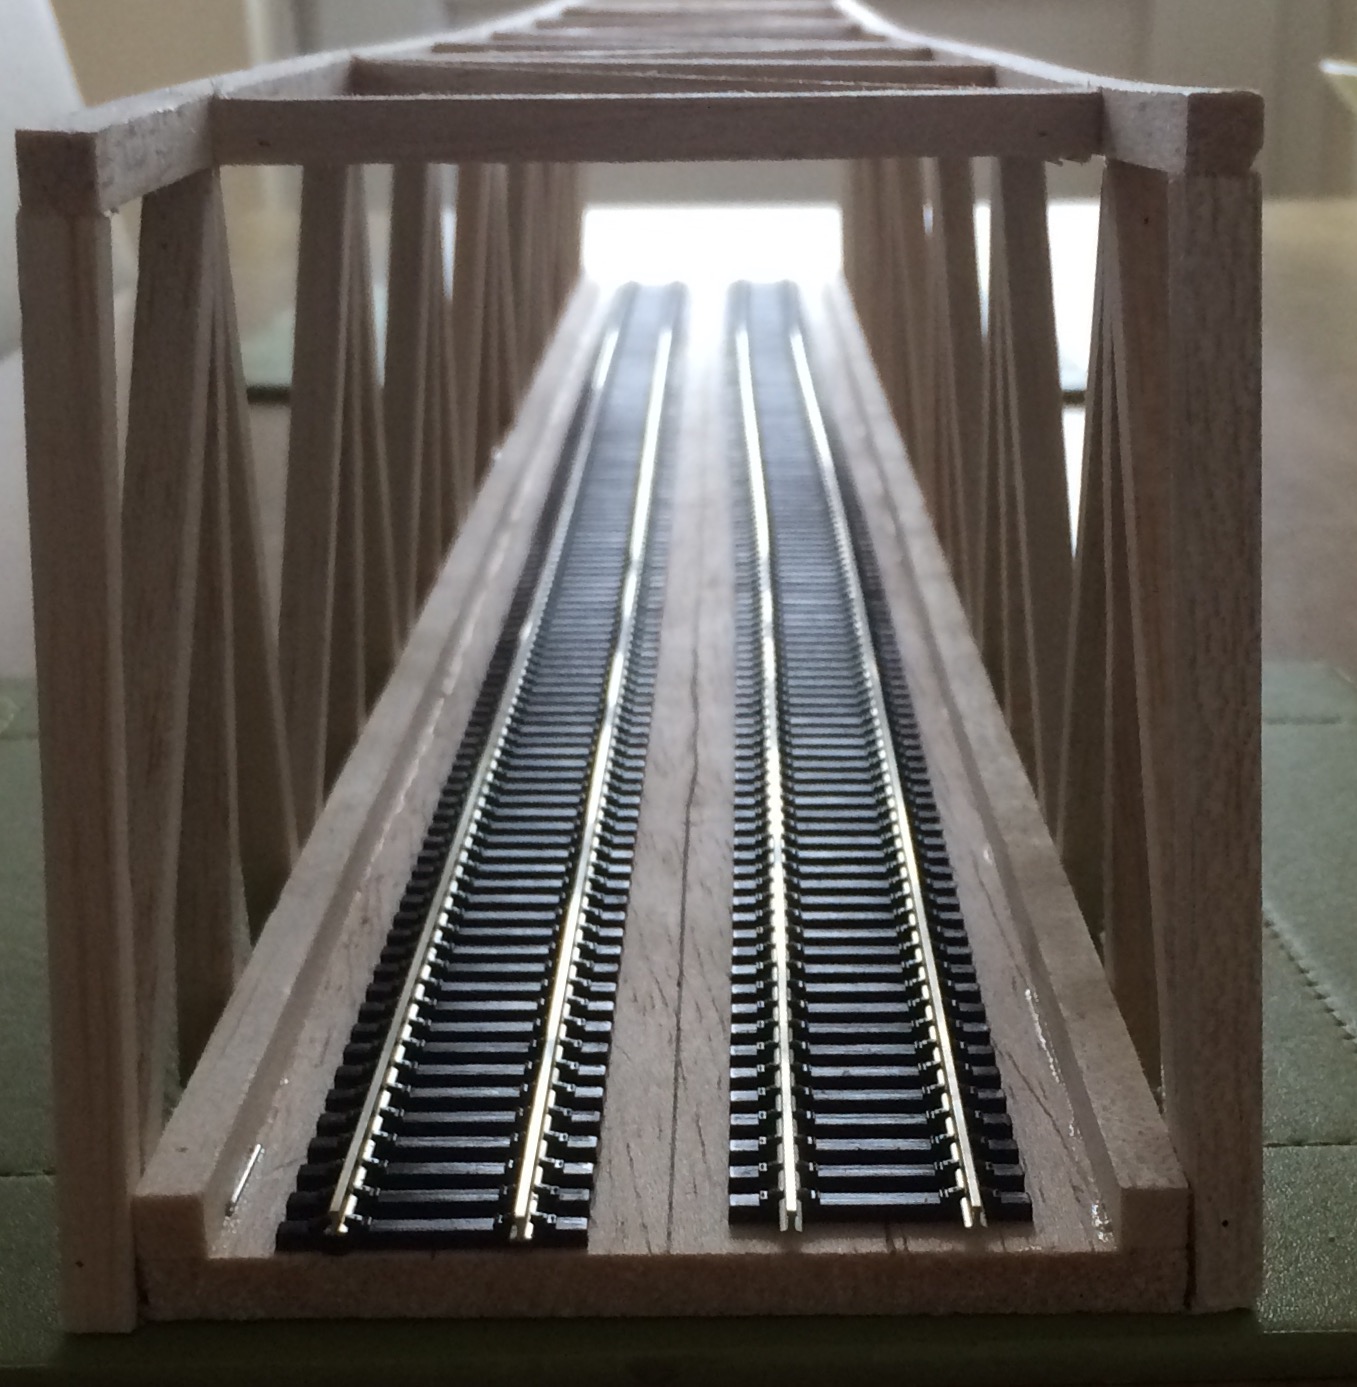
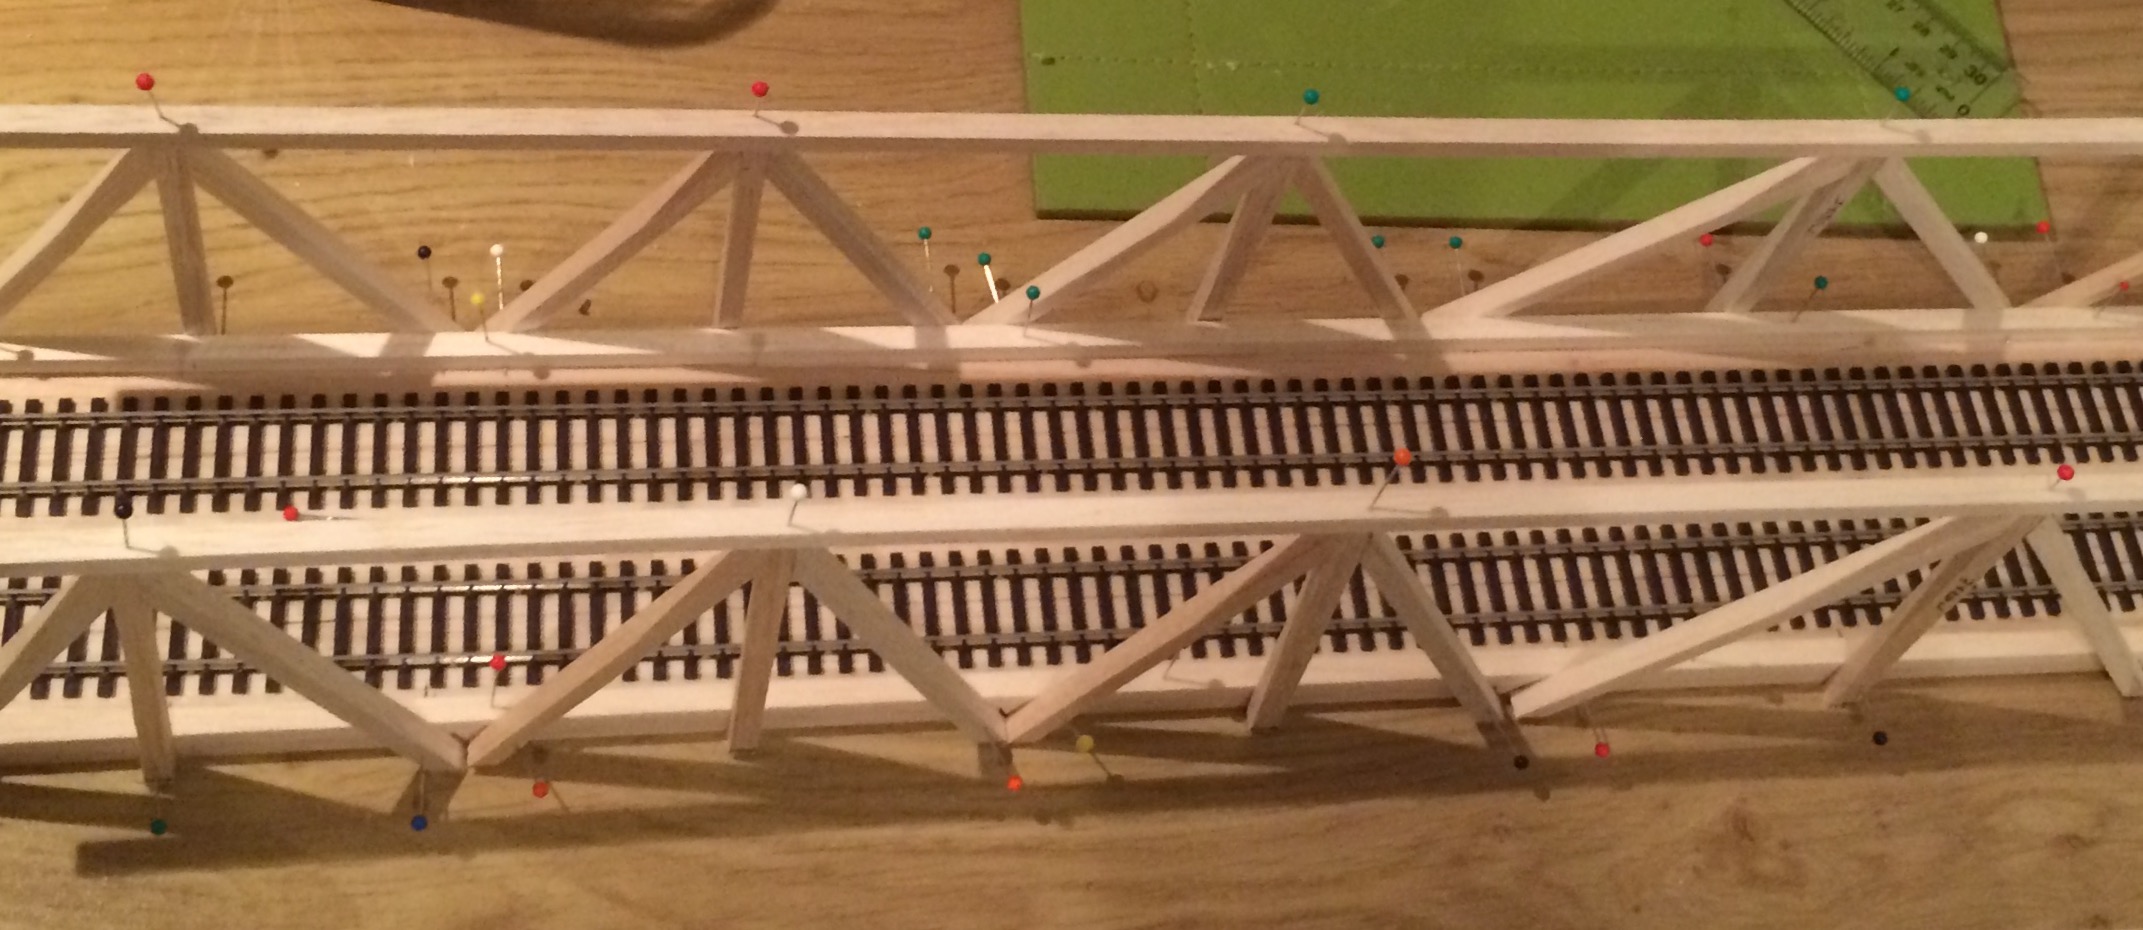
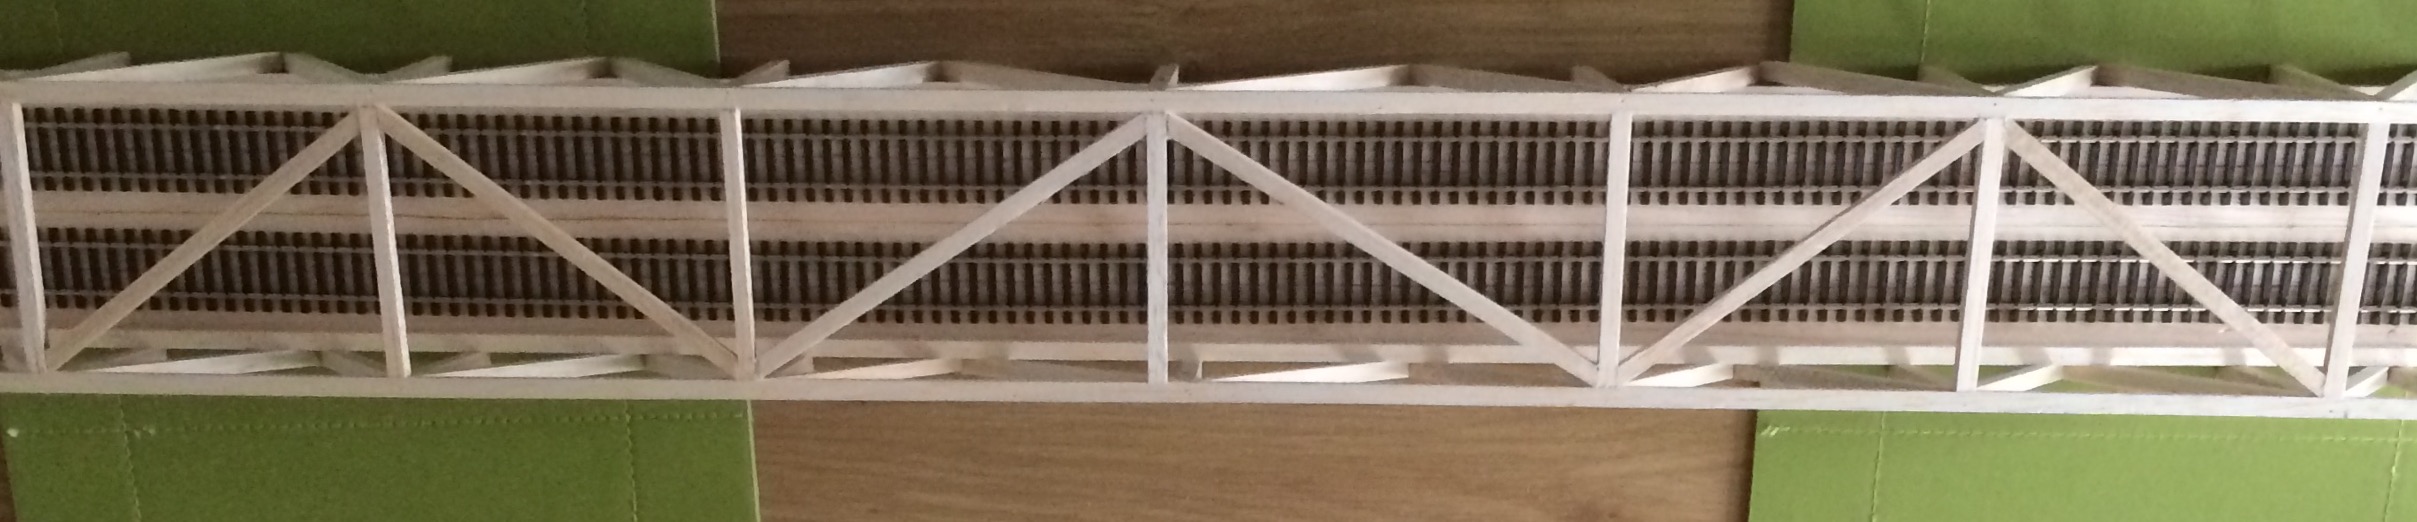
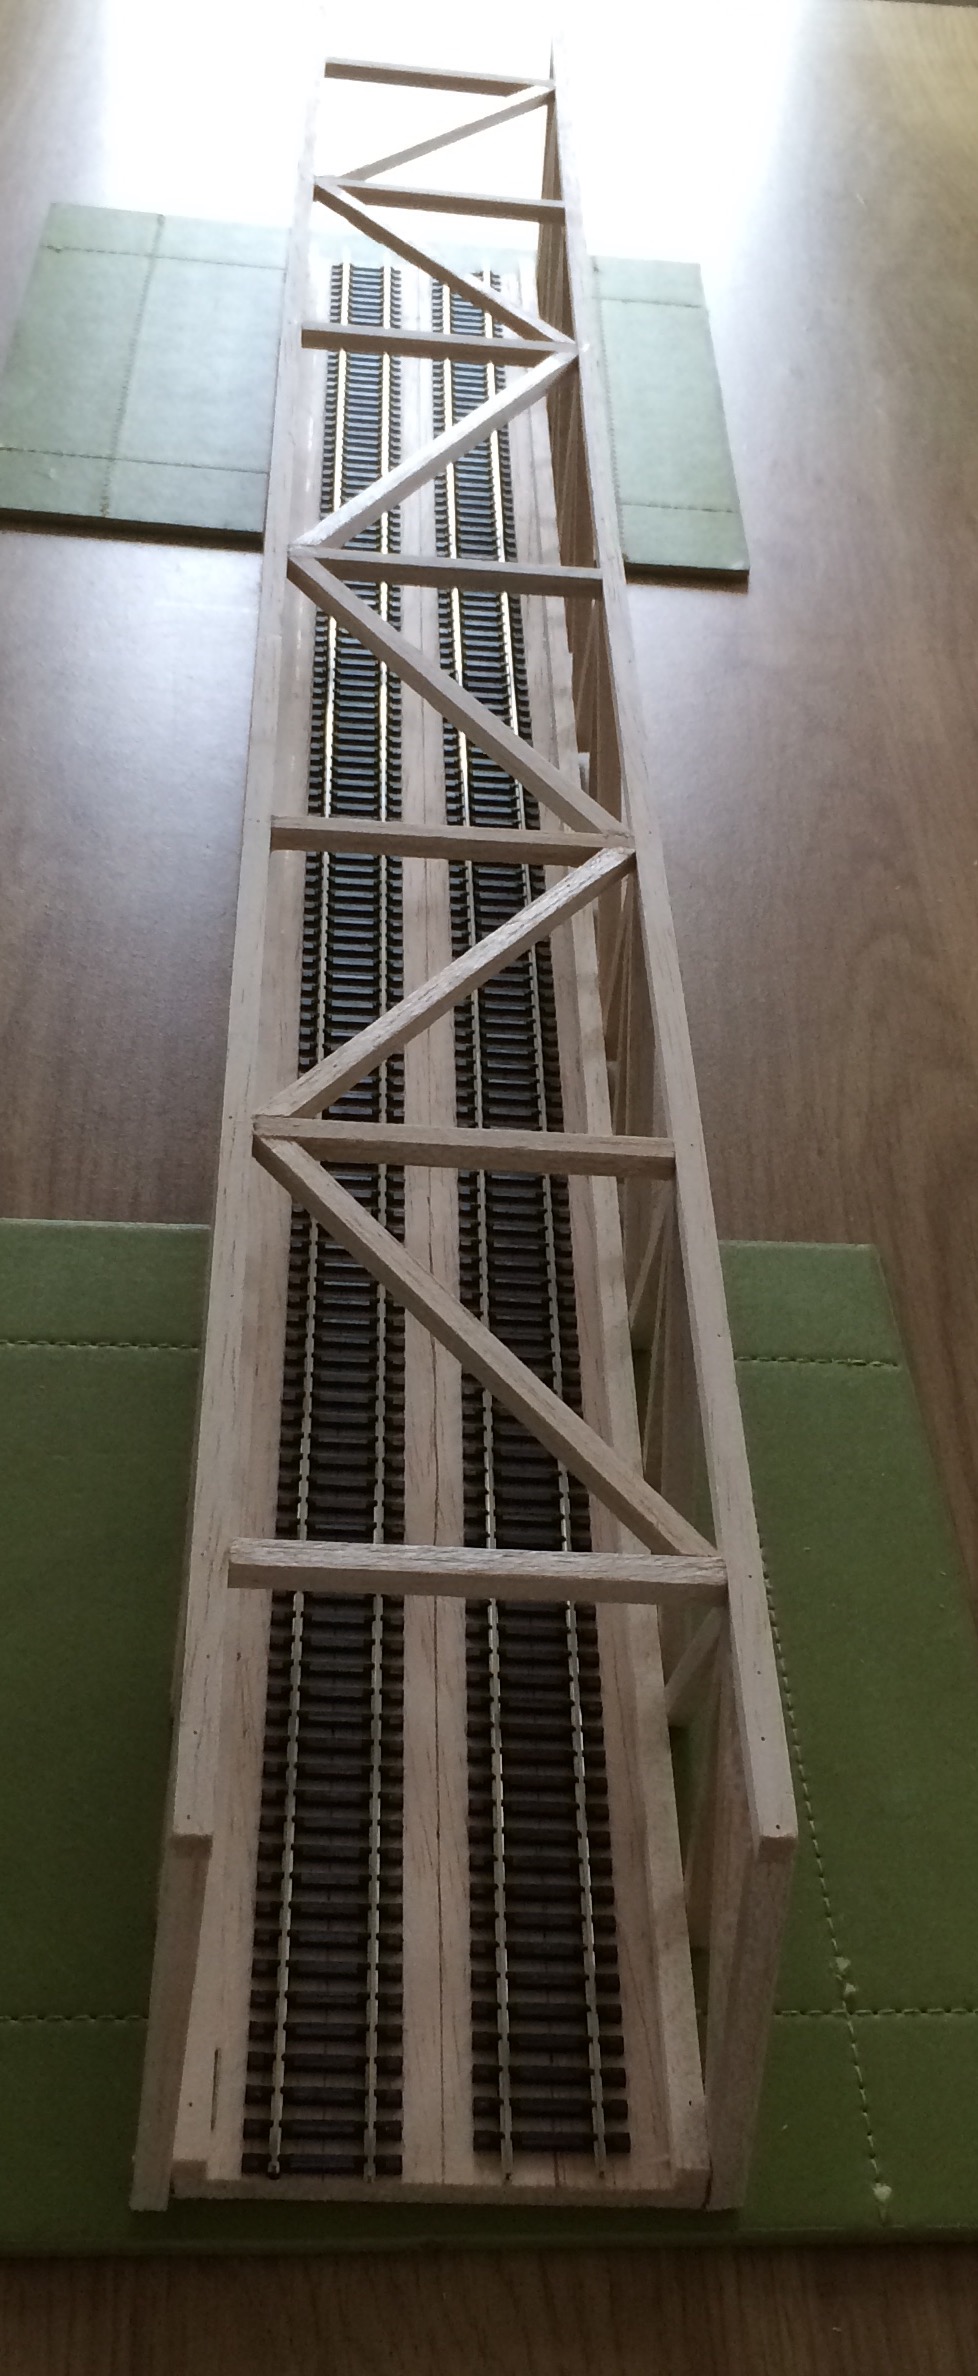
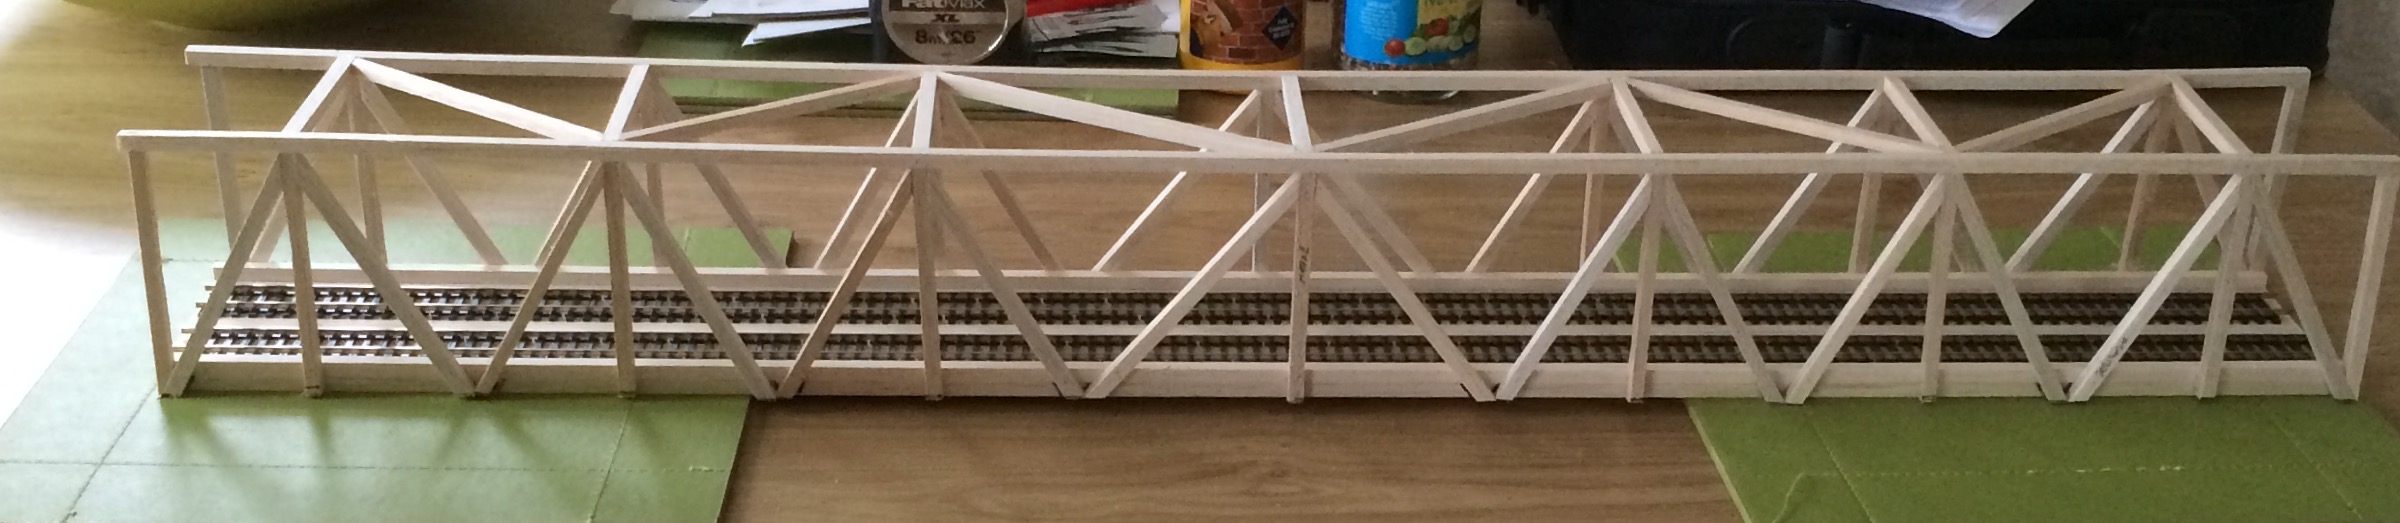
“Hi Al
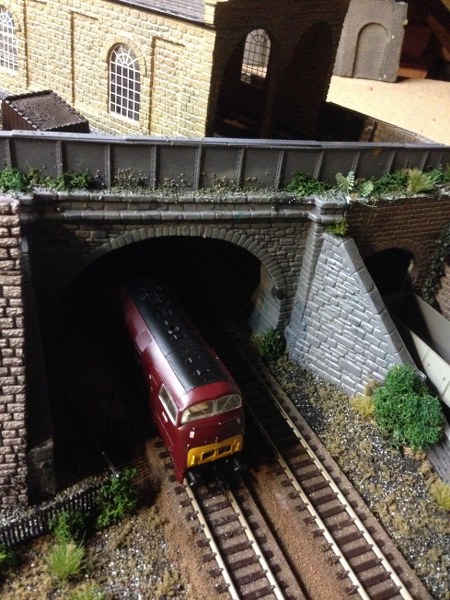
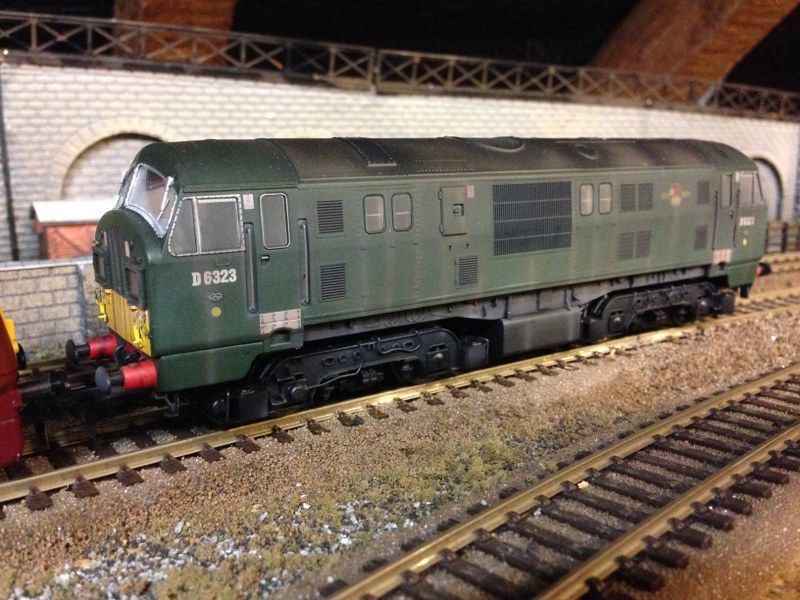
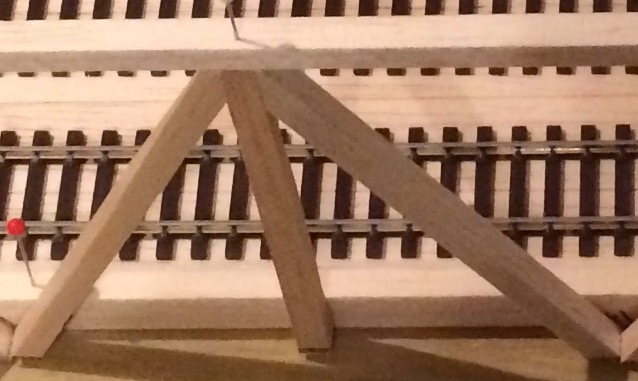
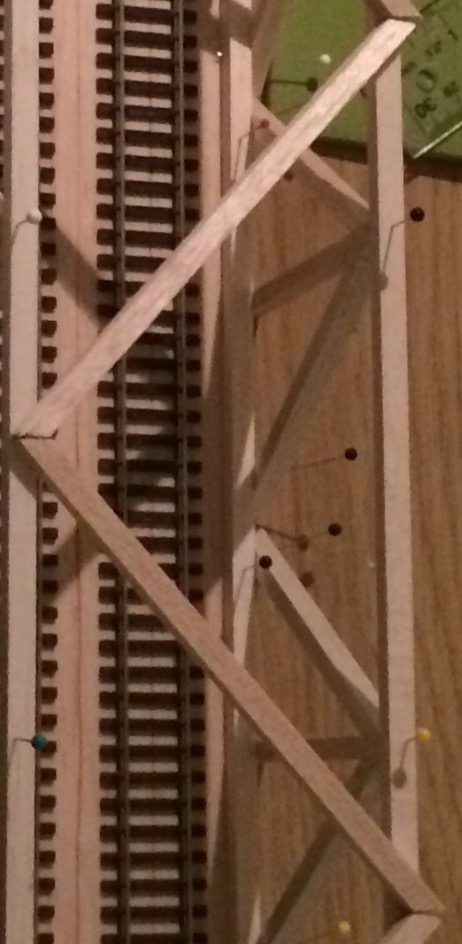
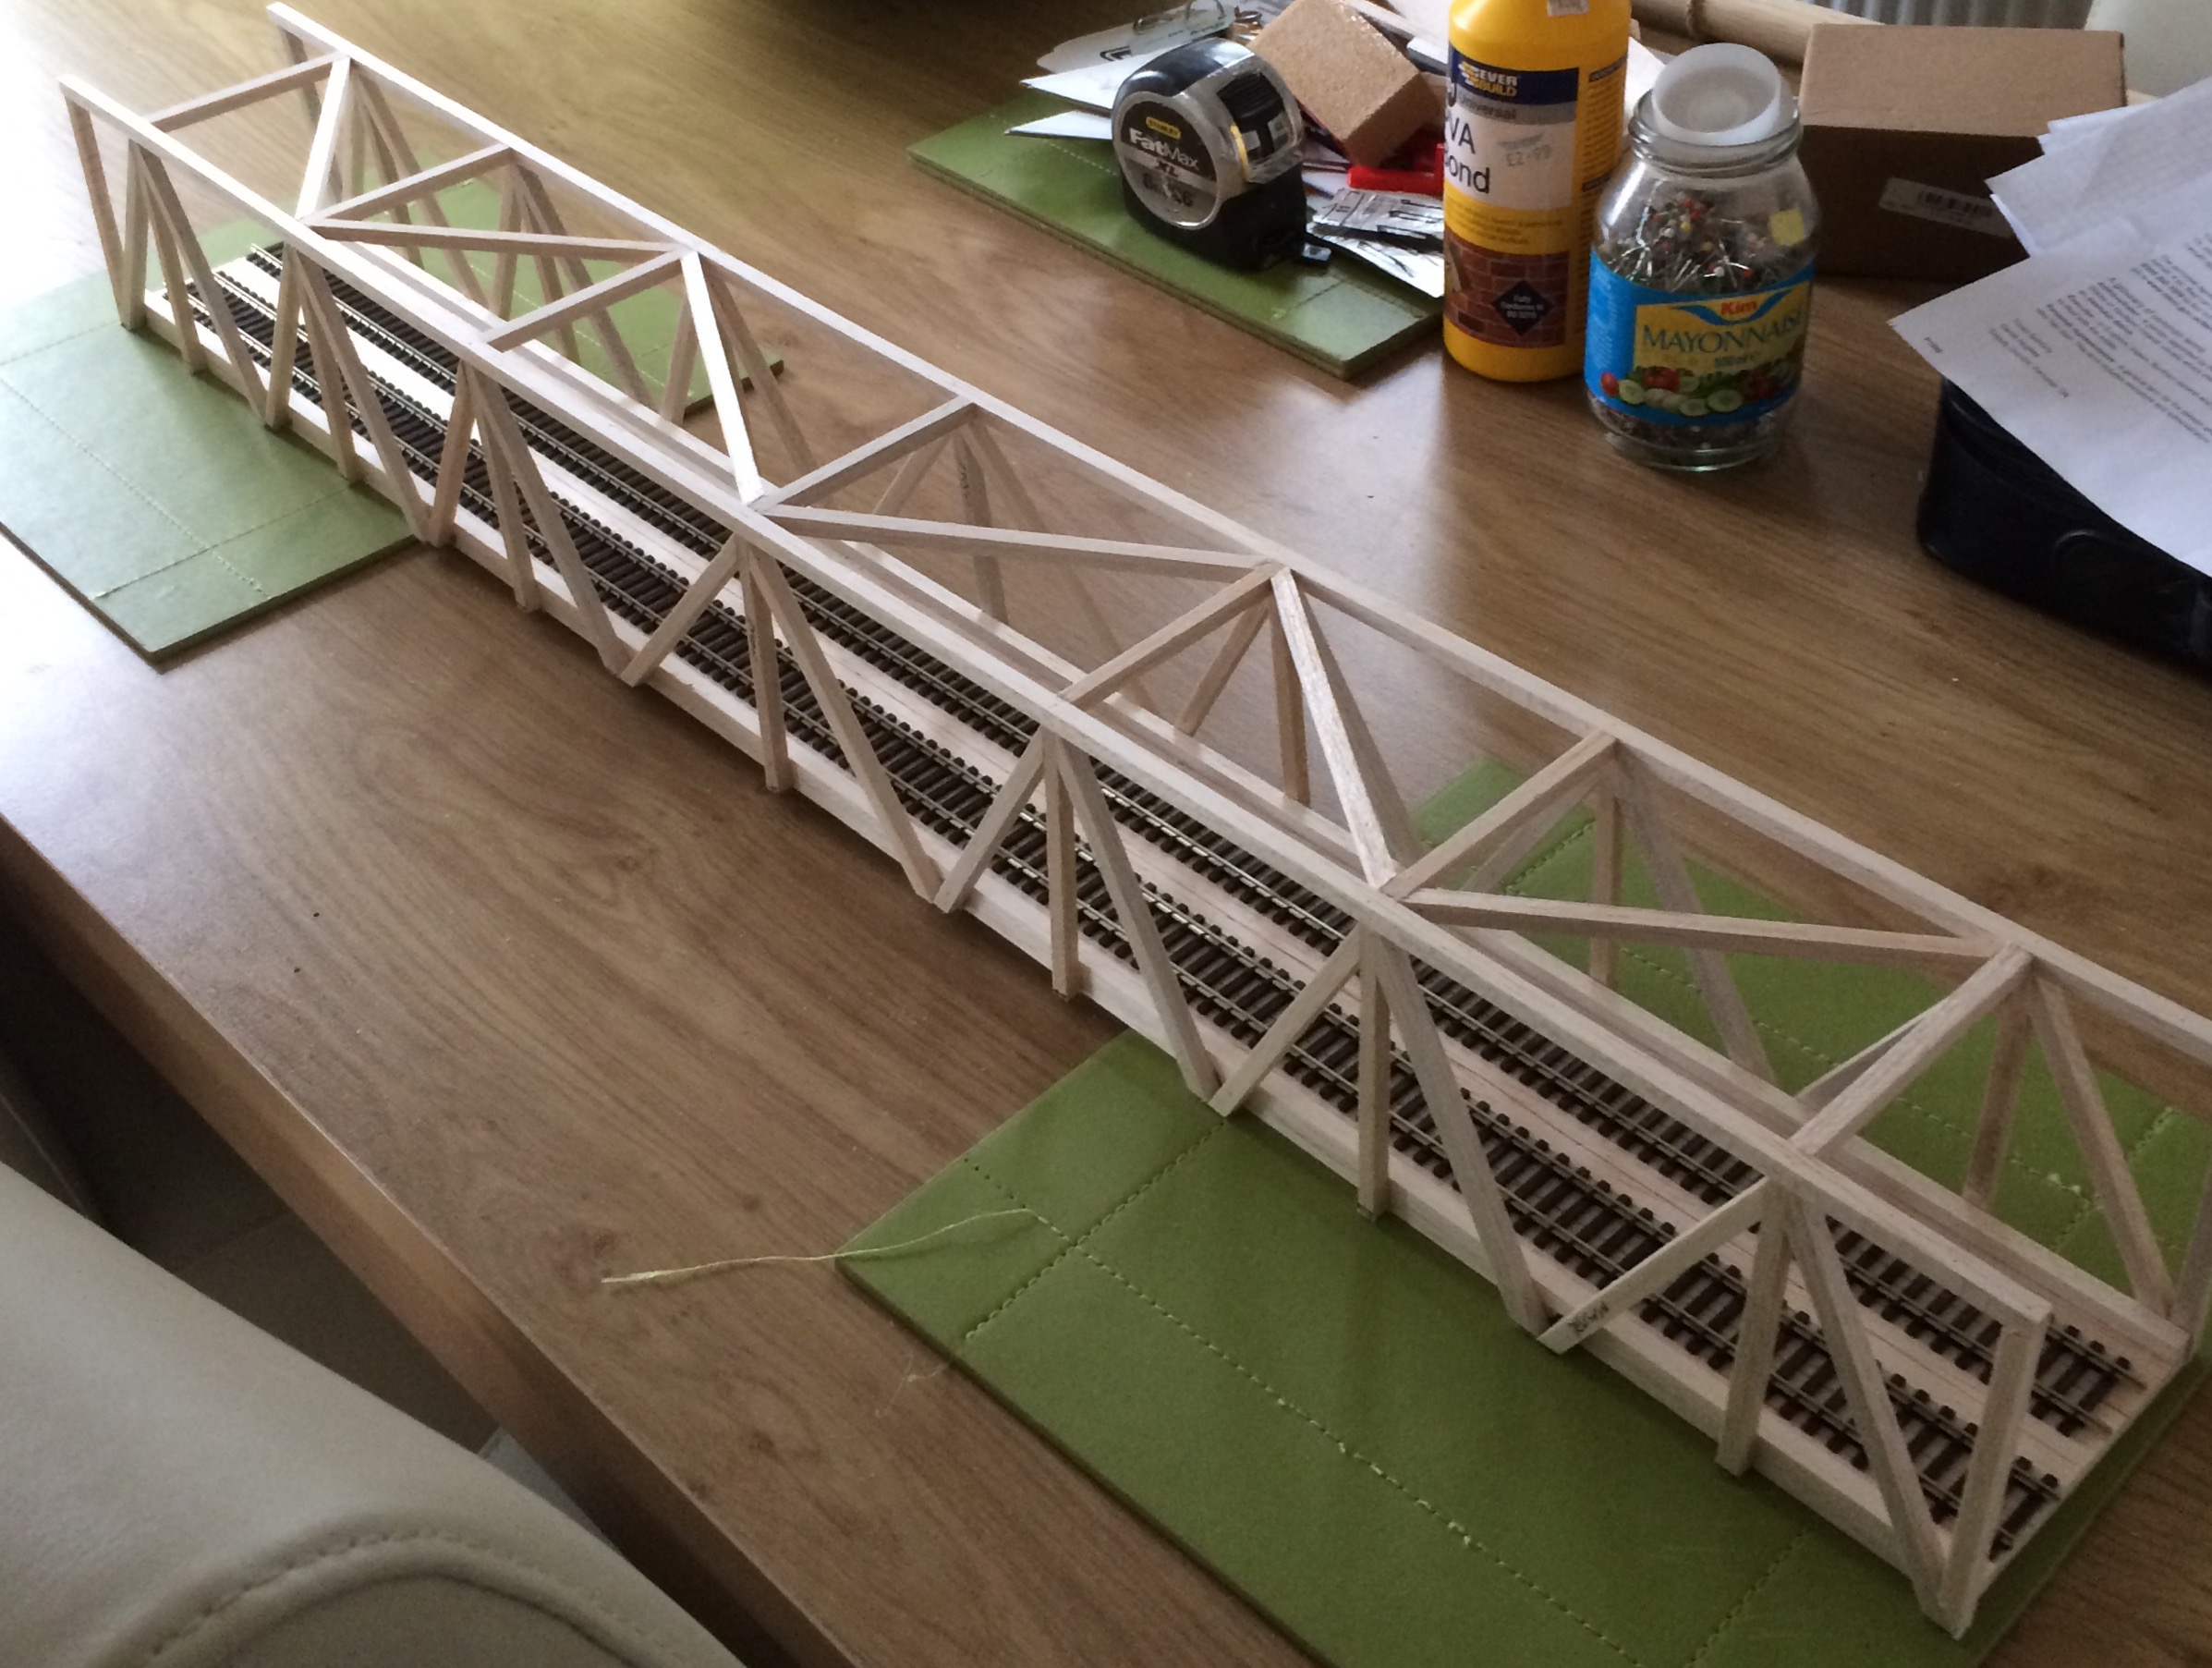
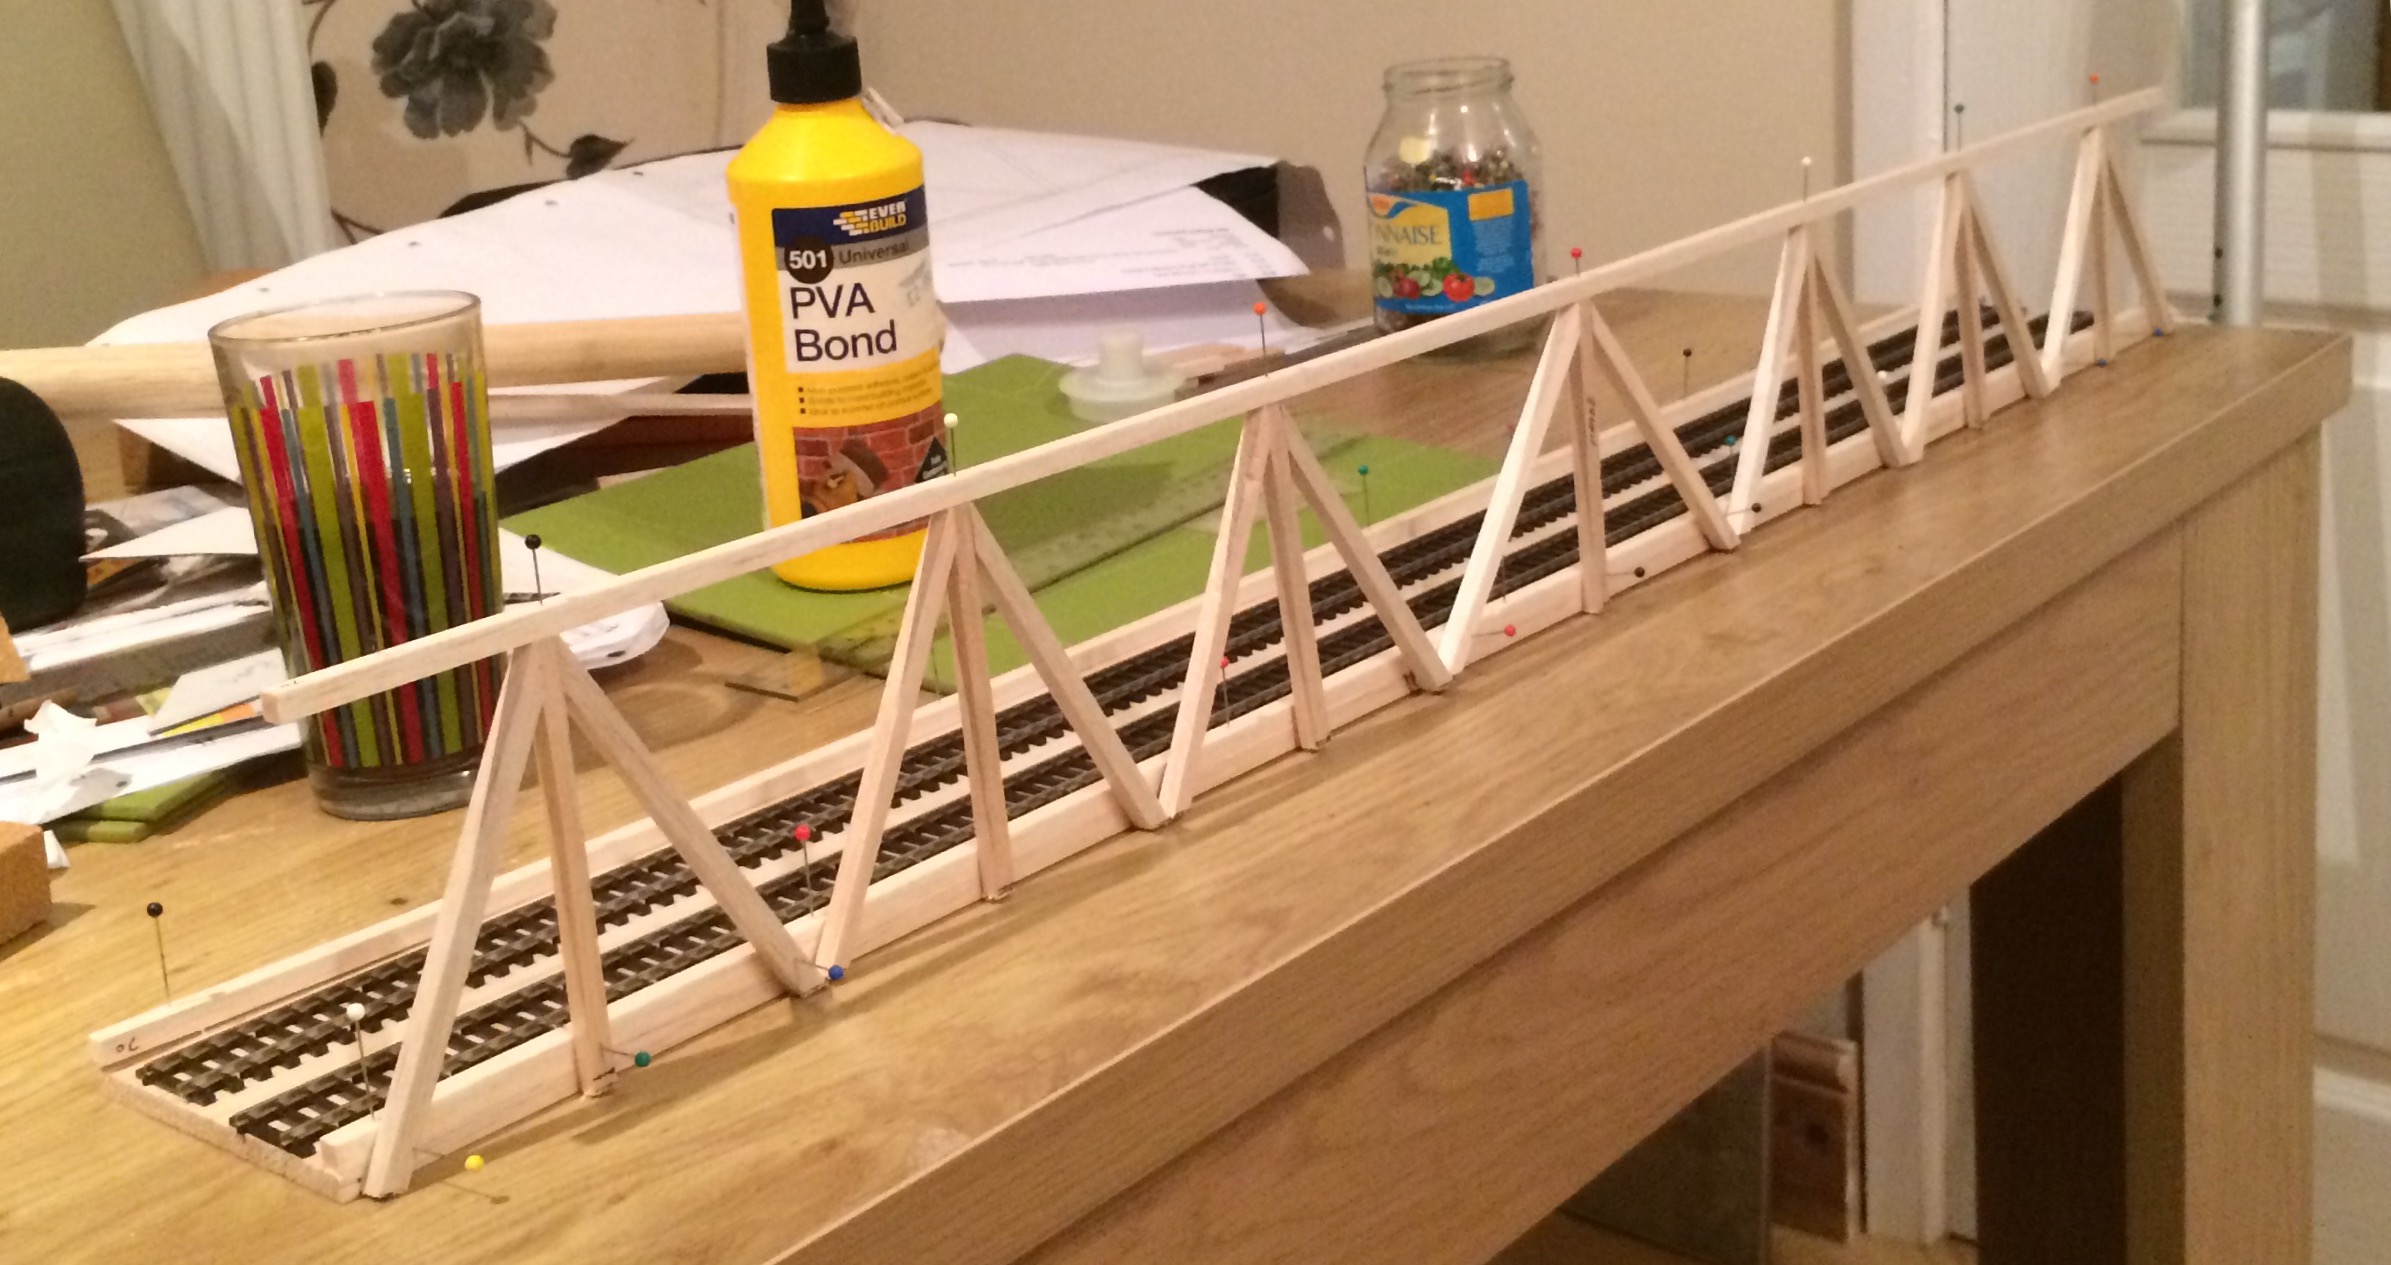
Do you remember the BIC razor Bridge some month ago? Well I though as I wanted to do an up and down rail I would redesign the Bridge, so I scratch built a new Bridge, as I was a Royal Engineer and put my skills to work.
It’s a fairly big Bridge, spanning 100mm width and Heigh with a massive 1 meter length.
So here are my pictures to show all. Can’t wait to redesign my layout now!
Andy”
Excellent pics from Andrew – enjoyed that. Looking forward to seeing it on his layout too.
That’s all for today folks.
Please do keep ’em coming.
And if today is the day you get started on your layout, the Beginner’s Guide is here.
Best
Al
PS Latest ebay cheat sheet is here.
PPS More HO scale train layouts here if that’s your thing.