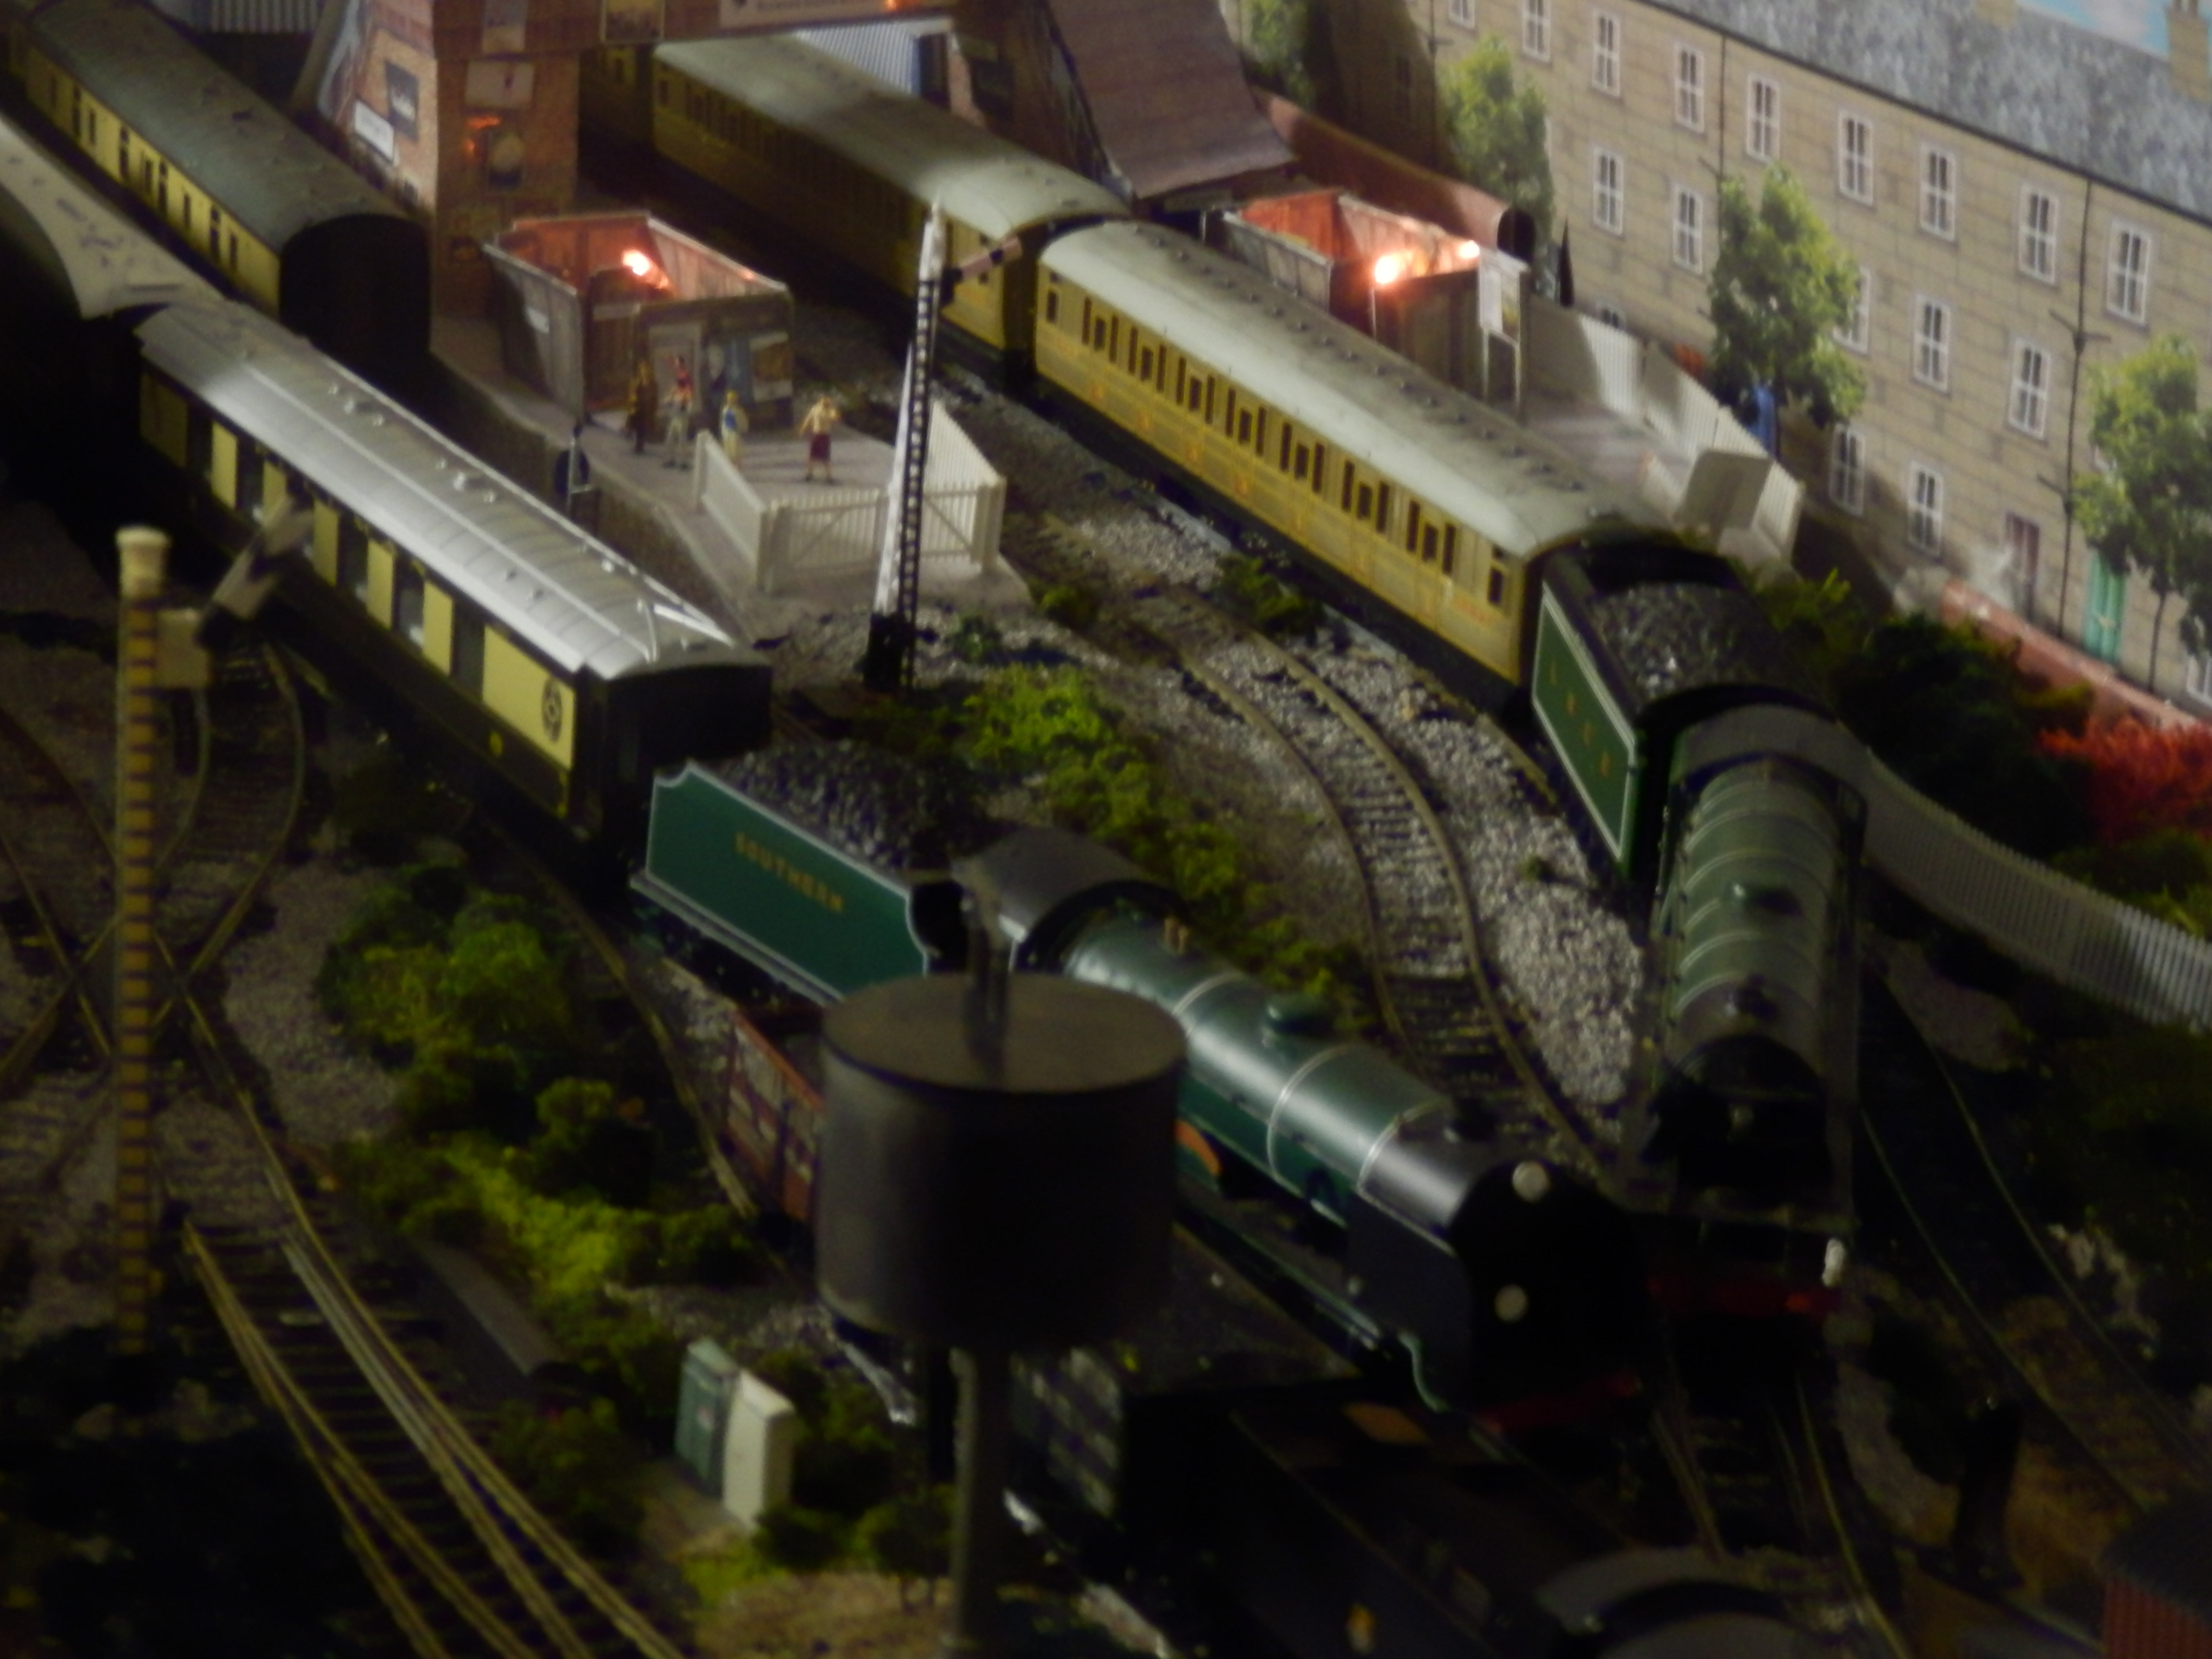
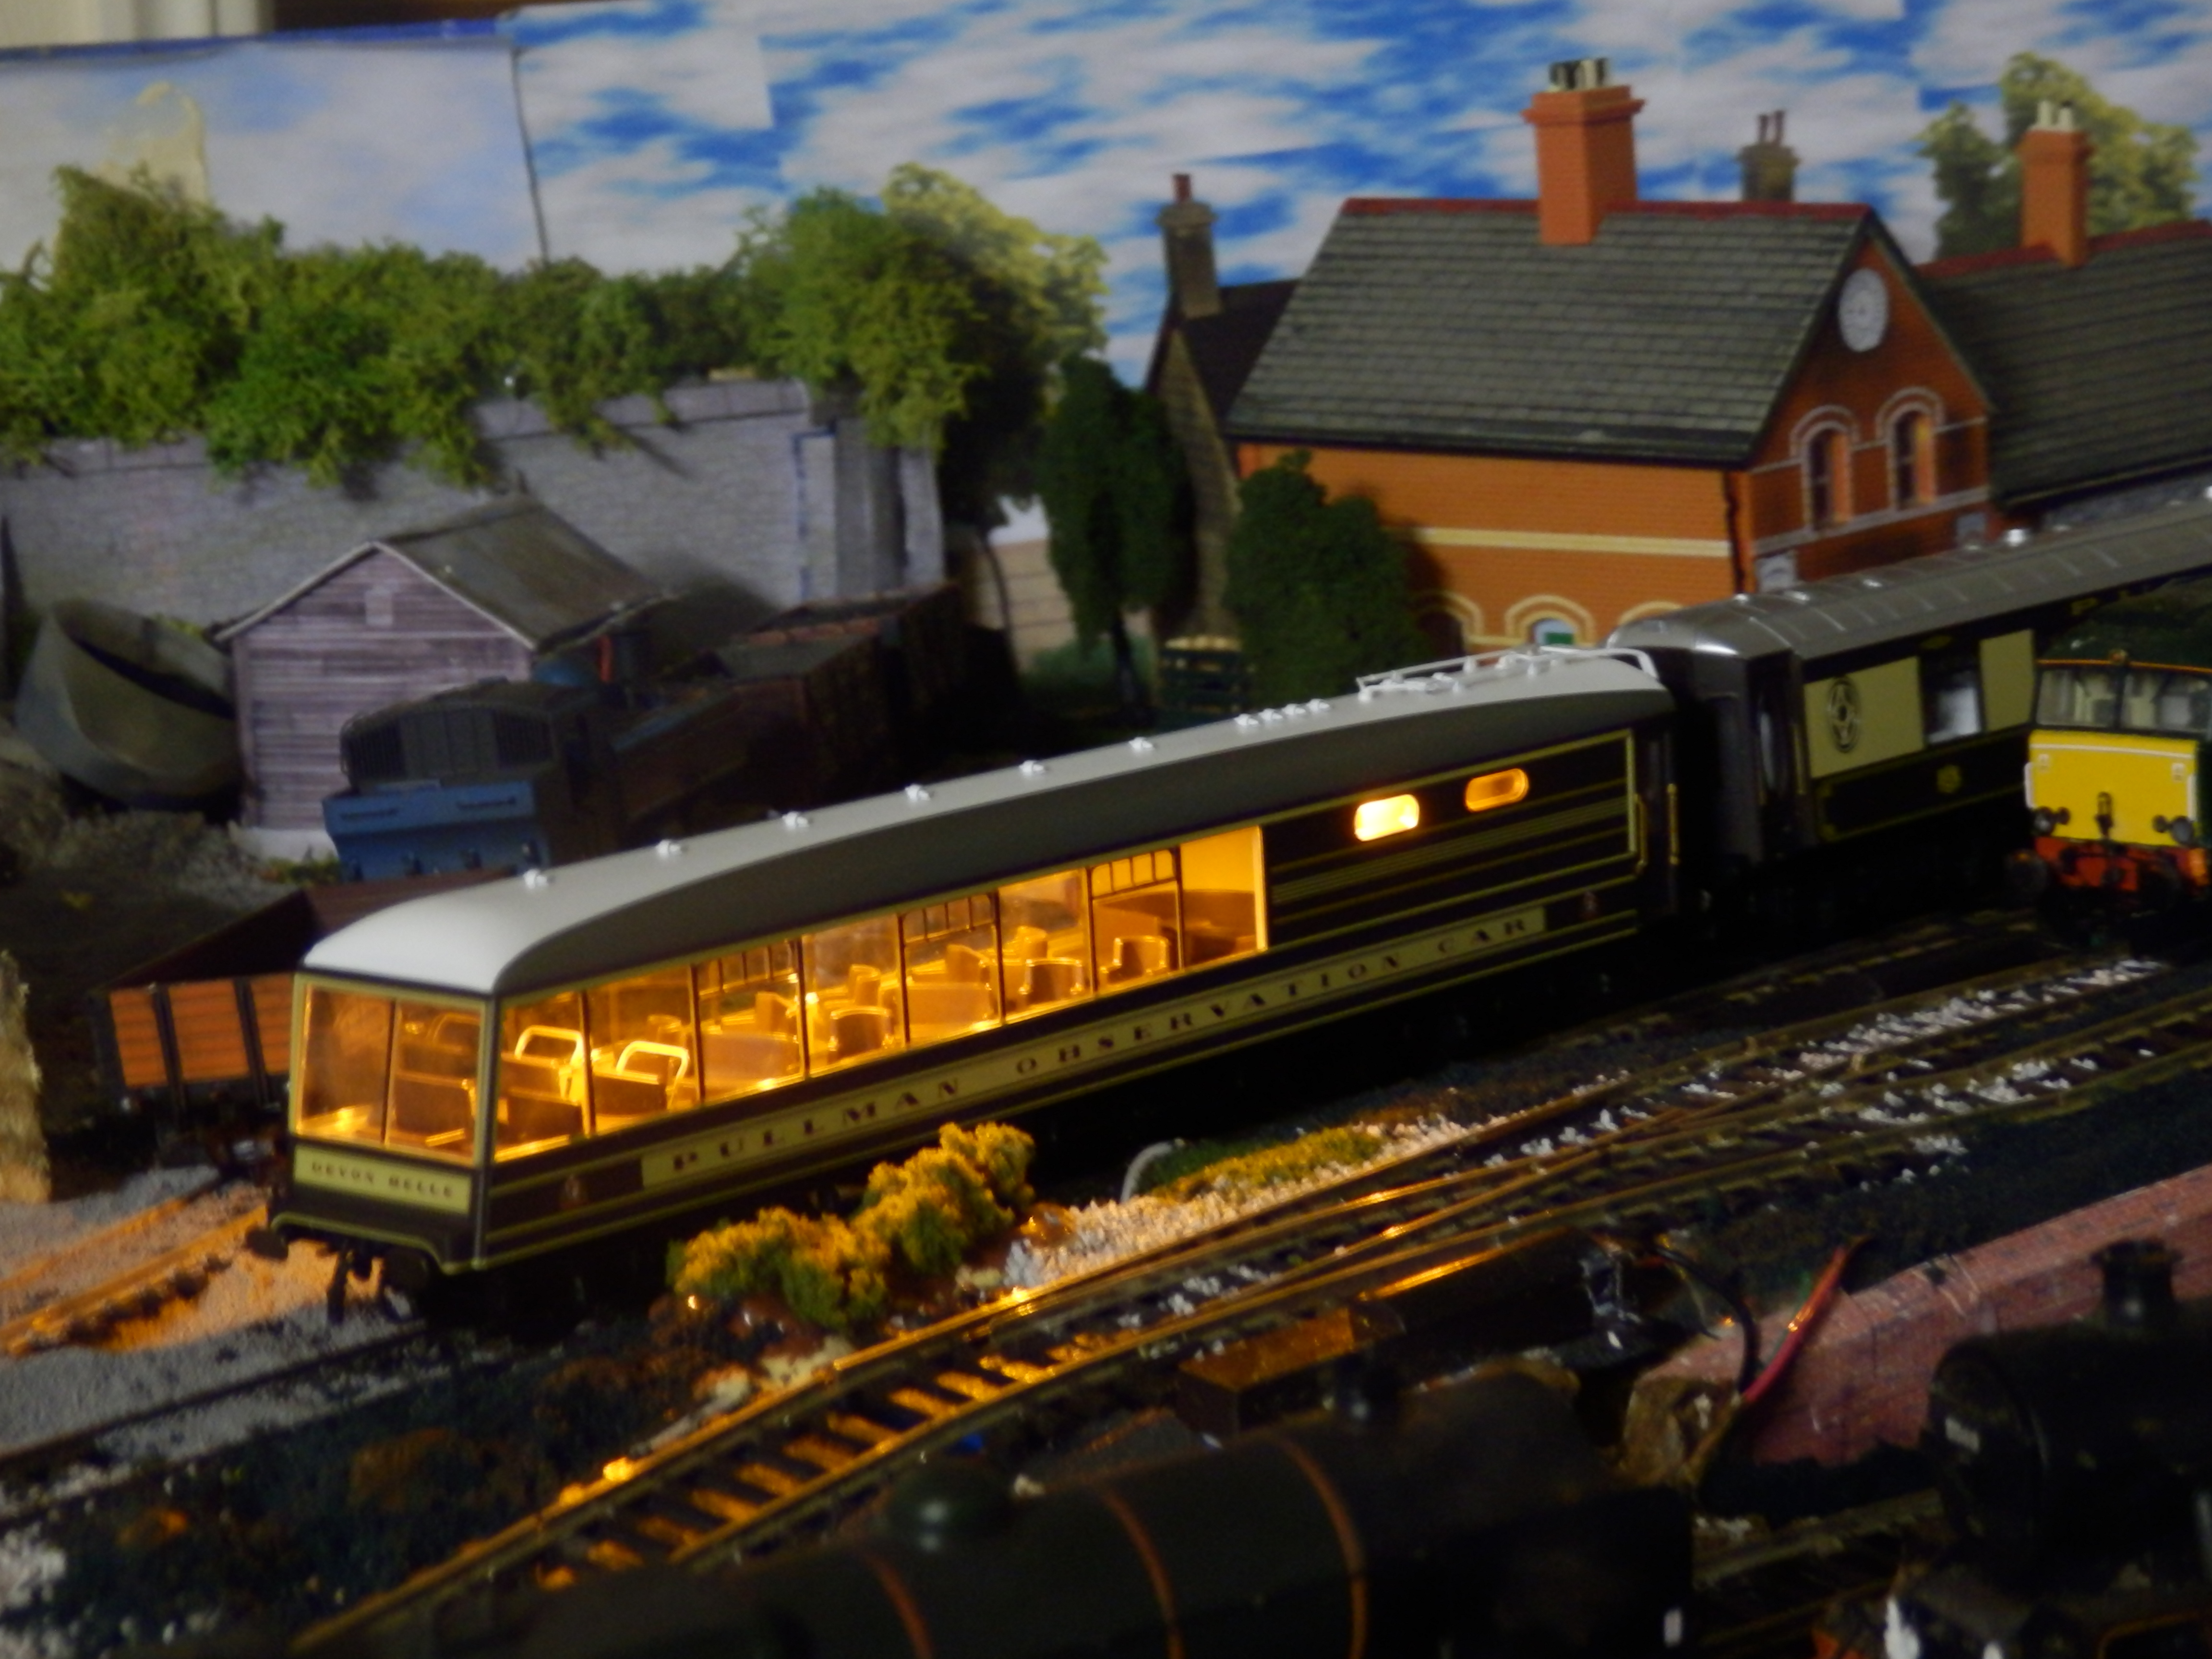
Here is 2 photos of the first train to Little Benton.
It was a Pullman train hauled by Southern Railway Schools Class 925 Cheltenham, with a 2 car Pullman Special..
The East Coast Express hauled by Flying Scotsman is waiting in The bay Platform for the Pullman to pass.
The Pullman car has lights fitted.
Paul”
“hi alastair,
I’m Bob from Harrisville RI. I…like your email details and tips
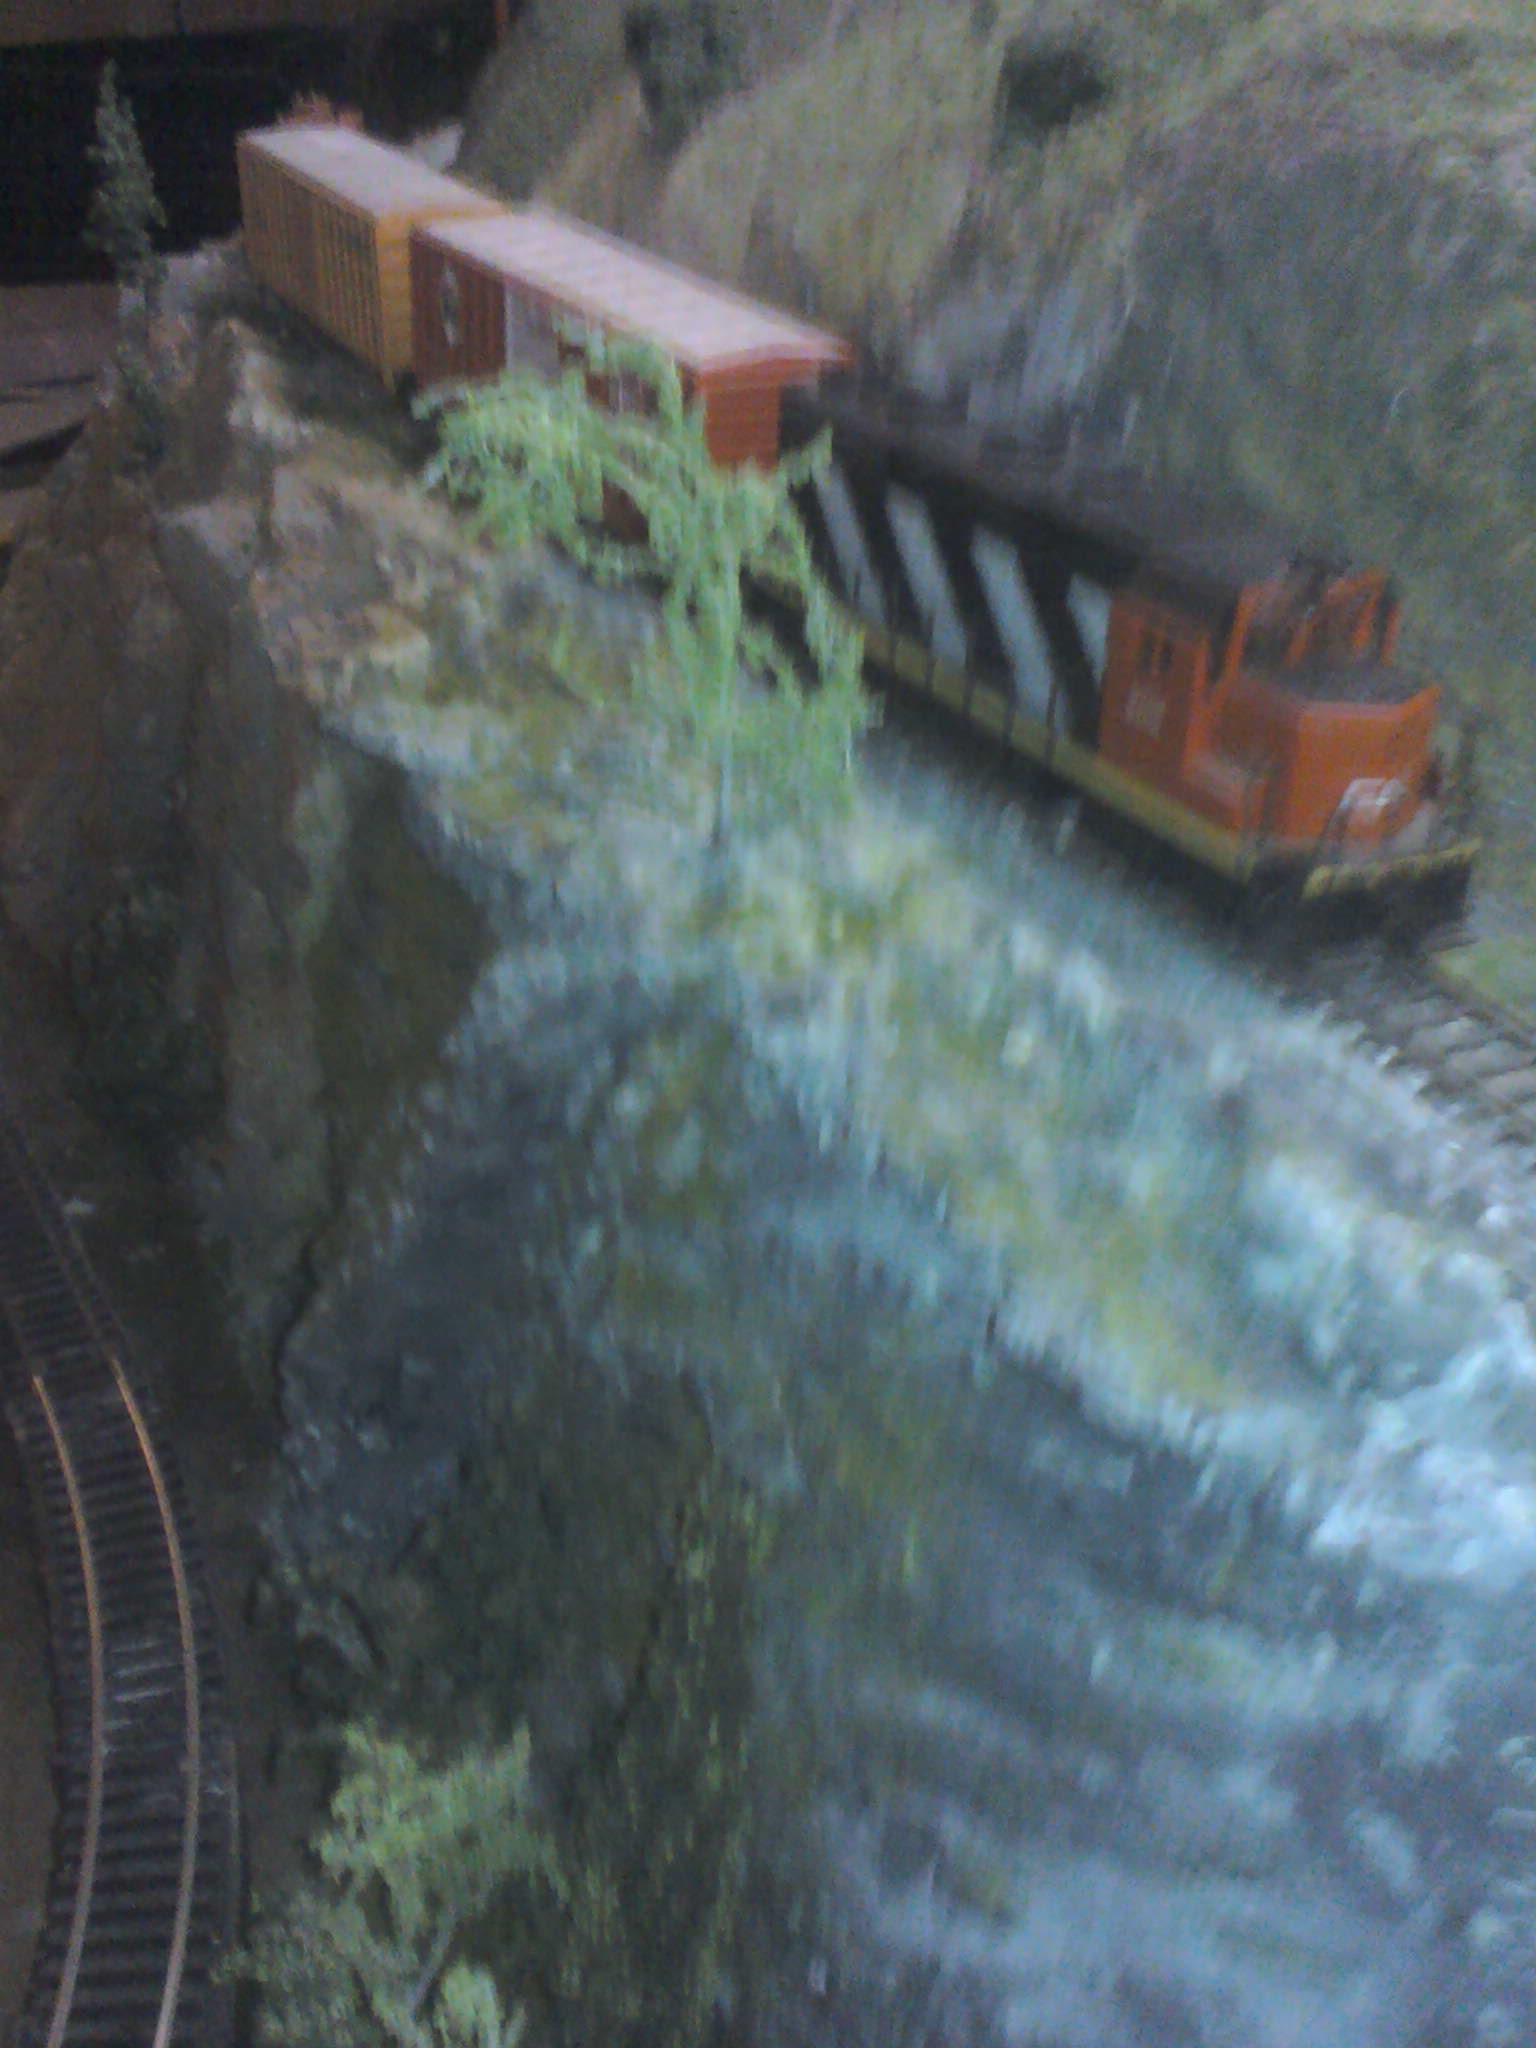
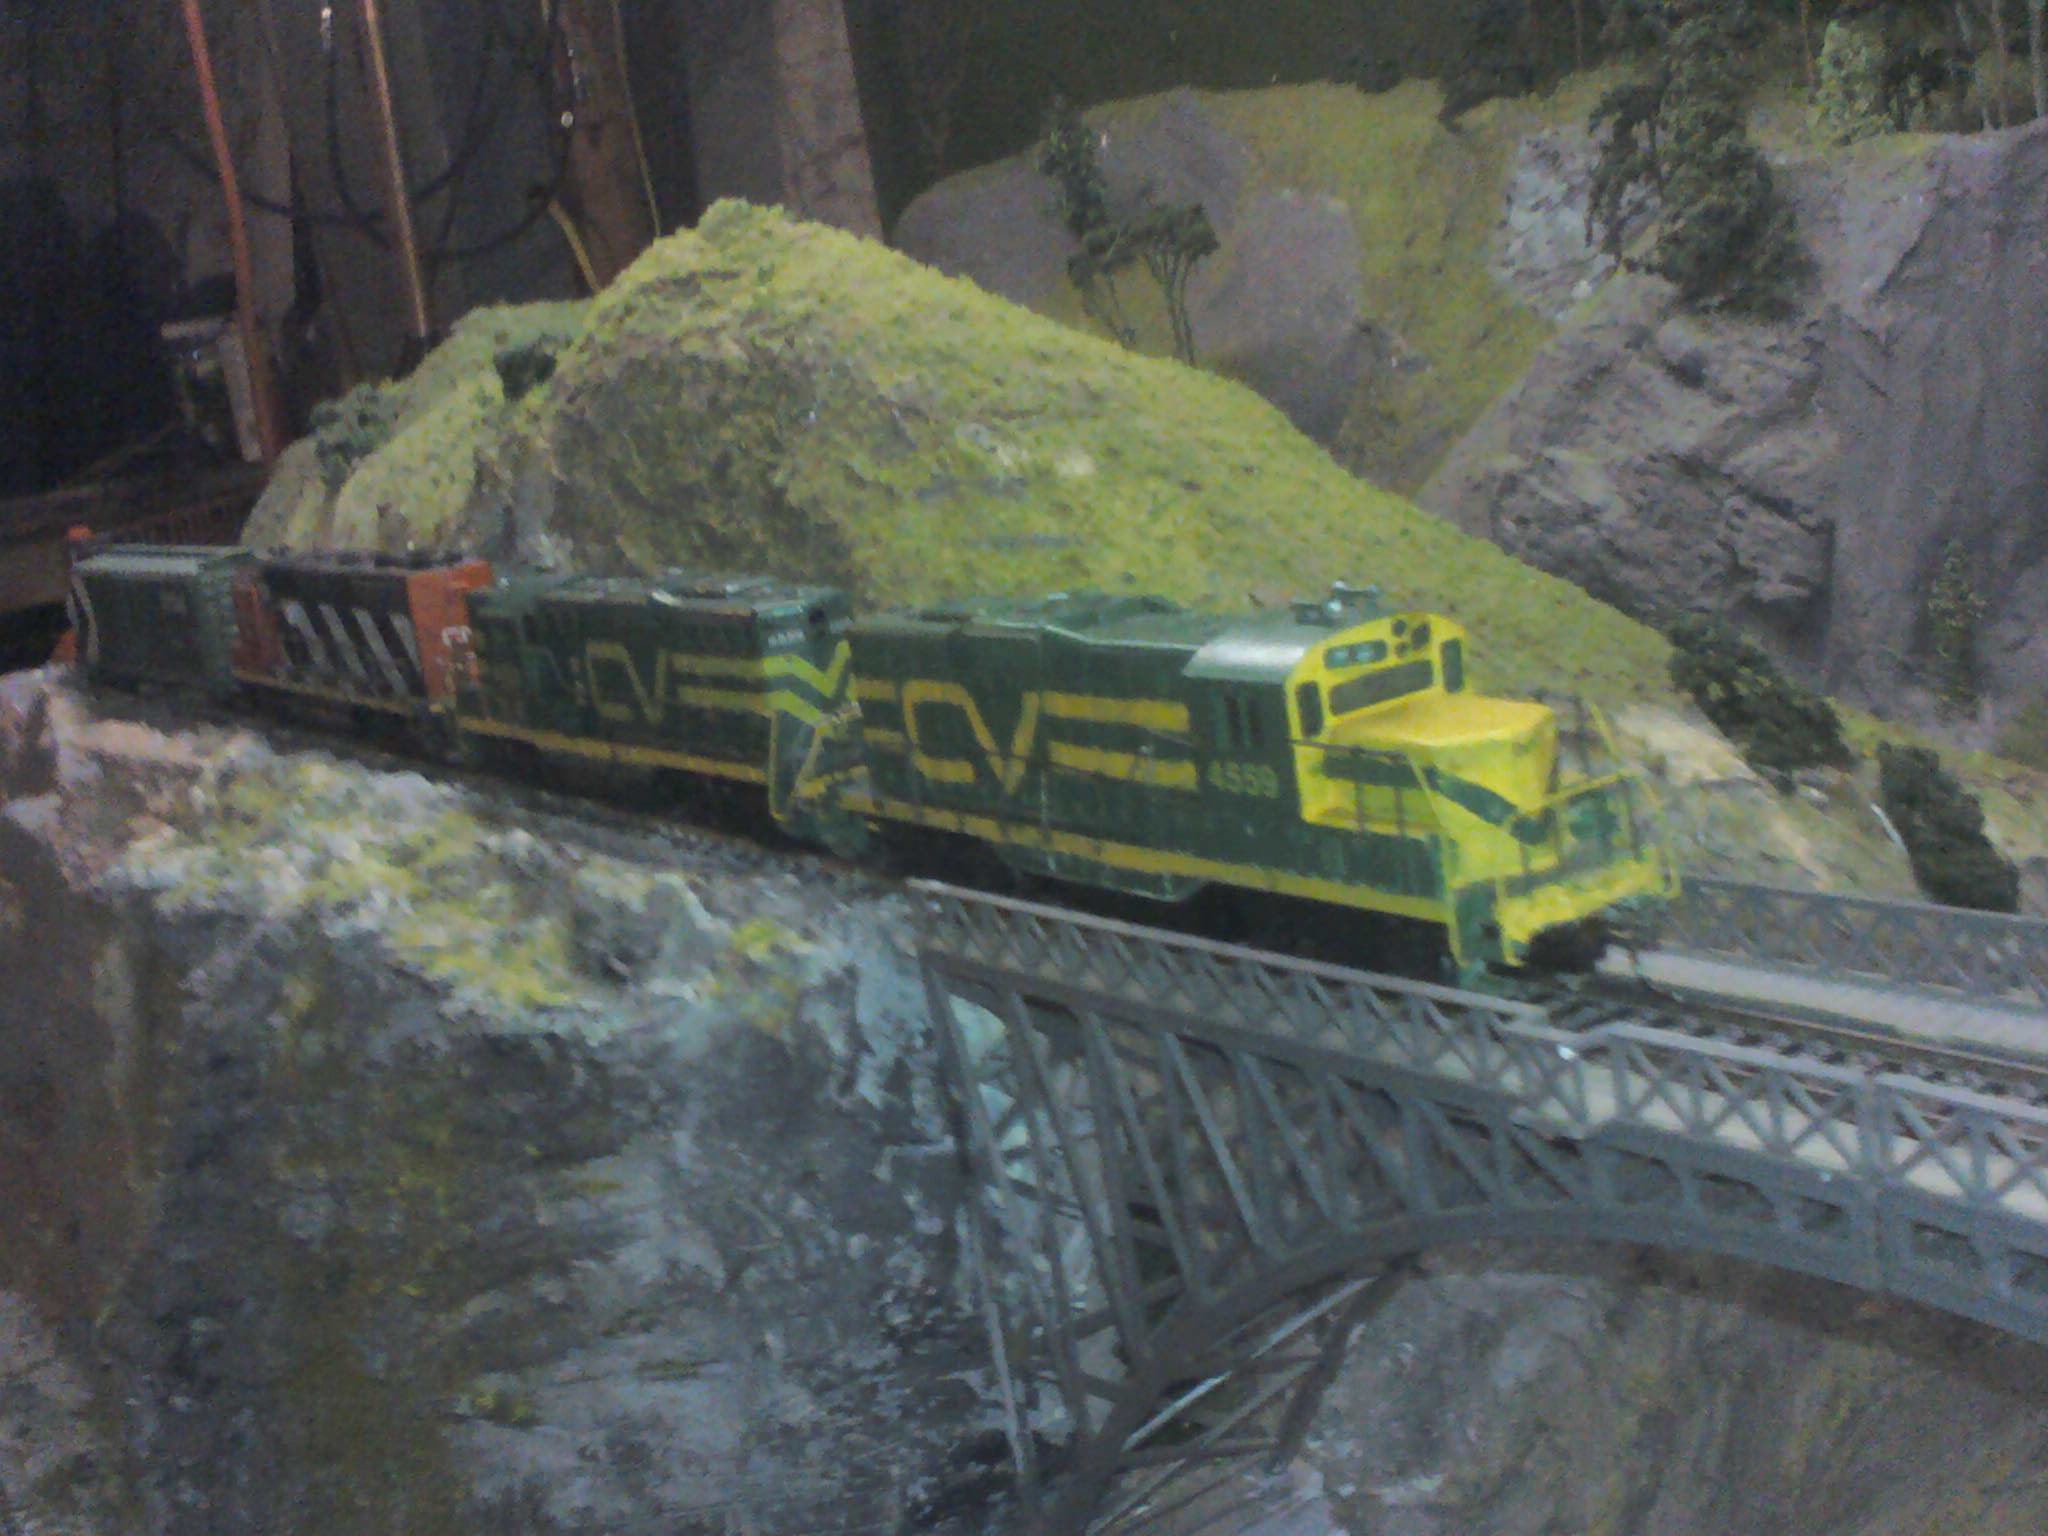
i’vebeen working on my mapleville Vermont railroad for 15 years now (isn’t it a shame there isn’t such a town ), and with an injury I had ample time to finish it (well 95% anyway).
I haven’t posted any pic’s anywhere I didn’t think any were worth posting well here goes
tx bob”
“Hi Al
This video shows a 59 class Mikado heading a workers’ train to Broadmeadow loco near Newcastle passing a 60 class Garratt on a fast refrigerated freight bound for Sydney c1967. I’ll have to send you one at a time because the videos take a while to process.
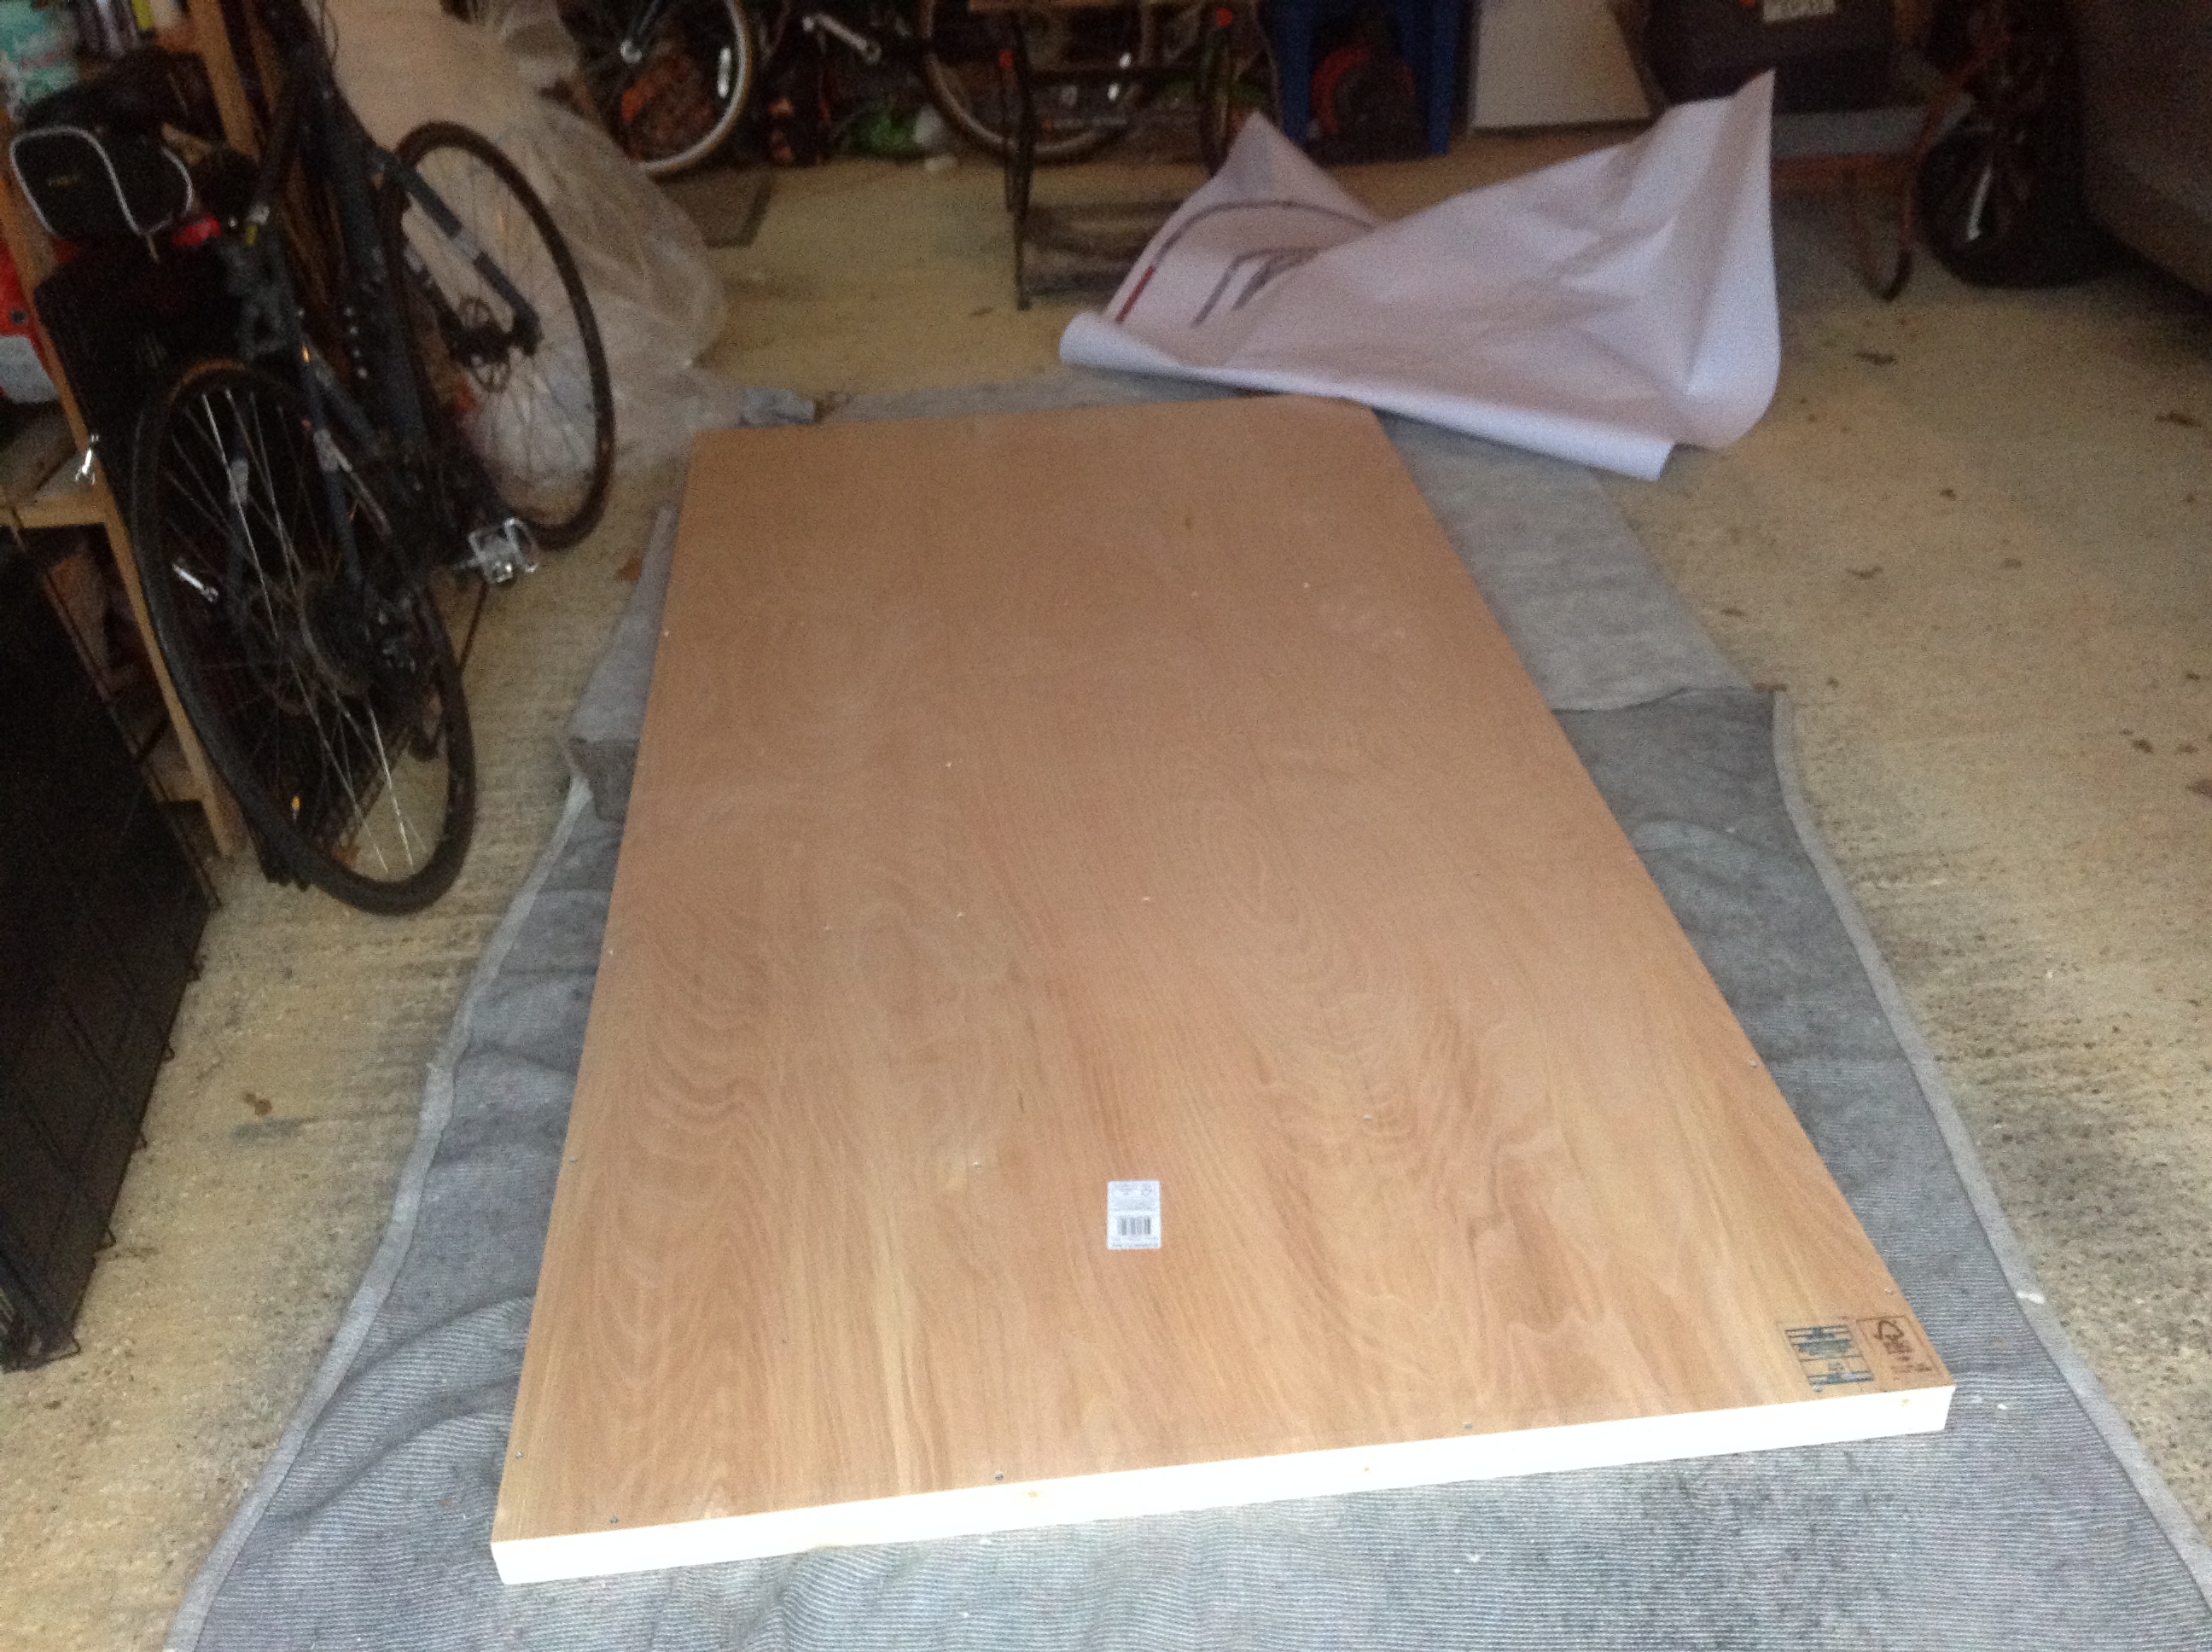
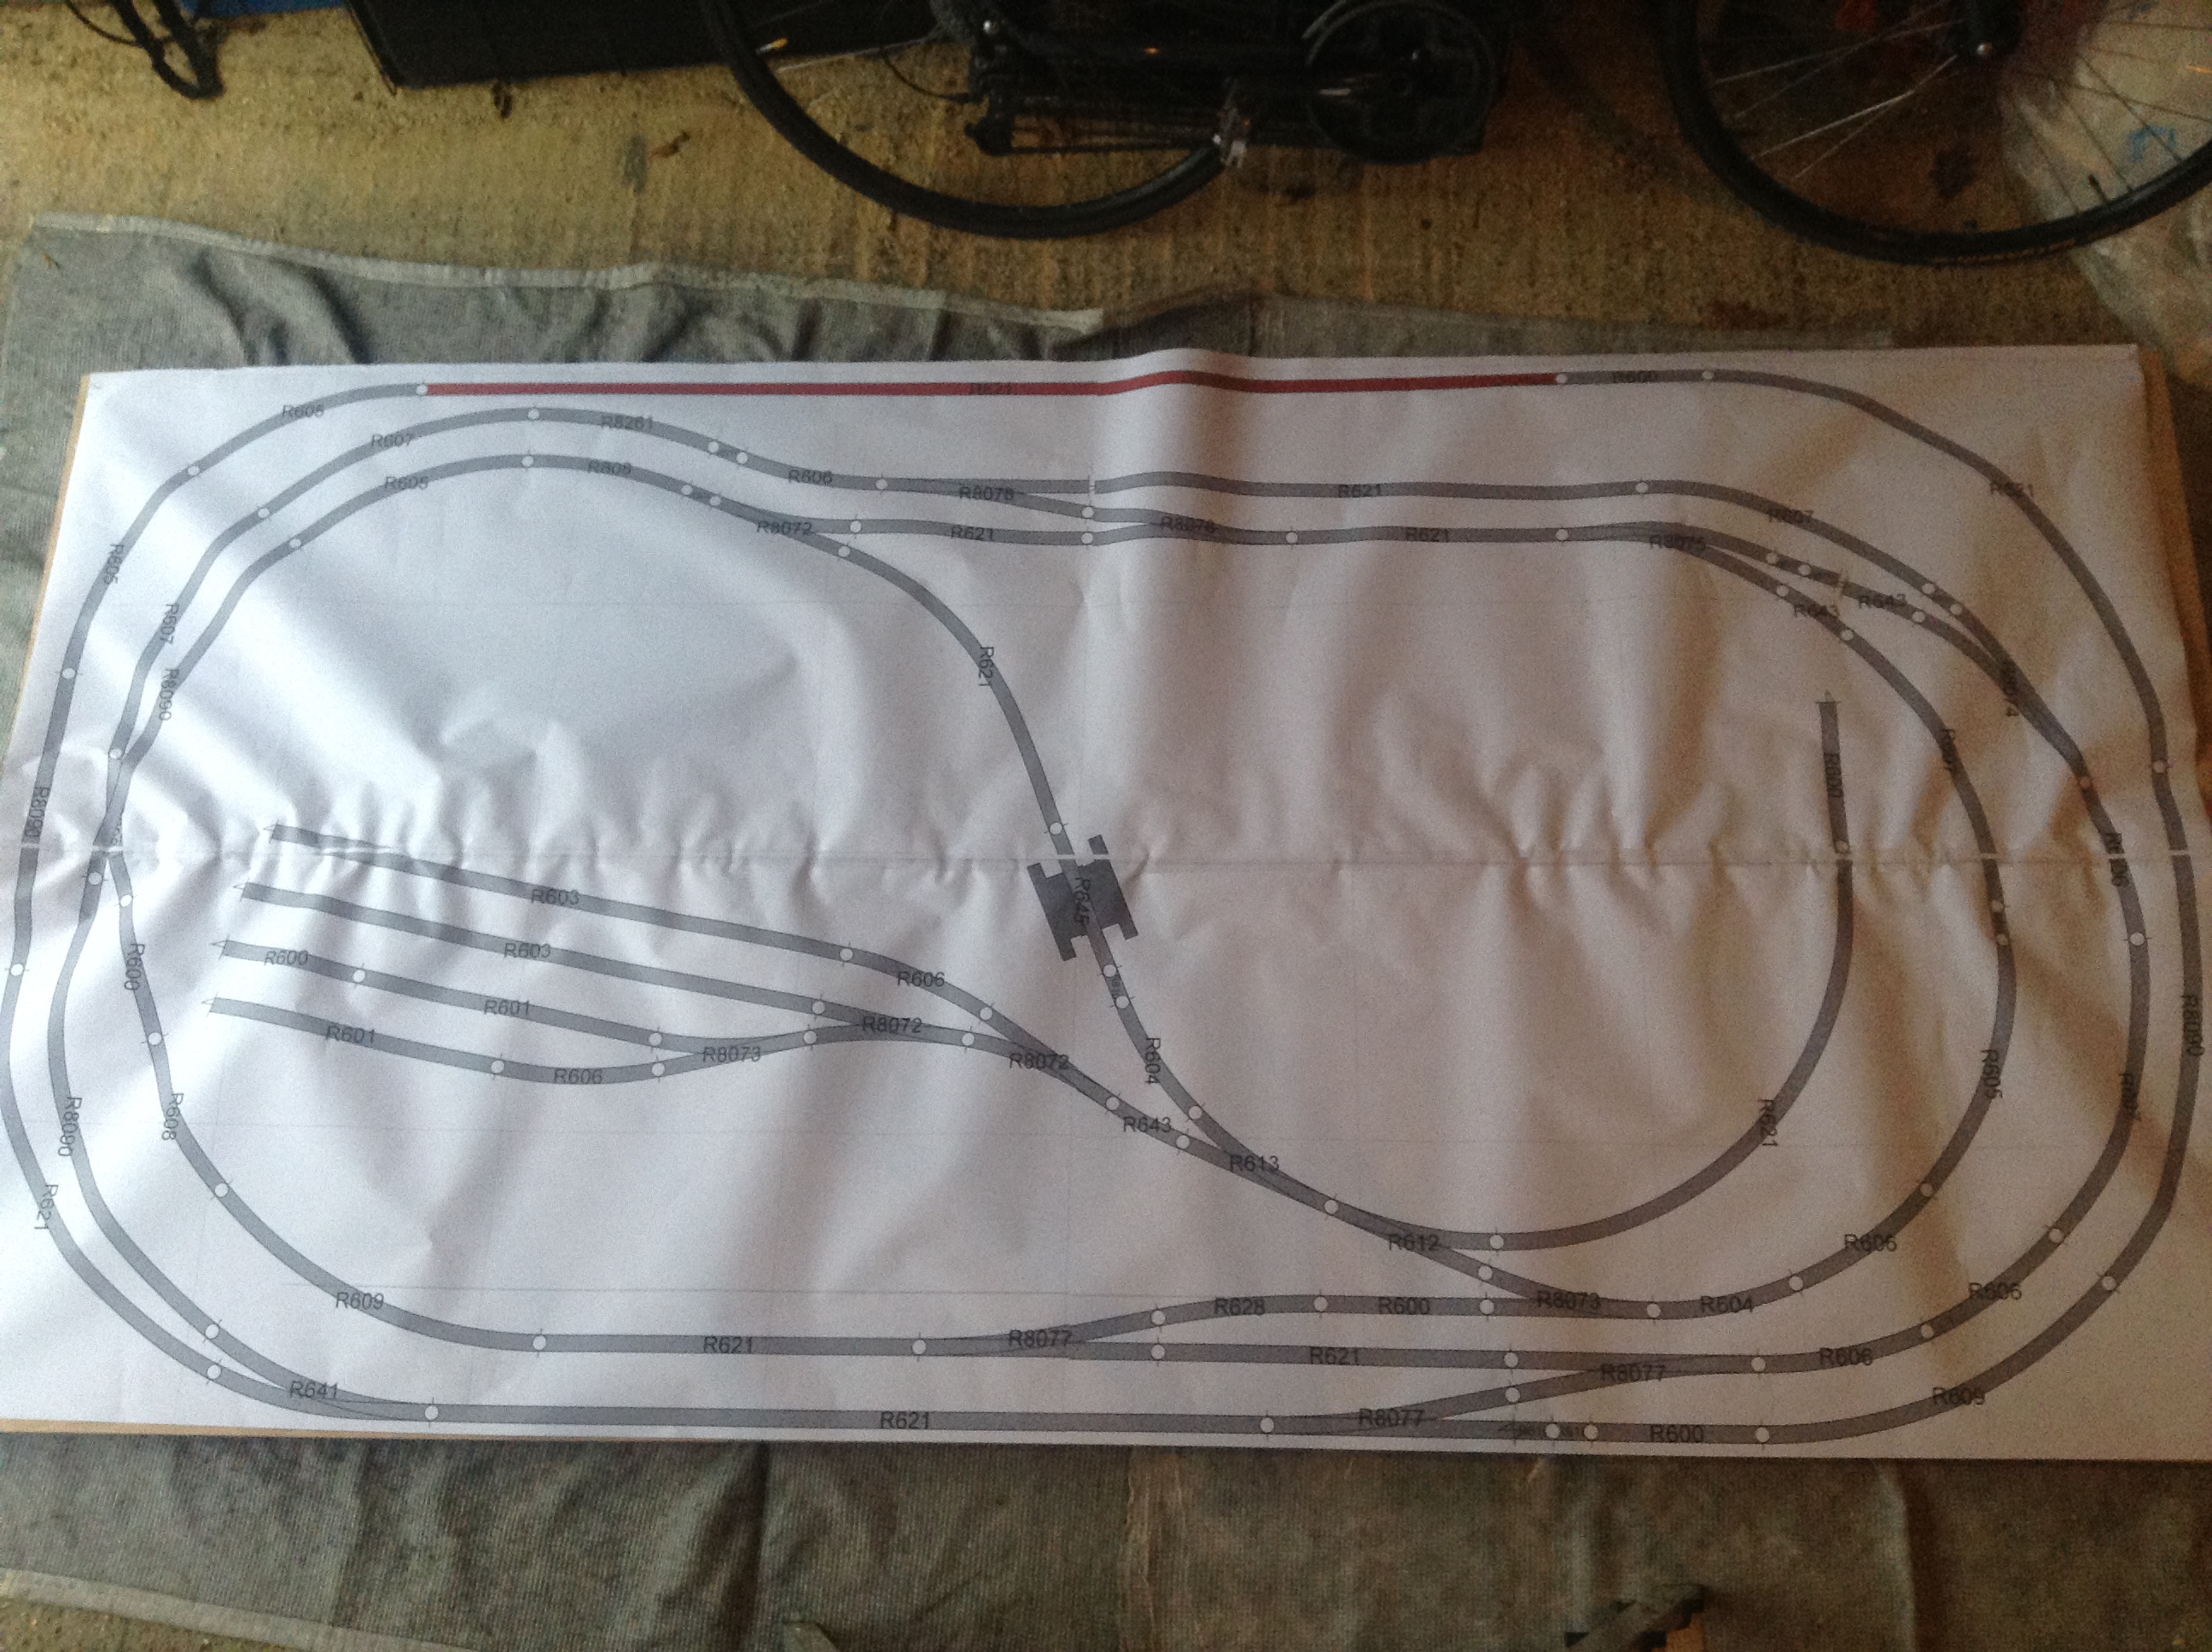
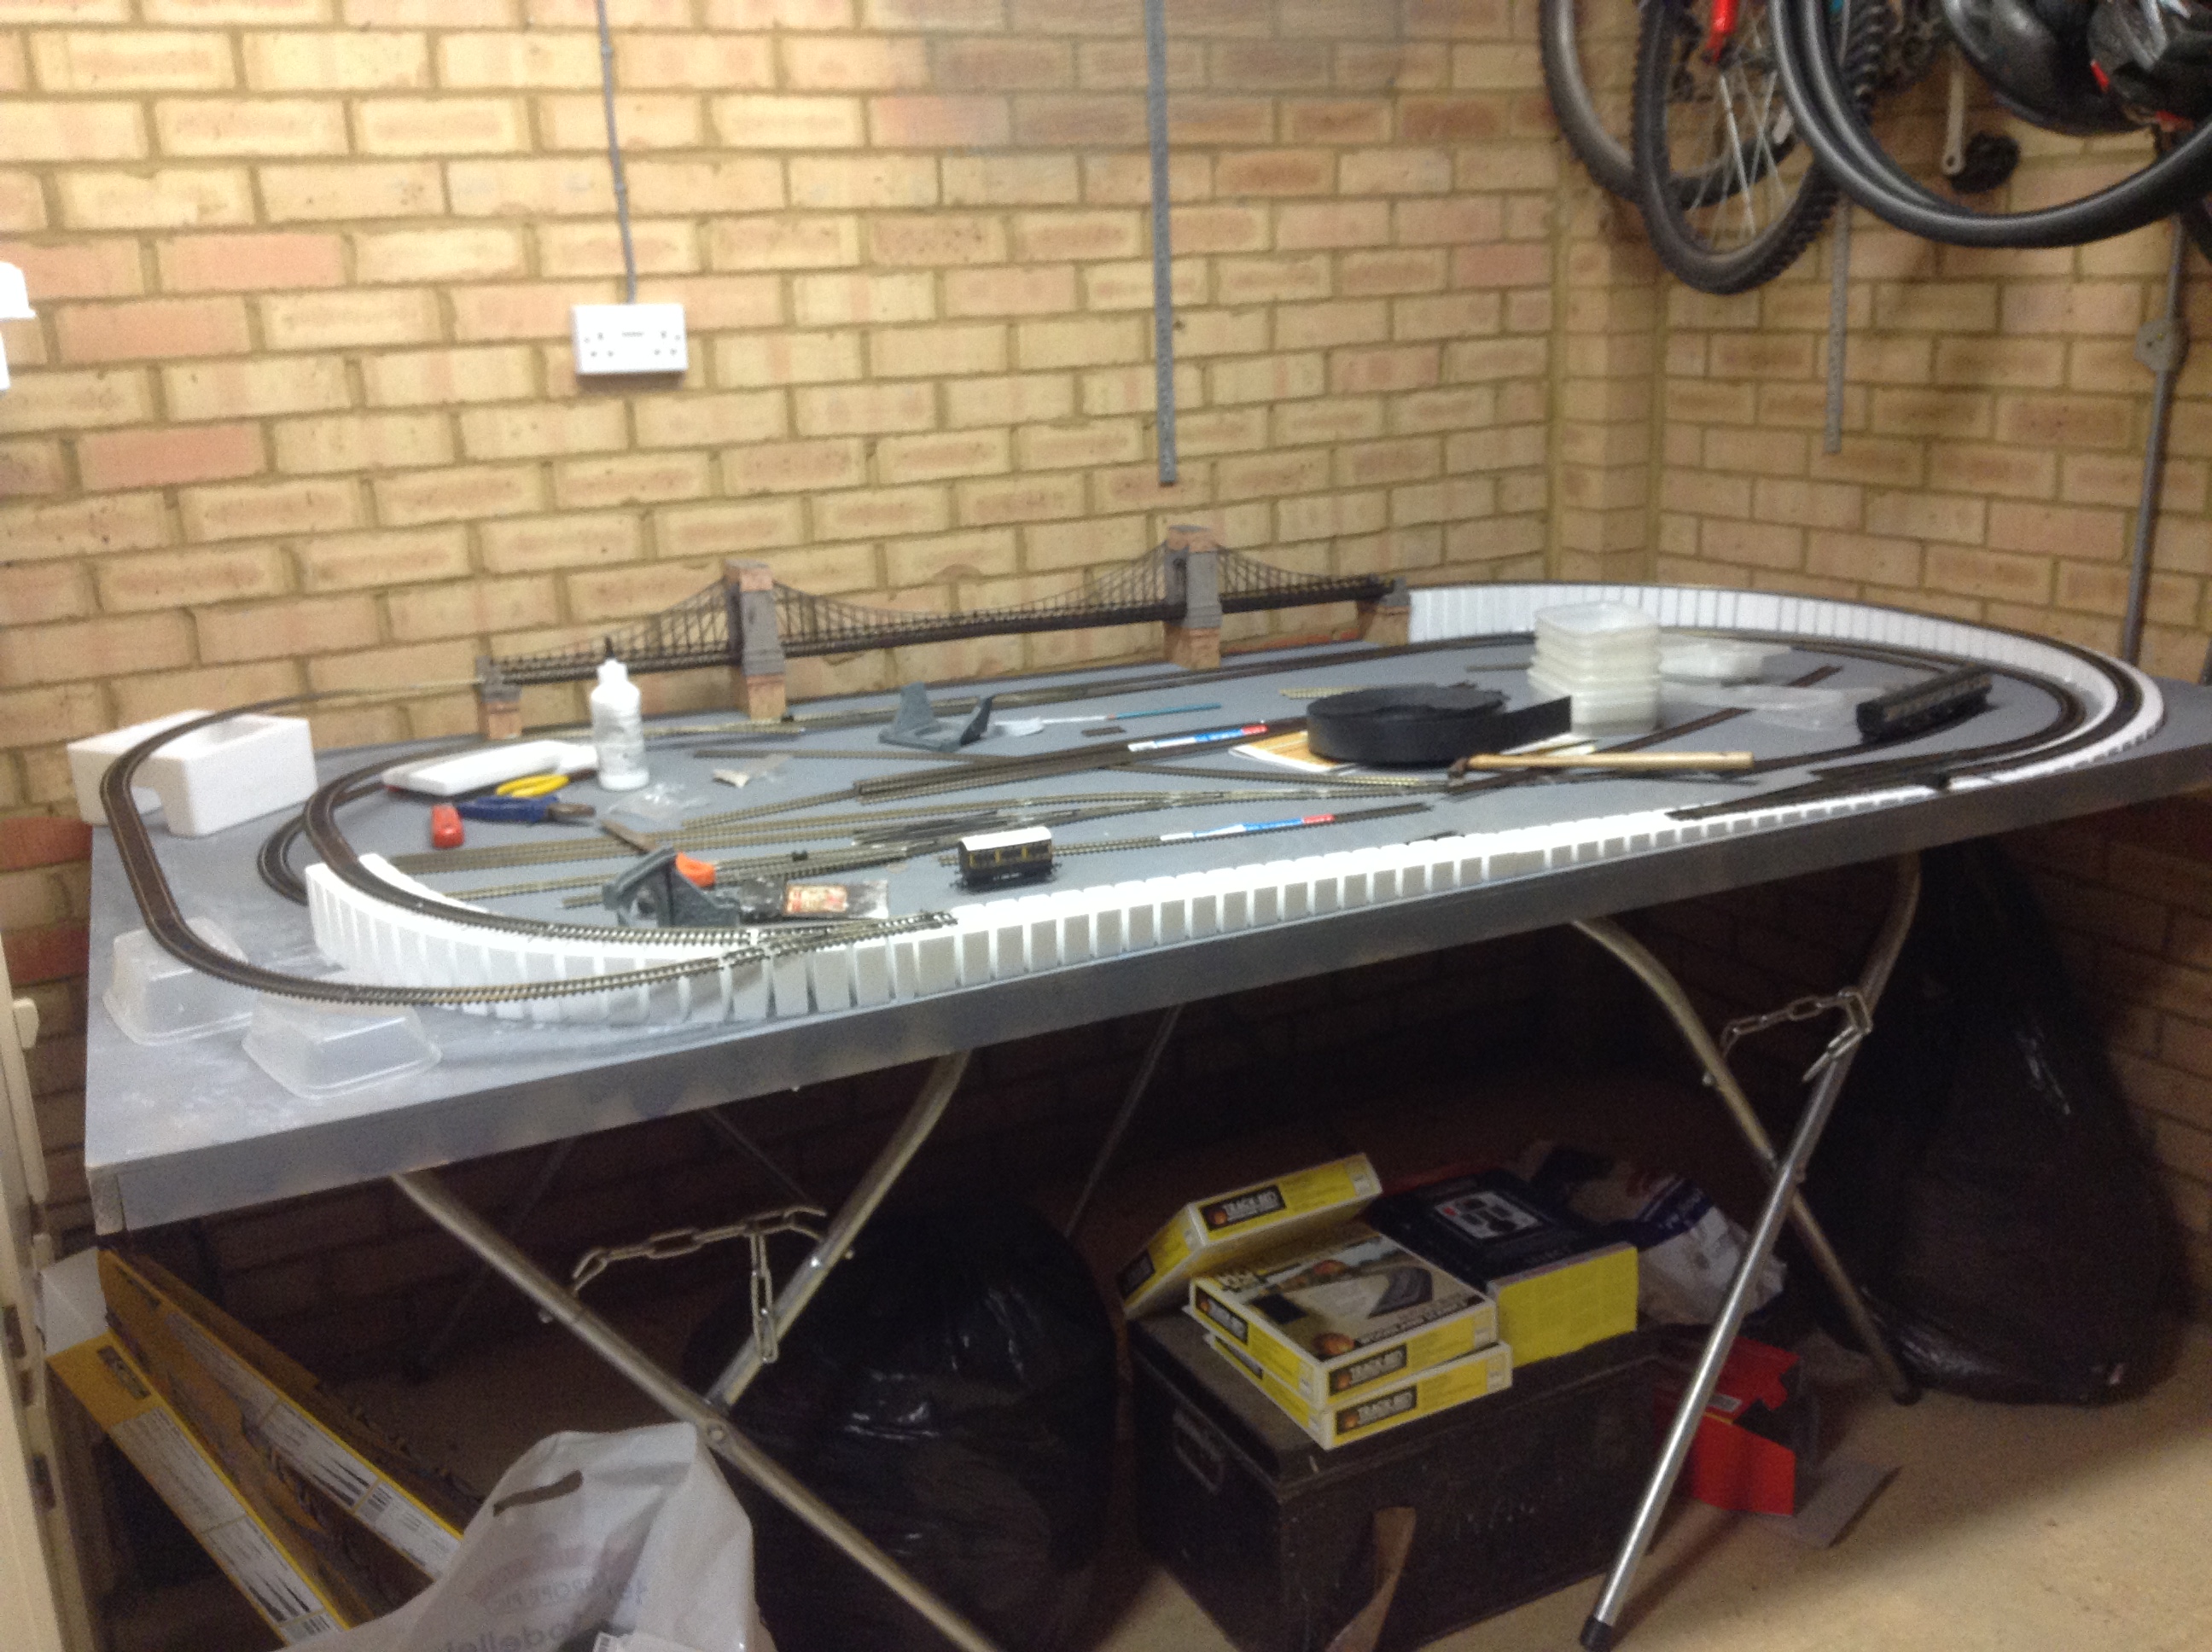
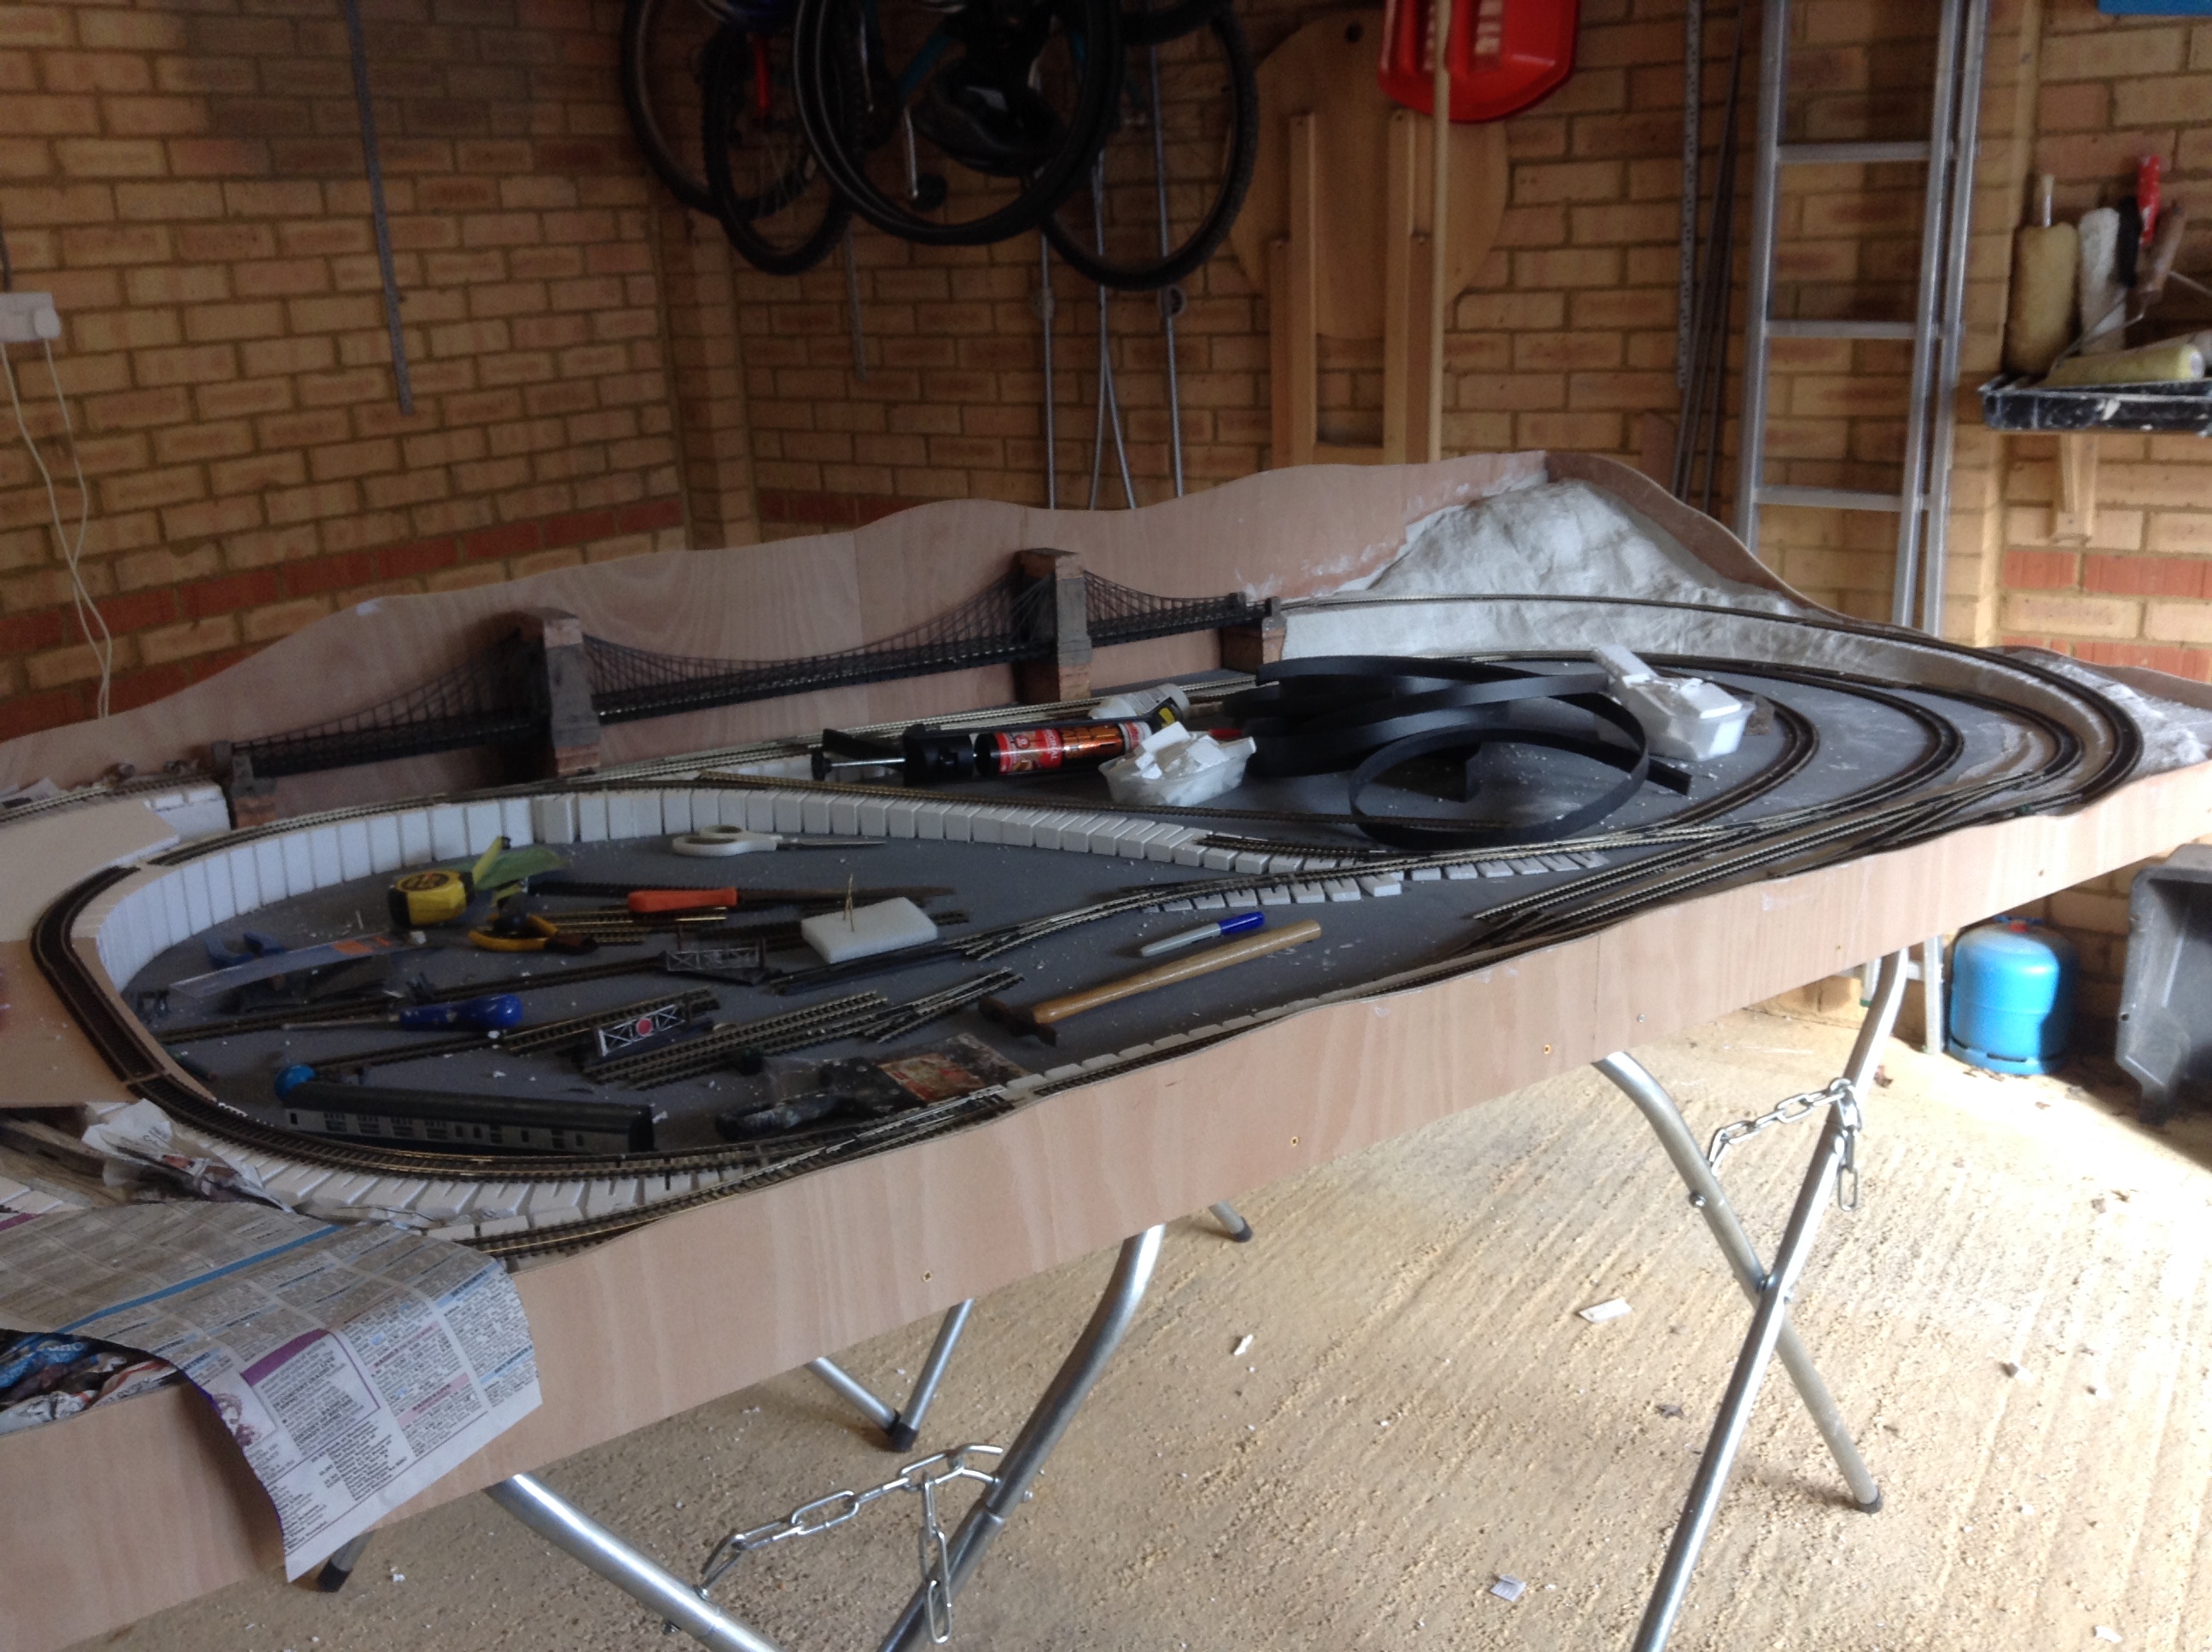
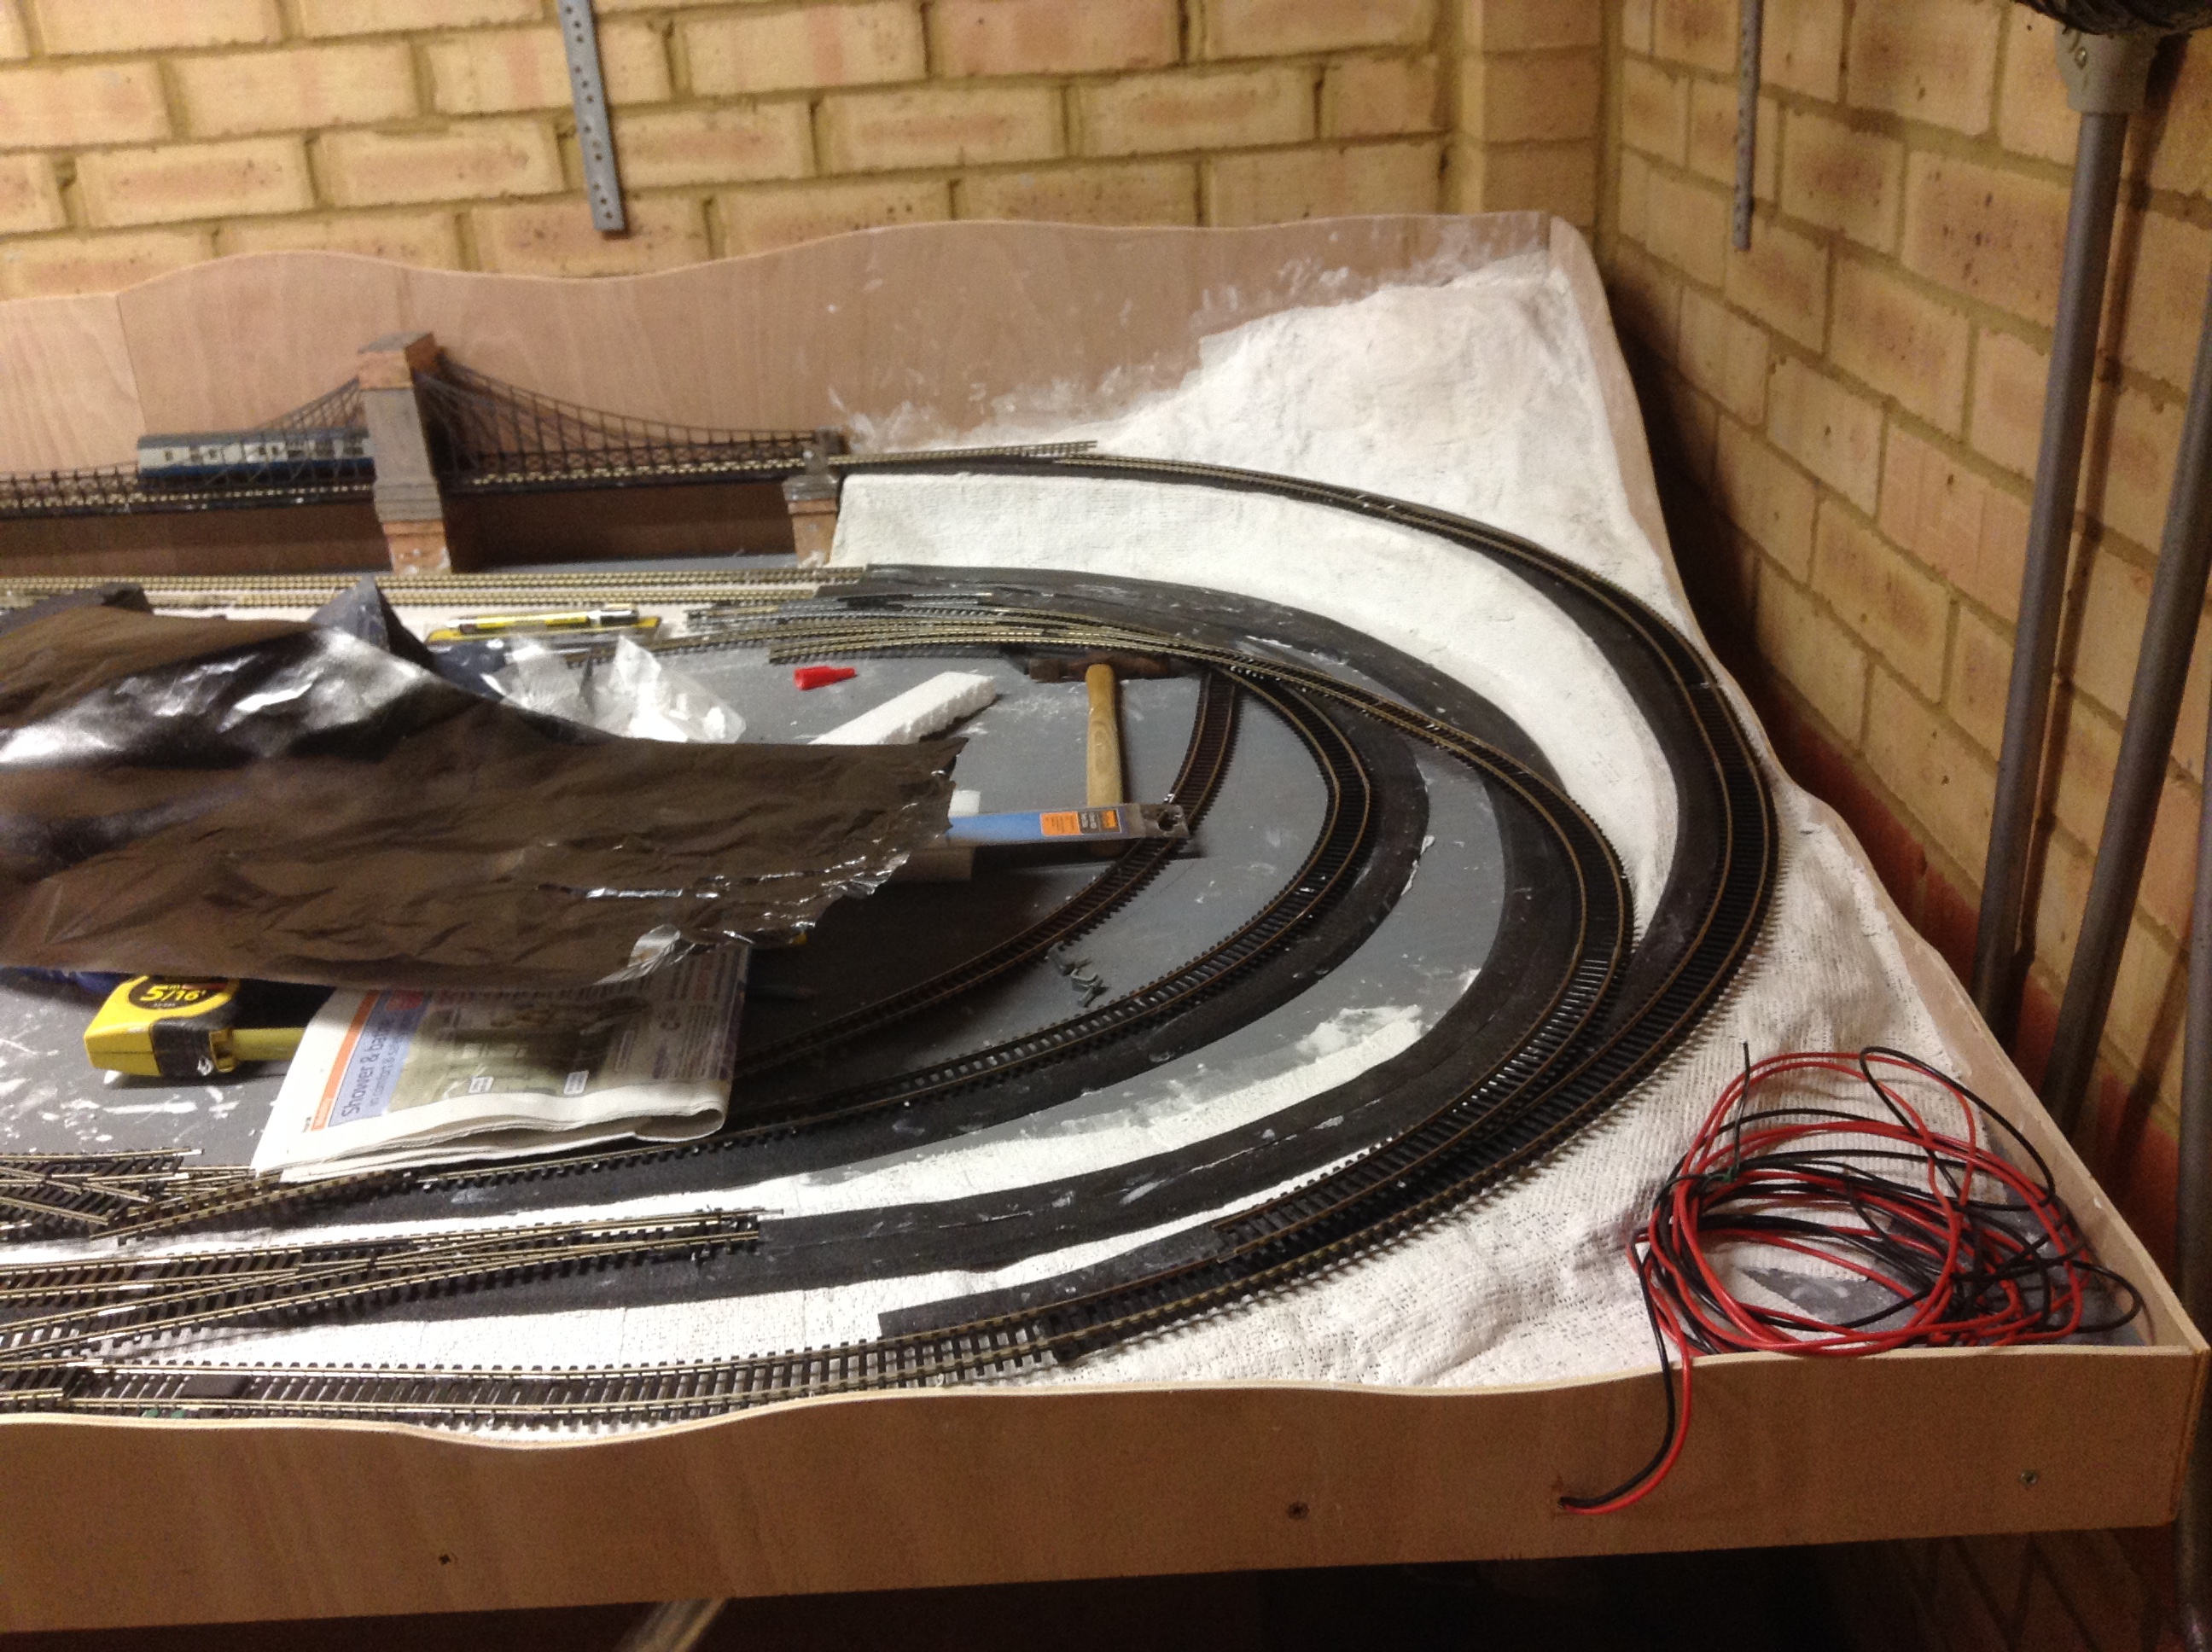
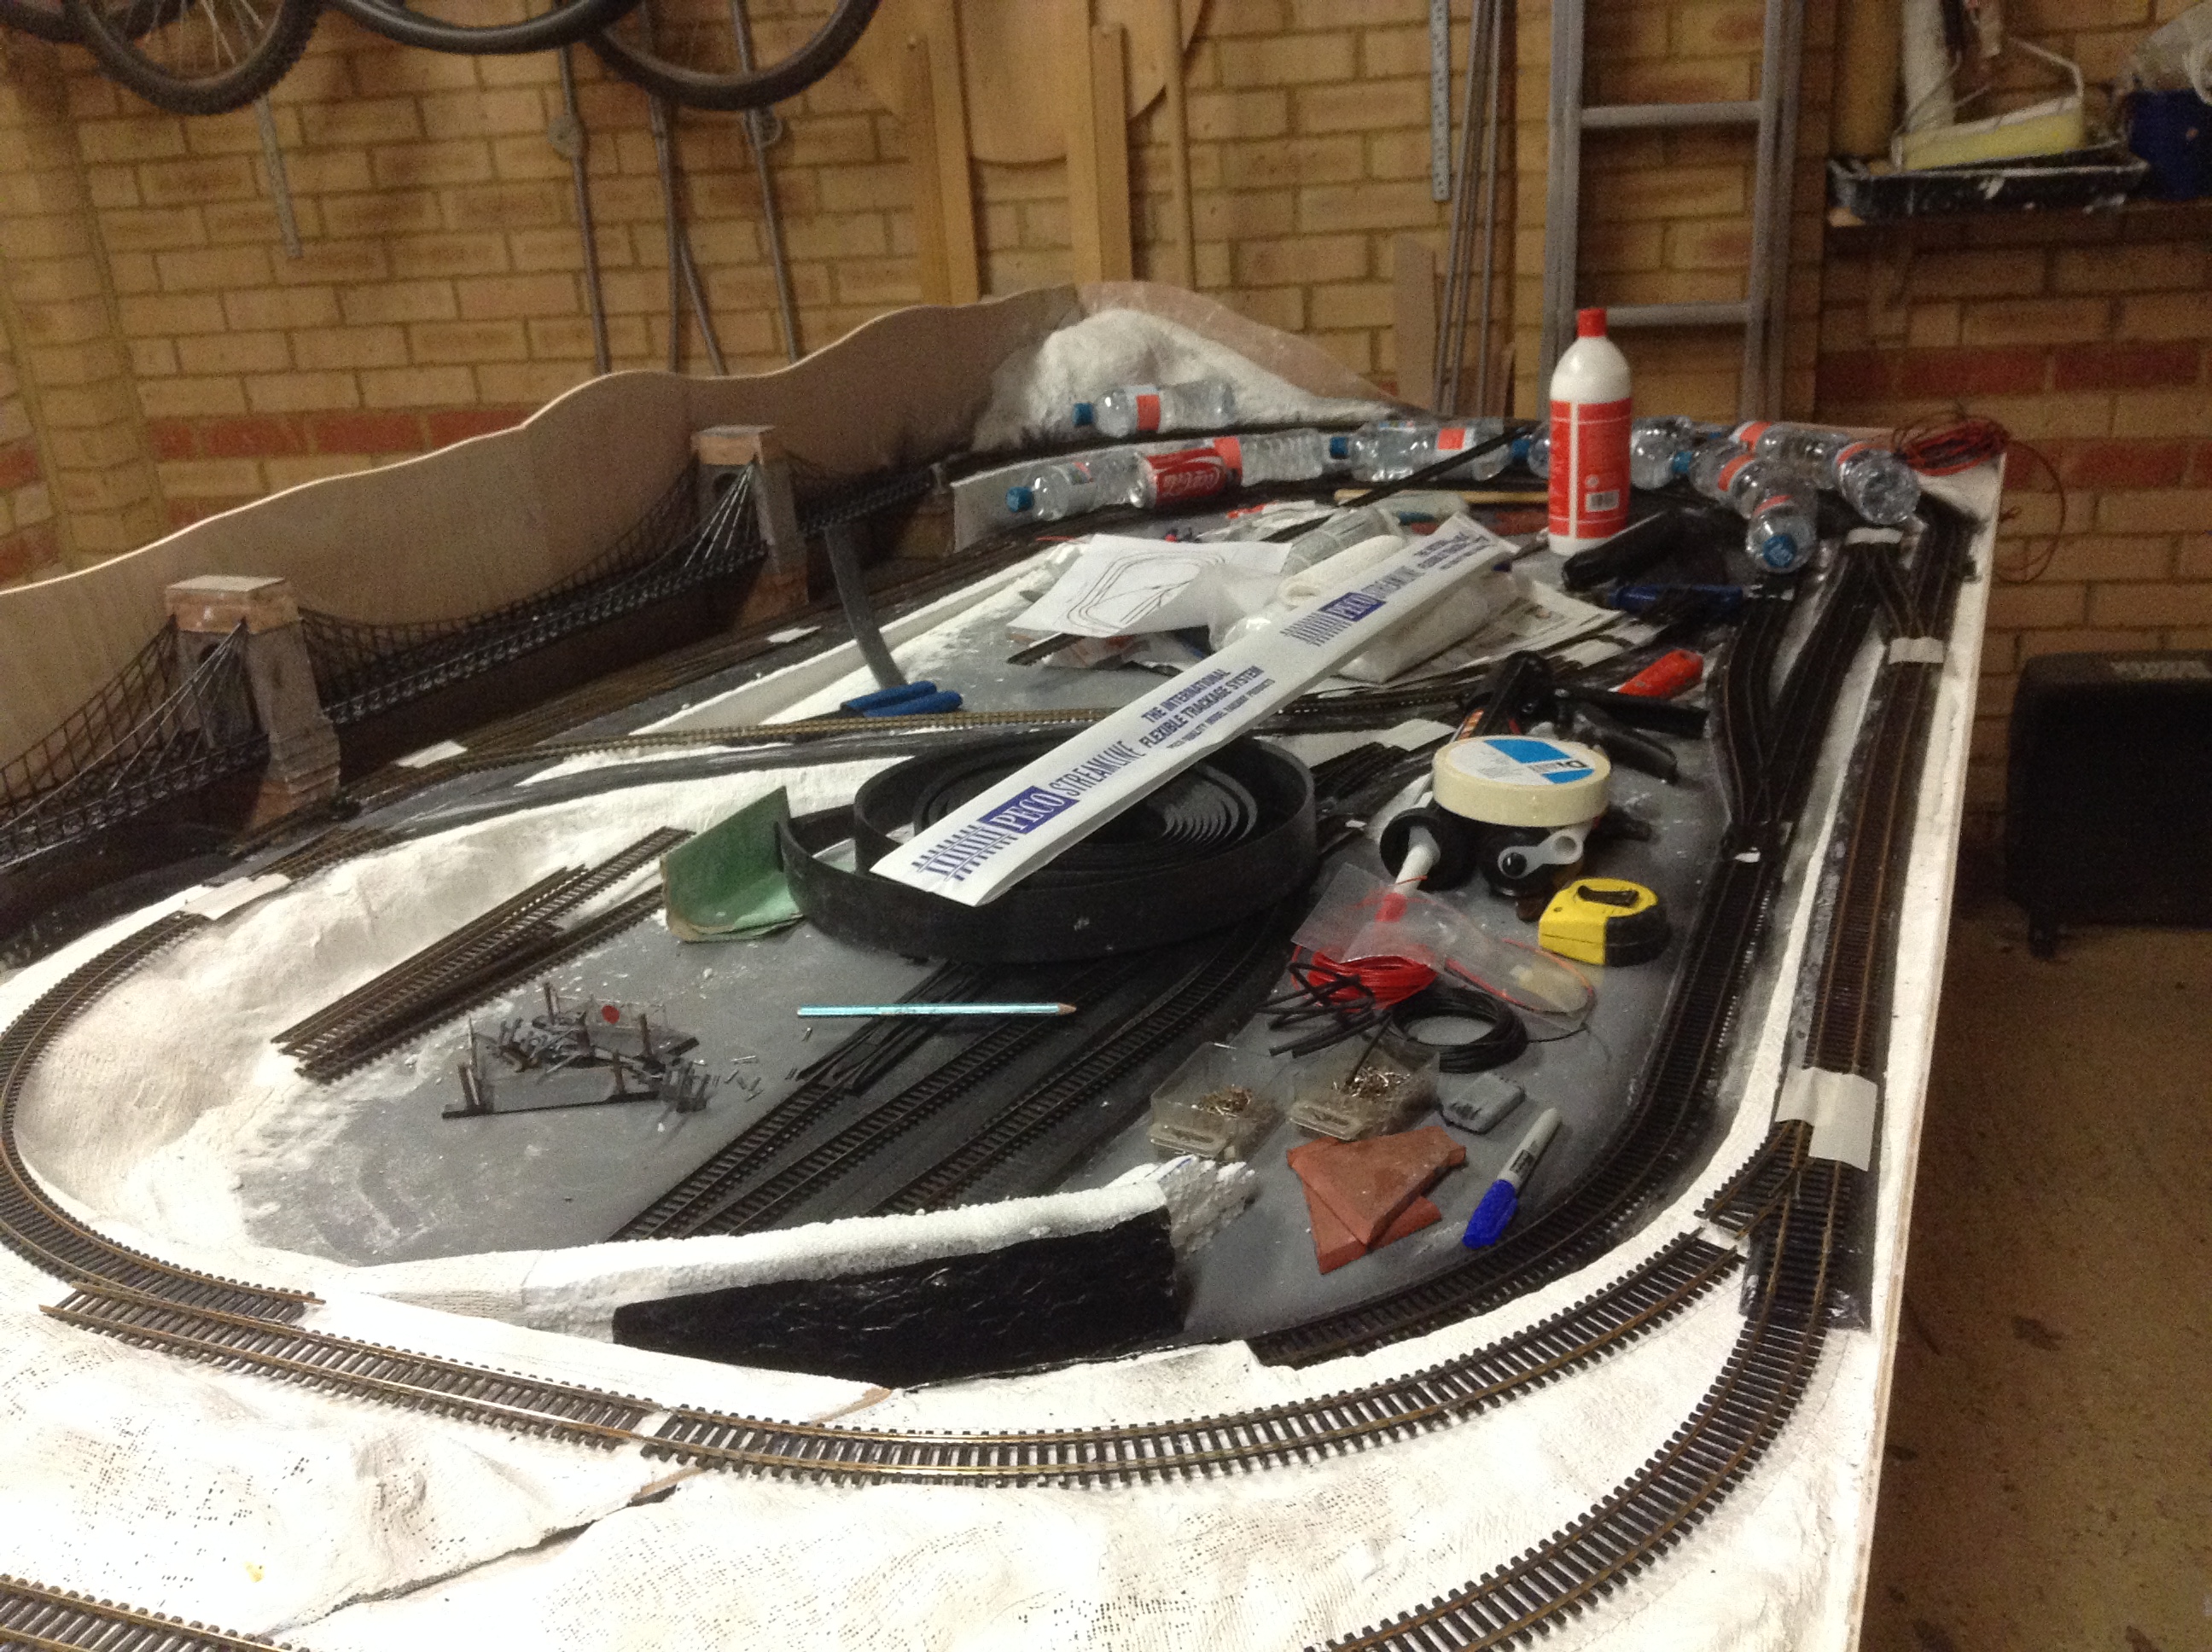
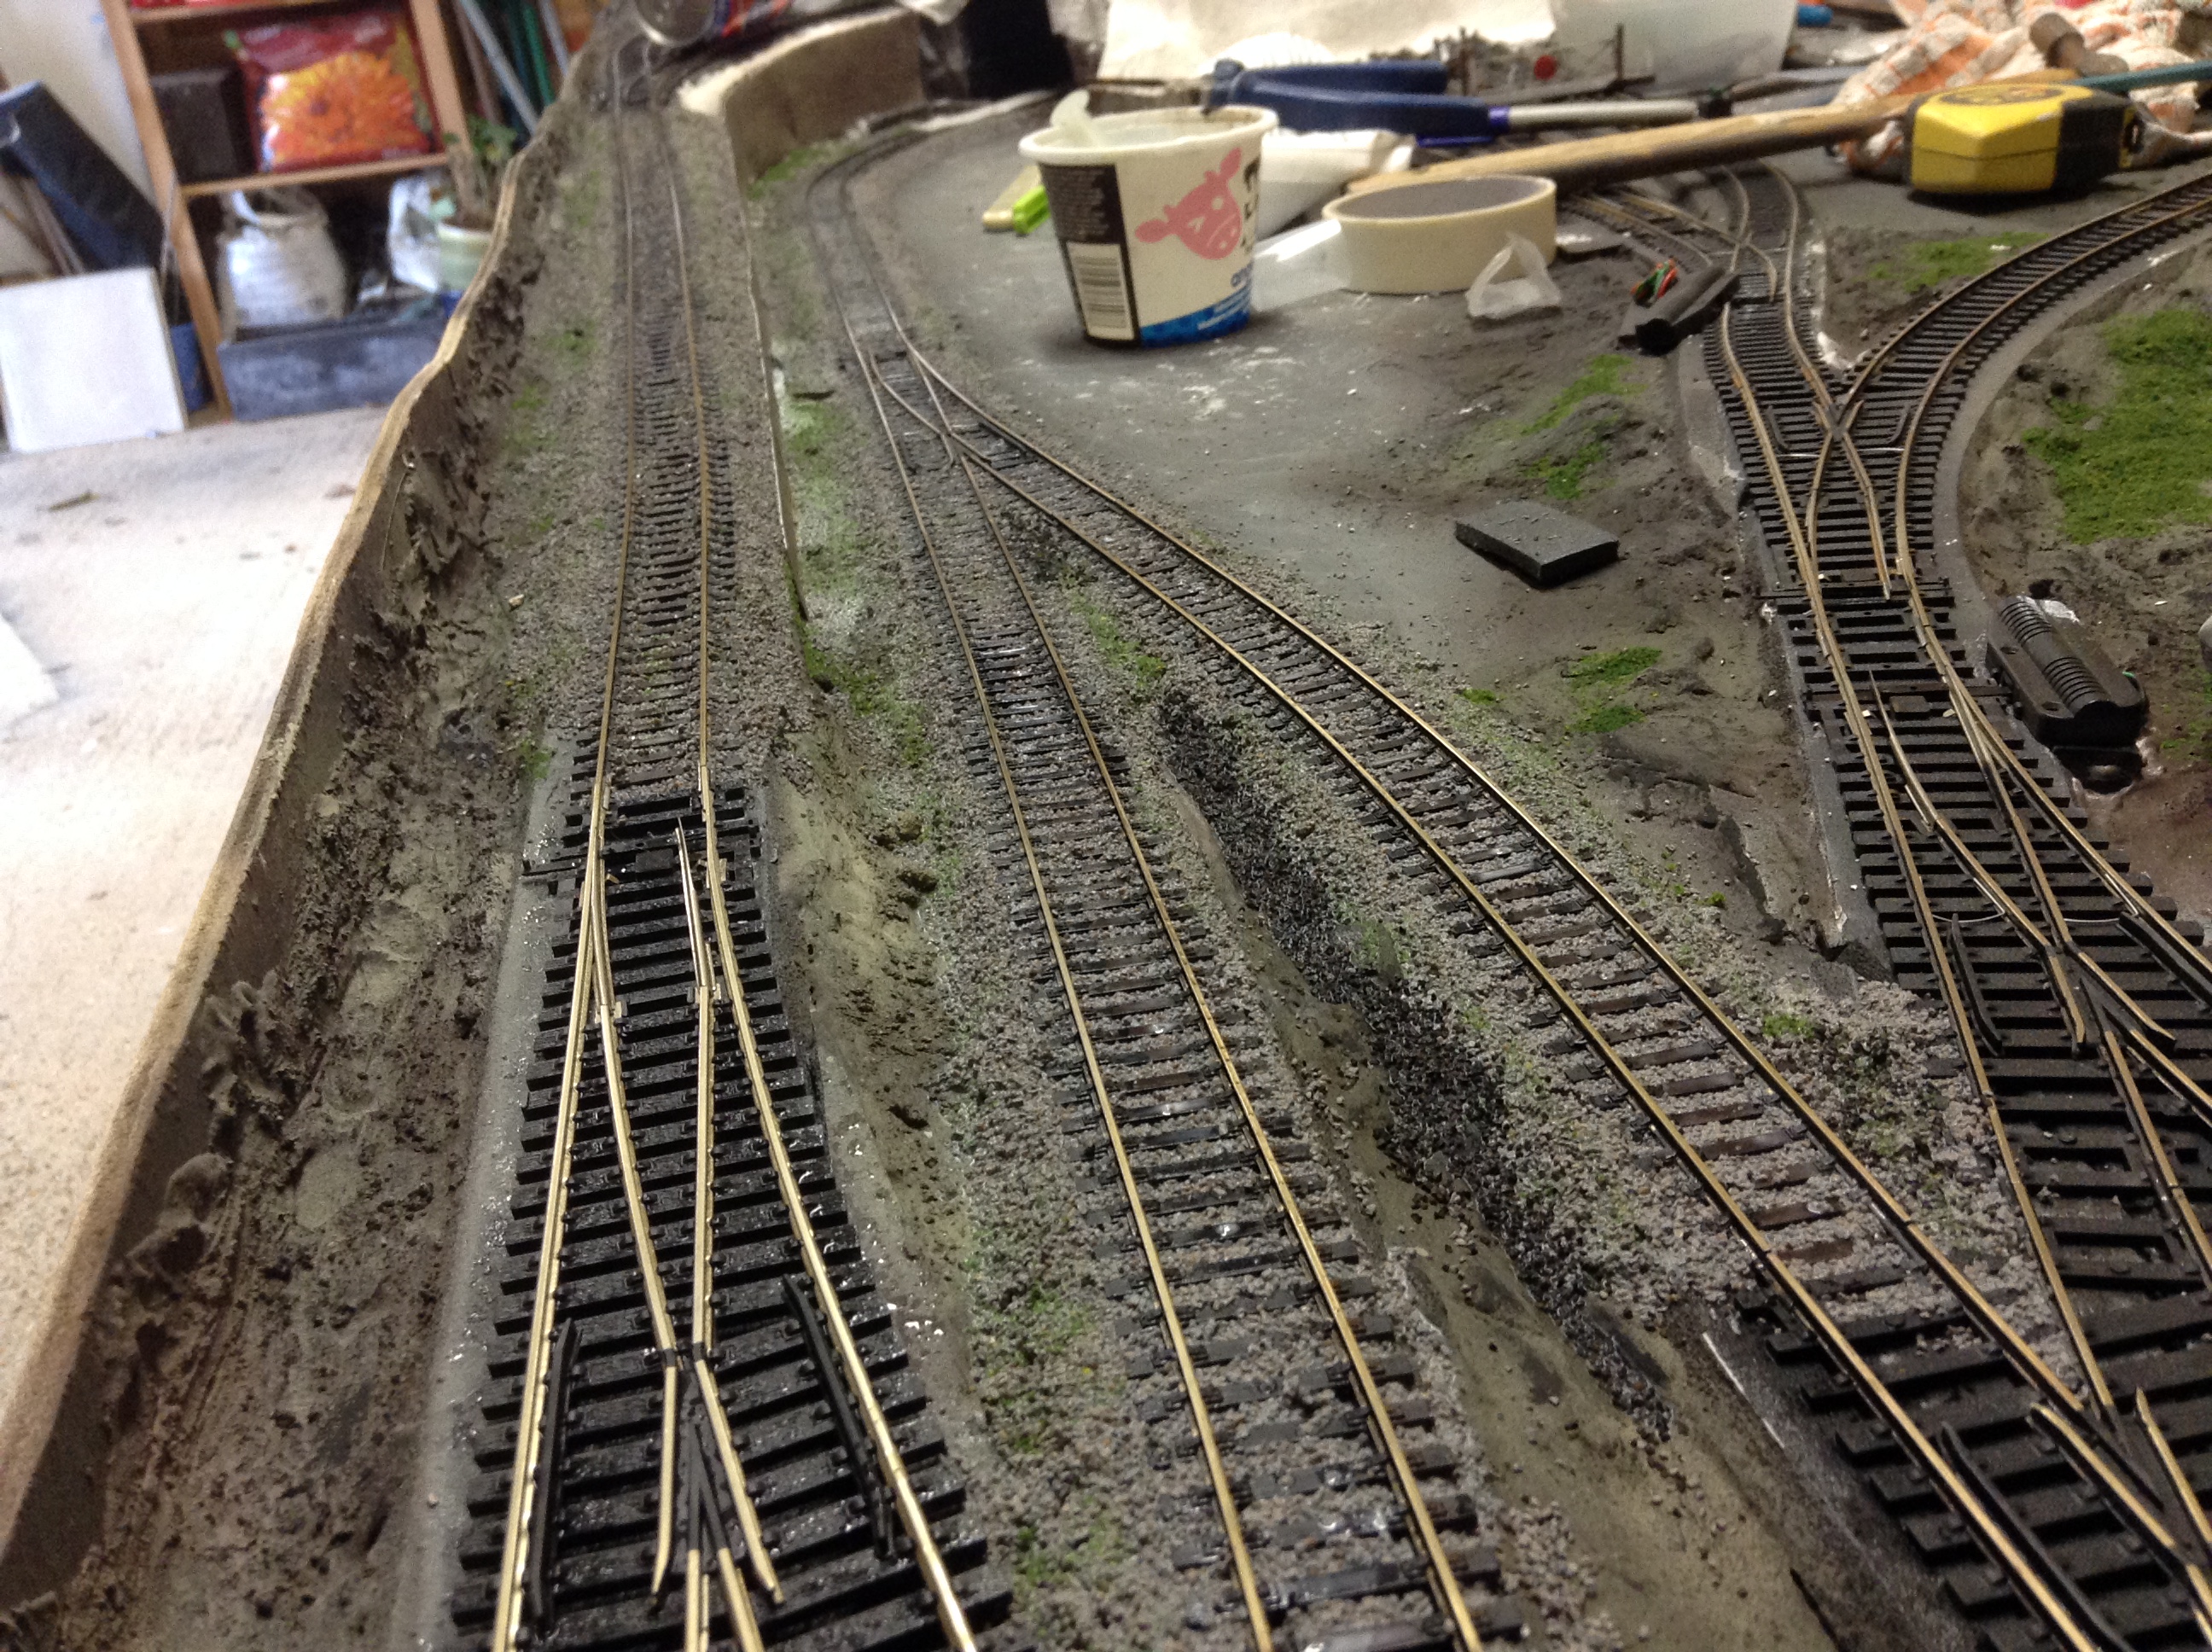
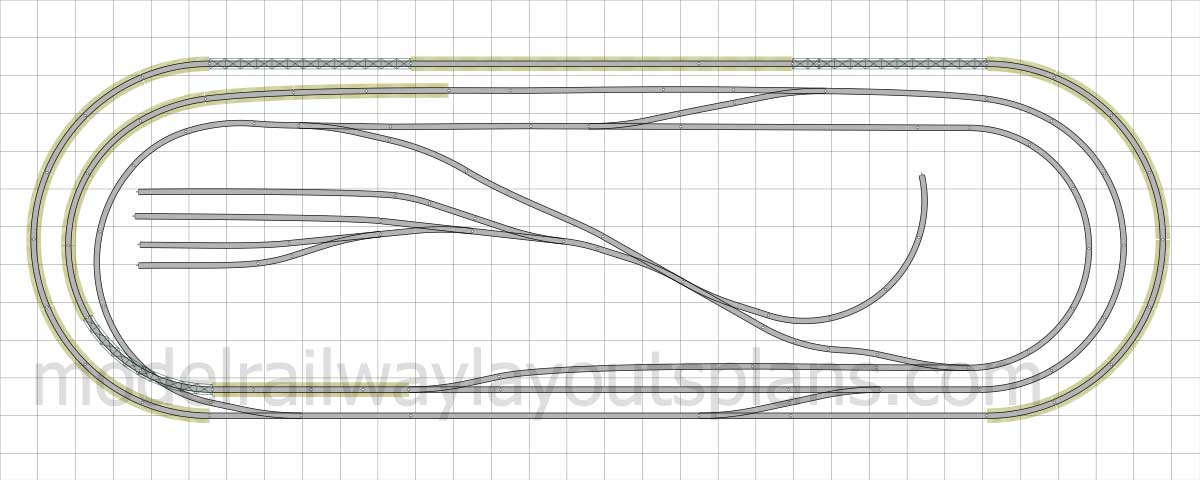
David’s been in touch with his Hornby 8×4 track plan:
“Hi Al,
I always look forward to you daily email and have used many tips to build my layout.
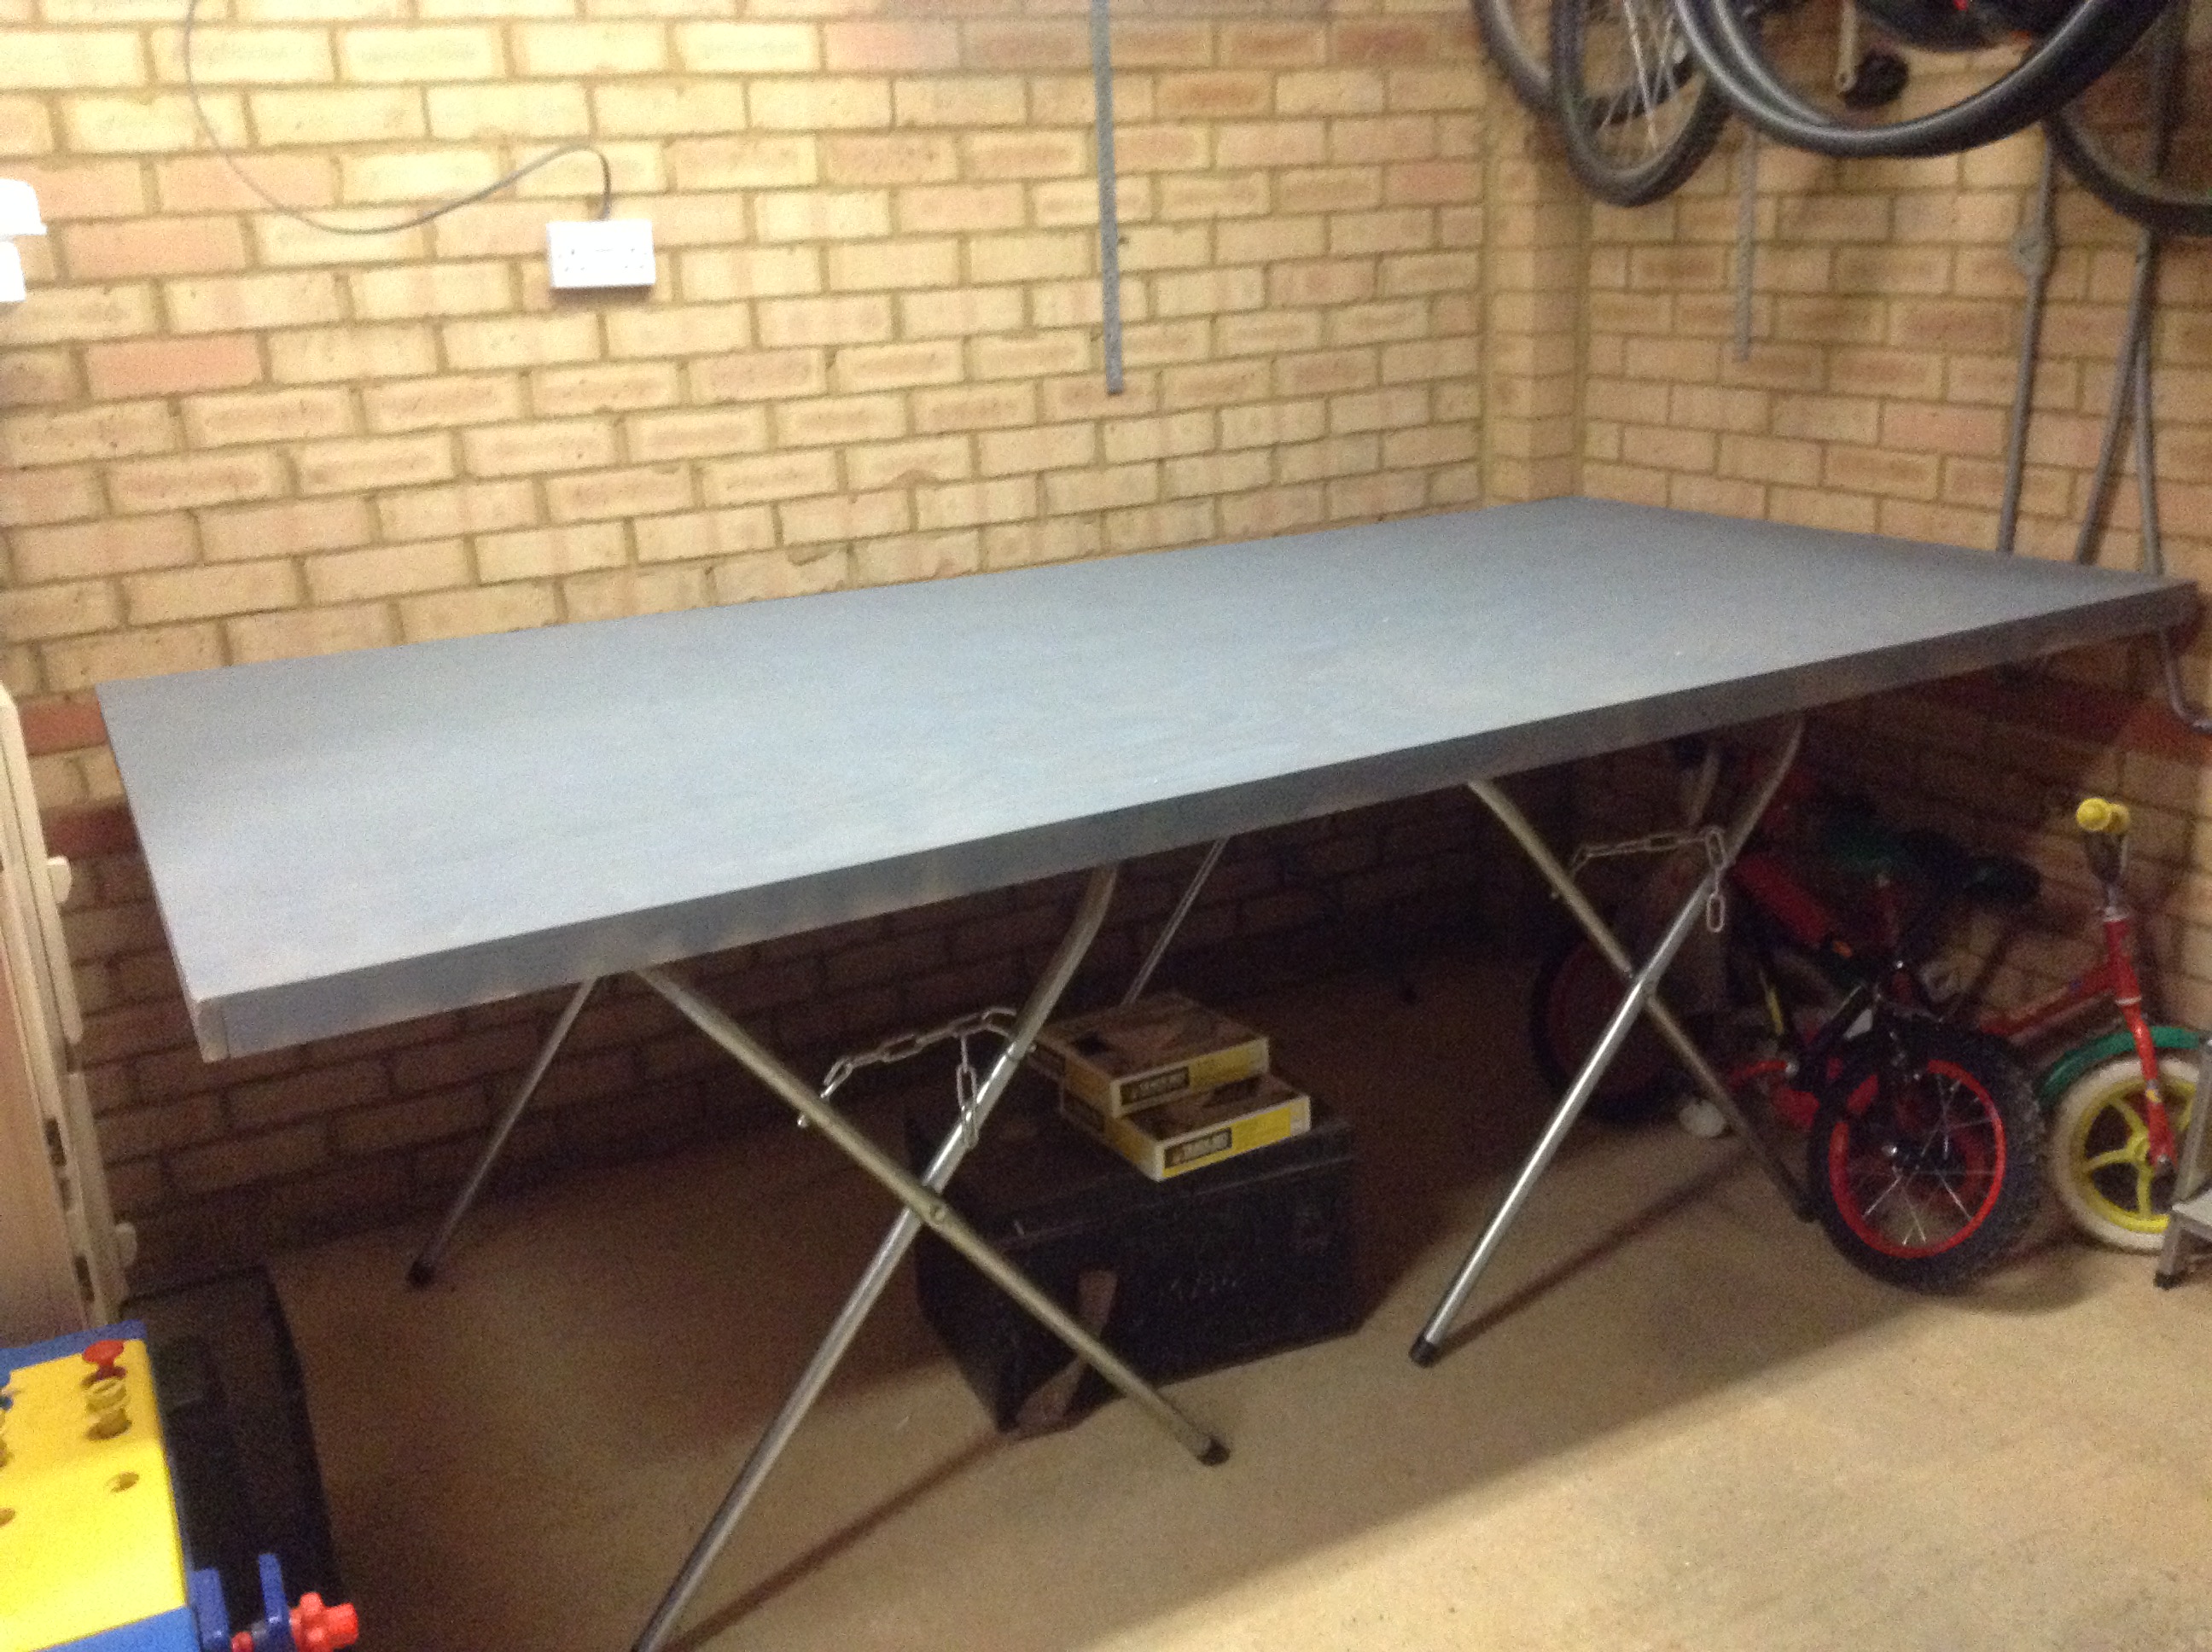
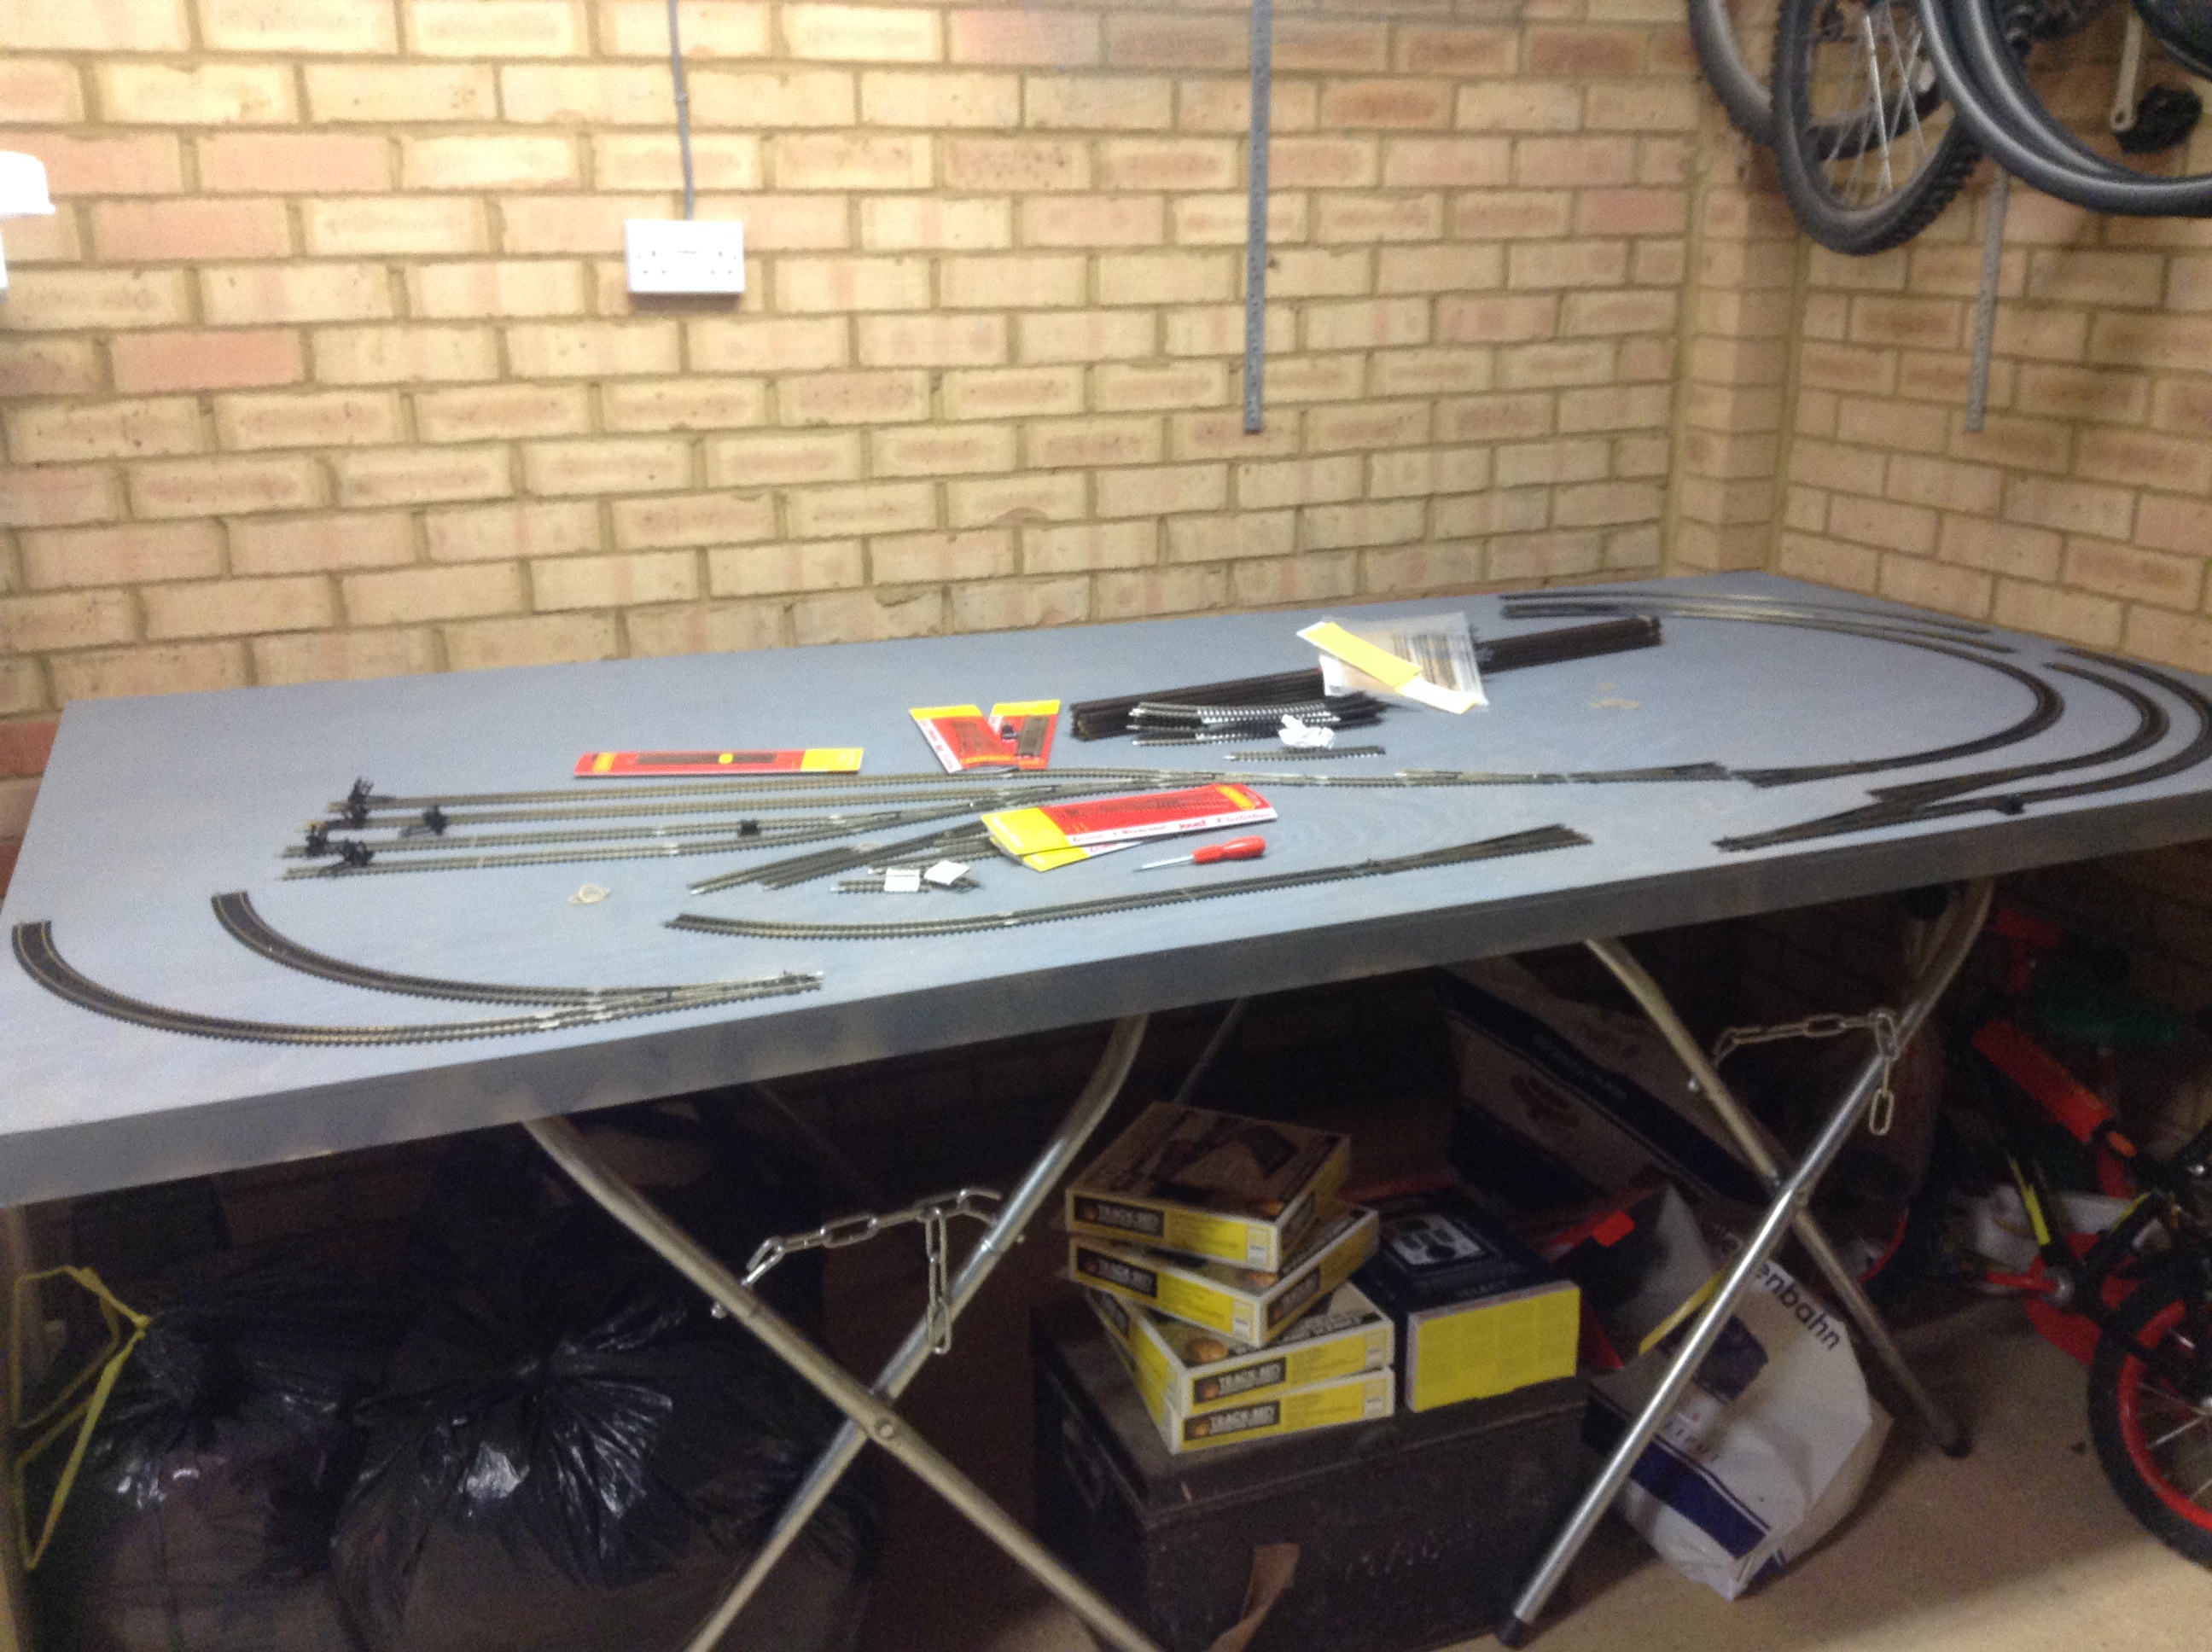
I am new to this, and it is far from complete, but I thought I’d share some piccies of how I am getting on.
The layout is 8’x4′, based on Hornby DCC.
All the best
David”
Thanks to David for sharing his Hornby 8×4 track plan. Looks like it’s going to be a cracker.
I love how David has made a start, and that’s what it’s all about.
What’s more, he’s got busy with a theme in mind. I think that’s important because over the years the layouts that turn out the best always have a theme in mind from day one.
And that goes for the simple layouts too. A theme really does ‘glue’ all the visual parts of a layout together.
In fact, over the years, I’ve noticed these three things time and time again:
1. Make a start! It doesn’t matter how hard you think over your layout, those tracks won’t lay themselves.
2. Pick a theme.
3. Go out your pace – one of the most relaxing things about this hobby is you can potter and go at your own pace. There’s no hurry. It’s all part of the fun.
Craig’s been in touch with his HO scale grain silos:
“Al:
Here are some pics of my silos.
Don’t know what they hold: fuel, grain, I don’t know, I just wanted to make them.
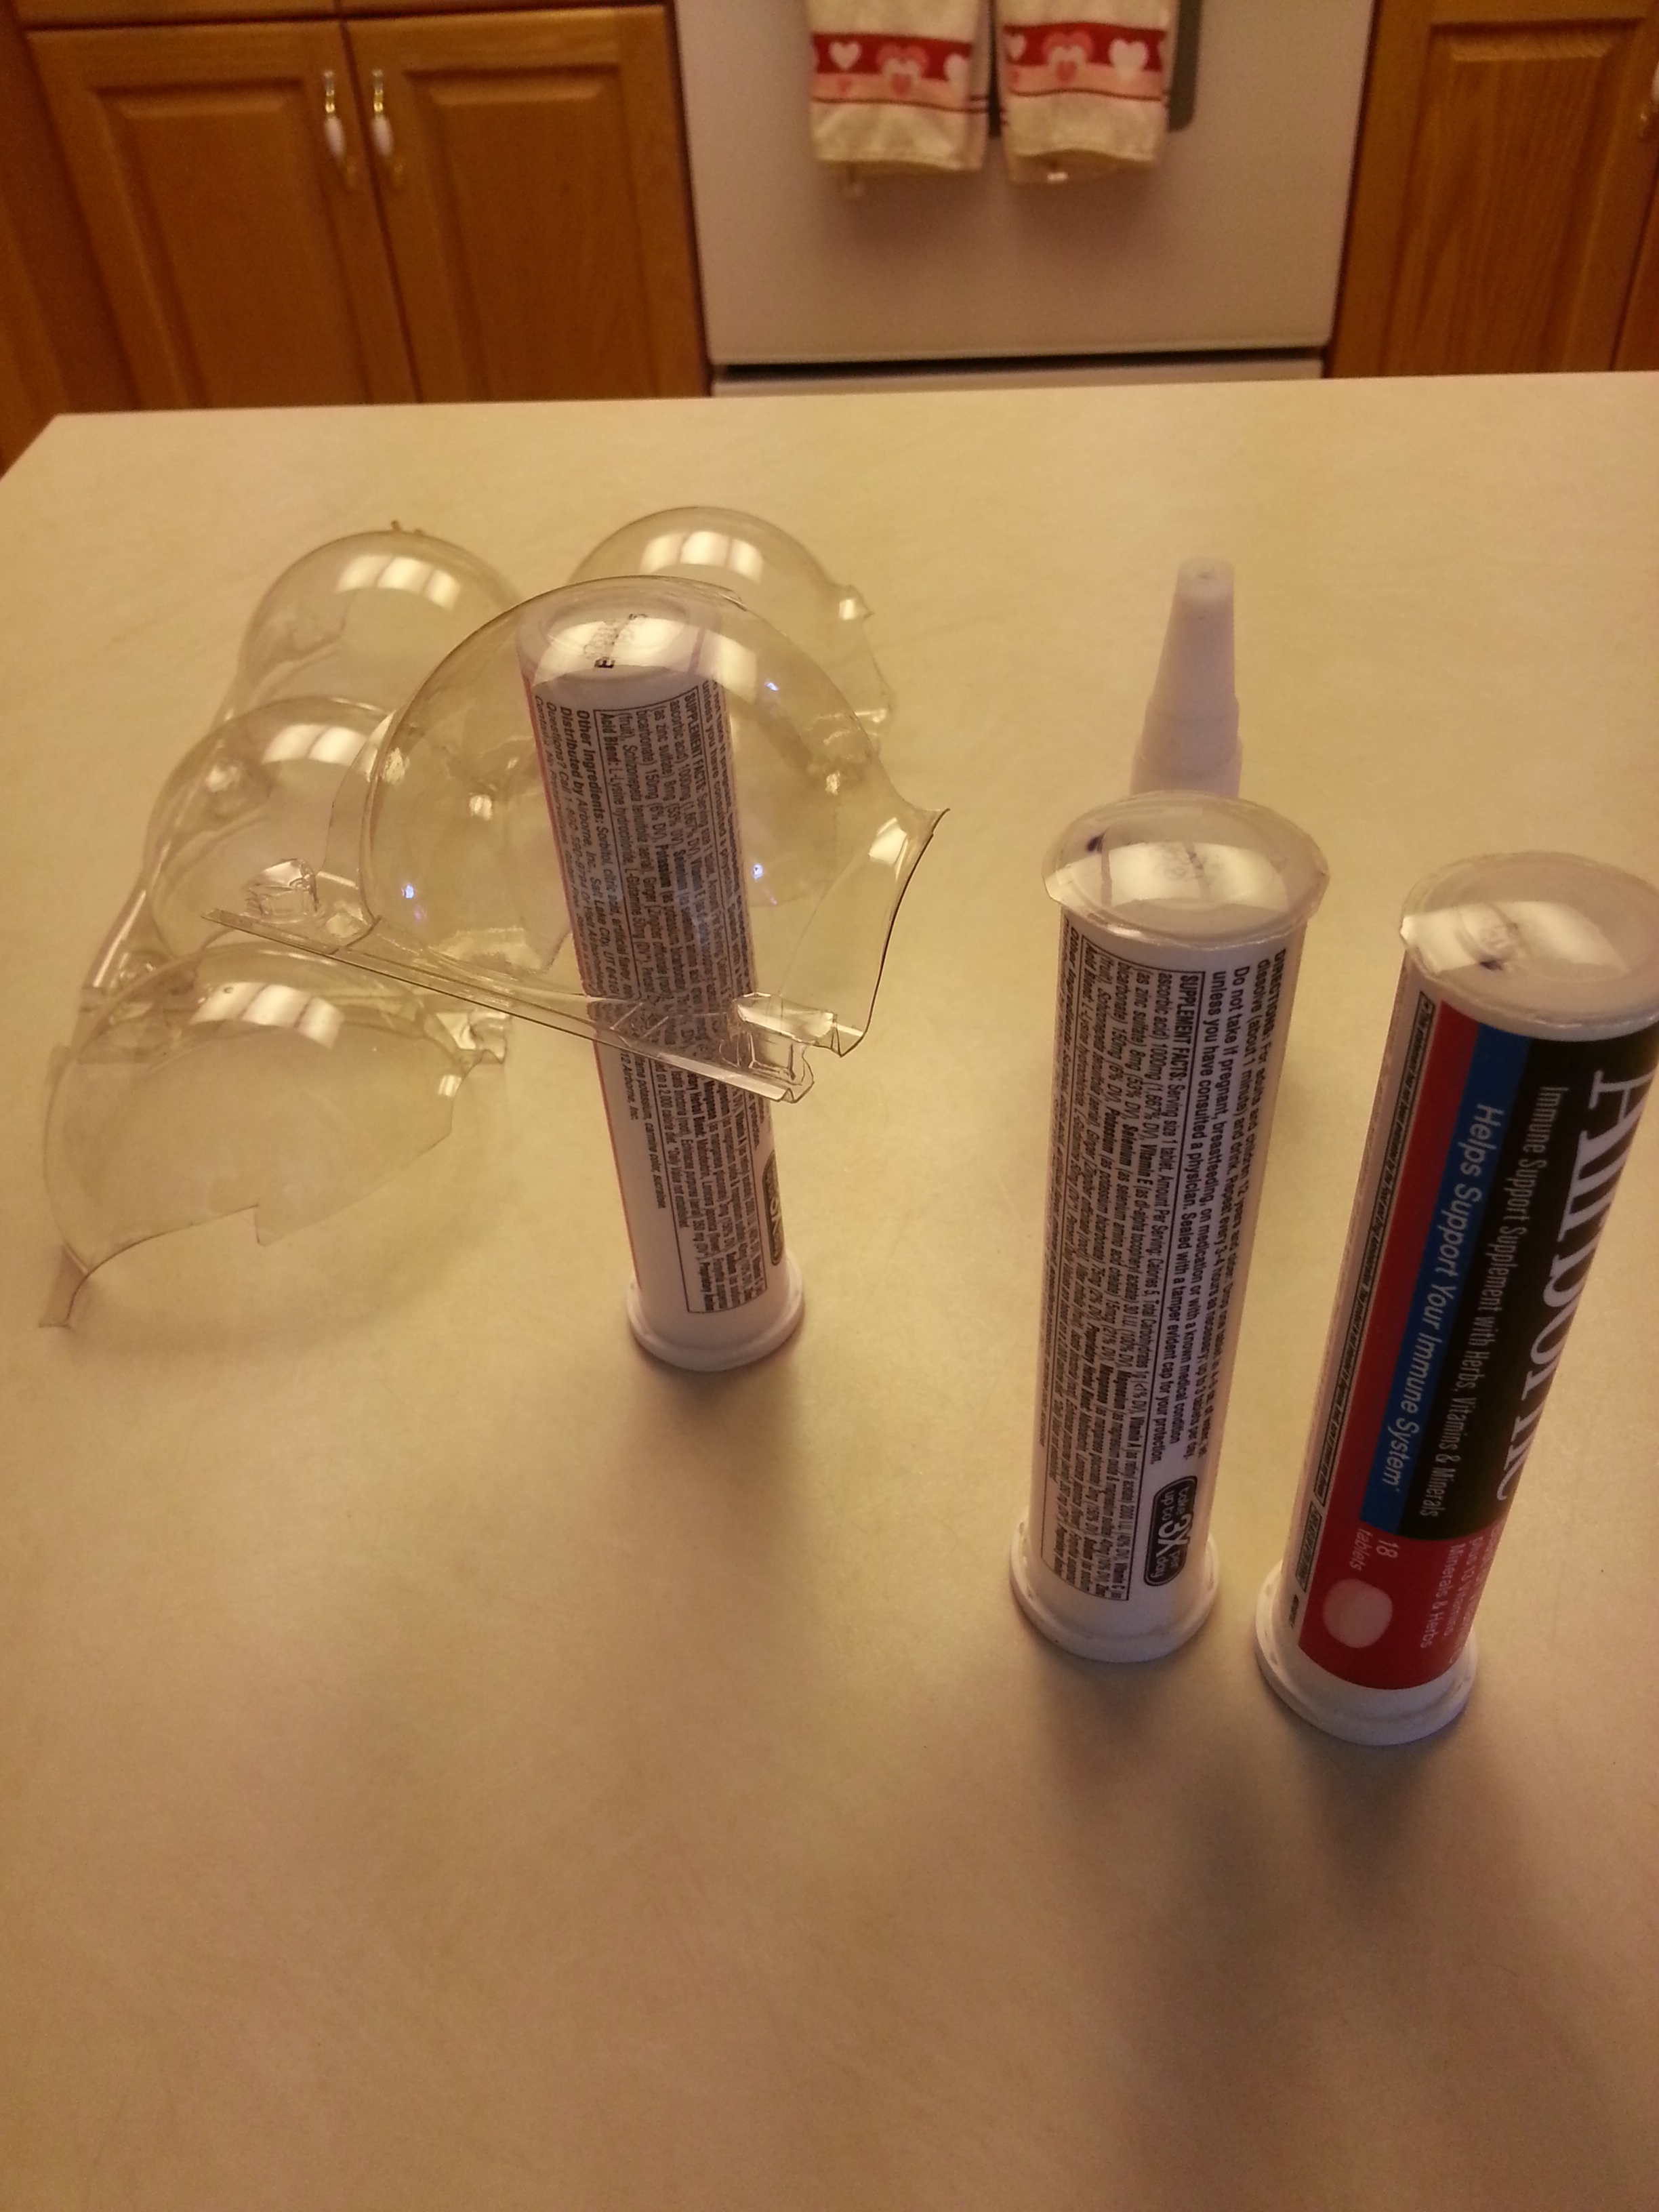
I had some bottle of large tablets called Airborne. I wanted to make several standing together, and they needed to have curved tops, not flat.
I found that my wife buys apples that come in a plastic container, curved for each apple. The curve looked about right to form the top.
Pic #1 shows how I cut out one of the curved sections, and glued it to the top of the tube.
Using a pair of scissors, I cut the apple container pretty close to the tube, as you can see from the two tubes.
Then I used a piece of sandpaper to get it down to the edge of the tube.
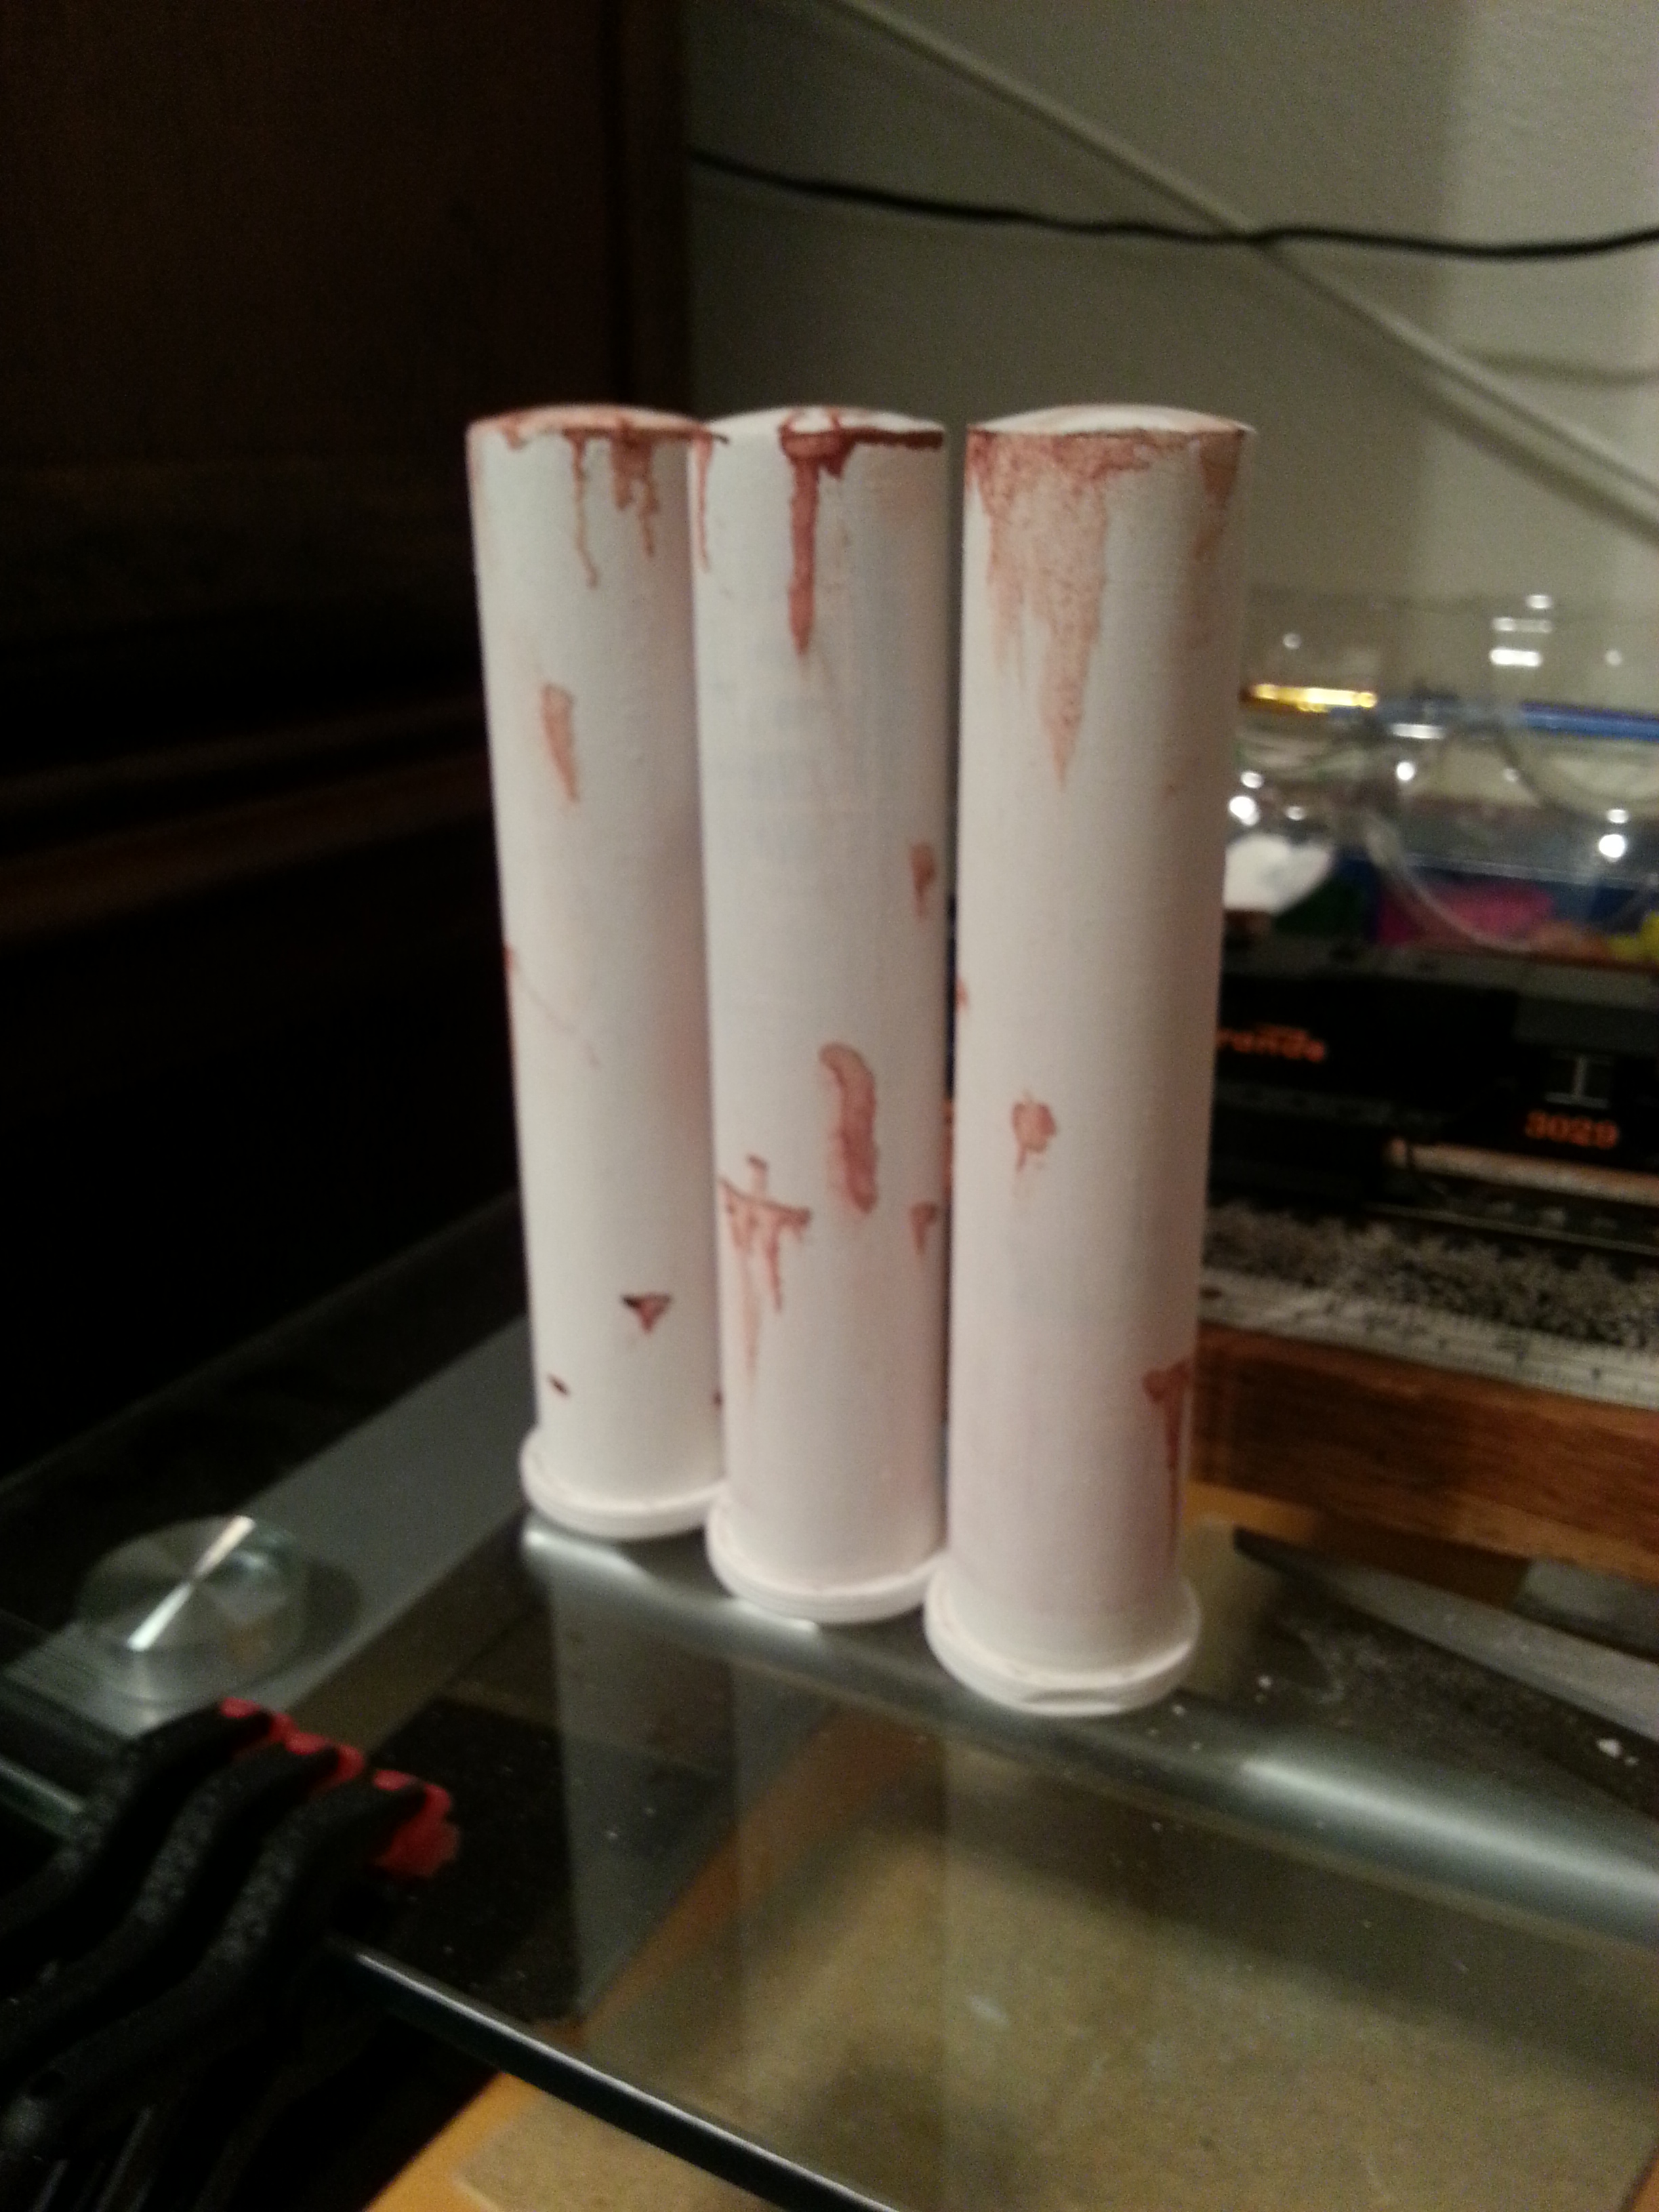
Pic #2 shows the curve of the apple container on the top of the tube, which looks about right for a domed top.
I painted them white then tried to weather them with rust colored paint. I let the paint dry for a few seconds then streaked it downward with a tissue, drawing the paint downward as if it ran down the side of the silo.
I don’t know where I’ll put them, but they look OK, for something. They might look good as a fuel container or grain silo in a field with some ground foam or “weeds” around the edges More later.
I look around while travelling to see what I can model and put on my layout, like everybody else does, I guess.
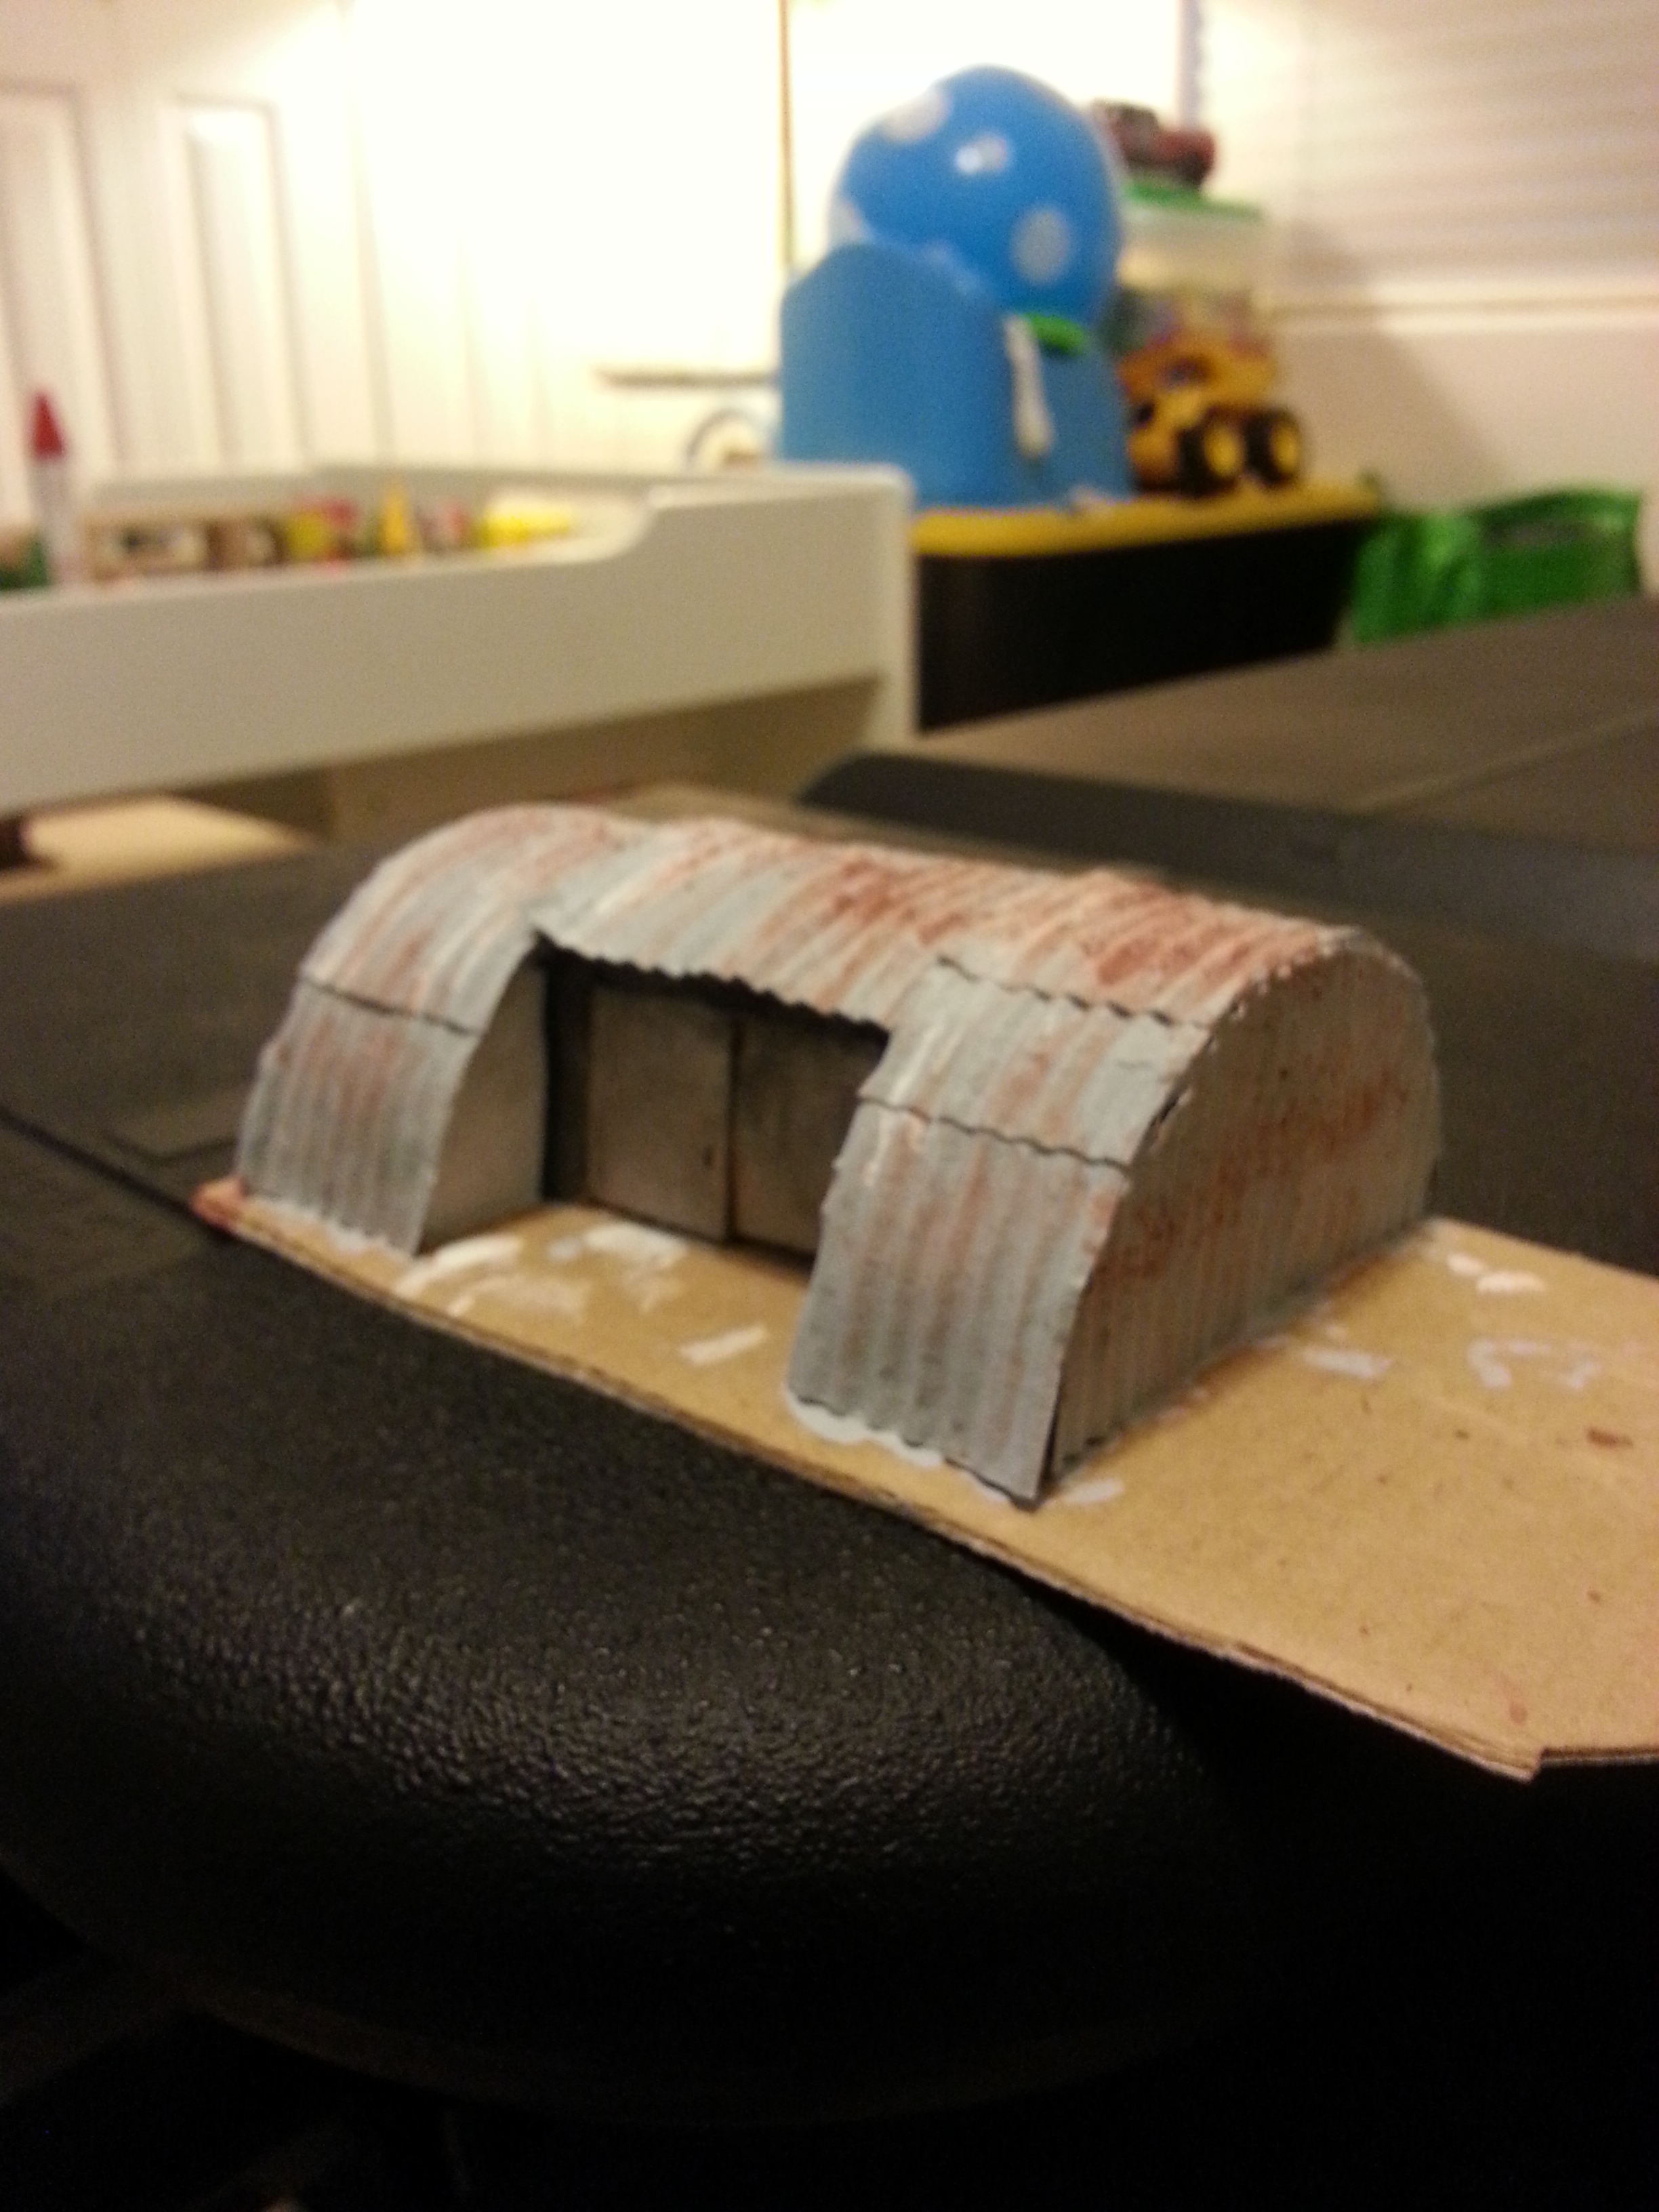
On a trip to Idaho recently, I noticed a workshop that was covered in corrugated sheet metal. It had a section on one side cut out and a door installed.
Then I noticed another one a few miles up the road that was slightly bigger, all covered in corrugated metal, but it had a door in one end of it. I decided to model the shop for my layout.
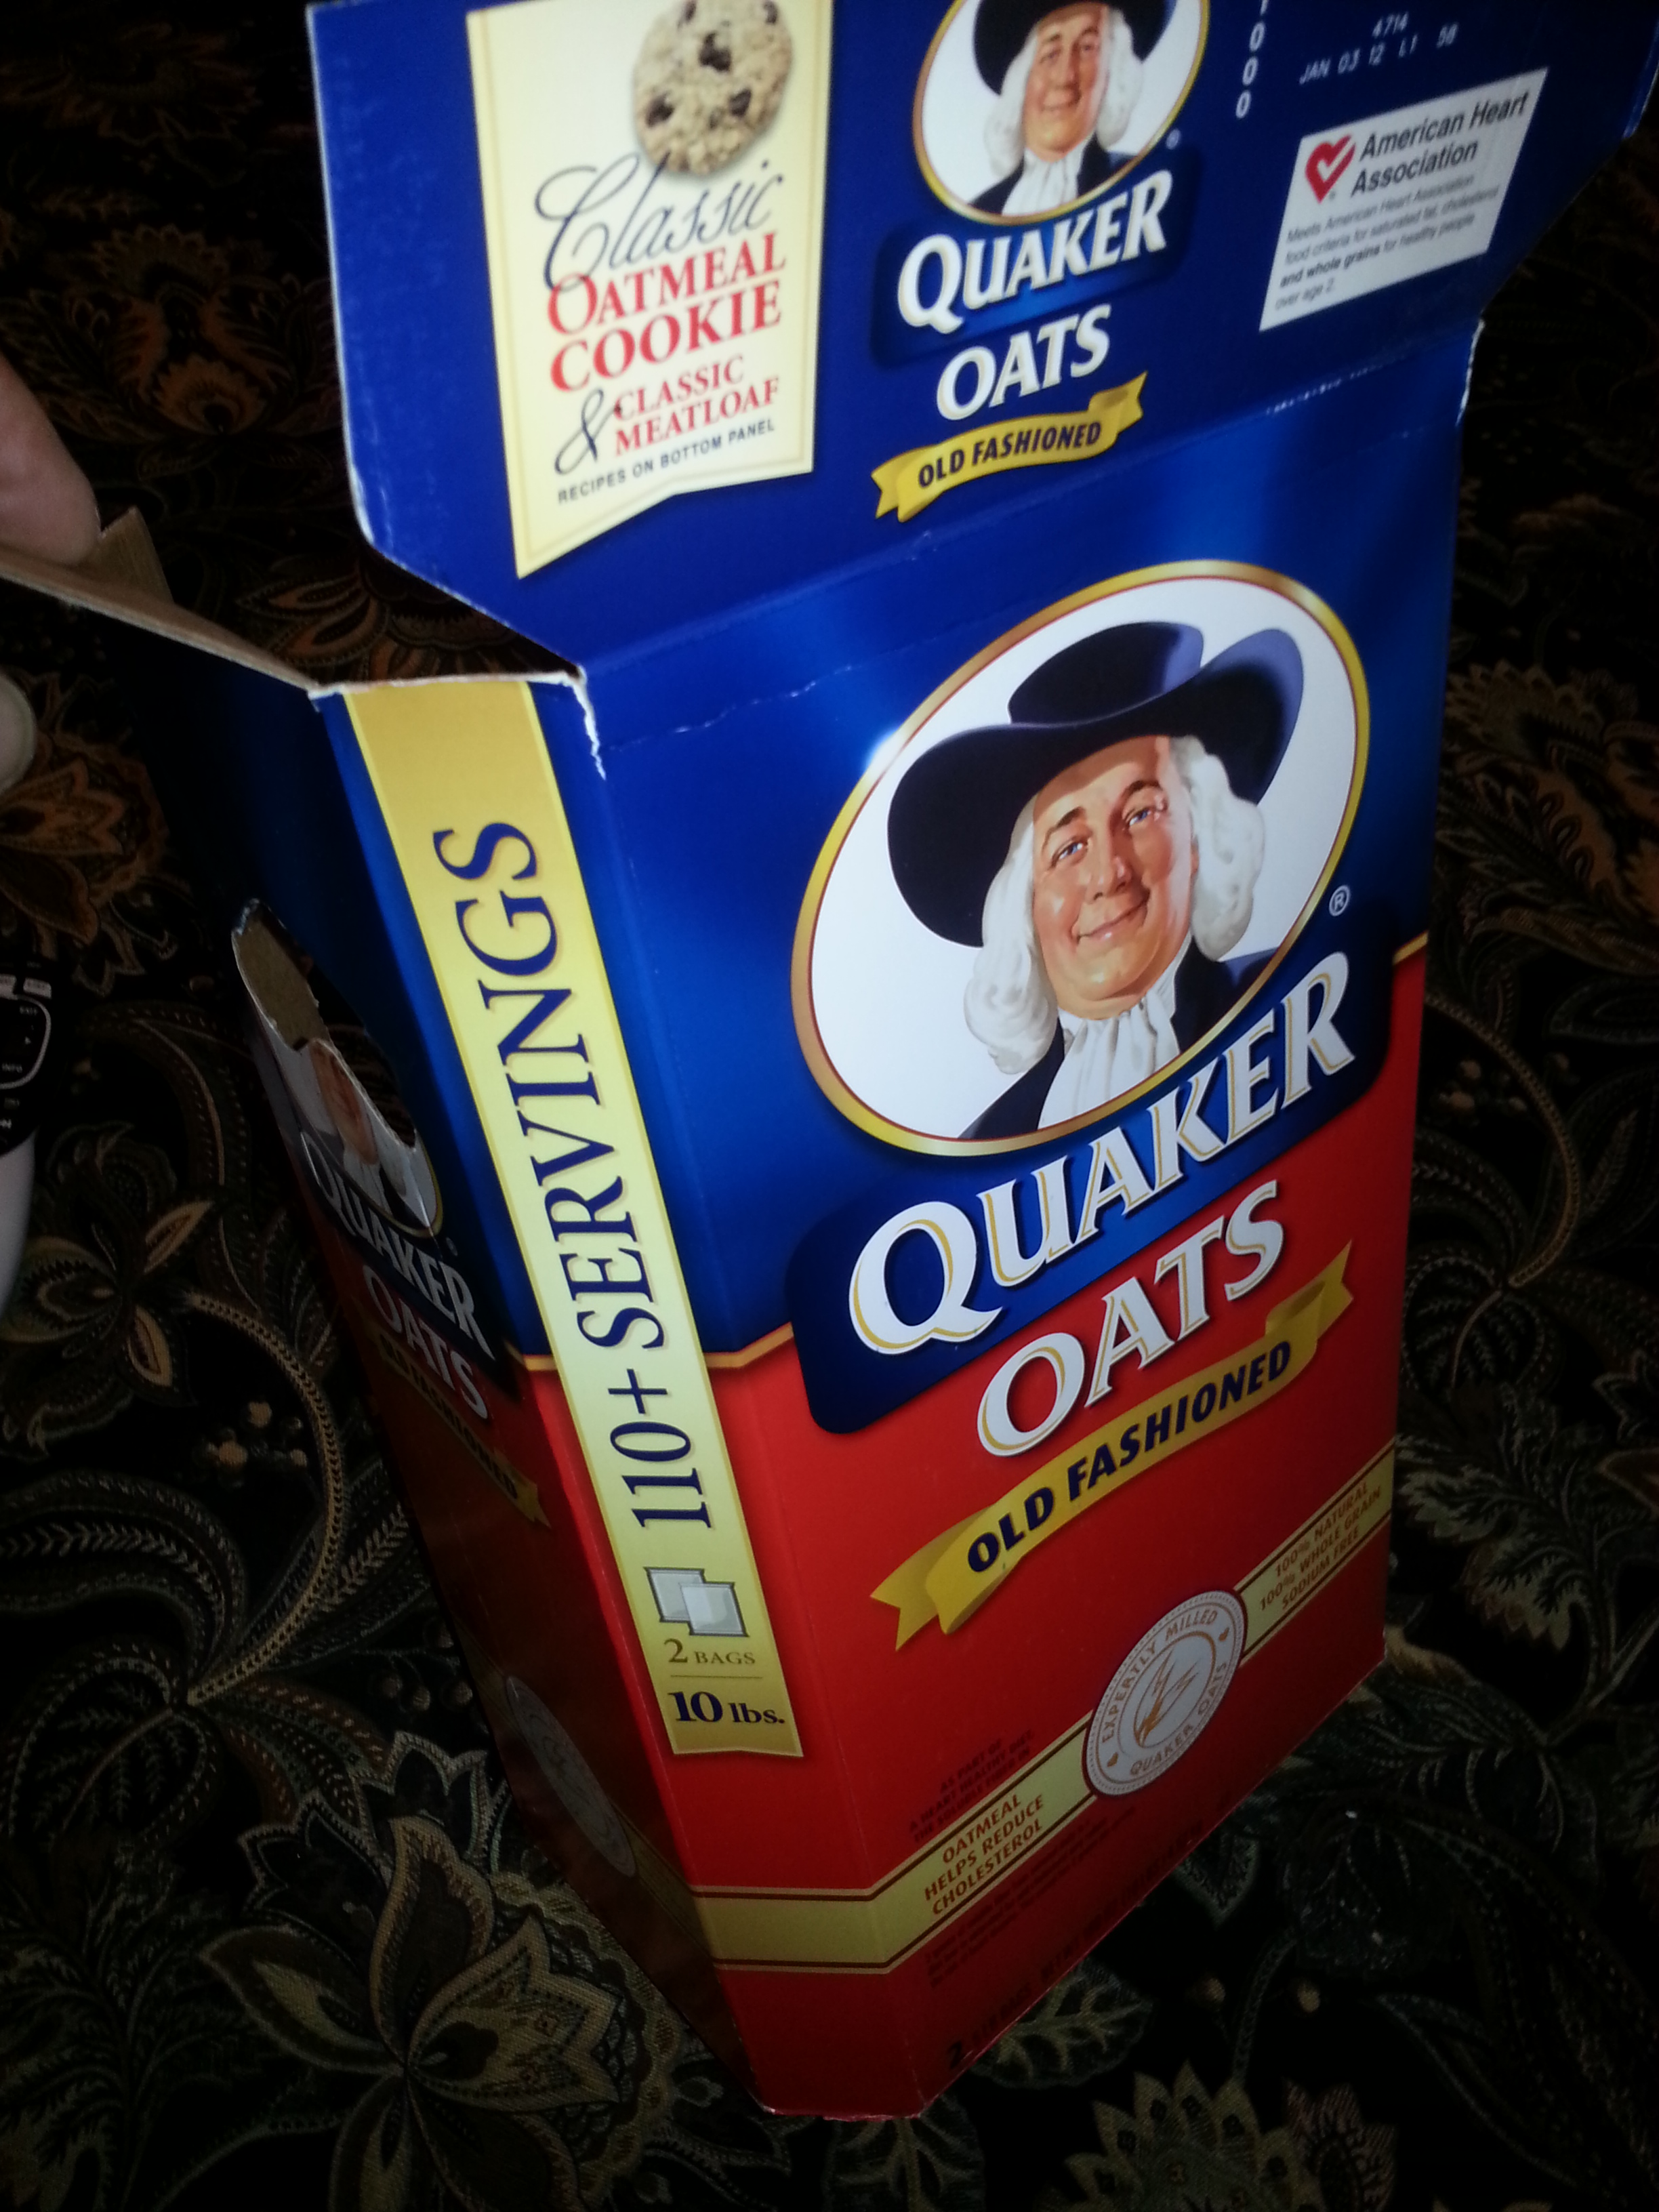
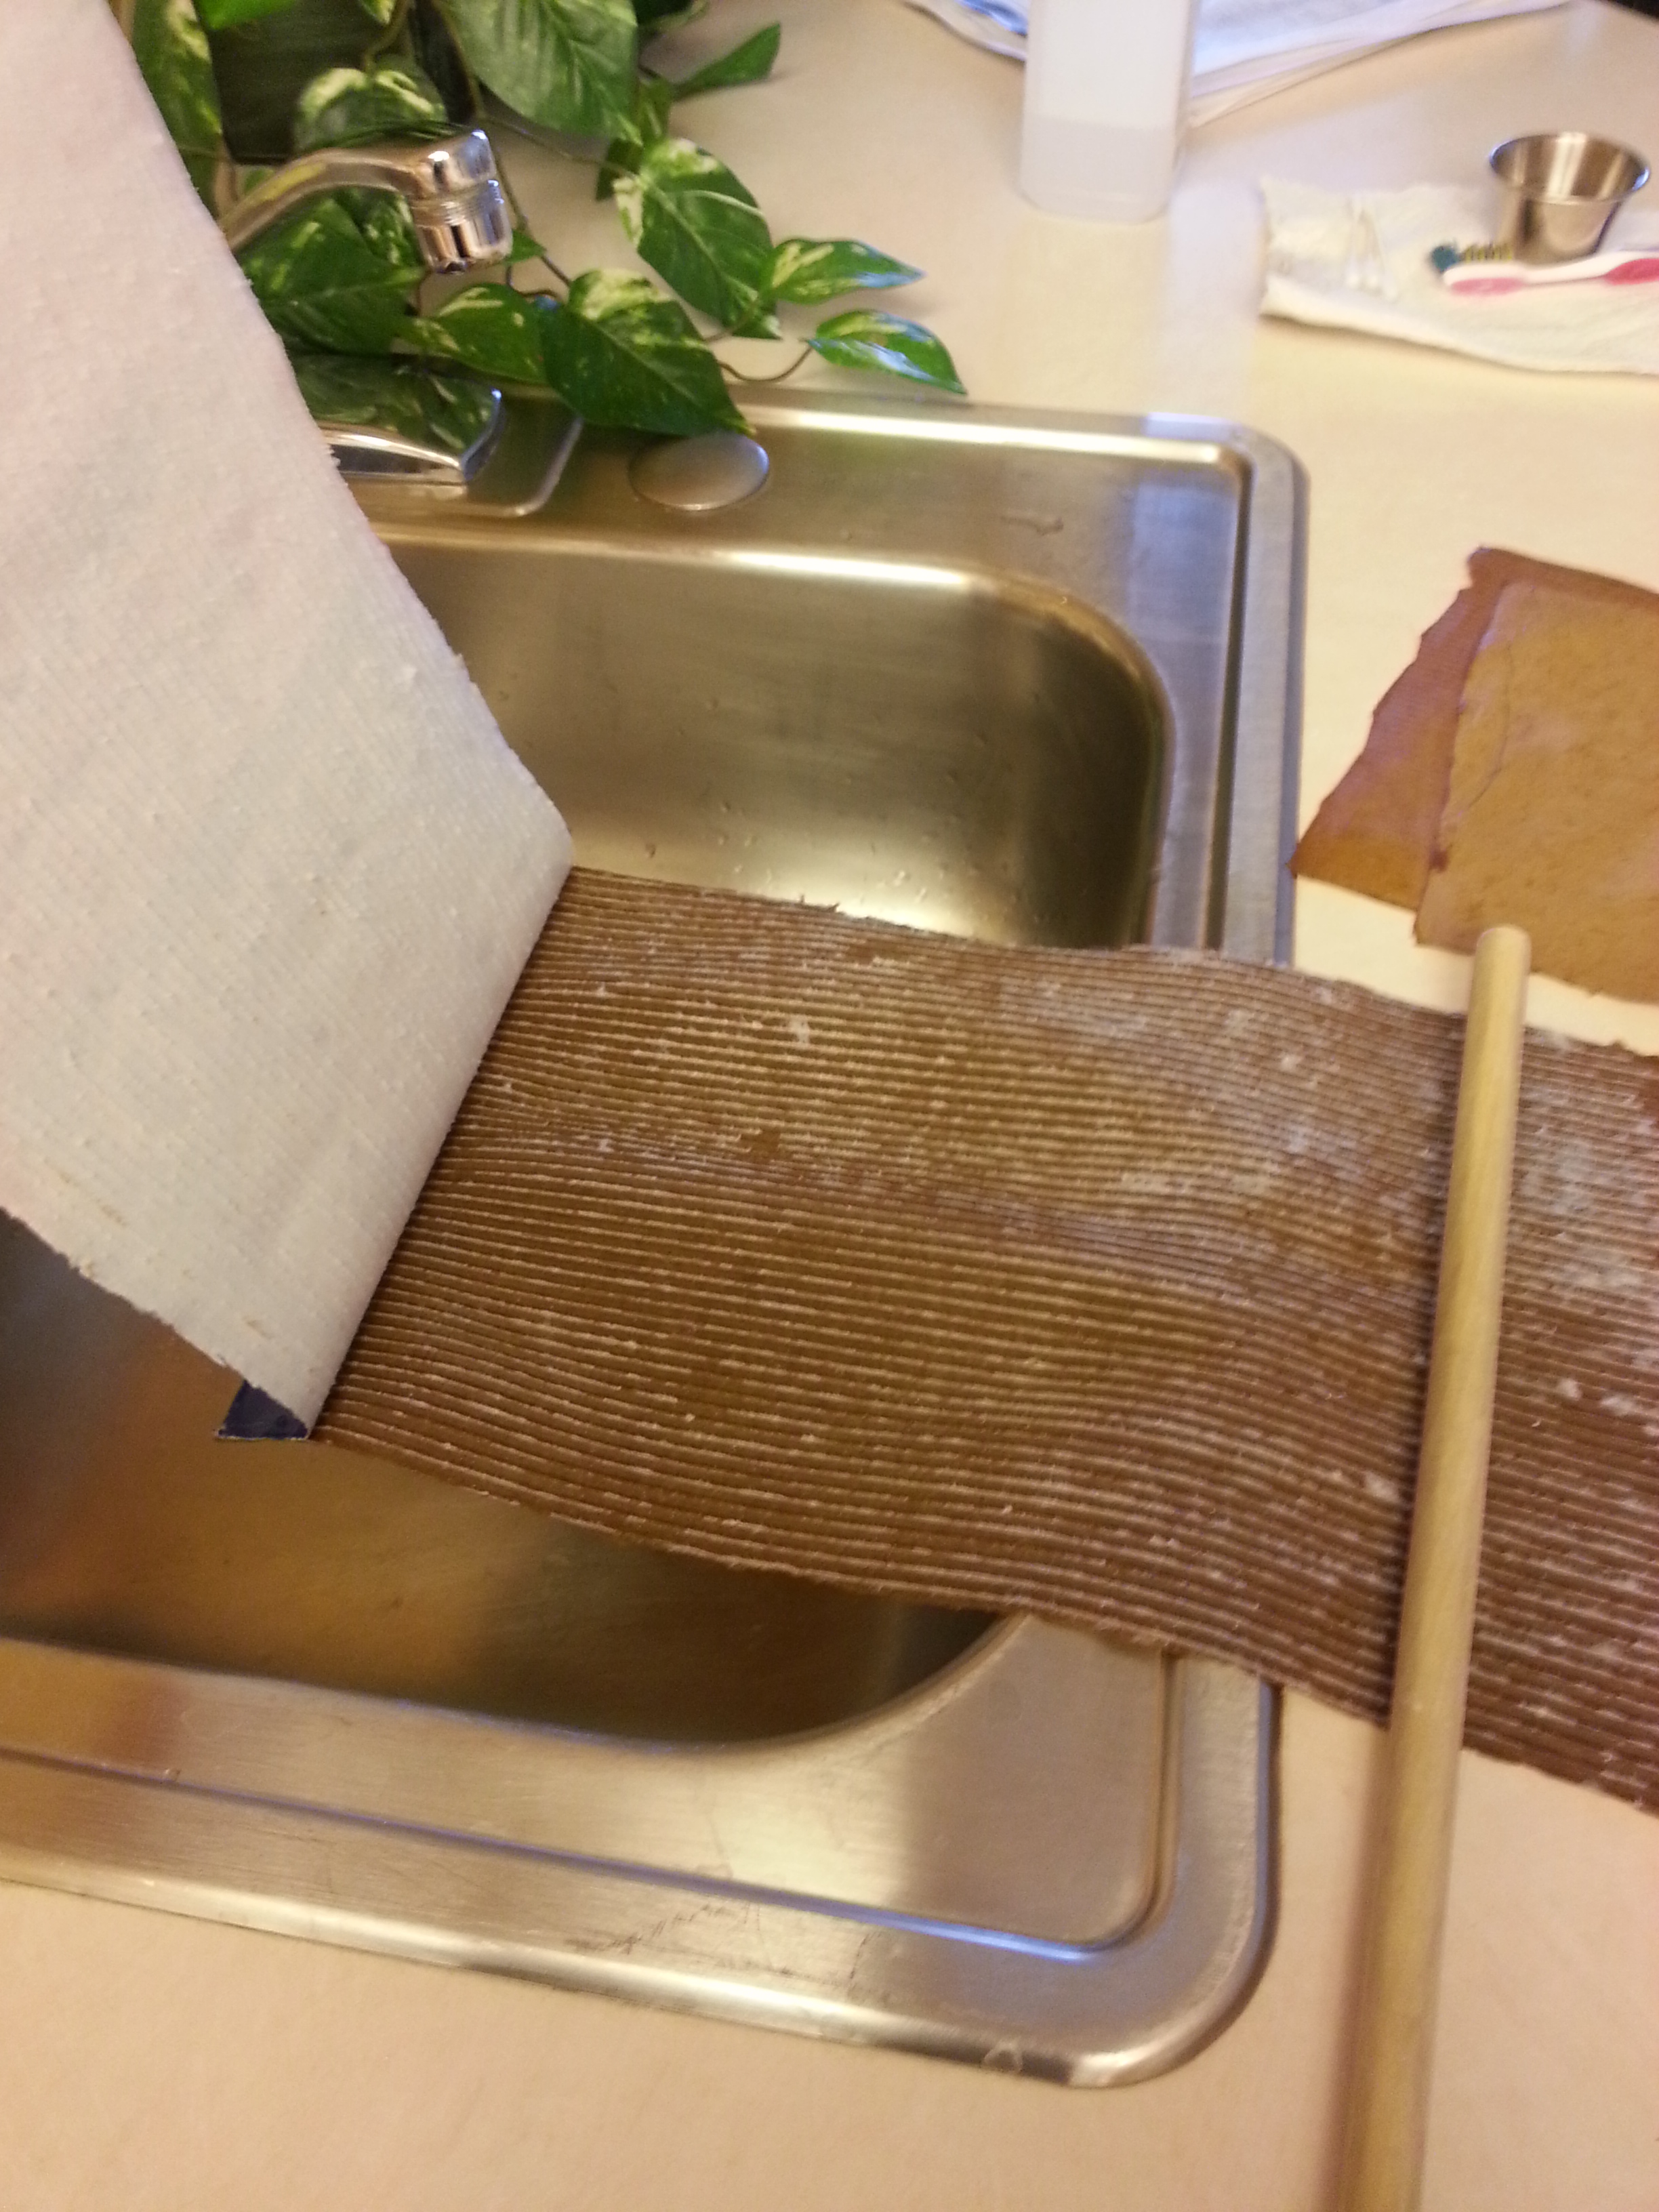
I needed the corrugated metal and decided that cardboard might work, but it had to be small cardboard or the curves would be huge for HO scale. An oatmeal box provided the answer.
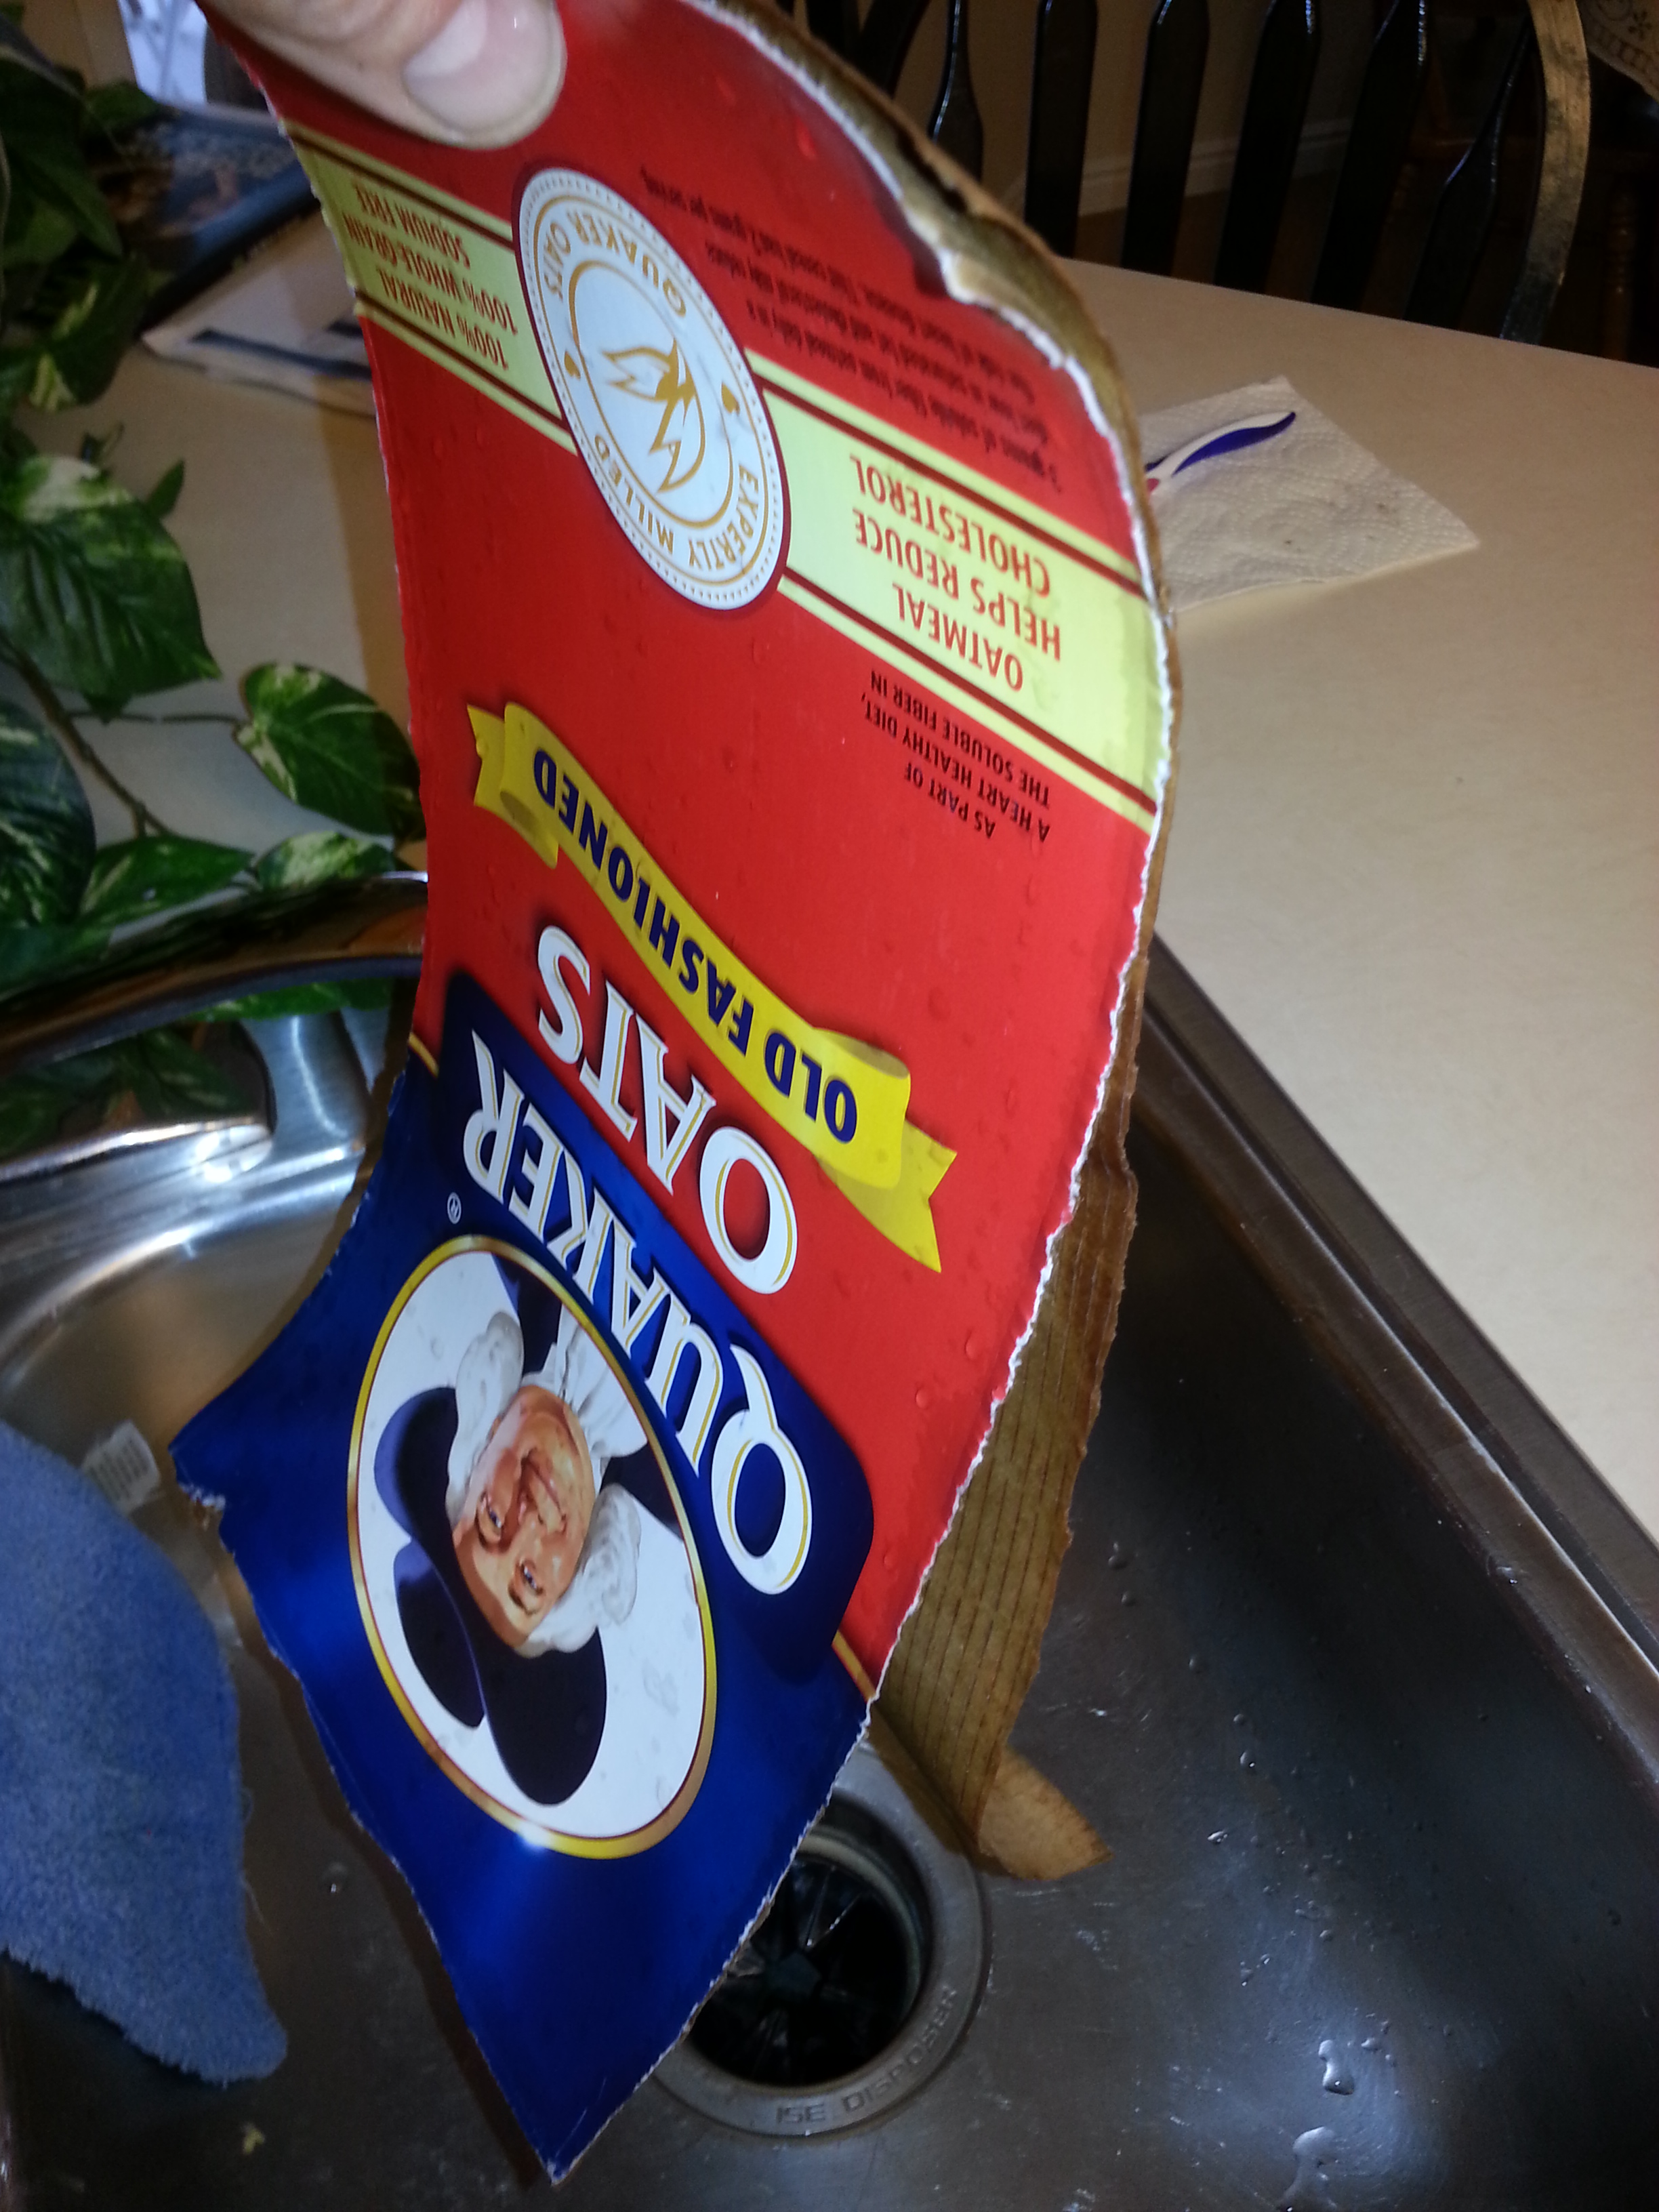
See Pic #1 I cut out one side of the box and held it under the tap in the kitchen sink and the inside layer came apart quite quickly (pics 2 and 3).
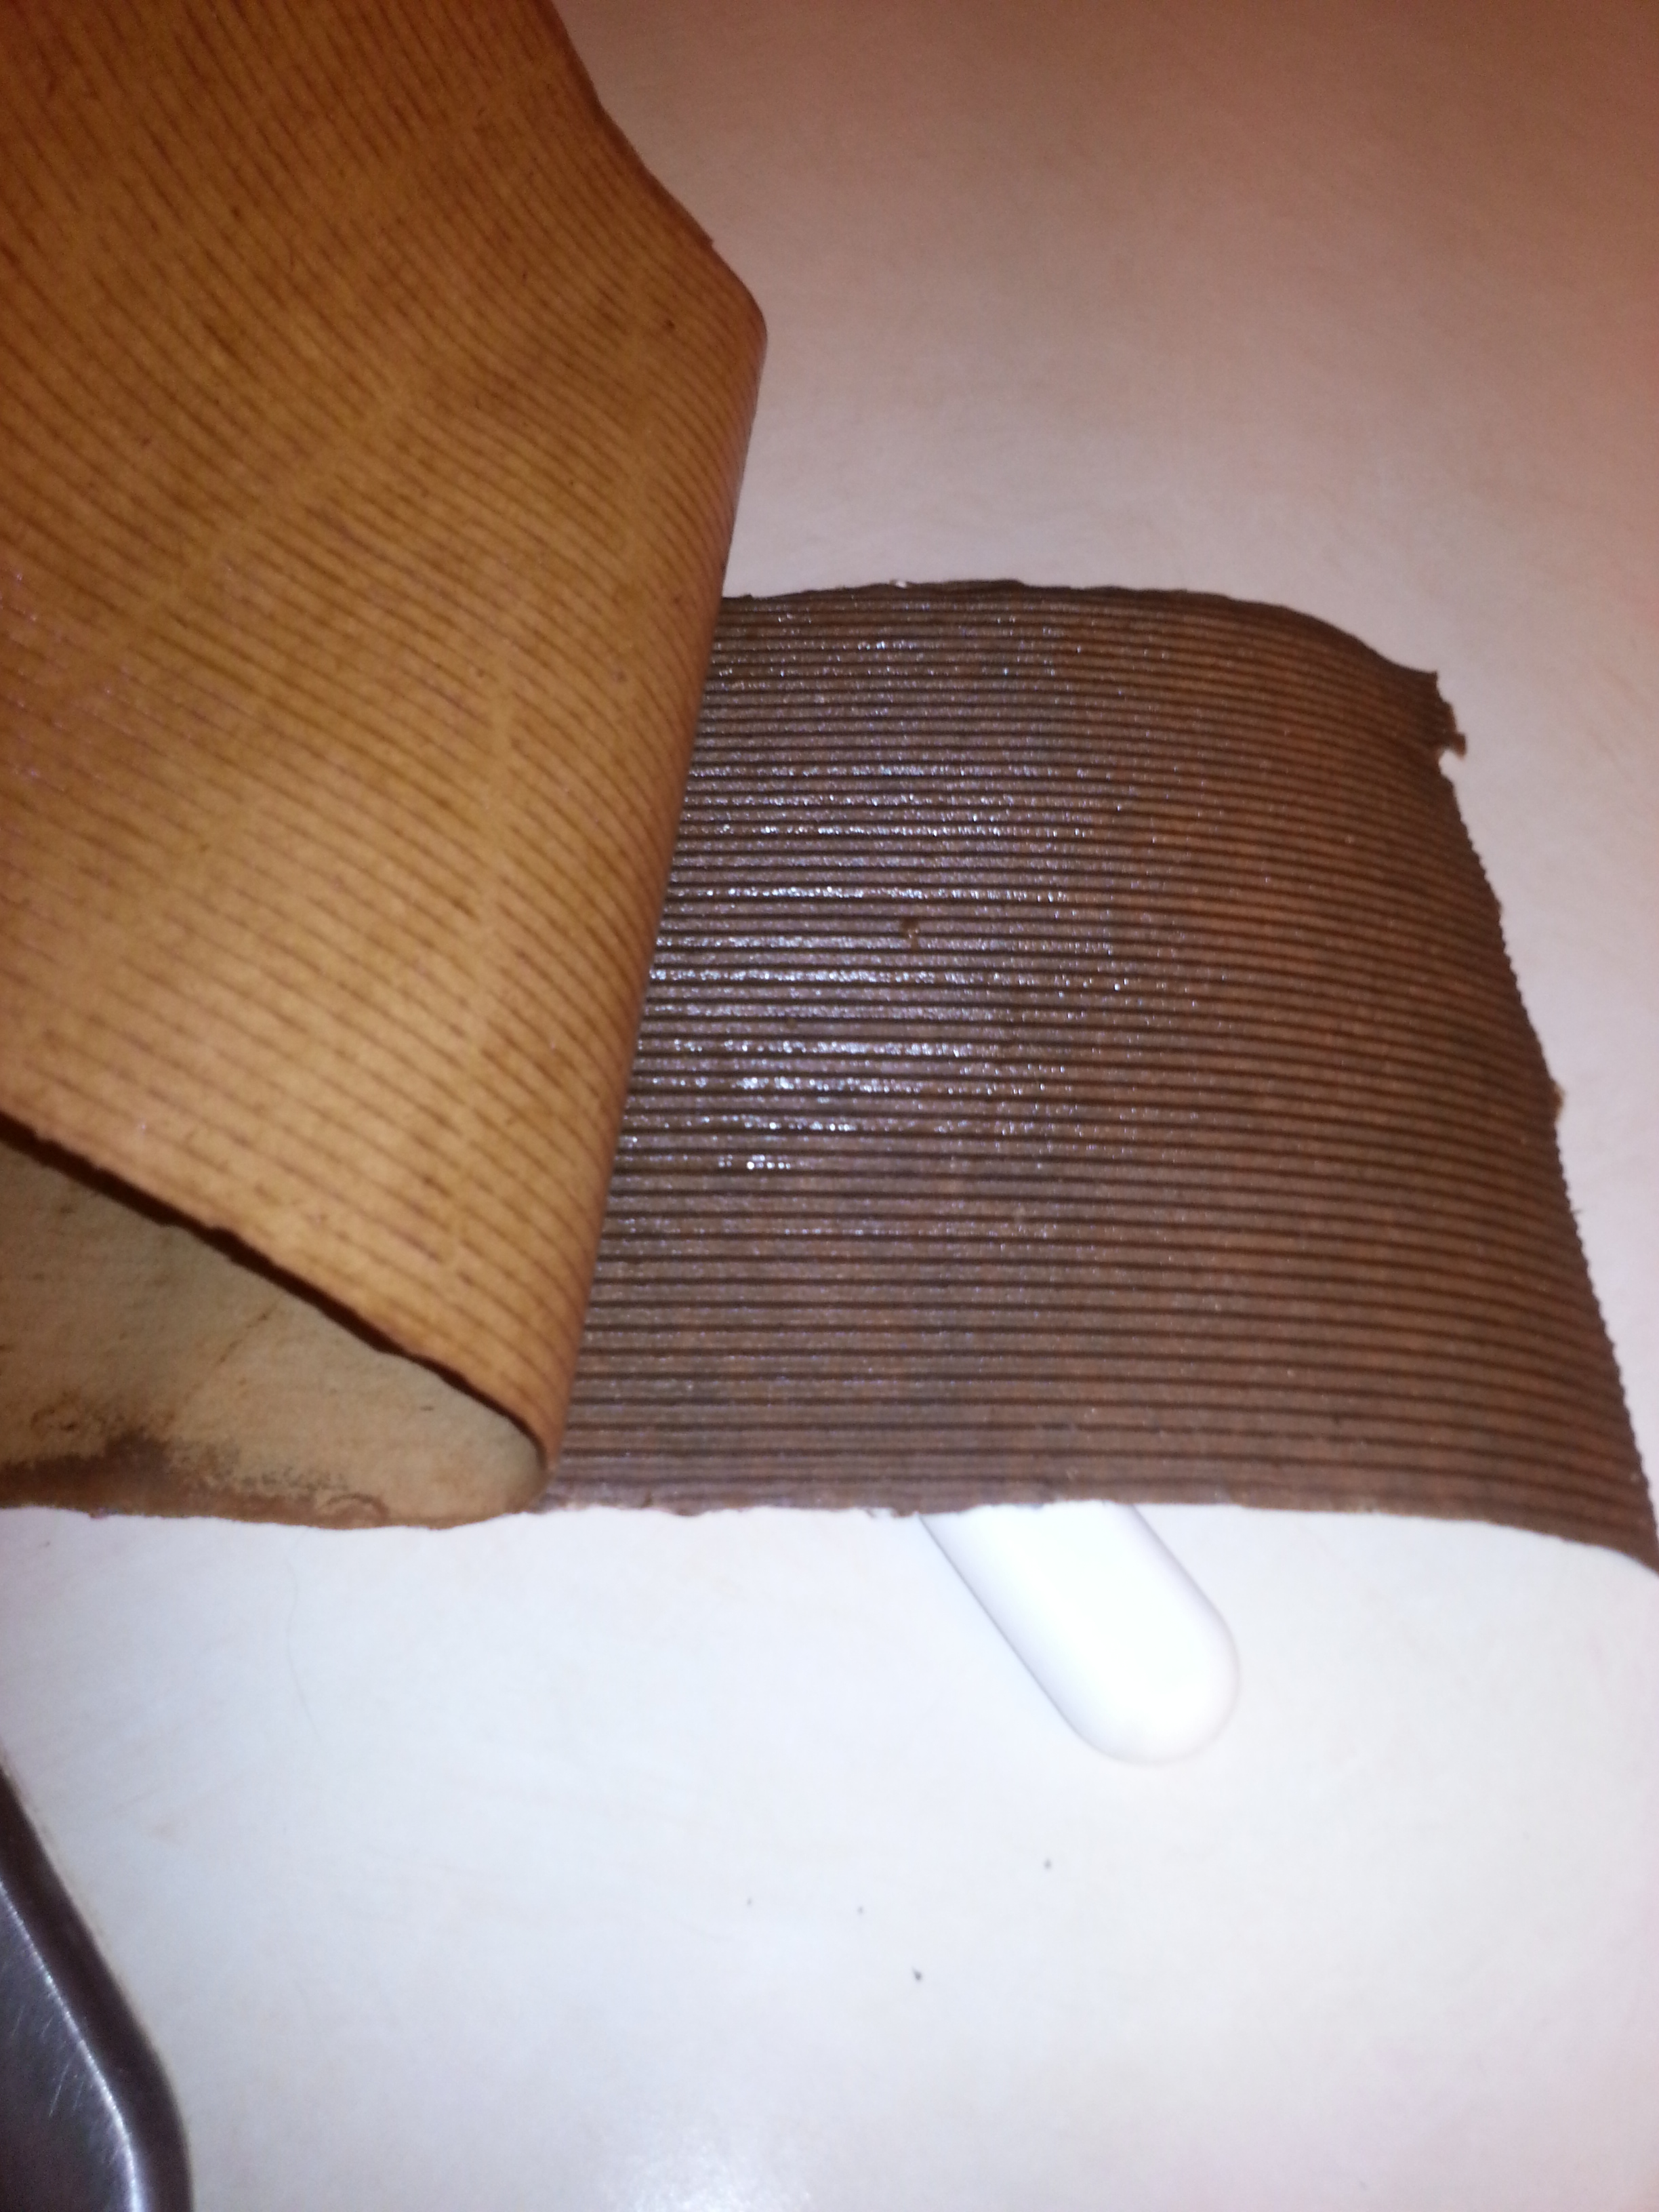
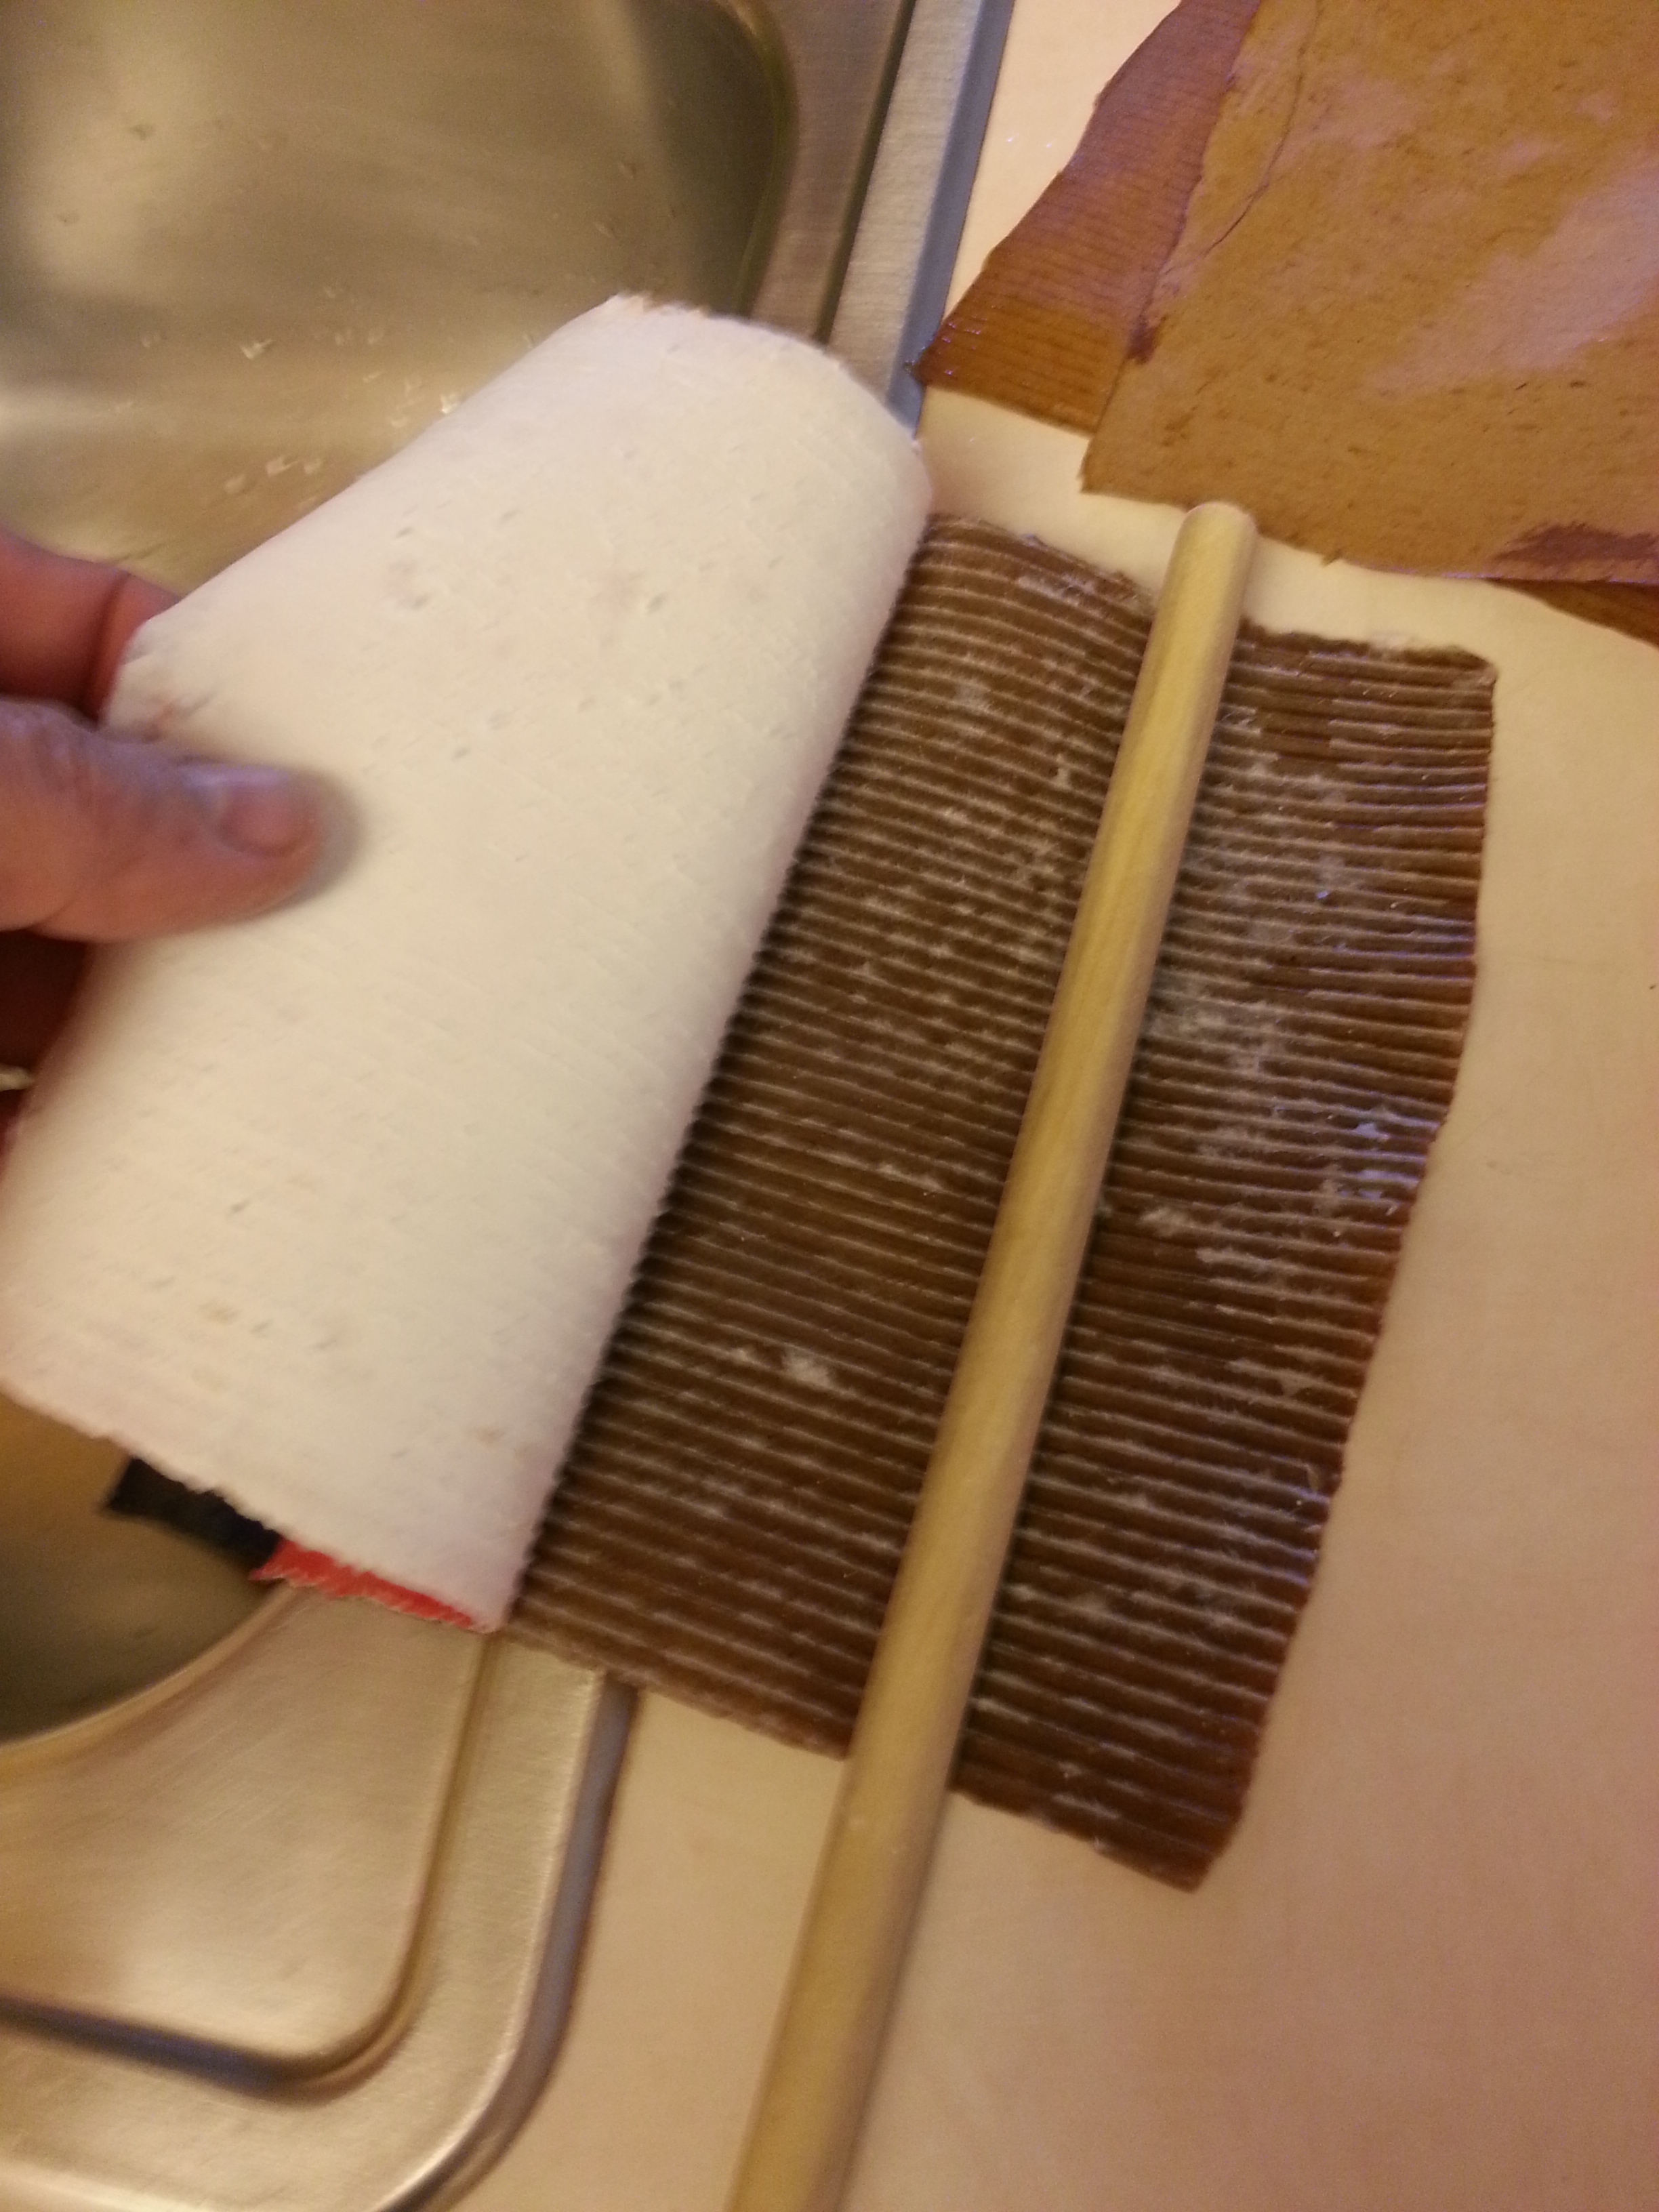
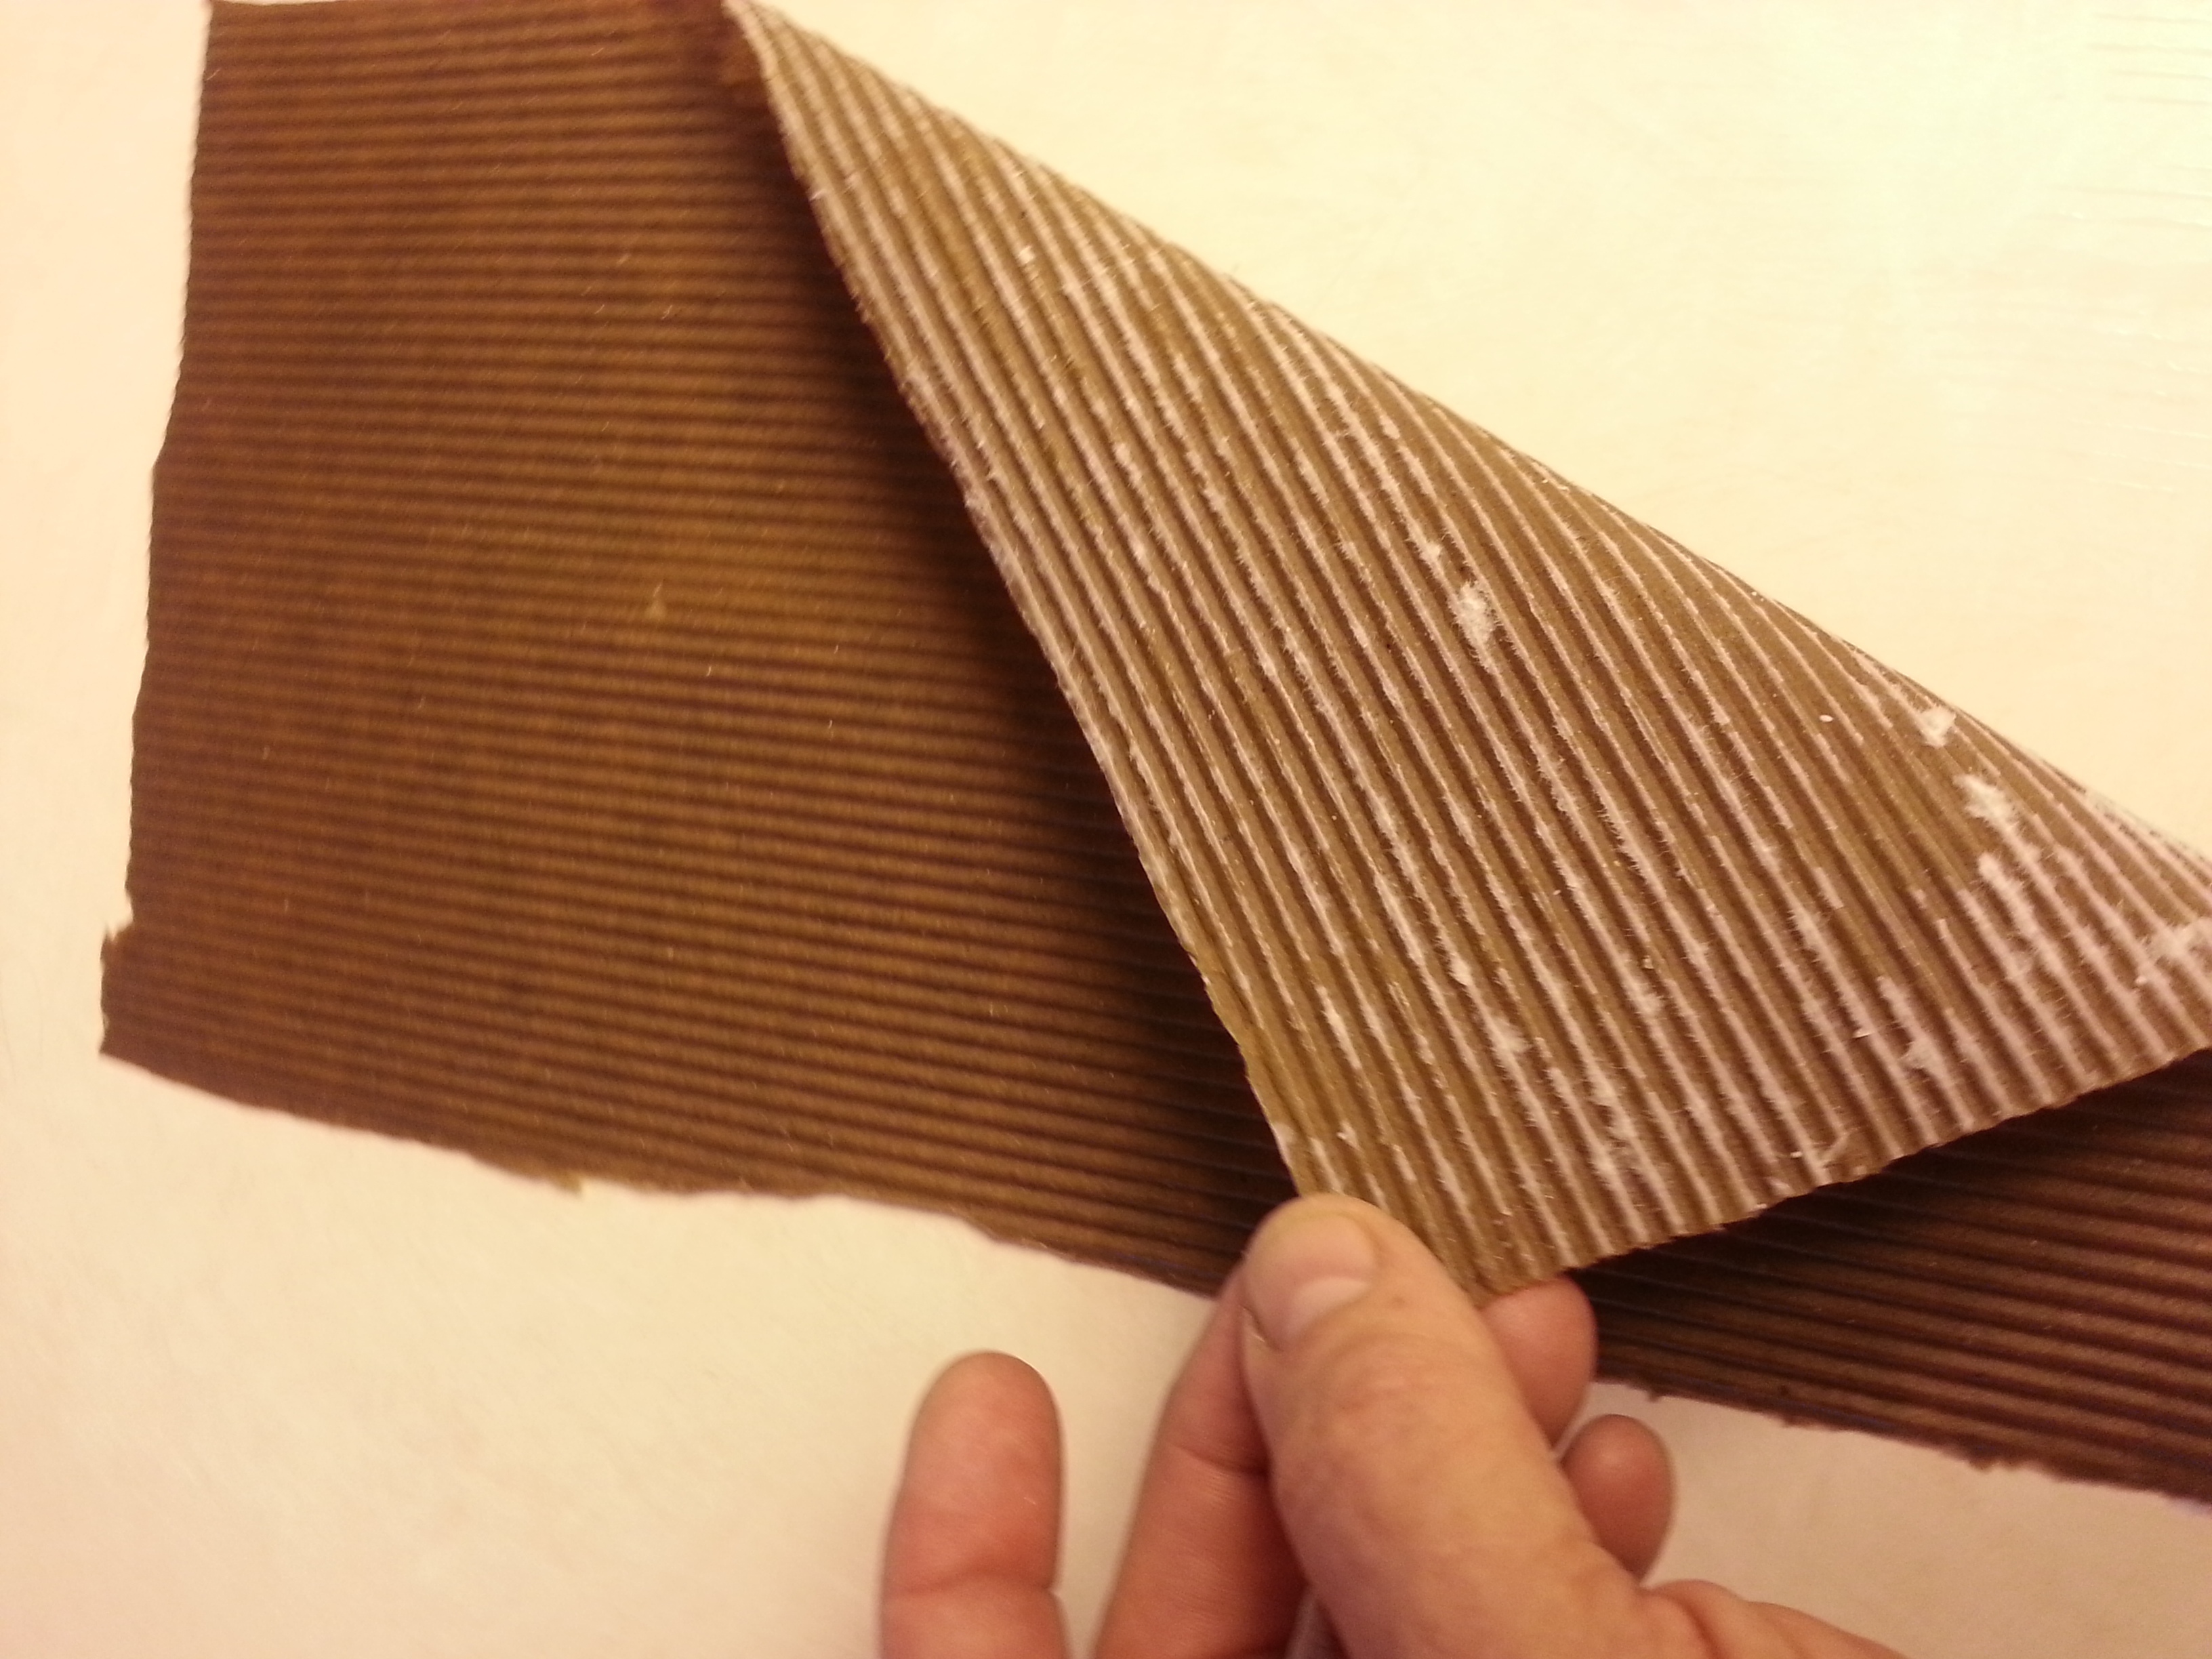
The outside with the graphics needed more persuasion, so back to the water and I soaked it. I carefully started the edges with a knife blade slid between the layers until I had about an inch free, then held it down with a wooden spoon and gently pulled back.
I had to apply water as I did this step as little pieces started tearing off the outside and adhering to the corrugations (pics 4 and 5). You end up with pic 6. Let this dry and then cut out sections of the metal sheets that will go on your structure (Pic 7).
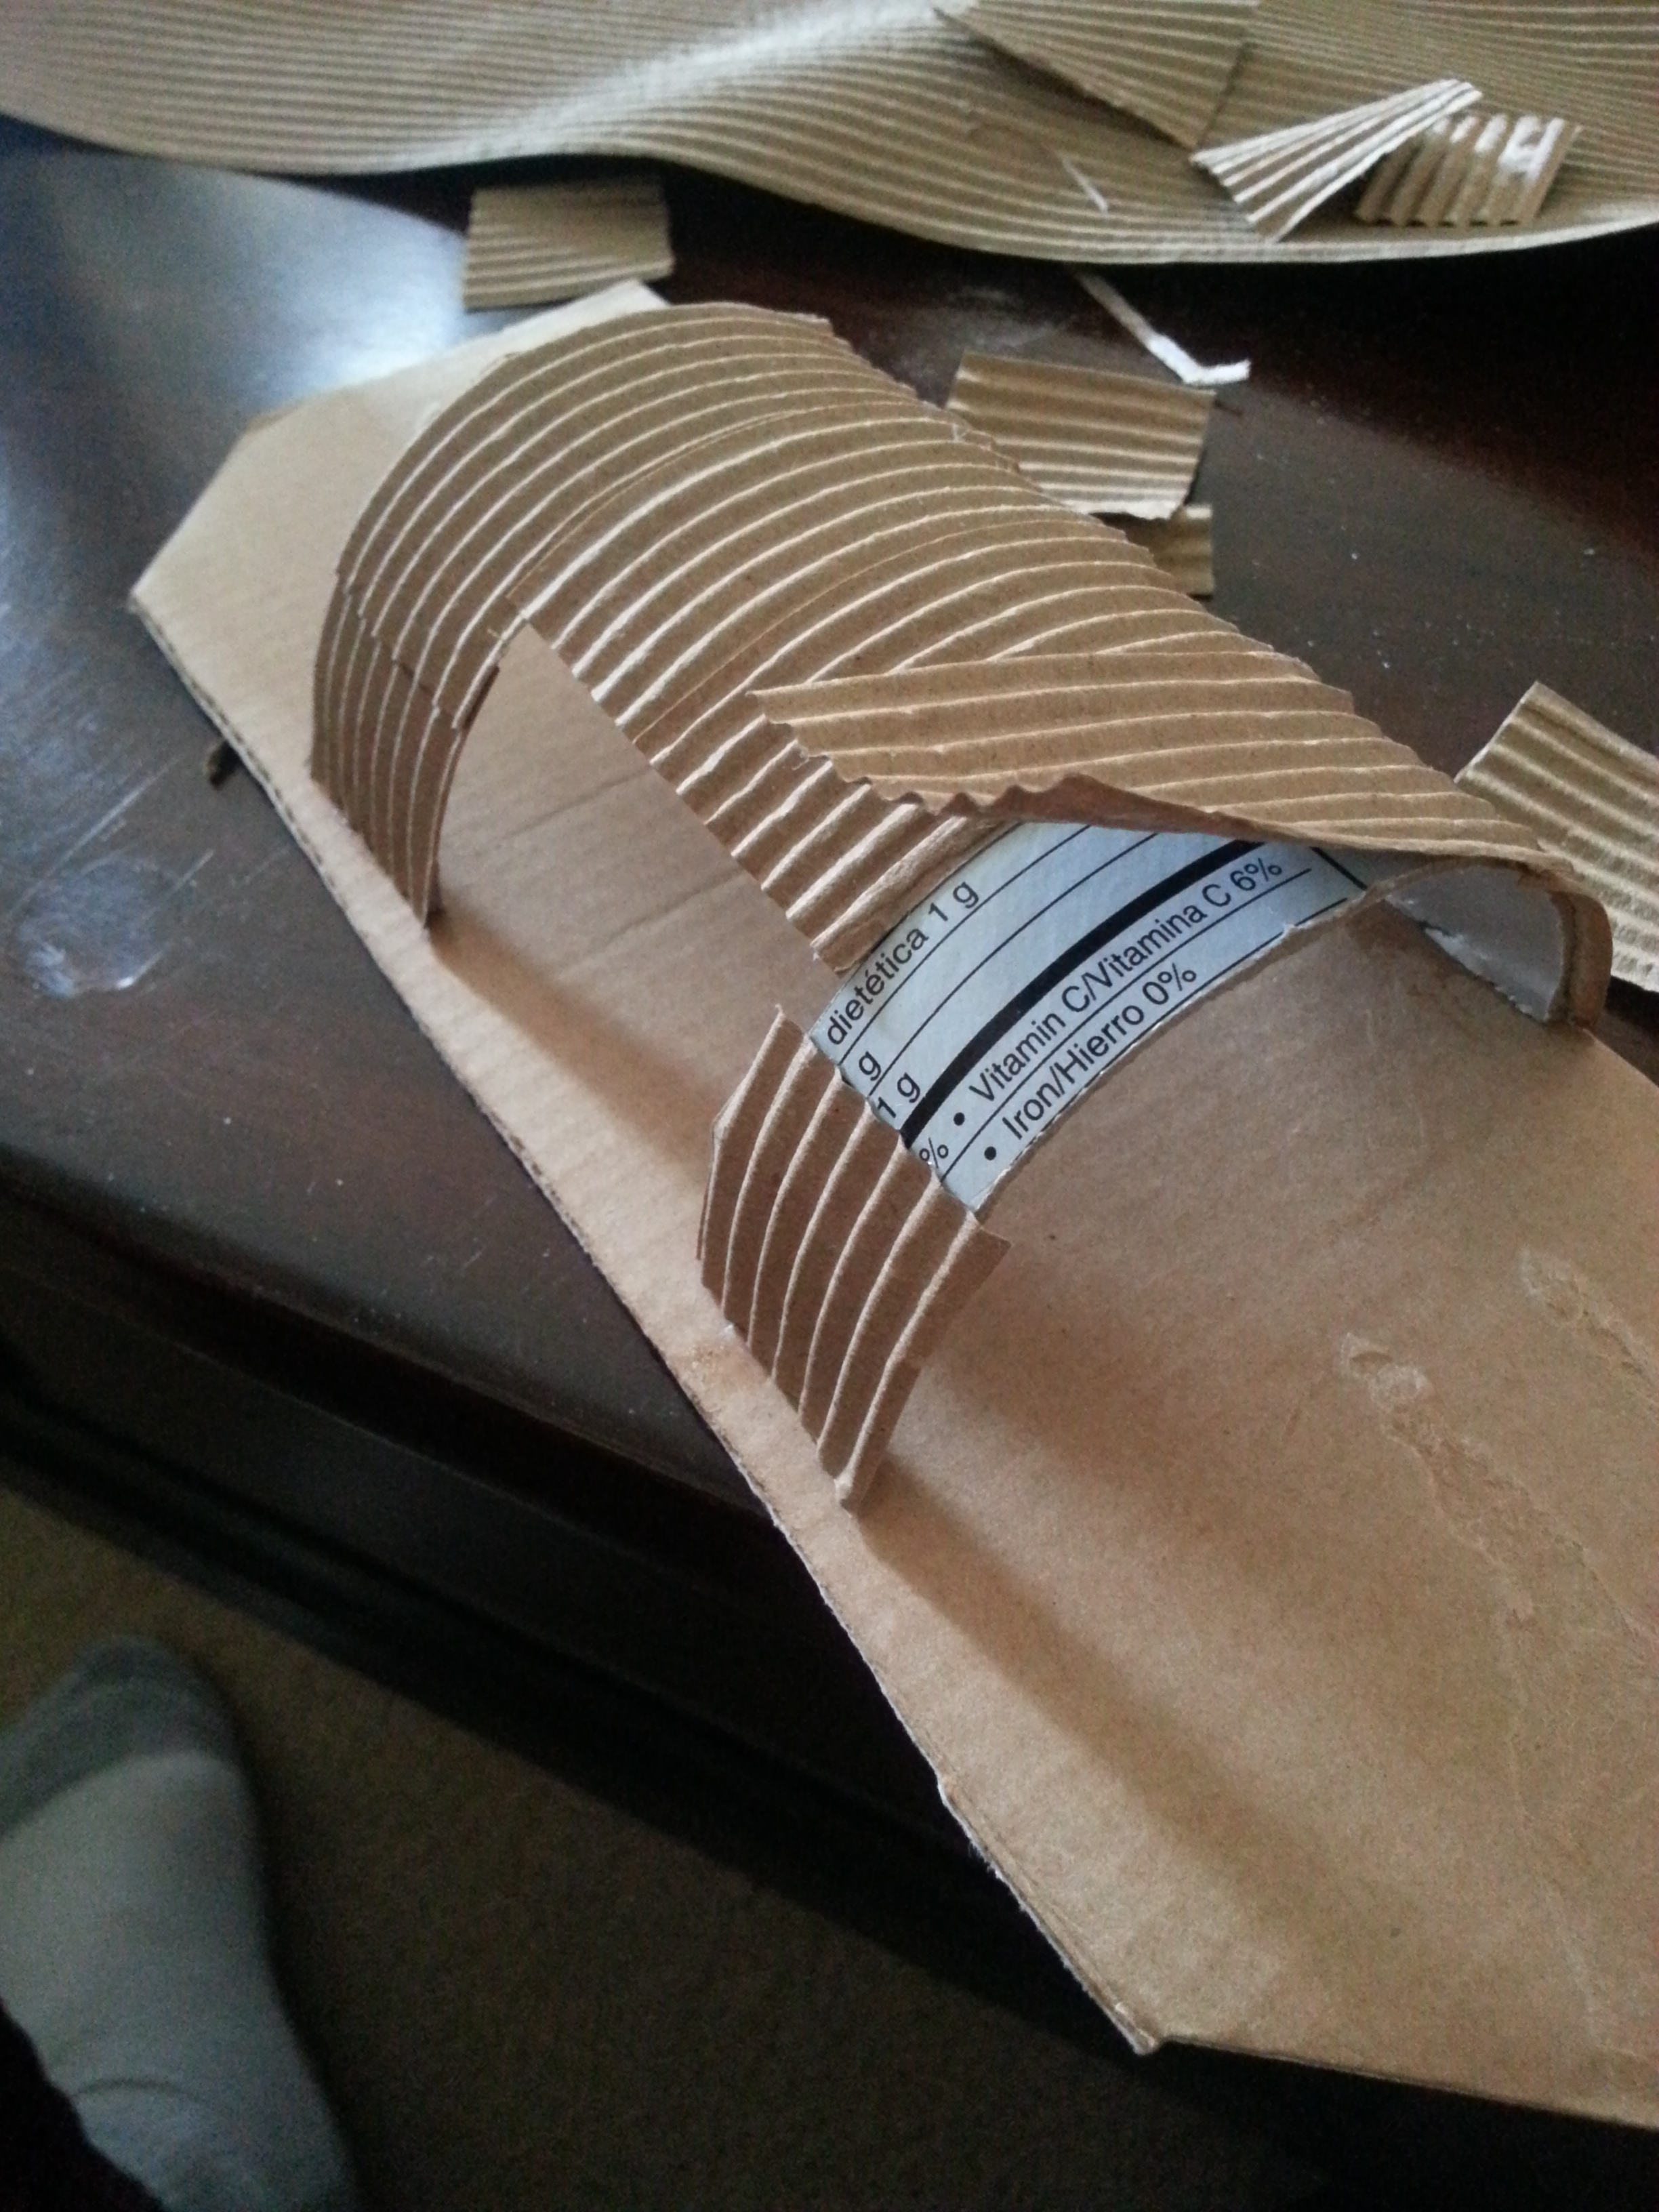
I needed the curve of the shop. A Pringles potato can provided the answer. I cut out a section of this, then cut out the doorway, then glued this to a sheet of cardboard cut from another section of the oatmeal box. I then started gluing the sections to the shed, overlapping by a row (pic 8).
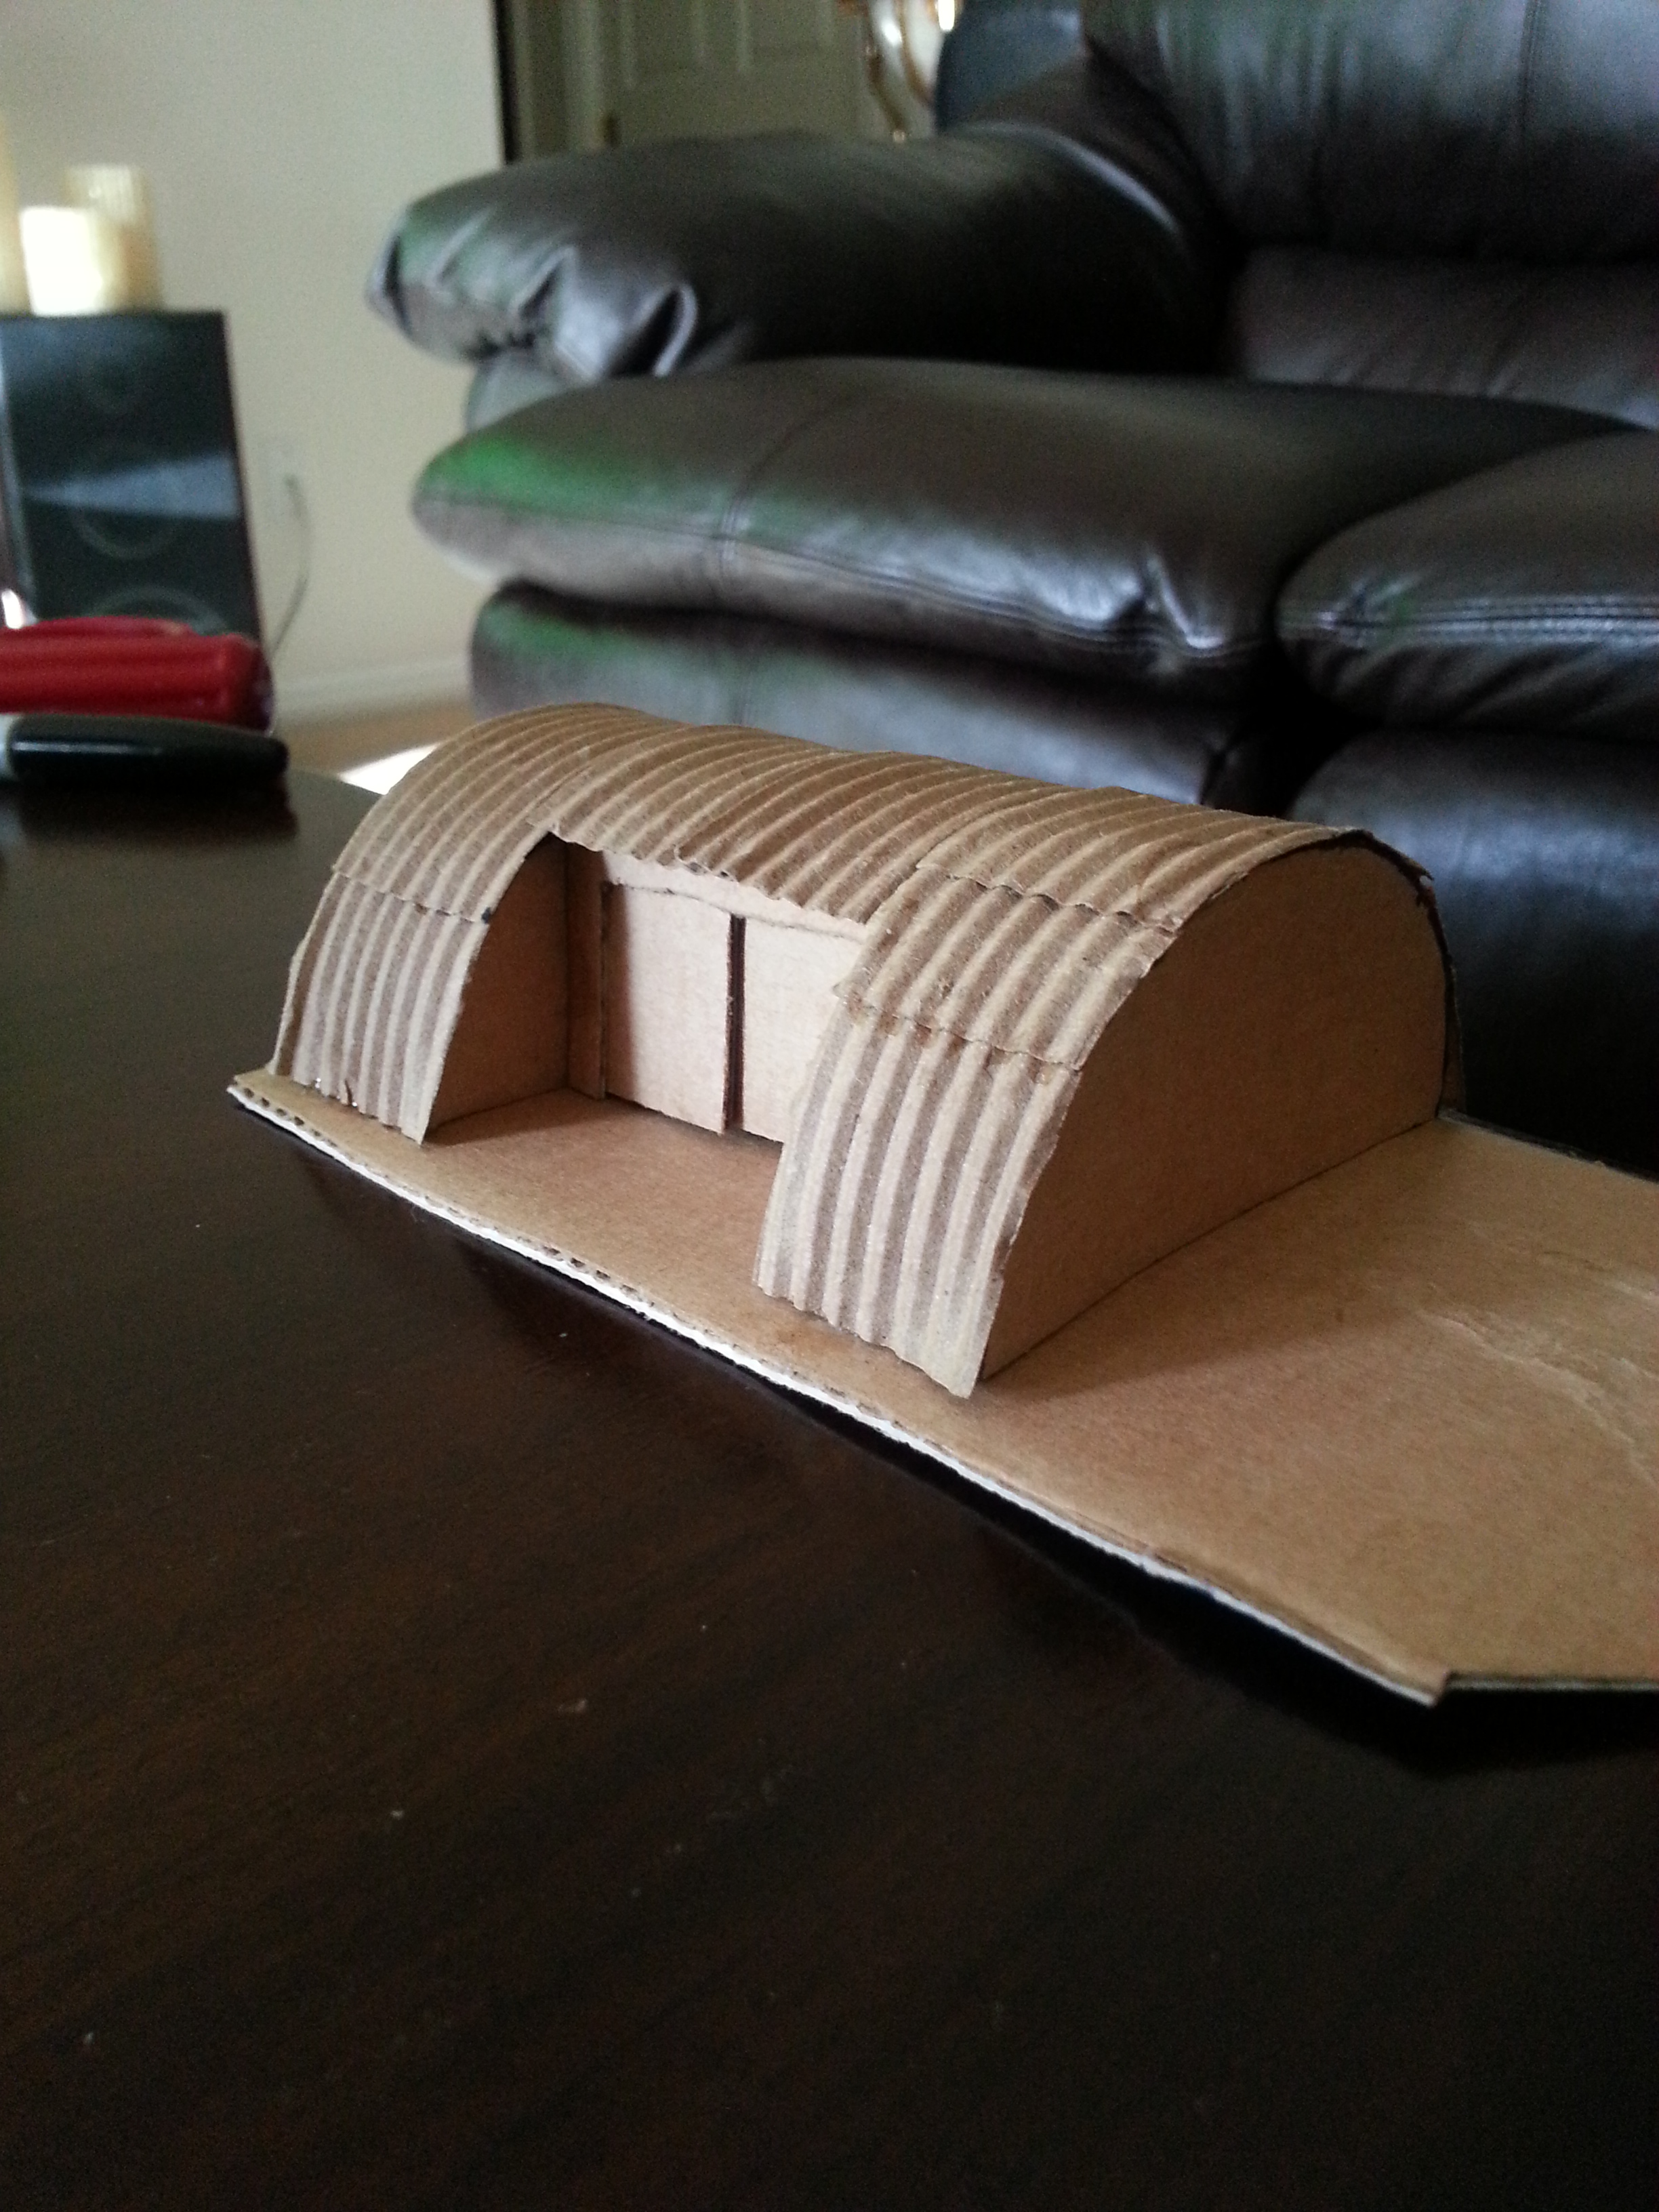
I cut a doorway frame, sized to fit just inside the cut out opening, laid this flat then glued two doors to this, overlapping the doors in the middle seam area, so they would look like they slide by each other as they open (pic 9). One could be left ajar a bit so tools and equipment could be modeled on the inside of the shop. And you could easily wire it for interior lights. That would look really neat.
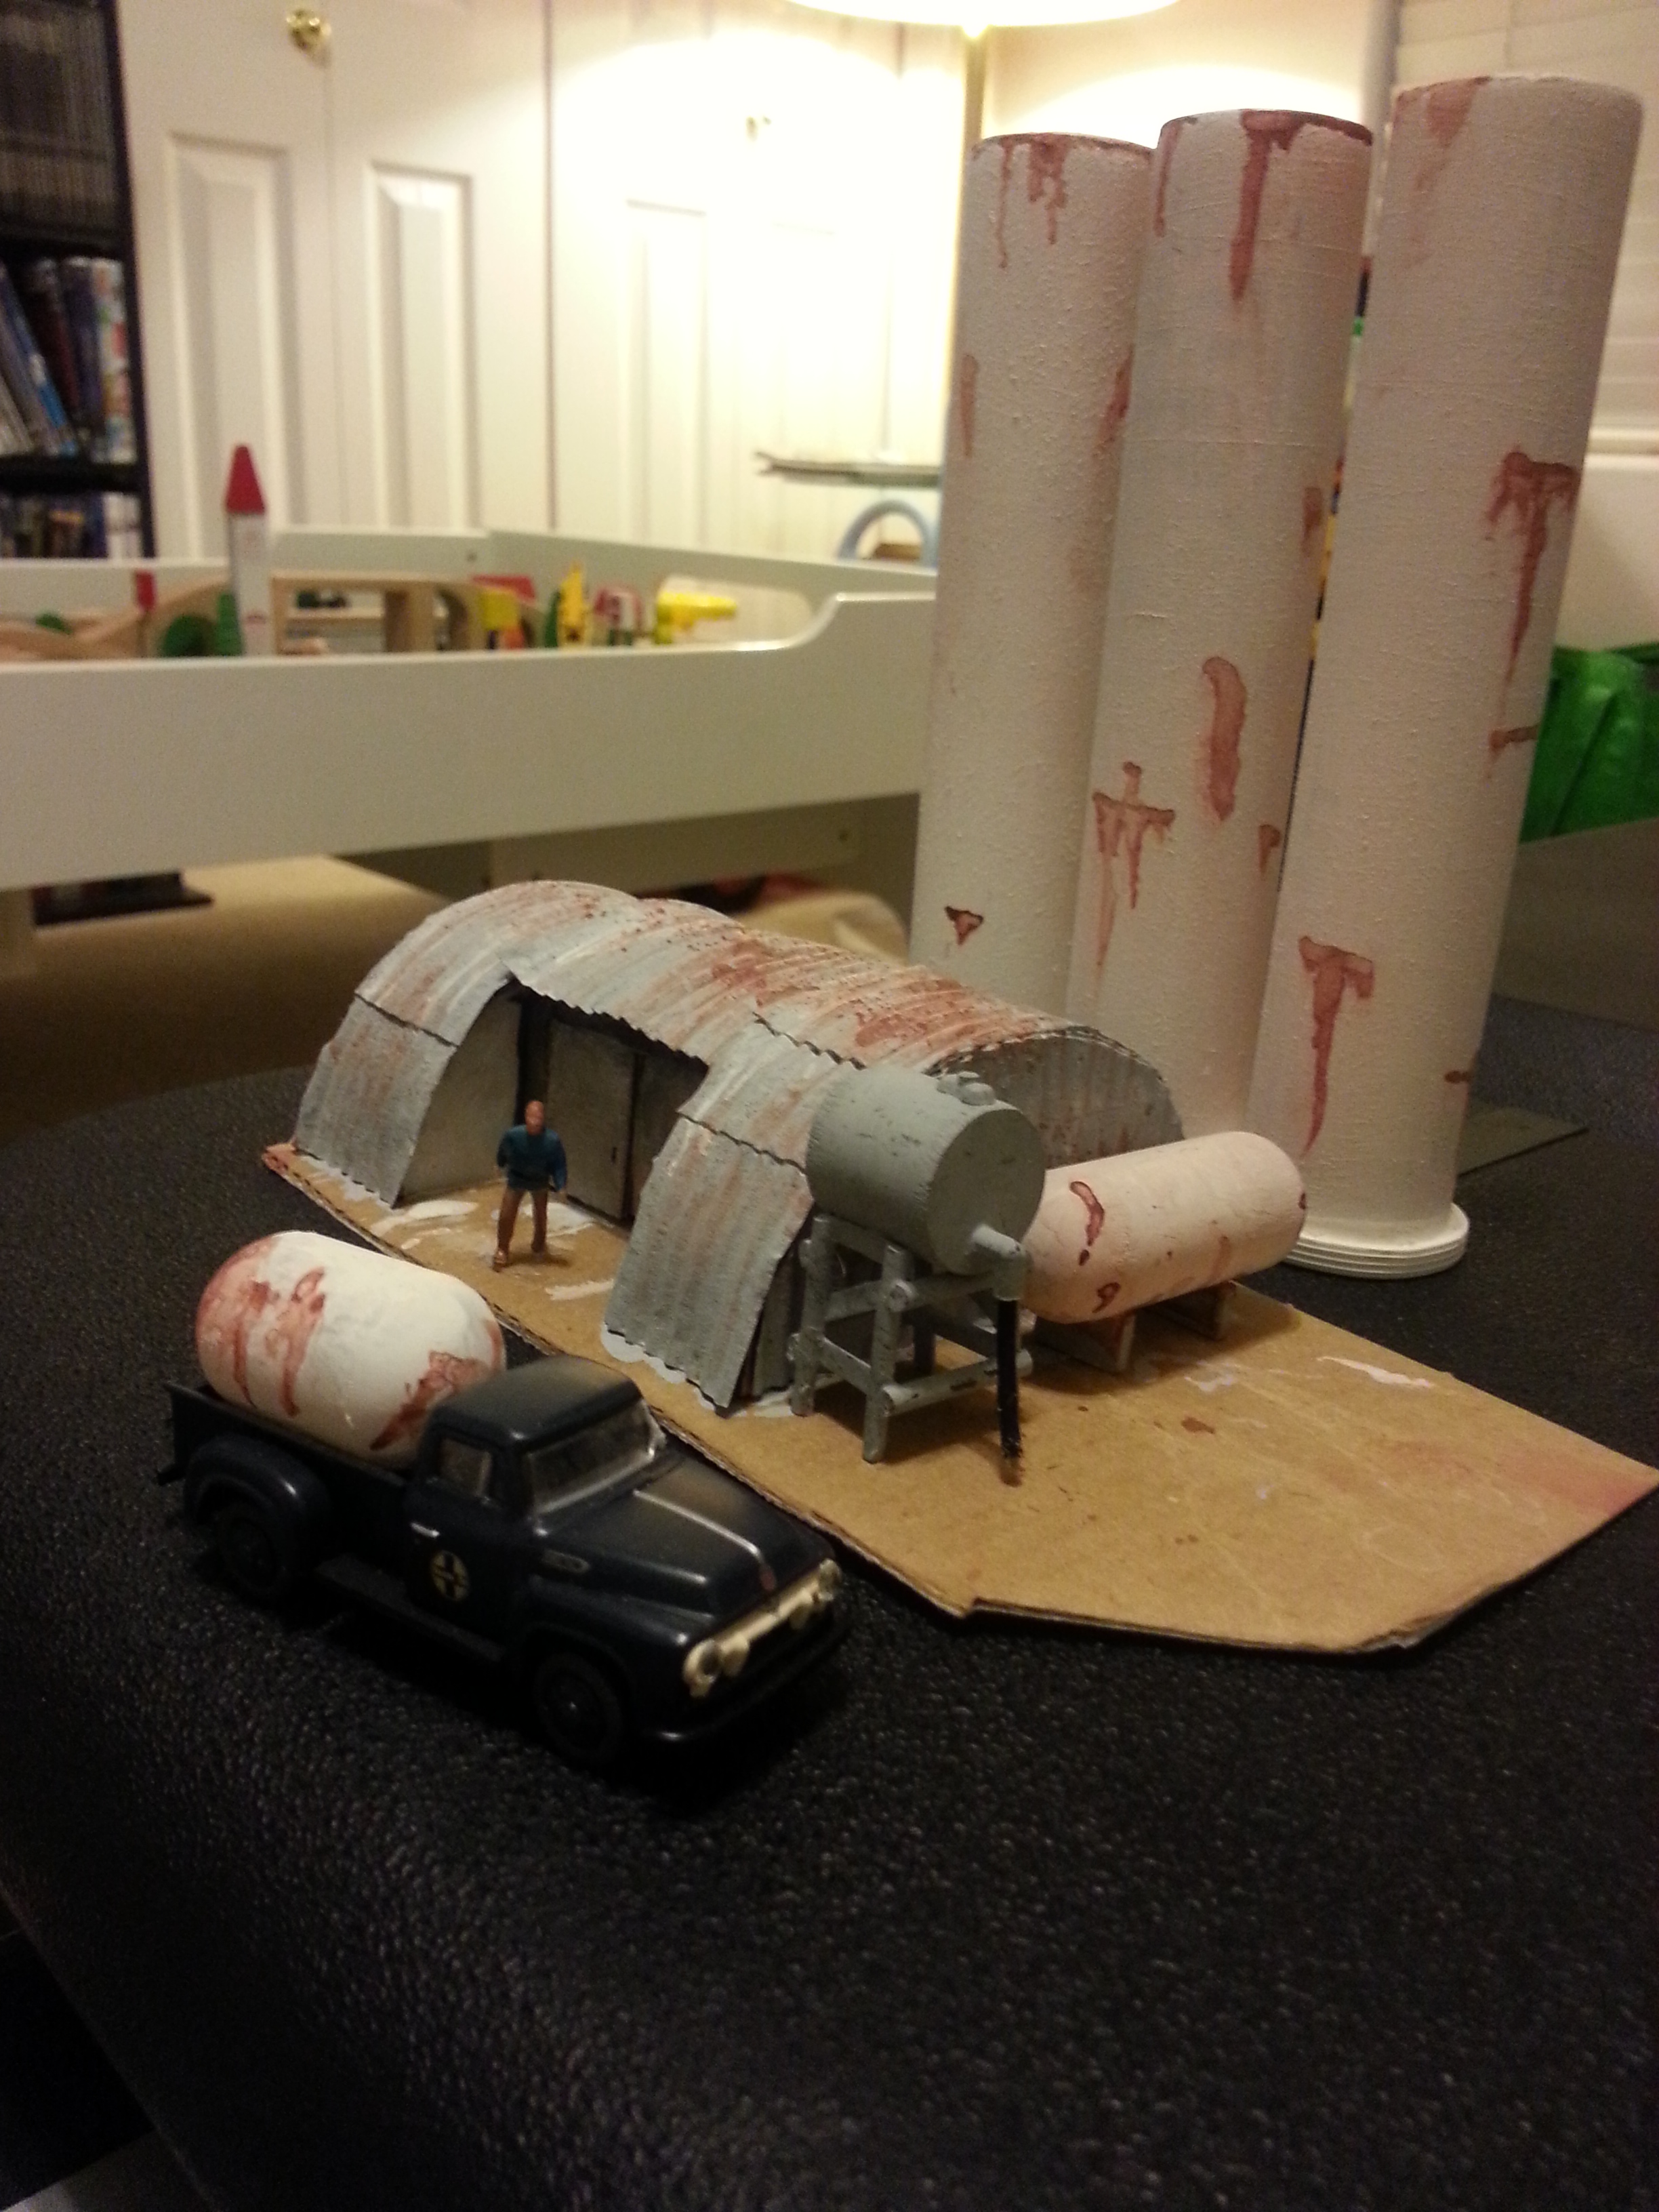
Pic 10 shows my attempt at painting and weathering the shed with gray (silver would look more like galvanized sheets, I think), then I used brown or rust to create the weathering on the top. I also weathered the doors to show the dirt and grease and grime that would eventually show up as the guys opened and closed the doors repeatedly over many years of use. Pic 11 shows how this would look with people, vehicles and other stuff around the shed.
A fuel tank holding diesel fuel is in every farmer’s and rancher’s lot somewhere. I saw this one sitting in a field all by itself, nothing else around, and wanted to model it. Another farmer had converted a propane tank to a water tank to haul water to his cows in his pickup, and I wanted to model this as well.
The roller from the inside of a roll of paper provided the right diameter for the propane tank against the shed and the tank in the pickup.
Hope this was worthwhile.
Craig”
HO scale grain silos:
A huge thank you to Craig for sharing his HO scale grain silos- some great modelling advice there. It reminded me of Brian’s post: Model grain silo kit bash.
That’s all for today folks – please do keep ’em coming.