Richard’s layout

“Al

As long as I can remember, I have always had a model train layout. When I was 4 years old my father built a 8 x 8 foot layout, and at 16 years old it had grown to 10 foot wide by 22 foot long. Then girls, college, marriage got in the way and the trains took a back seat, but not for long. Shortly after moving into my first house I proceeded to build a new layout, but was interrupted when I received a job transfer. These turn of events repeated itself twice over until my retirement in Maryland.

Most train layouts (especially from the north) were mainly situated in the basement, and for 20 years living in Maryland that’s where my Marklin layout was located. In 2005 while visiting my son in Georgia we looked at houses for sale and stumbled on this two story home that had a very large guest room on the second level.

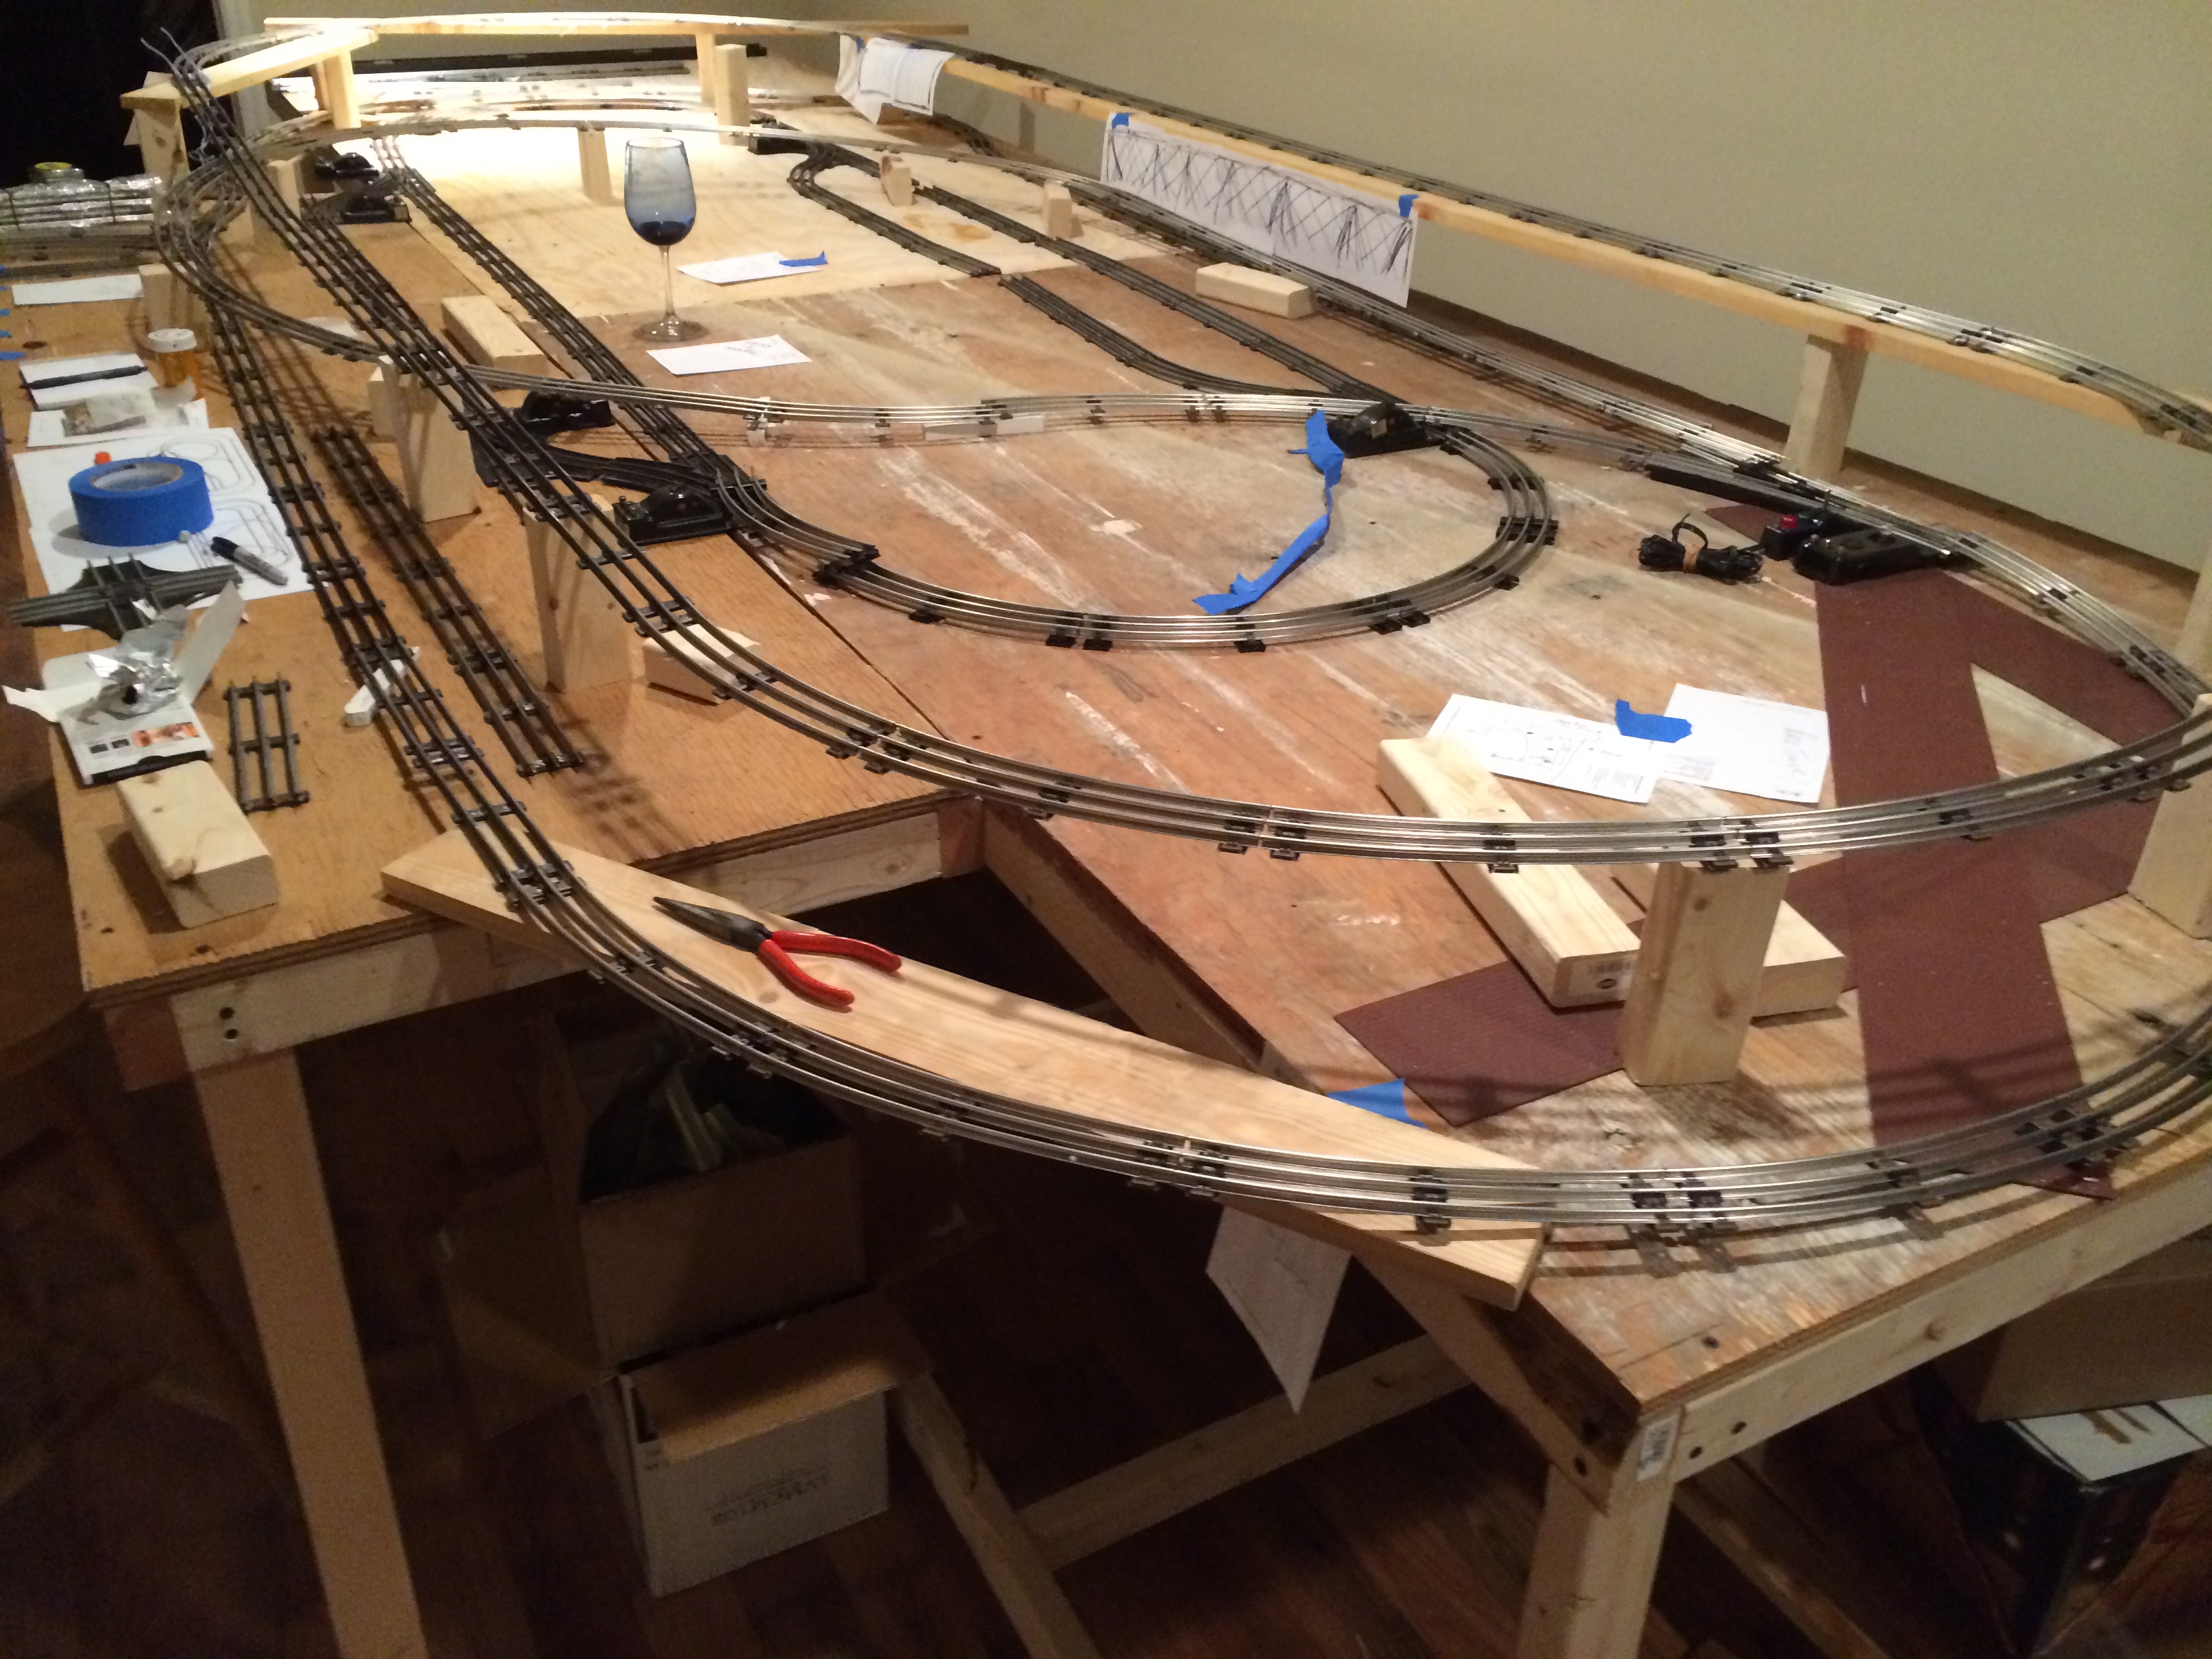
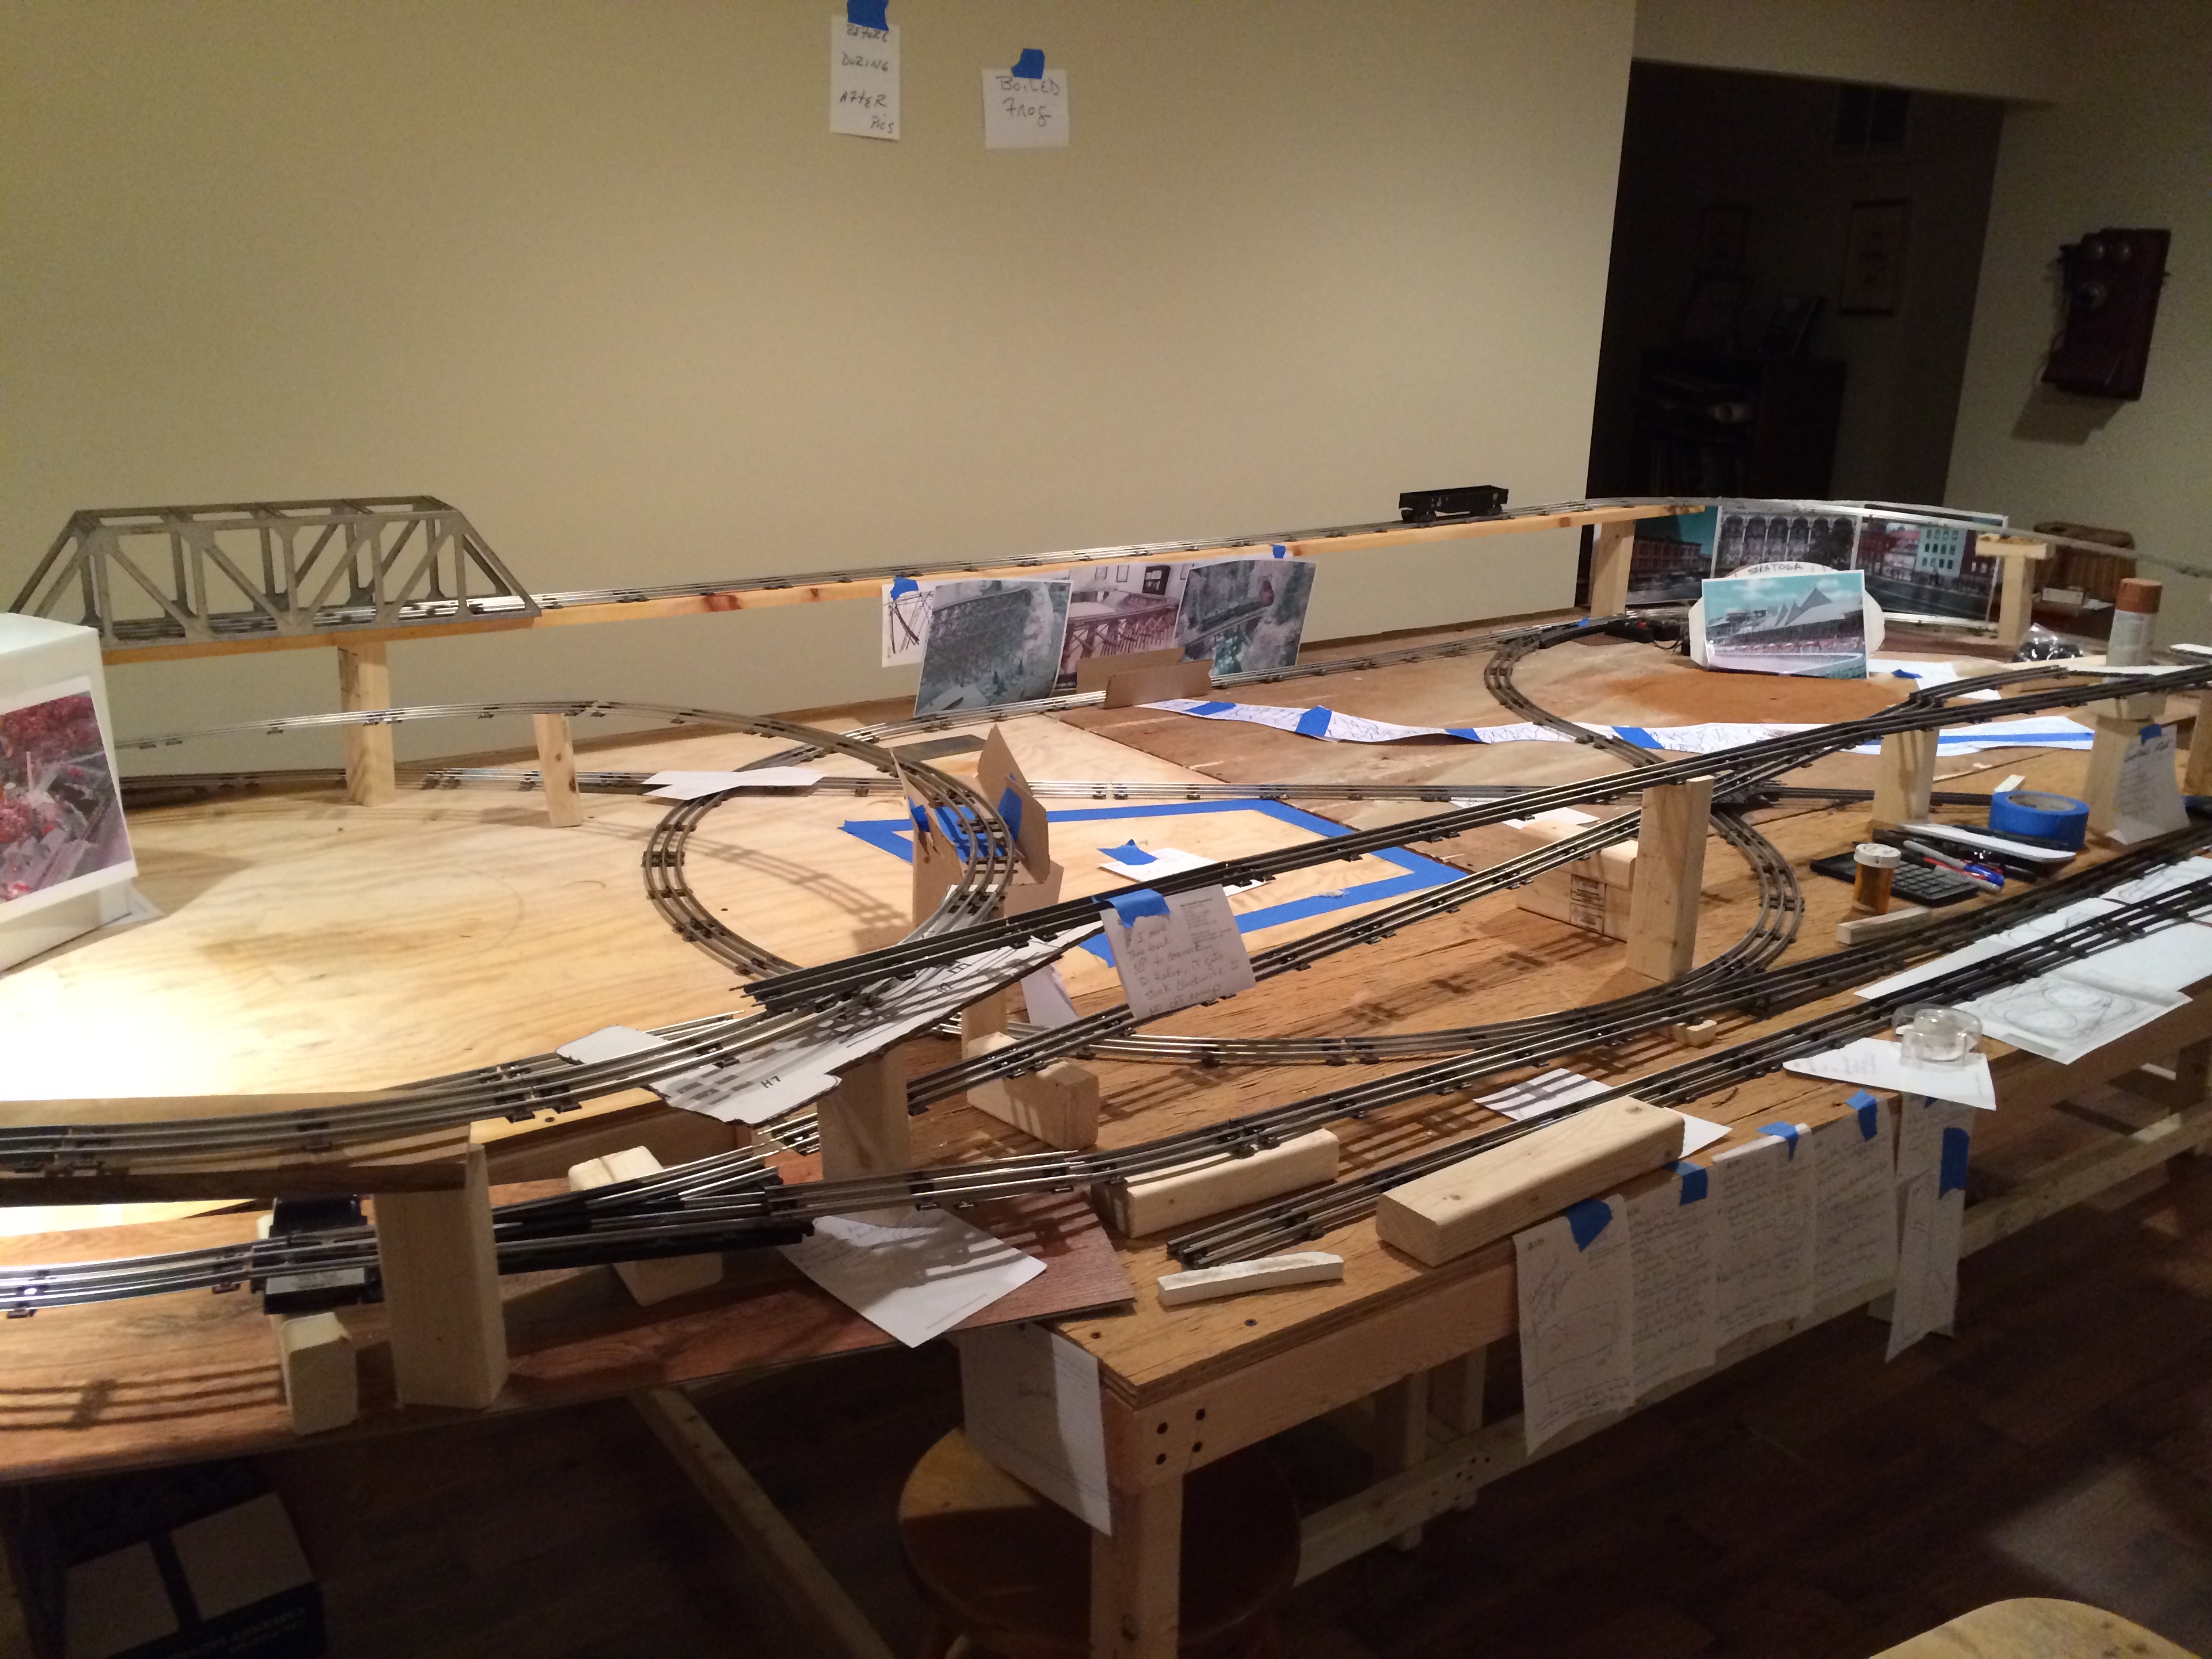
I thought to myself, for 50 years I had to settle for my train layouts in the basement, now this is my chance to bring them above ground, and before I knew it, I was a Georgia resident. The layout in Maryland did not fit the configuration of the new train room so a new layout was required. Being retired, putting time in daily it took seven years to complete.

Now for the Layout.

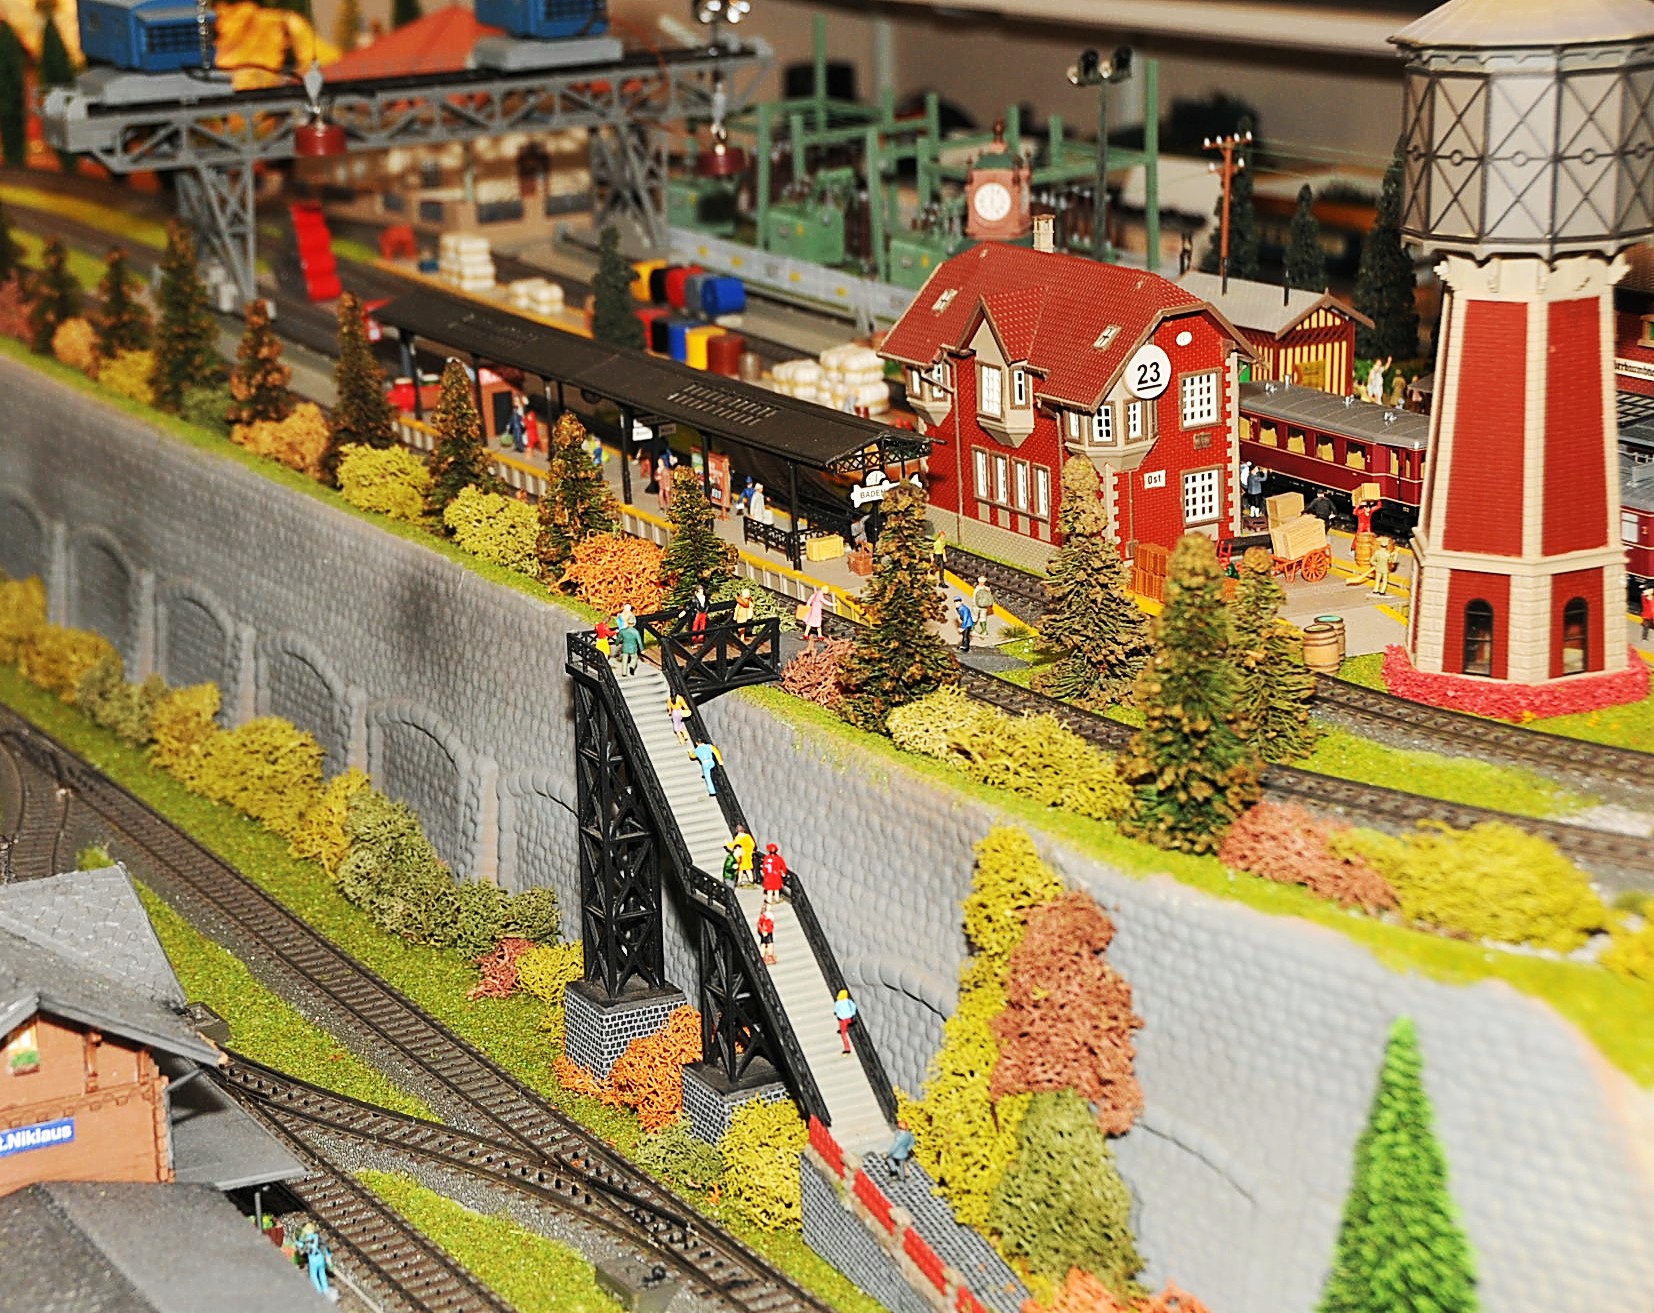
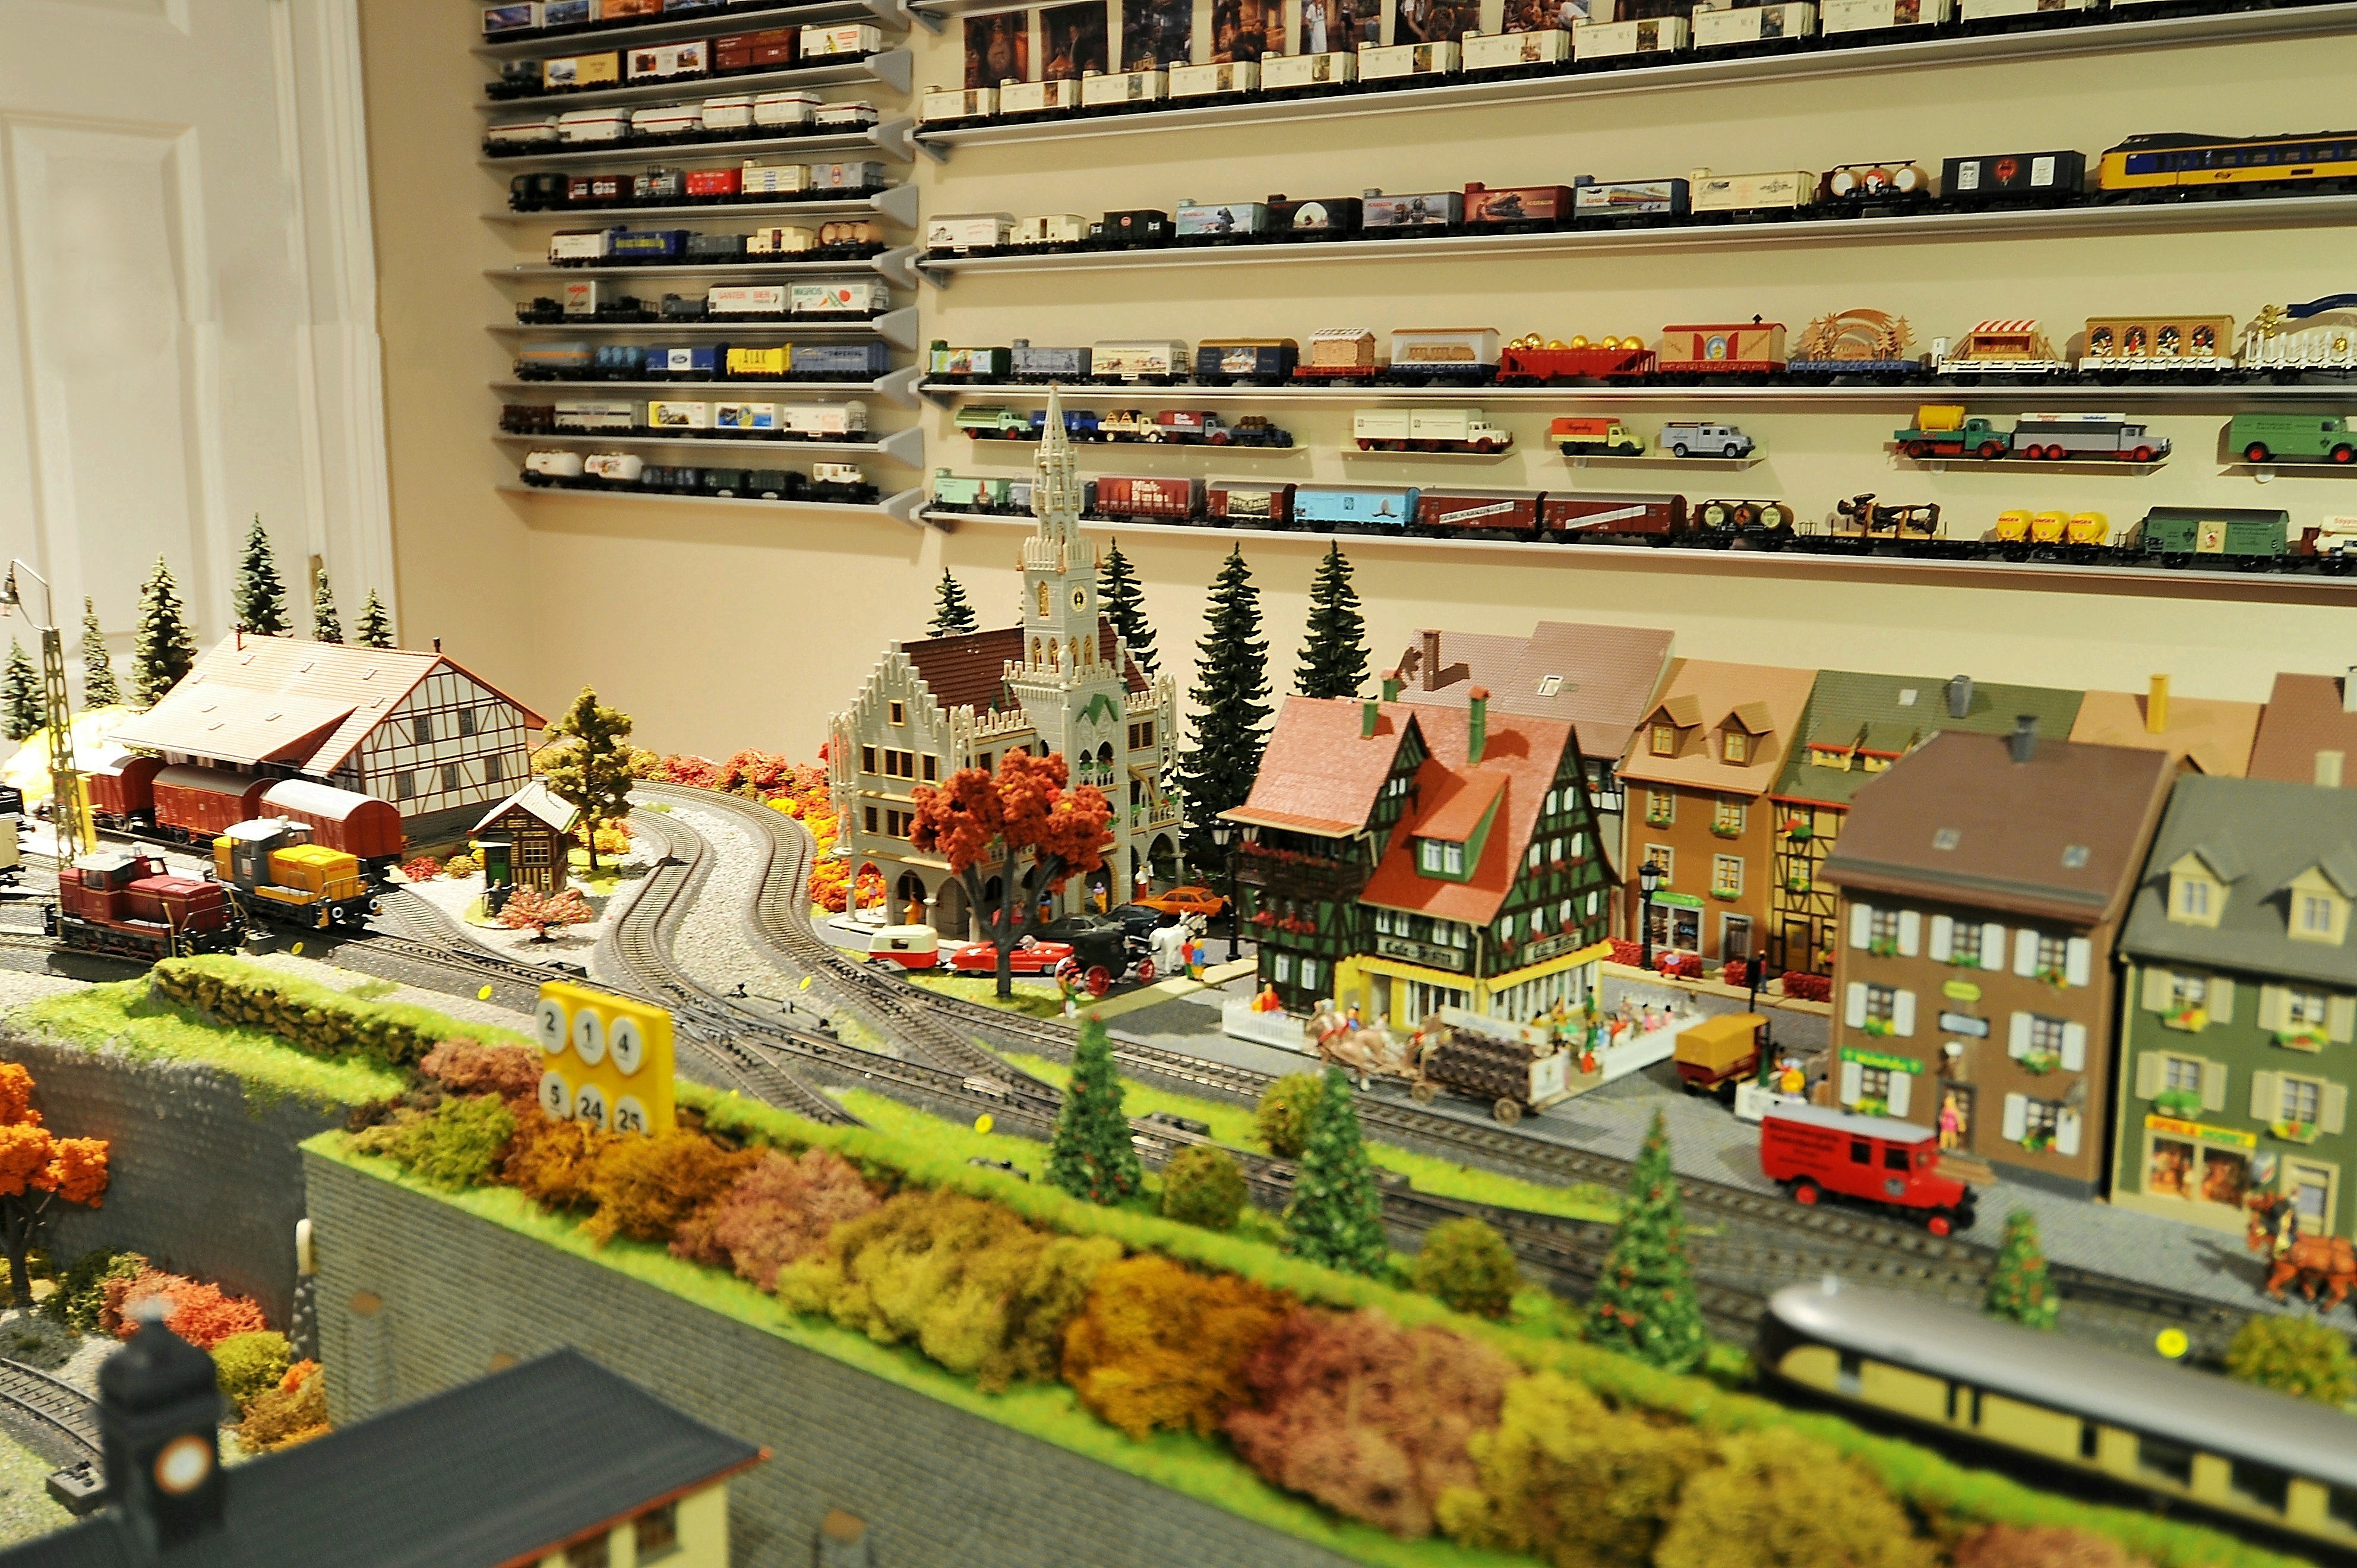
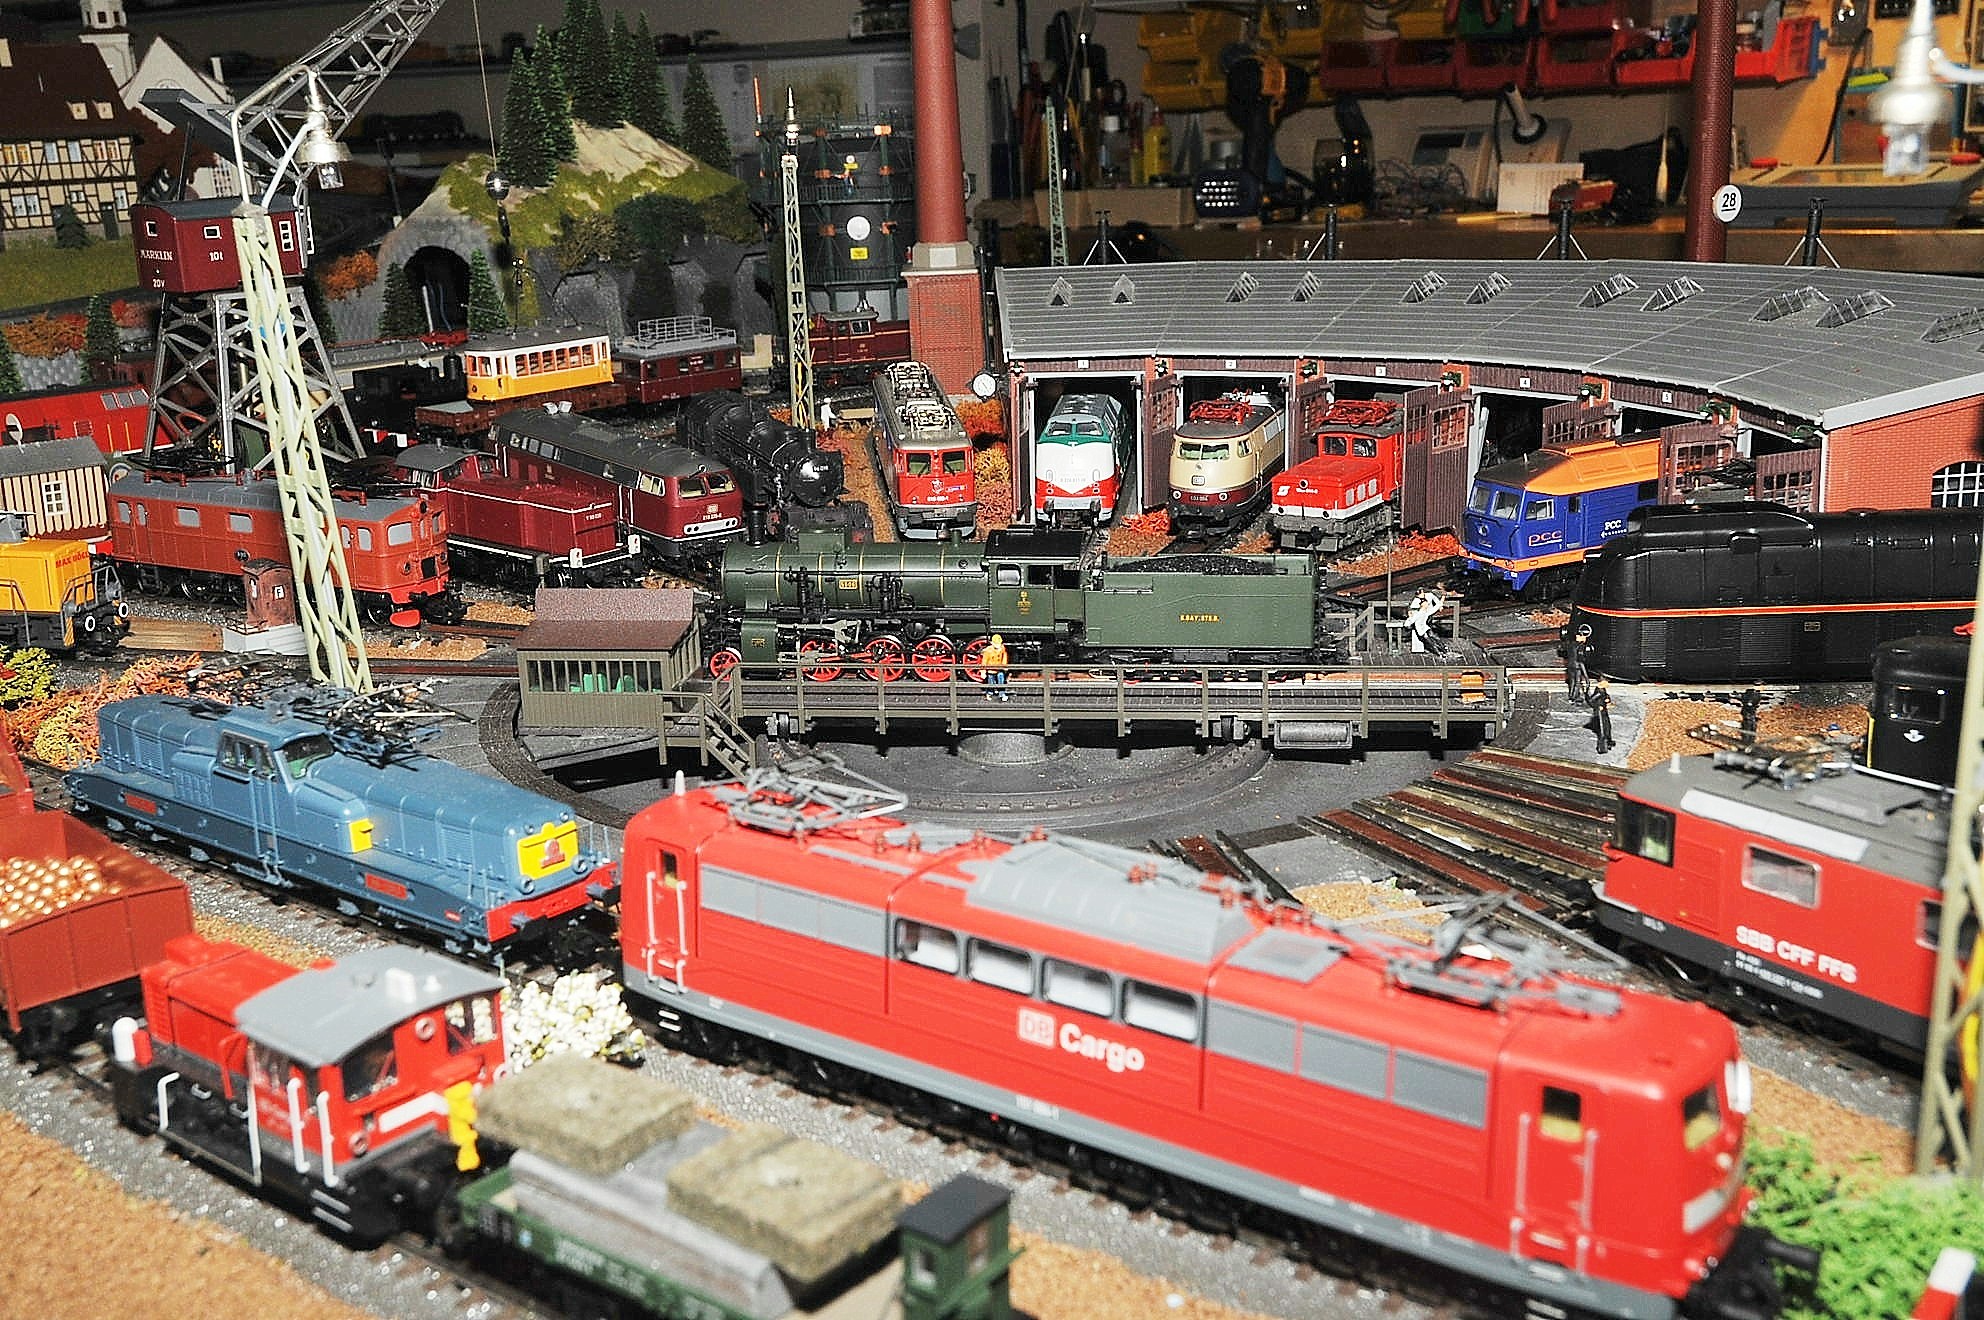
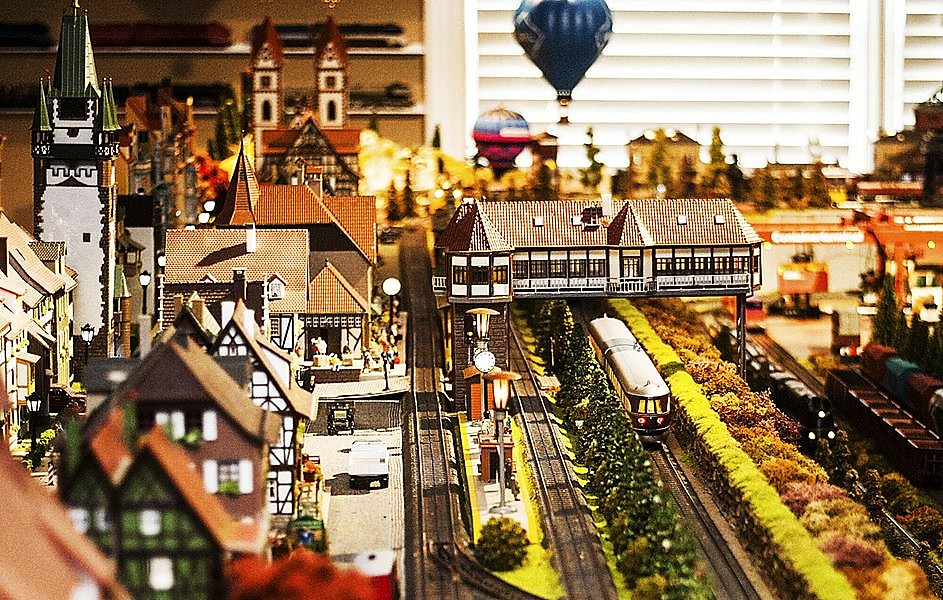
The layout is a three (3) rail Marklin HO Digital Format System that has the capacity to simultaneously run 80 motorized units at one time. (That’s only possible is the layout is big enough).

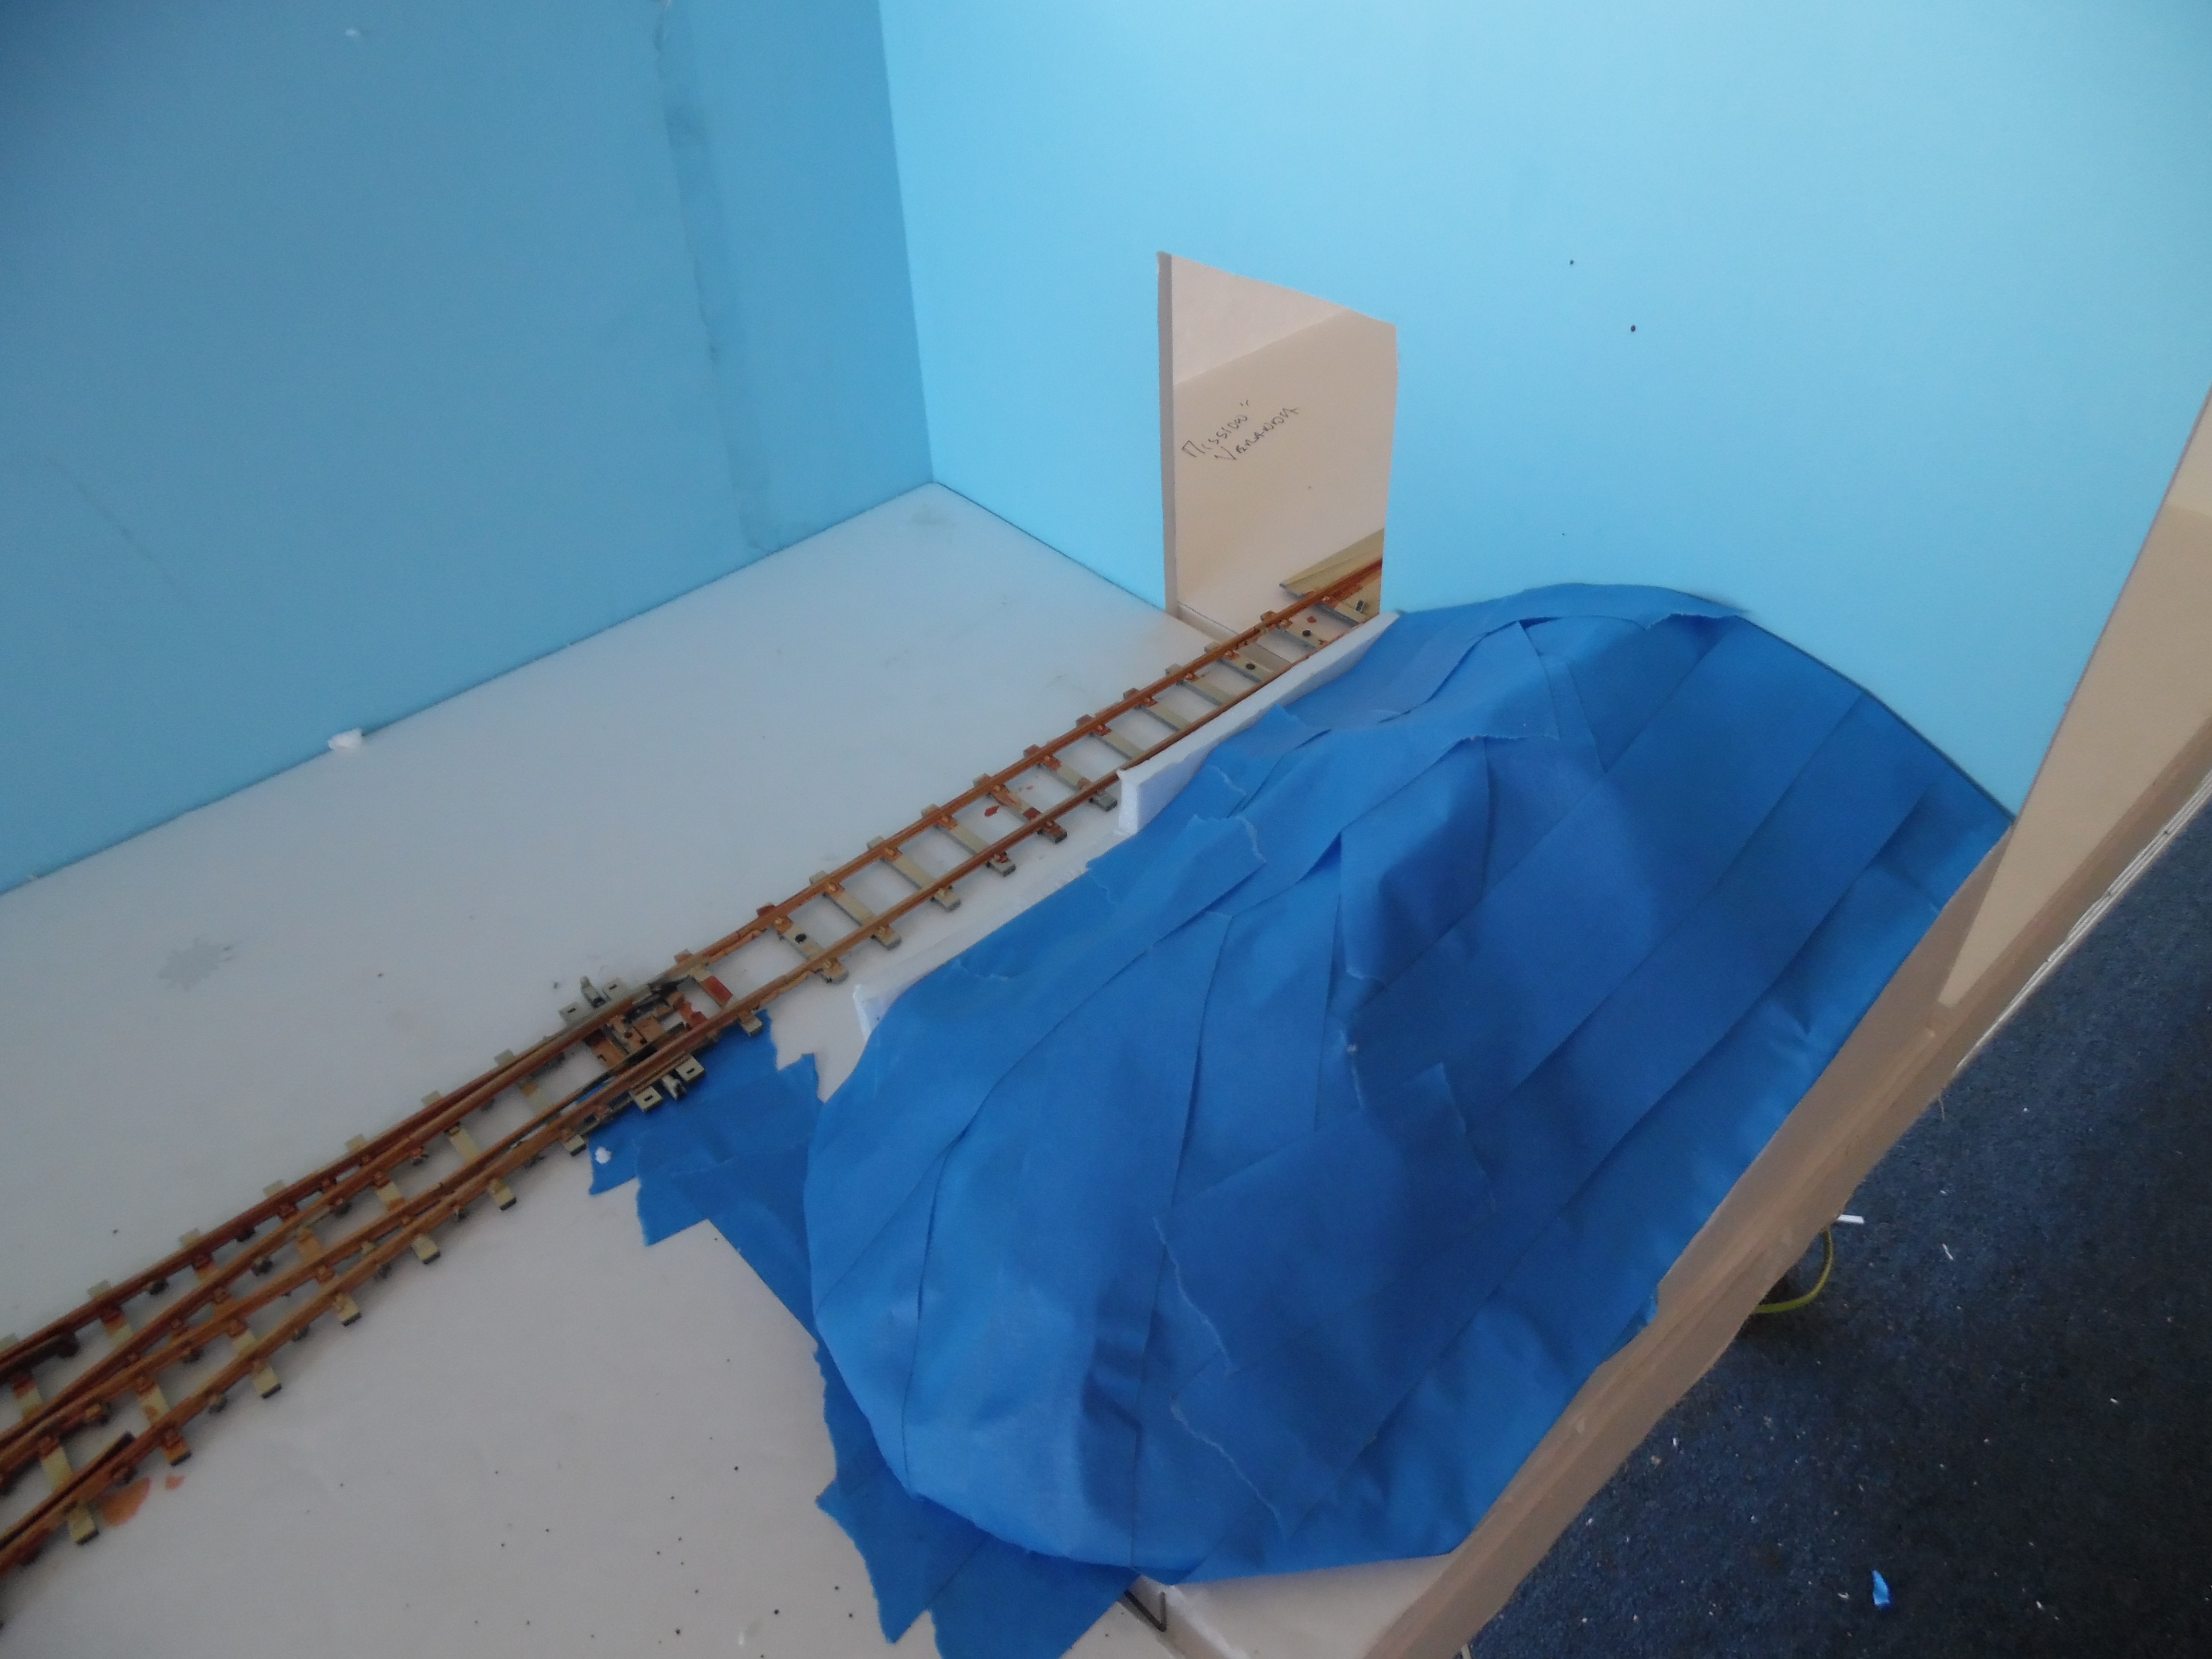
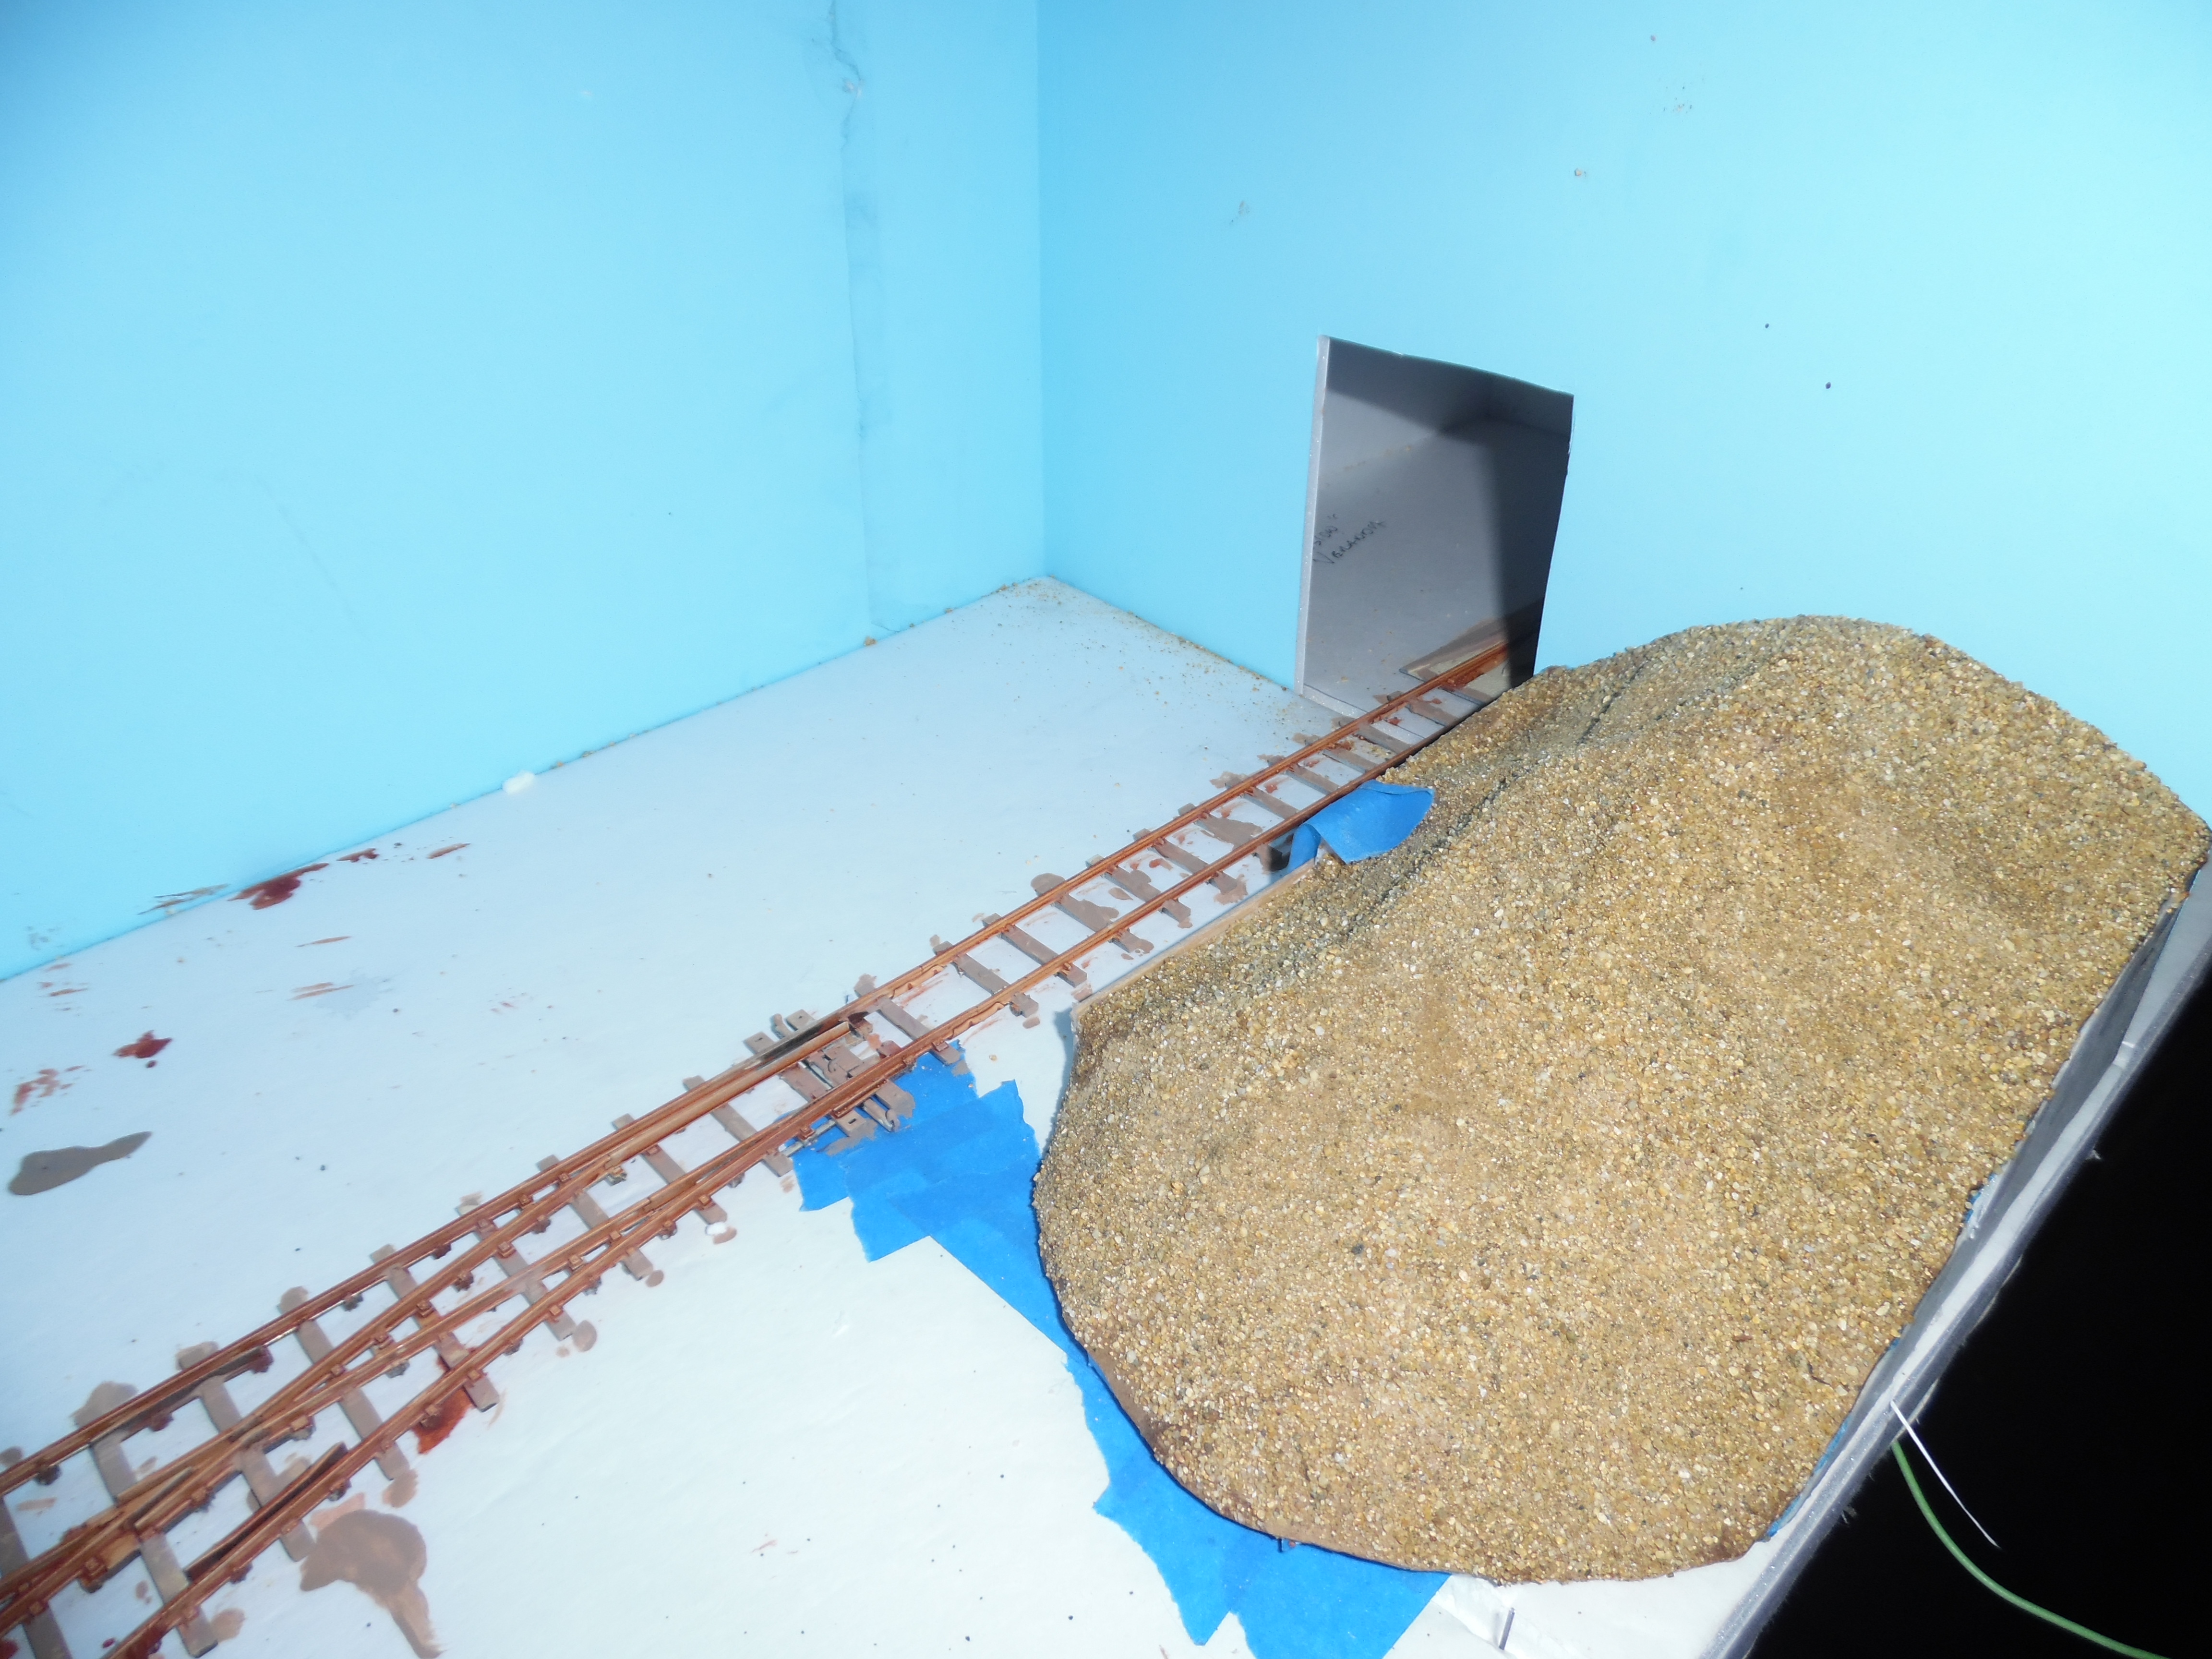
There’re 44 turnouts controlled via digital decoders taking their command from a digital signal sent through the track. Uncoupling tracks, signals and most accessories operate on the same premise.

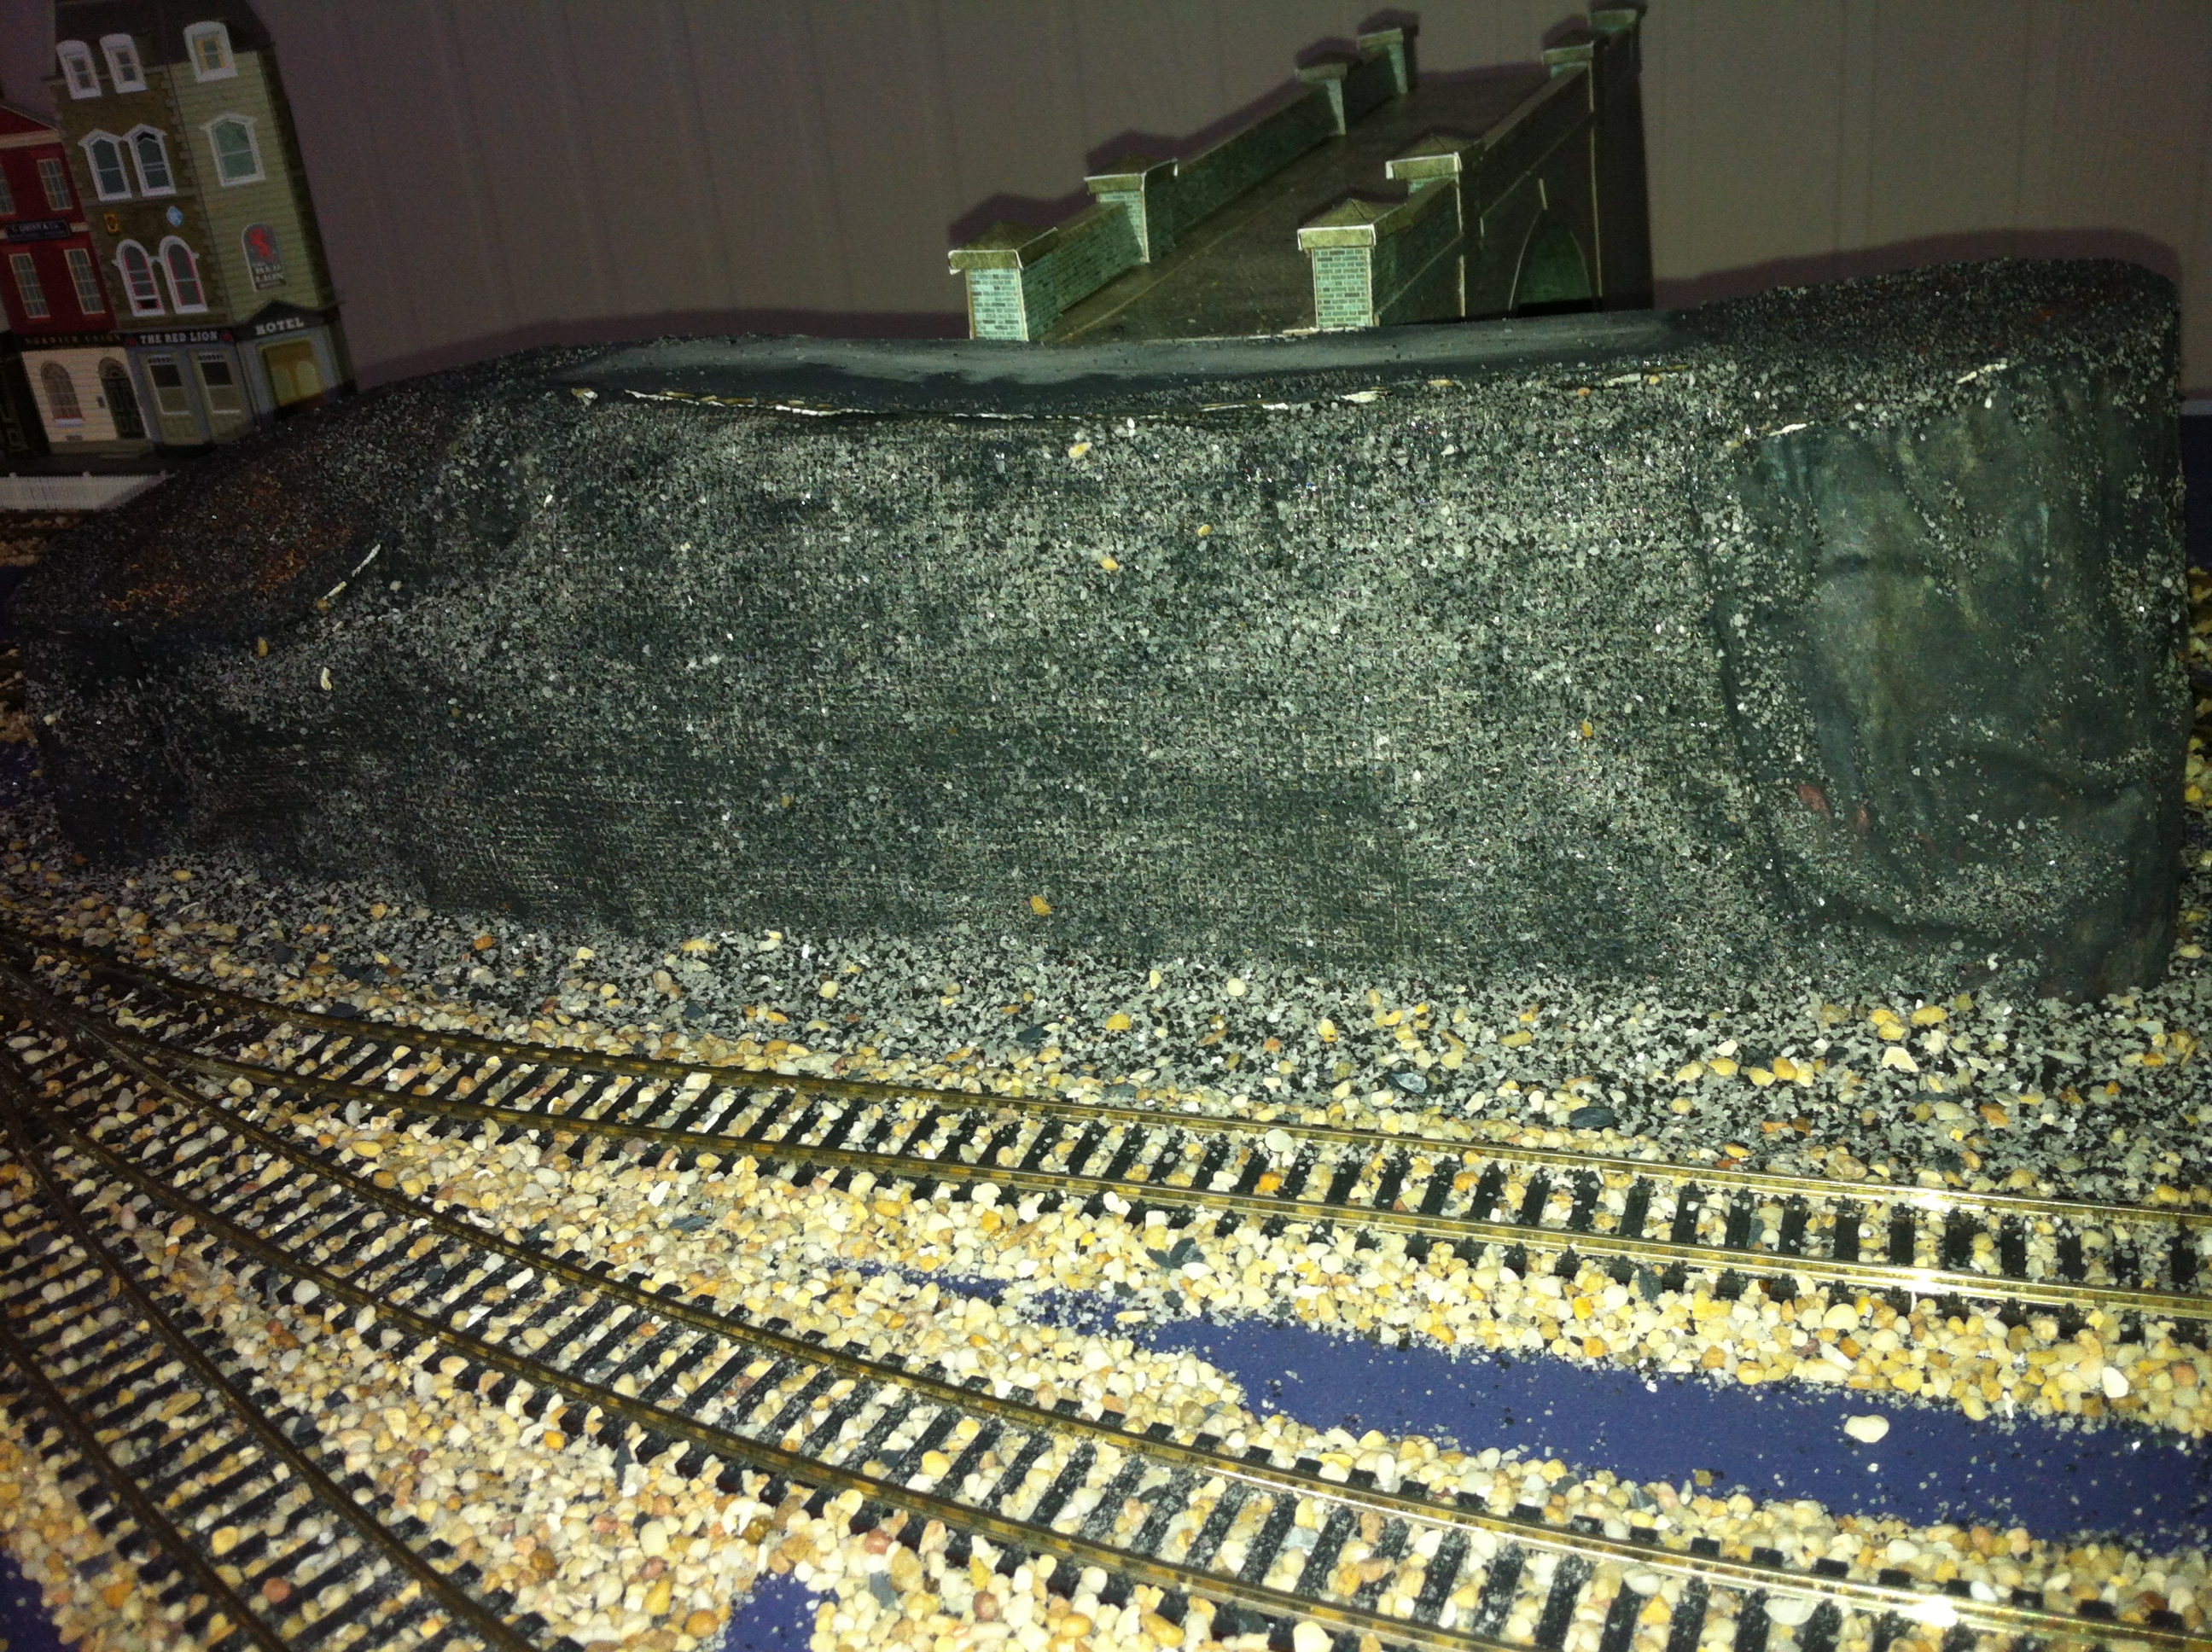
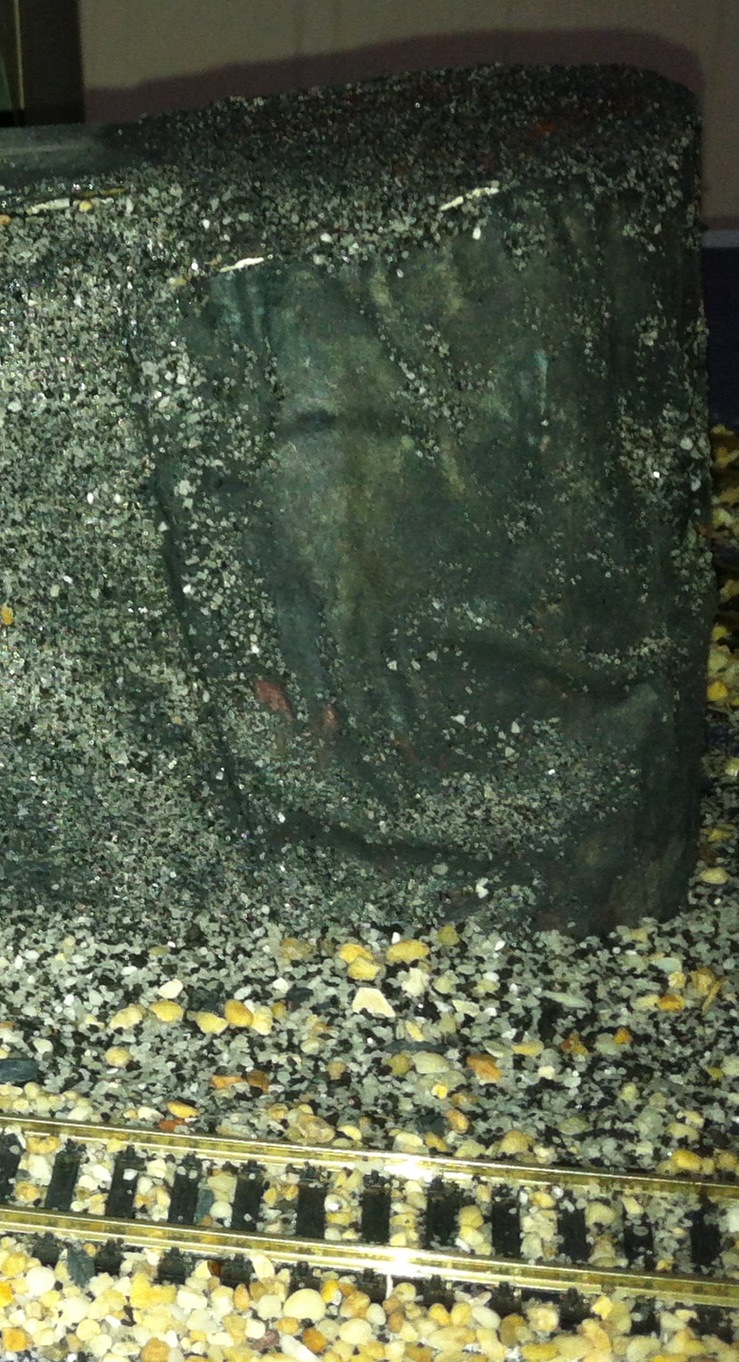
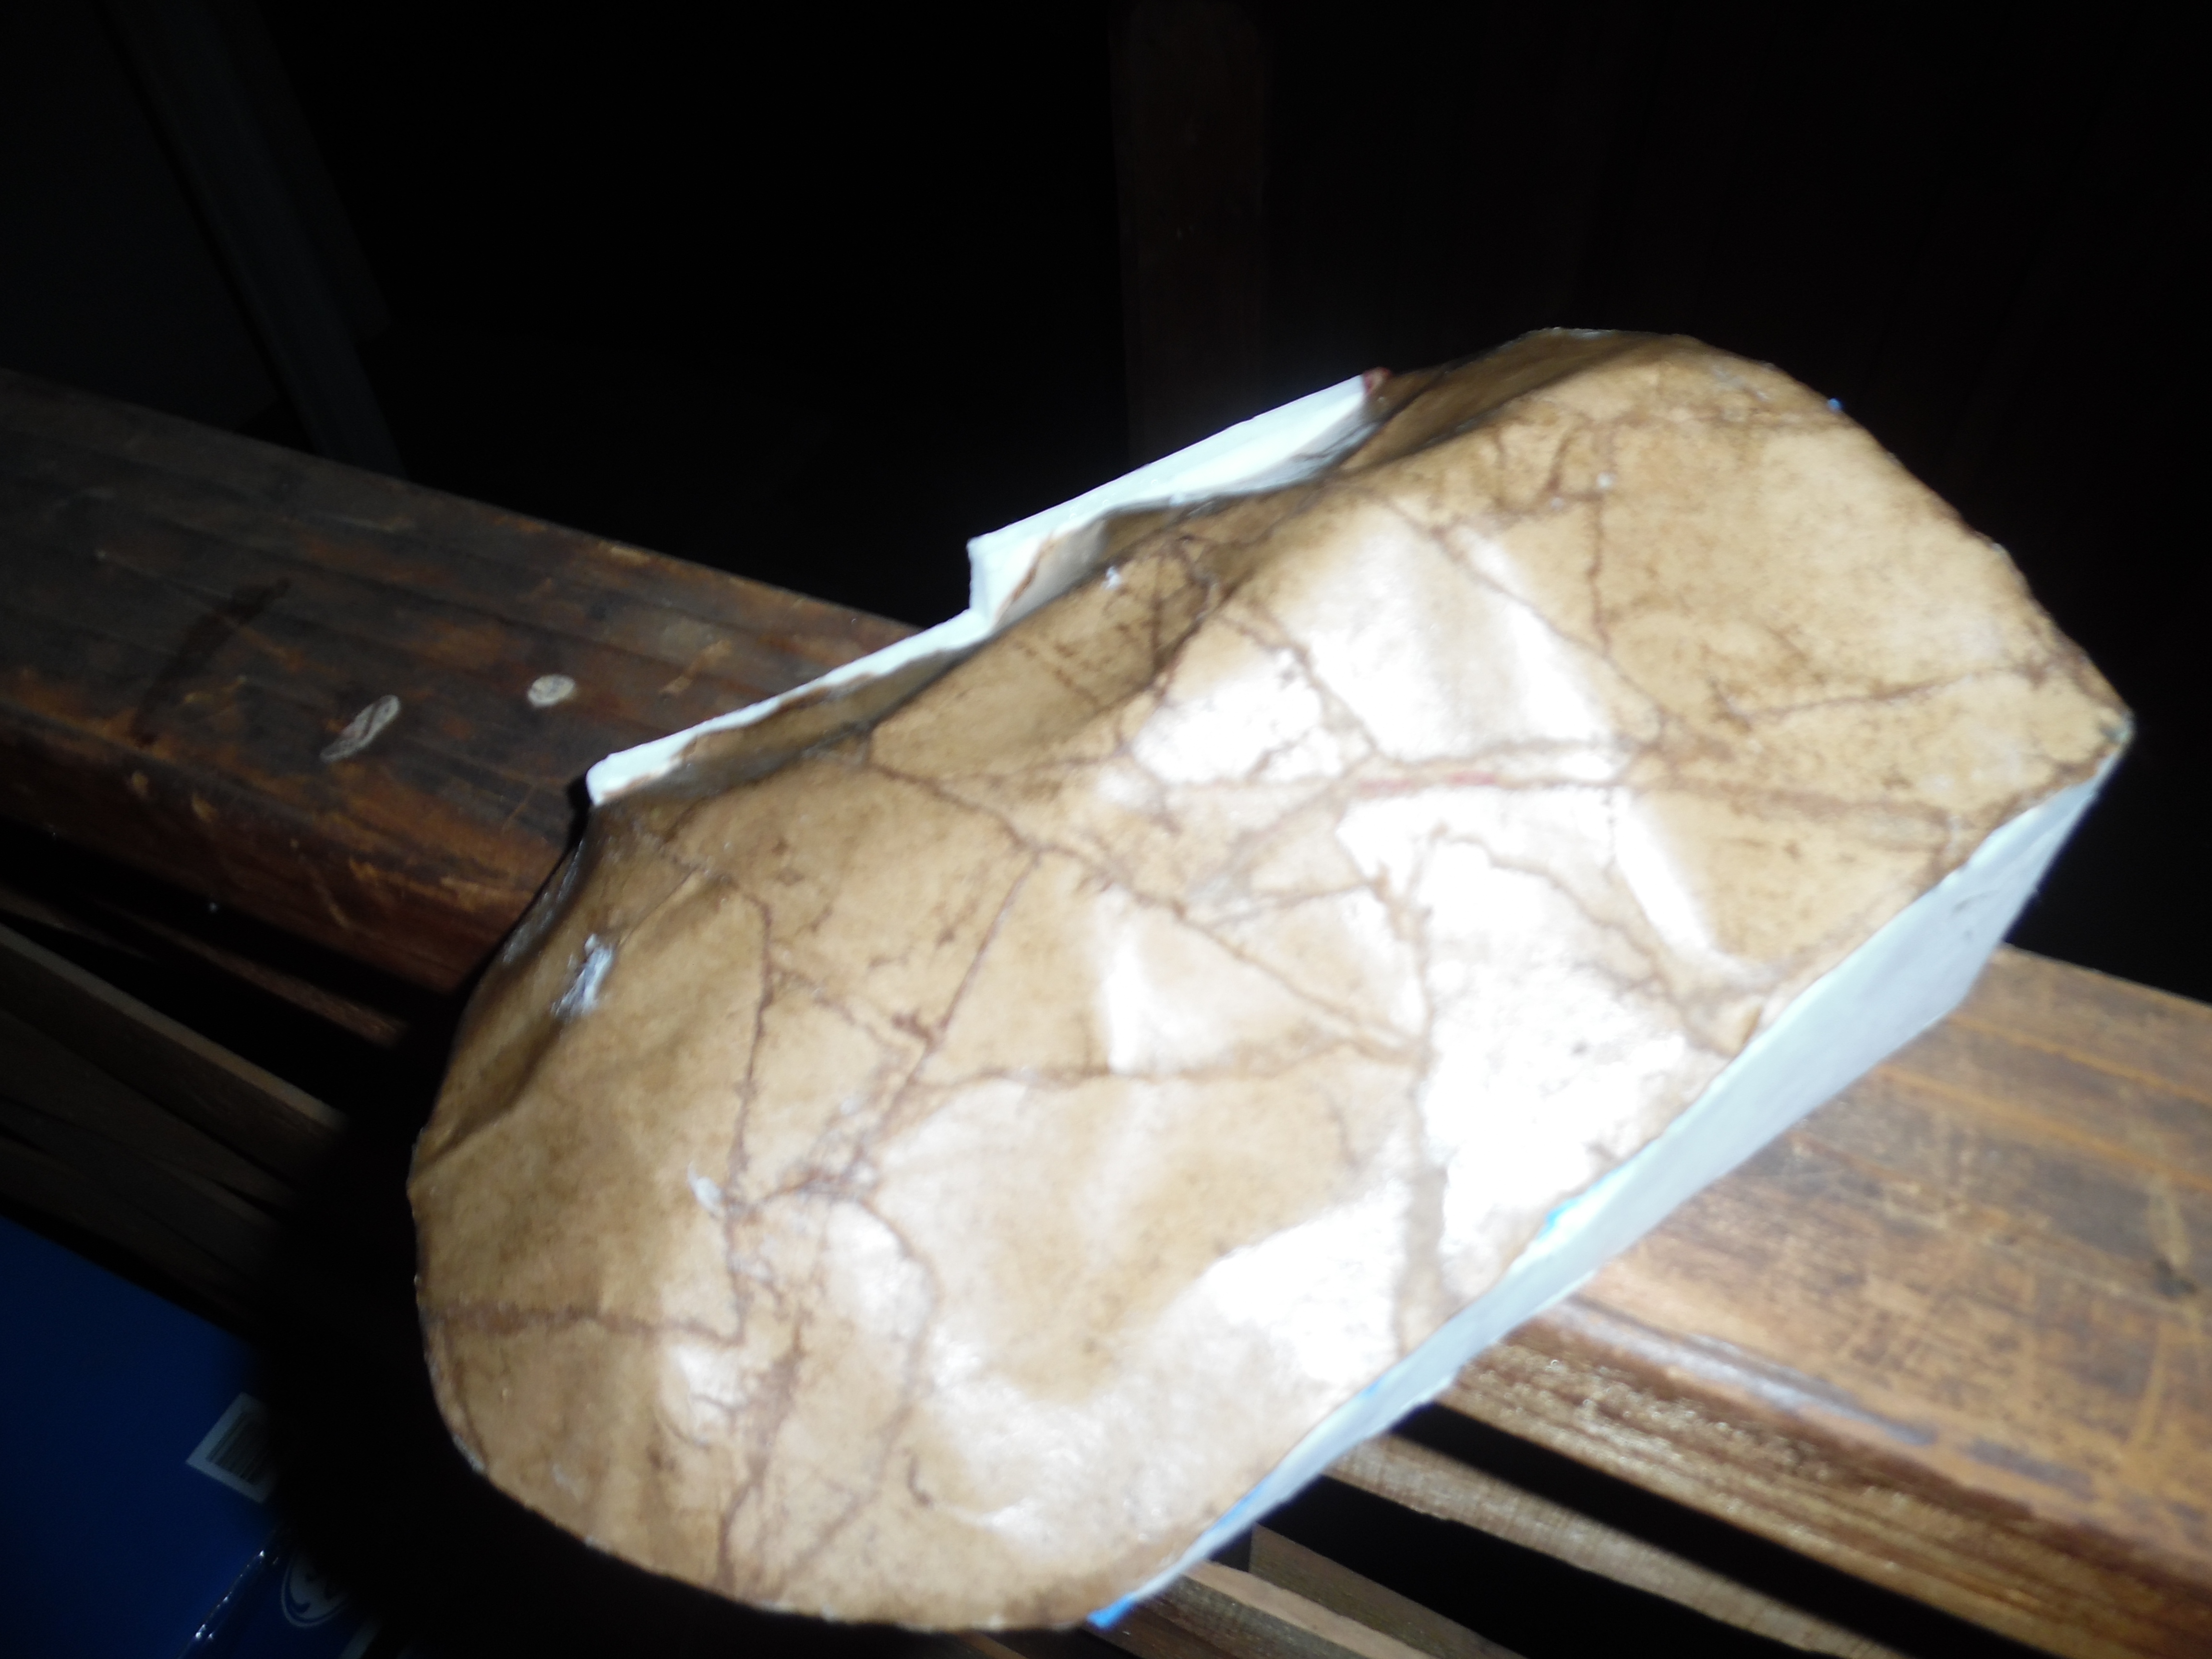
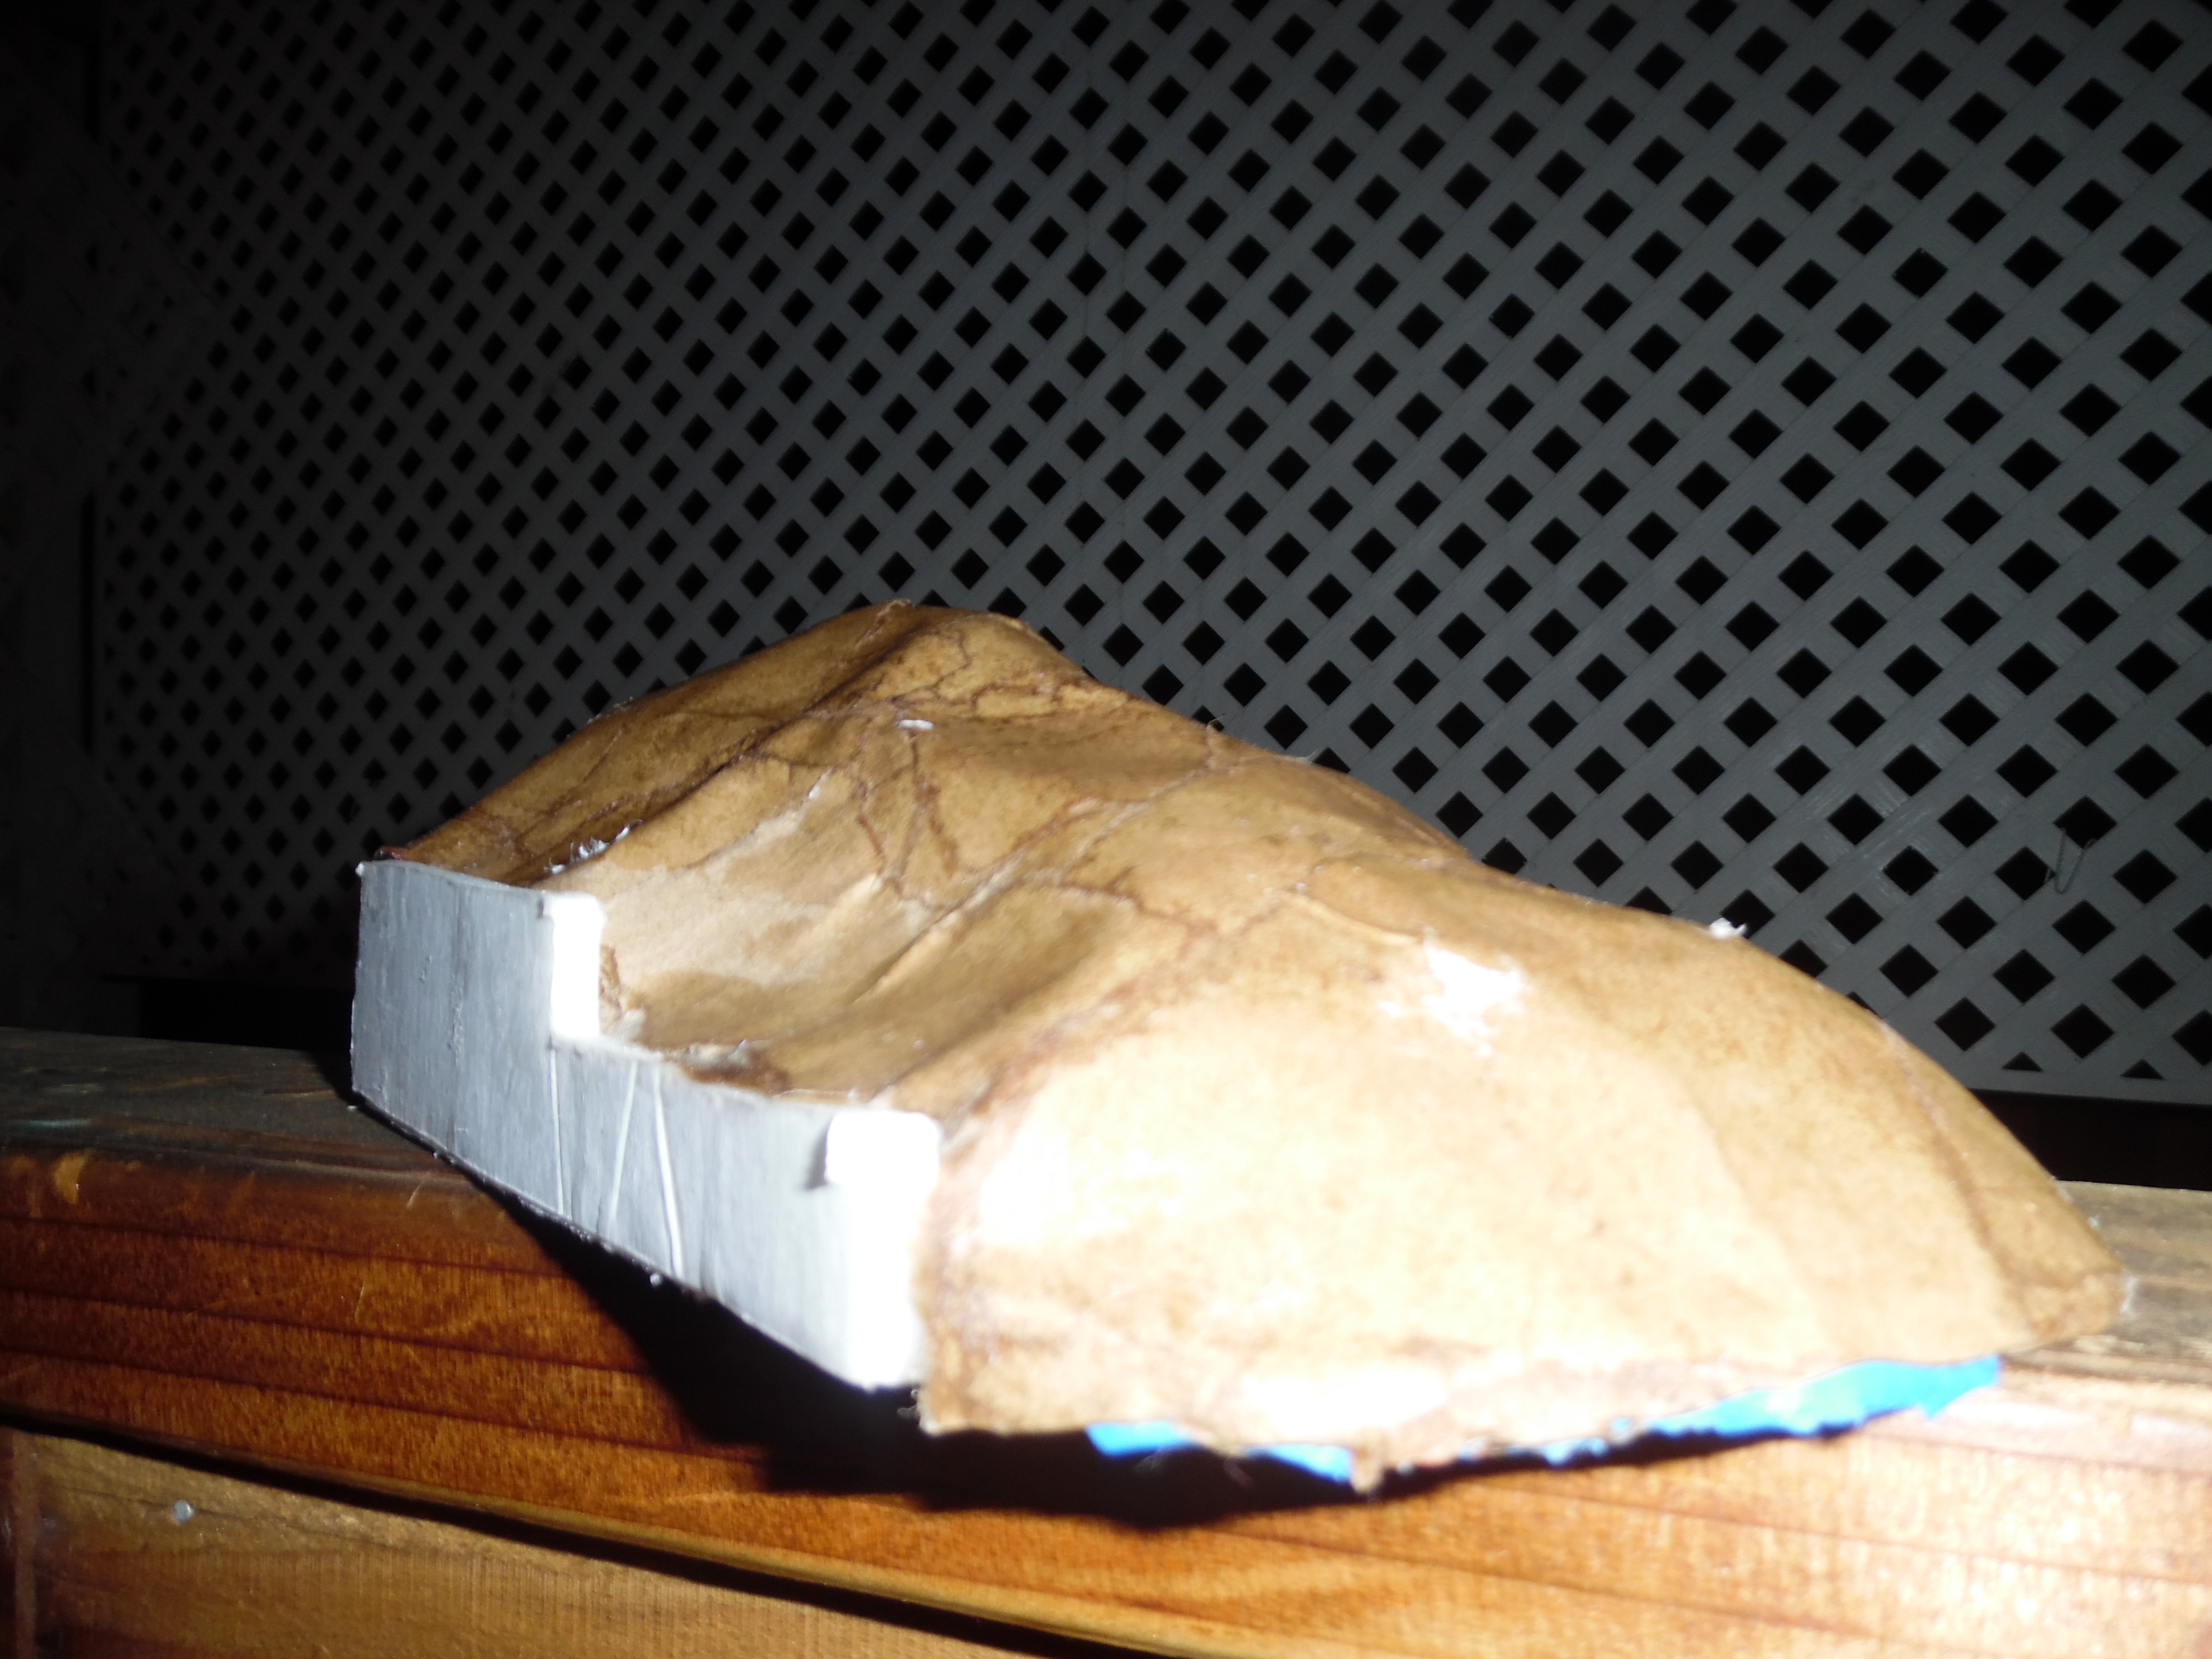
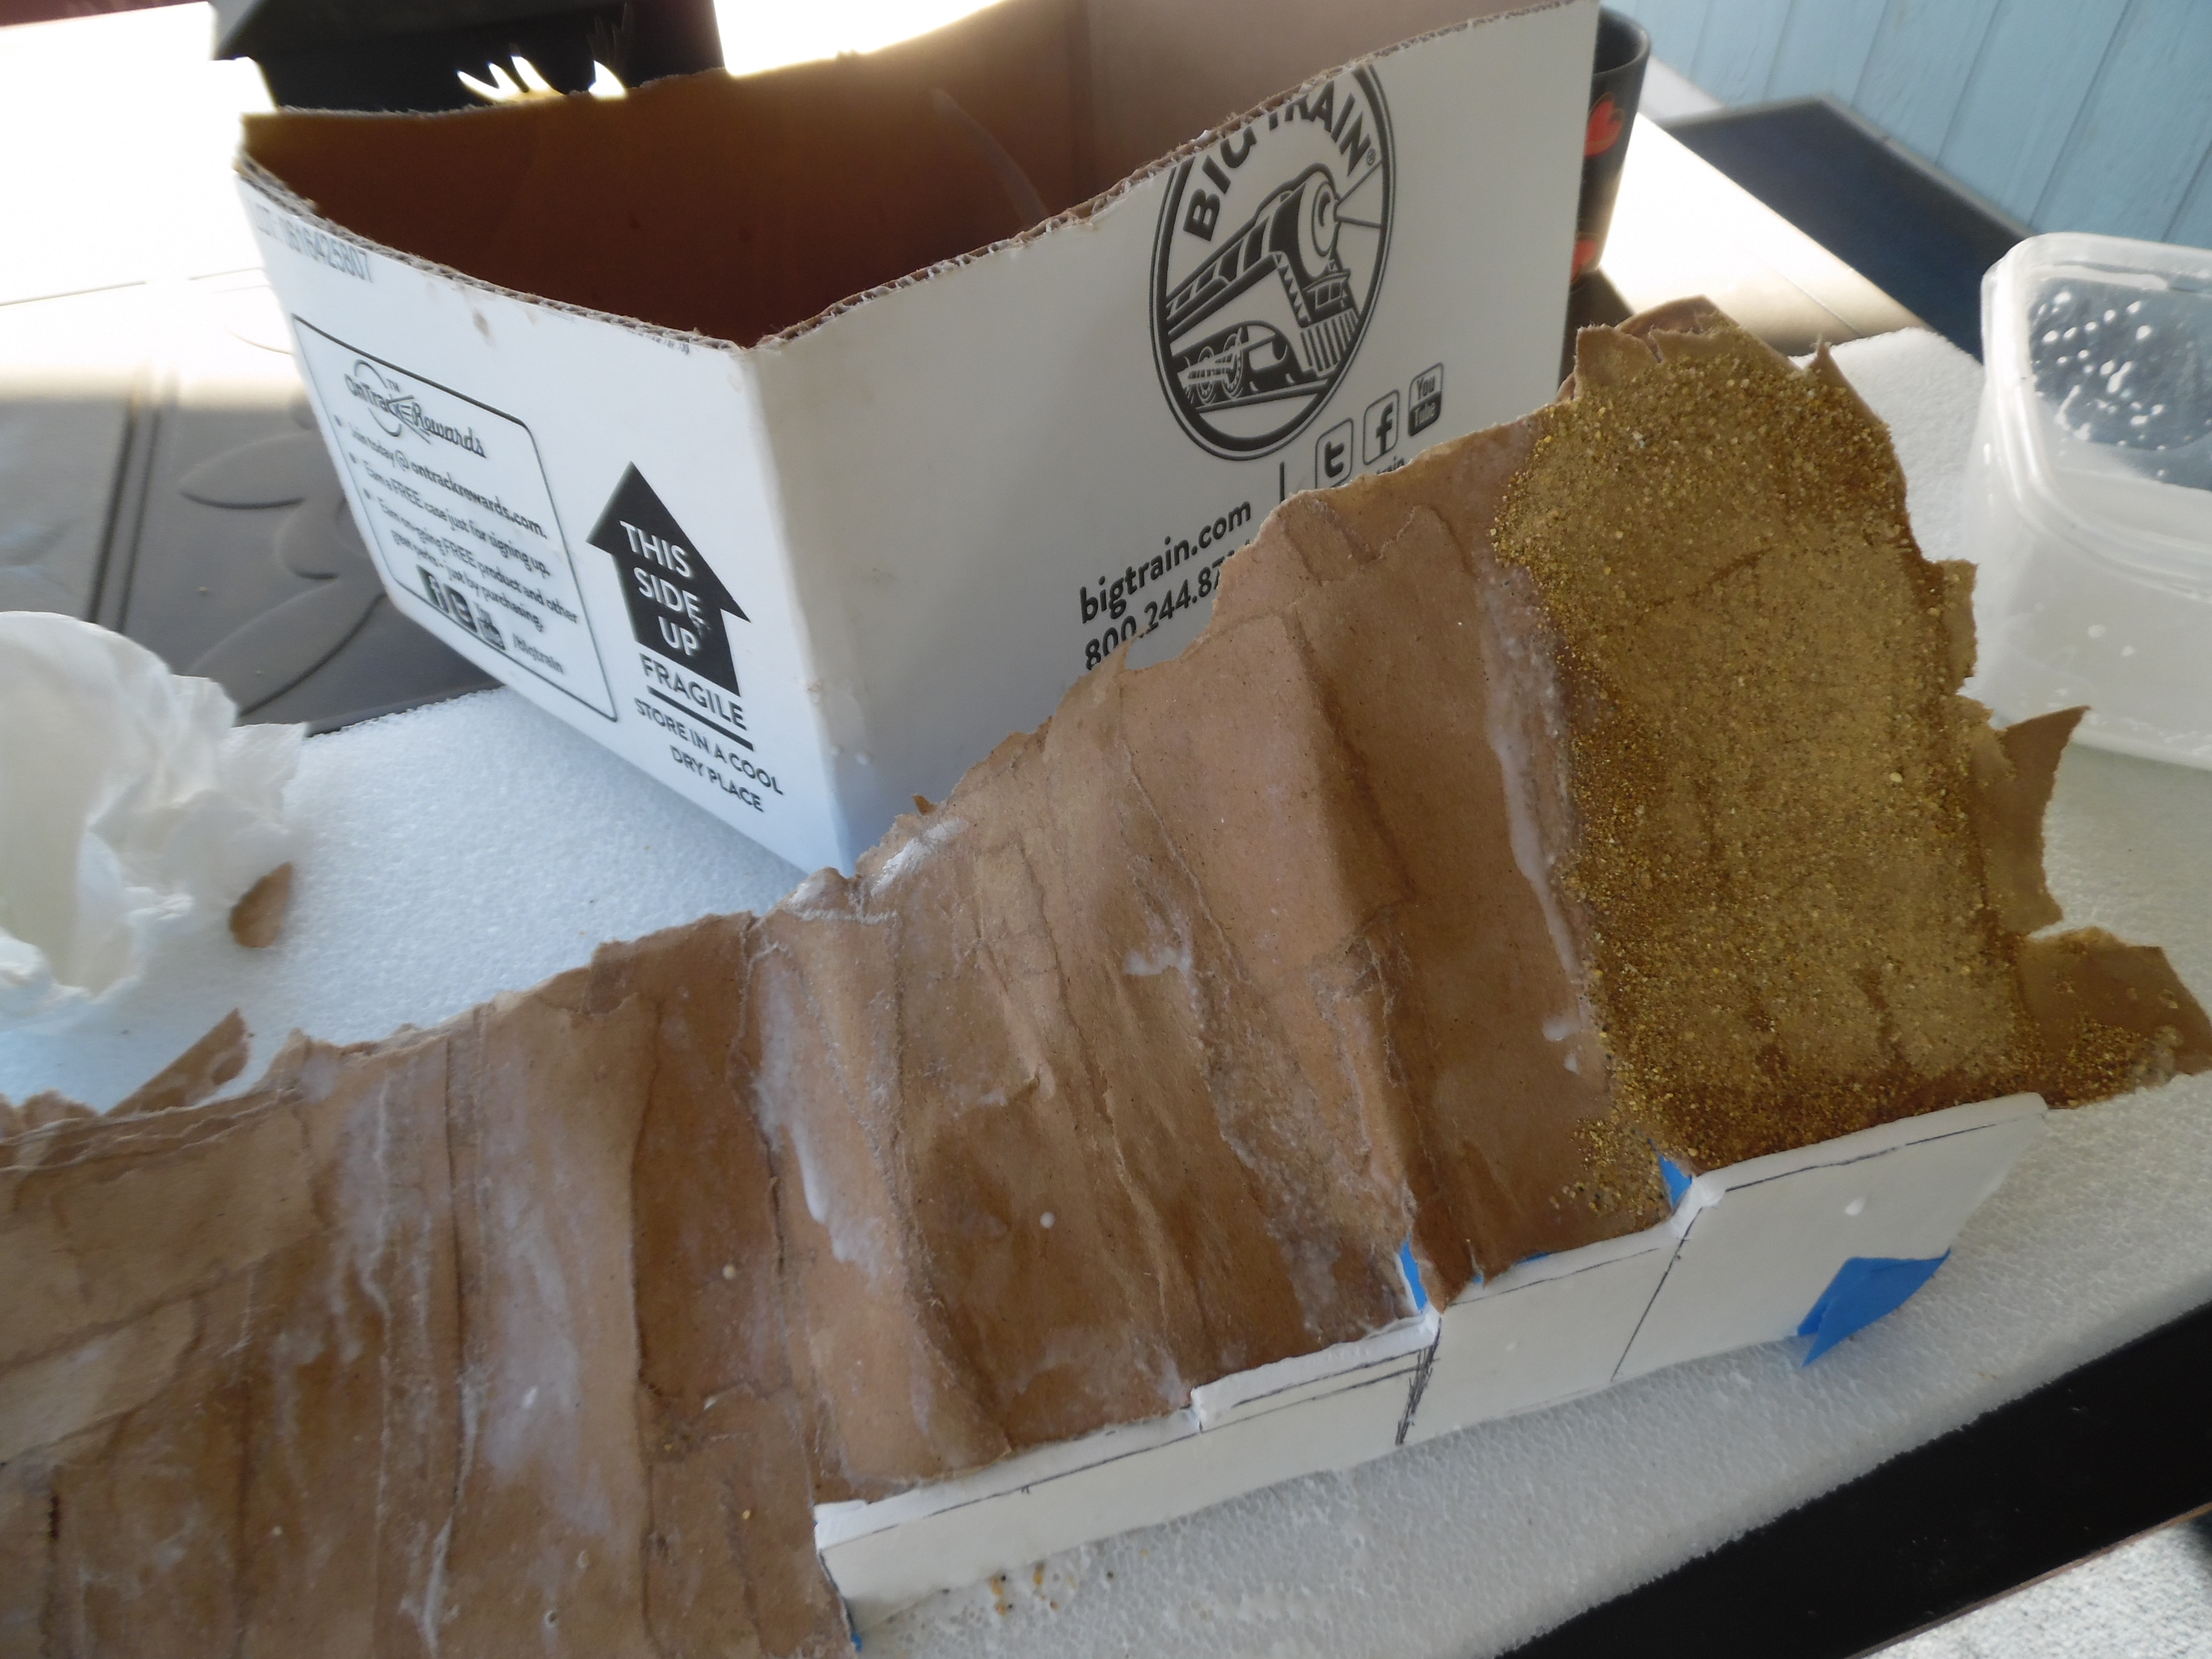
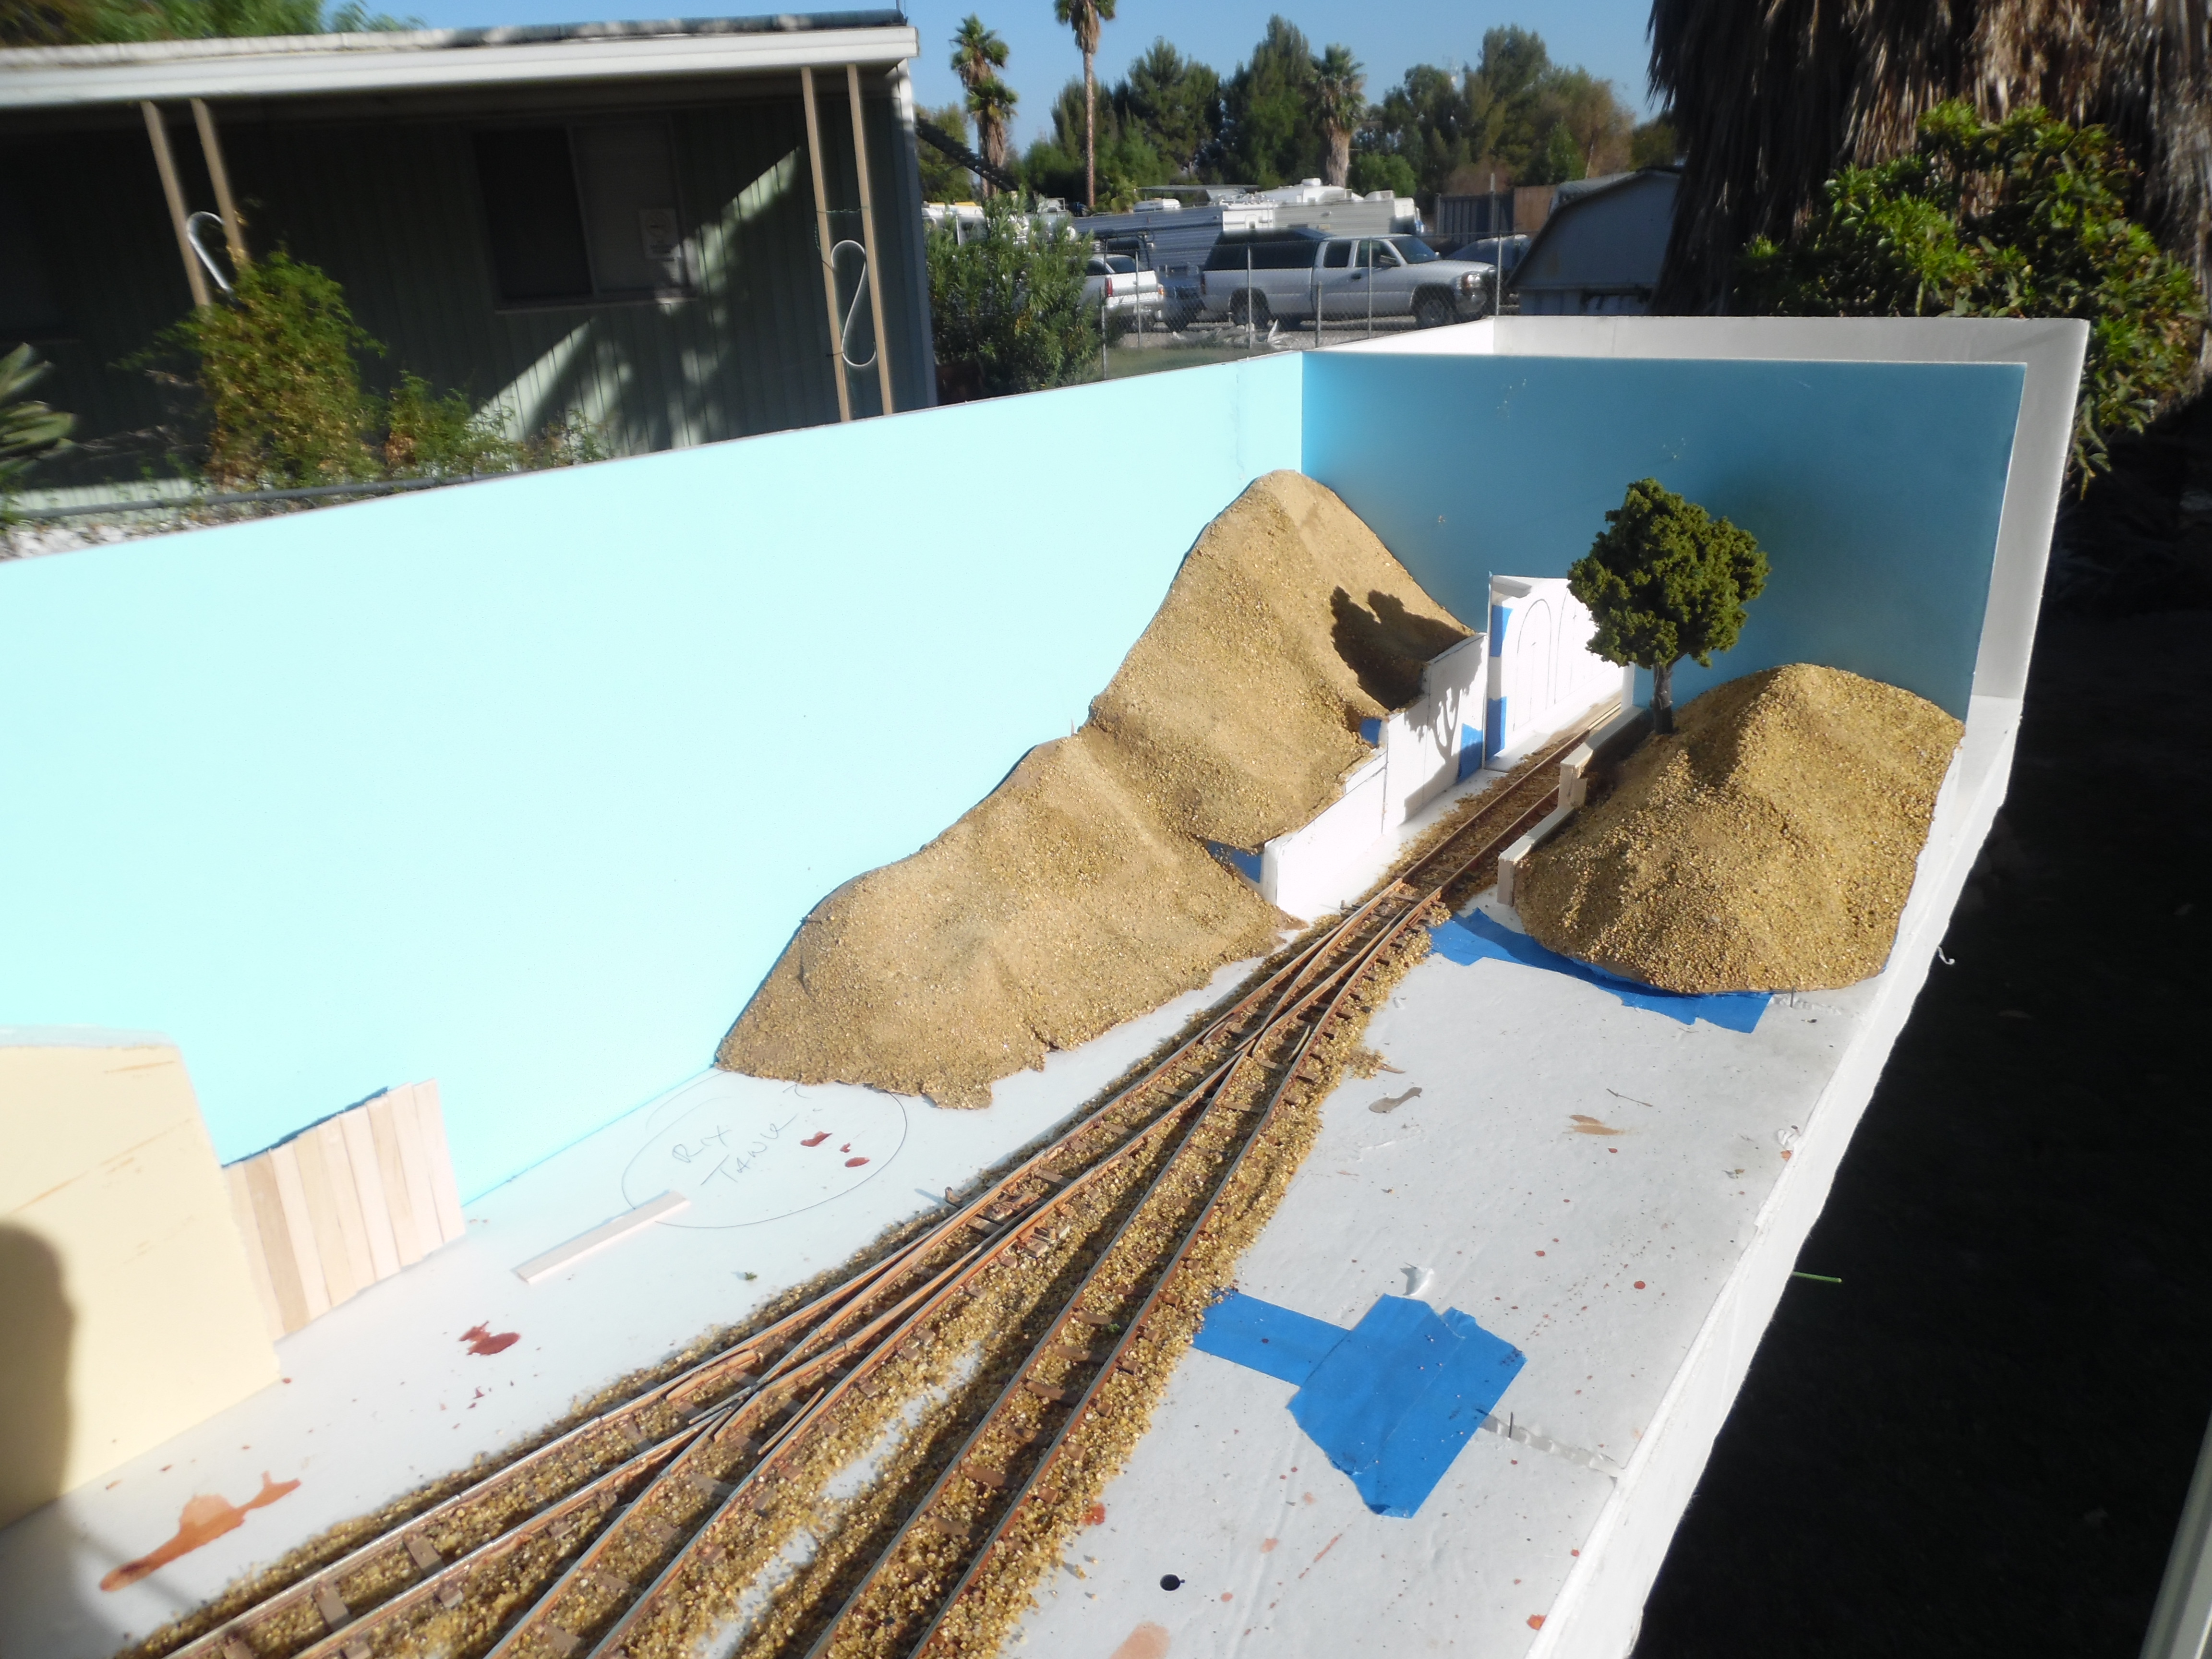
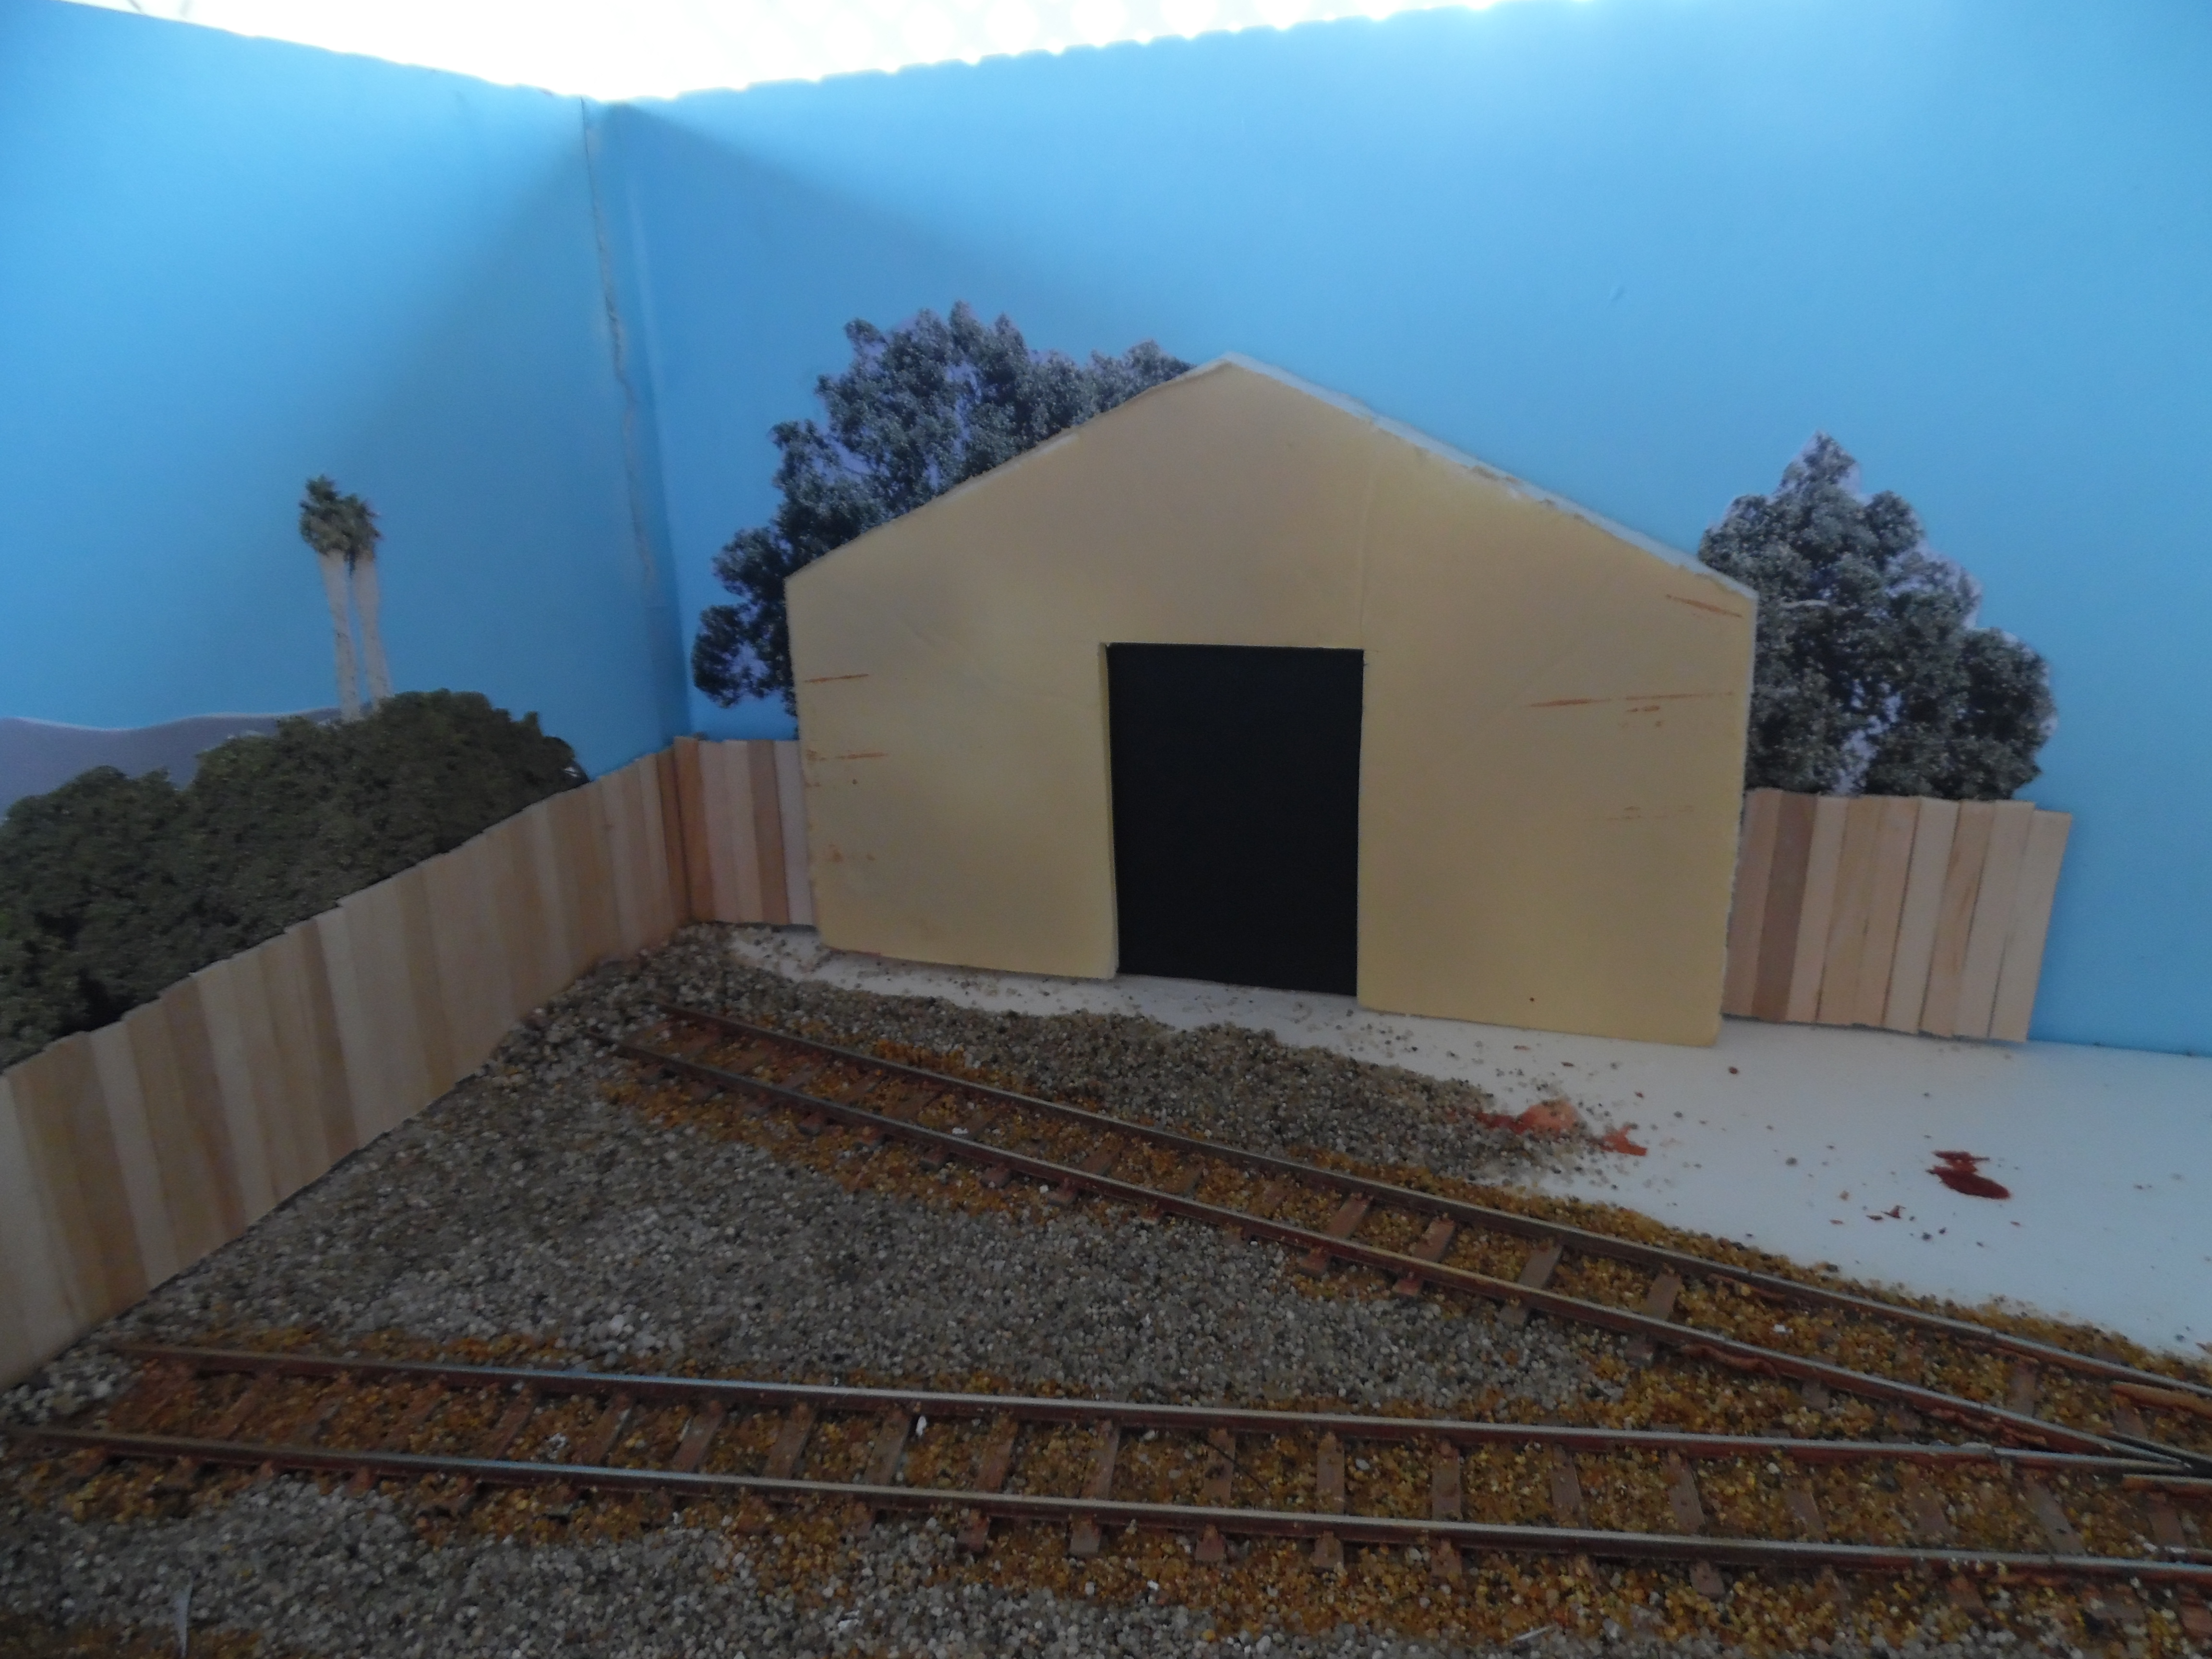
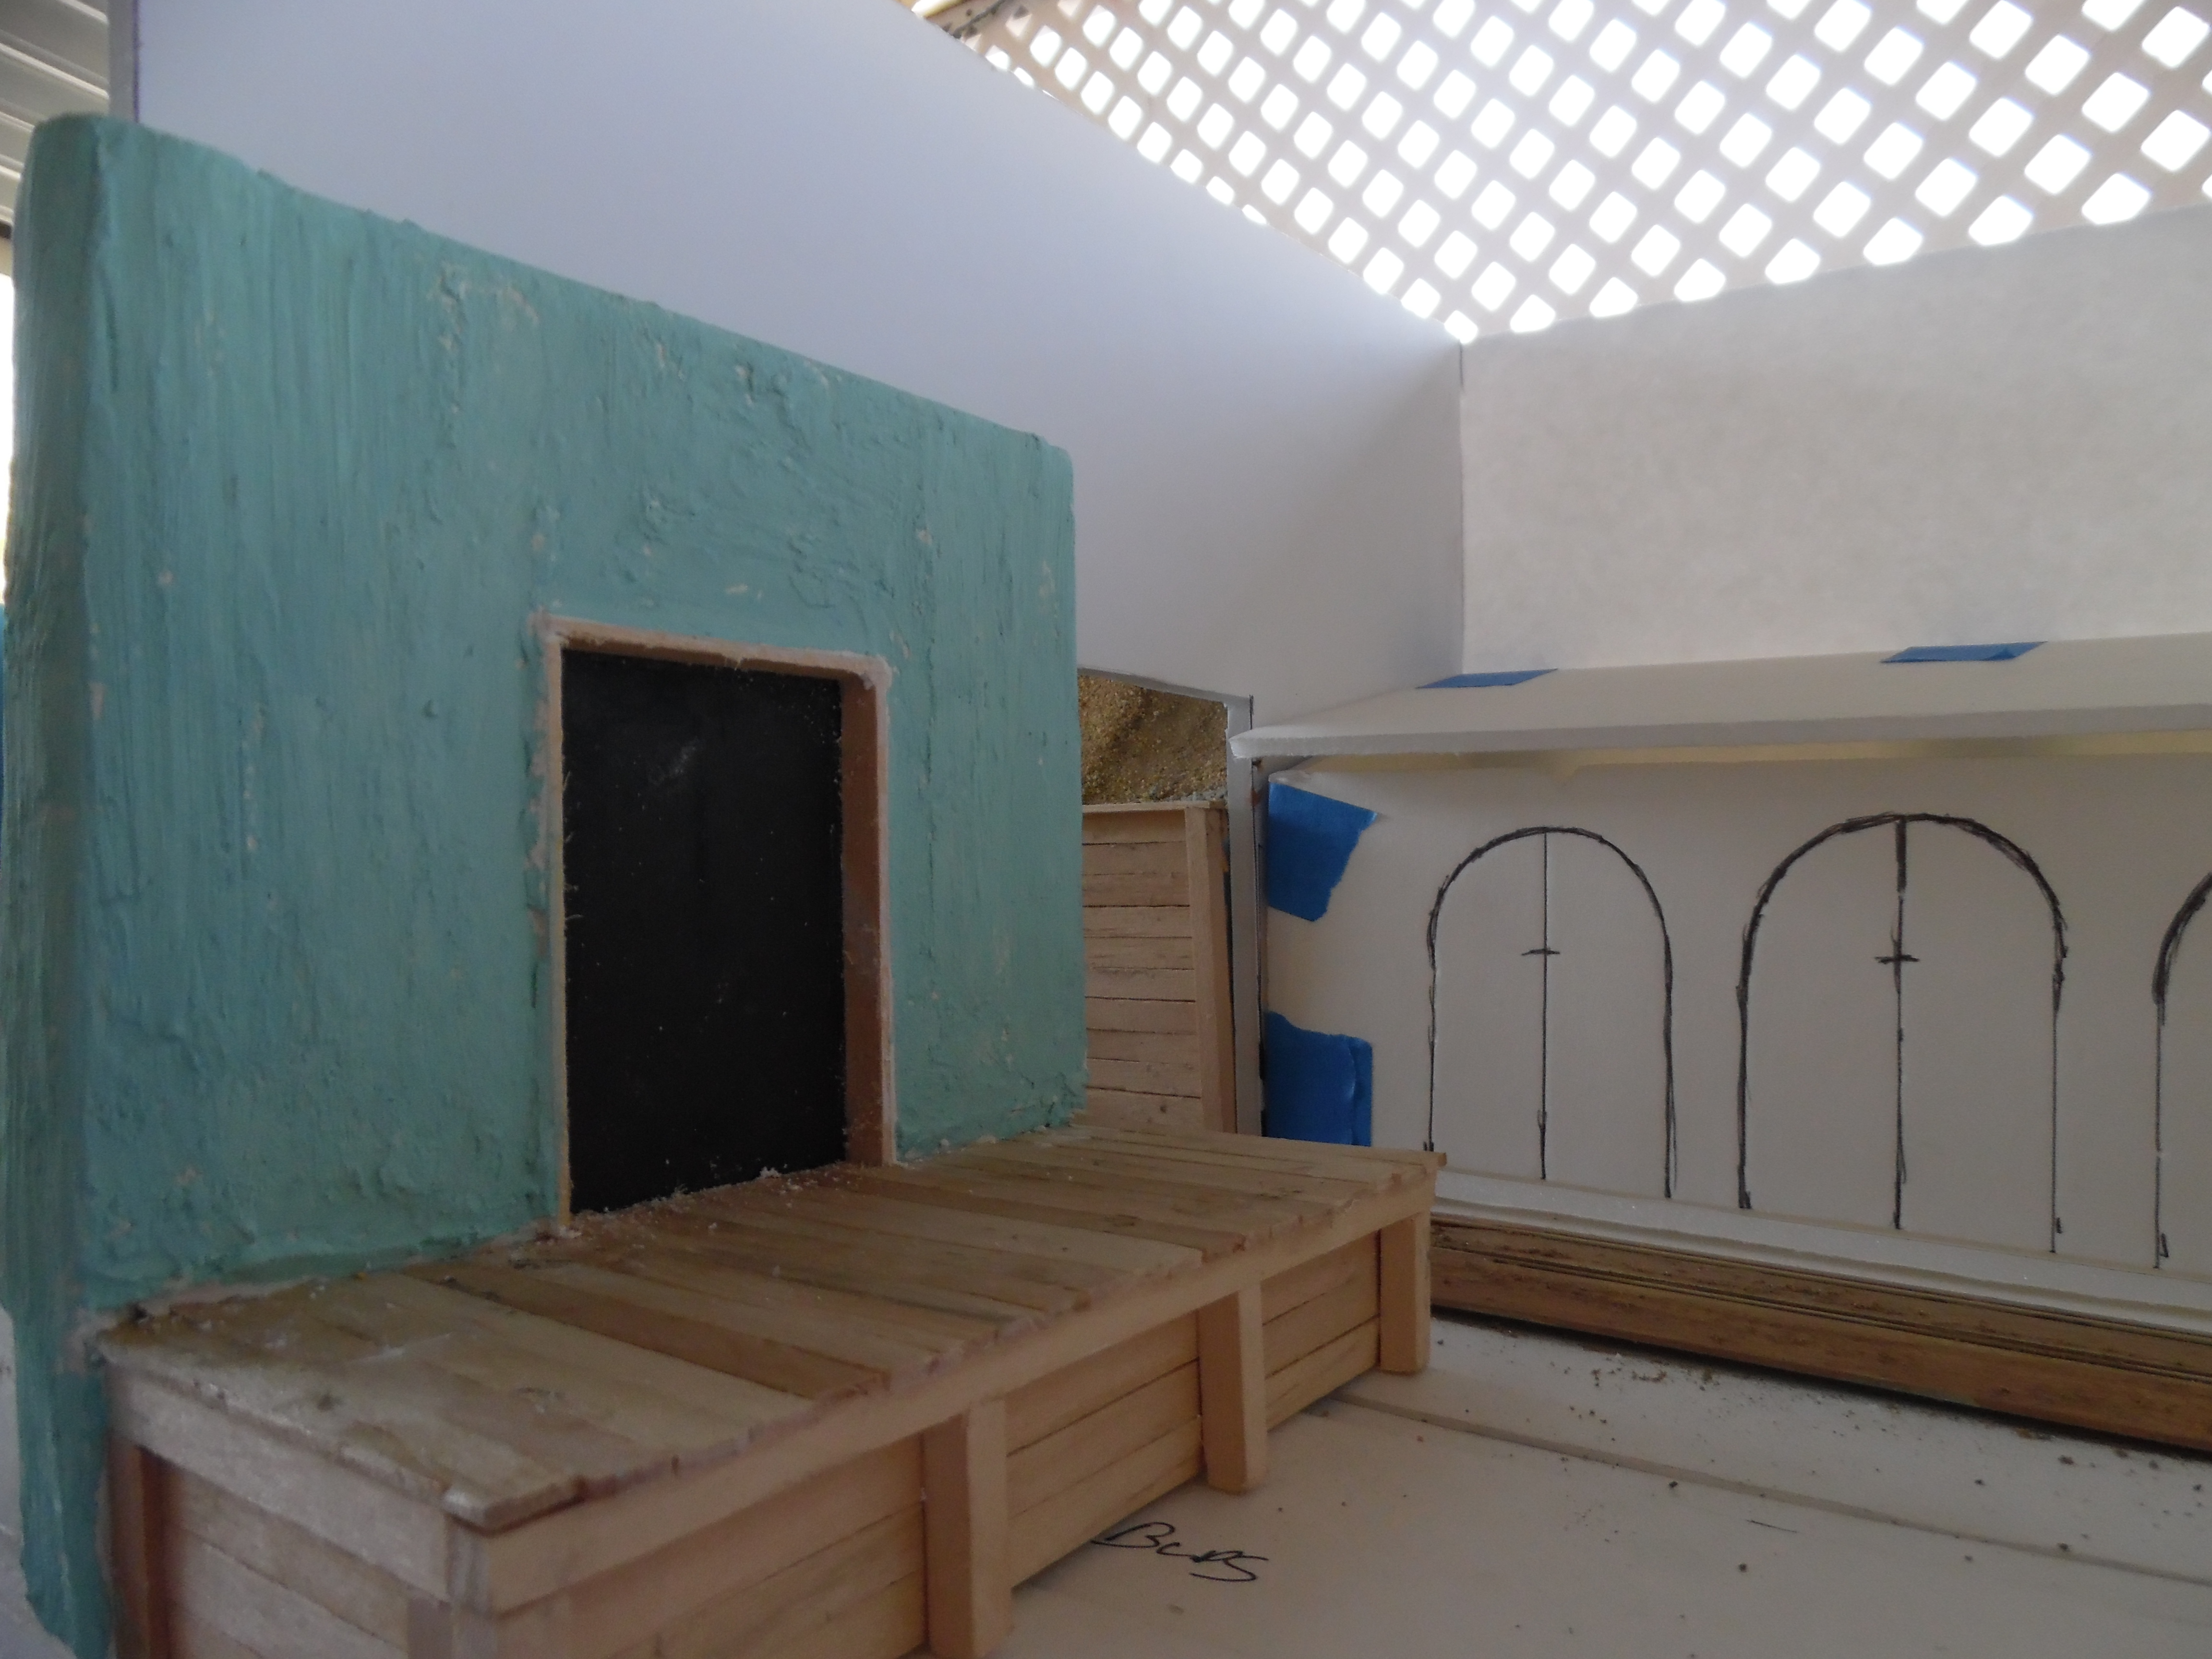
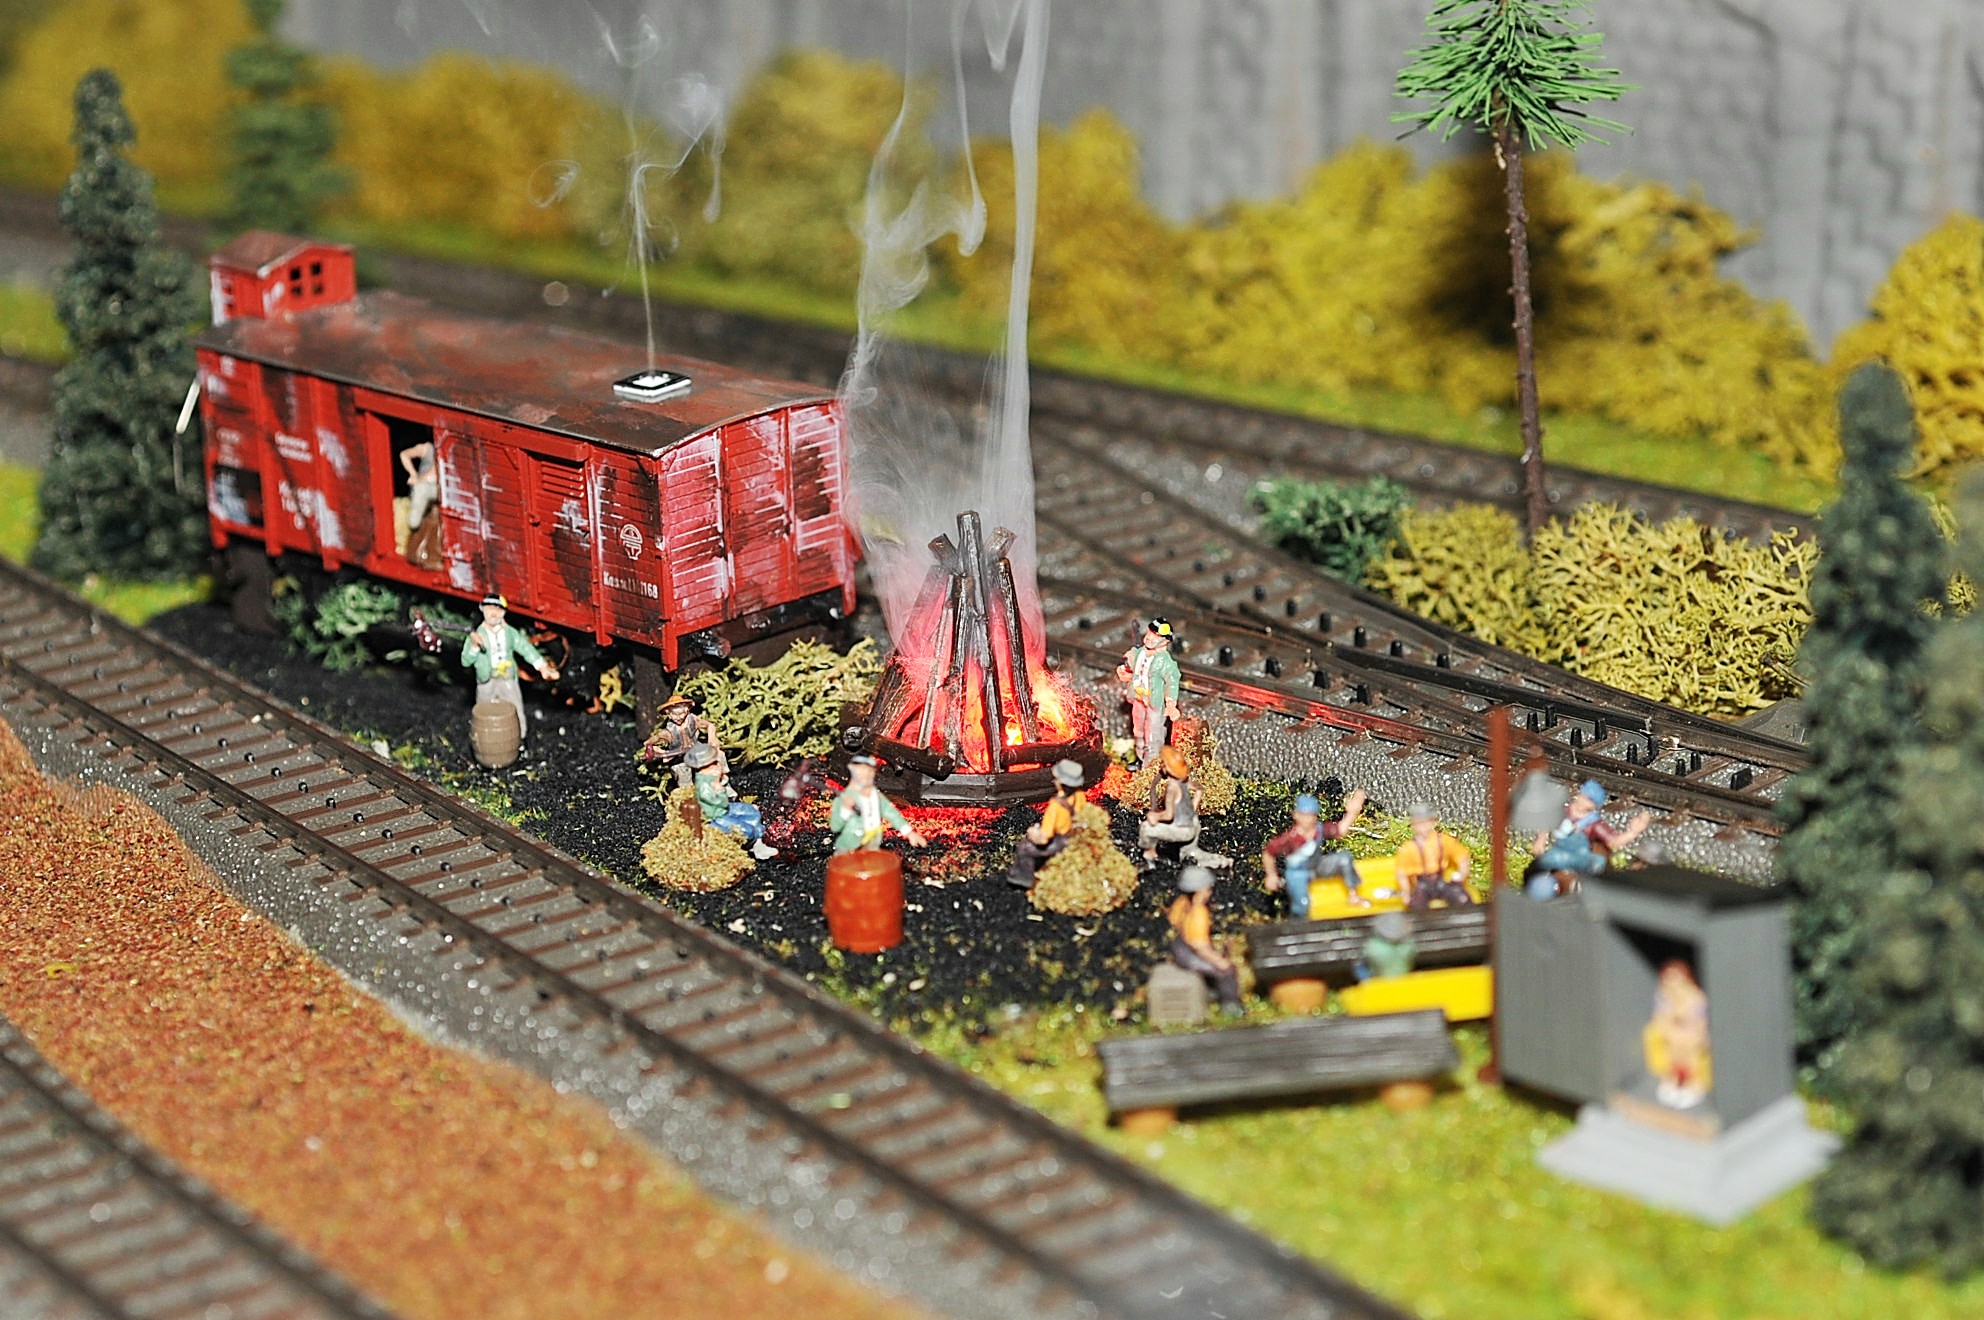
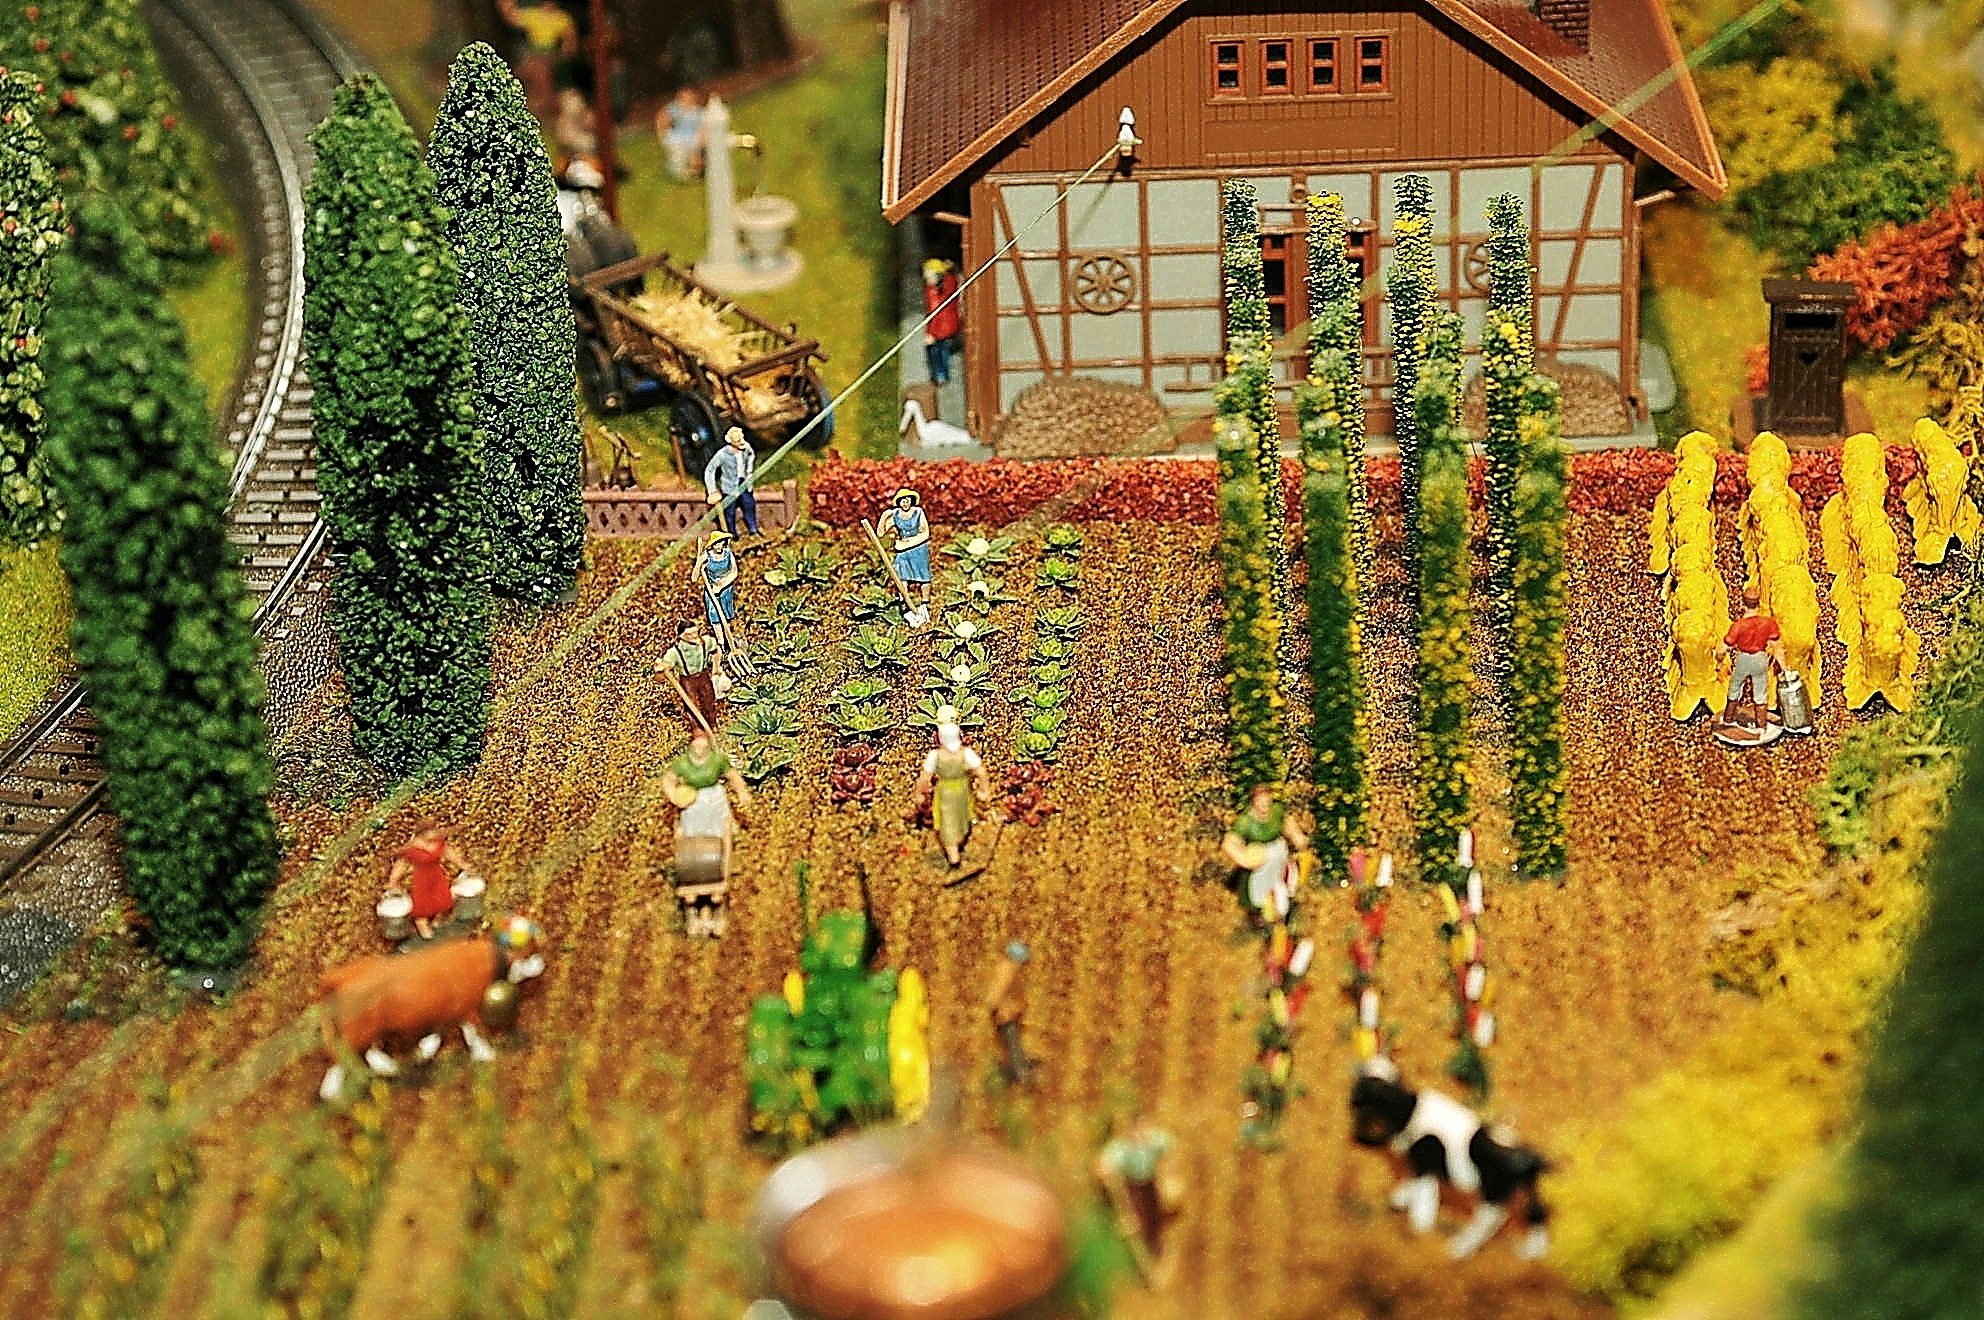
There are over 85 structures built from kits manufactured by Faller and Vollmer. Scenery (trees, shrubs, hedges, etc.) by Busch, Heki, and figurines by Preiser.

I hope you enjoy my layout and of course feedback would be appreciated.

Thank you

Richard”

5 (2)

5 (3)

13 (2)

51

63

69


70


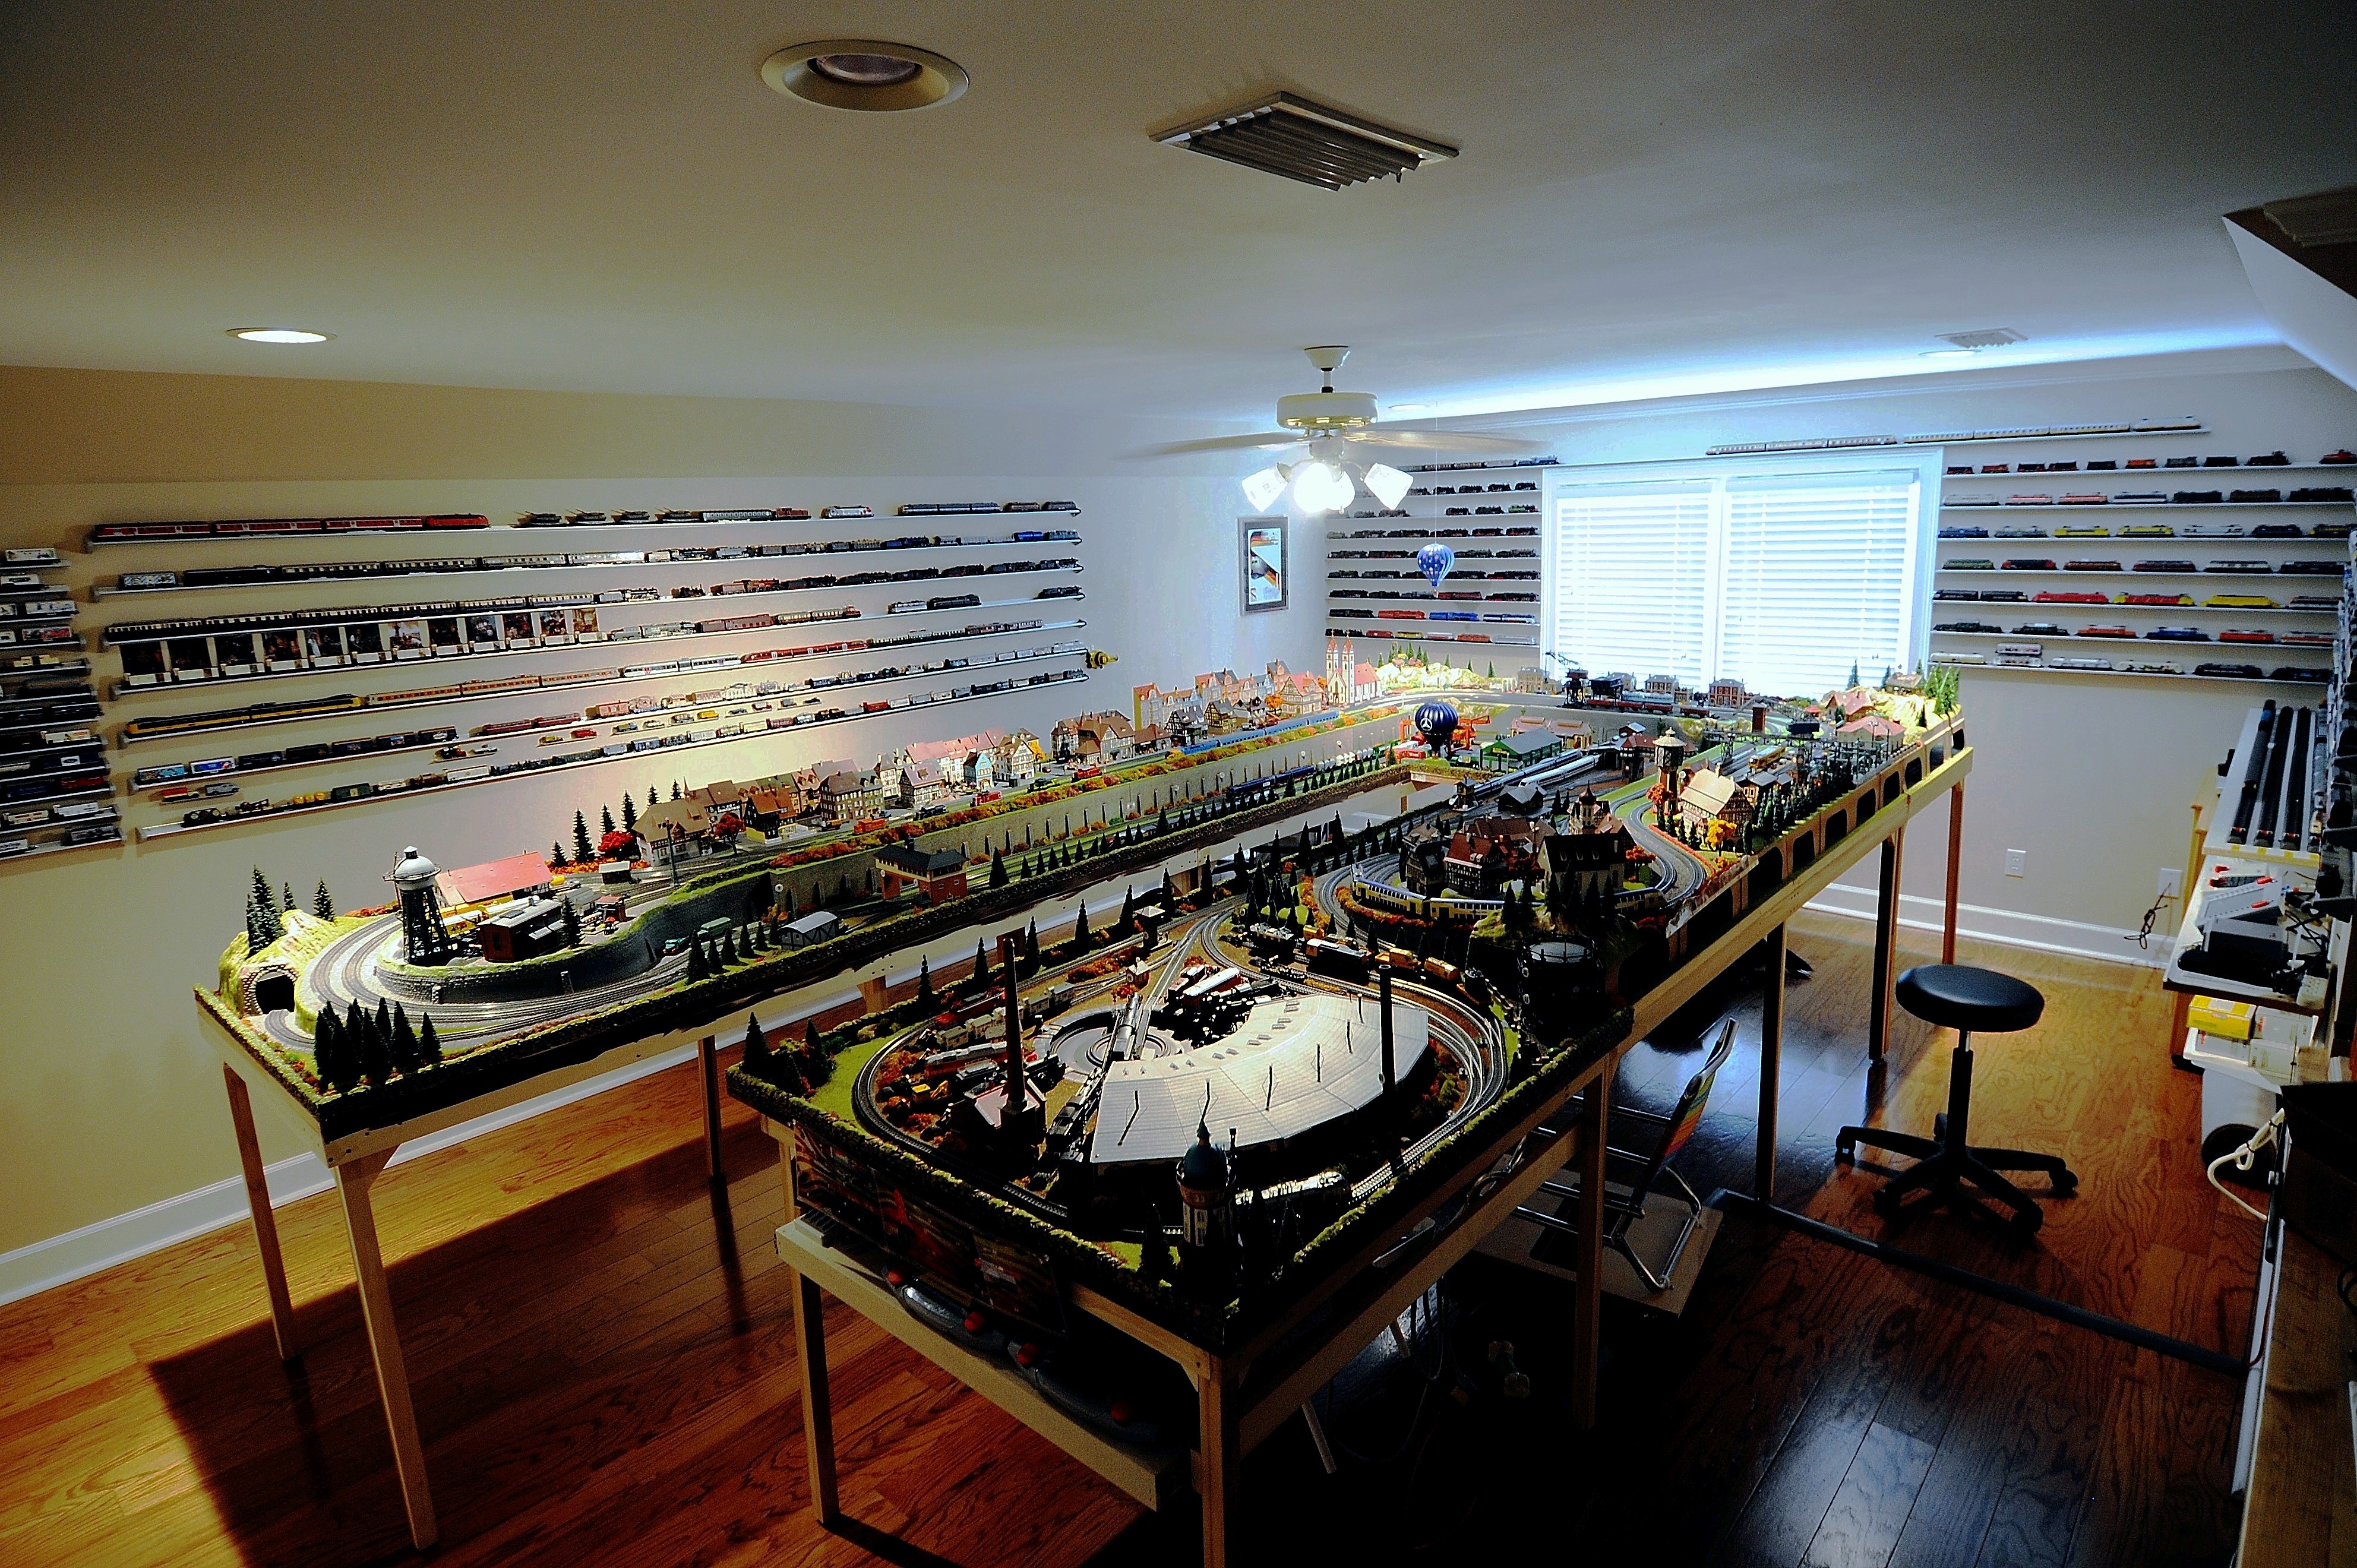
My my! That’s one tidy room and layout. I’m deeply envious. Thanks for Richard for sharing, and thanks for the mails on the ebay cheat sheet too.

One last thing – not all heroes wear capes – a few of have been answering the questions on the modeltrain forum.

You know who you are, and a big, huge thank you for doing that. I really hope it grows into something really helpful.

That’s all for today peeps.

Please do keep ’em coming.

And if today is the day you get started on your layout, the Beginner’s Guide is here.

Best

Al

PS More HO scale train layouts here if that’s your thing.


Need buildings for your layout? Have a look at the Silly Discount bundle.

Simon’s rockface

“Hi Alastair

Just thought I would share a few tips with you about scenery.

Being very green behind the gills when it comes to making scenery and especially rock formations I thought about how I could use household waste and free materials to get the basic out line etc. in my next email I will send you a photo of the result so far.

I used toilet roll holders to obtain height and basic out line of what I wanted to do. Next I used the free new diaper that gets thrown on my drive way every week and glued it around the toilet roll holders the rest if the newspaper was use for paper mâché around a long balloon for the ends. Before I fitted the ends I went yo my local masters hardware store (here in Australia ) where they have samples of wall paper plain white or cream are deal with a pattern on it – some even look like a rock face.

I then glued it over the paper and curled it round to form the rock and Rock face. For the top ( as I wanted it to be the village look out I used cardboard to form an even top.

So the basics were now all completed, to make the the parking area I used 1200 grade wet and dry sandpaper cut to size and to cap the end I use 80 grade course brown sand paper.

After that I painted it with poster paints and threw reptile grey/black sand at it whilst still wet. The end result I don’t think looks to bad, albeit thy instill have the fence, hedge and greenery to and. Over all to date it has cost me time an just $5 to make! That covers the cost of sandpaper, glue, and reptile sand used.

The rock seems happy enough because it has formed a face at one end which was totally unplanned.

Regards

Simon in Australia”

photo 1

photo2


“Hi.

Just a couple of photos of my O gauge layout as it progresses.

I did make a neophyte mistake and tried to put too much of my dream into the layout initially. Pulled a bunch of peripheral stuff and extra track out, simplified, and am almost ready to glue and plaster-scape. The initial wiring shouldn’t be too terrible, as I’ve conceptually broken the layout into 3 blocks with 2 common sections…but then we’ll see, won’t we

I’ll take any advice for anyone who sees my layout.

Steve”

IMG_1276


IMG_1289

IMG_1311

IMG_1321

IMG_1352


Big thanks to Simon and Steve. Can’t wait to see how Steve’s pans out.

Please do keep ’em coming.

Thanks for all the comments on the ebay cheat sheet. It’s on a roll at the moment. Latest one is here.

And if today is the day you get going on your very own layout, the Beginner’s Guide is here.

Best

Al


John cracks on

“A few more pictures of “Terrapin Yard” at the current level of progress…

The hill is a partial view block to hide the “rabbit hole” where the train ducks out of the main scene into the “fiddle yard”/ It is a foam core board base that was covered first in blue painter’s tape and then “brown shopping bag” pieces soaked in 40% (more or less) PVA. That was then covered in sifted decomposed sand stone..

As to the “no excuses” theme… I can only work on this project for about 30 minutes per day.. Occasionally I get a full hour. Unfortunately the annoying process of attempting to earn a living so I can pay my bills cuts drastically into the time I have available for modeling.

I hope you enjoy my little updates…

SAM_0052

SAM_0053

SAM_0055

SAM_0056

SAM_0058

SAM_0061

SAM_0065


Today I worked on the fiddle yard area and made mock-up structures for that area.

The board fence begins finishing the back of the yard area. It is one of several items I have been building with
coffee stirring sticks. They work out to about 2×12 boards in 1/4″ scale and a box runs about $3.00 here in the US.

SAM_0068

SAM_0071

SAM_0072

SAM_0074

If you would like to know more about my removable hills/mountains (such as where I got the idea (Model Trains Magazine, US, early 1950’s), why I use them on most of my layouts, or how I build them, please feel free to drop a line.

One reason that I love these small layouts (I seem to be building about one per year) is that they provide me with an opportunity to try new ideas and refine old ones. So far this project has two new things I am playing with: the first is that it is in On30, the second is that this is the first time I have used photographs to embellish the backscene.

SAM_0085

SAM_0087

SAM_0094

SAM_0097

I hope you enjoy these updates.

Sincerely,

John”


A fantastic series from John. I’m already looking forward to the next one.

Please do keep ’em coming – just like the comments on the ebay cheat sheet – latest one is here

And if today is the day you make your big start, the Beginner’s Guide is here.

Best

Al

PS Latest ebay cheat sheet is here.