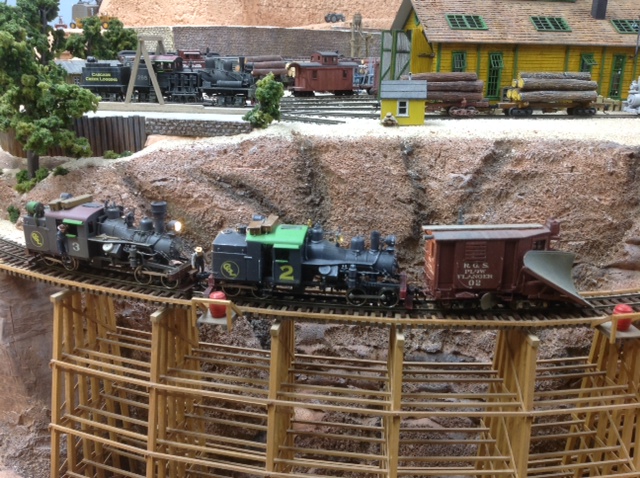
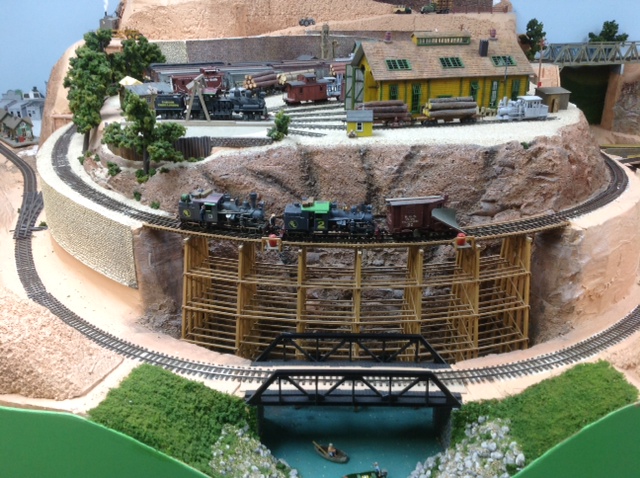
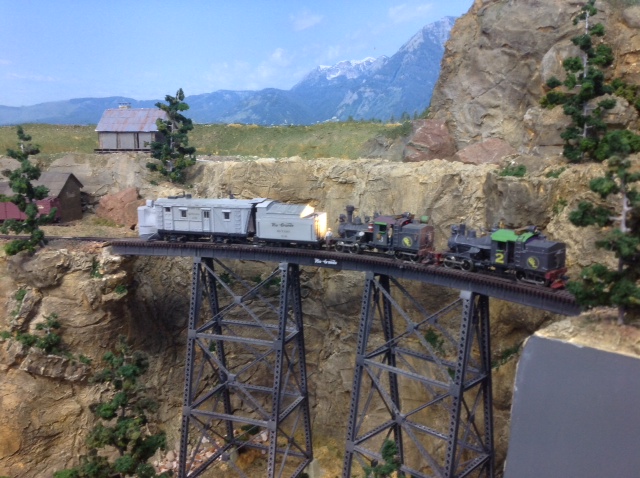
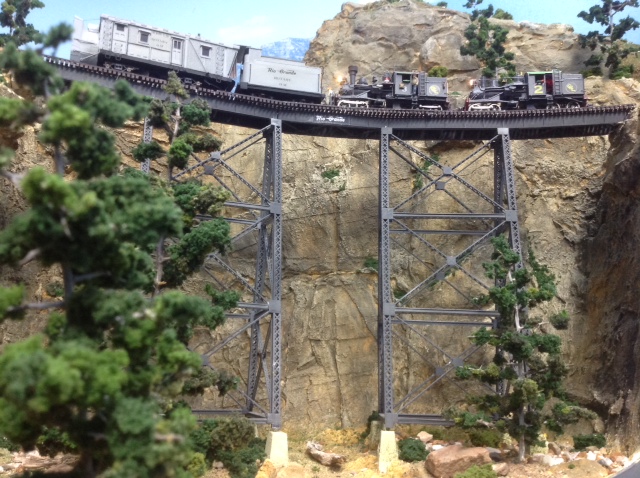
“Whether a beginner or “ole” time modeler, we never get to old to learn. Yes Virginia, you can teach old dogs new tricks.
I have been in railroad modeling for almost a half a century and am still learning. That is part of the fun of this, the World’s best hobby. I just attended a week-end meet yesterday on the west coast of Florida and picked up some more ideas.
Three ways I have enjoyed learning is
( 1 )by reading everything I can about my interest. I subscribe to Classic Toy Train (since it’s beginning) and also the O Gauge Magazine. I also currently have 183 books in my personal library. .
(2) Join the clubs! For over 30 years I have been a member of the TCA, LOTS, and the LCCA, among others. Attend meetings and conventions.
(3) Establish friendships and learn from these resources. Some of my best friends are the direct results of club nights, hobby store encounters, annual club conventions, etc. I always garner new ideas from these special people.
Have a junk collection box. I am always picking up weird items and my wife wonders why. Bottle caps, small springs, broken items, wire pieces, plastic items ,etc. Anytime I see an item laying around waiting to be thrown out—I say, that could be turned into a ??? on my layout. And, usually it does. I only have one problem. I AM RUNNING OUT OF ROOM.
Better run, got more railroading to do. Have fun and run those trains!!! Thanks Al for your work.
Dennis”
Next up, Paul:
“Hi Al,
Here are some photos of the new part of my layout.
As you see in photos The MIDLAND GREAT CENTRAL JOINT RAILWAY has just reached Little Benton, Where an old time station will soon be open.
The station building is from the Model village series, which is onsale at Newsagents.
I made the MIDLAND GREAT CENTRAL JOINT RAILWAY sign on my computer, I used the small size font. I also made a frame for the sign as well on the computer.
A start has been made on scenery plaster has been used is now drying . A signal box is also under construction.
In one photo G2A 49402 is in the loop while Flying Scotsman is on the mainline.
Paul”
Next, on to Mike:
“Couple of pics of layout I built for 7 year old boy…
Mike”
A fantastic looking layout from Mike – but I for one would love to hear more about it. I’ve mailed Mike back. Fingers crossed.
“Well I am happy to see the positive response from my project, so let’s keep going:
First of all, I ended up using XtrkCad for a number of reasons. It is very hard for me to understand the underlying principles of CAD. Somehow, I was able to understand XtrkCad. (I tried SCARM, Anytrack, 3rdPlanit, CadRail. Ugh. I almost gave up!)
XtrkCad let me do two things that the others could not.
Create curves with 7” radius in HO scale.
Remember, some of these tracks are running in urban streets and this is common for street running.
Secondly, it allowed me to create a custom turnout, to match the Richard Orr single point turnouts. This was the biggest issue for me.
Downside is that there is no 3D. But I will address that later.
So I started:
The right side is the Howard Street area and the elevation is 0”
The dark line in the middle is a two sided backdrop and the left side is the run to Waukegan and is at elevation 4”. So the backdrop will have tall flats on the Chicago side and shorter flats on the Waukegan side.
The High Speed line to Milwaukee will disappear under a viaduct and remain hidden.
On the Chicago side, the topmost track will disappear behind some industrial low relief buildings. (Actually, I have some from Al that should work out just fine.) I didn’t put any industrial switching in just yet.
Then reality started to rear its ugly head. On the right side, I have 10 tracks running parallel and only 4 feet to fit them in.
The easiest one to get rid of was the center track running through the station. So I removed that and put a double crossover on the Waukegan side. The siding behind the buildings at the top had to go too. They were the least useful in this plan.
All of those tight turns and switches in an inaccessible area under Waukegan had to go too. That would never be a reliable situation.
So I made it a simple loop that would run along the edges of the railroad. It gave me pretty much access to those tracks (and overhead wire).
This is the loop that the Electroliner would run on. I have a brass model from Nickle Plate.
There are a few others available, but none of them are real reliable runners. So simplicity wins out. And if I want to run in the other direction, I just have to
switch the trolley poles.
They were articulated trains (one truck supported the ends of two cars). They had a top speed of 110mph, but the highway crossing gates could not come down fast enough, so they were restricted to 90 mph.
The North Shore also had freight operations. So the Steeple cab locomotive will pick up cars from the Railroad interchange (right next to the 2 sided backdrop) and drop them off at the Merchandise
Dispatch warehouse (double track spur on the Chicago side) and to various industries north of the city.
I put in a few spurs, just to reserve the space. This will be refined later on.
For those of you who are not familiar with the Electroliners, here are some pictures.
They were articulated trains (one truck supported the ends of two cars). They had a top speed of 110 mph, but the highway crossing gates could not come down fast enough, so they were restricted to 90 mph.
The North Shore also had freight operations. So the Steeple cab locomotive will pick up cars from the Railroad interchange (right next to the 2 sided backdrop) and drop them off at the Merchandise Dispatch warehouse (double track spur on the Chicago side) and to various industries north of the city.
I put in a few spurs, just to reserve the space. This will be refined later on.
The interchange tracks curve a bit at the far end. I anticipate that they will go under a bridge or something and butt up against a mirror.
This should create the image that they continue to go on, past the edge of the table. The mirror has to be set at an angle, so the viewer won’t see himself/herself when looking at it.
That’s it for today. There are still a lot of adjustments to be made.
Gregory”
“Al, the way I see it.
Do your homework. Set reasonable goals relative to:
What layout do I want to build?
How much space do I actually have to work with?
What trade offs will I have to make between wants and practicality?
Where are my skills and expertise?
What outside help might I need?
What outside help is actually available to me and at what cost?
What family time and relationships will be affected by this hobby?
What financial impact and hardships might this hobby impose?
Can I keep it from getting out of control?
Do I have physical limitations to consider?
These are just some considerations. There will be others because we are all different in our own way.
Zip”
“Hi Al hope all is well and i trust you and your followers have had a great summer modeling! Have a new vid that shows the layout running and the real water spouts are up and flowing. Take a look and I ask you all what kind off vid you would like to see the workings off the layout or the finished .. Maybe a start to finish vid what do you guys think?
Ken”
(Ken’s latest takes a while to get going – but stay with it. It’s worth it).
A huge thanks to Ken – have a look at the comments below!
I have to tell you that the information you pass on to us is so helpful in creating our own “word of trains.”
A question: I’m almost positive that I saw about a year ago in one of your emails an article on using dryer lint to help in the making of scenery. I was going to print it out but never did. If it did come from you, would it be possible to send it out again? I’ve been thinking about it and why not use a handful of lint mixed with some green dye or very diluted green water base paint and sprinkled with some ground foam and you might have a decent looking shrub.
Thanks again for all the helpful information you send out.
Leon”
“Al,
Here’s a tip: I’m putting down G gauge track for my garden railroad. I’ve found that ¼” crushed gravel, not pea gravel, makes an excellent underlayment for the roadbed. But for ballast on top of that, I’m going to use #3 poultry grit! It’s just the right size, shape, and color, and it’s cheaper than dirt: $12.00 for a 50# bag at your local feed store.
P”
“Not stunning, but I always keep a pot of sawdust going; it’s really useful for scatter material and can be glued in small clumps around the bases of walls etc, dabbed with a few different greens and yellows, and becomes weeds/foliage/whatever.
Paul”
“I got this watch powered light i put on the back of this cab.