Being new I’m not sure if this has been mentioned or not ….. more of a tool tip than a modeling tip.
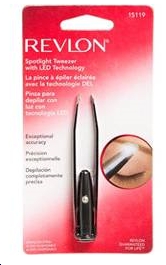
Revlon makes a pair of tweezers that have a built in LED, very handing when working in small dark spaces.
I picked one up today and have already used it a number of times.
Revlon 15119, attached is a picture of one.
Unfortunately, all they had at Wal-Mart today were pink. LOL.”
Well guess what? You can get ’em on ebay.
“Hi Alistair.
I have enjoyed your posts for a few months now and learnt a lot from your contributors.
I’d like to offer a video of my latest layout featuring a modern Japanese urban scene. It is one half of a double sided N Scale layout. It’s a bit different to what most folk here in Australia model and probably VERY different to favoured subjects in other parts of the world.
The second half of the layout is a small town in Montana,USA. I’ll send a link on to that if people are interested.
Cheers
Paul
Brisbane, Australia”
Ebay cheat sheet packed with stuff at the mo: it’s here.
“I do a lot of kit bashing and detailing, I especially enjoy taking an Athearn blue box car or locomotive (or something similar) and making it into a quality model.
This is not an earthshaking revelation, but I find 91% alcohol usually works well for stripping most paint. Just soak the body shell, scrub with a tooth brush and then scrub with soap and water.
Sometimes I have let it soak for several days, but it usually works. The alcohol can be bought at CVS or Walgreens at a reasonable price.
Jack Monette”
“Dear Al,
Firstly just wanted to thank you for hosting this fabulous site and service you provide to the model railroad community.
I look forward to each and every post that is sent in. It is great to see others enjoying this hobby and there is something to be learned from all contributers.
I was thrilled with the feedback from your site on my last video about Buster and the Black Lamb so I have created yet another short clip following the same theme.
The idea for this story line came from my wife who who knows I enjoy fixing and restoring things.
This one took some time to make as it features a Schools Class Locomotive in various states of repair.
Each verson required a different model, all made from Dapol kits. I won’t say any more as I don’t want to spoil what there is of a plot. Please enjoy the movie.
Don’t forget to have look-see at the latest ebay cheat sheet. It’s here.
“I do a lot of kit bashing and detailing, I especially enjoy taking an Athearn blue box car or locomotive (or something similar) and making it into a quality model. This is not an earthshaking revelation, but I find 91% alcohol usually works well for stripping most paint. Just soak the body shell, scrub with a tooth brush and then scrub with soap and water.
Sometimes I have let it soak for several days, but it usually works. The alcohol can be bought at CVS or Walgreens at a reasonable price.
Jack Monette”
“Hi Al:
I really like your site and the contributions.
I am an old traincrazy kid. I have trains in all gauges from 1.5″ riding scale down to Z including N, TT, HO, S, On30. O, and G.
I was smitten by the G scale bug big time in the very early 80’s but it wasn’t until the mid 90’s I could afford to buy anything in Garden scale.
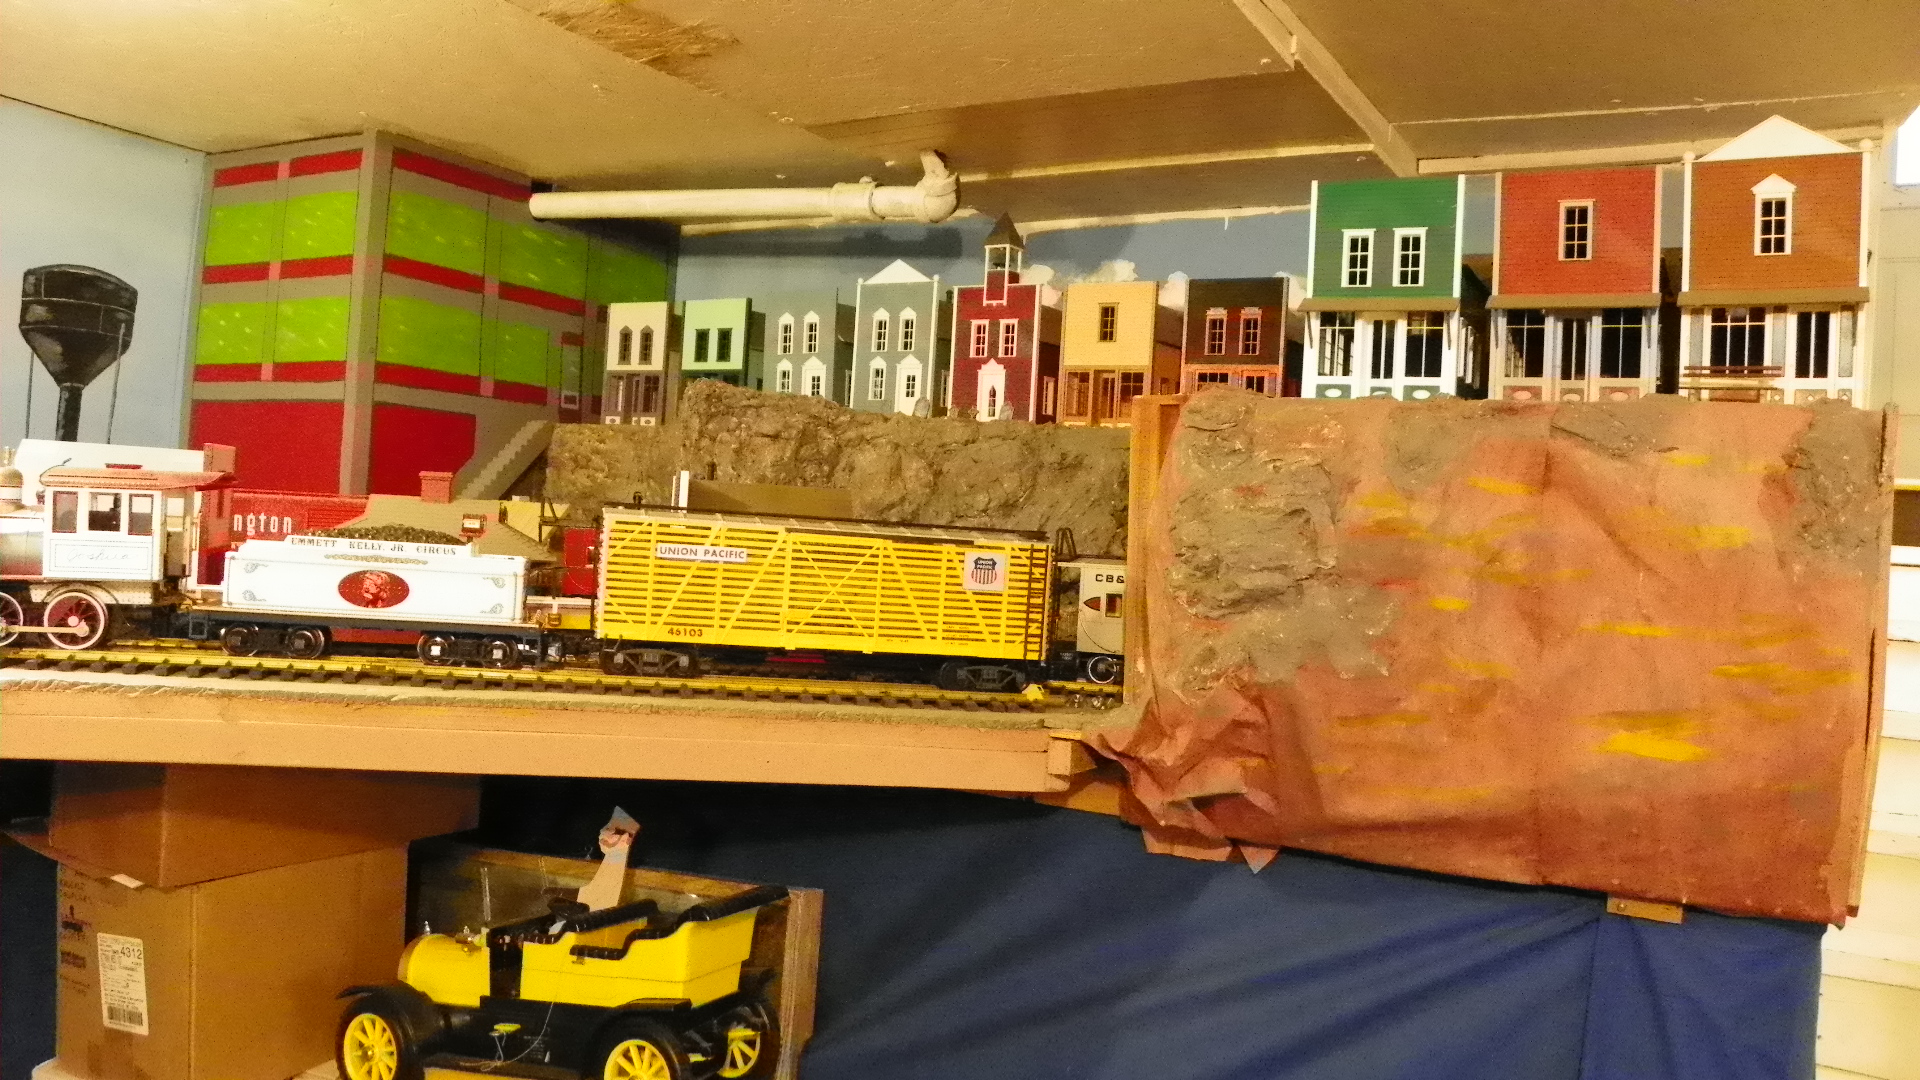
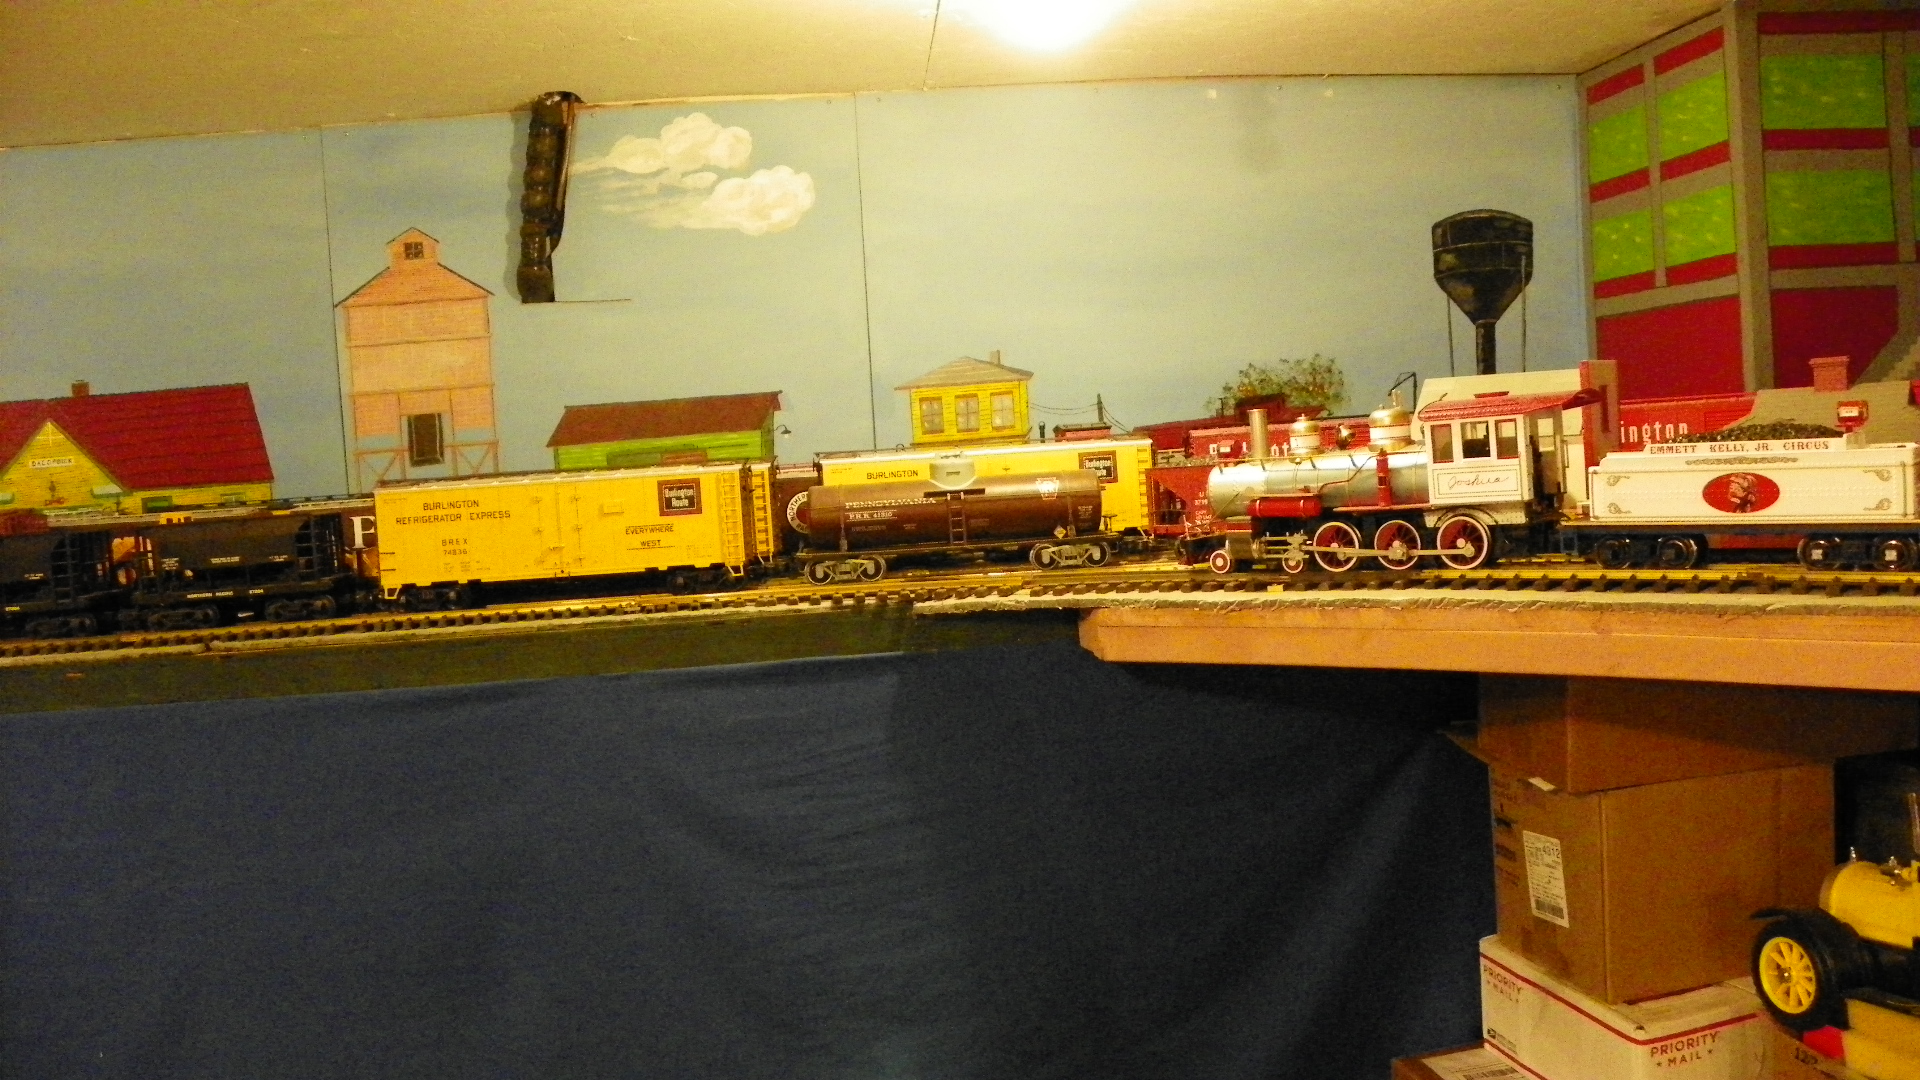
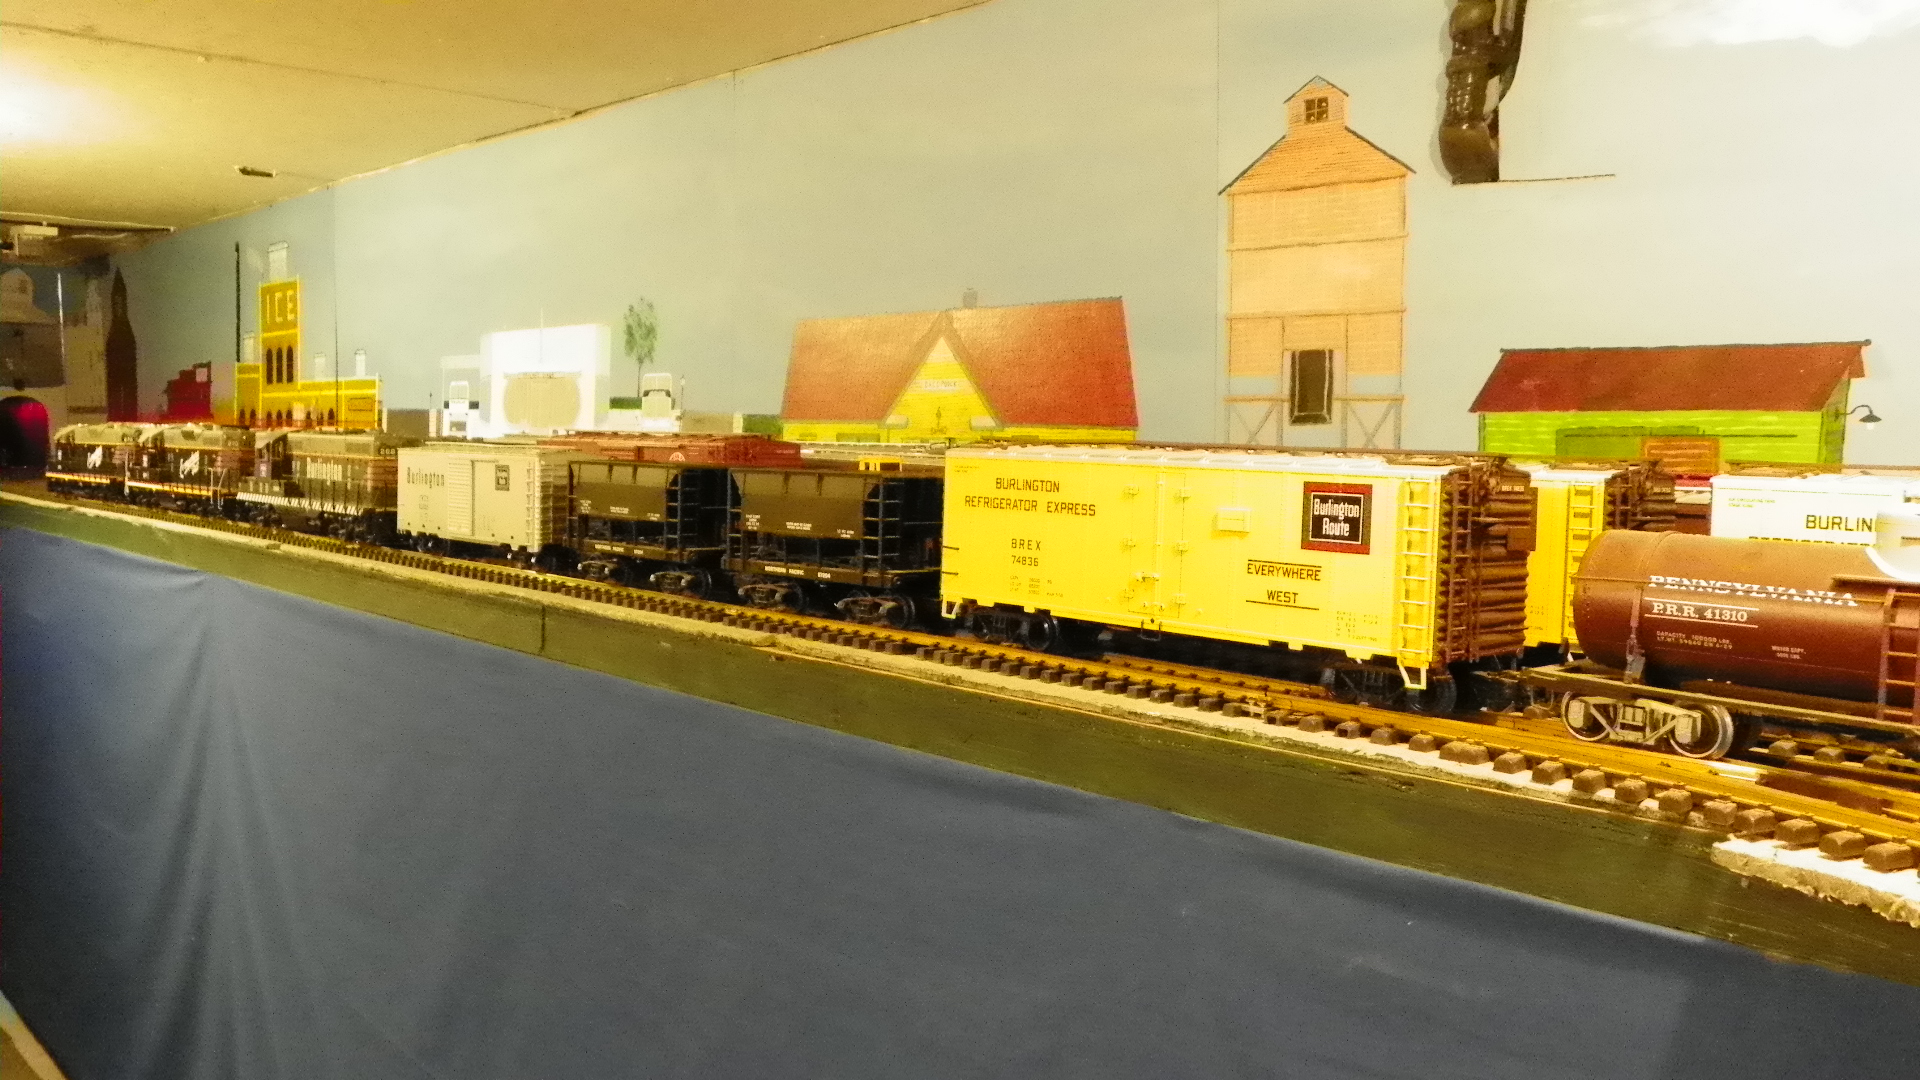
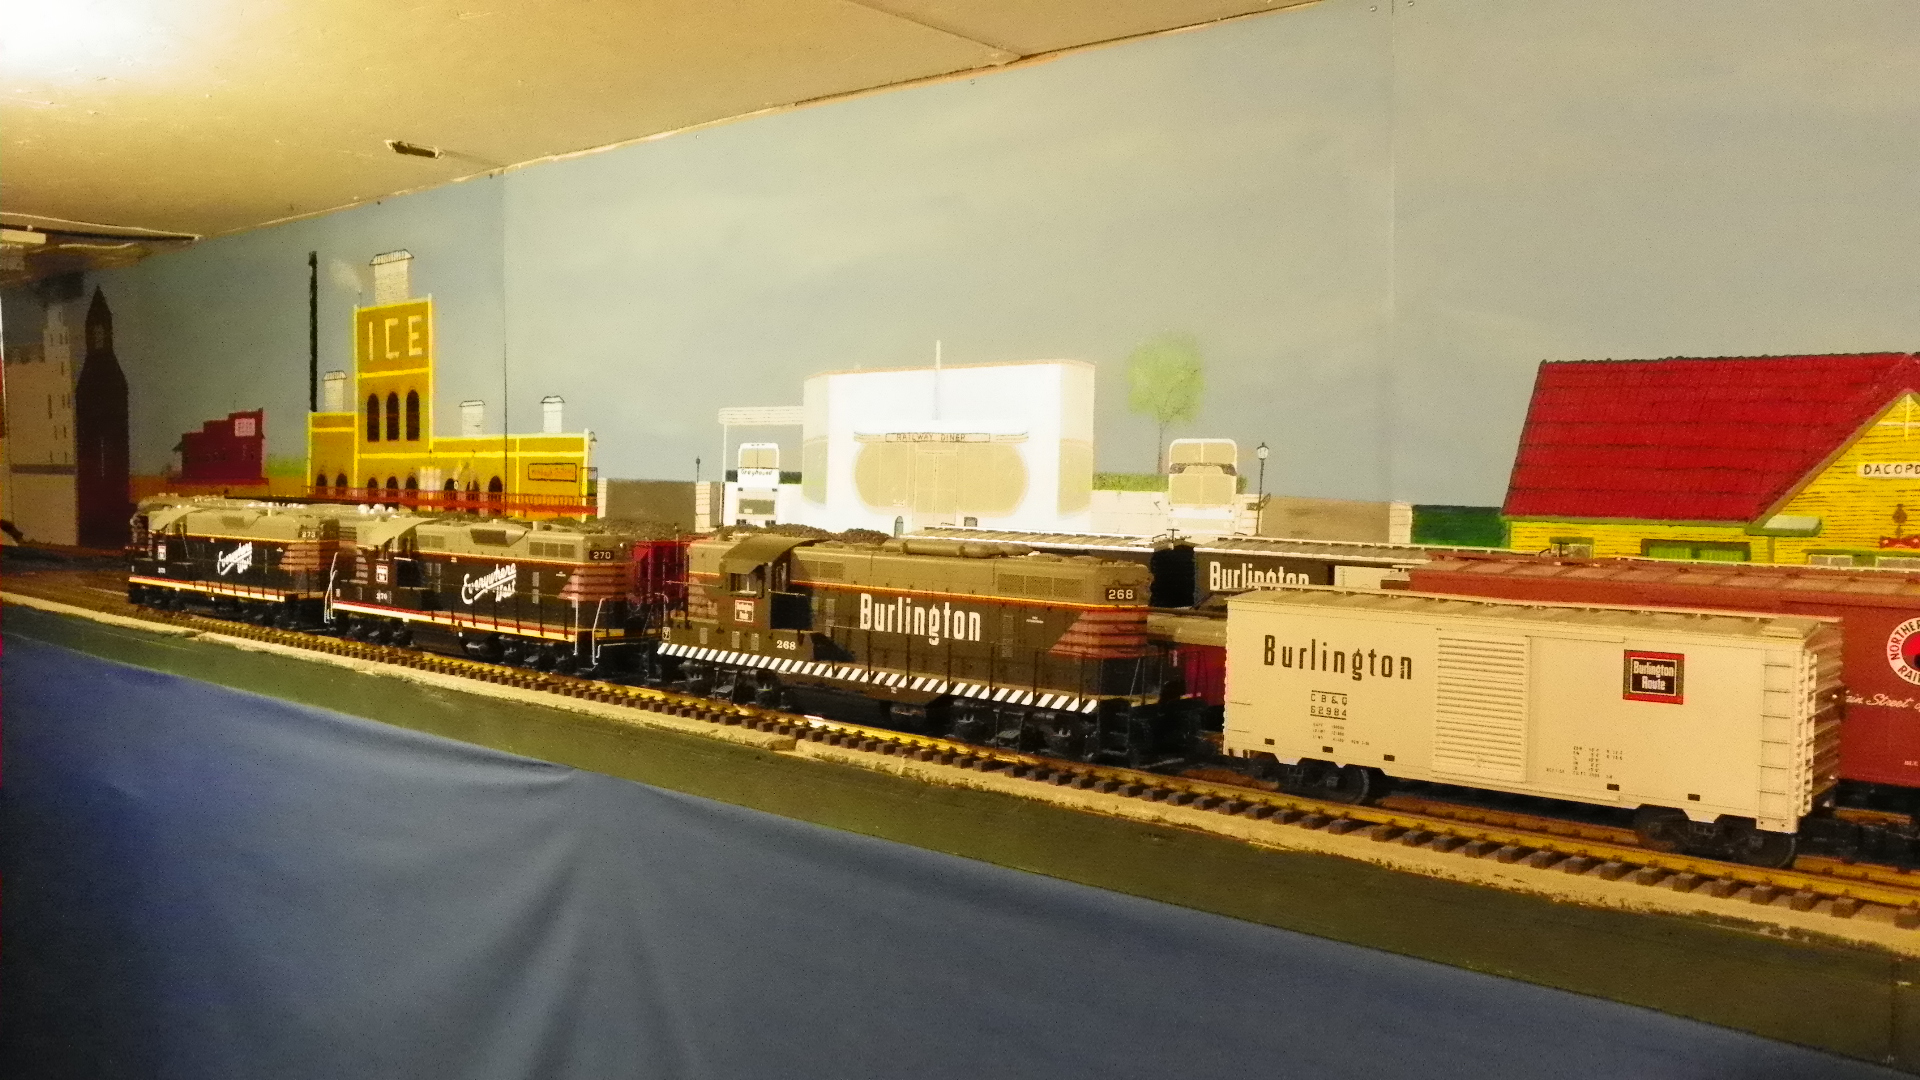
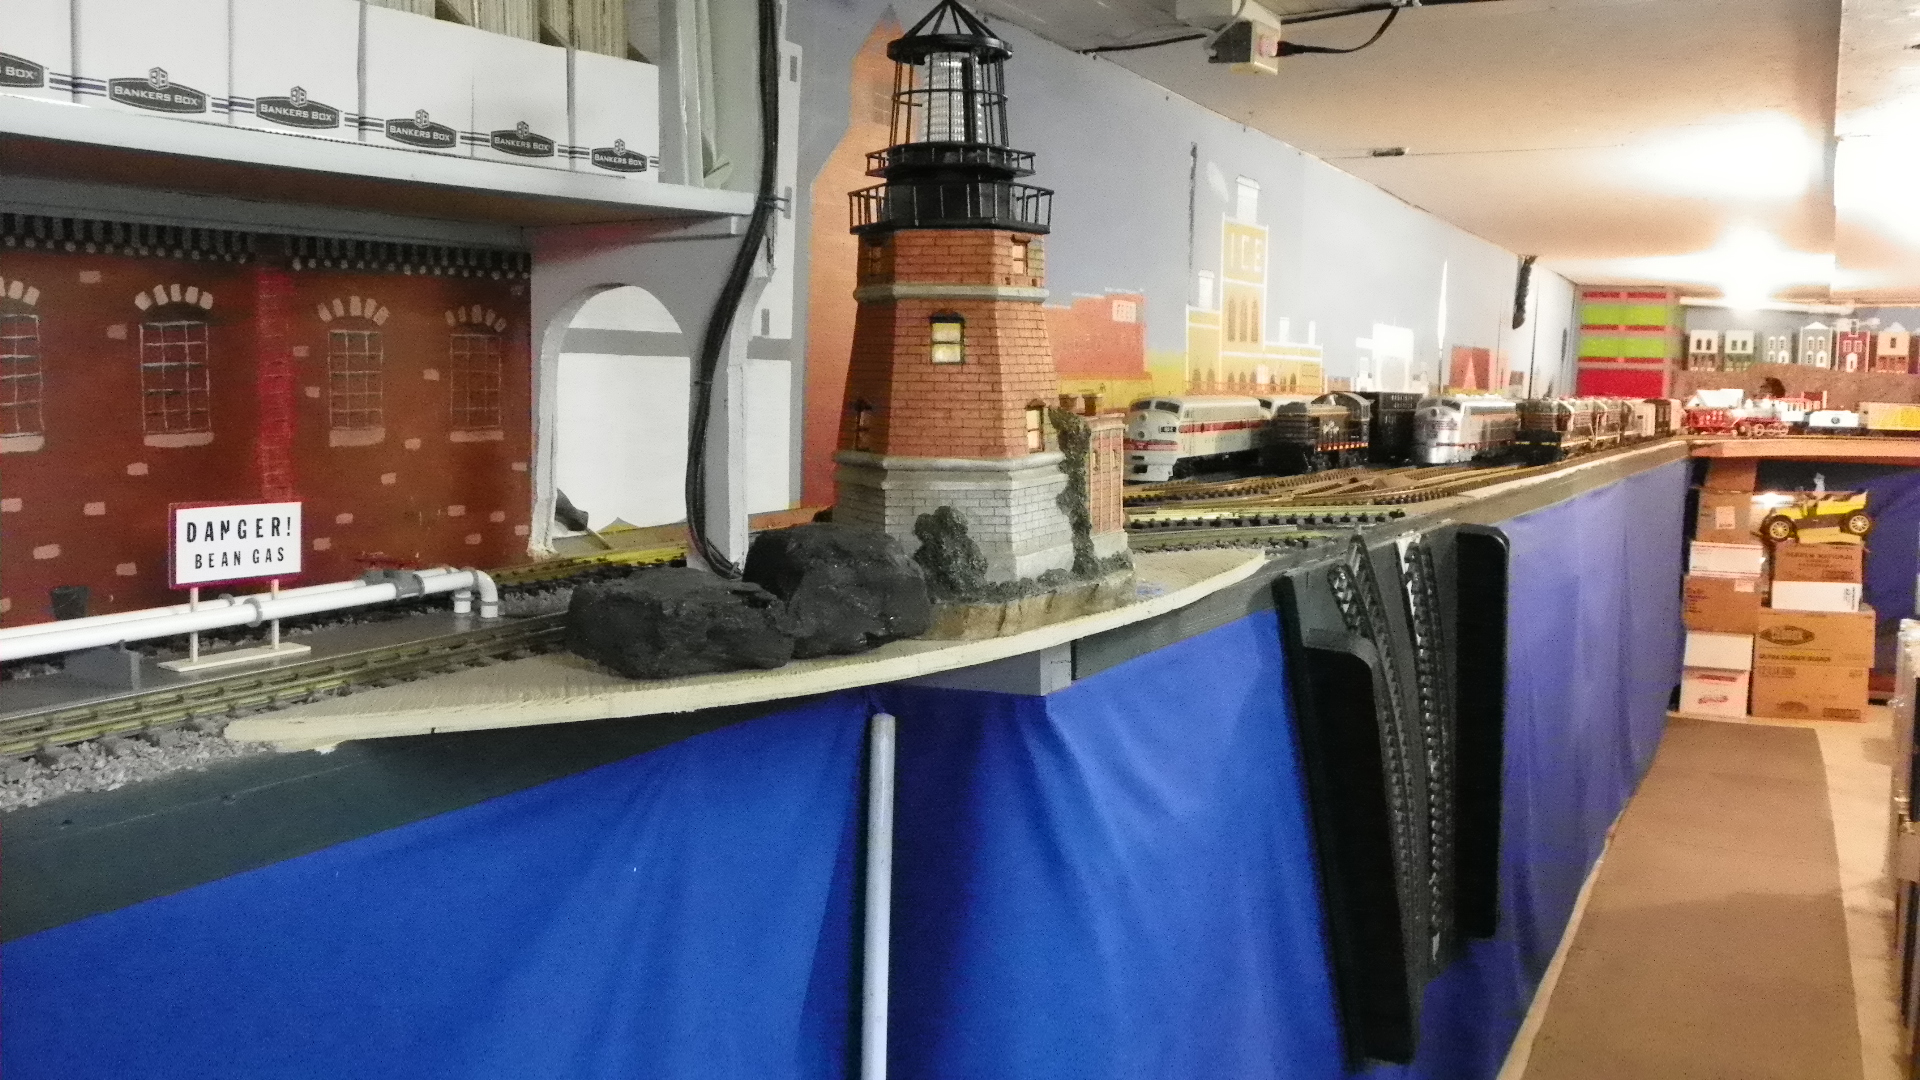
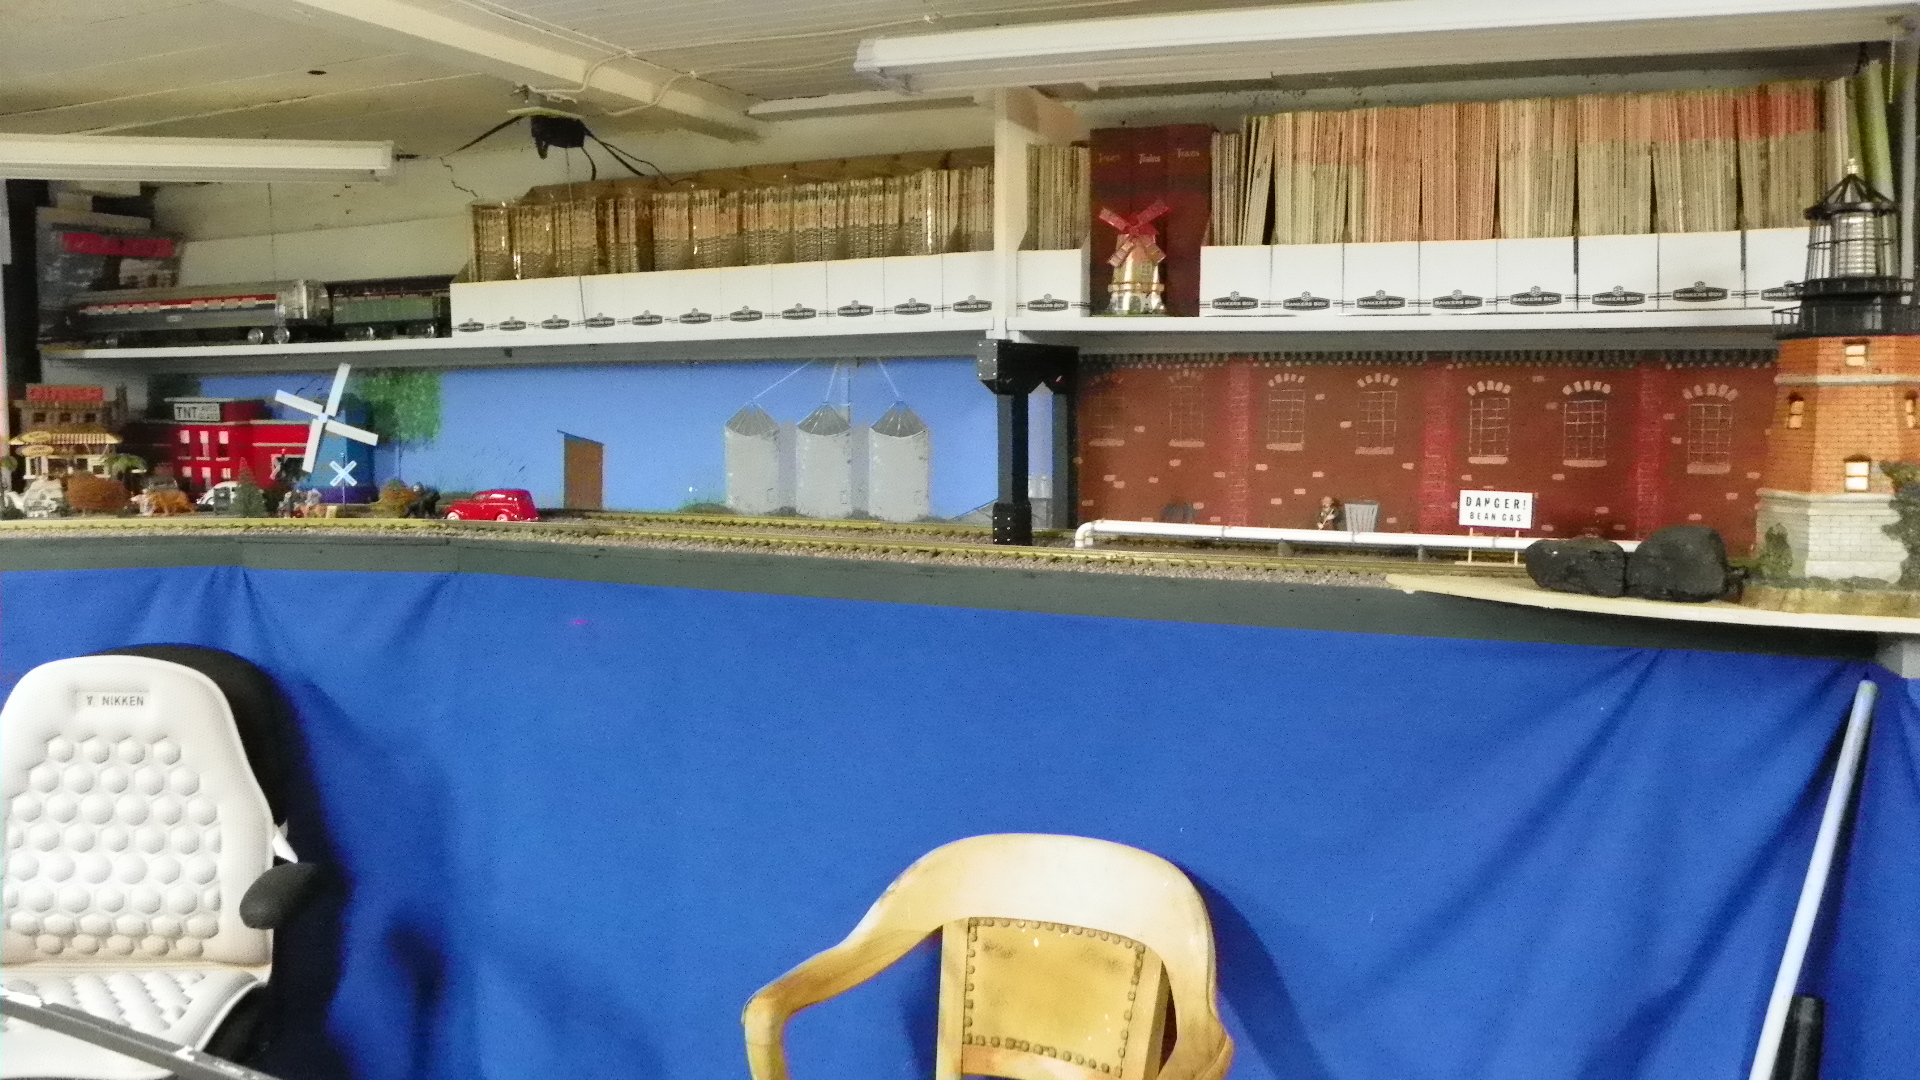
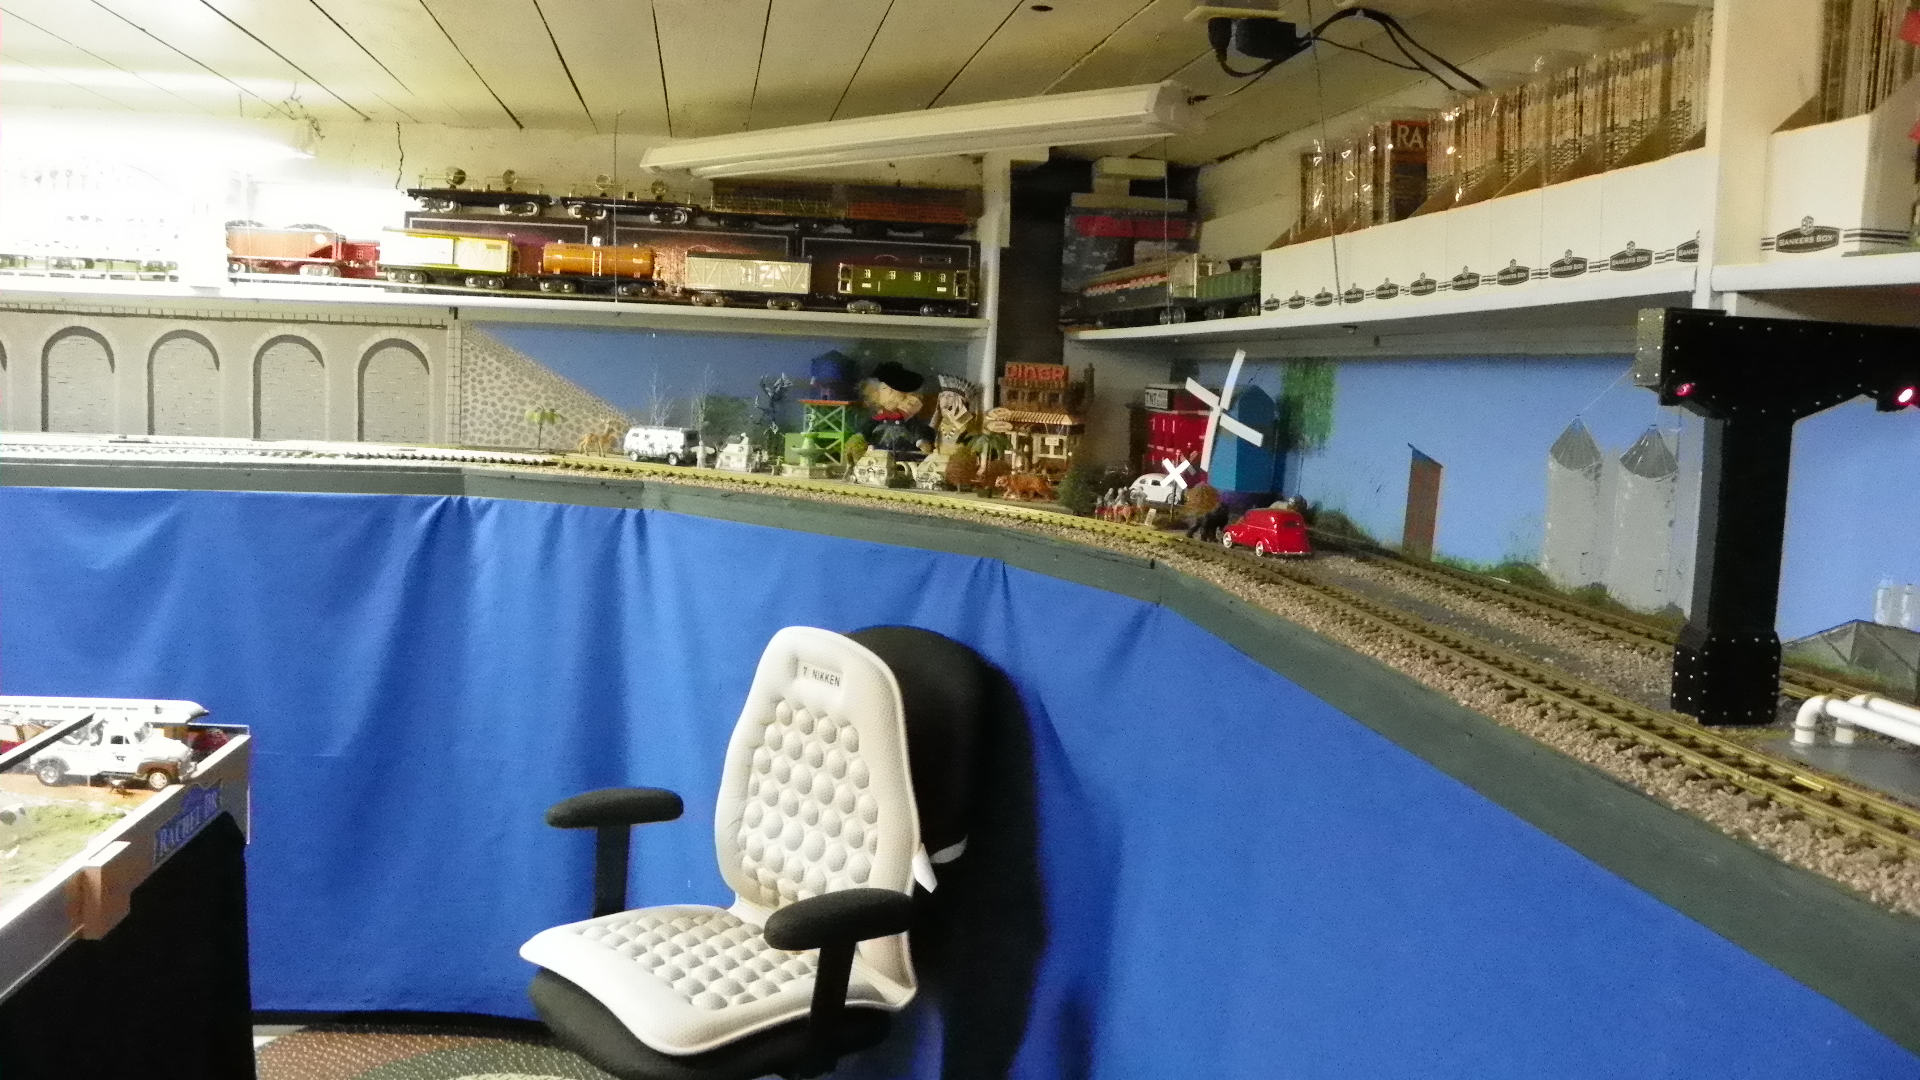
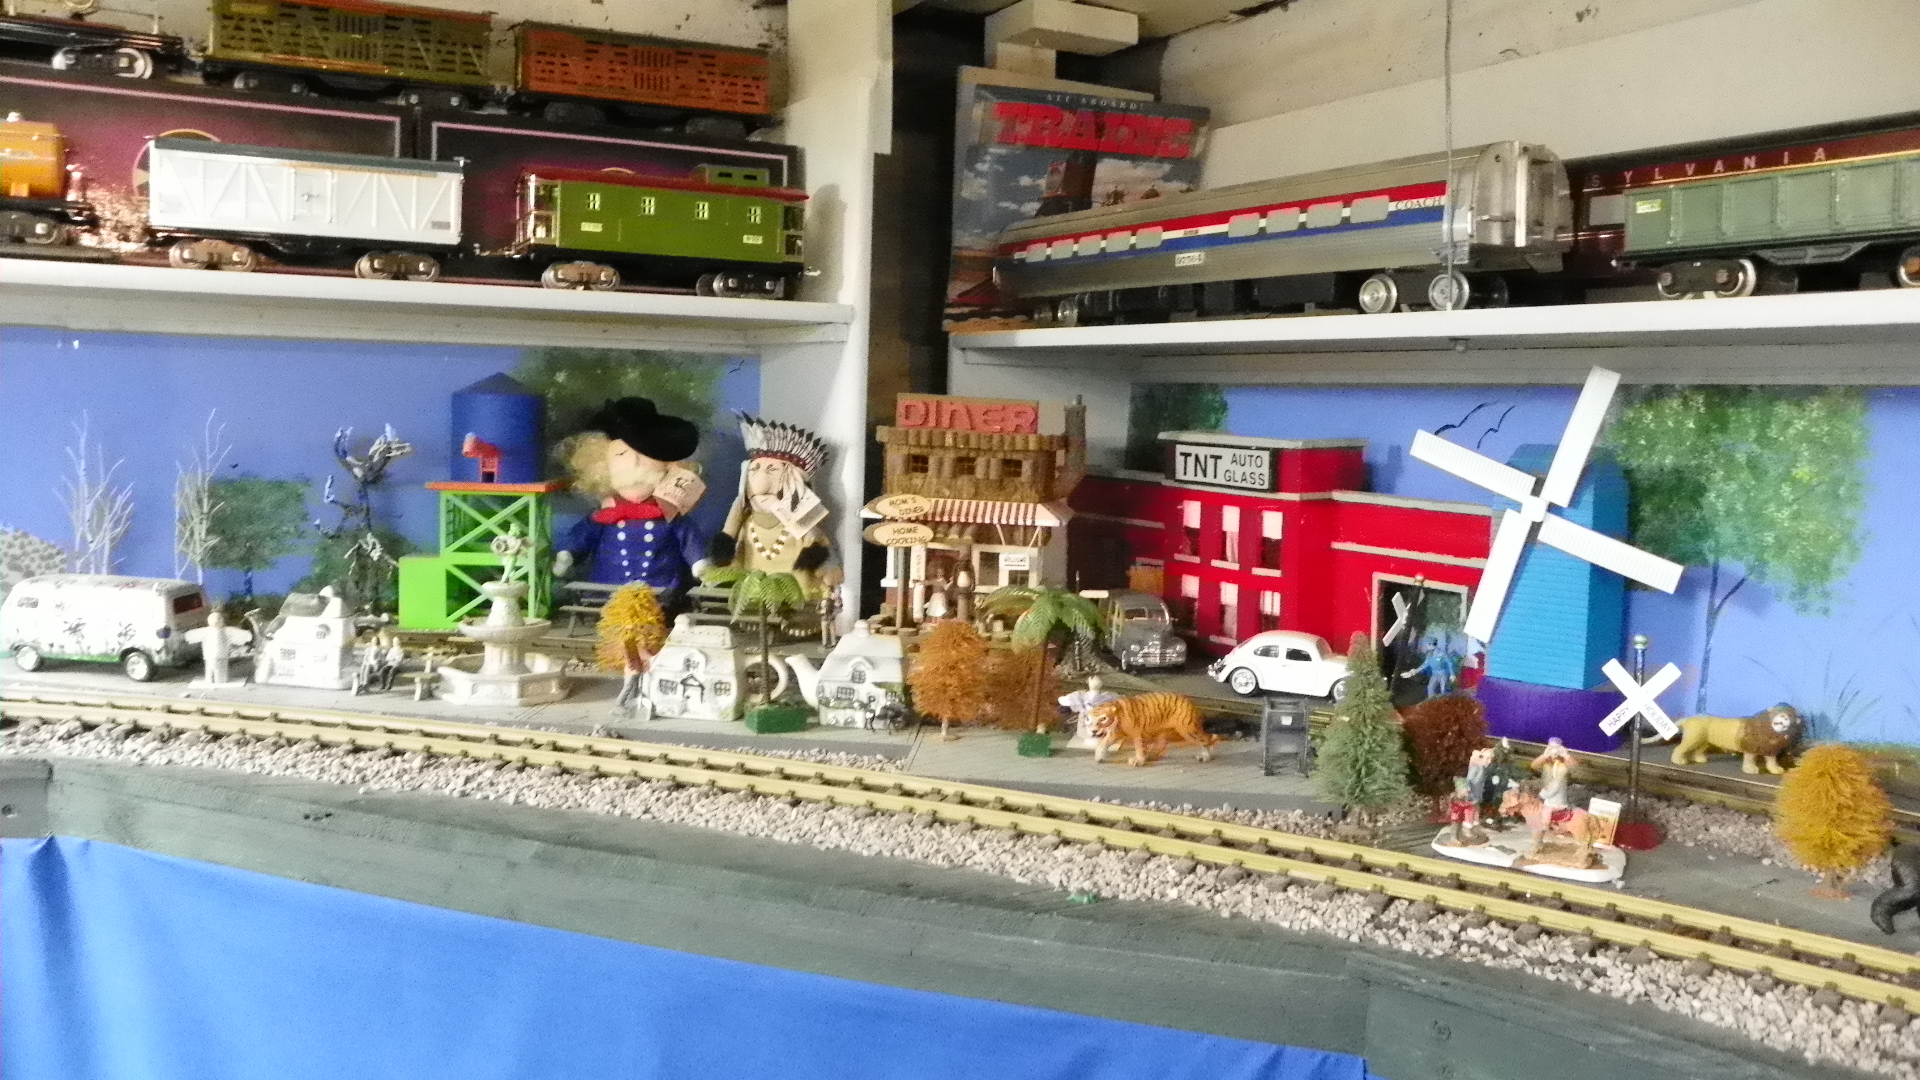
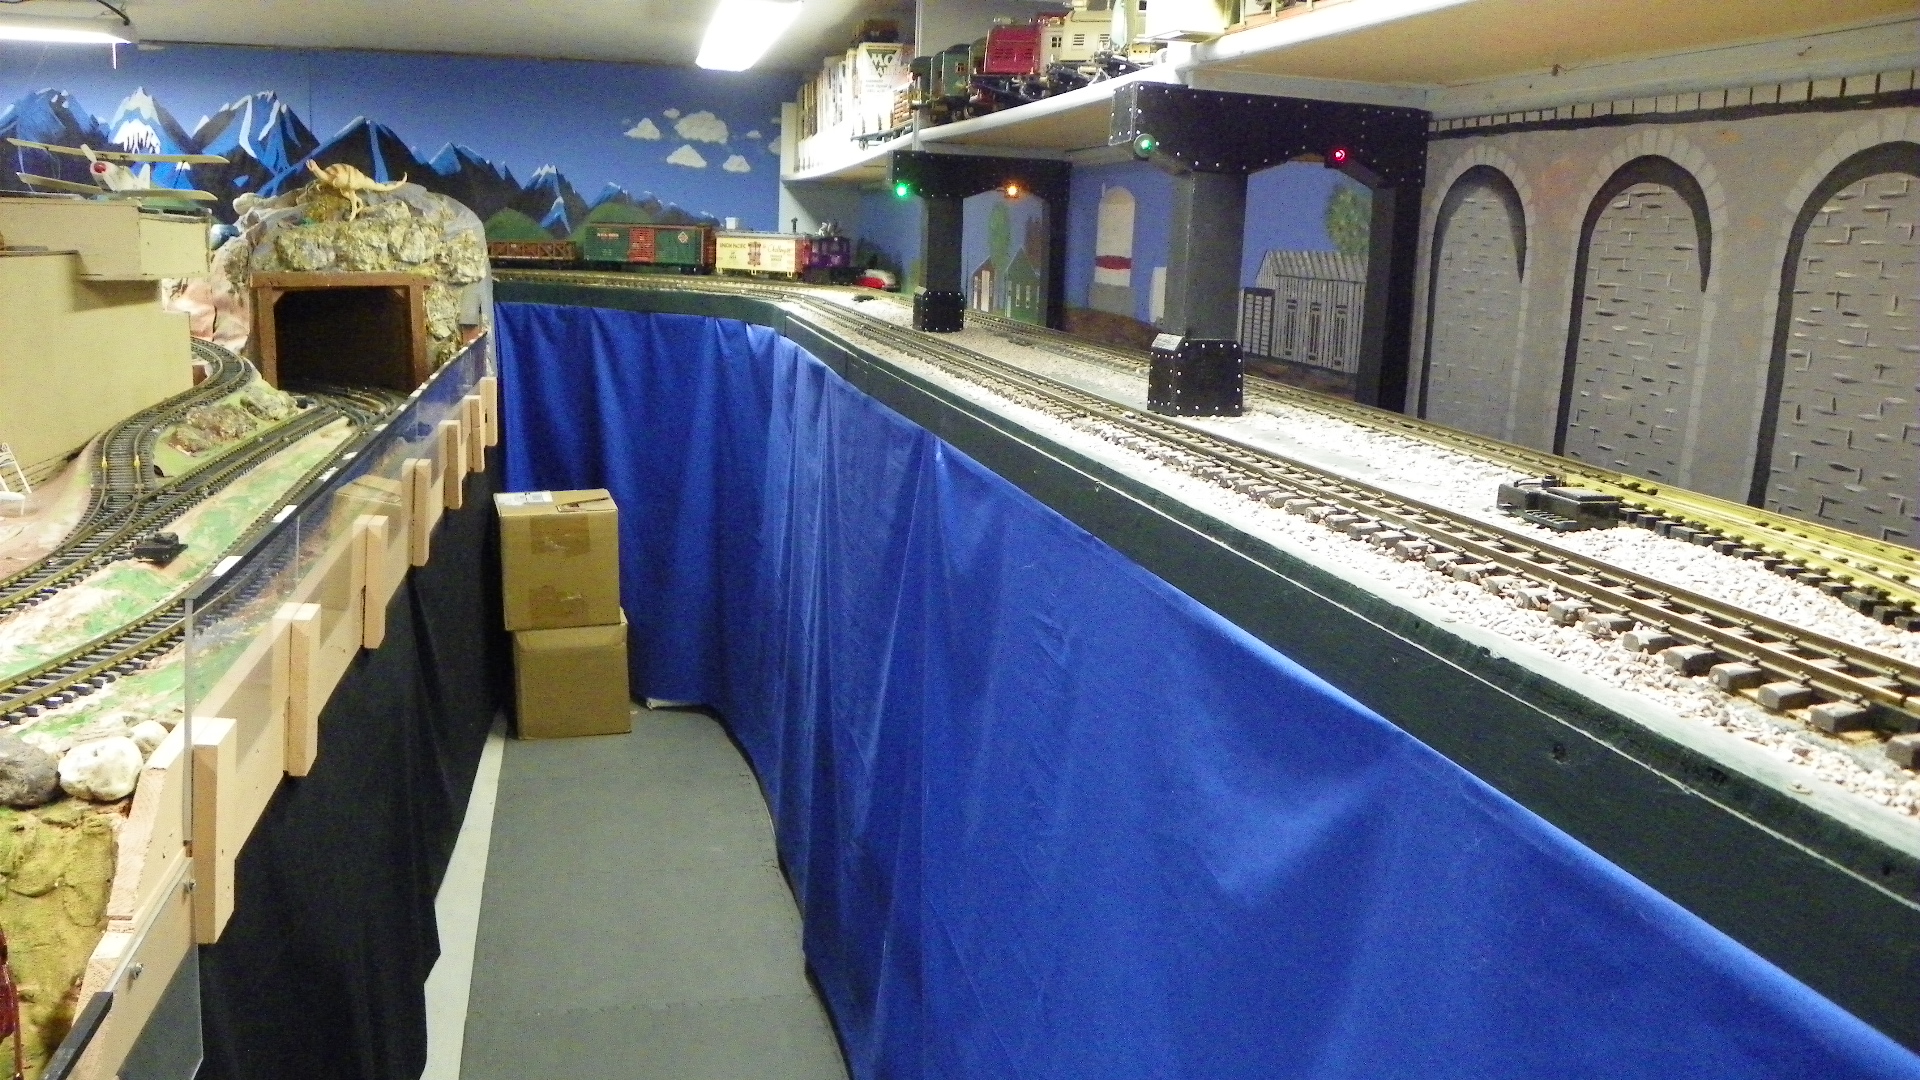
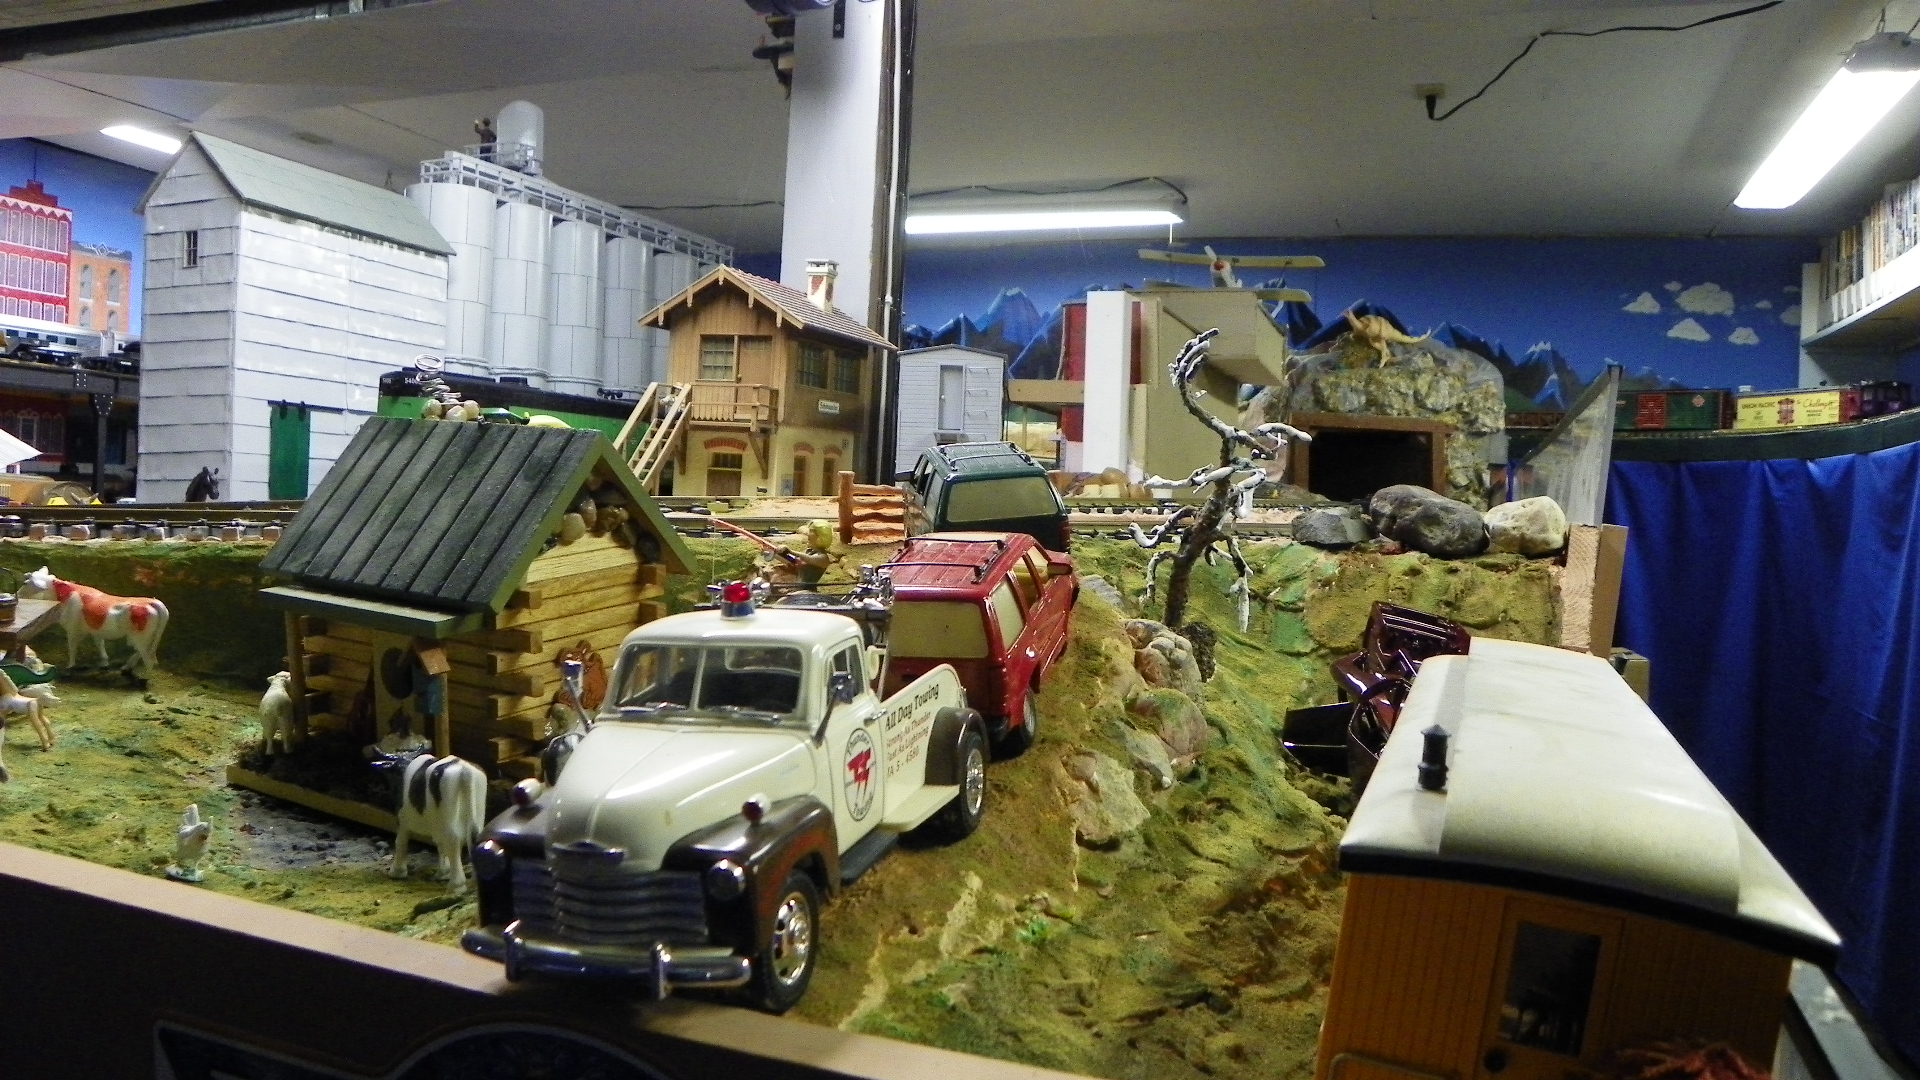
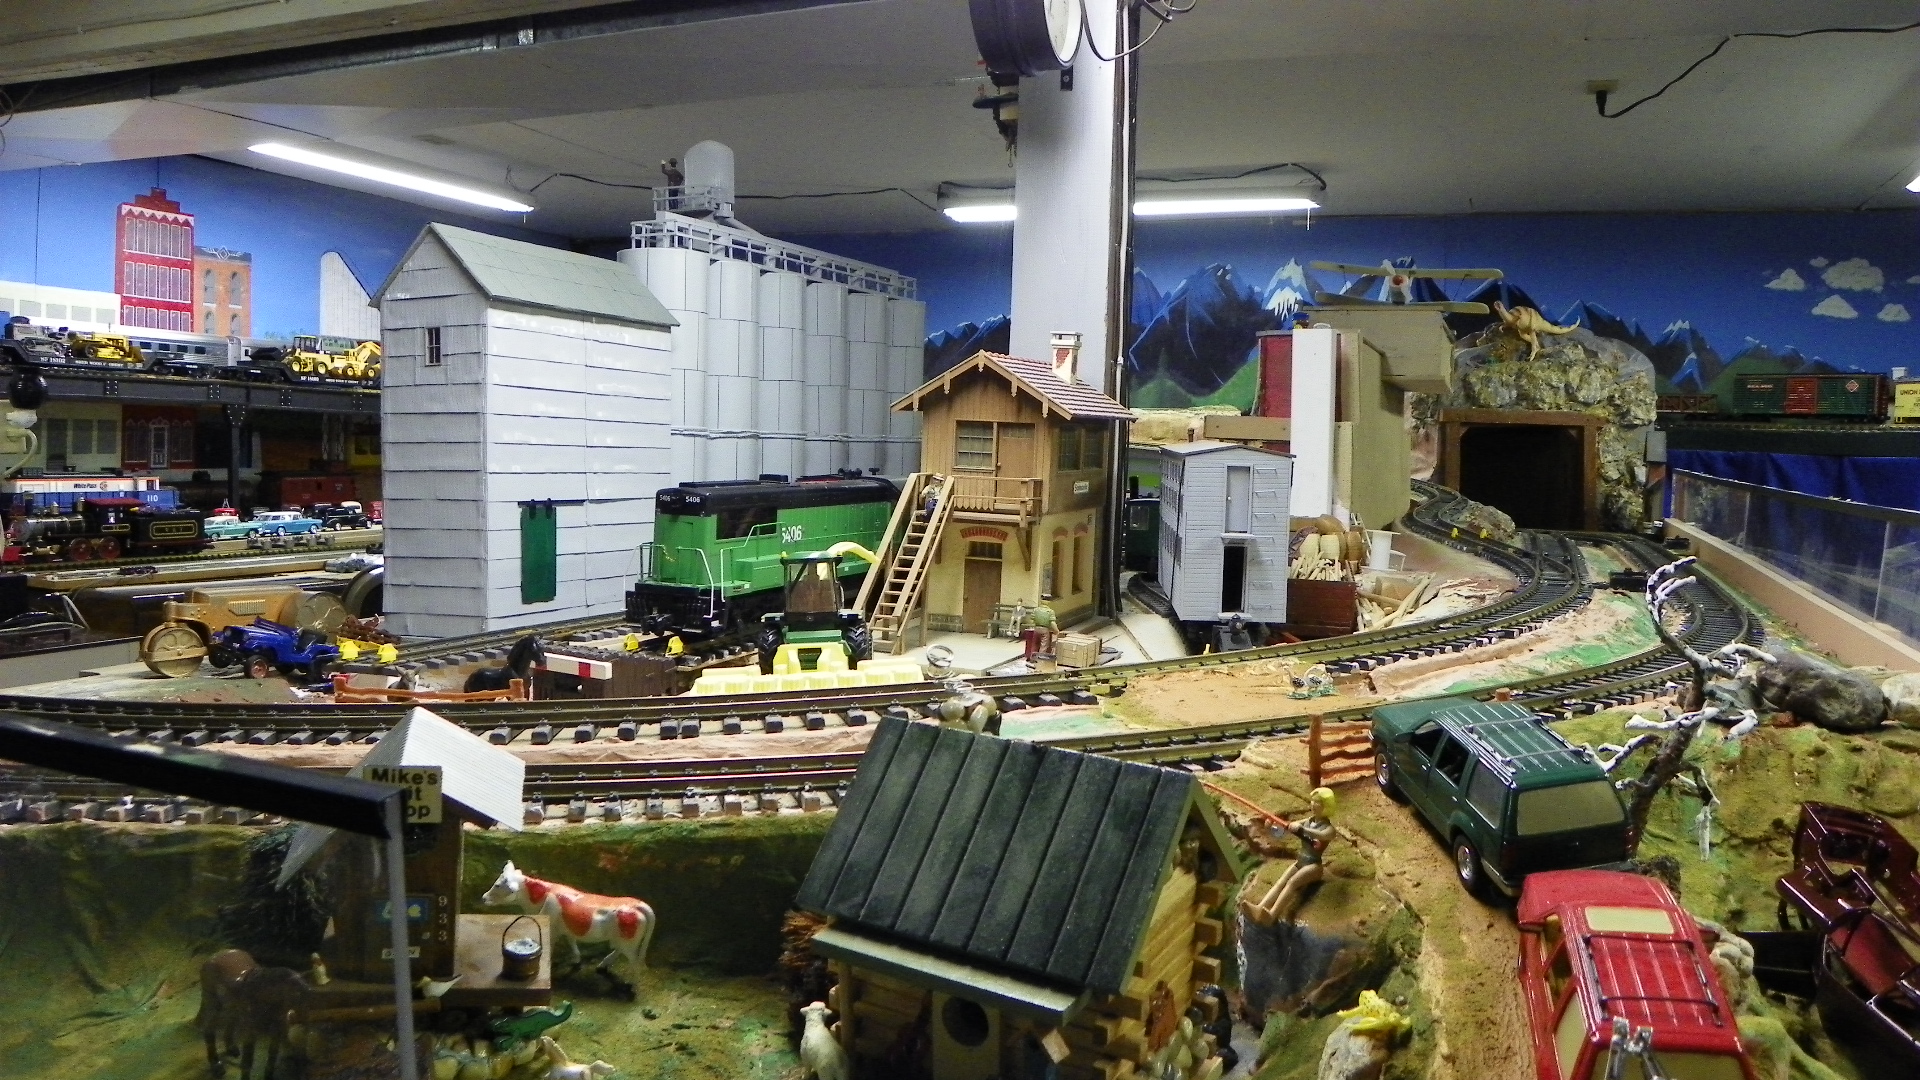
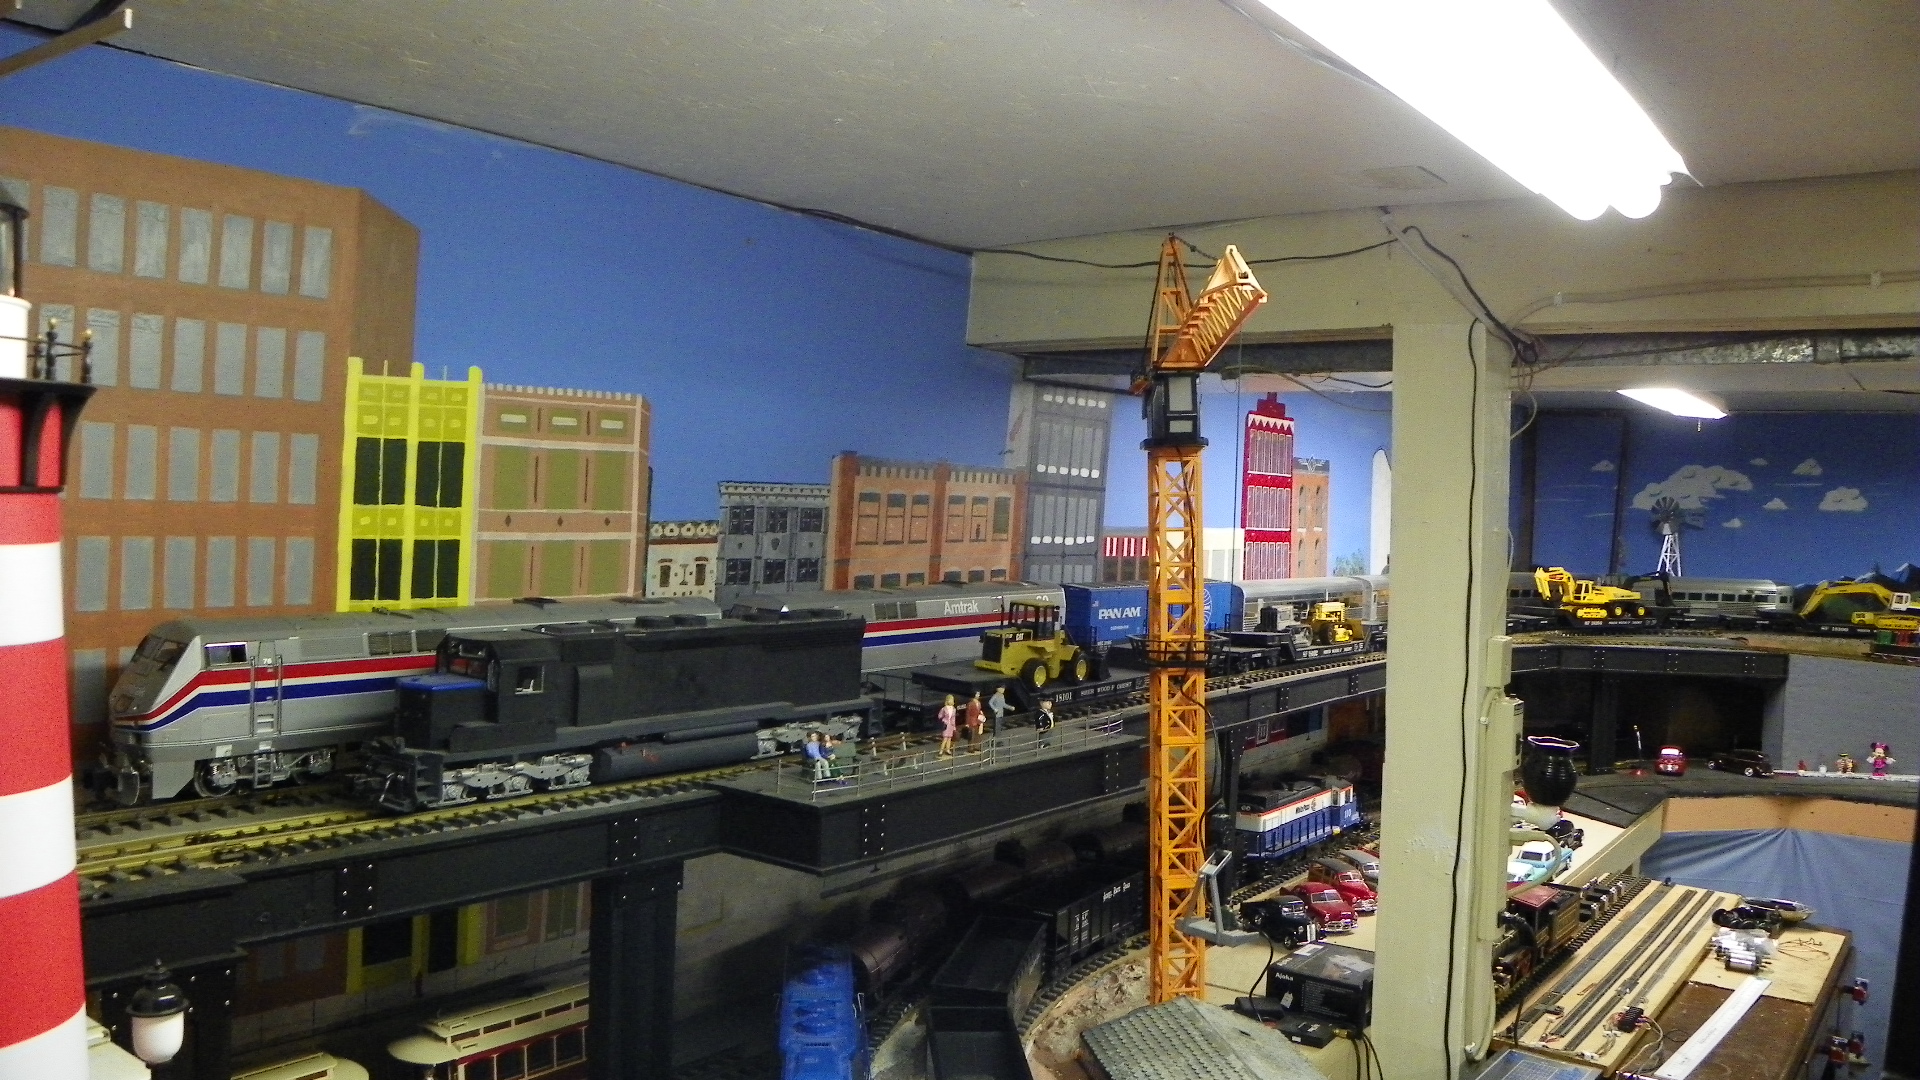
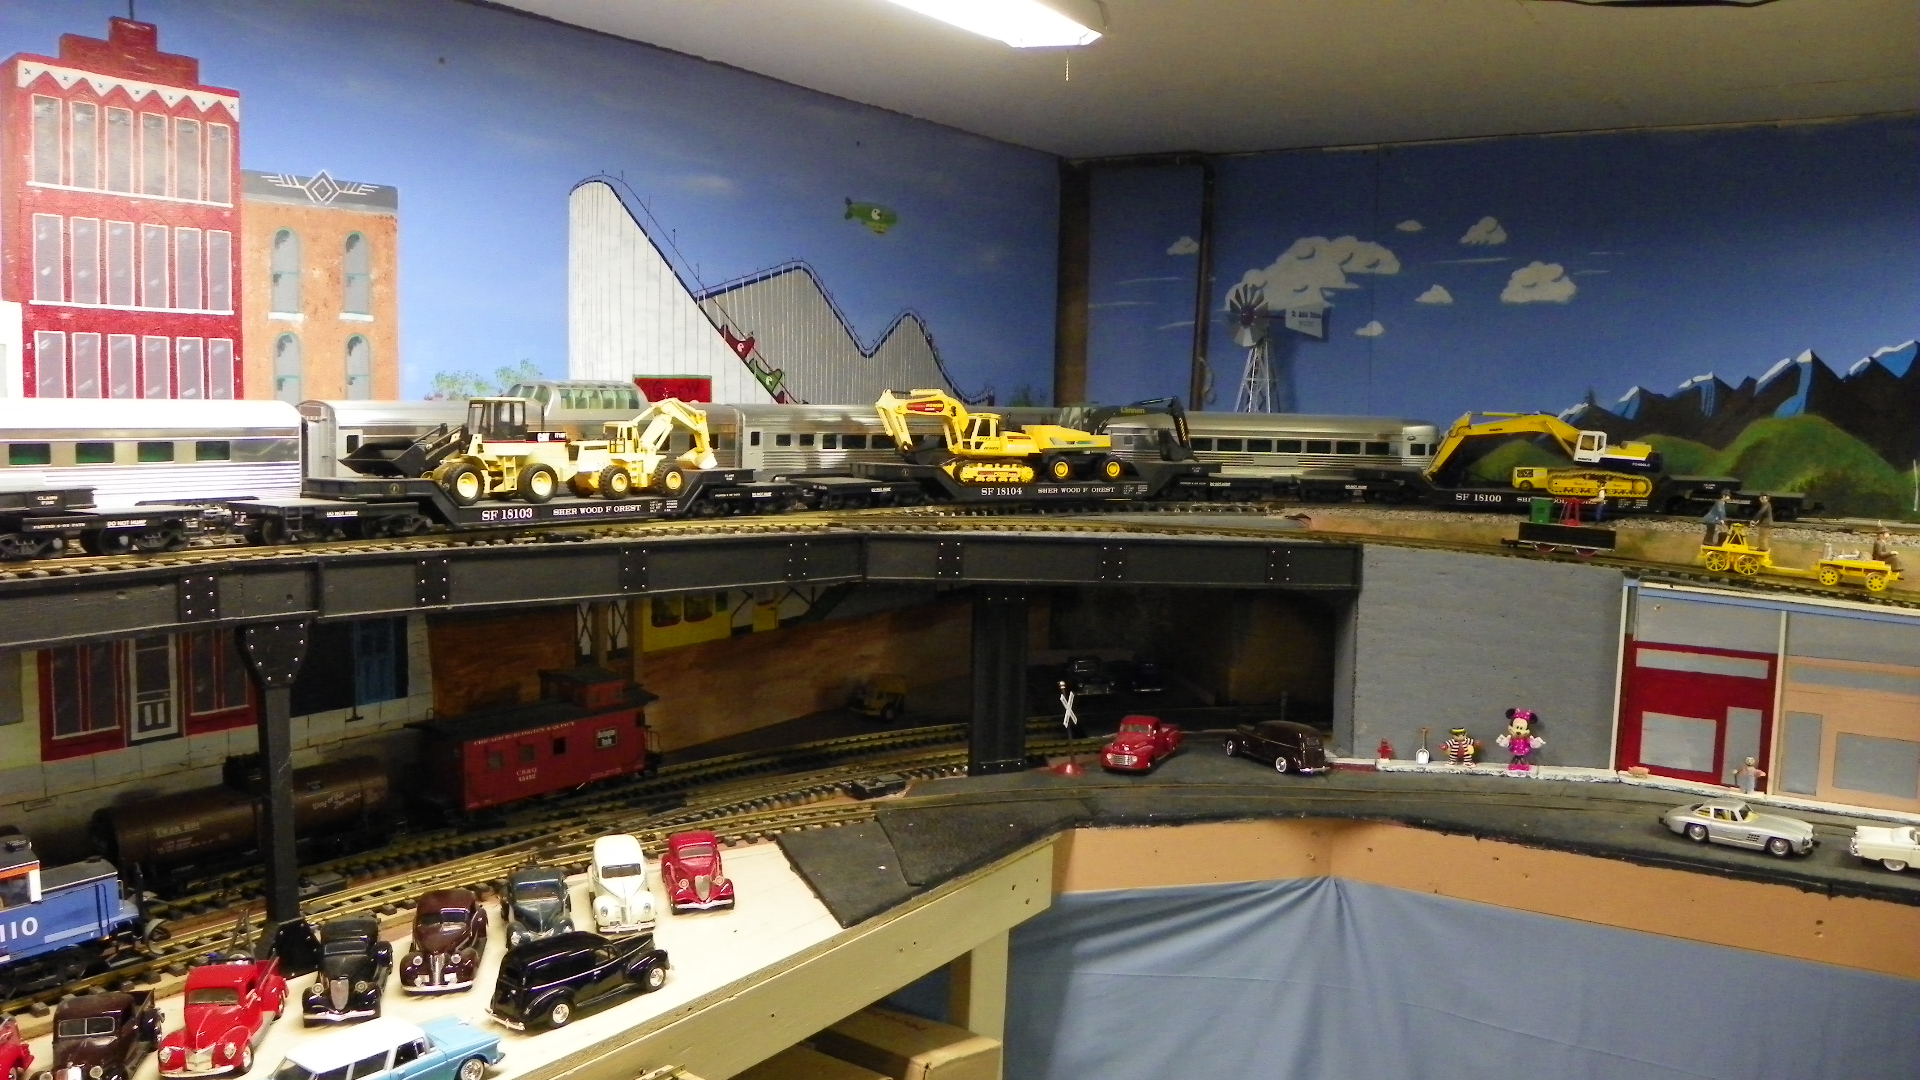
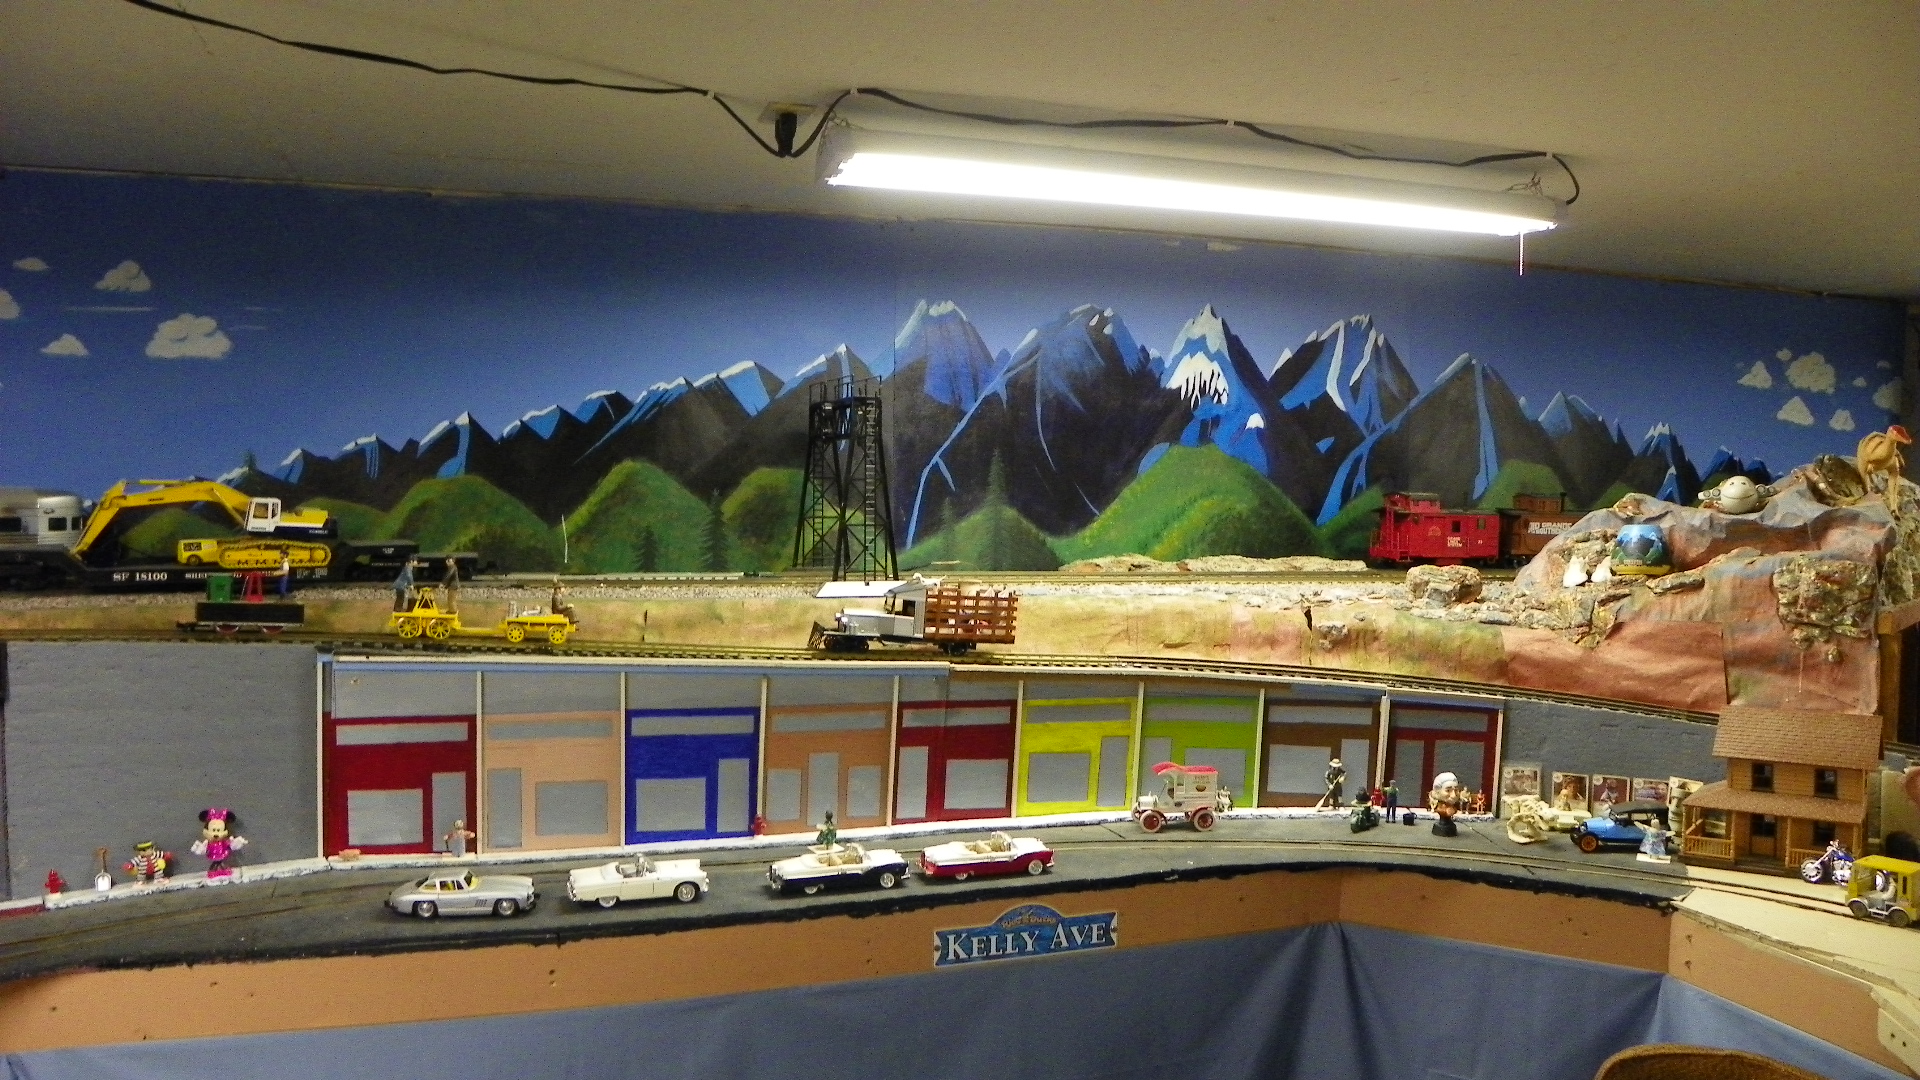
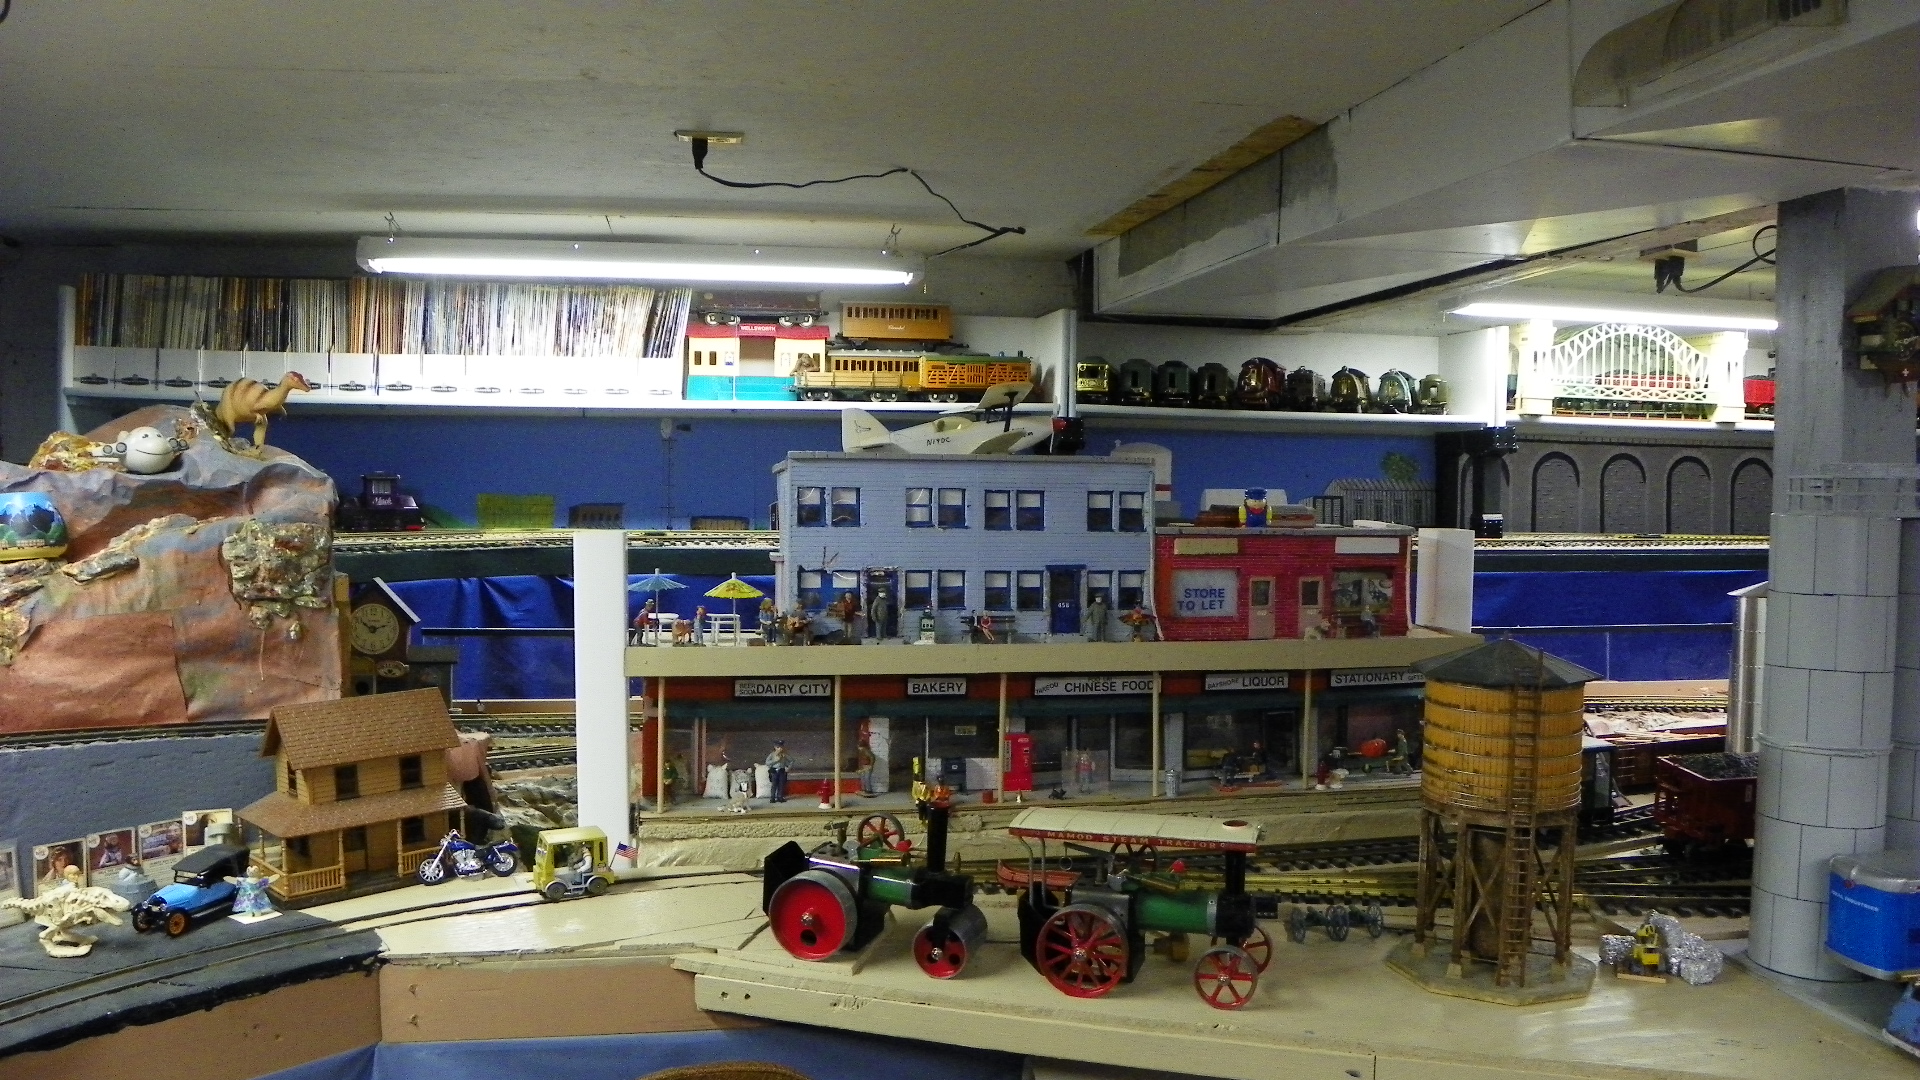
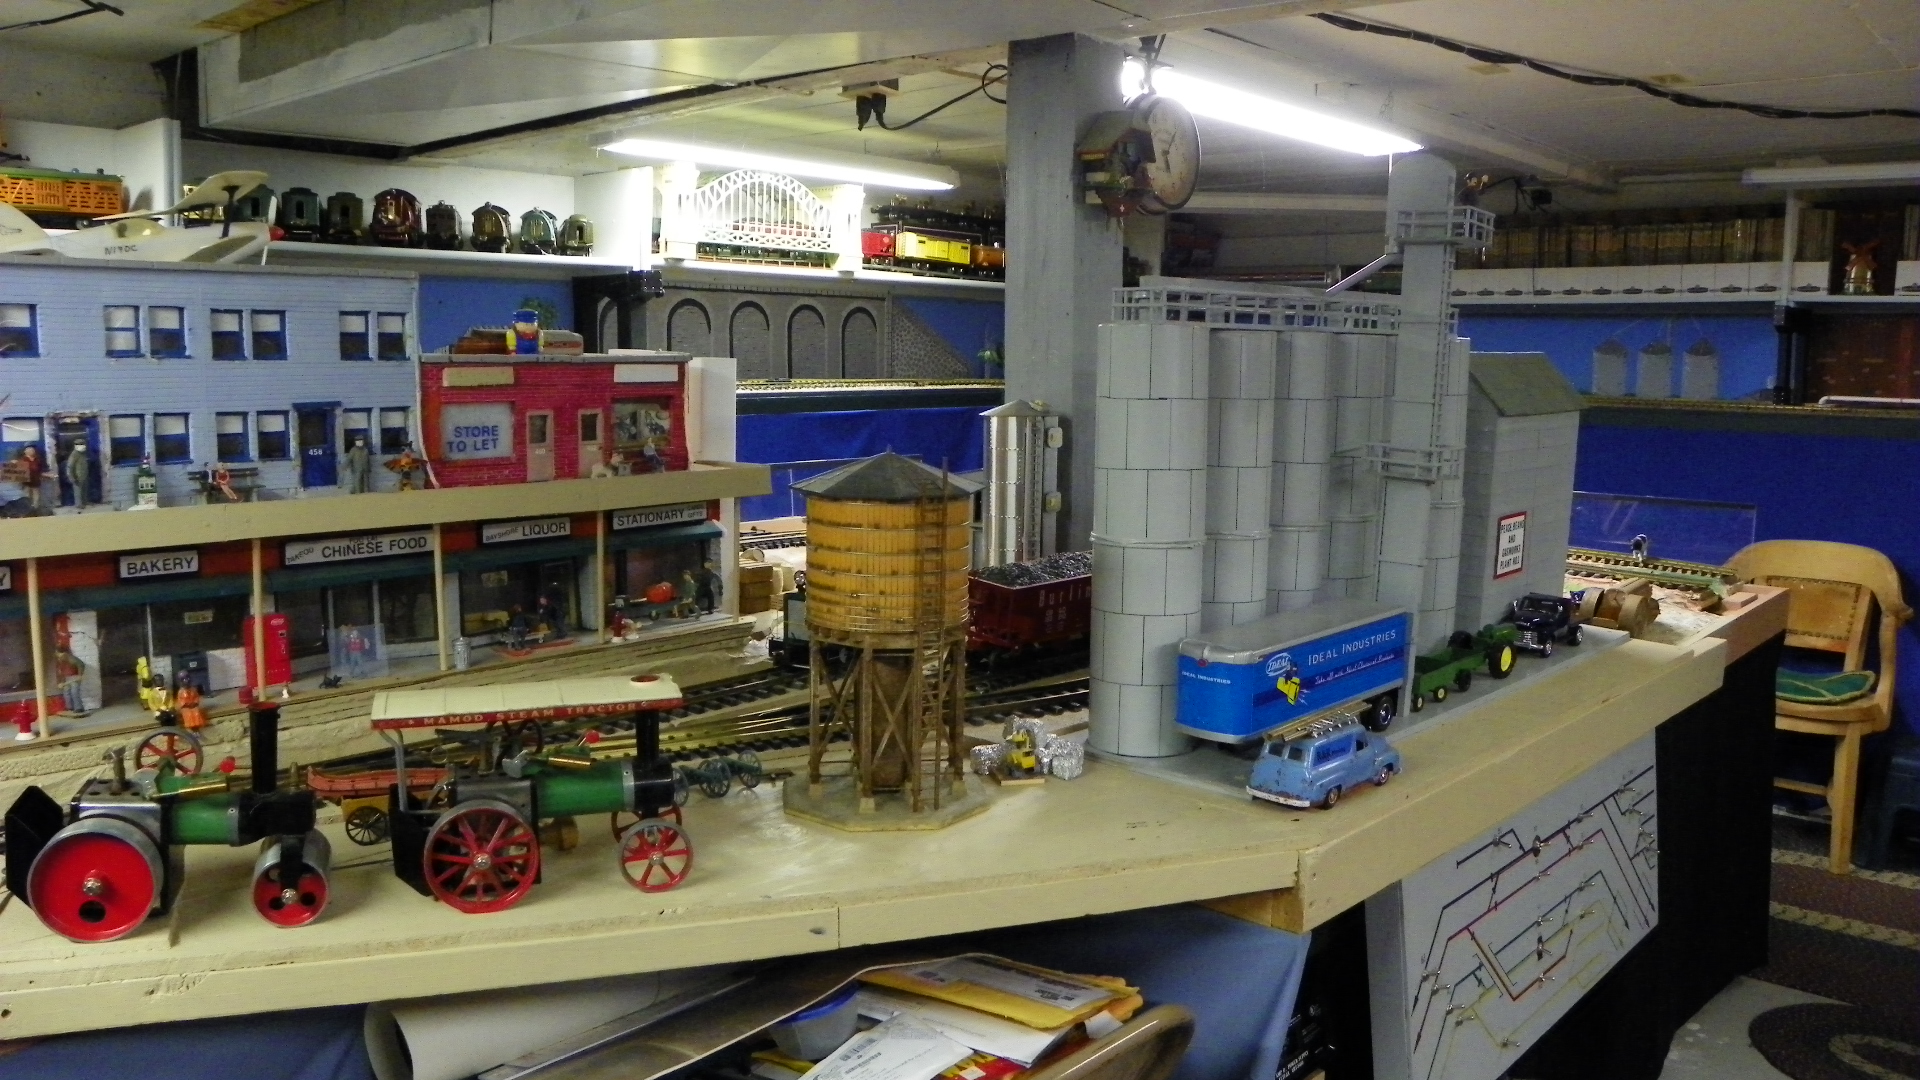
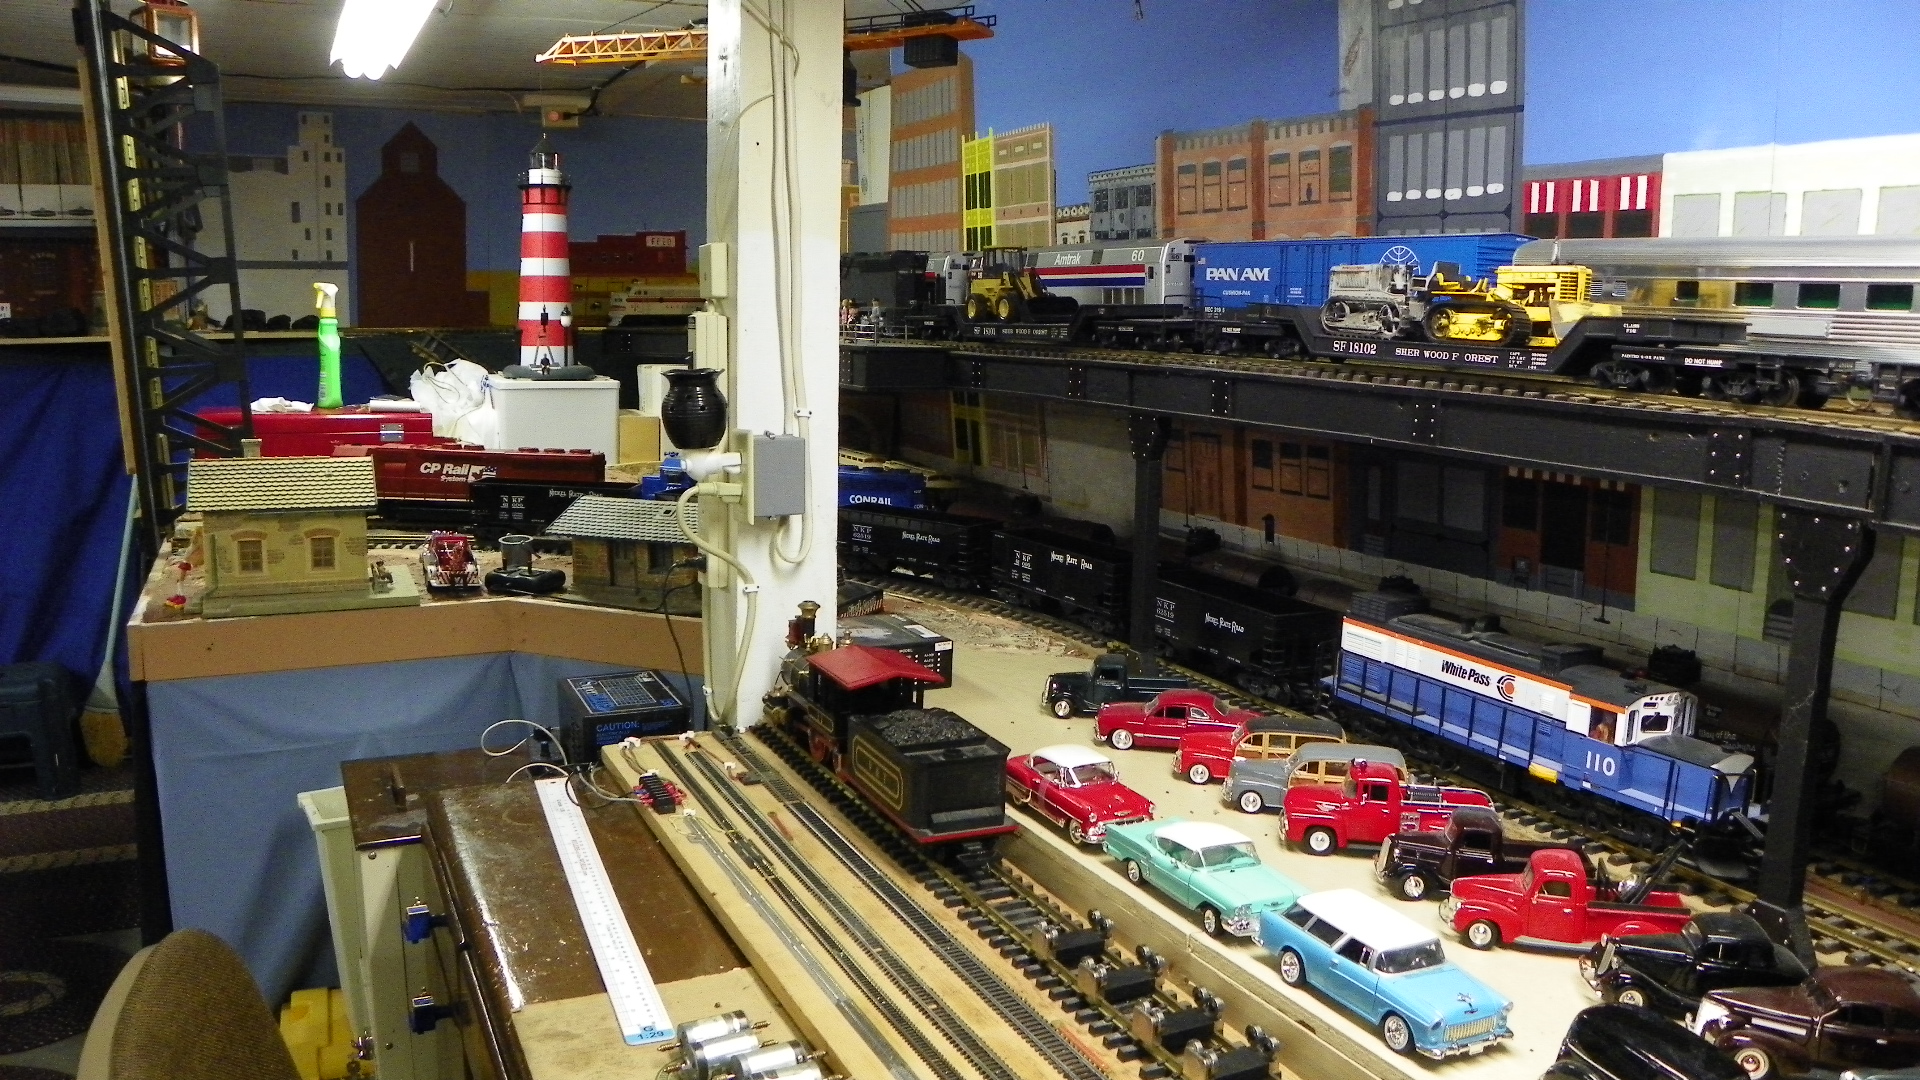
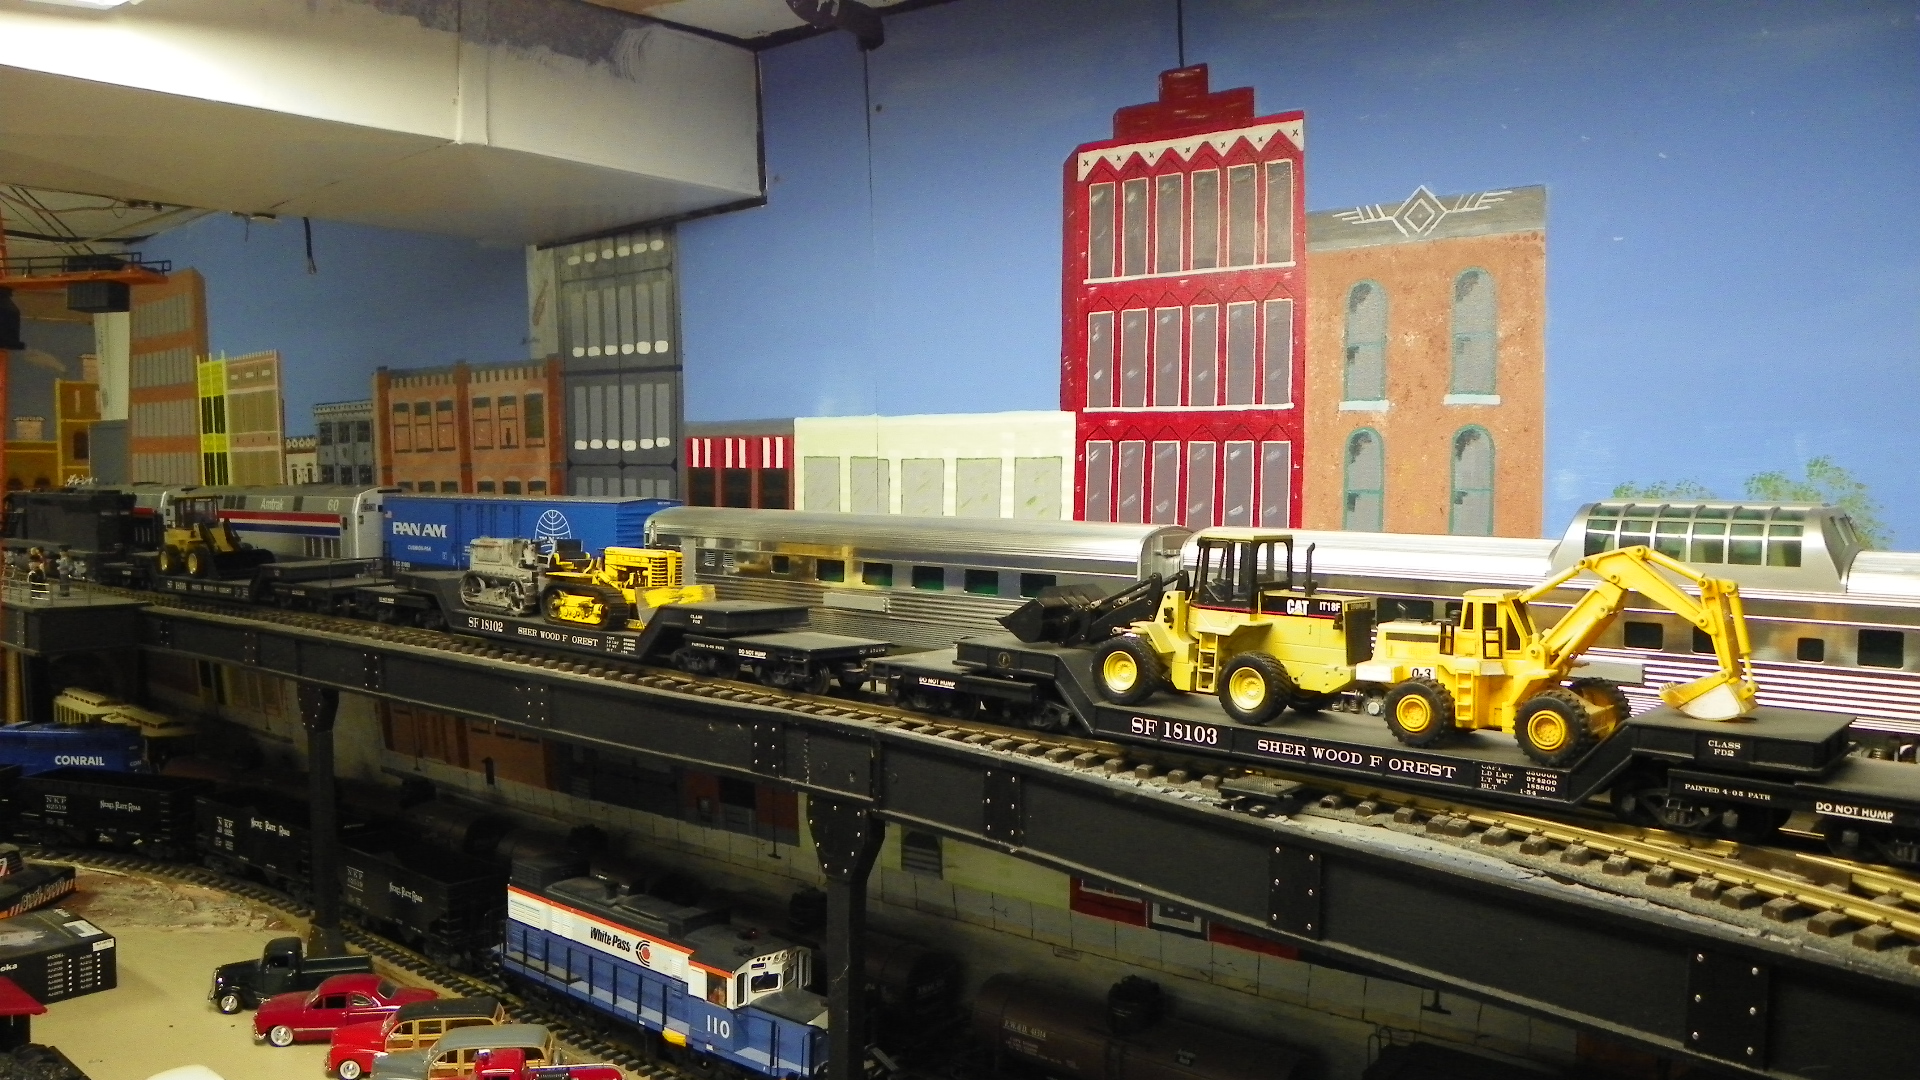
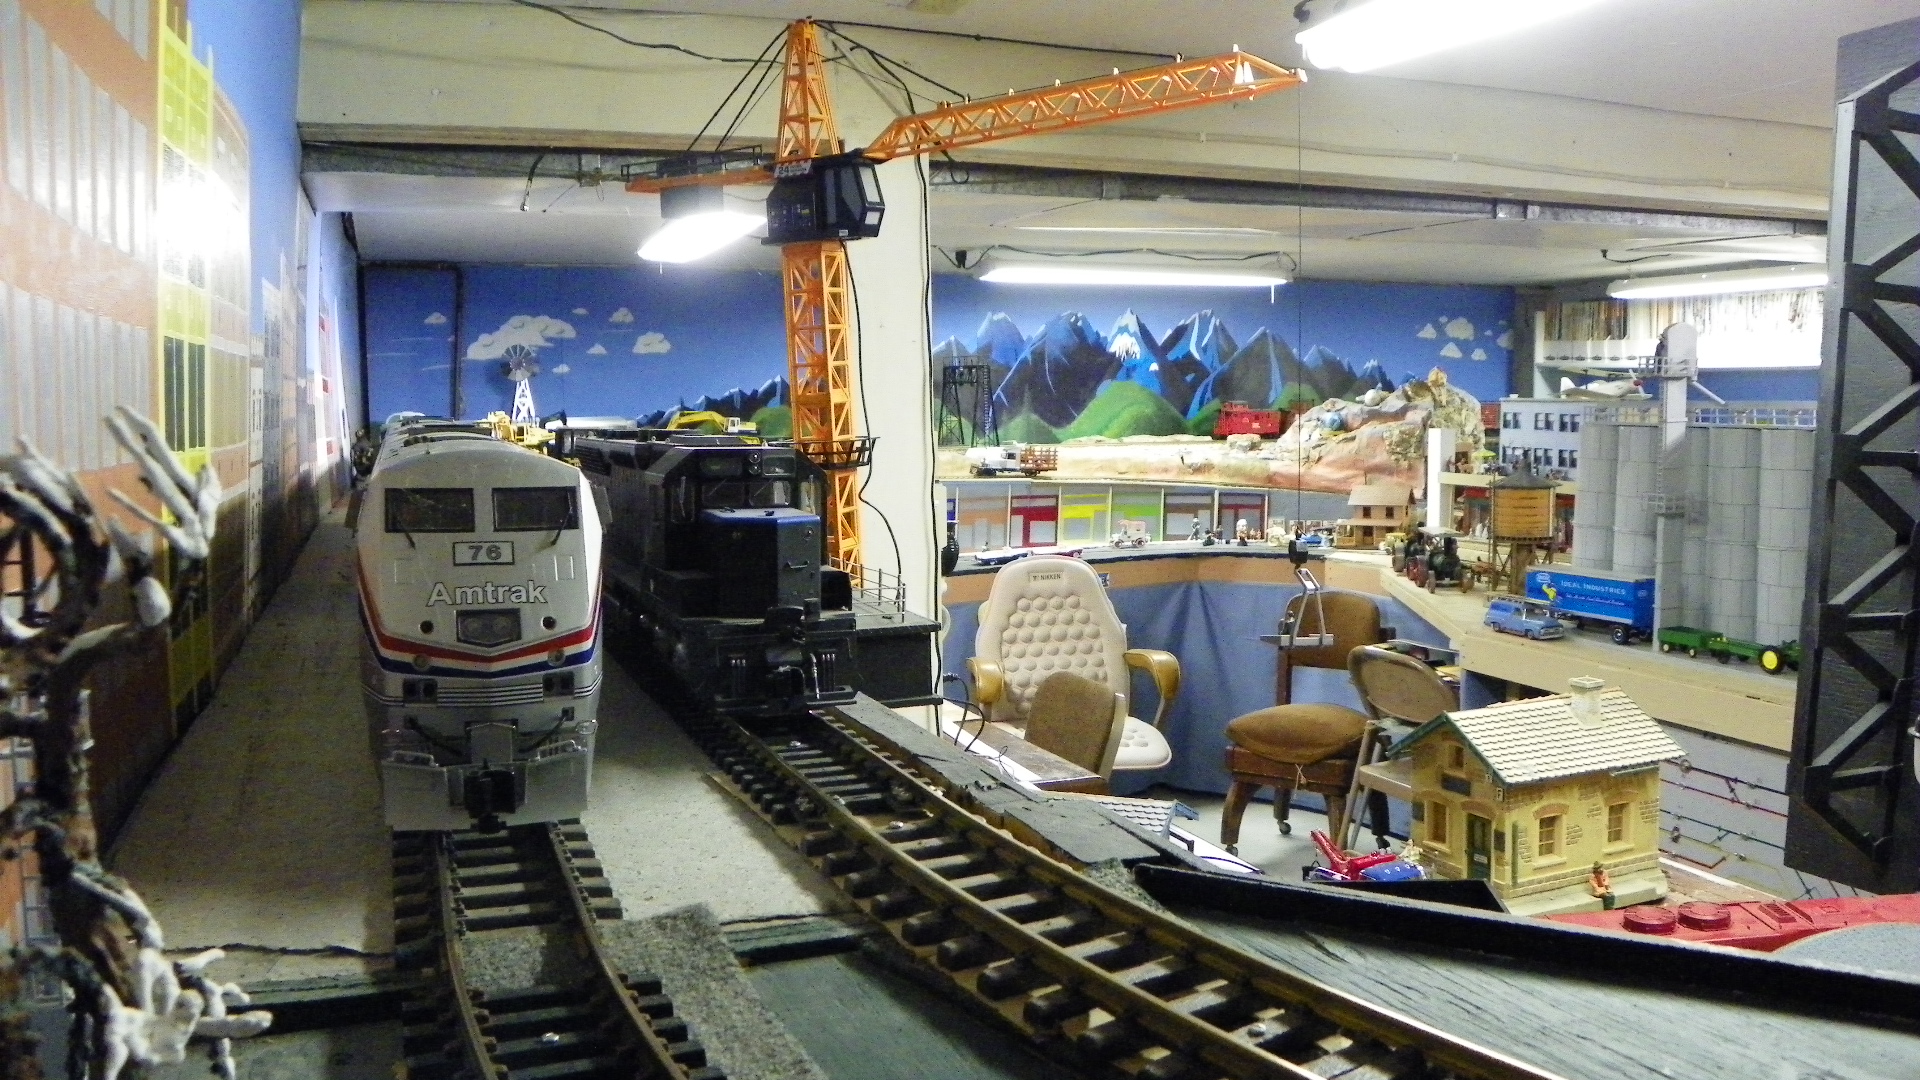
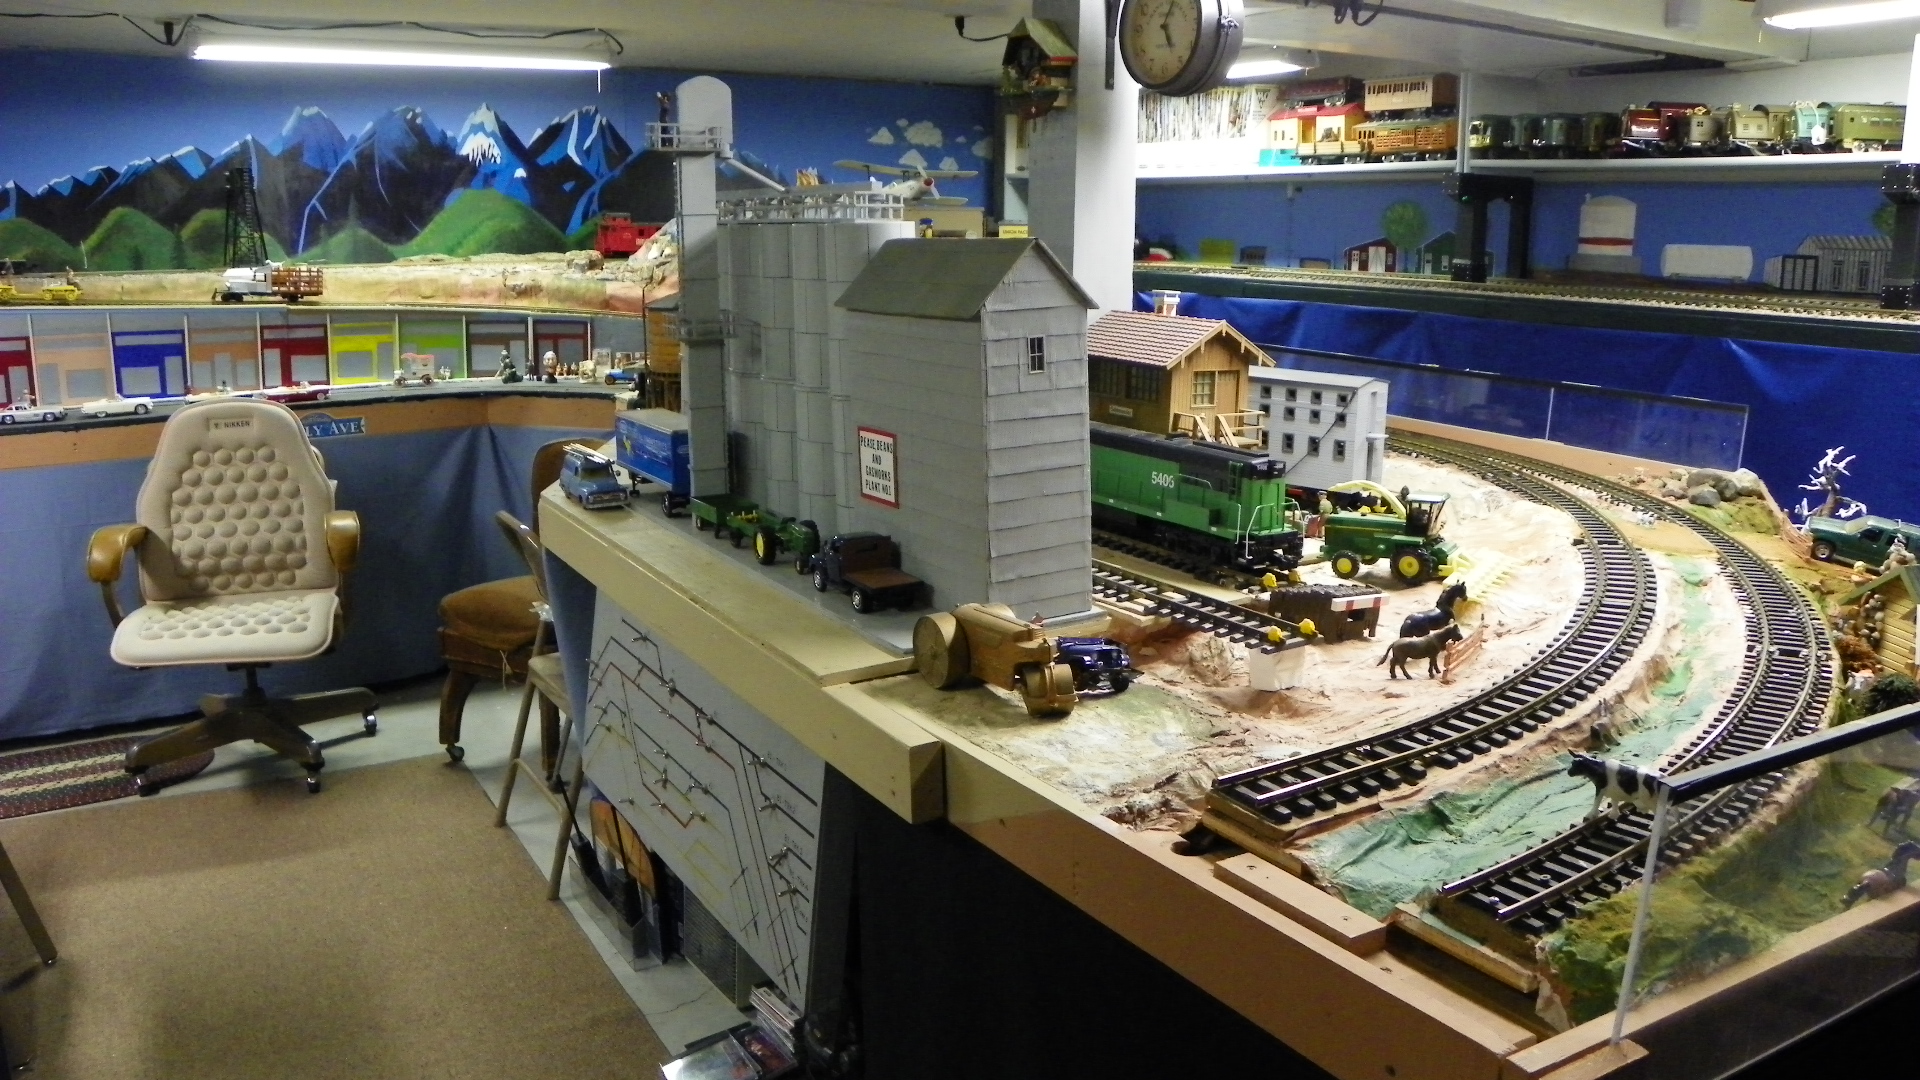
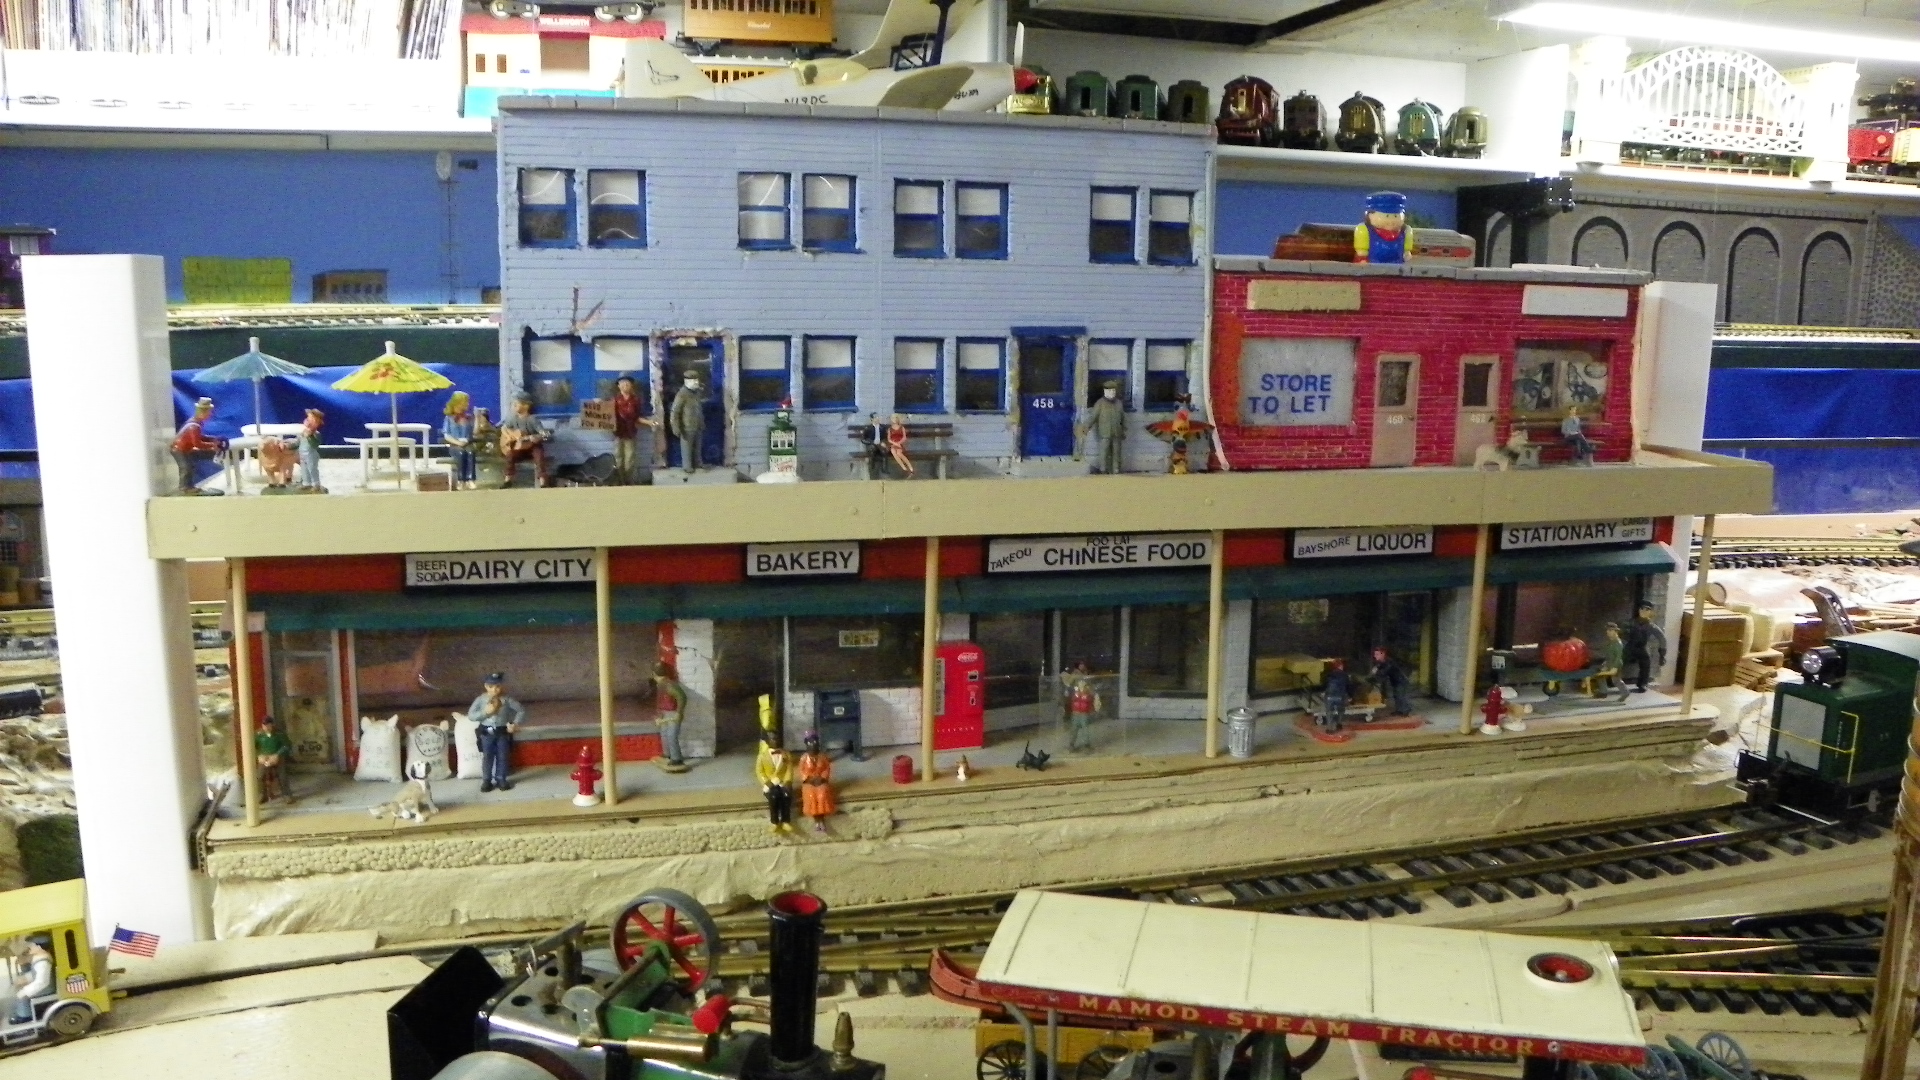
I have some pictures here of my G scale layout in the basement.
The layout is shaped like the letter g or the number 9 with a tail added at the bottom. The main part of the layout is 22′ wide by 17′ deep and the leg extends another 24′. then the tail off the leg is another 6′.
4 separate mainlines, all ovals which can all interchange and can access a 4 track yard. The whole layout can be operated point to point or just let 4 trains run and yak and watch with friends and visitors.
Hope there’s something here to like.
Sincerely
Dick”
“Dear Al,
Firstly just wanted to thank you for hosting this fabulous site and service you provide to the model railroad community. I look forward to each and every post that is sent in. It is great to see others enjoying this hobby and there is something to be learned from all contributers.
I was thrilled with the feedback from your site on my last video about Buster and the Black Lamb so I have created yet another short clip following the same theme. The idea for this story line came from my wife who who knows I enjoy fixing and restoring things. This one took some time to make as it features a Schools Class Locomotive in various states of repair. Each verson required a different model, all made from Dapol kits. I won’t say any more as I don’t want to spoil what there is of a plot. Please enjoy the movie.