Garden shed model railway layout

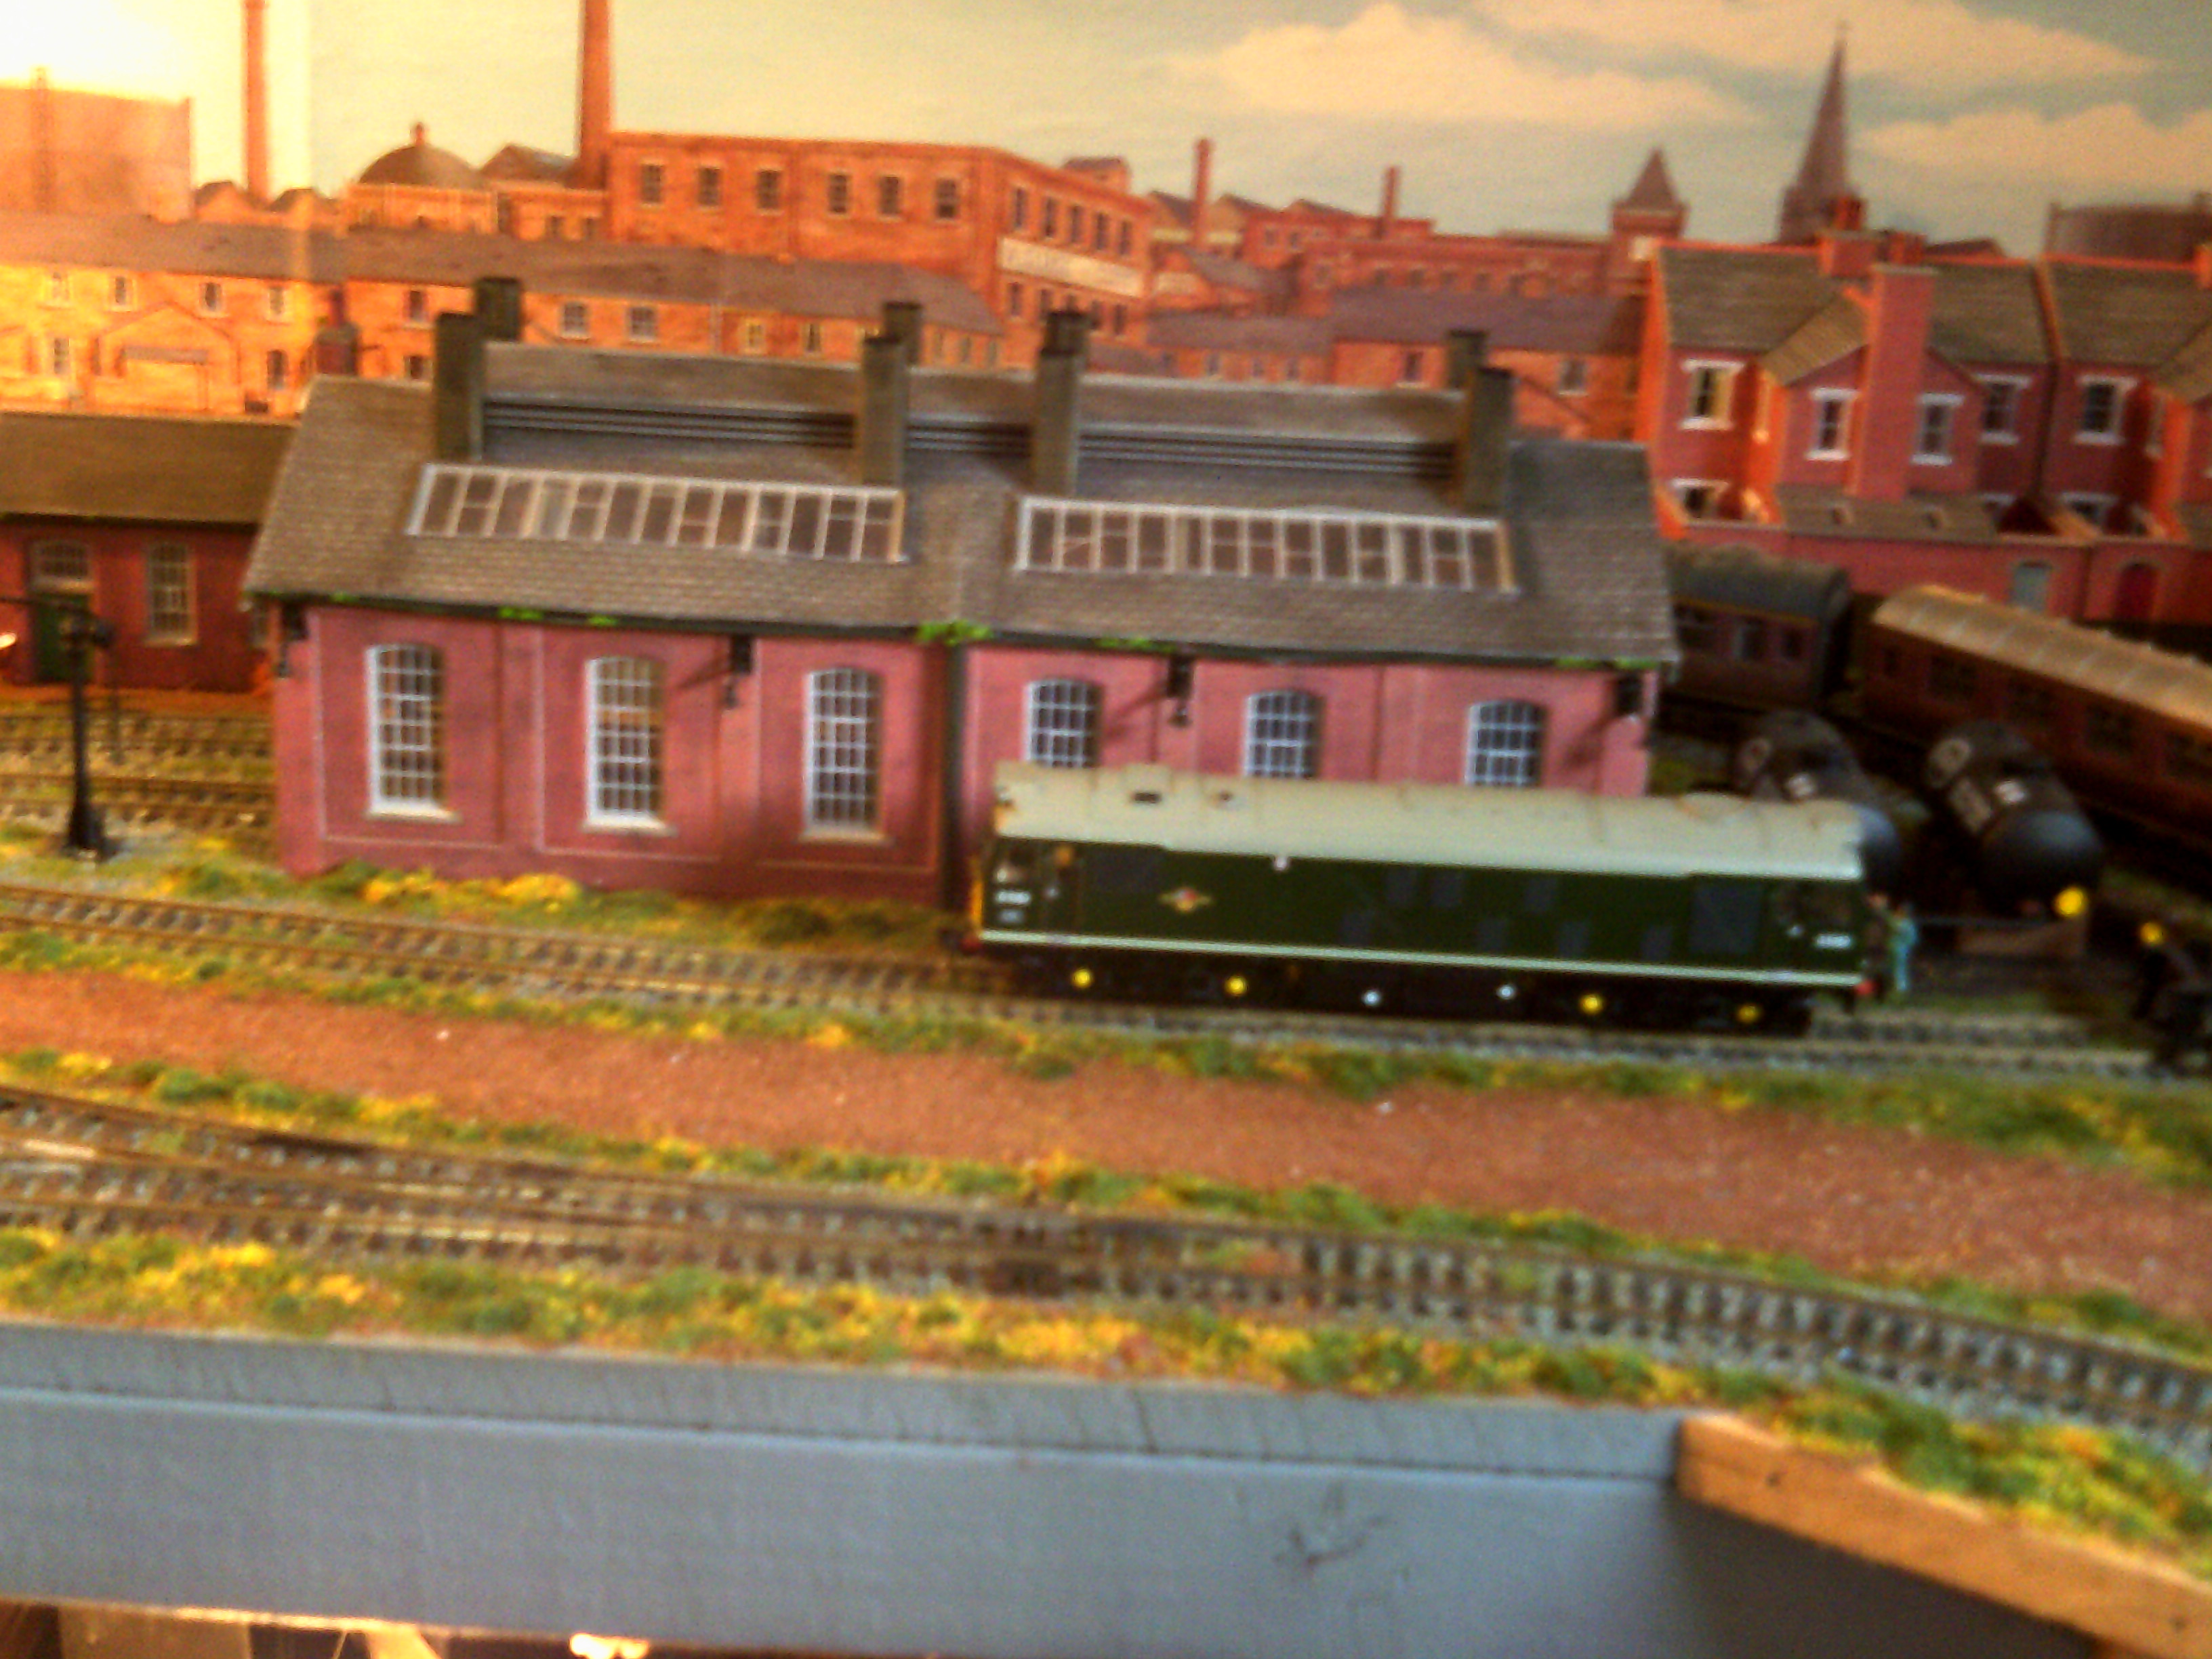
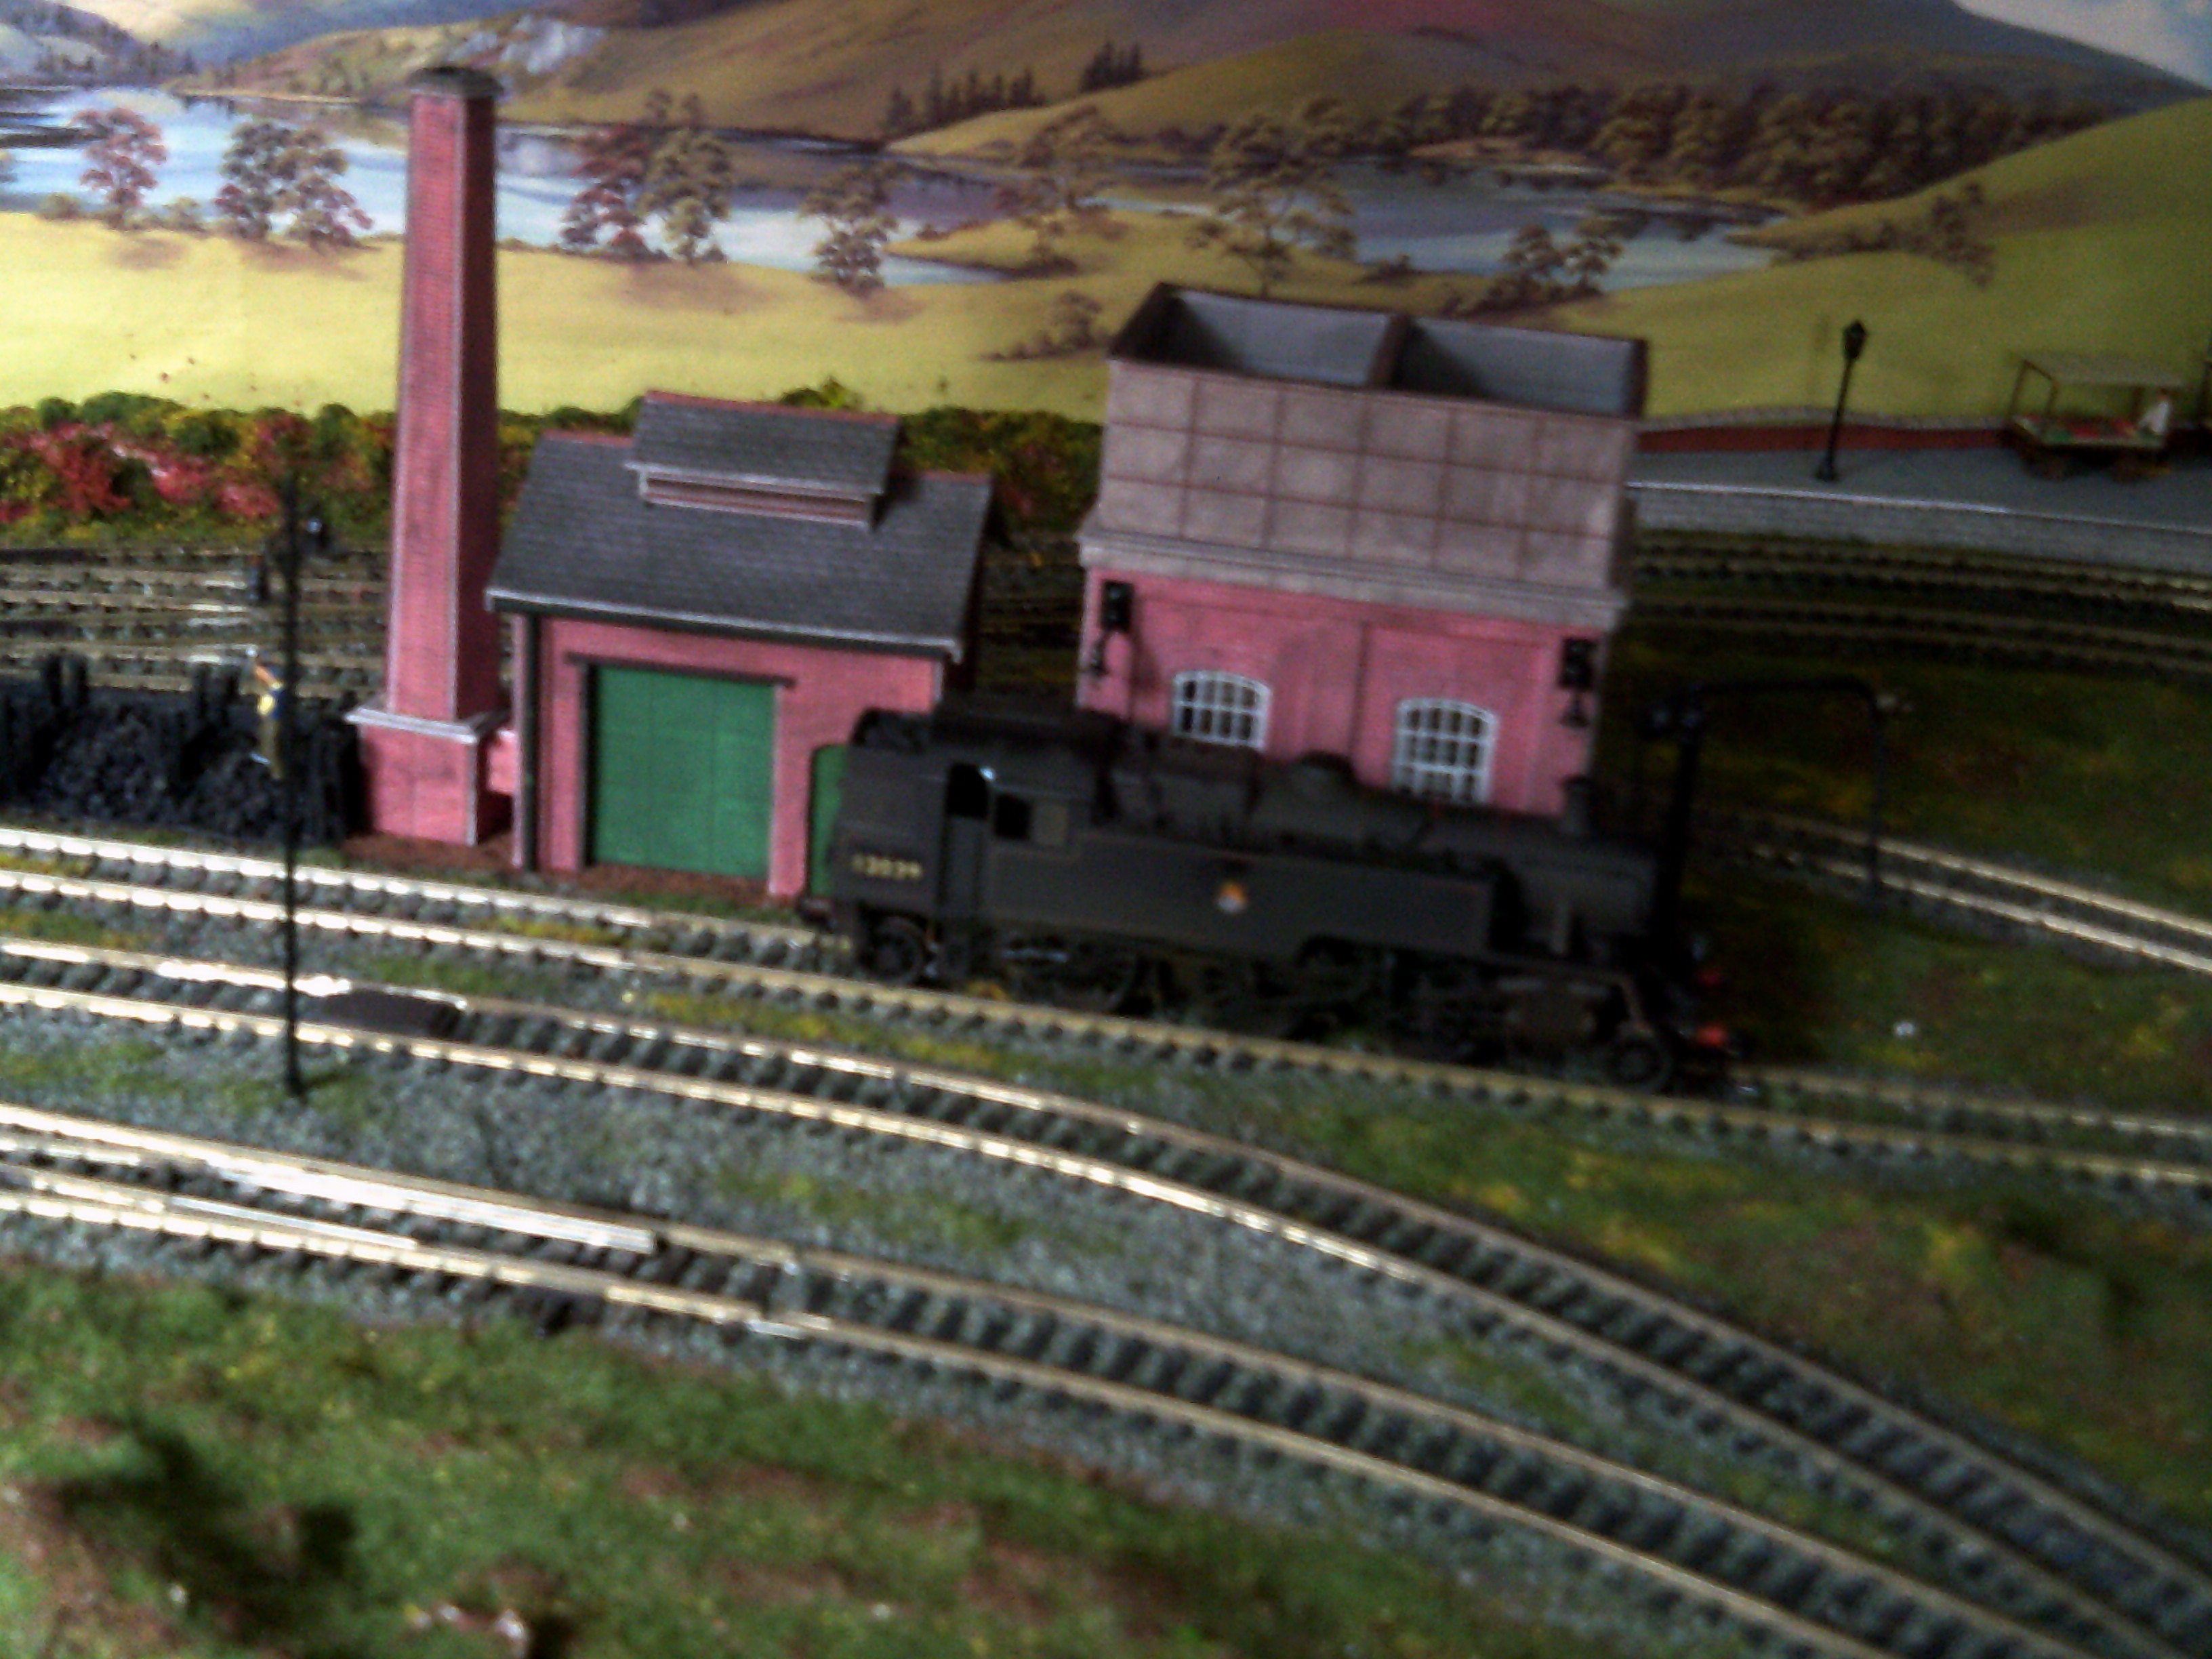
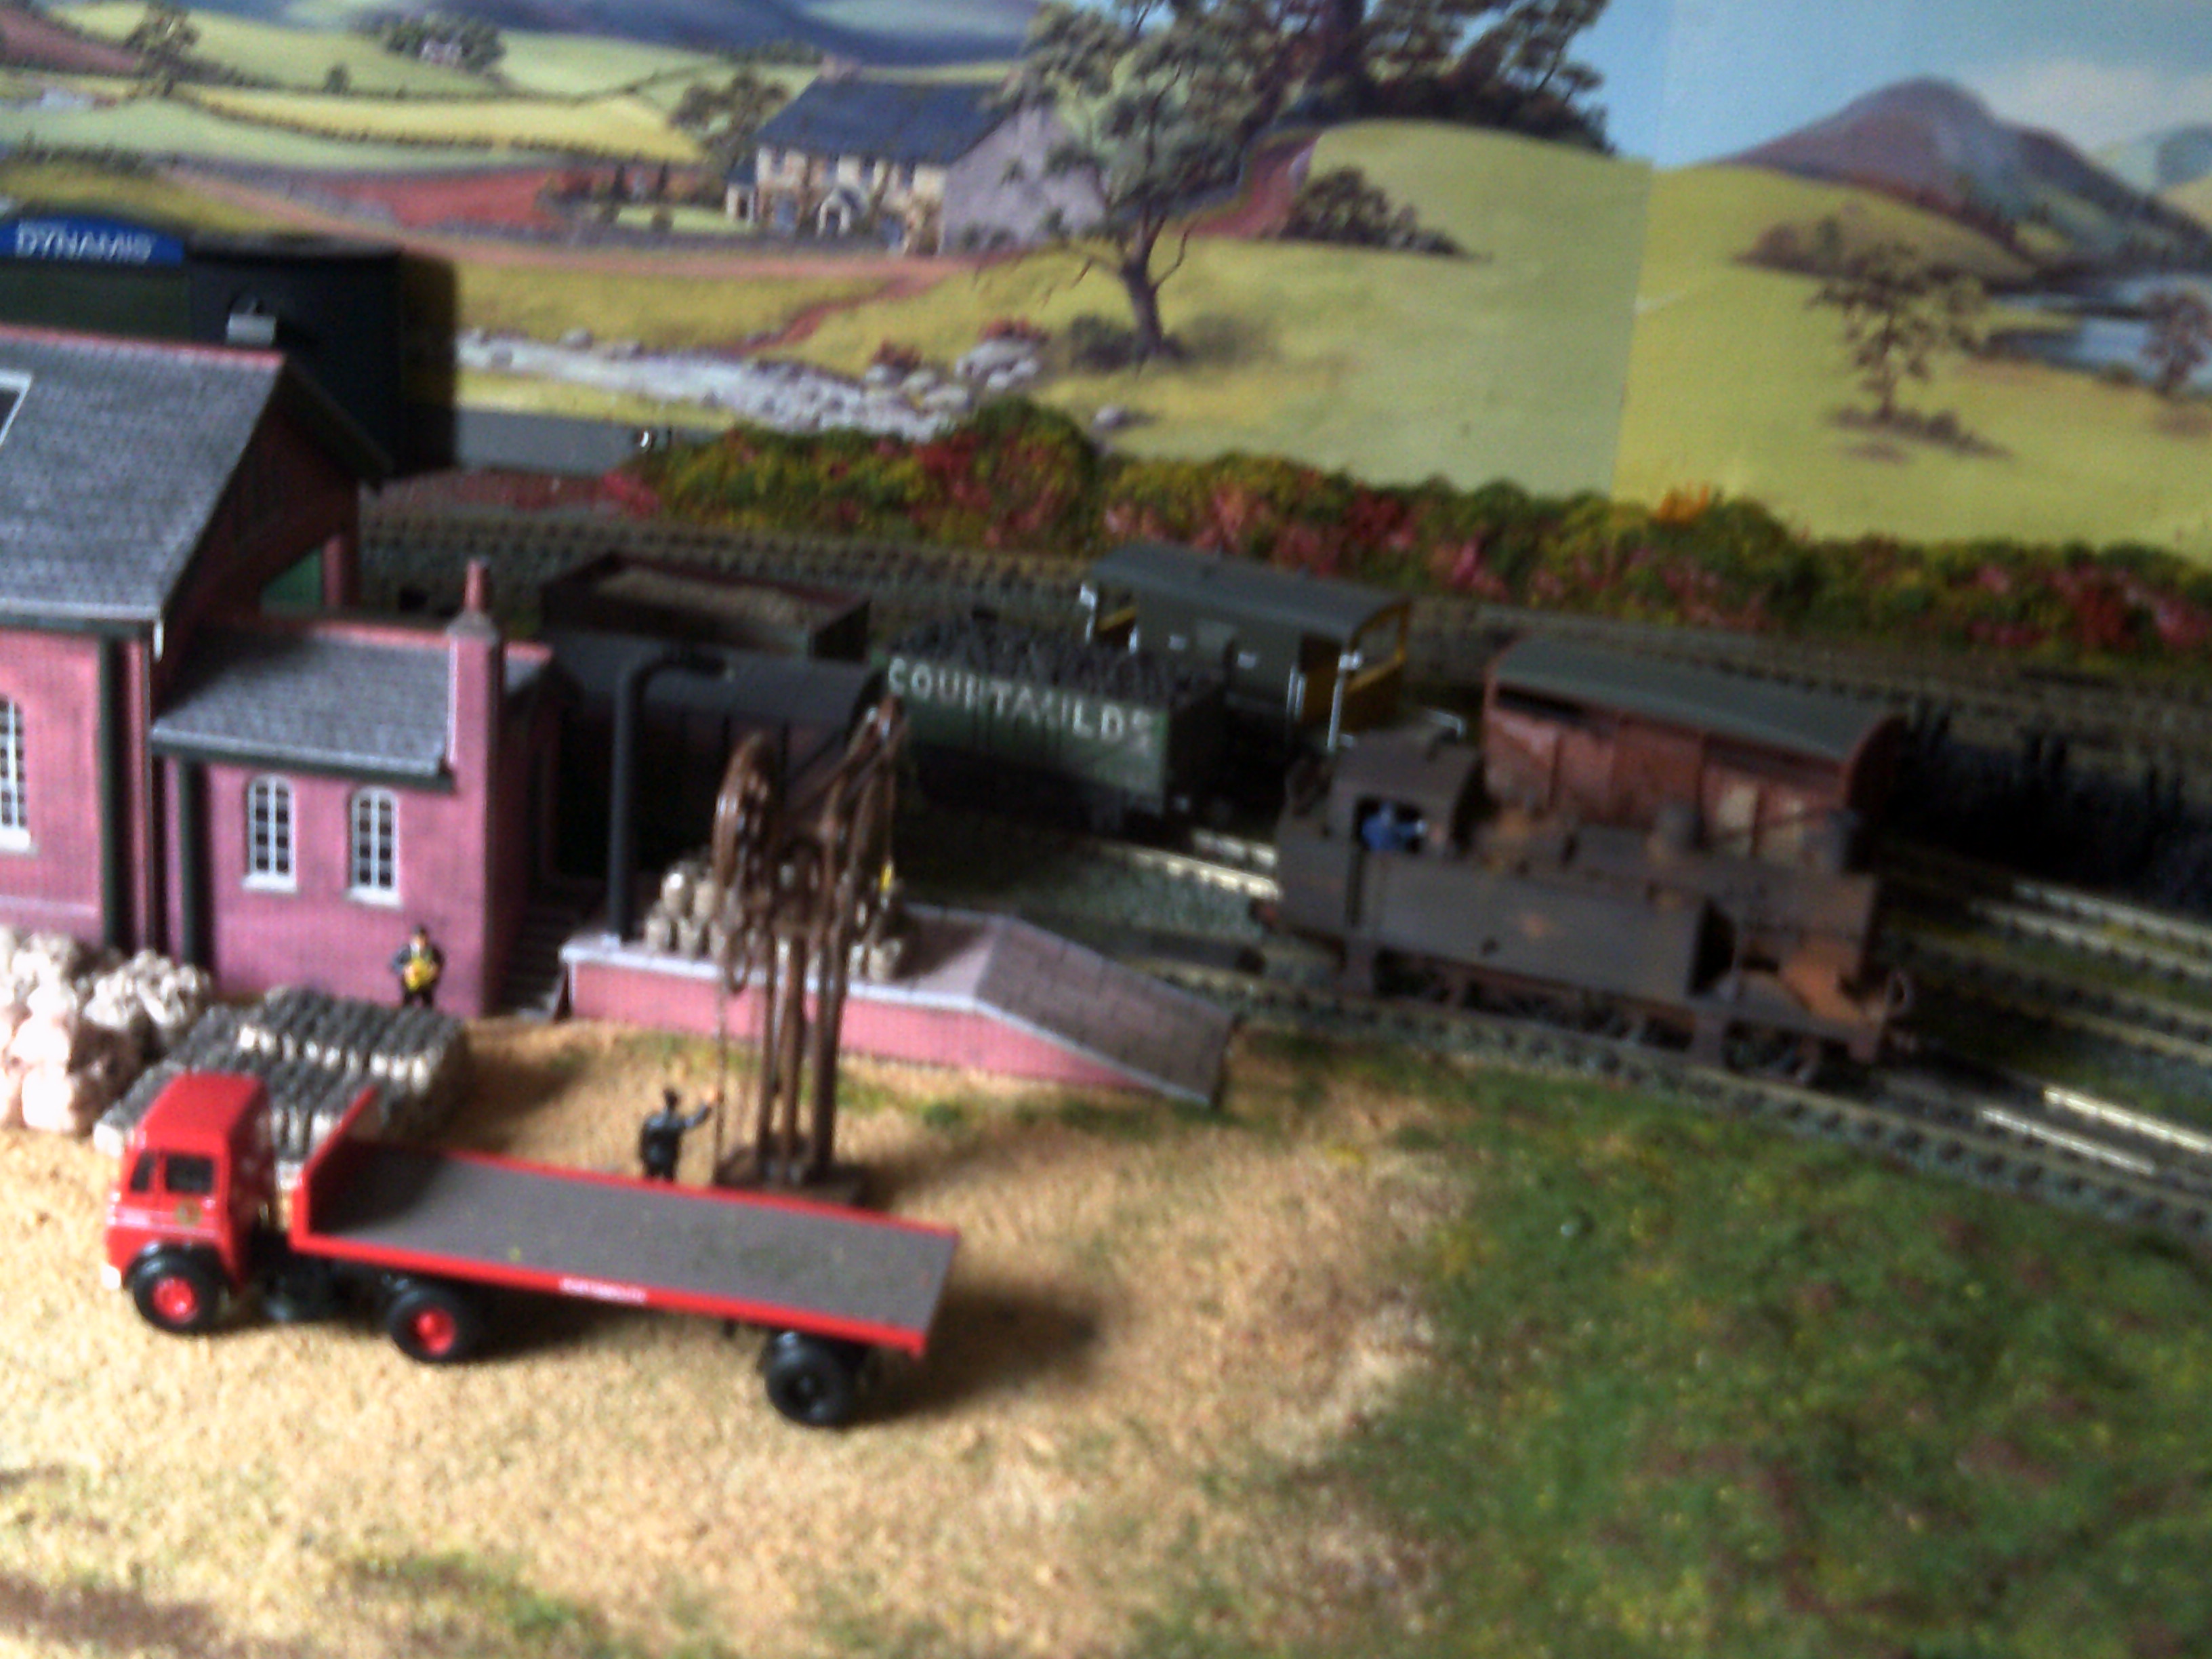
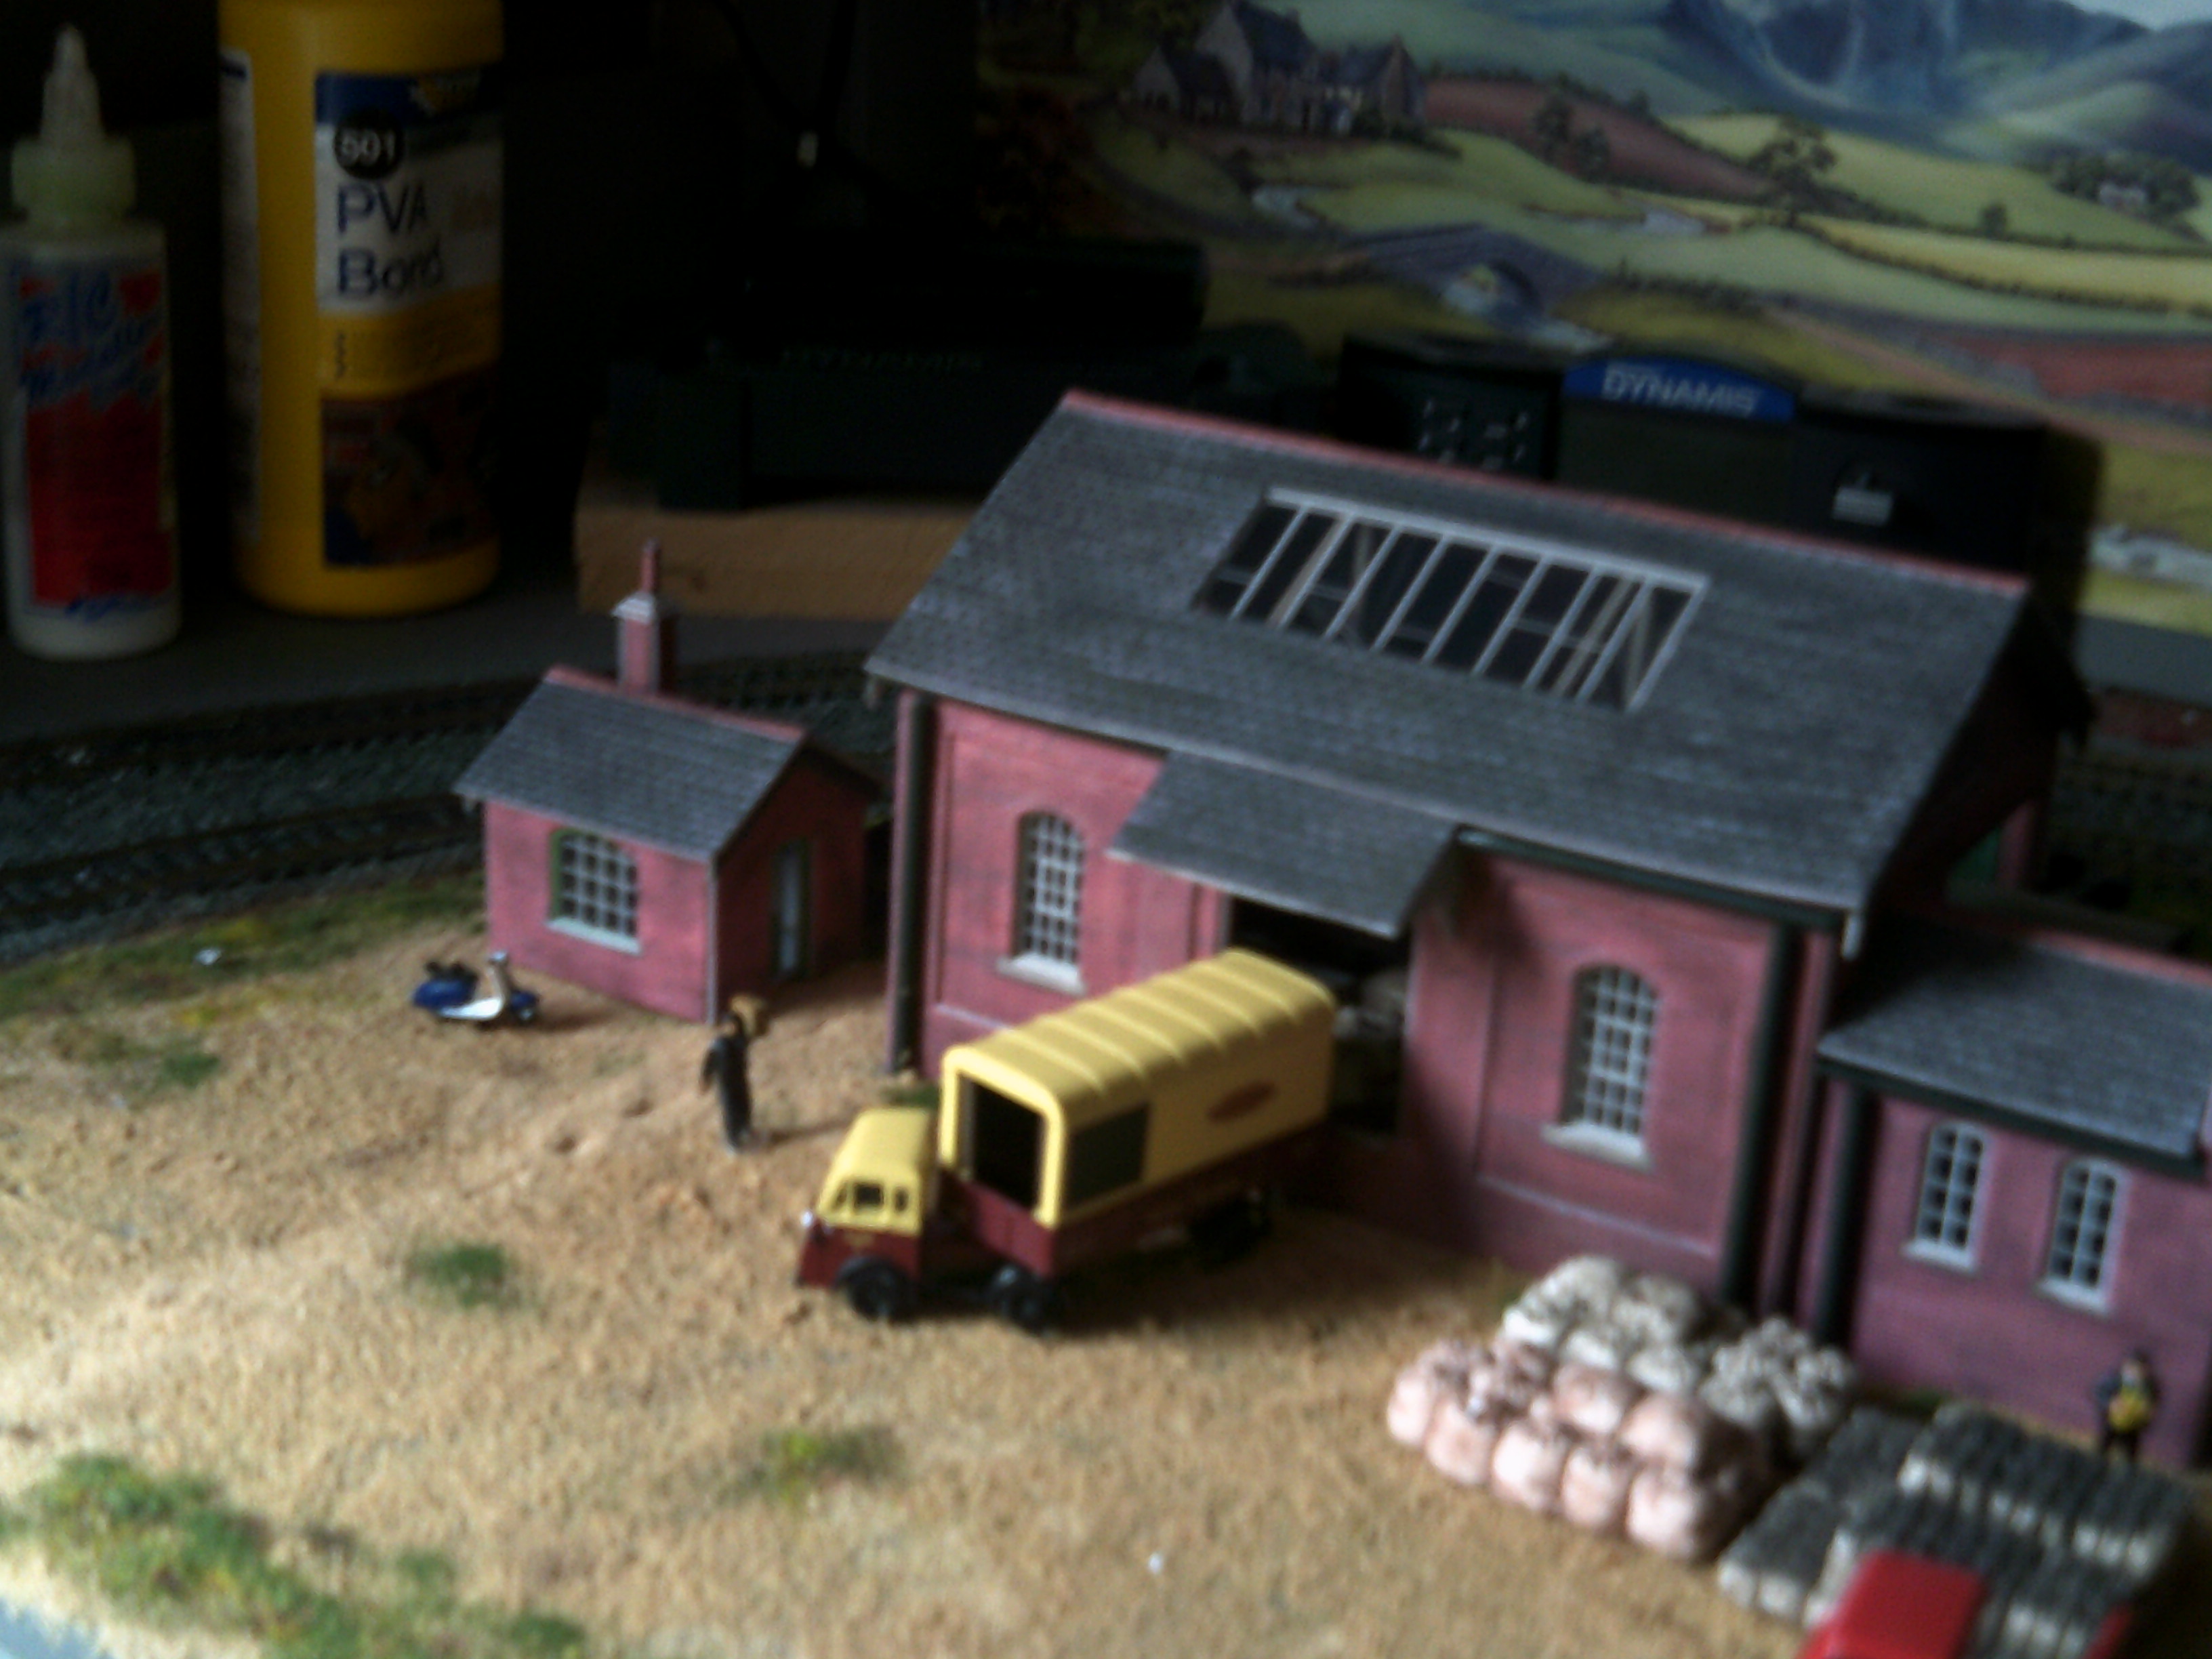
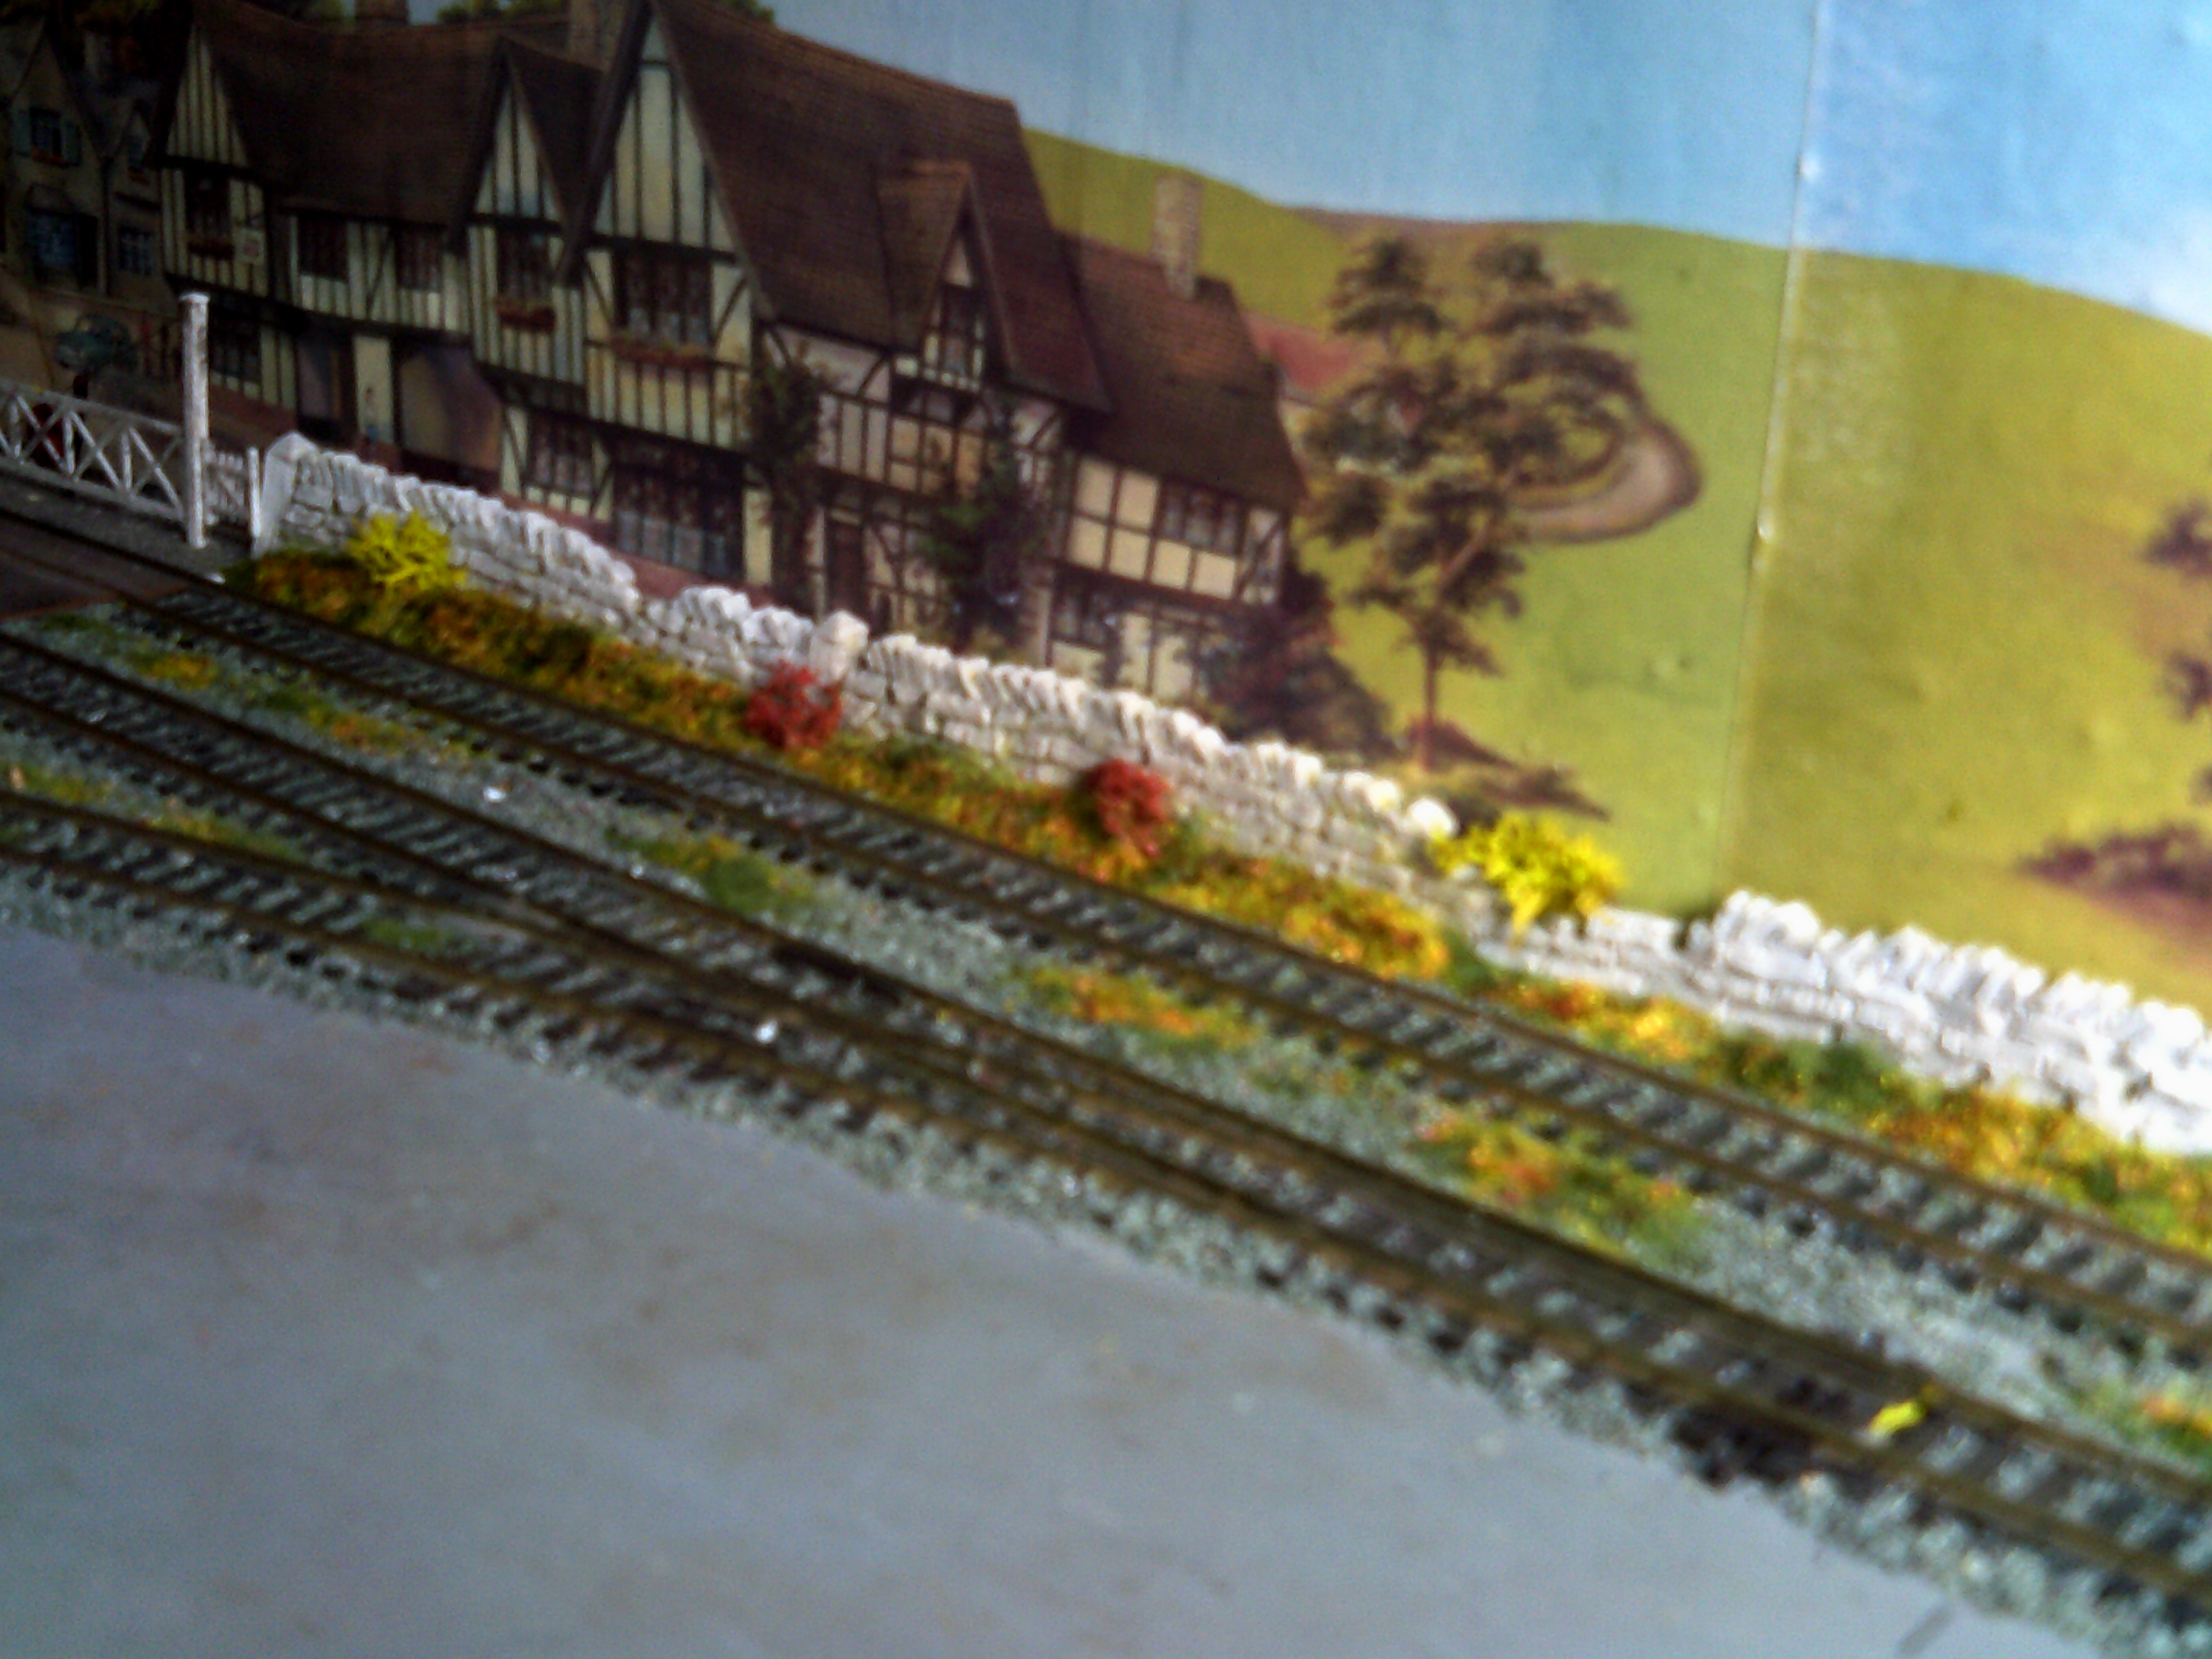
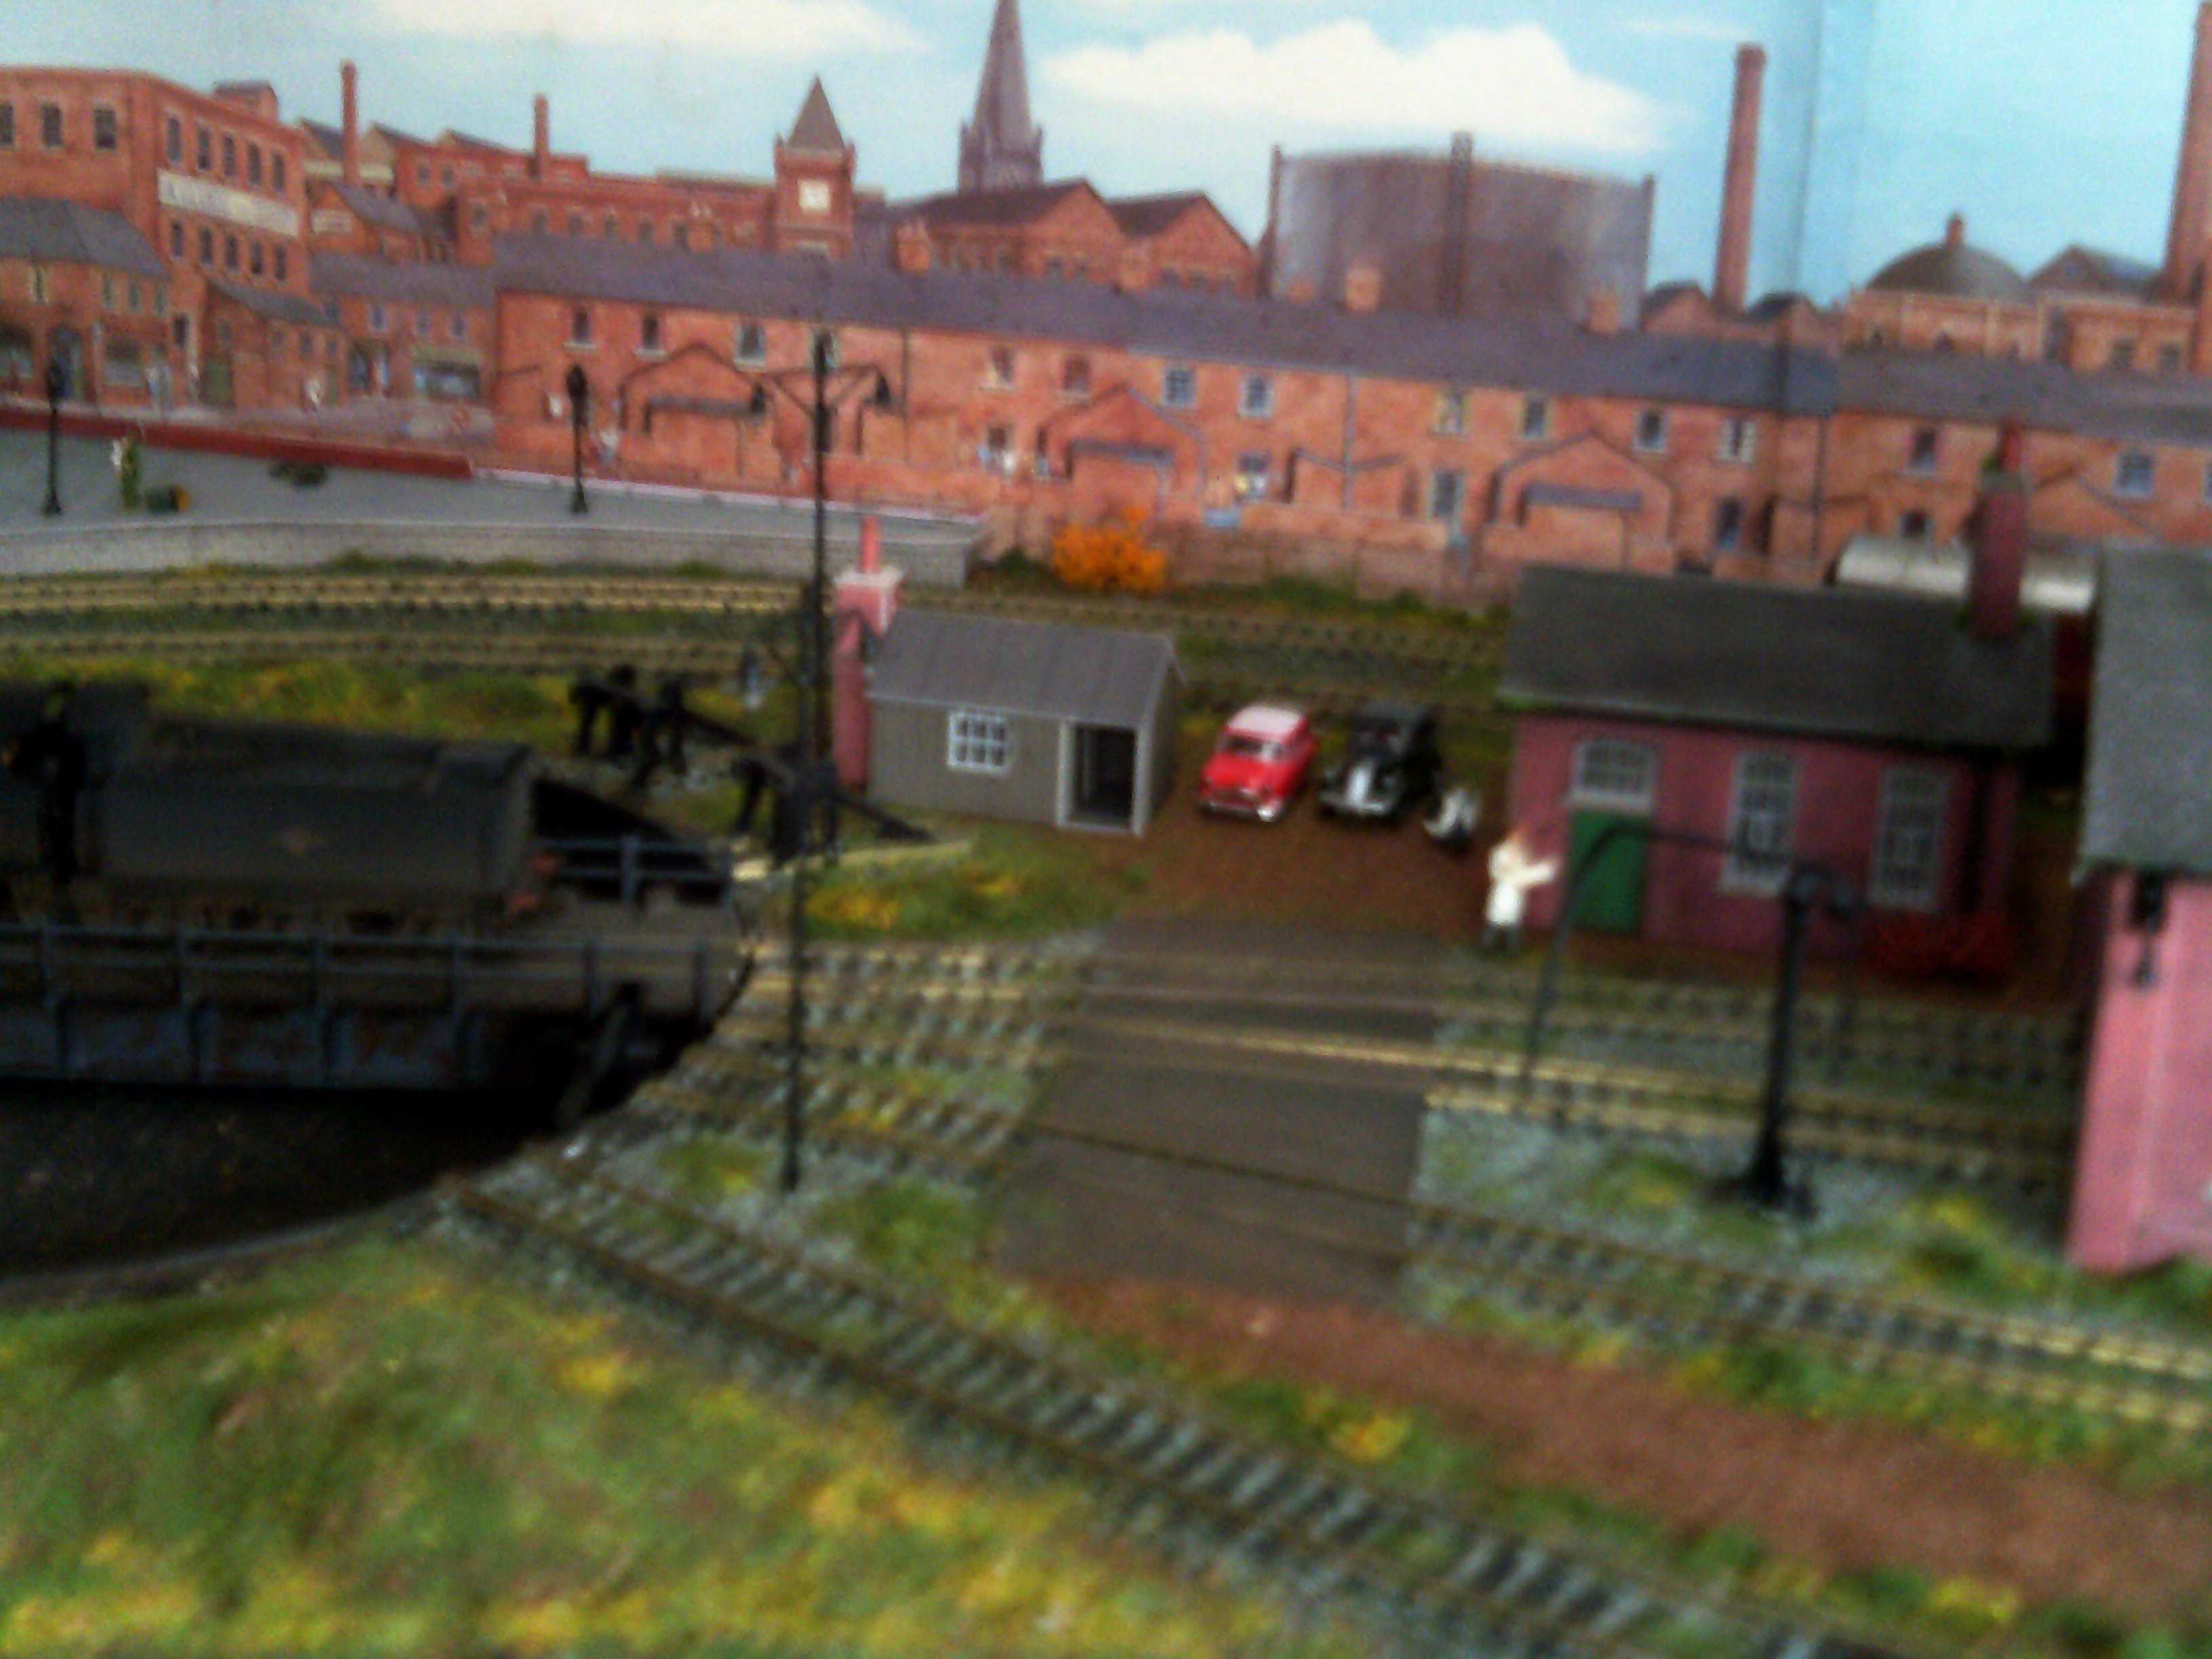
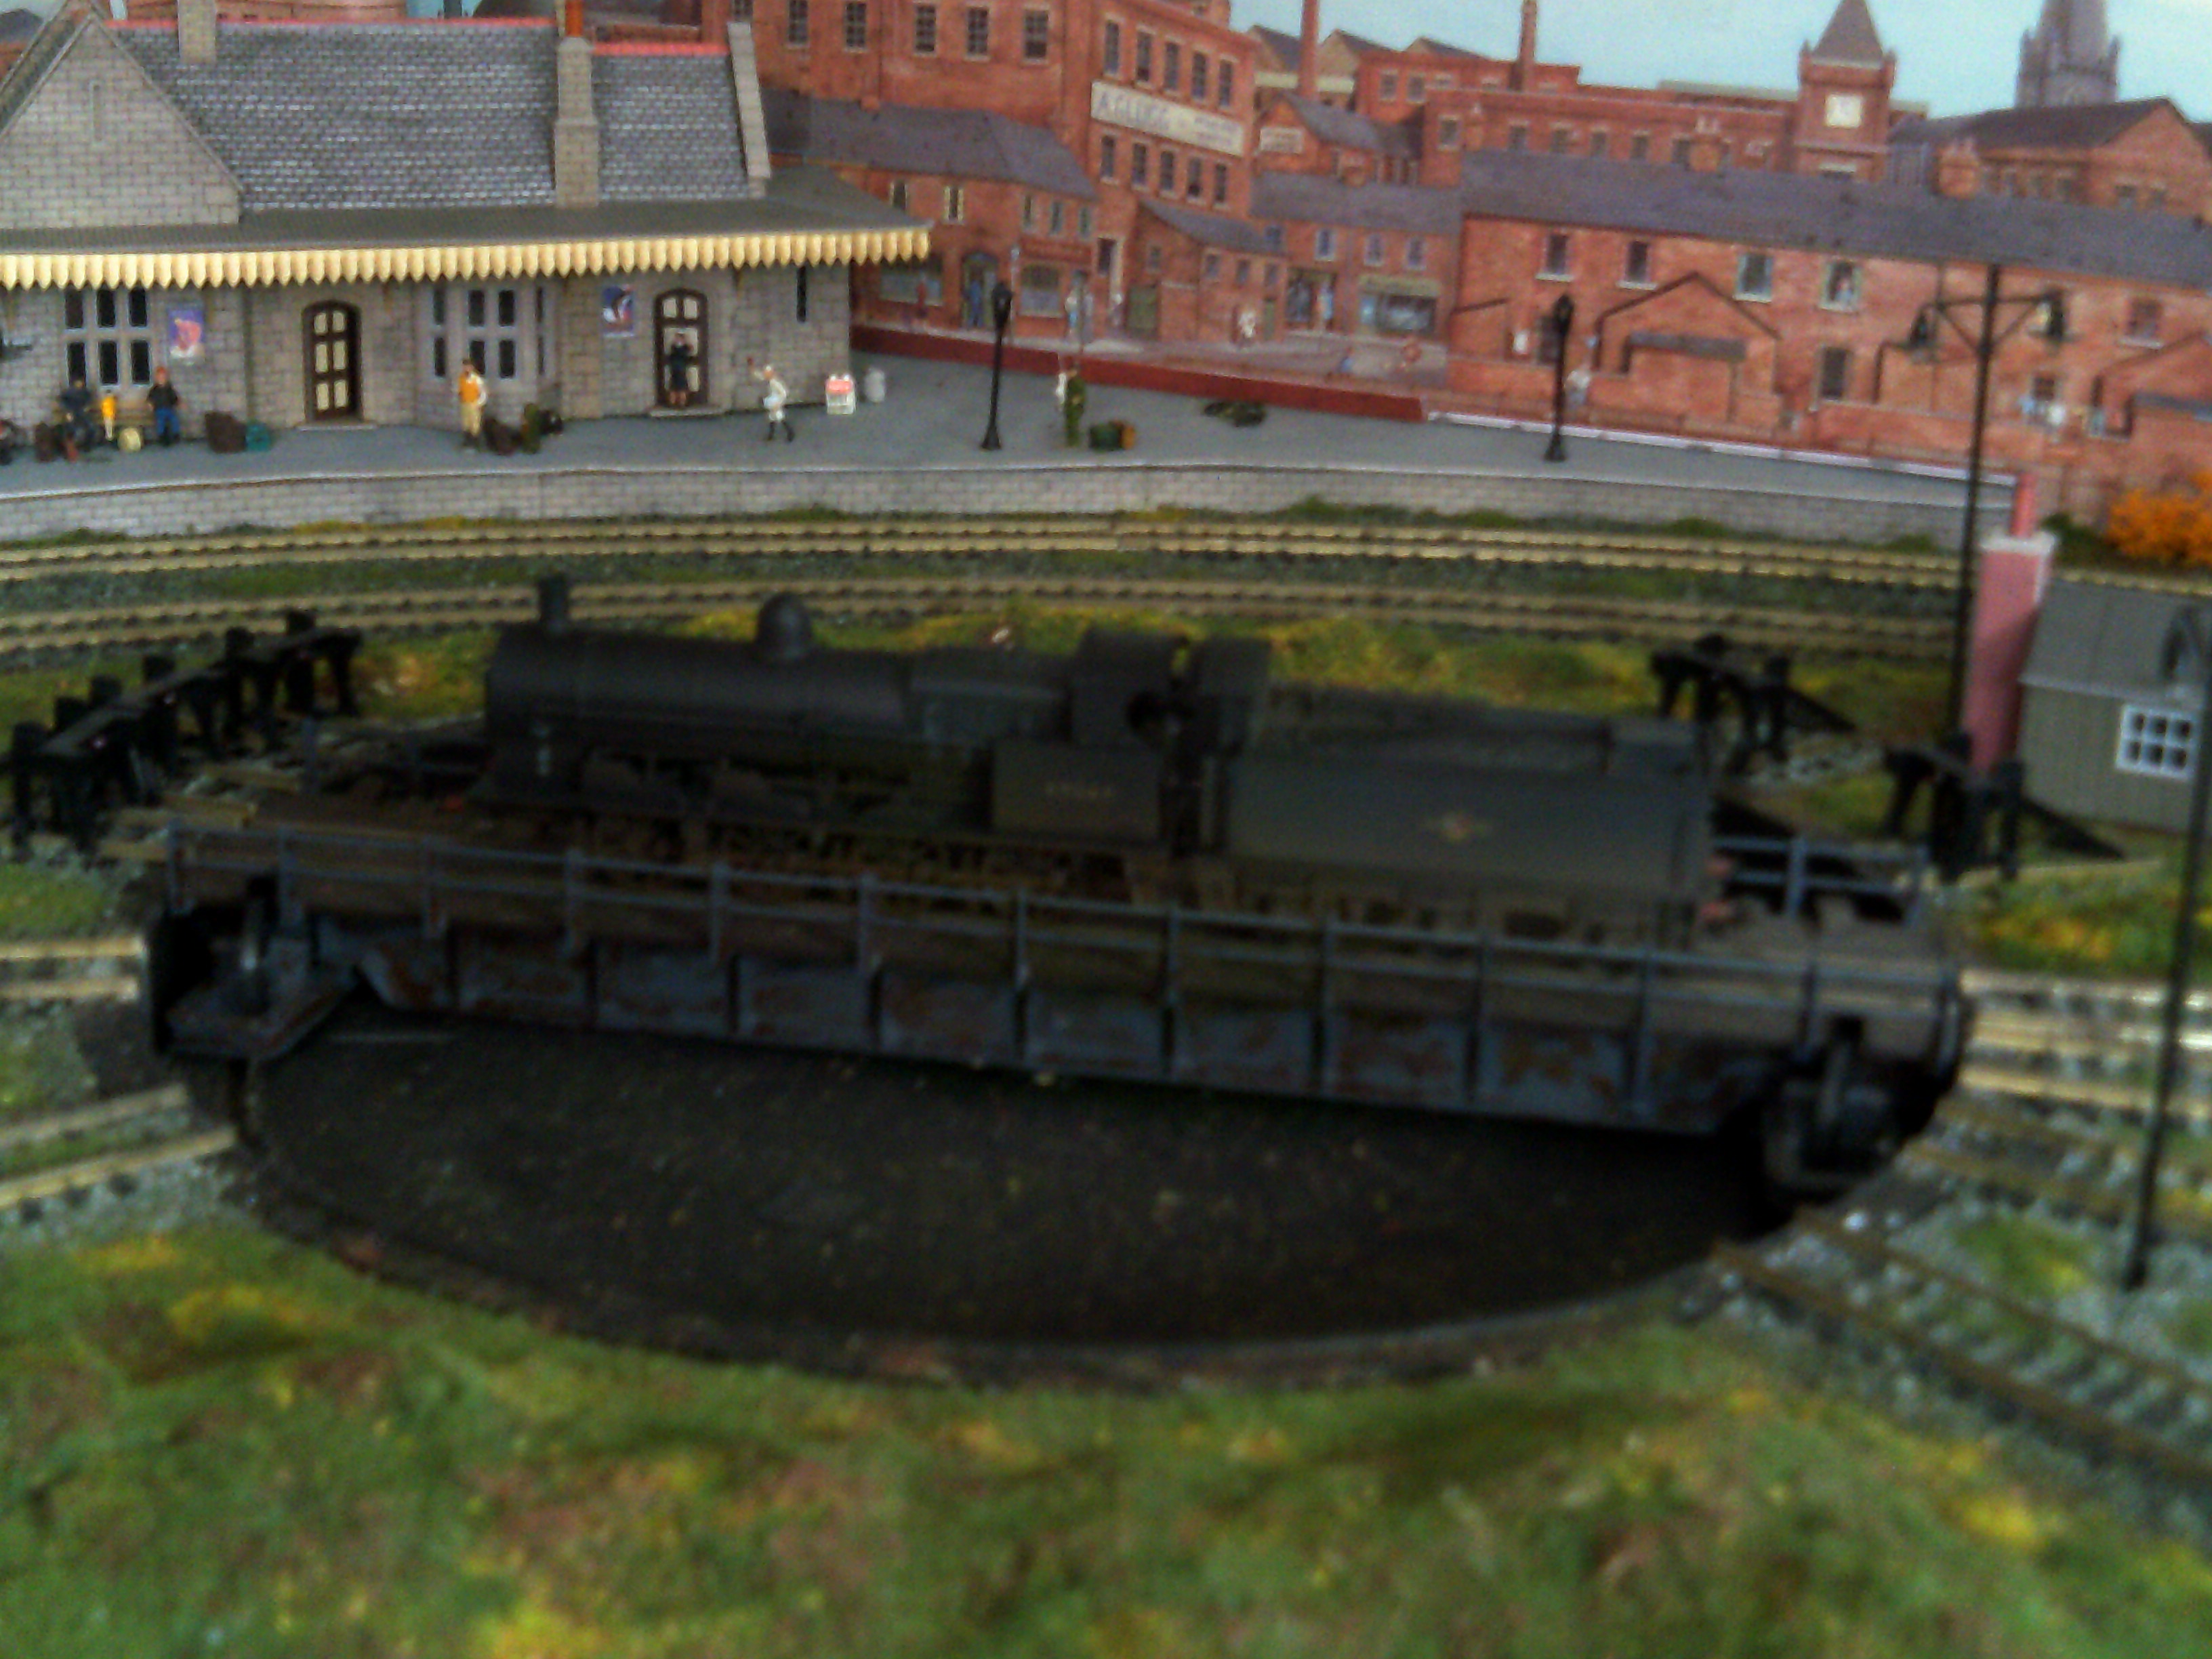
Ron’s been in touch with his garden shed model railway layout:

“Hi Al, thought you would be interested in some pics of my layout, I built this layout over the last 12 months in my 6ftx6ft shed.

I didn’t have much room as you can imagine, so I just made it up as I went, I tried to get as much in without making it look overdone, the buildings I made from the Metcalf range and the rest from scatter materials etc.

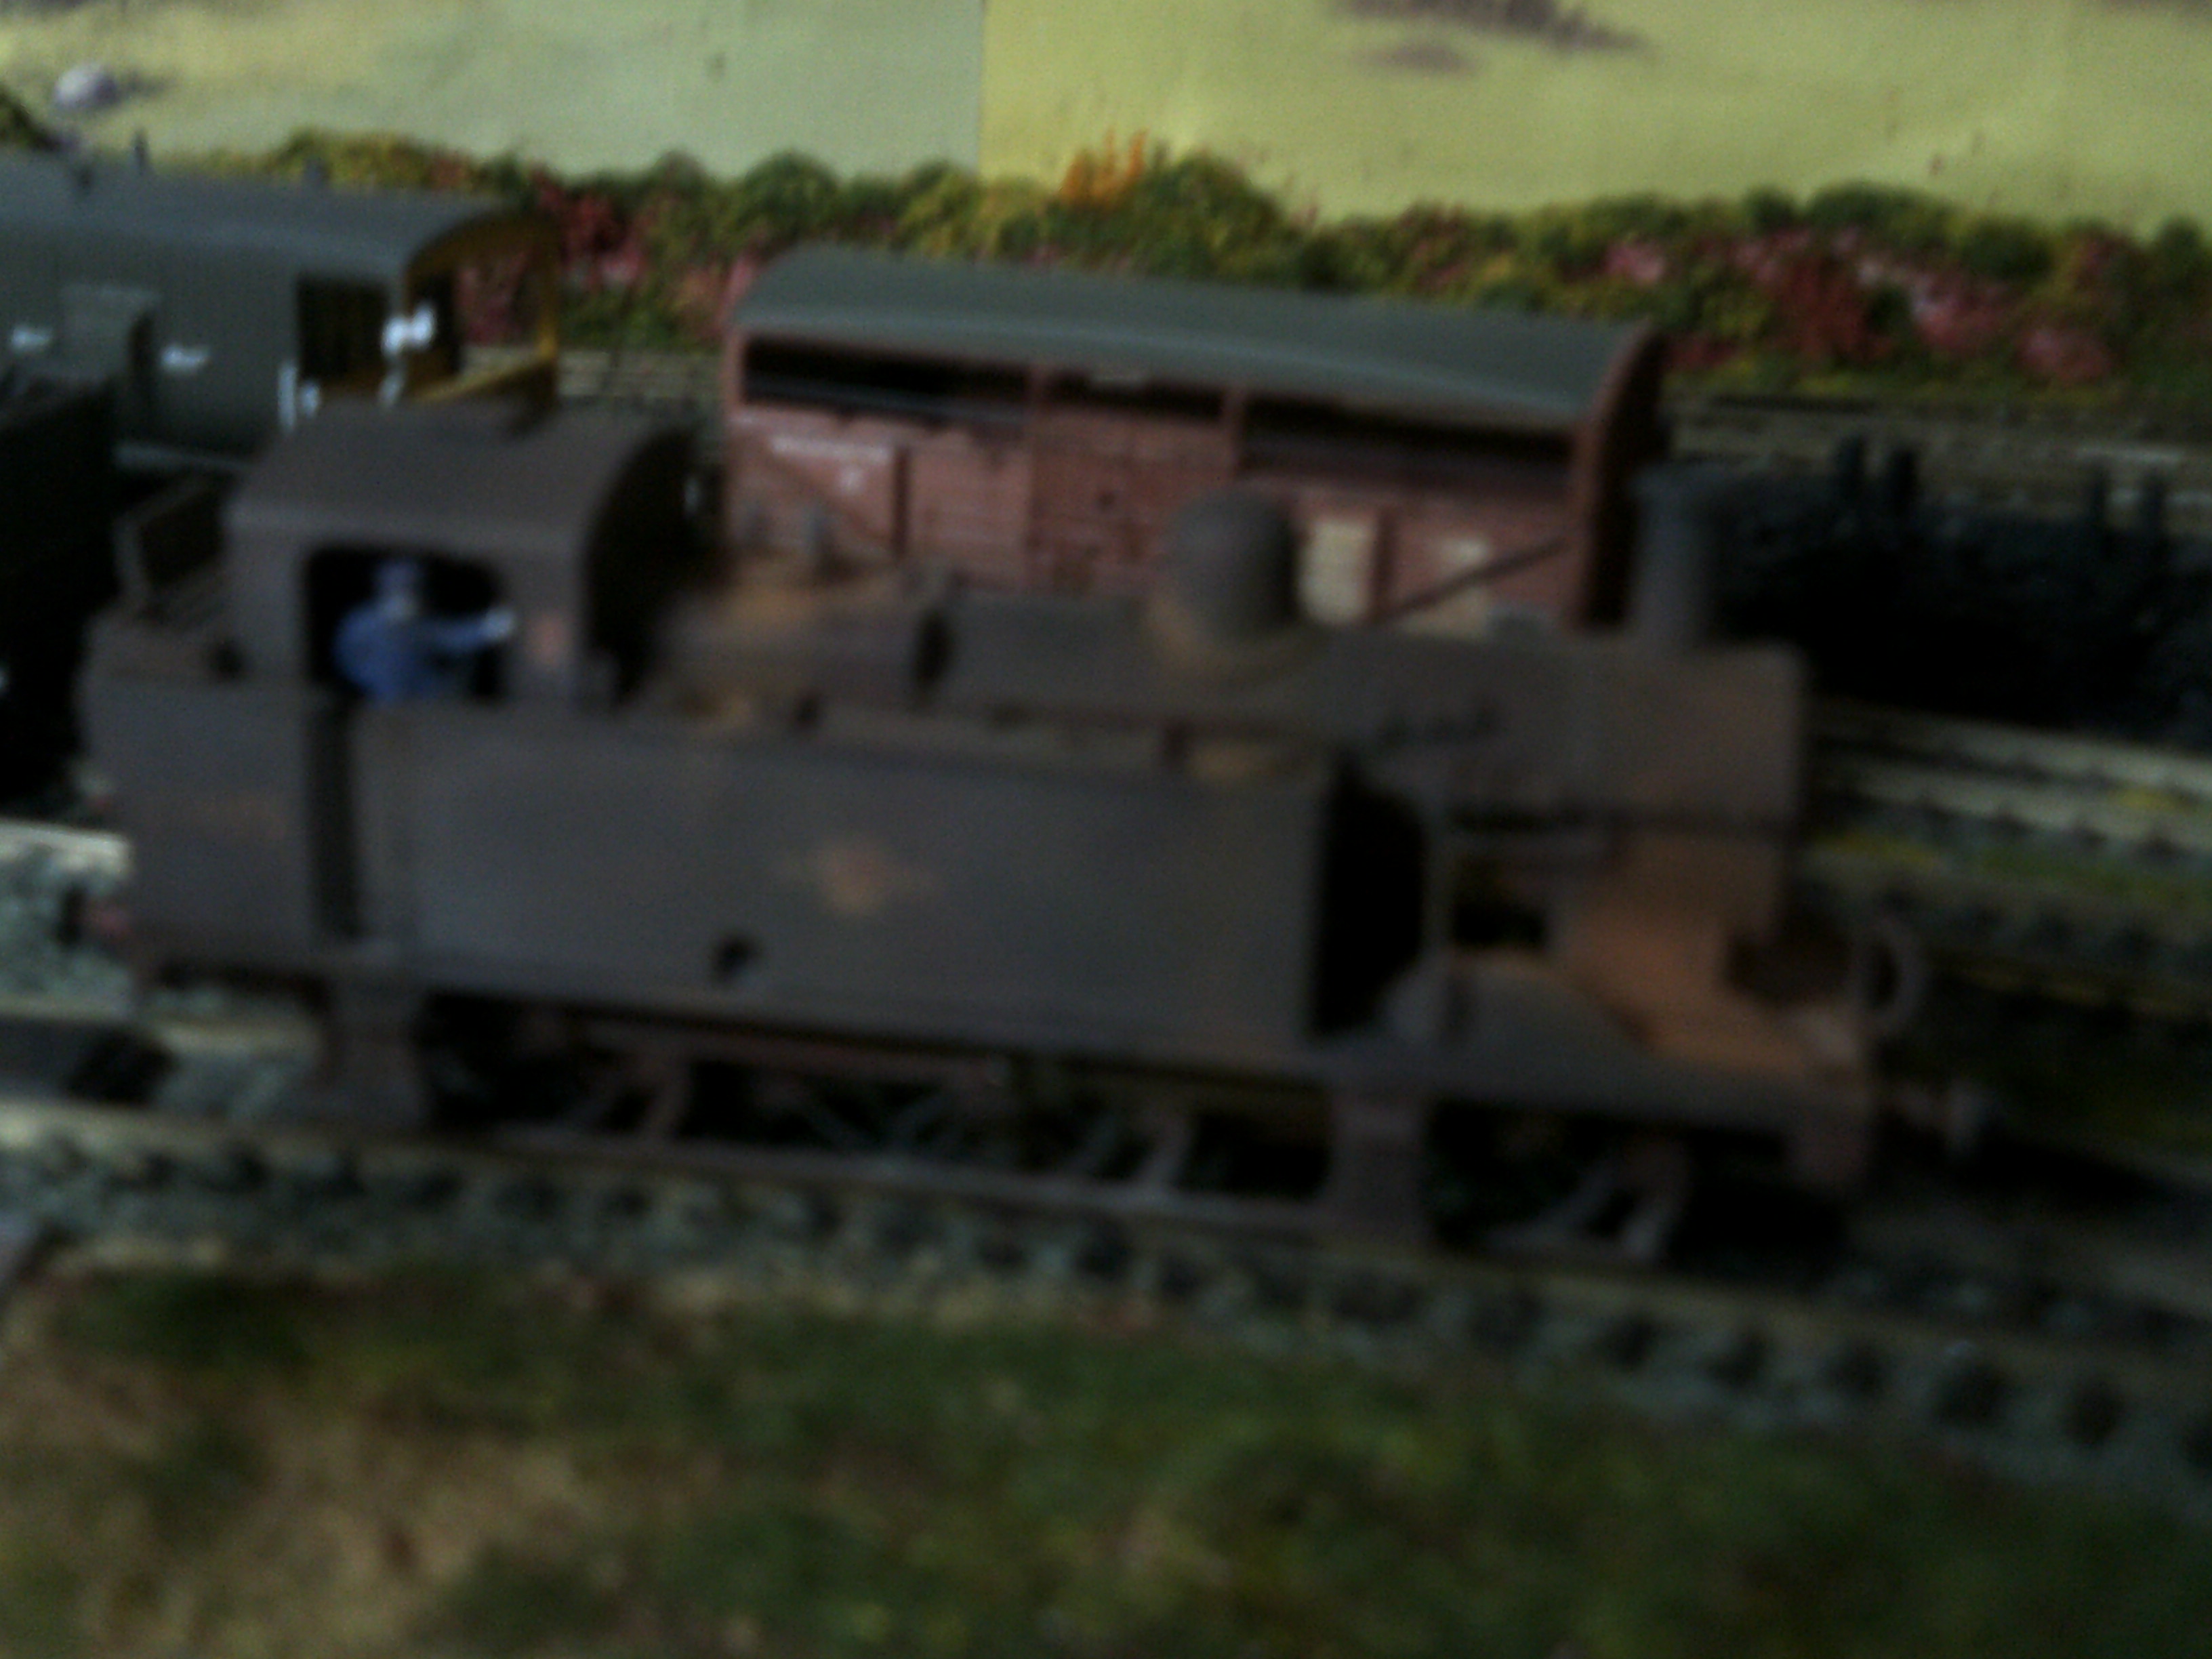
I wired the layout for dcc, and the lighting is 12v-6v-3v, all the 12v is run from an old computer power pack that I converted, all the locos have sound fitted exept the little jinty, all the locos were scrapped and cut up by BR, the only one to survive was the jinty.

Thanks for all your info and tips and ideas from this web site.

Cheers Ron, Manchester.”

garden shed model railway layout

garden shed model railway layout

garden shed model railway layout

garden shed model railway layout

oo scale

oo scale

model train


garden shed model railway layout

model train turntable

A big thanks to Ron for sharing his garden shed model railway layout.

Now onto Rod:


“Hi Al,

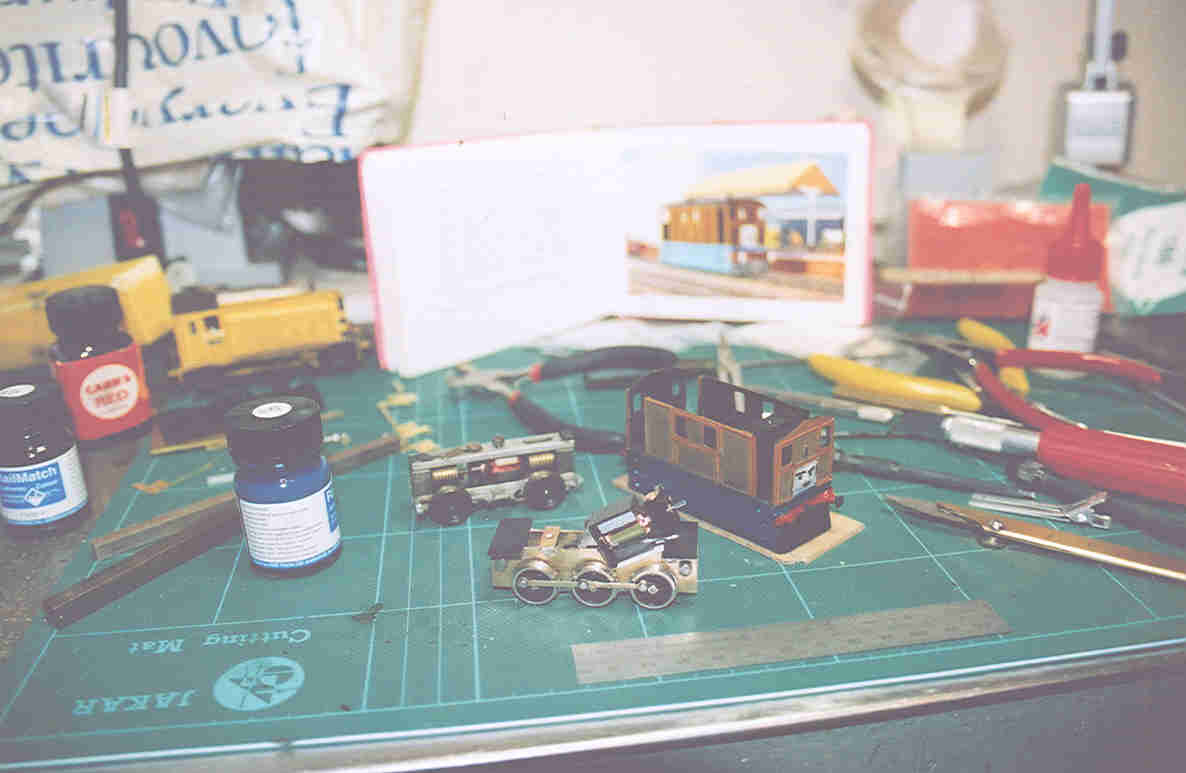
Never done an entire loco thank heavens, the time commitment must be huge, but I have had to make a couple of simple chassis sort-of from scratch, albeit using commercial axles, wheels, gears etc. The first was to replace a cast whitemetal chassis block in a loco kit which seemed to have been cast with the sides at an angle to each other, quite unsalvageable. I had tried sending it back as a complaint only to be told the pre-drilled axle holes were “supposed” to be breaking out through the bottom of the casting on one side “to make it easier for you to fit springing”! Yeah, right.

The second one was because a mate turned up with an old K’s kit of a GER tram-engine (like Toby the tram engine) which wouldn’t run. All it was, the body was a little low one end and the cowcatcher was fouling the rails and shorting out. It just needed a little Plasticard pad sticking onto the chassis mount, so I did that, held it in place for a count of thirty, said “There, fixed it!” and whipped my fingers away – needless to say I had superglued the plastic to a bit of skin as well, and the whole chassis flew into the air, tore the skin loose, and fell to the tiled floor with a resounding bang. It was one of those old K’s ones with the motor sides and bearings glued together and integral with the frames, so a total write-off (I couldn’t get the motor to run again properly, although I did try). You should have seen his little face, a proper picture, so I had to replace it.

The replacement was made from 16th brass frames, bolted together for drilling of axle positions and tube spacers, and fitted with flanged bearings, reamed for Romford axles. The old chassis was a four-wheeler but the real things were six-coupled so I thought I’d do it right, although there was no point adding cylinders and running gear as they would be behind the side-skirts. I used a Branchlines slimline gearbox/motor mount and a Mashima motor, and added little black ‘platforms’ either end to form floors for the driving cabs. For some reason, the model had never had a chimney, I think the real ones were just stovepipe-type but all I had in the junkbox was a cast one for a GWR King, so that had to do, capuchon and all. That was a bit of a departure from prototype, so I painted the finished loco blue and brown and moulded a little face onto the end in low-melt solder, sculpted with the iron and a bit of chasing with a ball cutter in the minidrill – great fun but wear goggles.

The photo shows the new chassis in the foreground, the reassembled old chassis and tidied-up body behind, and a Reverend Awdry book for livery reference!

Rod”

Hello,

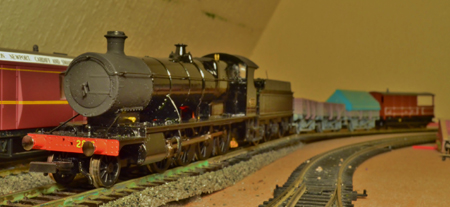
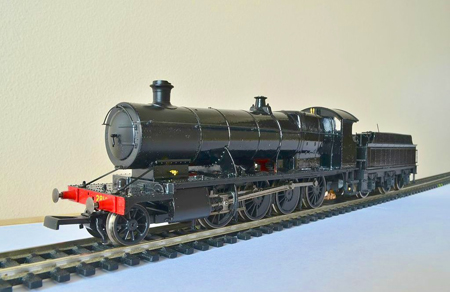
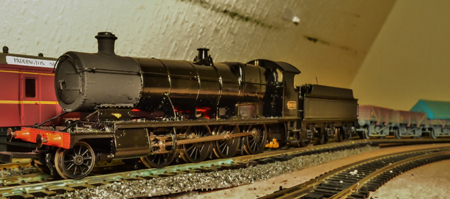
I was wondering if you’d like to feature my newly repainted 28xx by hornby?

It’s not finished but I hand painted it and it’s going GWR wartime black,

I’ve attached some photos for you

regards

Mike aged 16″
And the latest from Dangerous Dave:


Latest ebay cheat sheet is here.

Big thanks to Rod and Ron! And of course, Dangerous Dave. Don’t know what it is about his stuff, but it’s always very watchable.

That’s all for today folks.

Please do keep ’em coming. If you want to share anything, just hit reply to any of my mails.

And if today is the day you get started on your layout, the Beginner’s Guide is here.

Why let everyone else have all the fun?

Best

Al

PS Latest ebay cheat sheet is here.

PPS More HO scale train layouts here if that’s your thing.
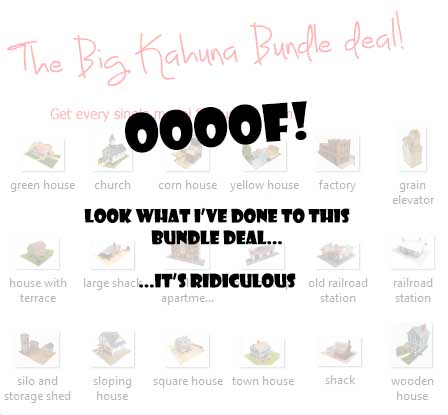


printable buildings

And there’s the Silly Discount bundle too.
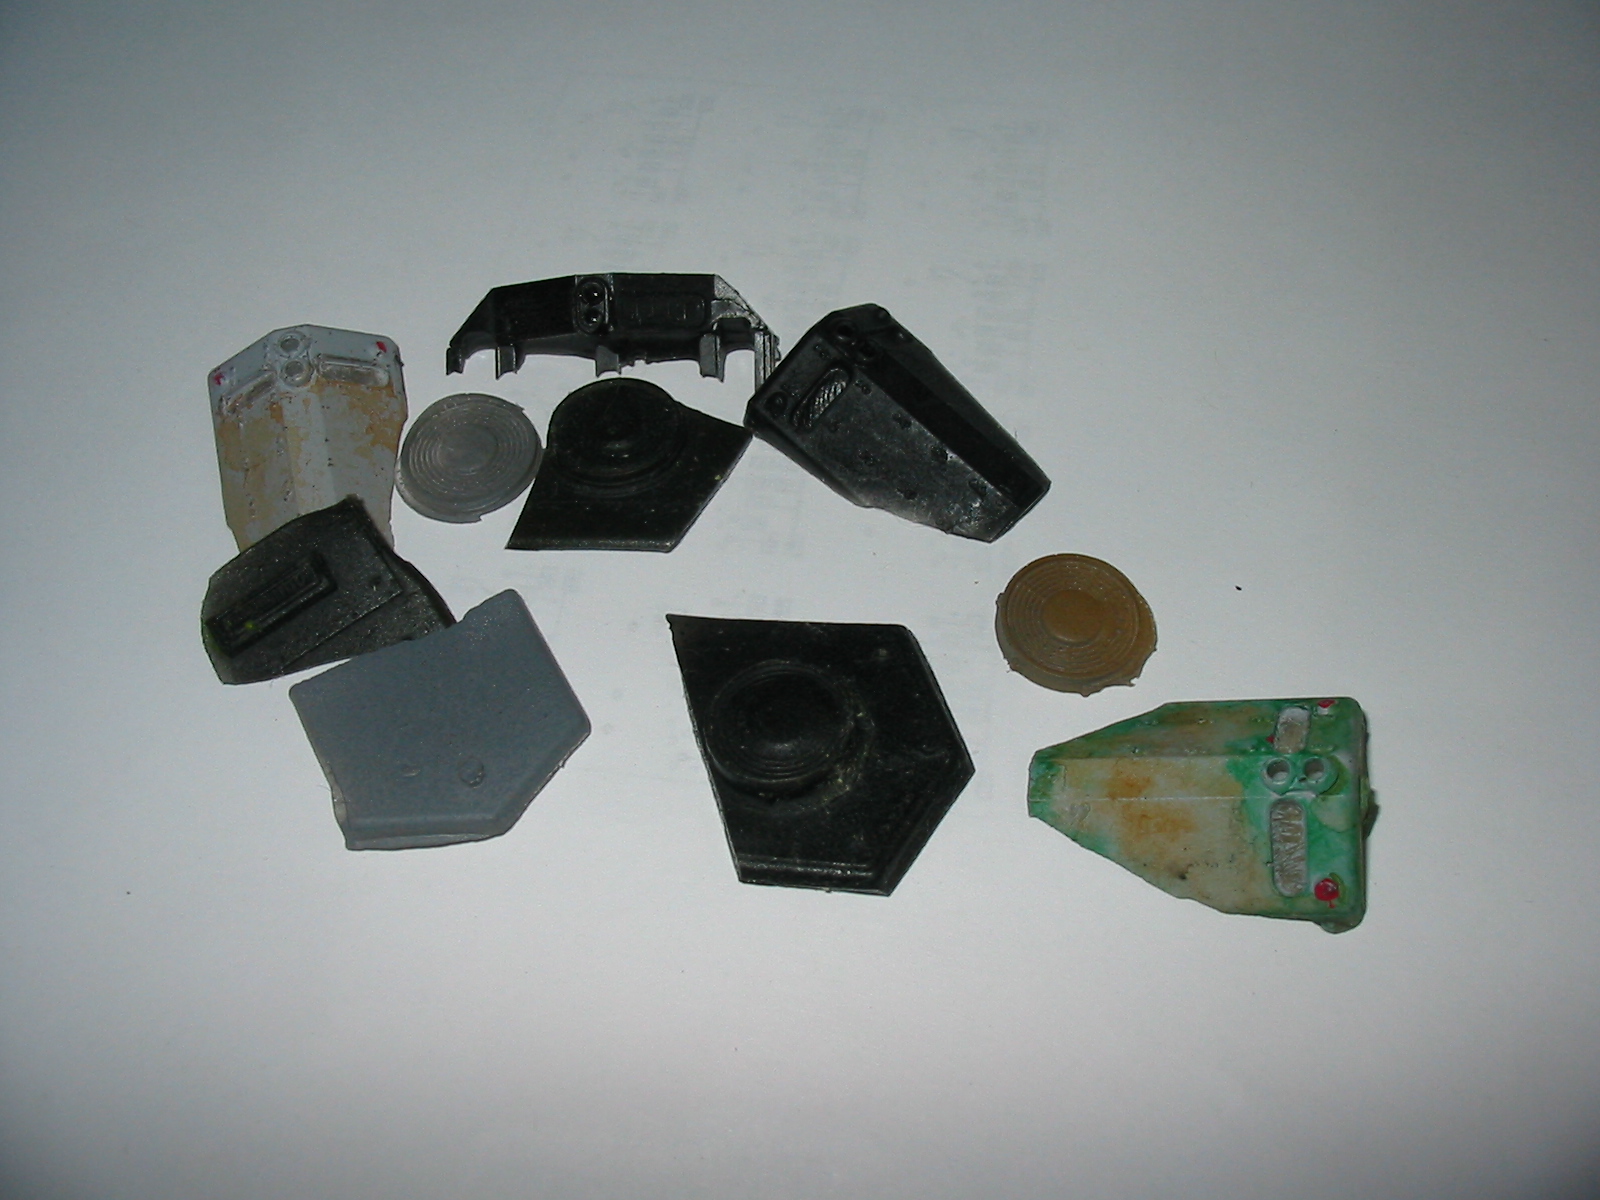
Brilliant scrap parts tip

Just short and sweet today – but I absolutely loved this tip!

“Use Play-Doh to make molds for scrap yard parts, cast with any two part resin.

Edward”

(Image is clickable)

Big thanks to Edward for sharing.

Latest ebay cheat sheet is here.

Best

Al

Dick’s O gauge

“Hello Al and O-Gauge fans!

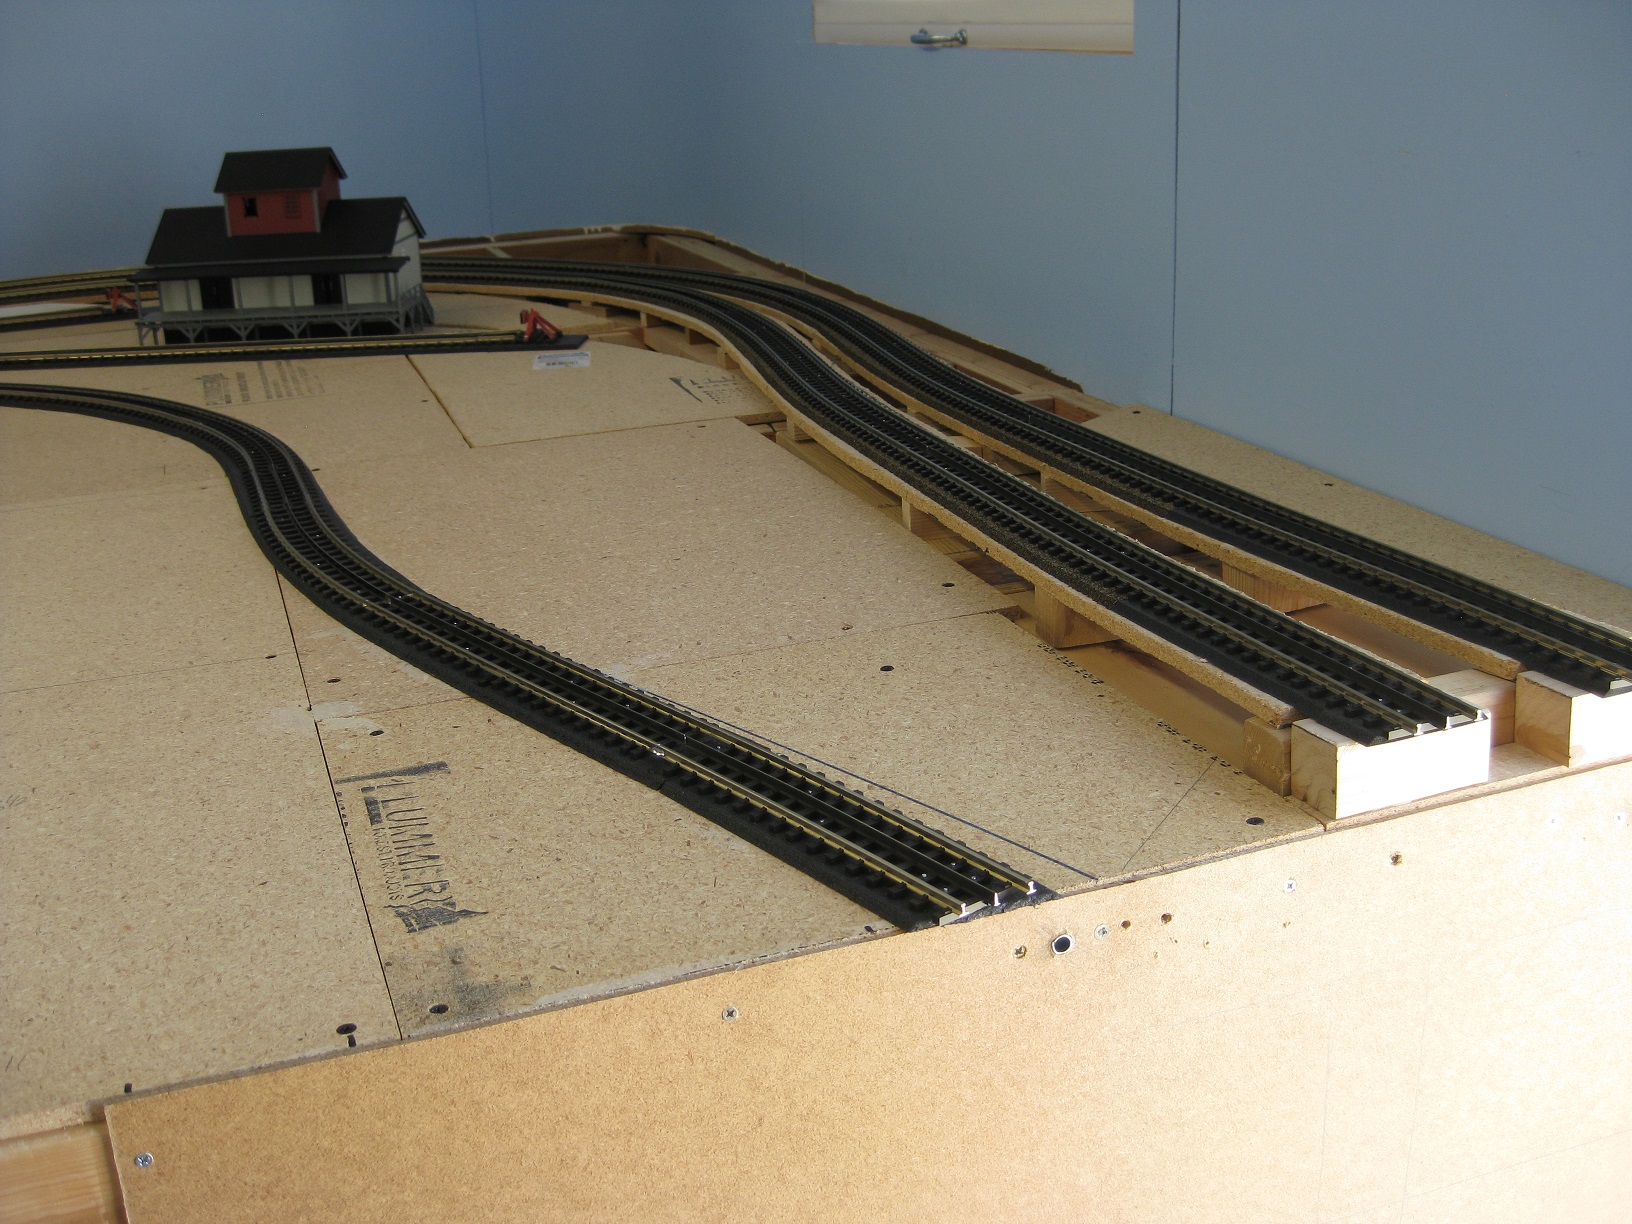
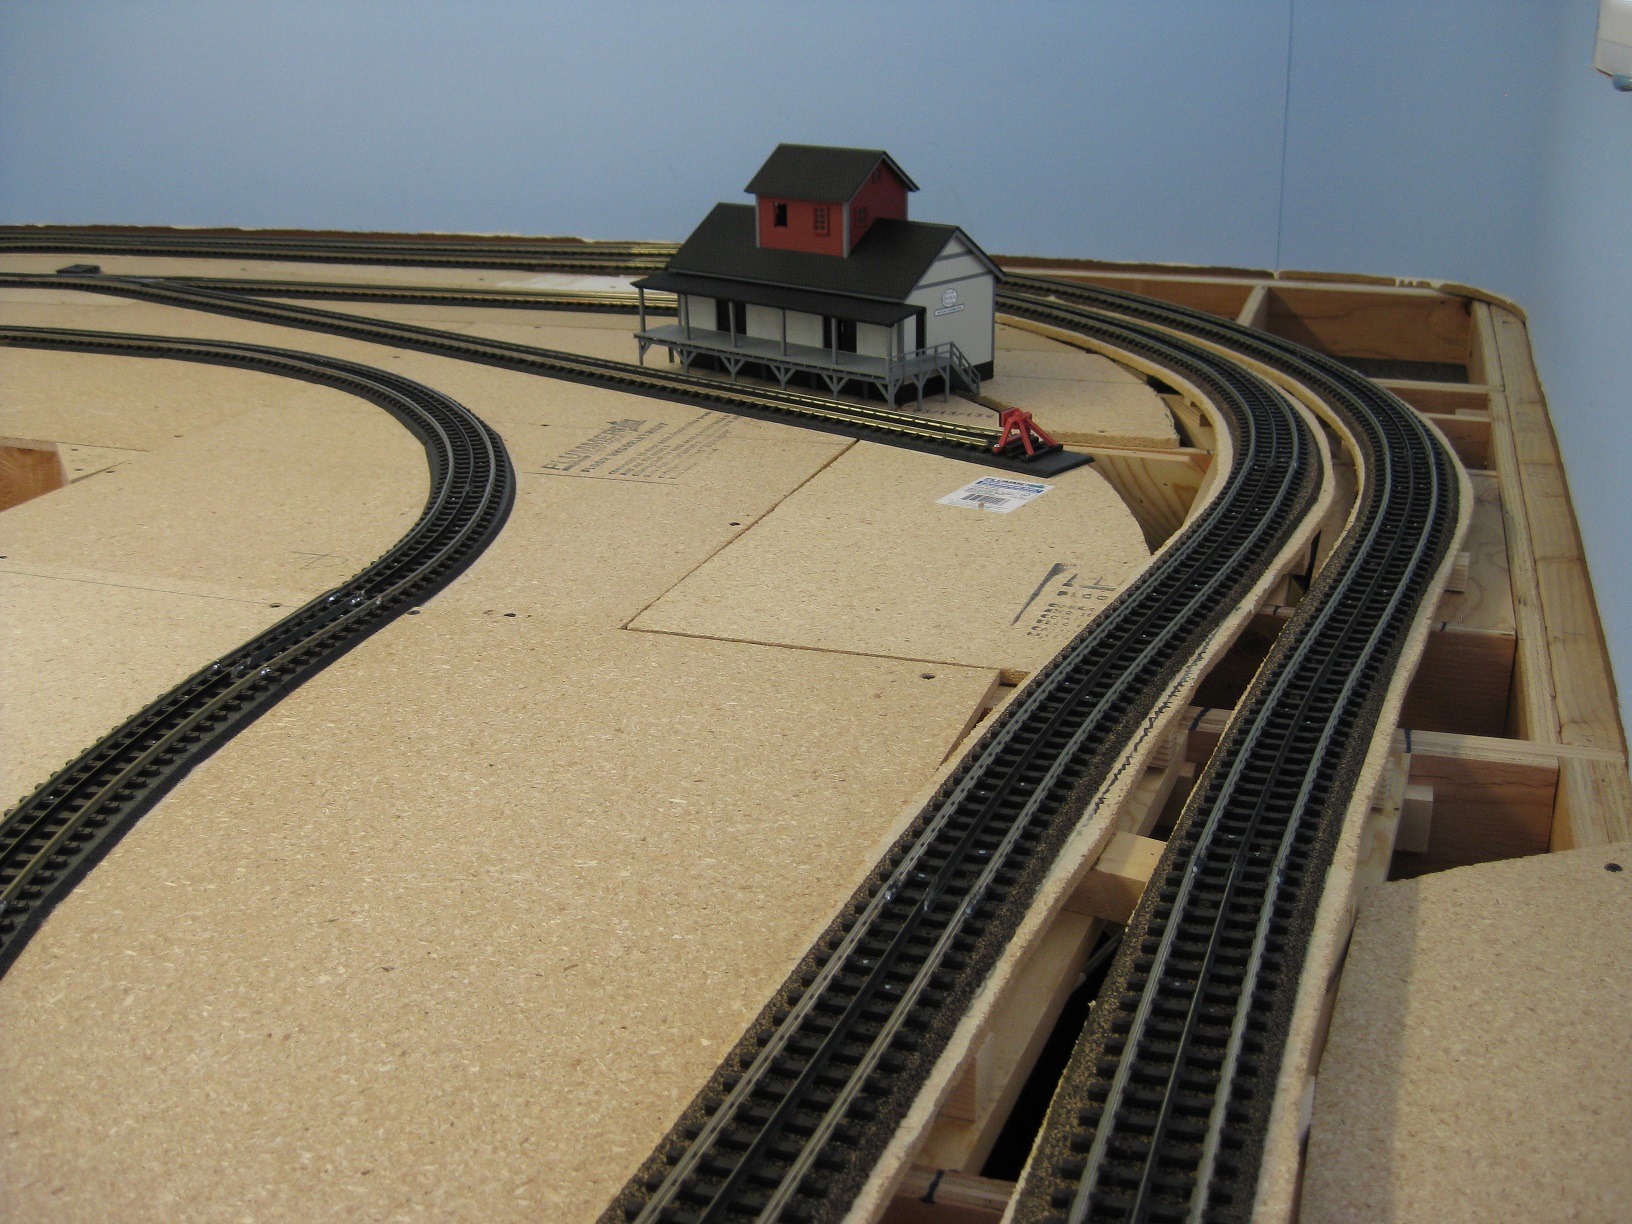
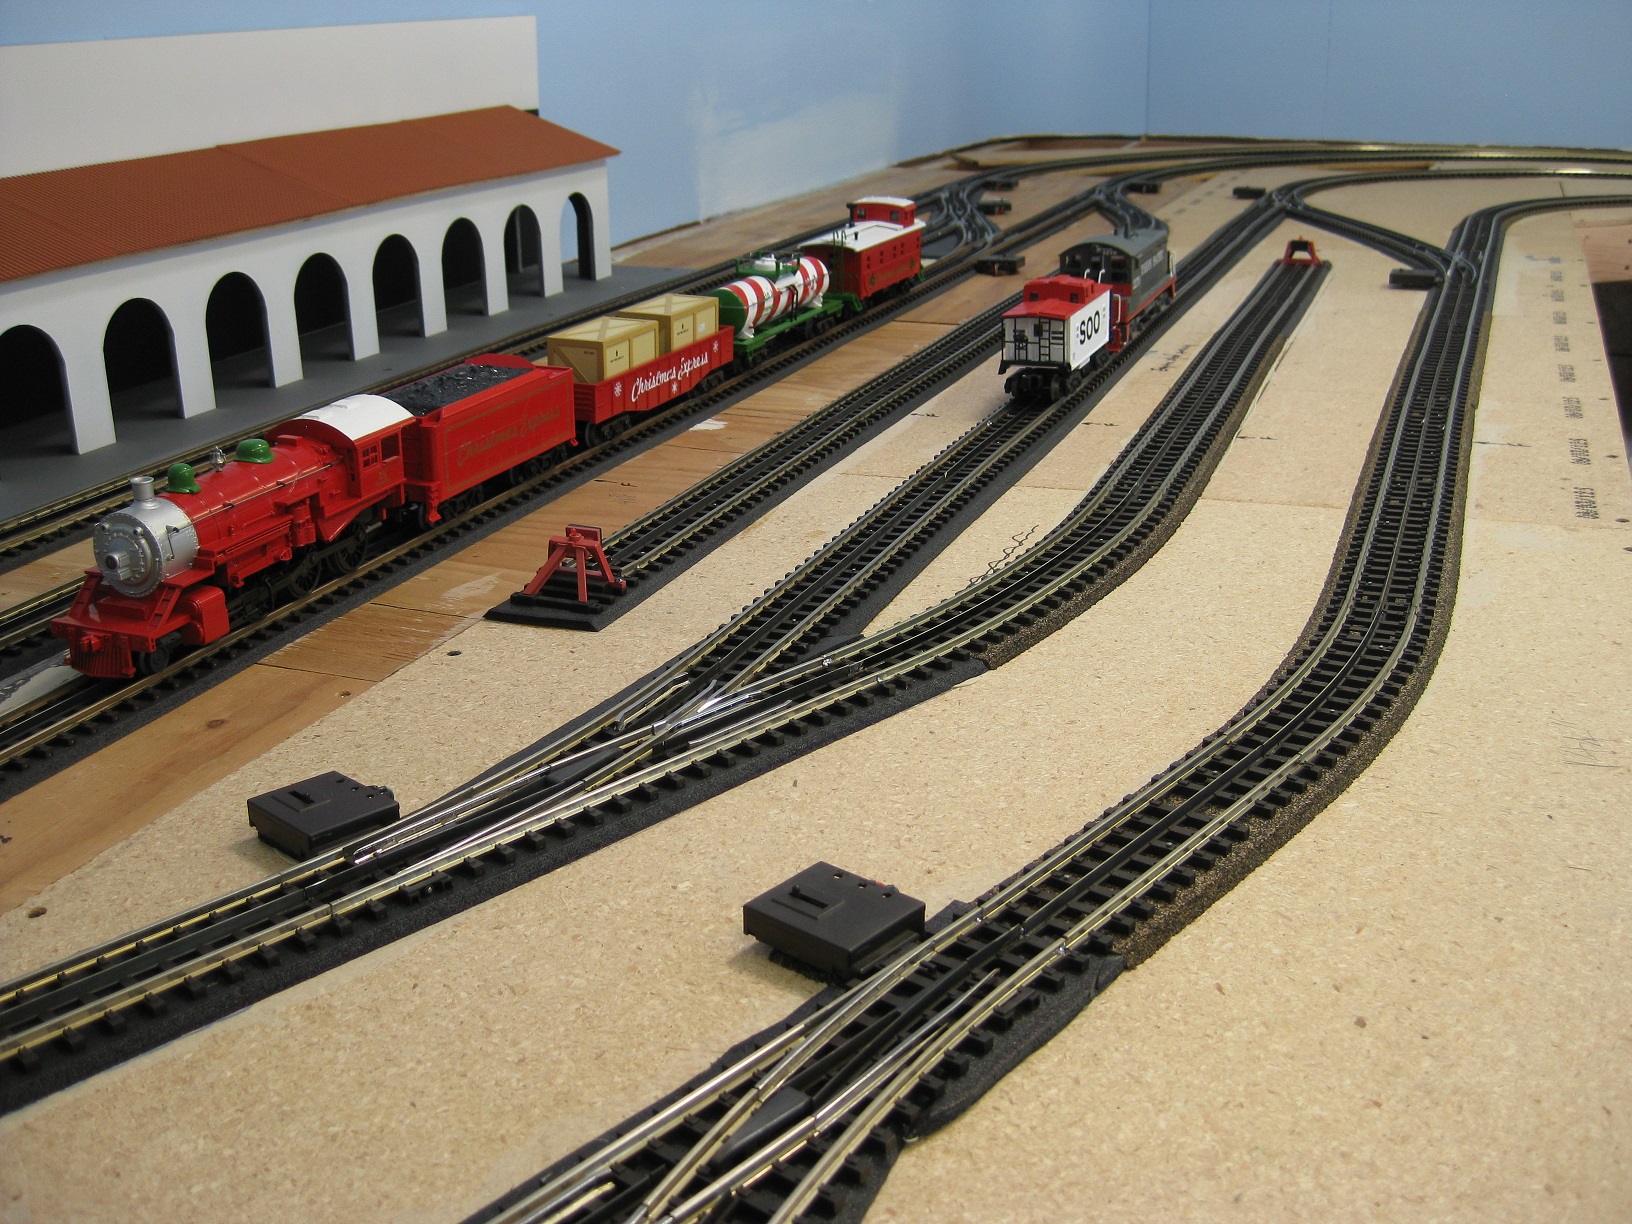
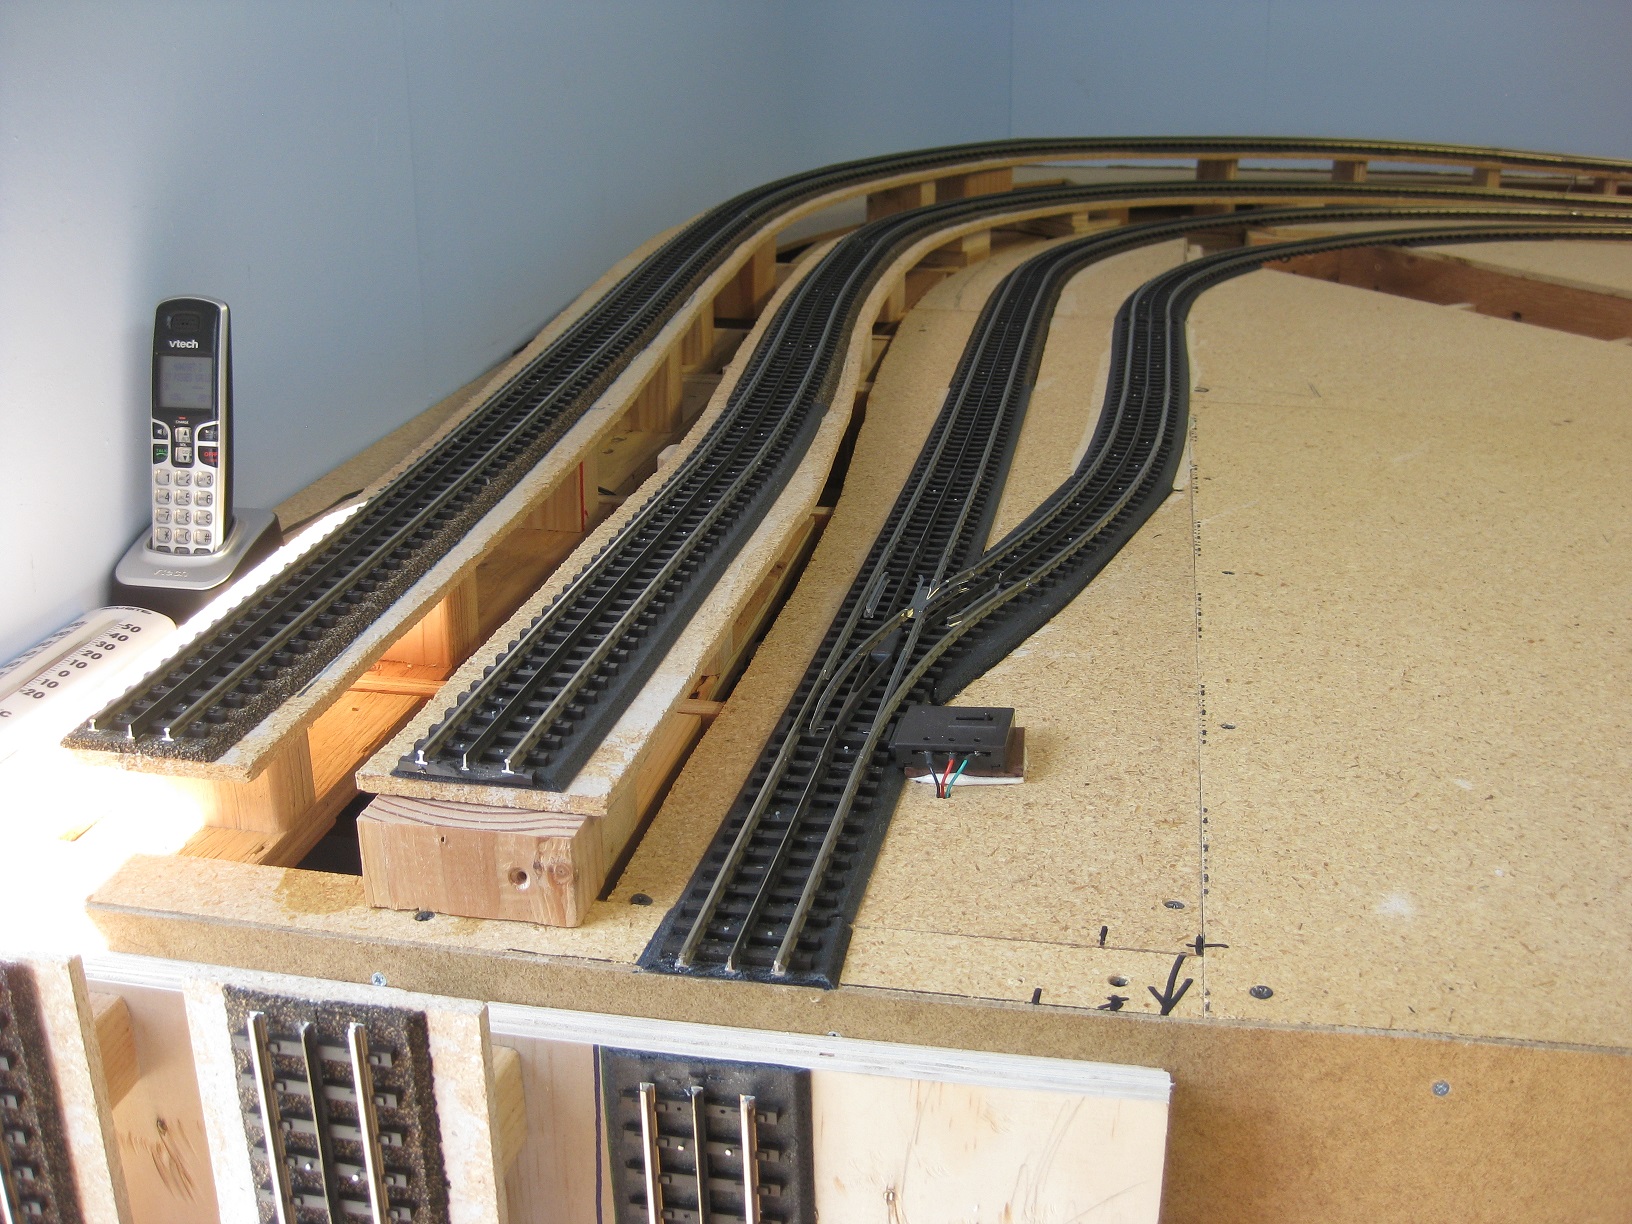
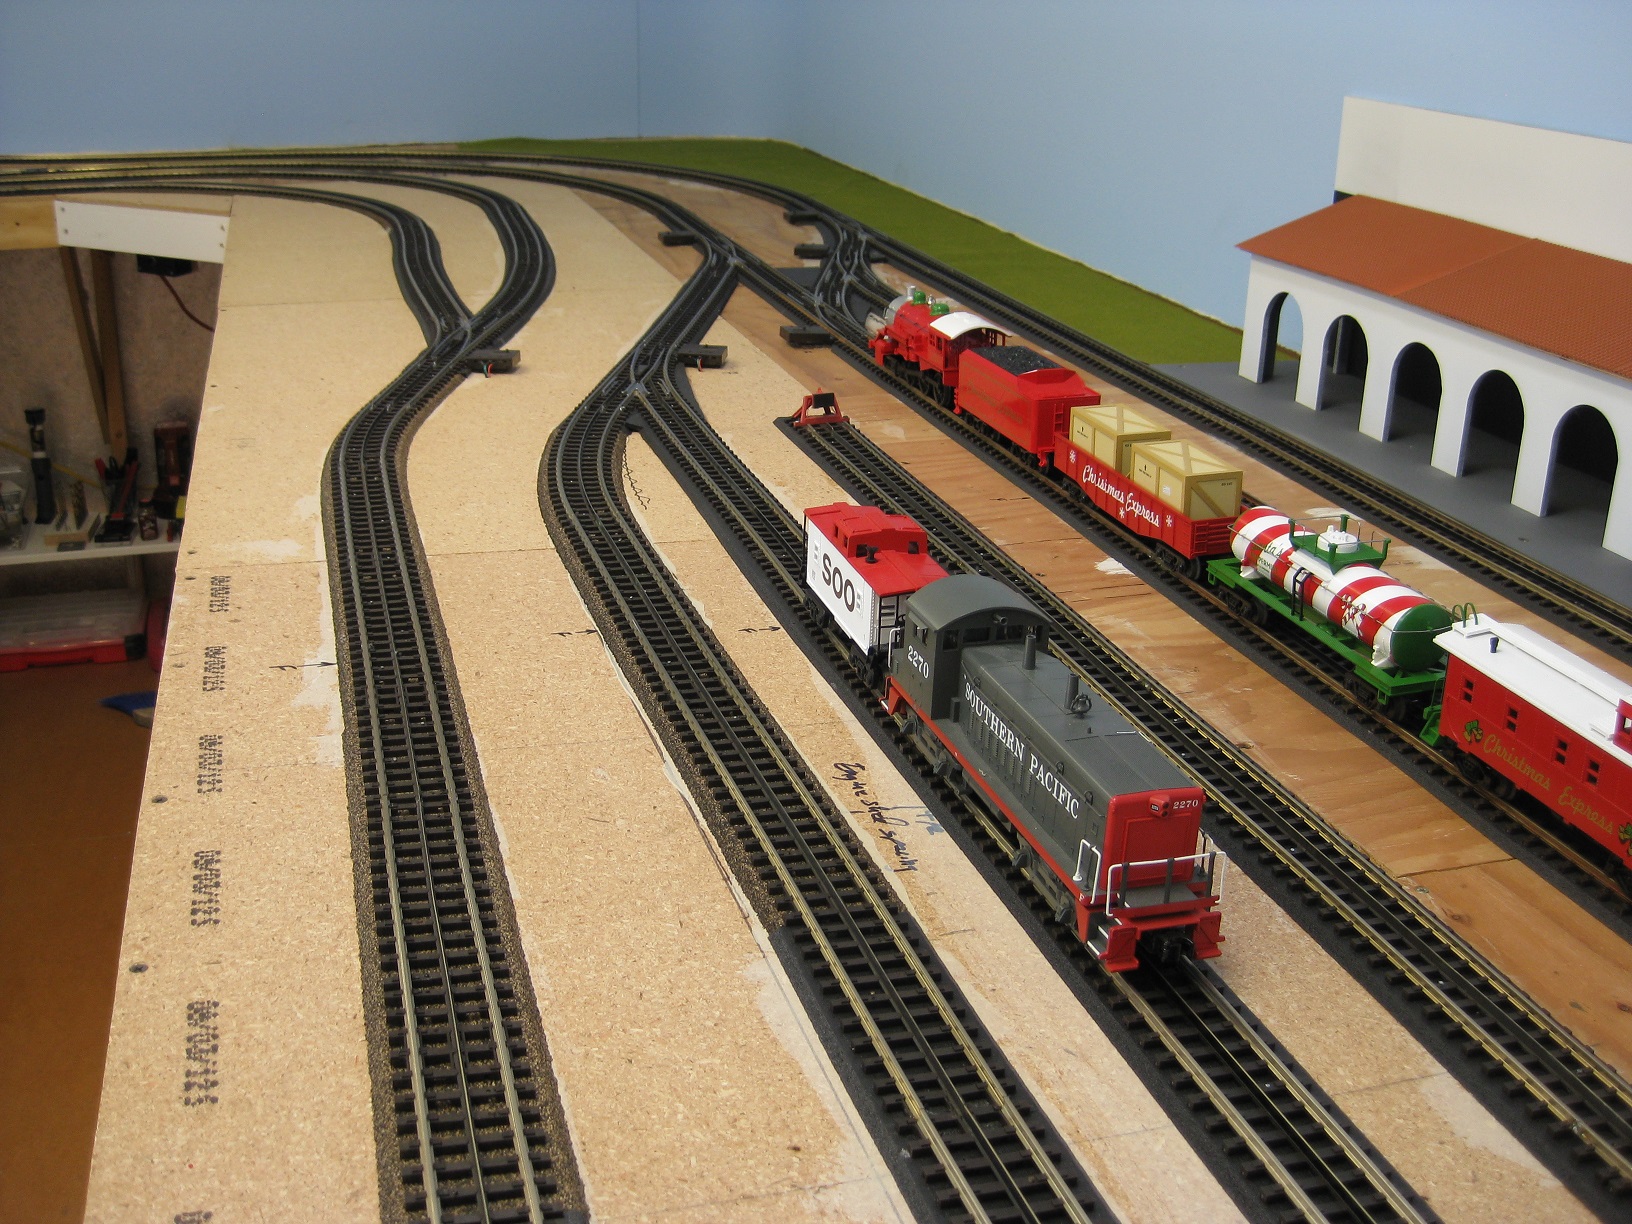
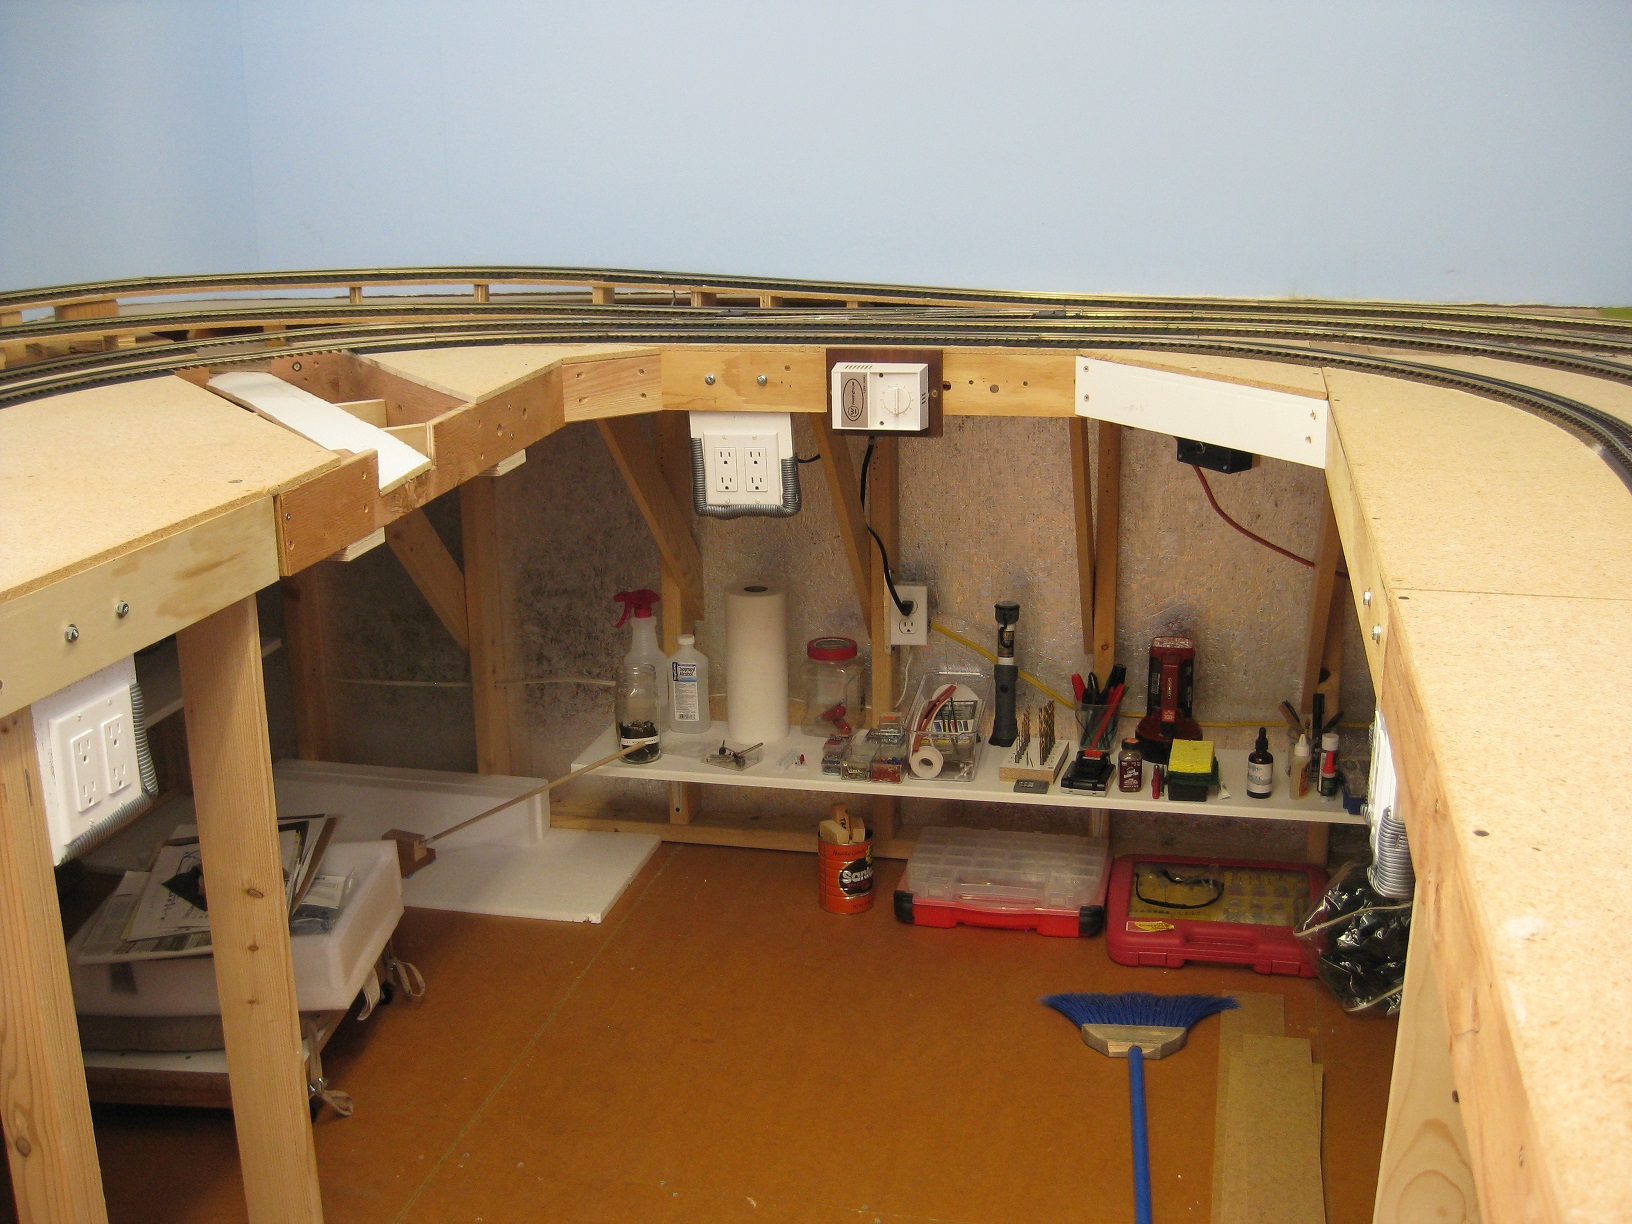
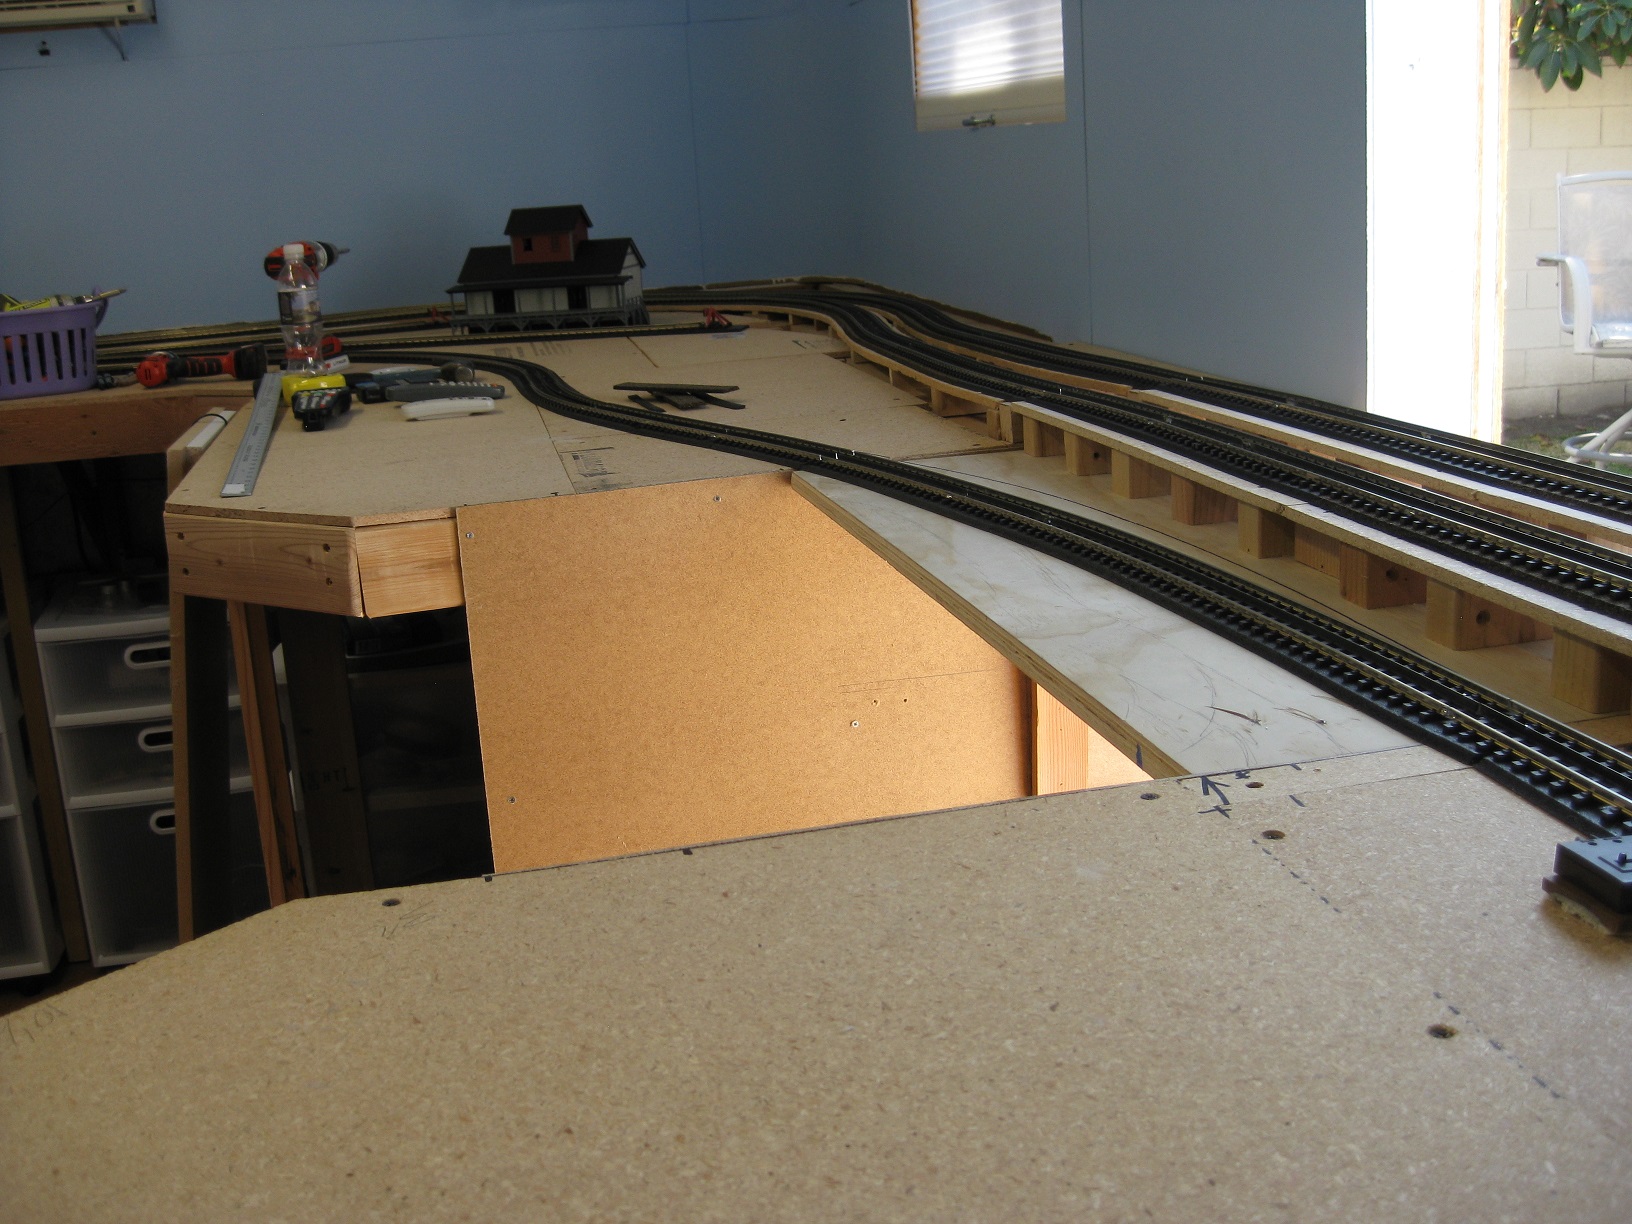
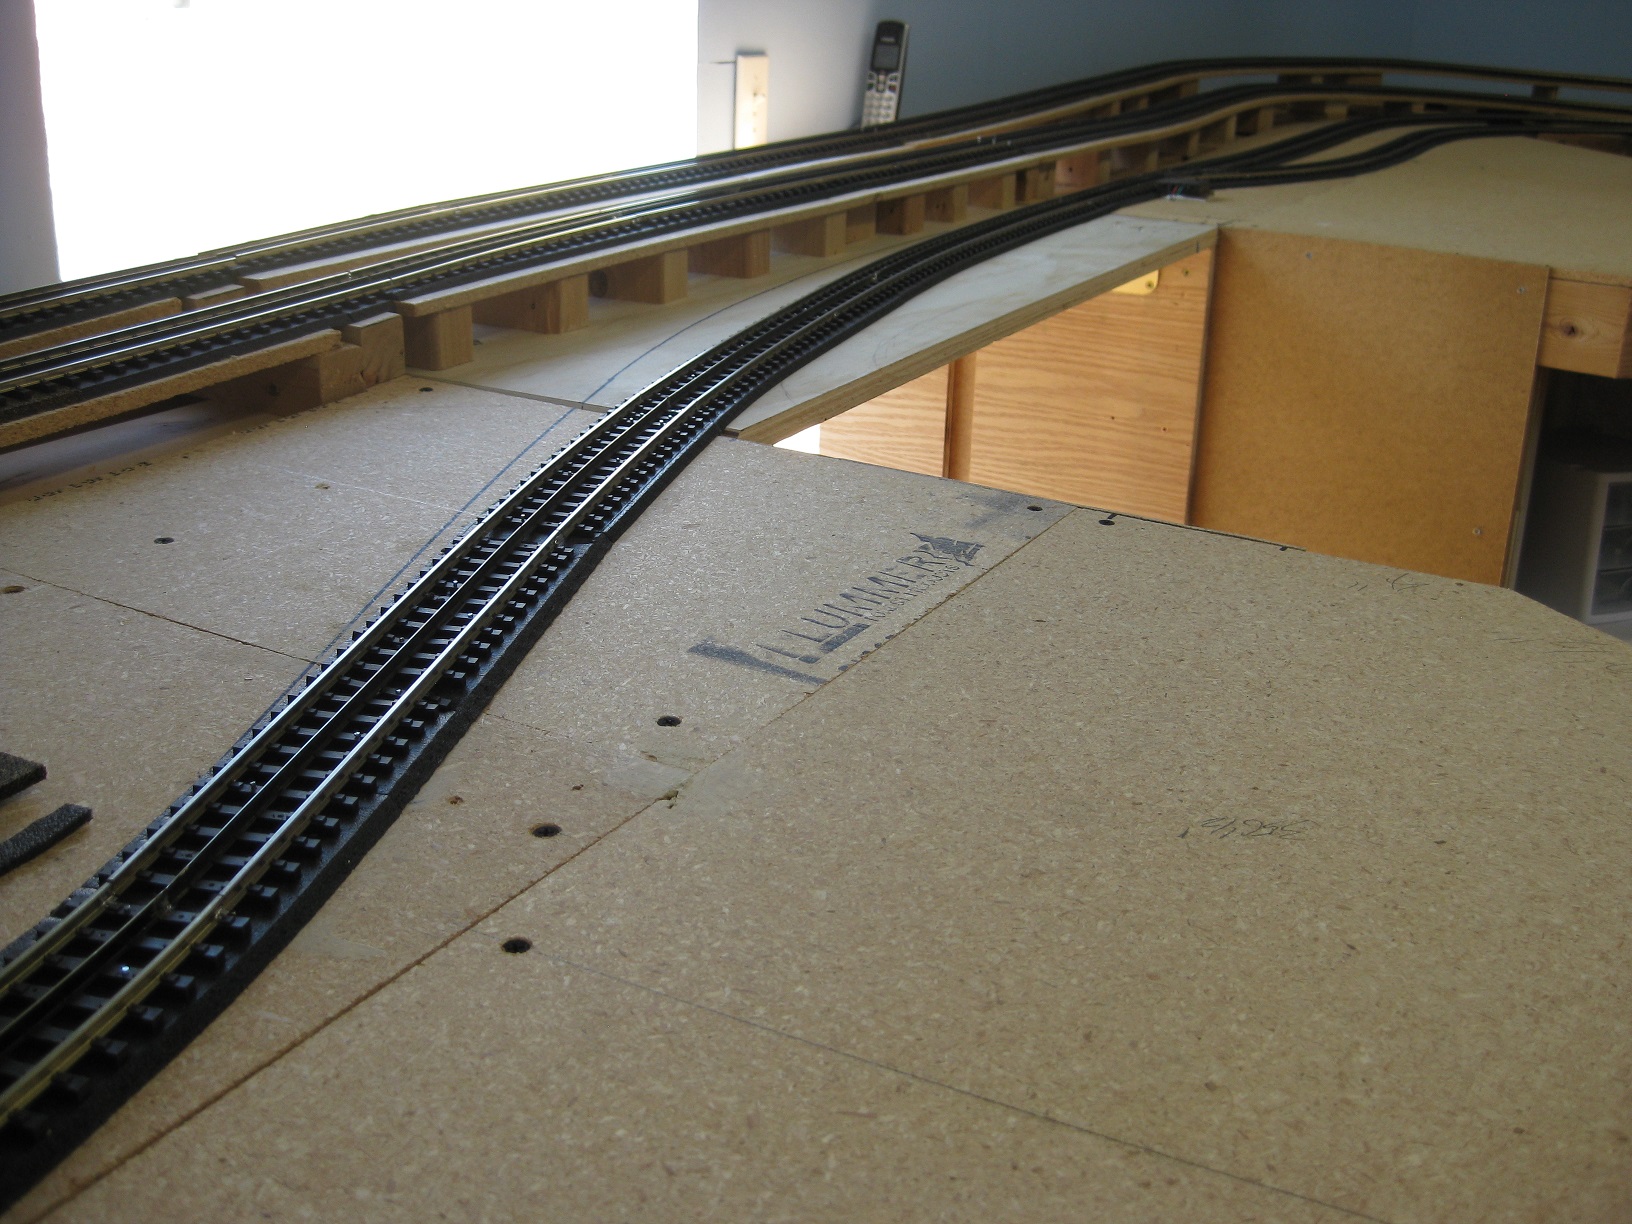
After 7 months of part-time work on my O-gauge layout, I have some additional details and photos on this emerging 240 sq ft model railroad. Progress has proceeded in areas of electrical, space, and track. For this article, I have included some photos that show results of the completed electrical, space, and track construction work.

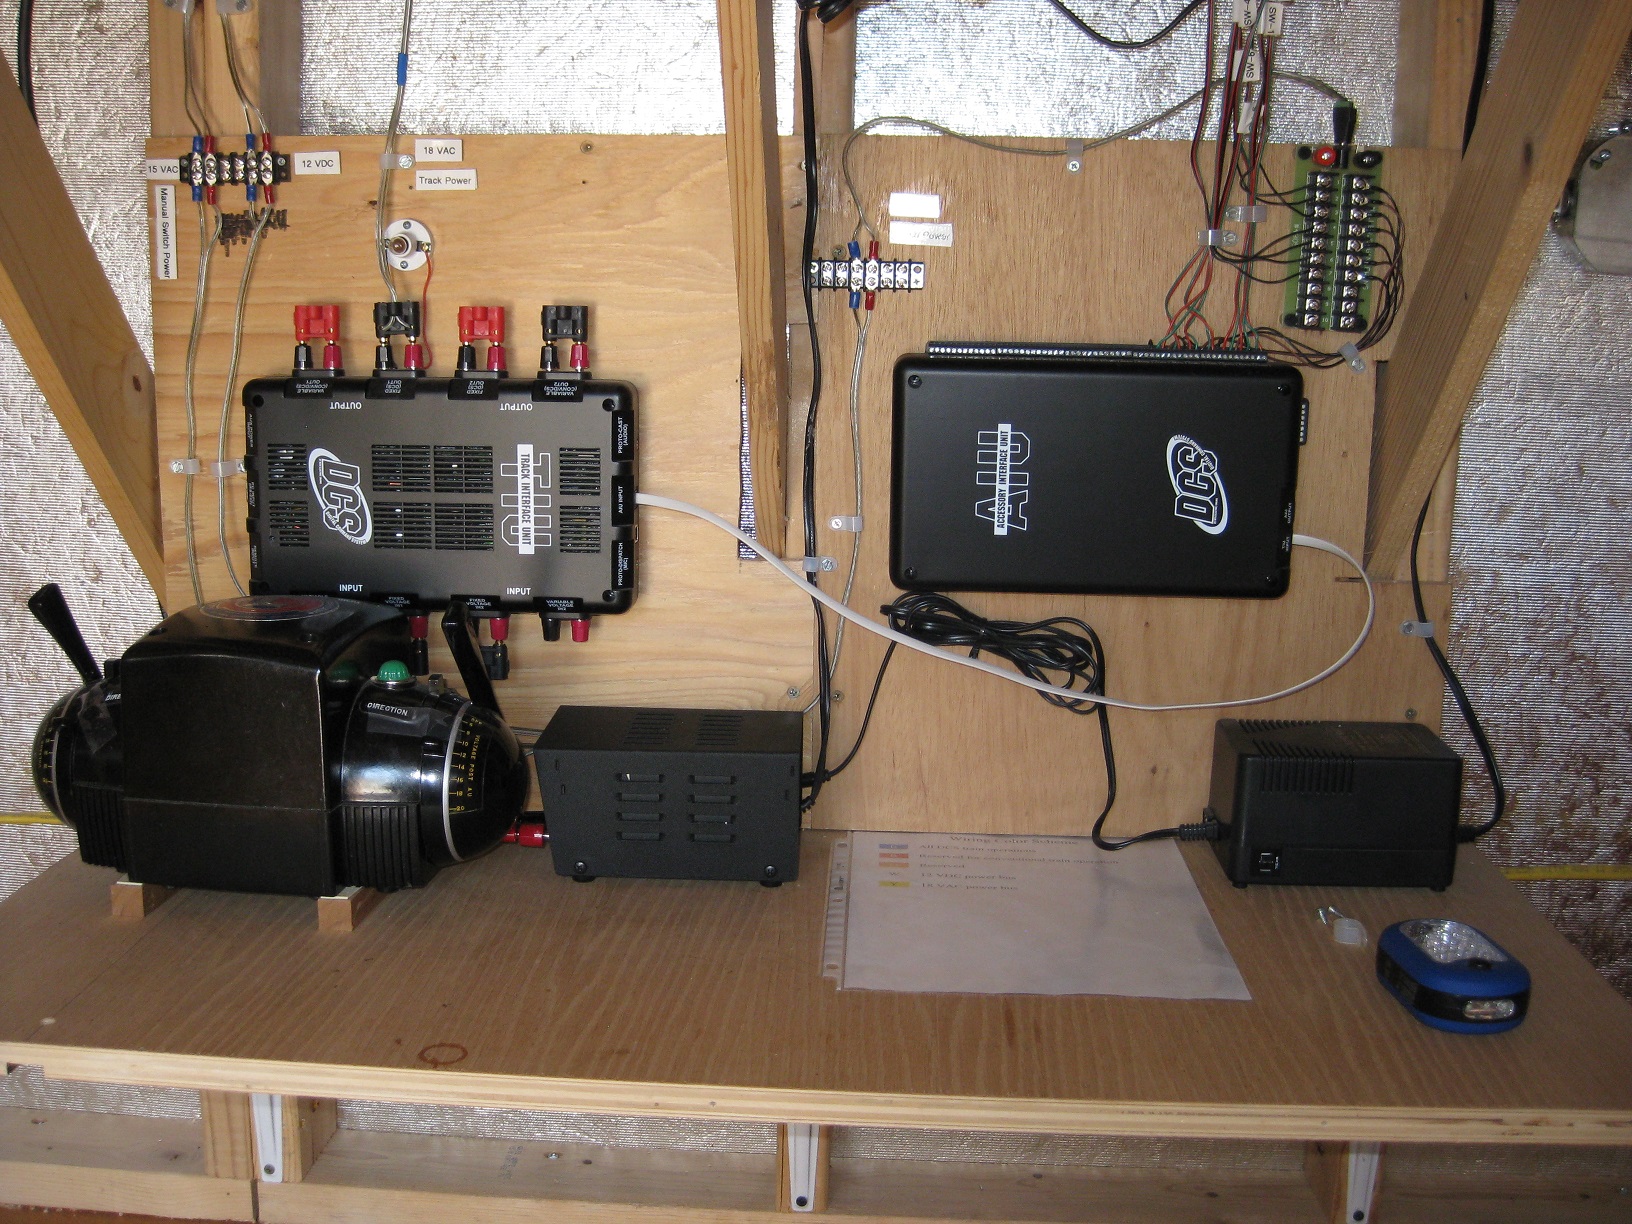
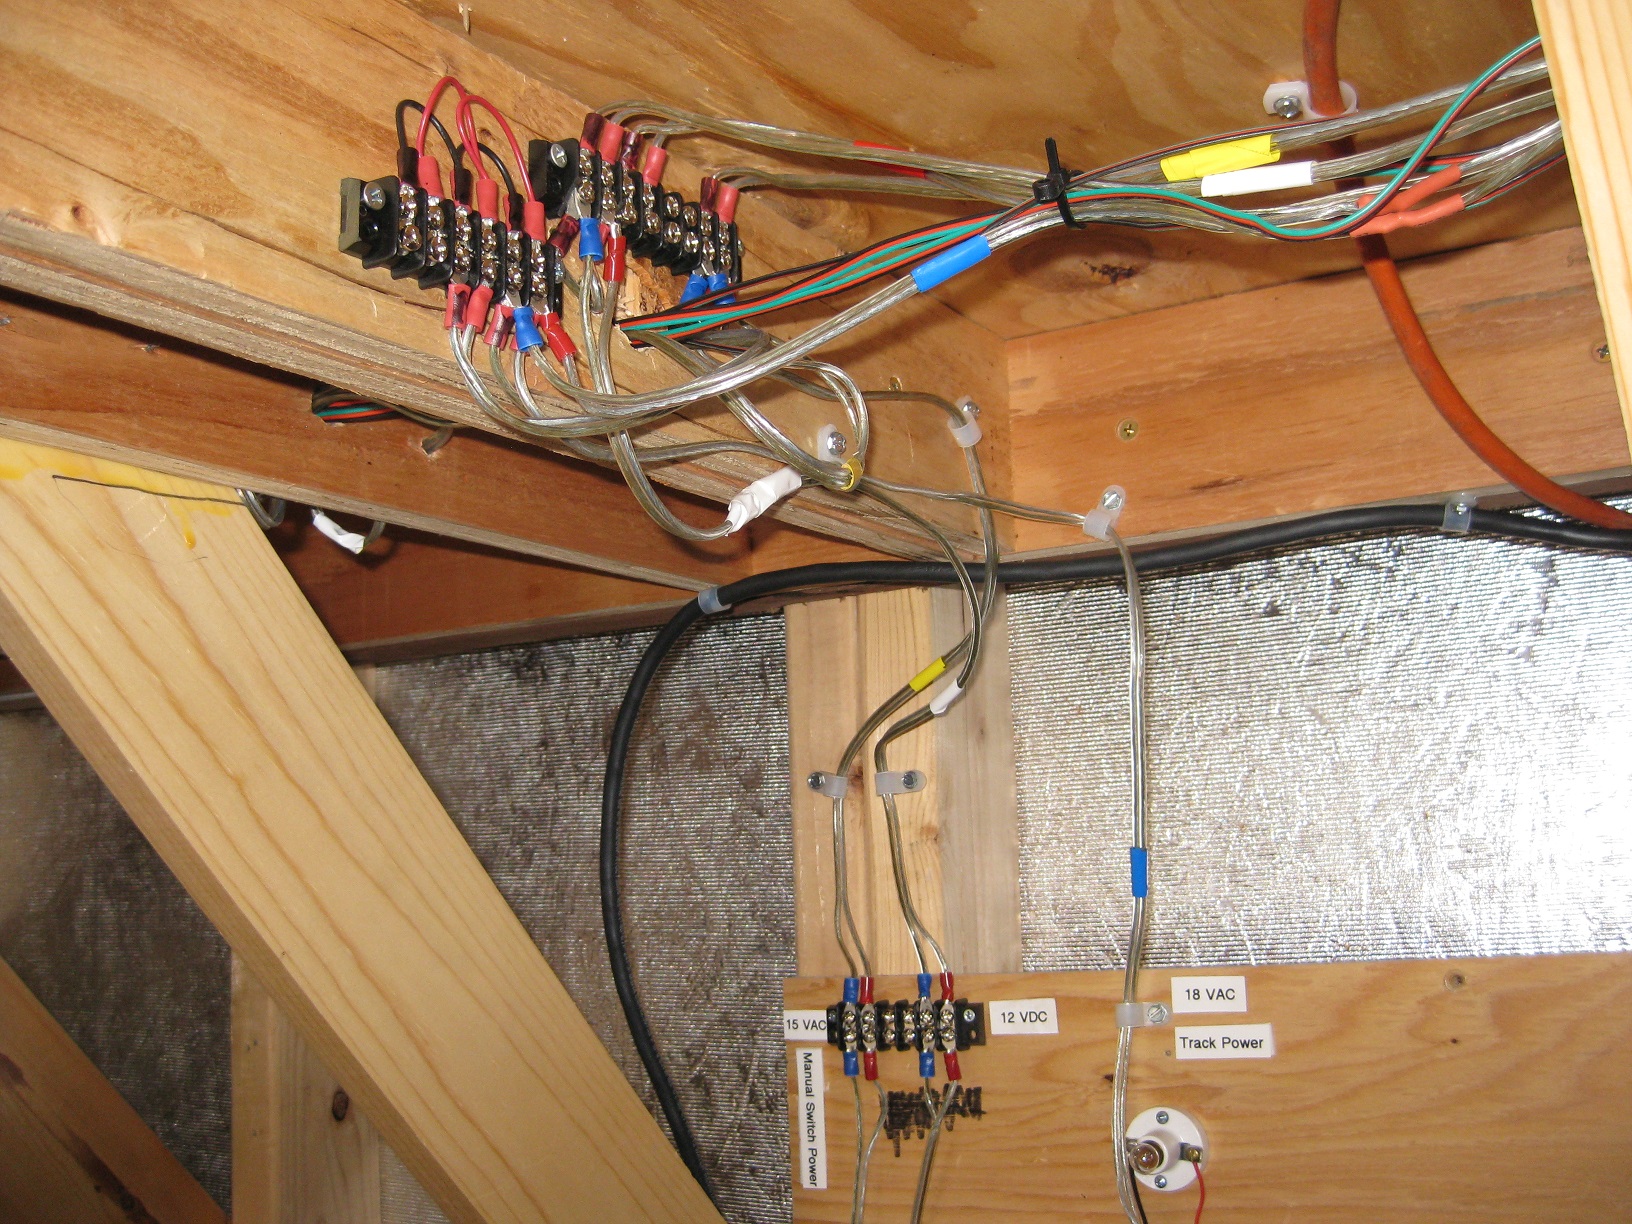
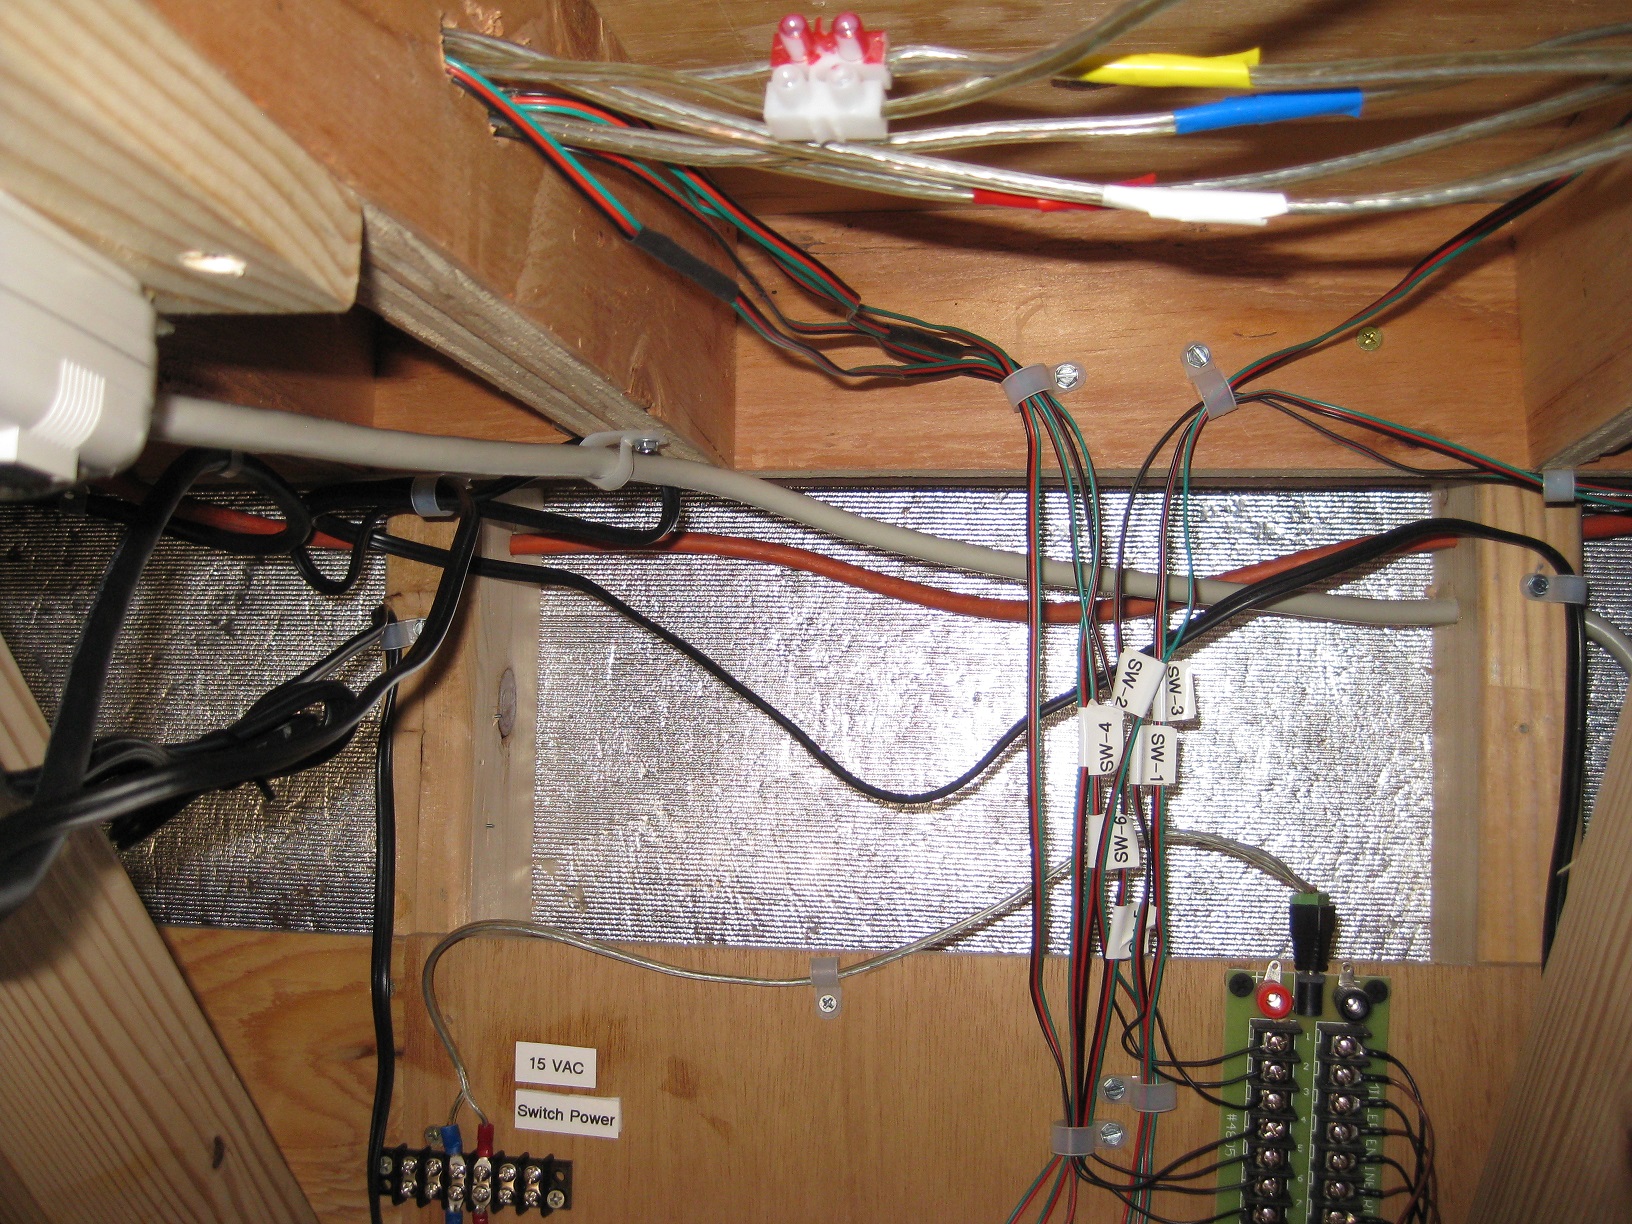
Electrical improvements included wiring separate color-coded wire buses for 18VAC for running trains, 15VAC for operating manual turnouts, 12VDC to power accessories, block signals, switch signals, lighting, etc., an additional bus for running conventional trains (to be installed later), and a spare 3-wire bus.

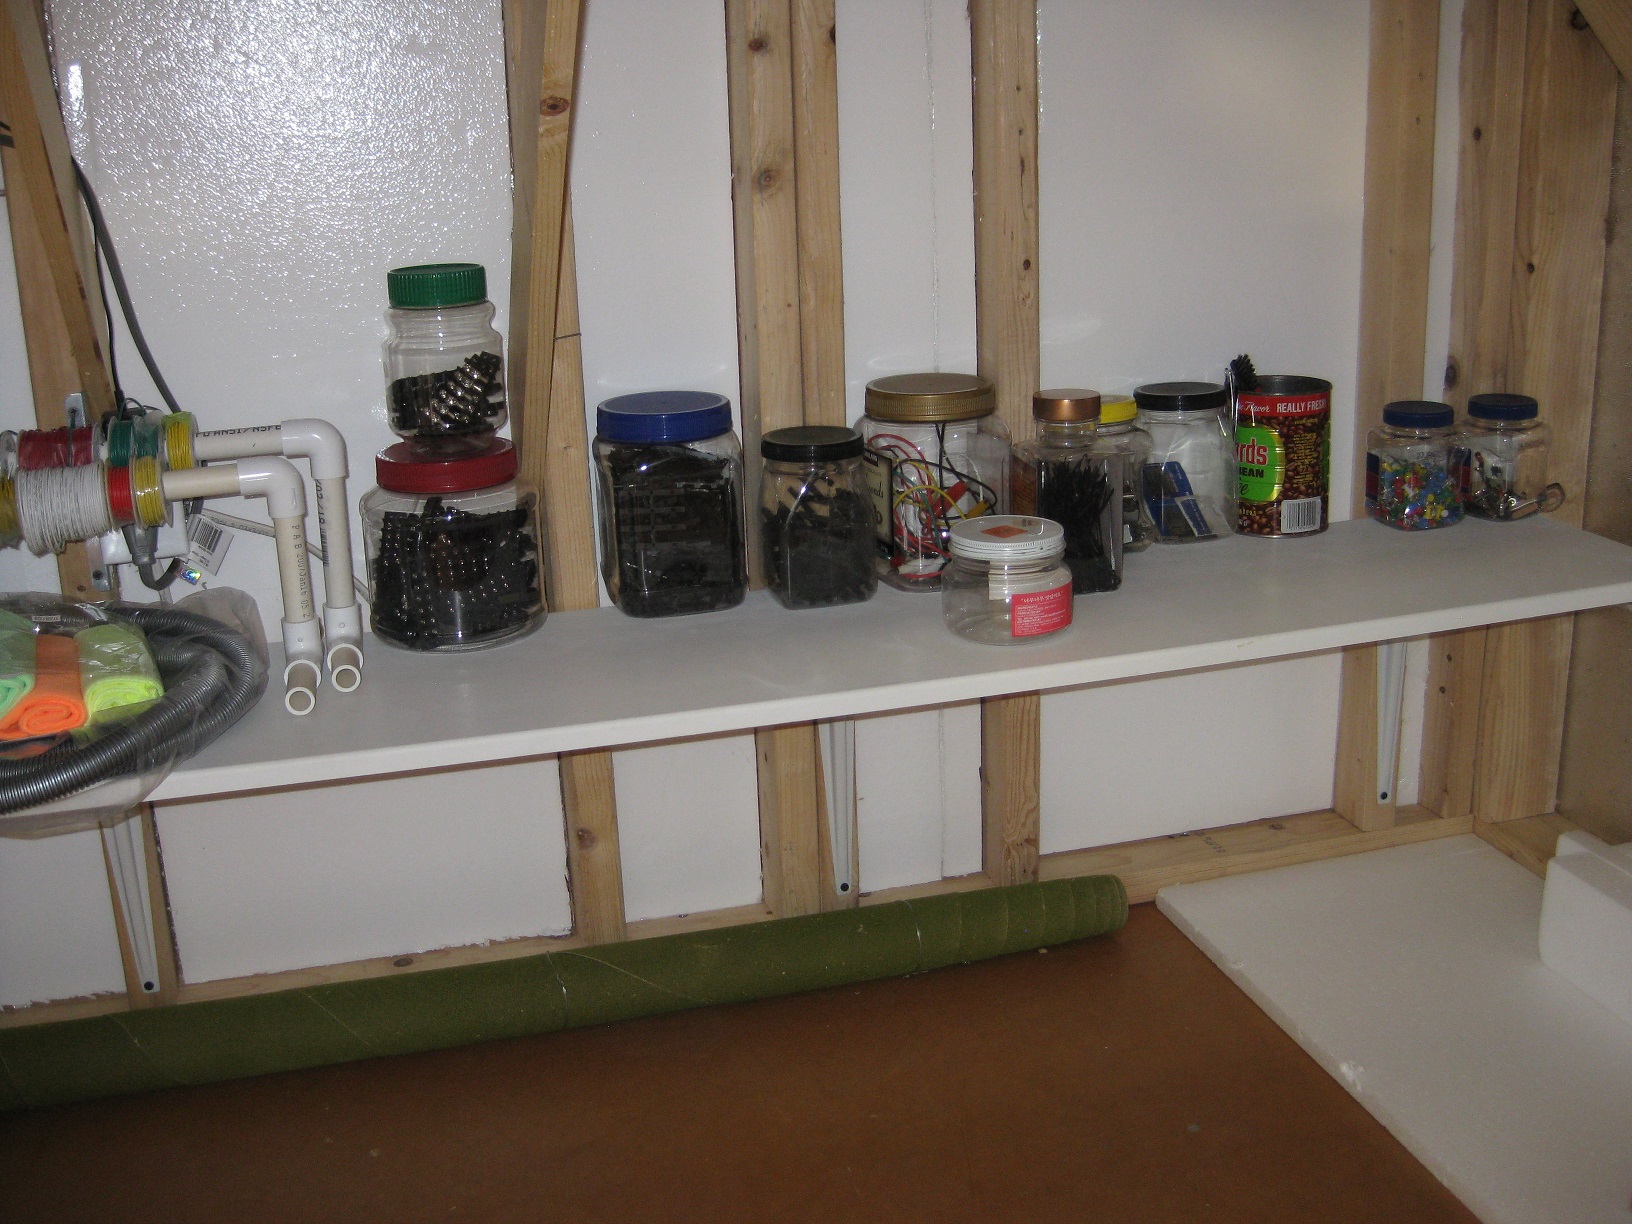
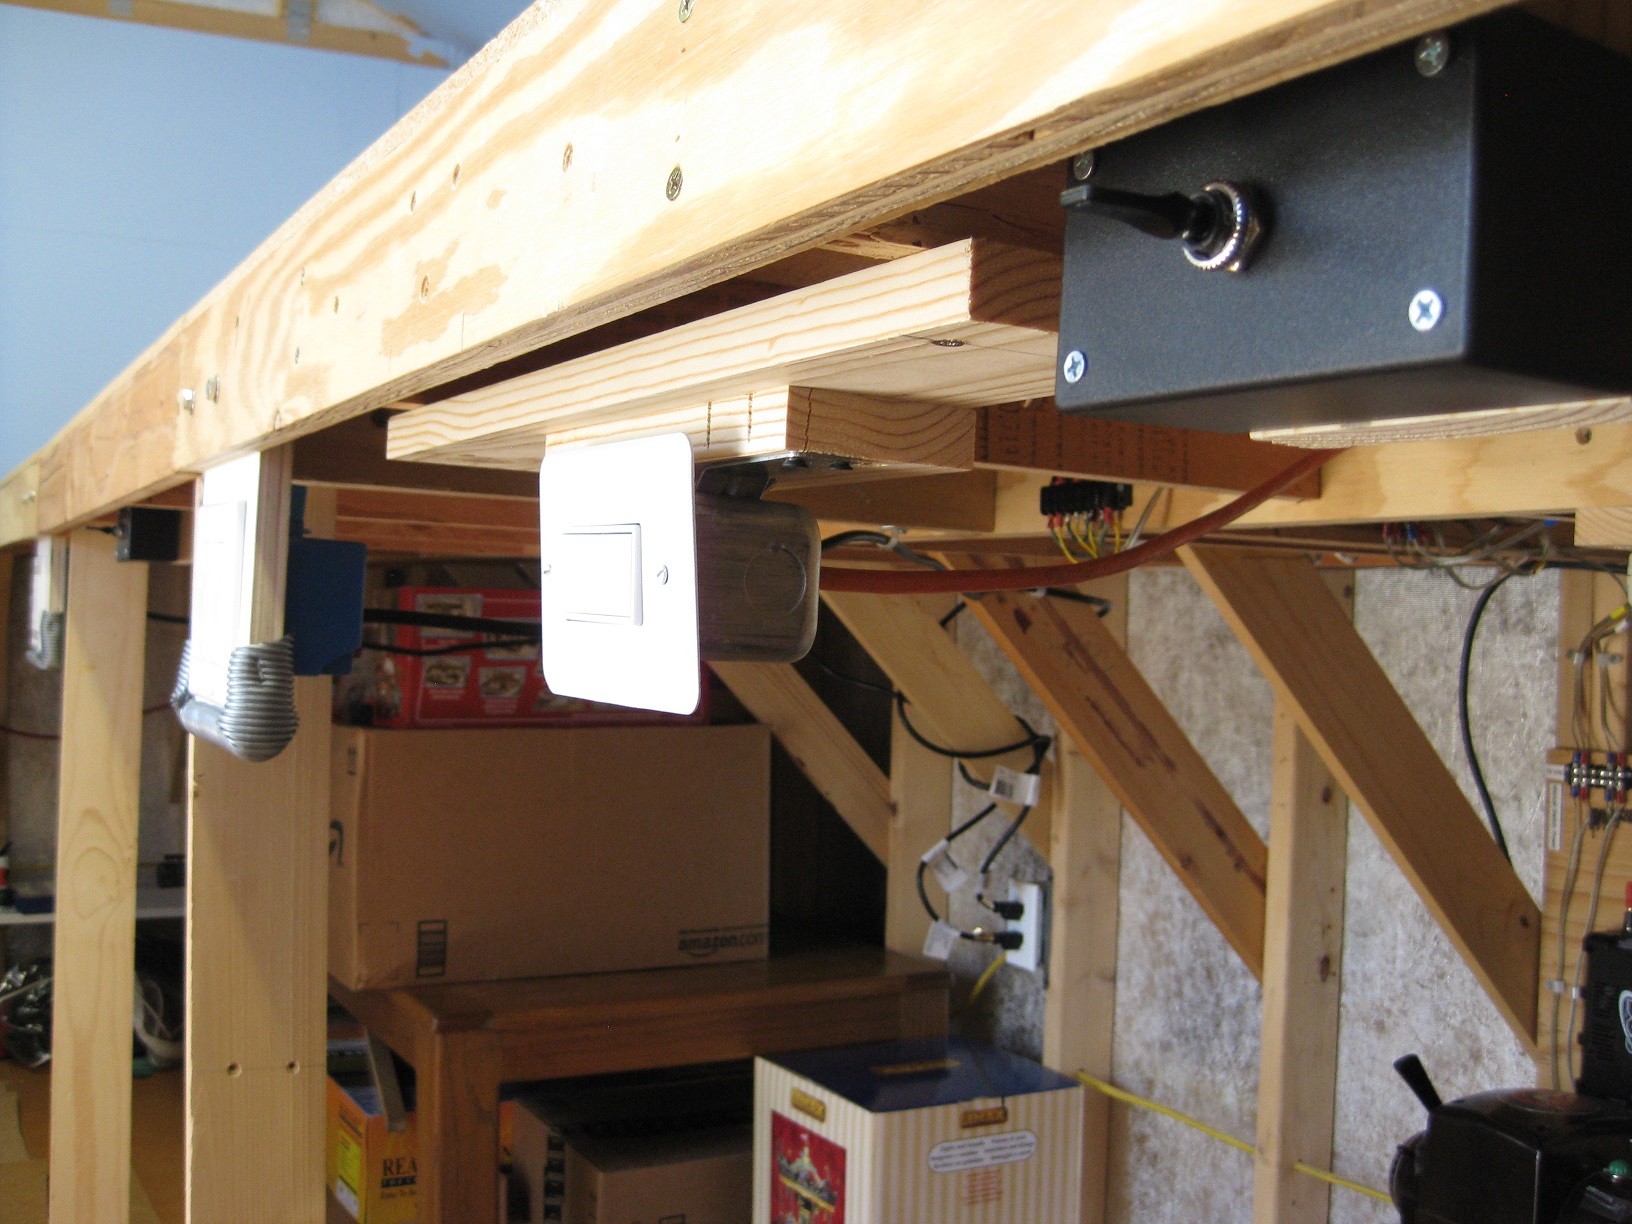
I now have space to add some scenes that will make things come alive. It took a while, but I installed shelves under the bench work to store items used often and purchased six light-weight drawers (with casters) to store things. Some of the original wiring was cleaned up to improve appearance and access. I now control 9 turnouts using the MTH DCS remote and control 5 turnouts manually. The turnouts that are controlled manually using momentary switches will support freight yard action. They seem to be a lot more convenient to operate (i.e. “UP” for turn and “DOWN” for straight). Trying to control 9 switches from the remote while piloting and monitoring up to four engines in motion is very challenging and more often than not, result in model-scale disasters.

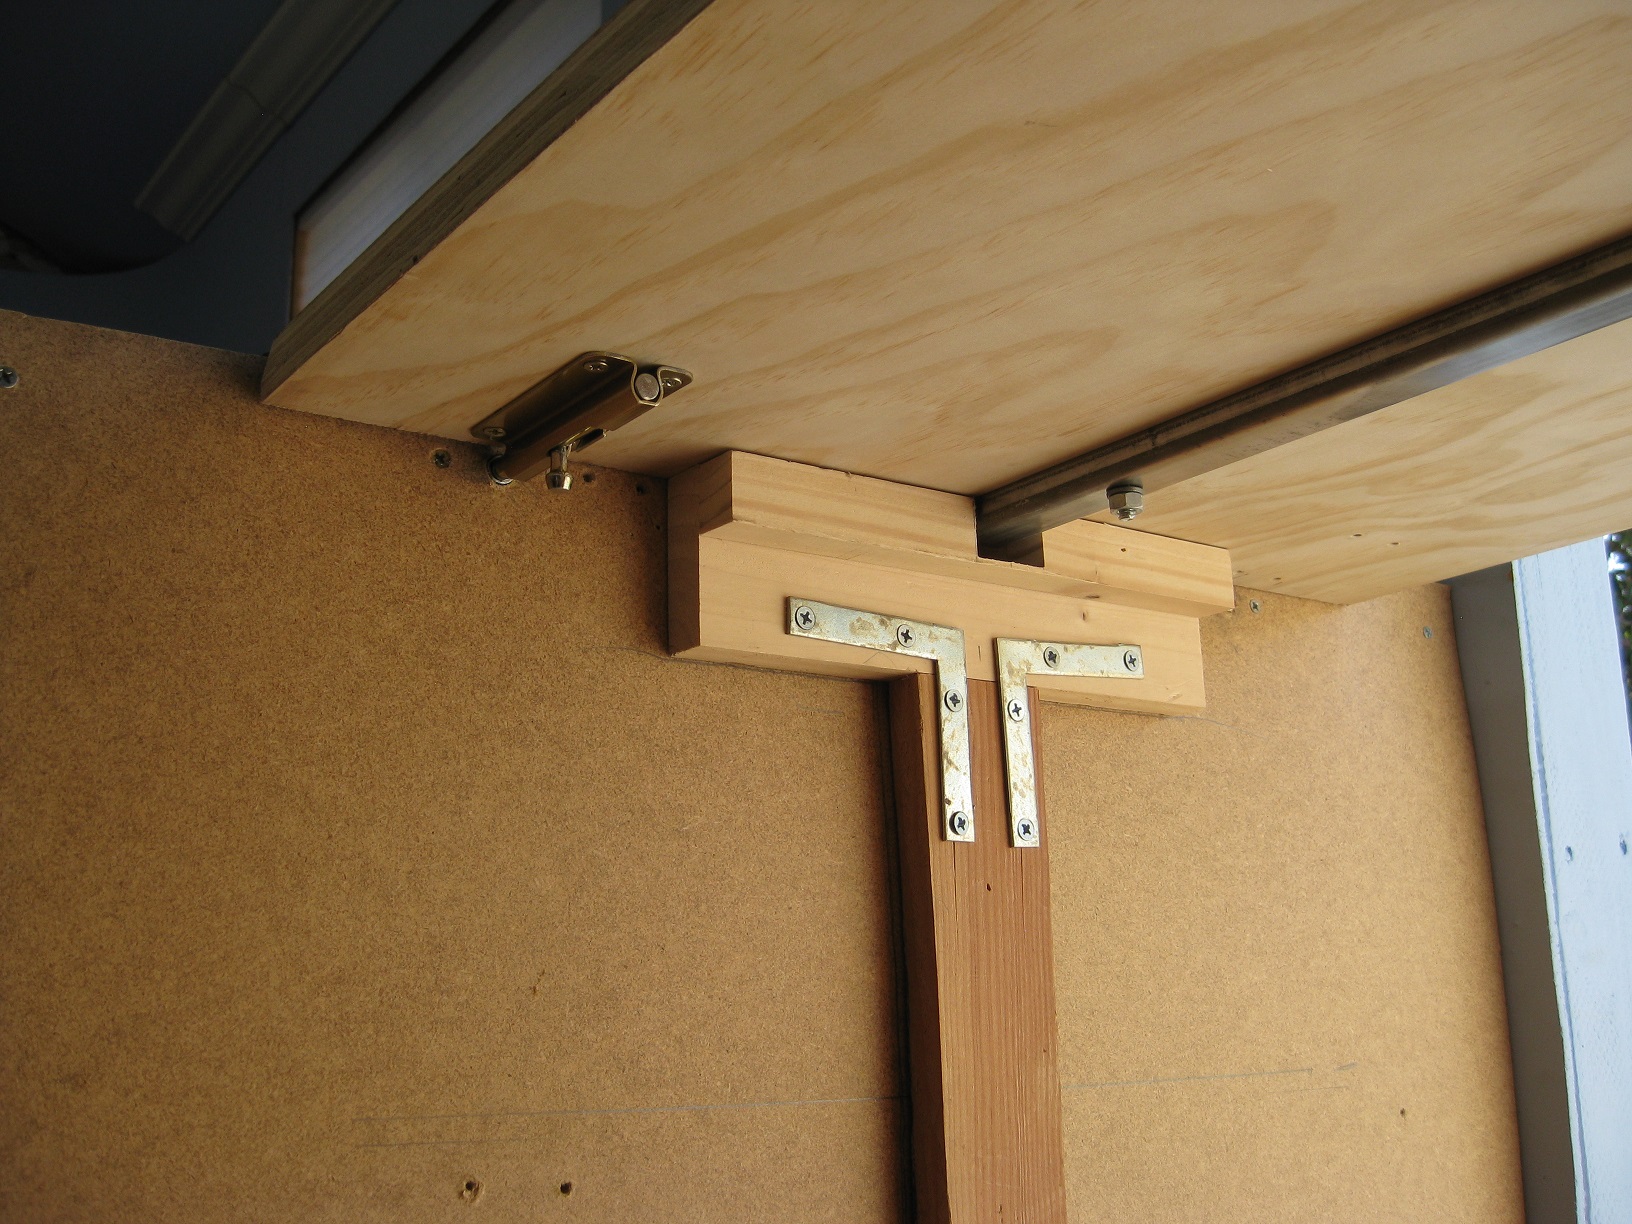
The majority of the new track installed support freight yards. Additional space was added to the layout to allow extra room for businesses, roads, and scenery. Although a stable theme has not yet been established, there are three areas that will support freight activities that include a staging branch for accepting cars from and assembling cars for freight trains. There are tentative plans to add some elevated track to support non-digital trains later that would rise above the landscape. The bridge by the door is a drop-down unit that replaced a lift-up version that was not very appealing and that required frequent adjustments and tweaking.

More track work was necessary to include freight yard action separate from the main lines. Scenes will include a mountainous area with a waterfall, a serene pasture for cows and horses, a city scape, train station, locomotive maintenance, business scenes, and an elevated town that will cover the mainline tracks in one of the corners.
Scenery is a key factor to model railroading and should evolve incrementally. I plan to develop each scene to ensure the theme comes together gracefully. A follow-up article will be produced after some scenery is completed.

Thank you in advance for your due diligence in maintaining this forum. I appreciate and enjoy the articles, photos, and videos your followers are sharing with us, too!

-Dick-”


“Hi Al. Best tip I can give anyone – If your track work does not work flawlessly, no amount of electronics. scenery, realism, operations, etc will ever make you want to head for the train room. Take your time on the track work, make if bullet proof, and everything else will be a delight!

Mark”


“Use Play-Doh to make molds for scrap yard parts, cast with any two part resin.

Edward”


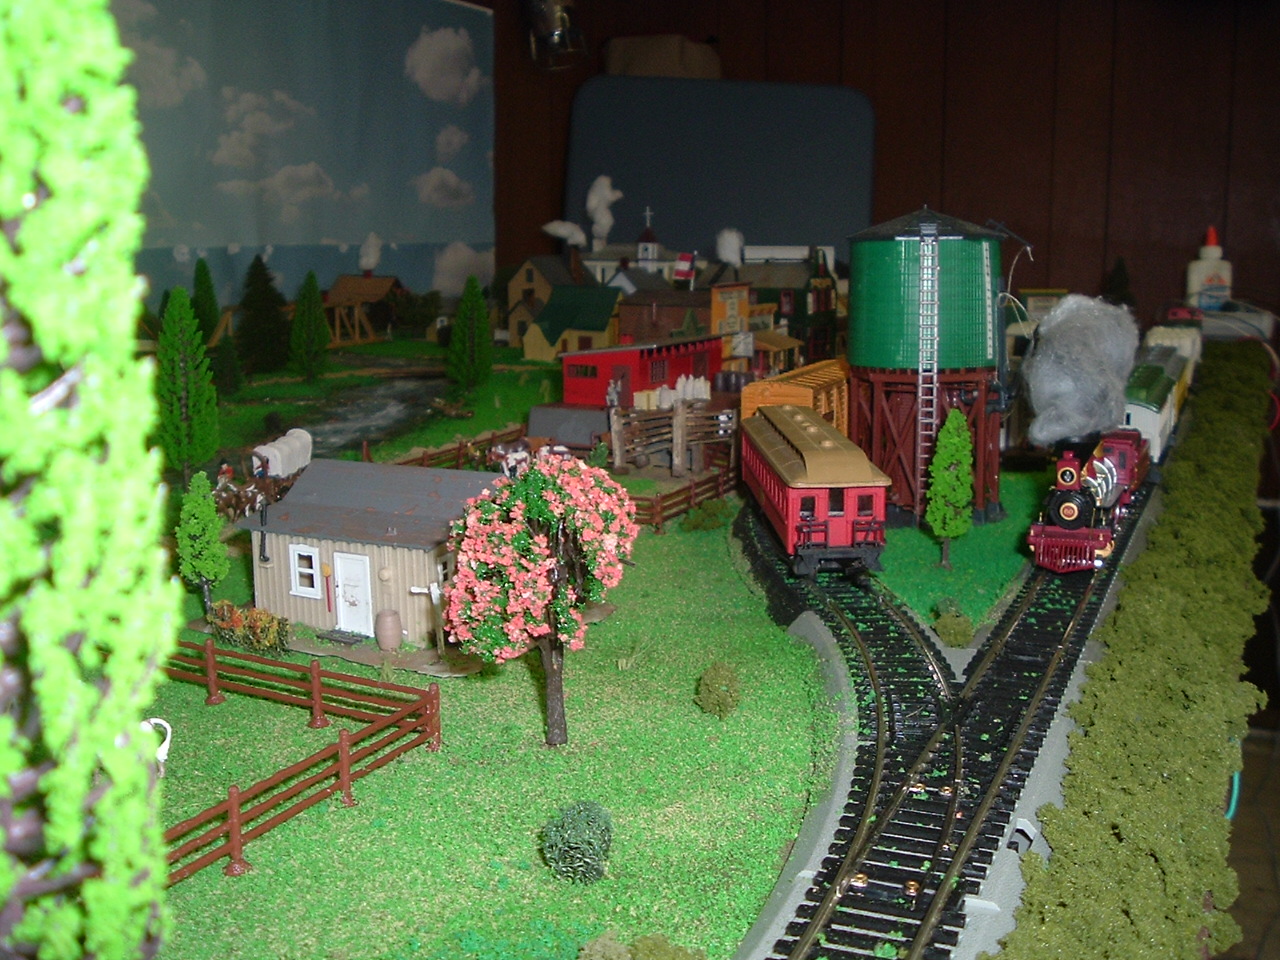
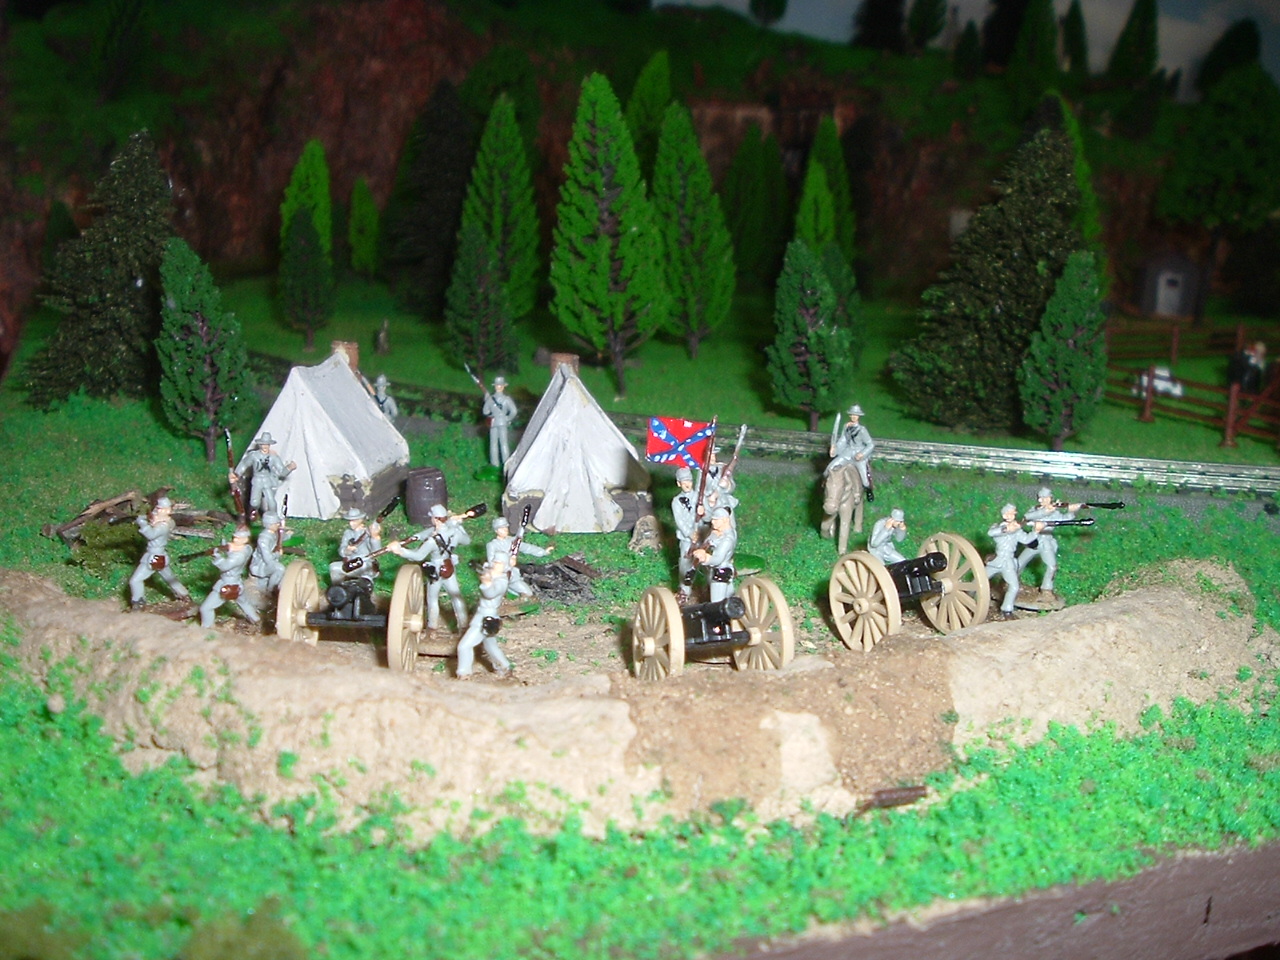
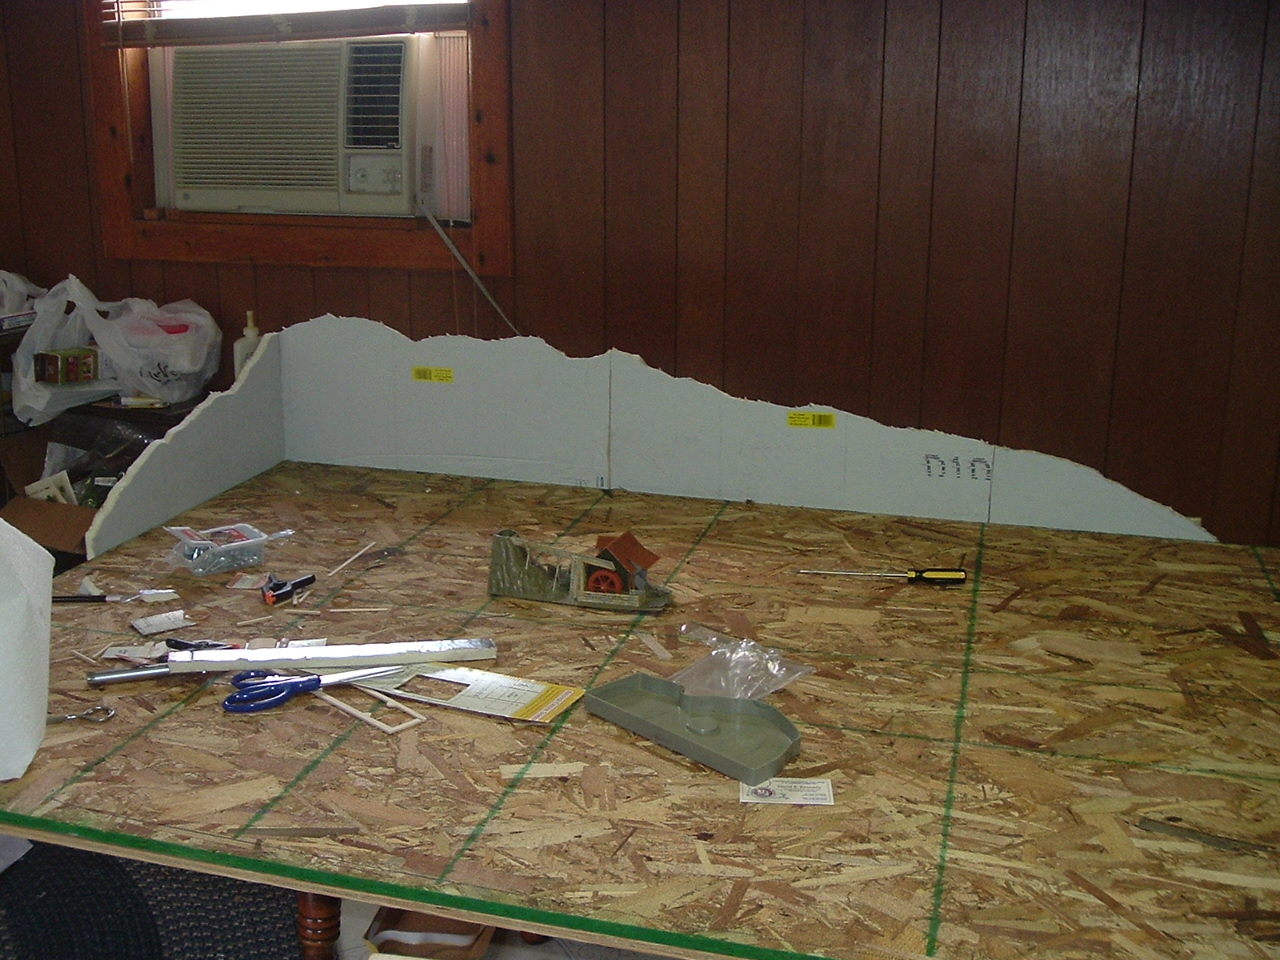
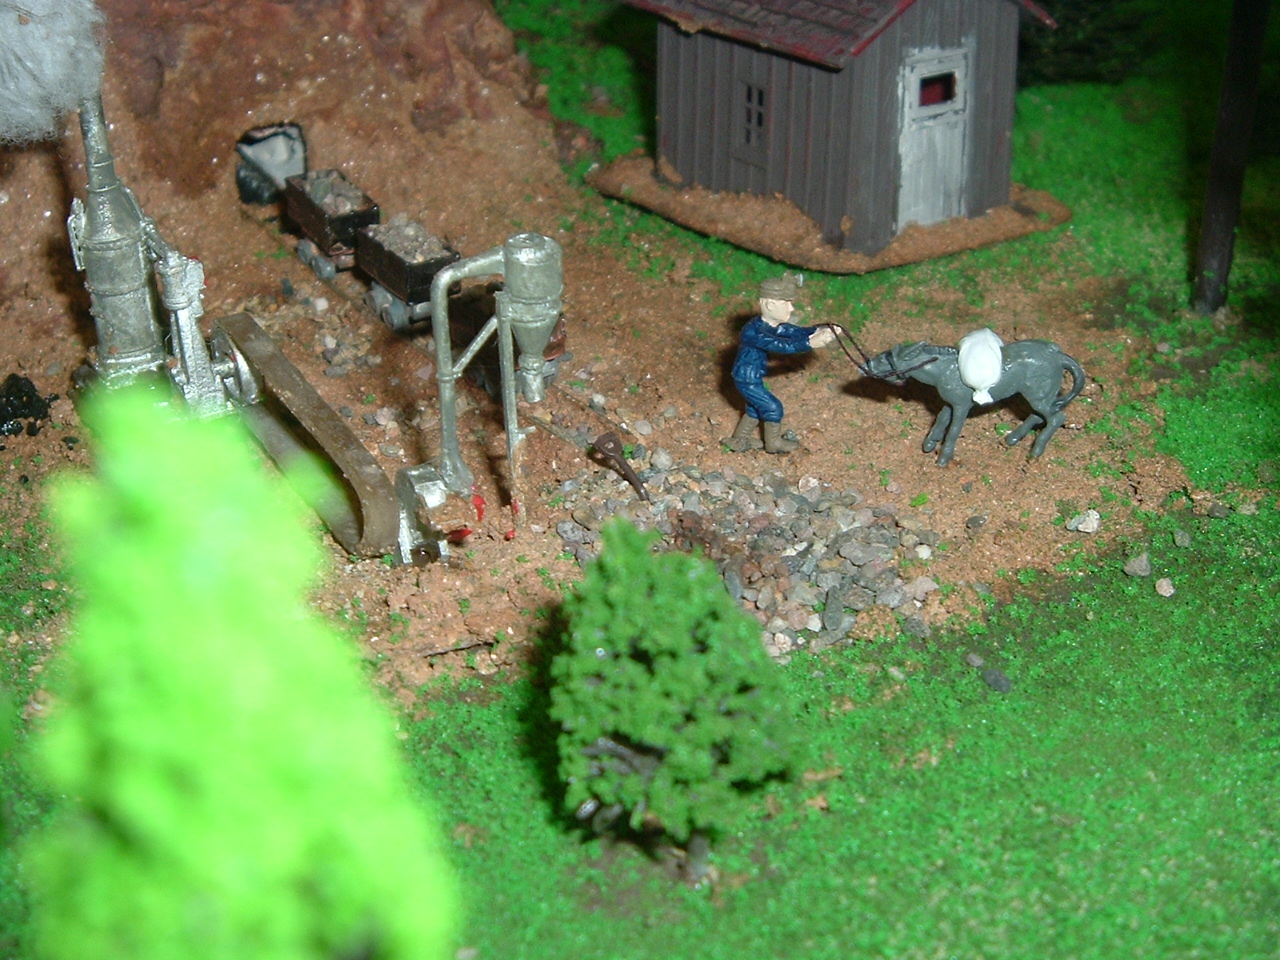
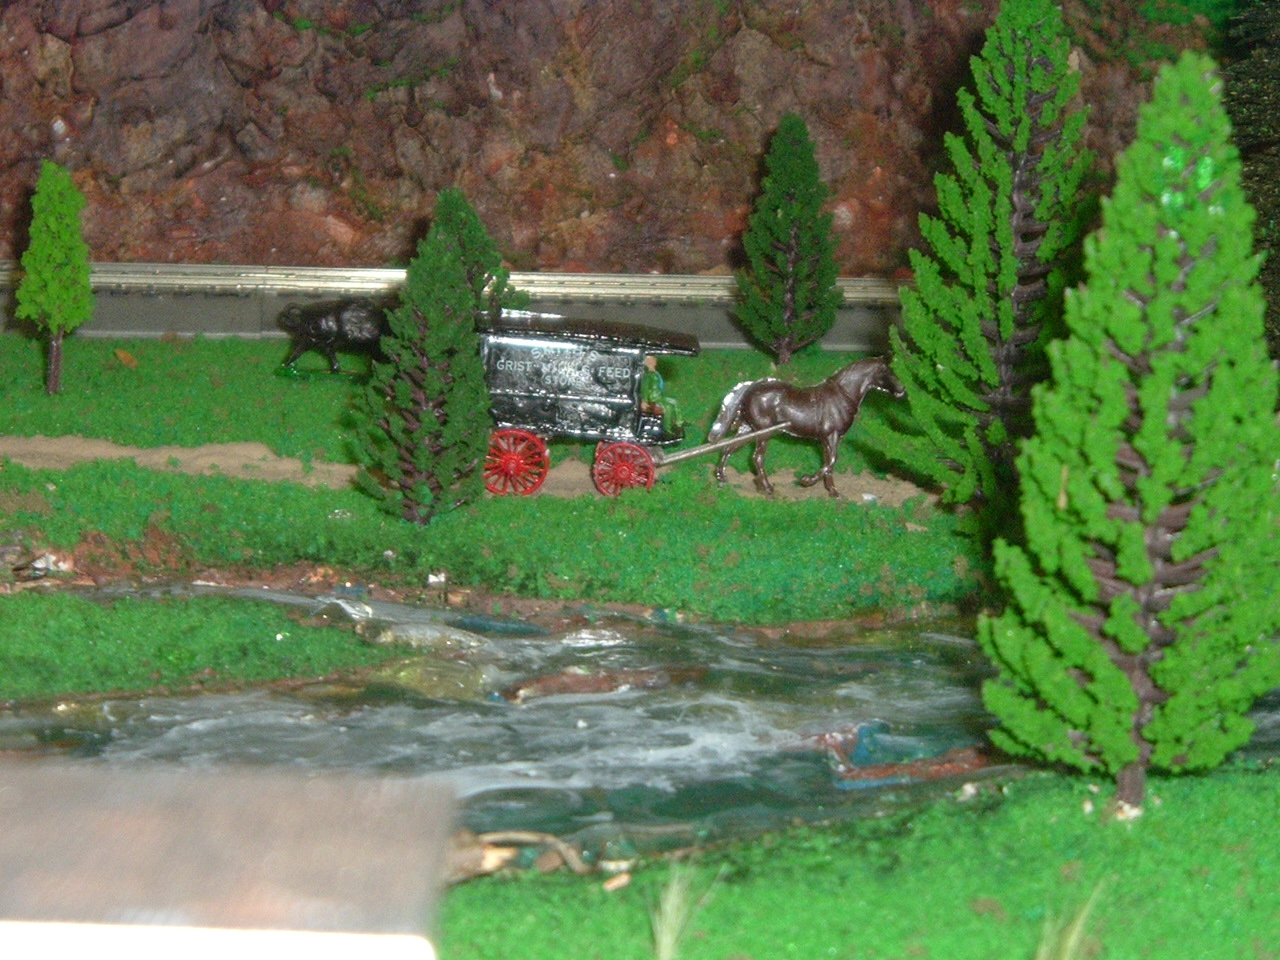
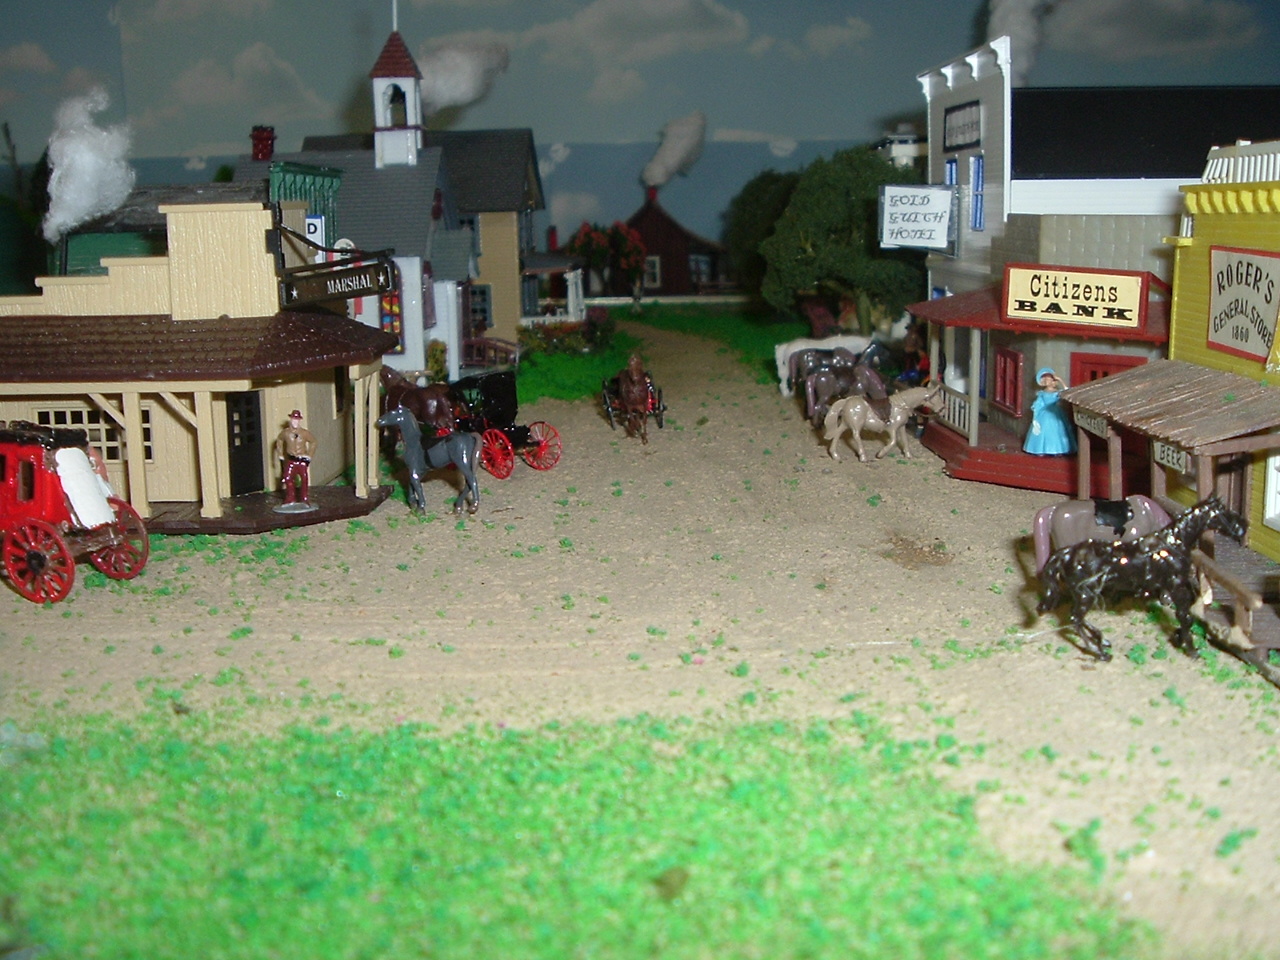
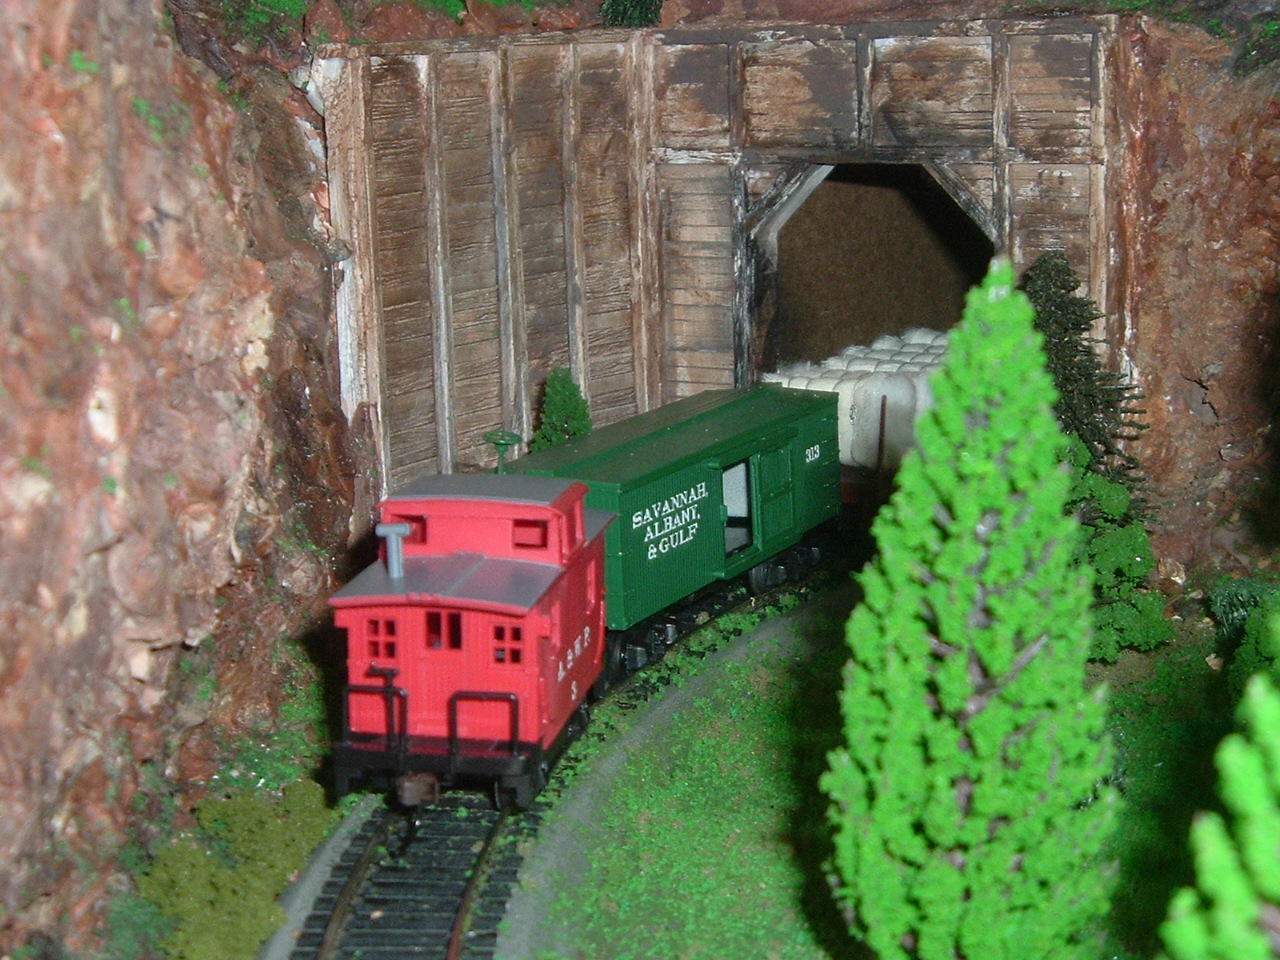
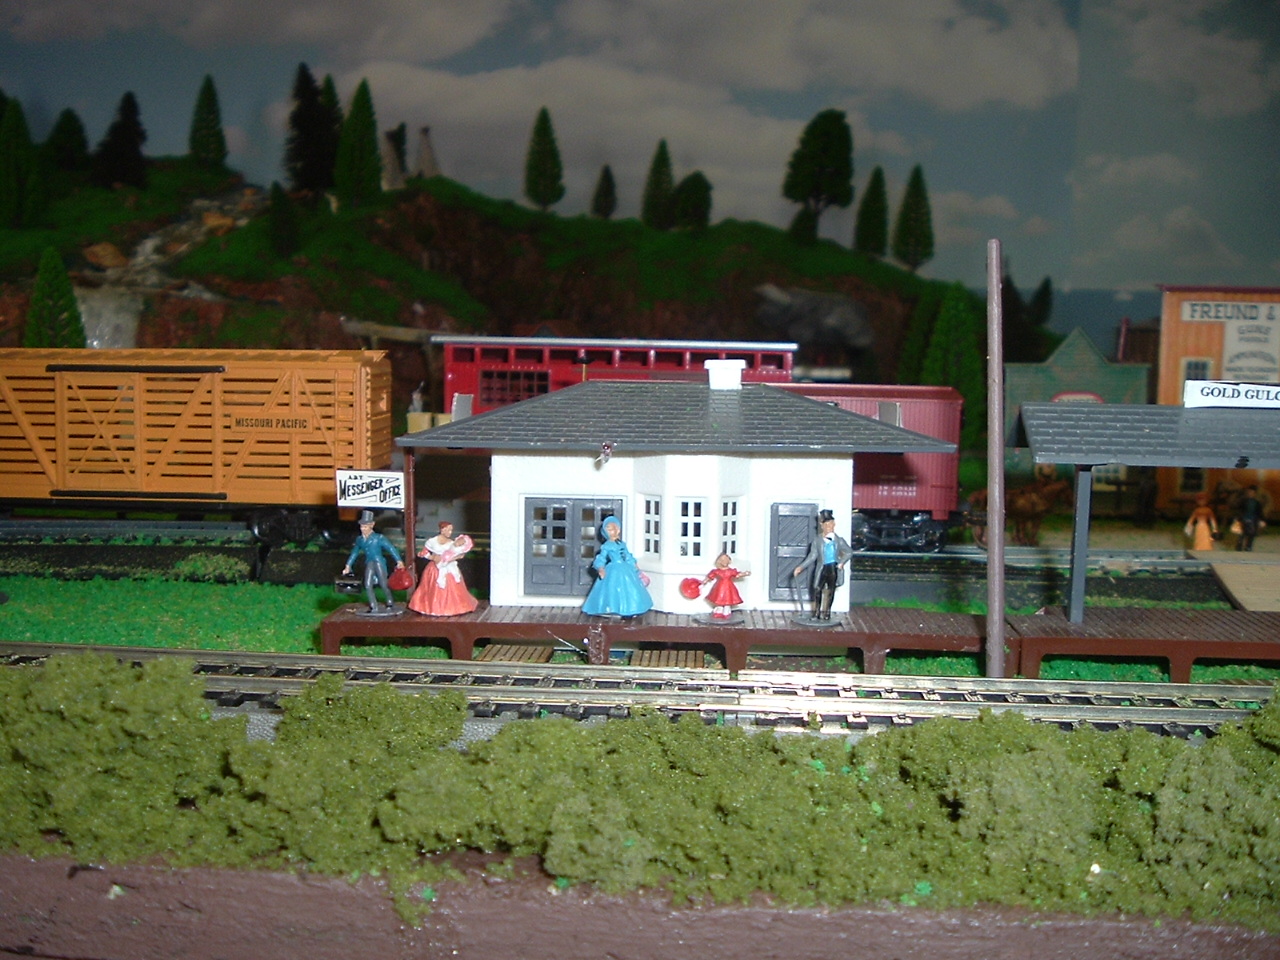
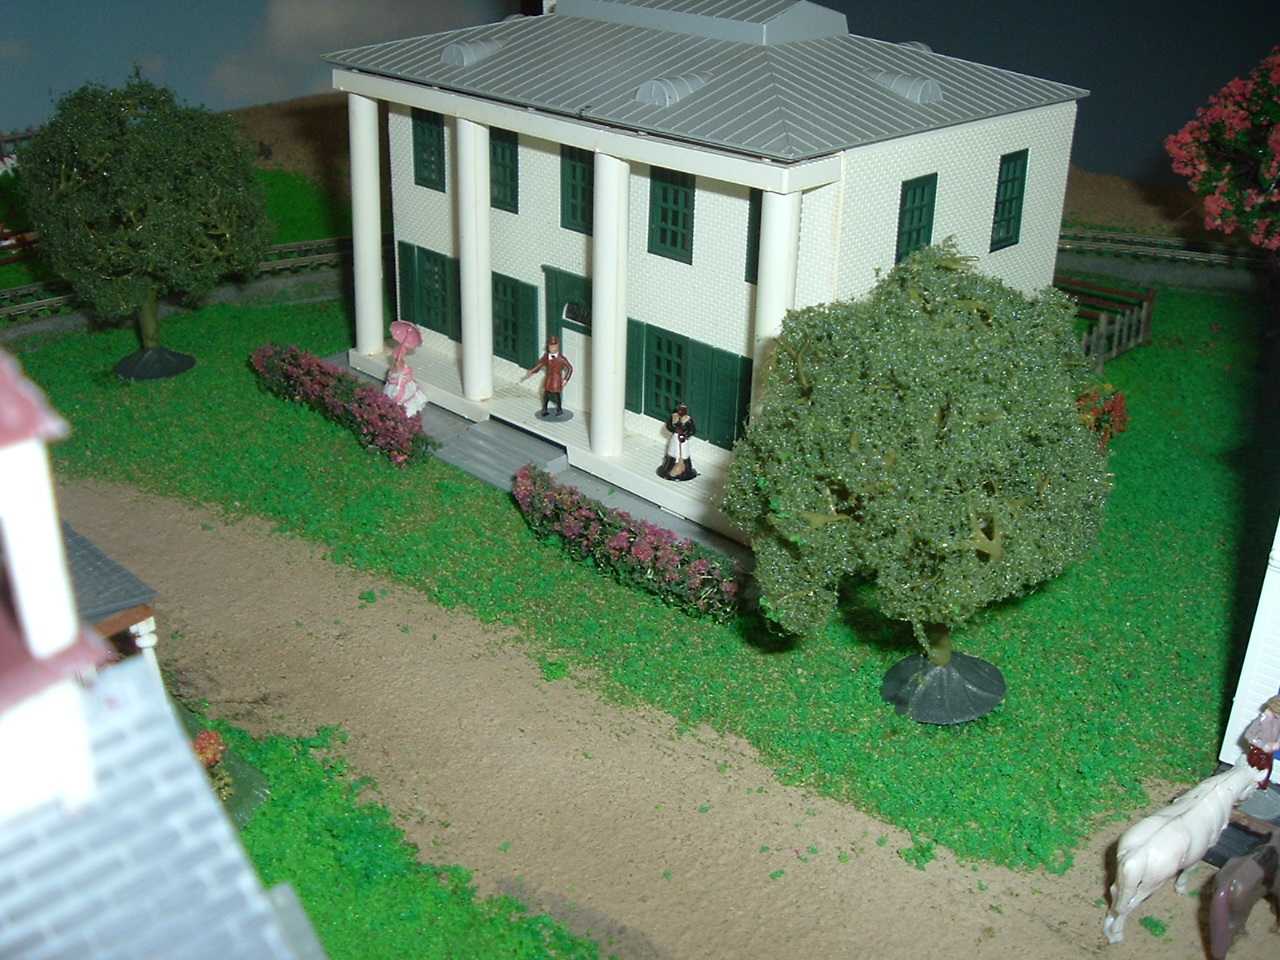
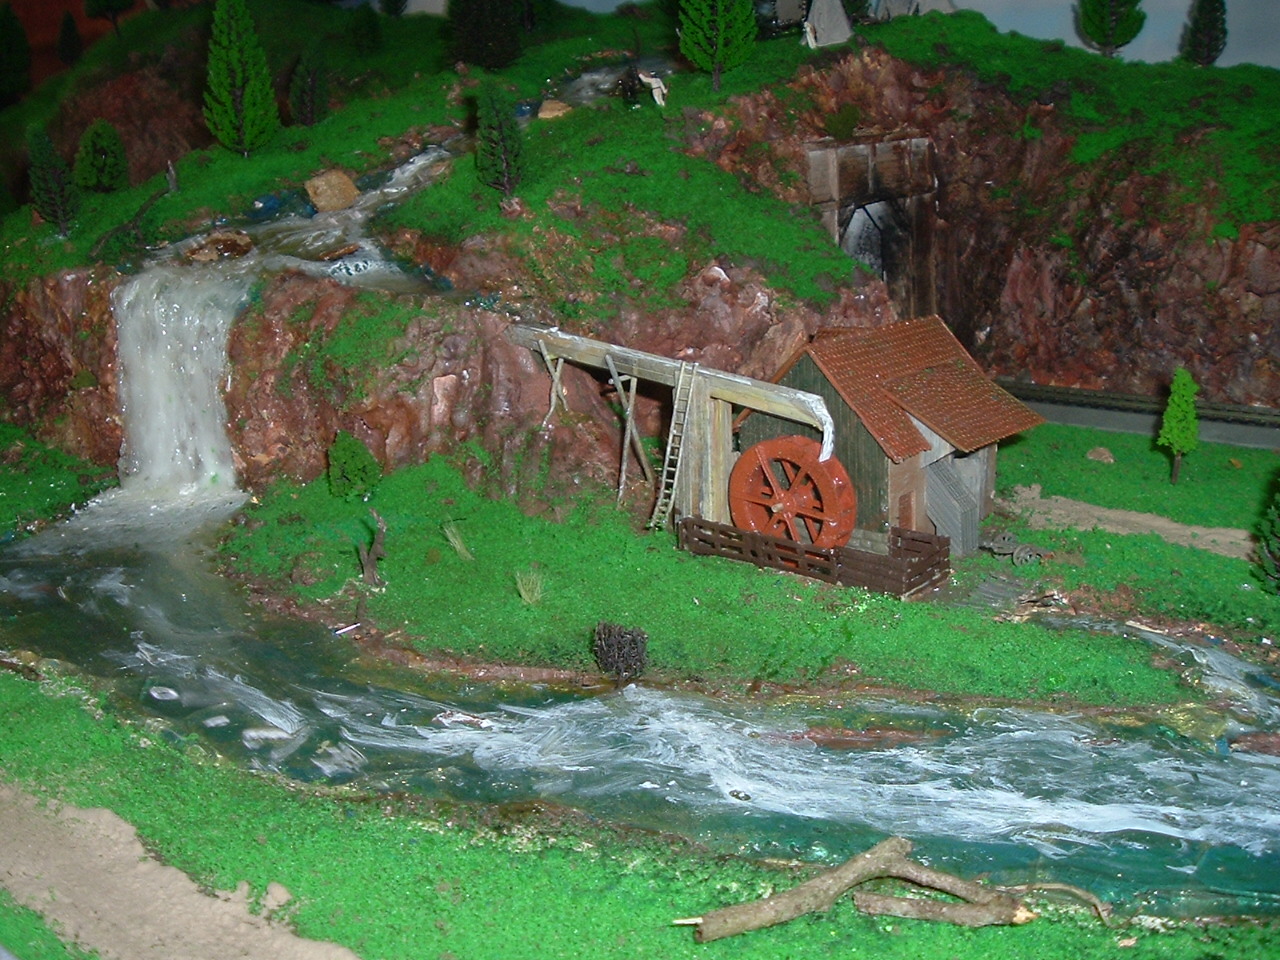
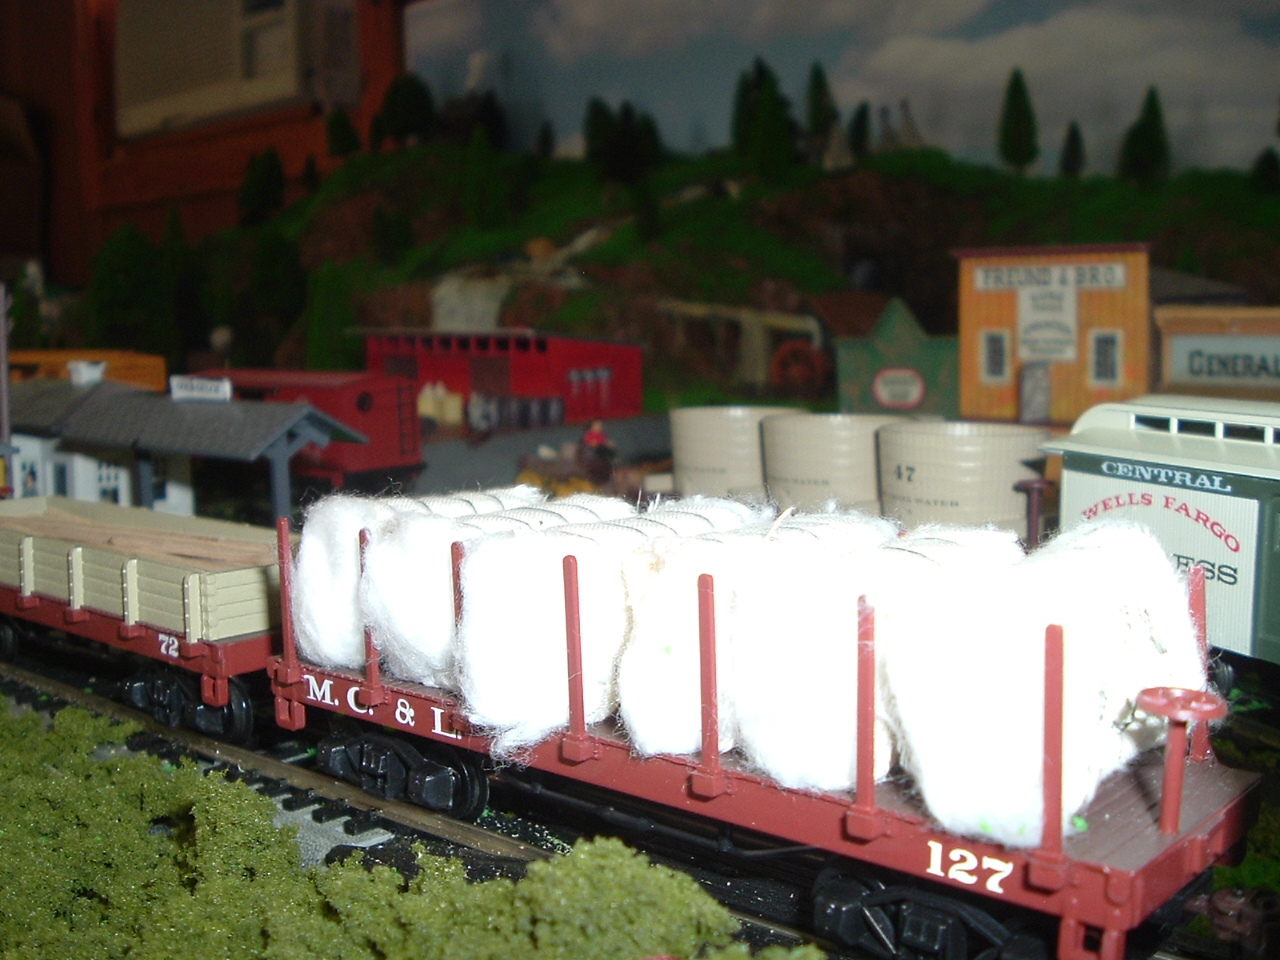
“My name is David Kennedy and I just did my first Model railroad. It is an HO scale sceen from circa 1861 in northern Georgia (USA) It took me about 5 months to build it. It is on a 4′ X 8′ piece of plywood. I routed out the wood for the river. The mountains were made of a cardboard frame and plaster of paris. I hand painted some of the figures and I build some of the models. Please share the pictures with others. I hope you and other can enjoy.

David”


Thanks to everyone who has contributed. Just absolutely loved Edwards Play-doh tip. Brilliant!

Keep ’em coming.

And don’t forget the Beginner’s Guide is here if you want to get going on your layout.

Best

Al

PS Latest ebay cheat sheet is here.