Brian’s latest building

“Hi Al

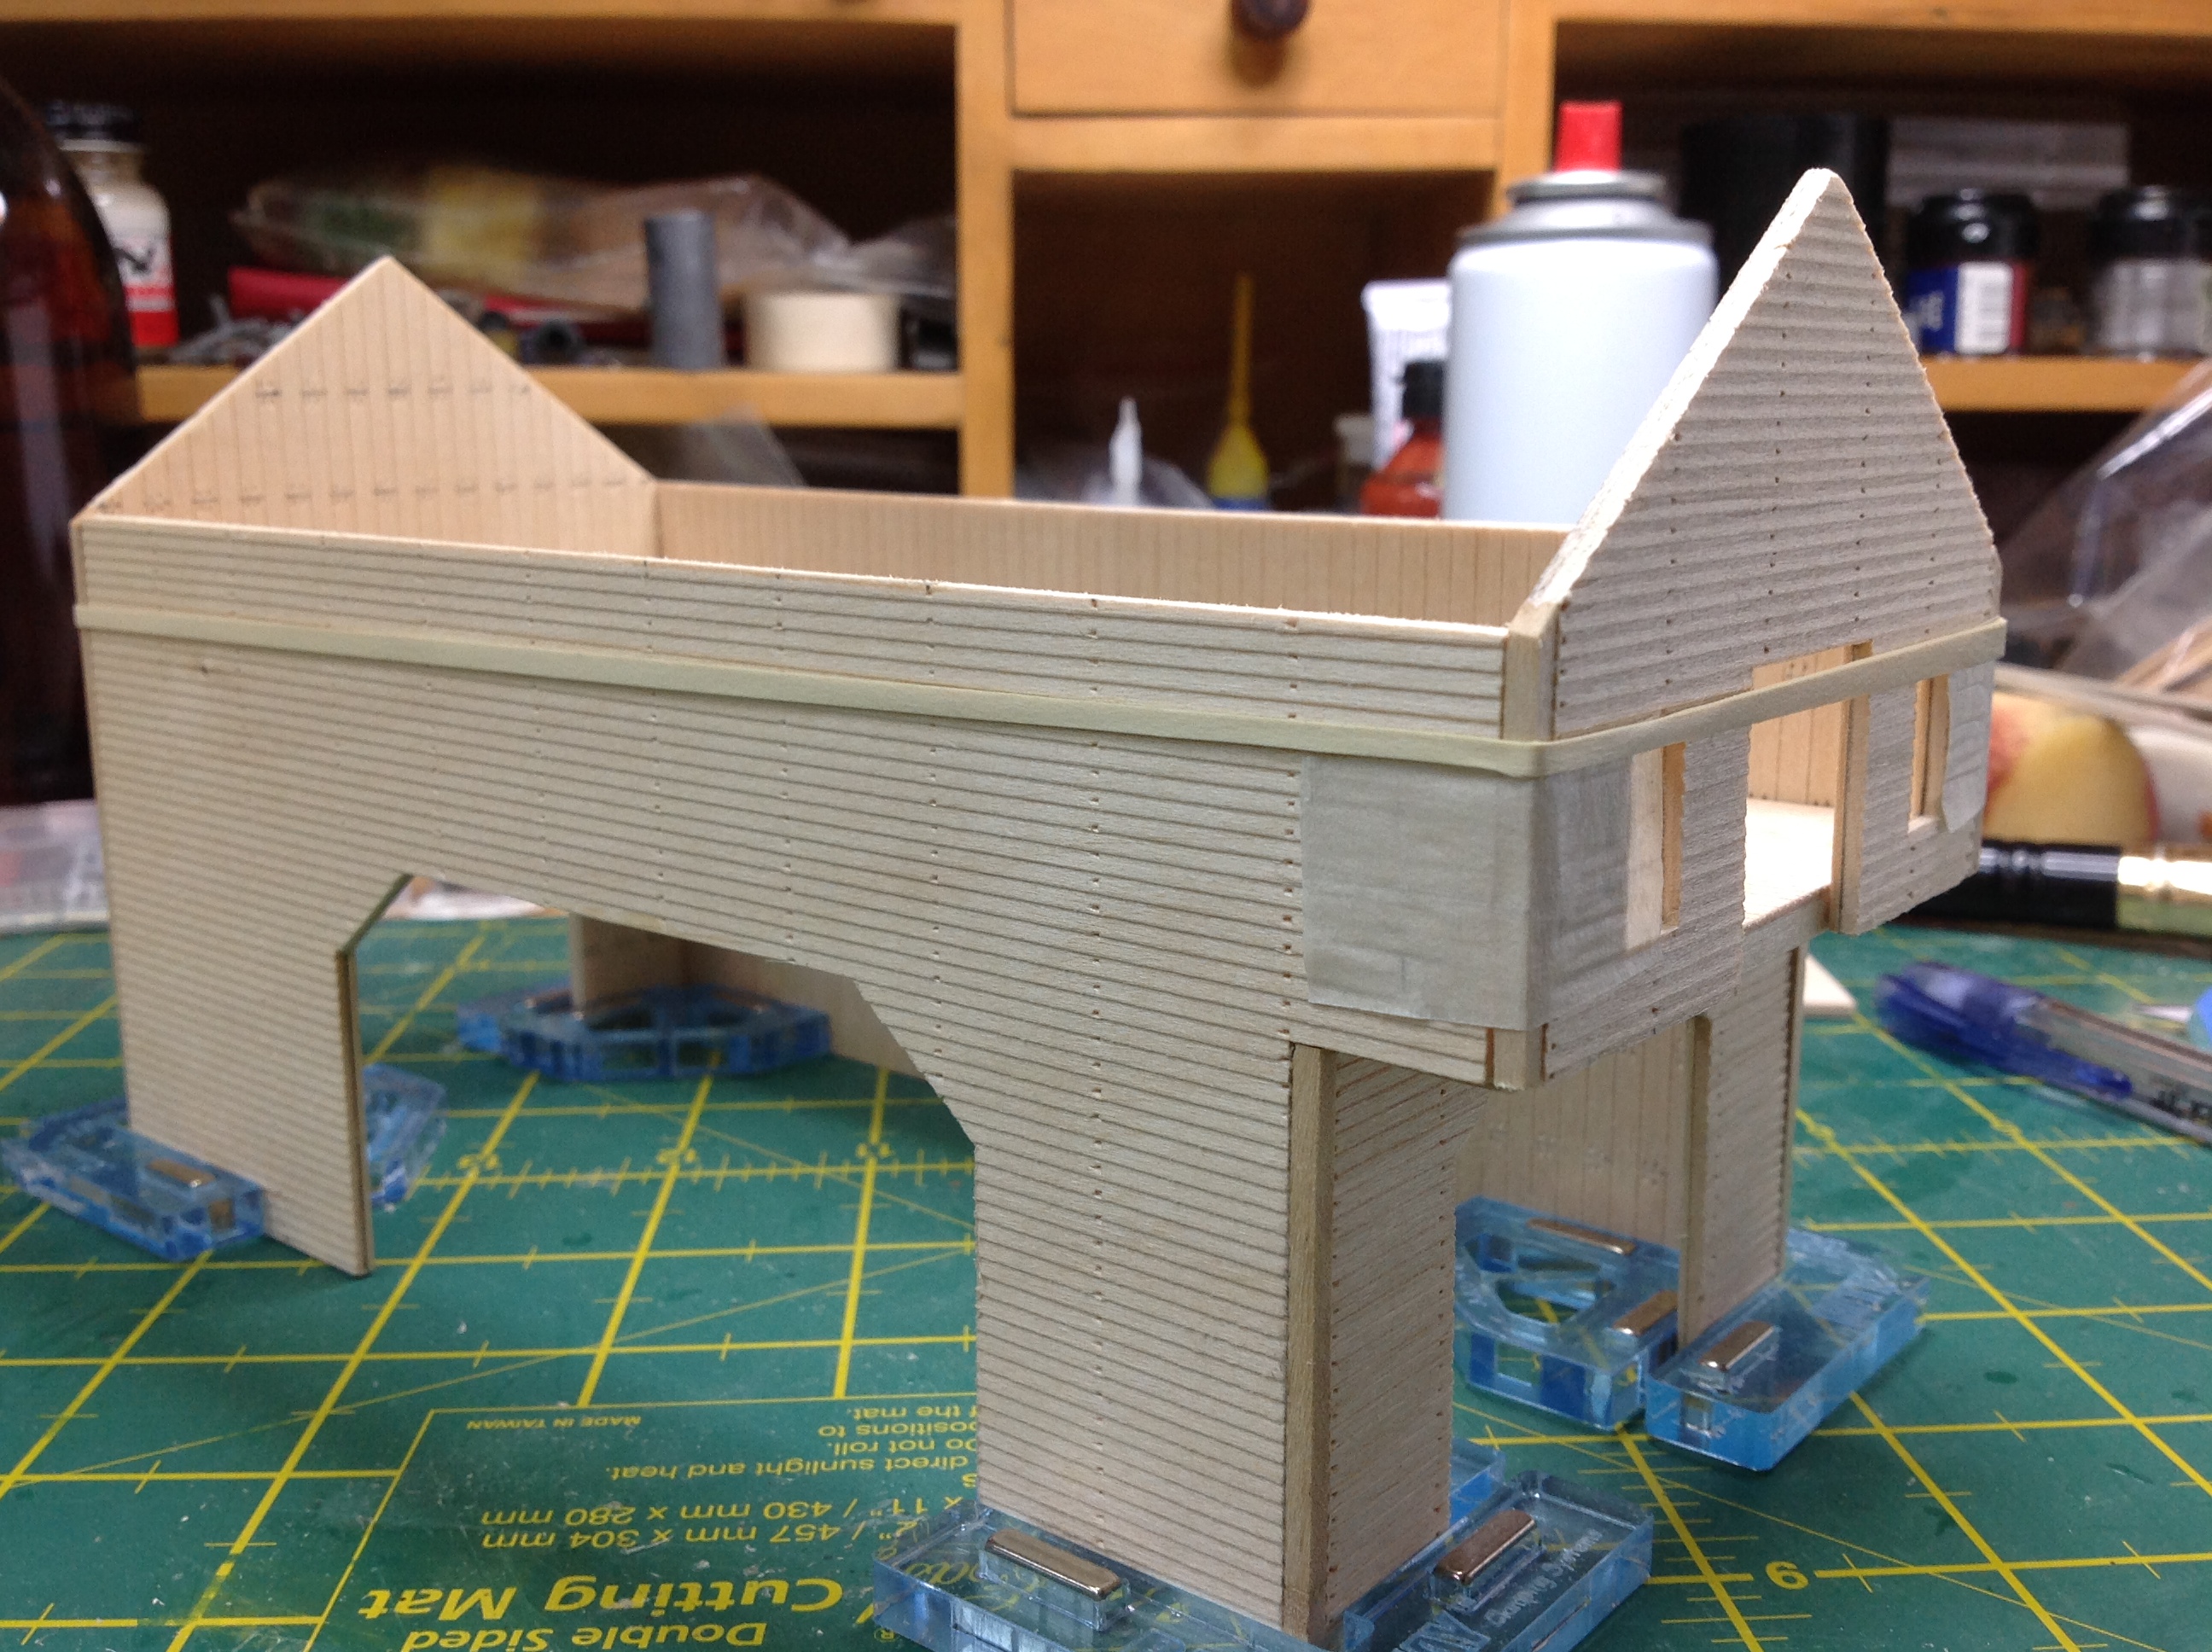
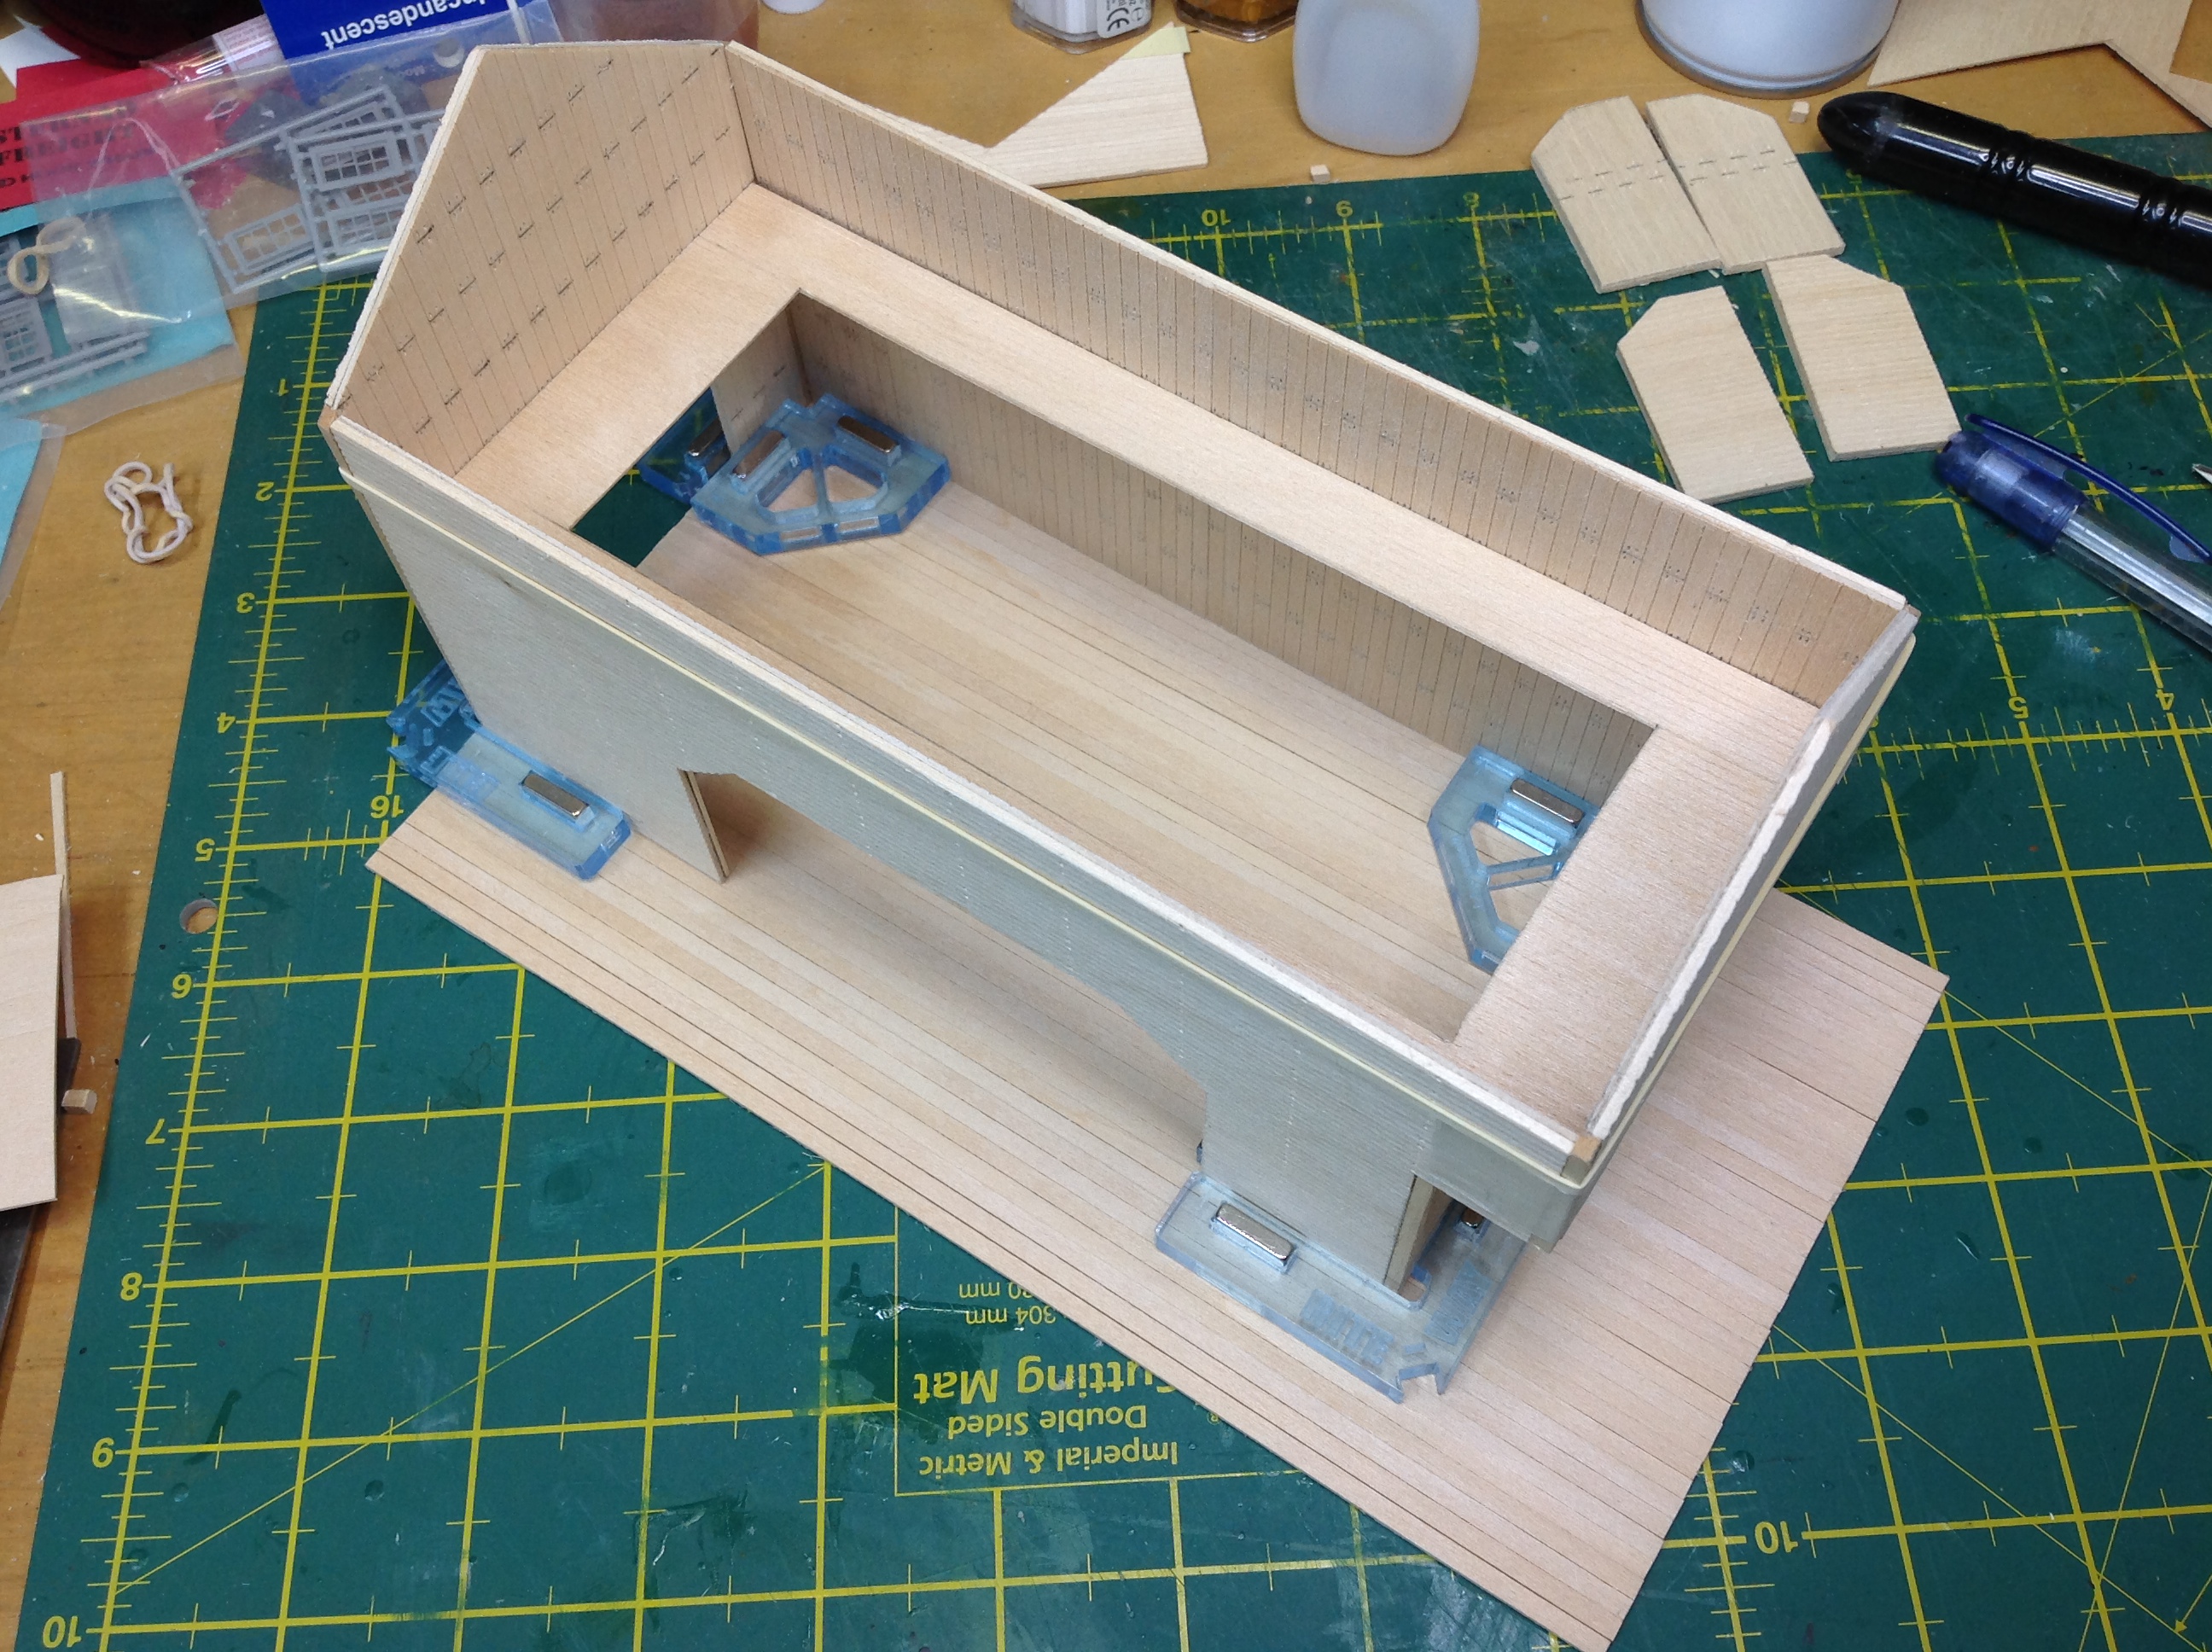
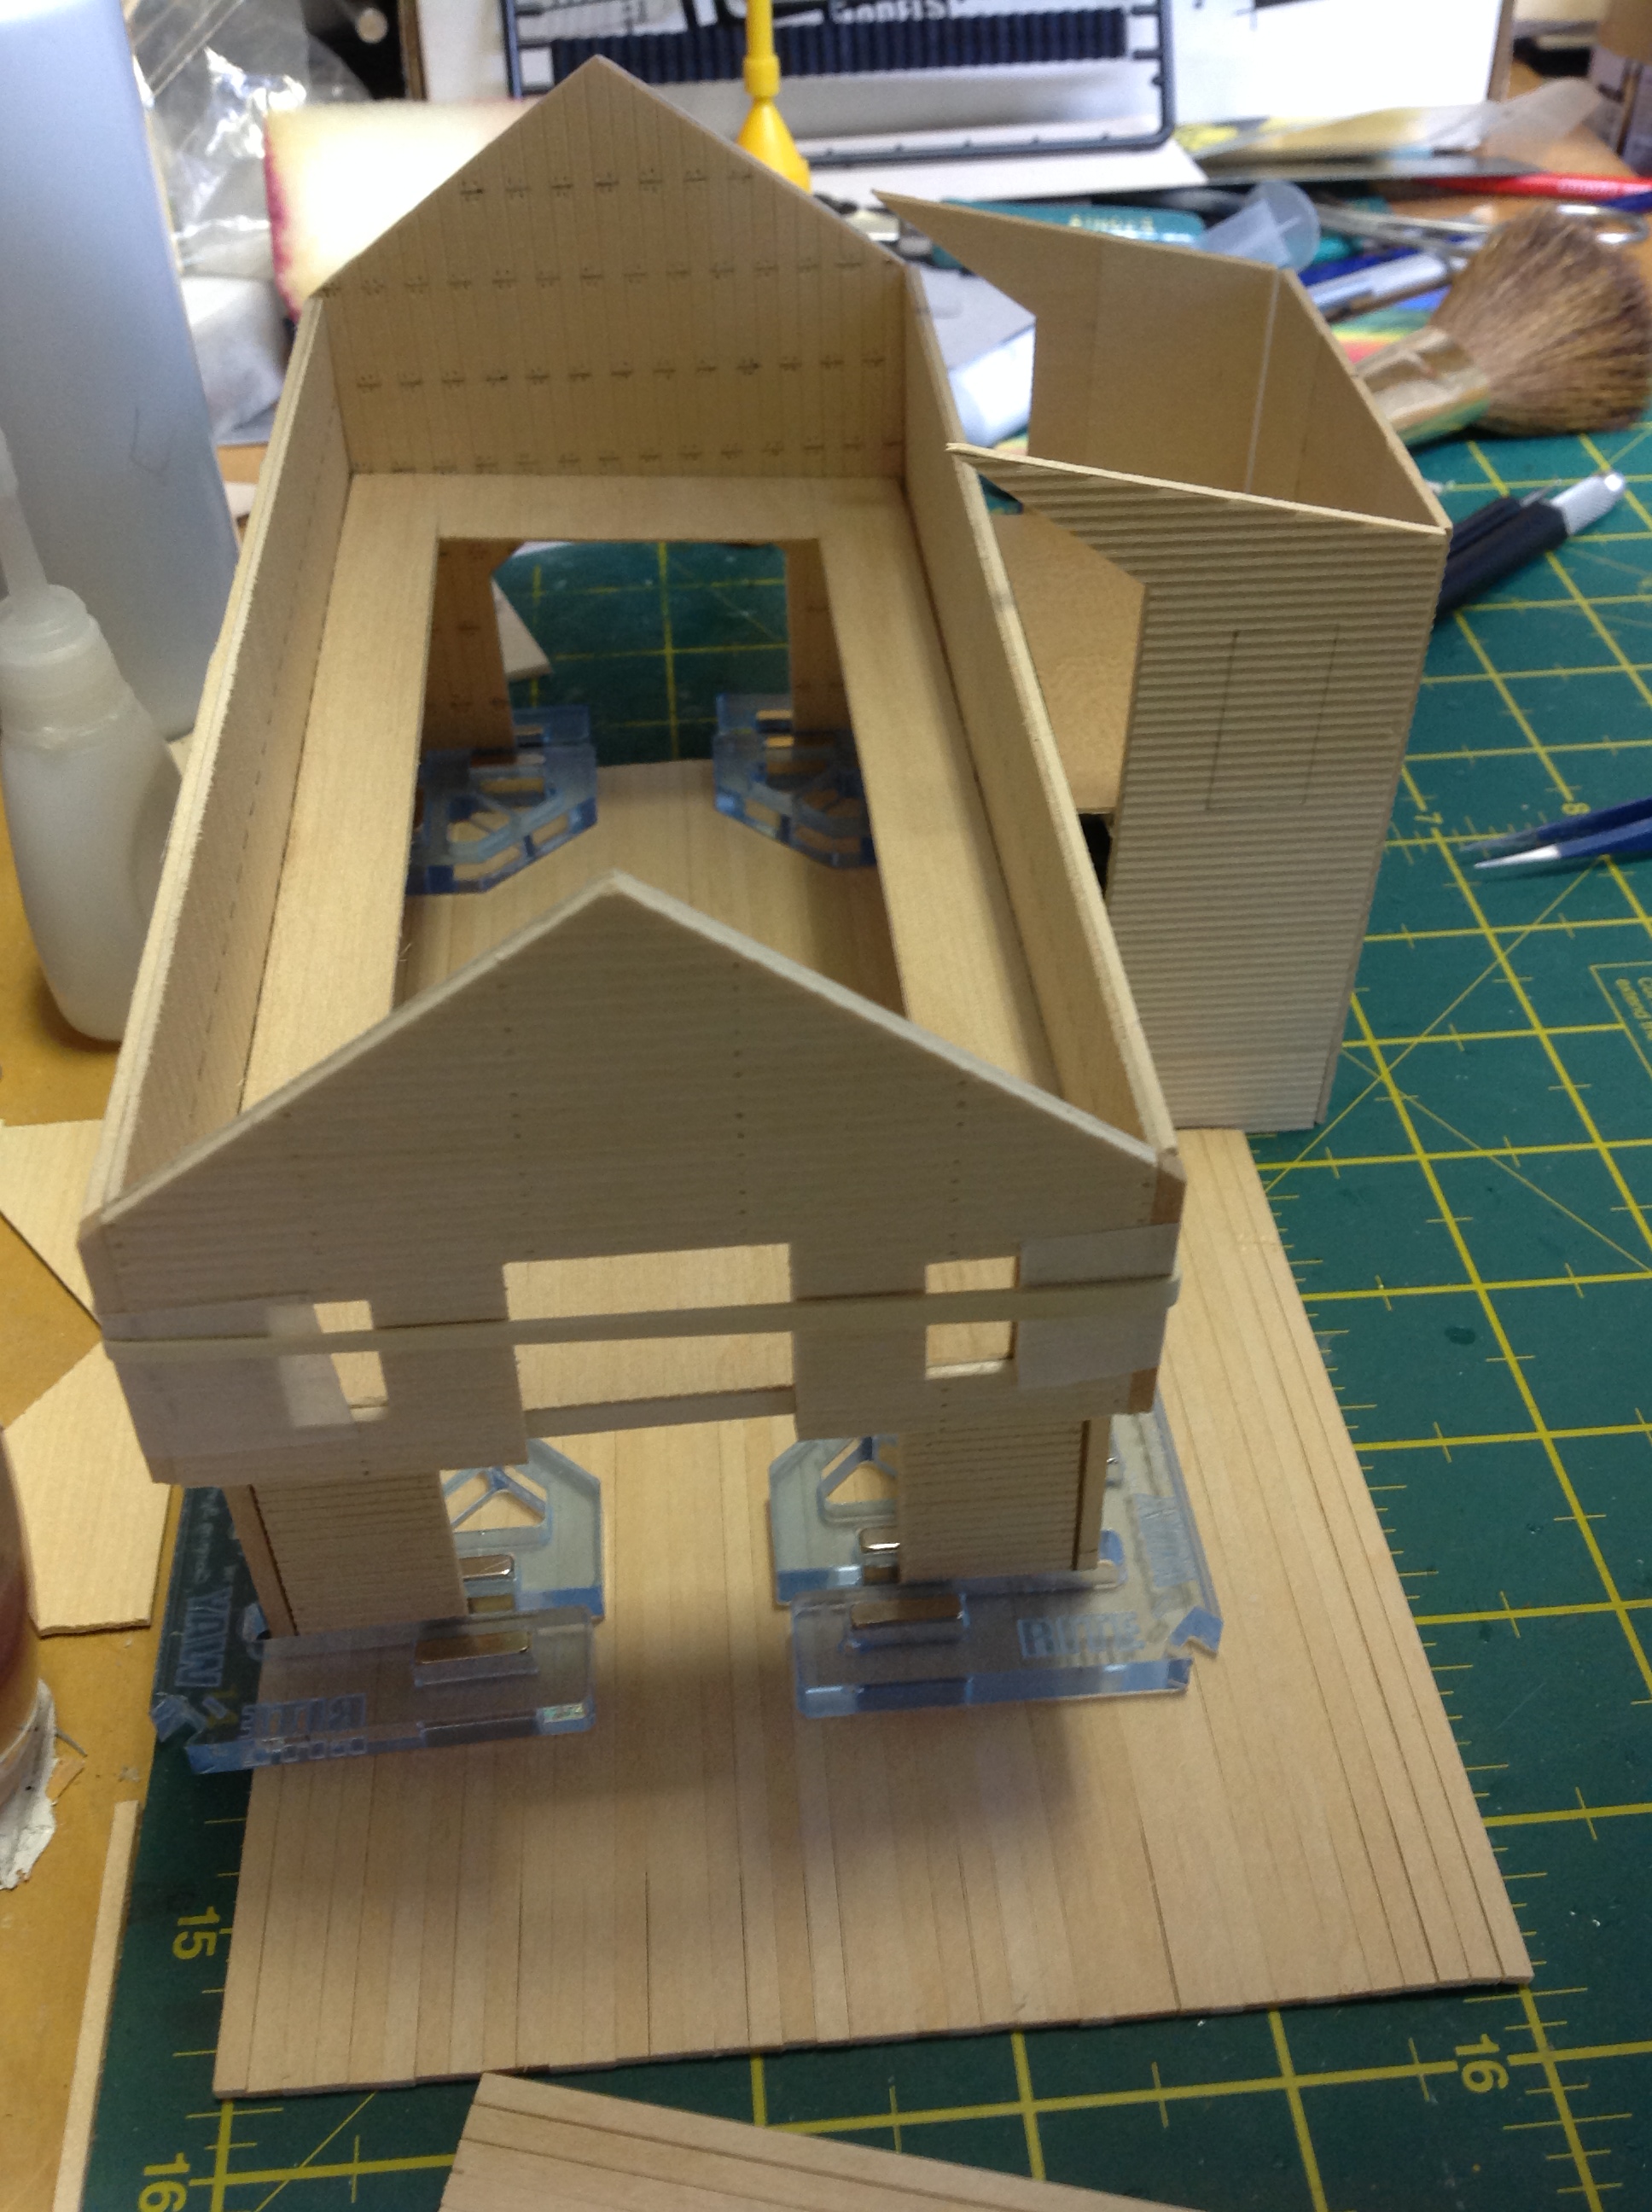
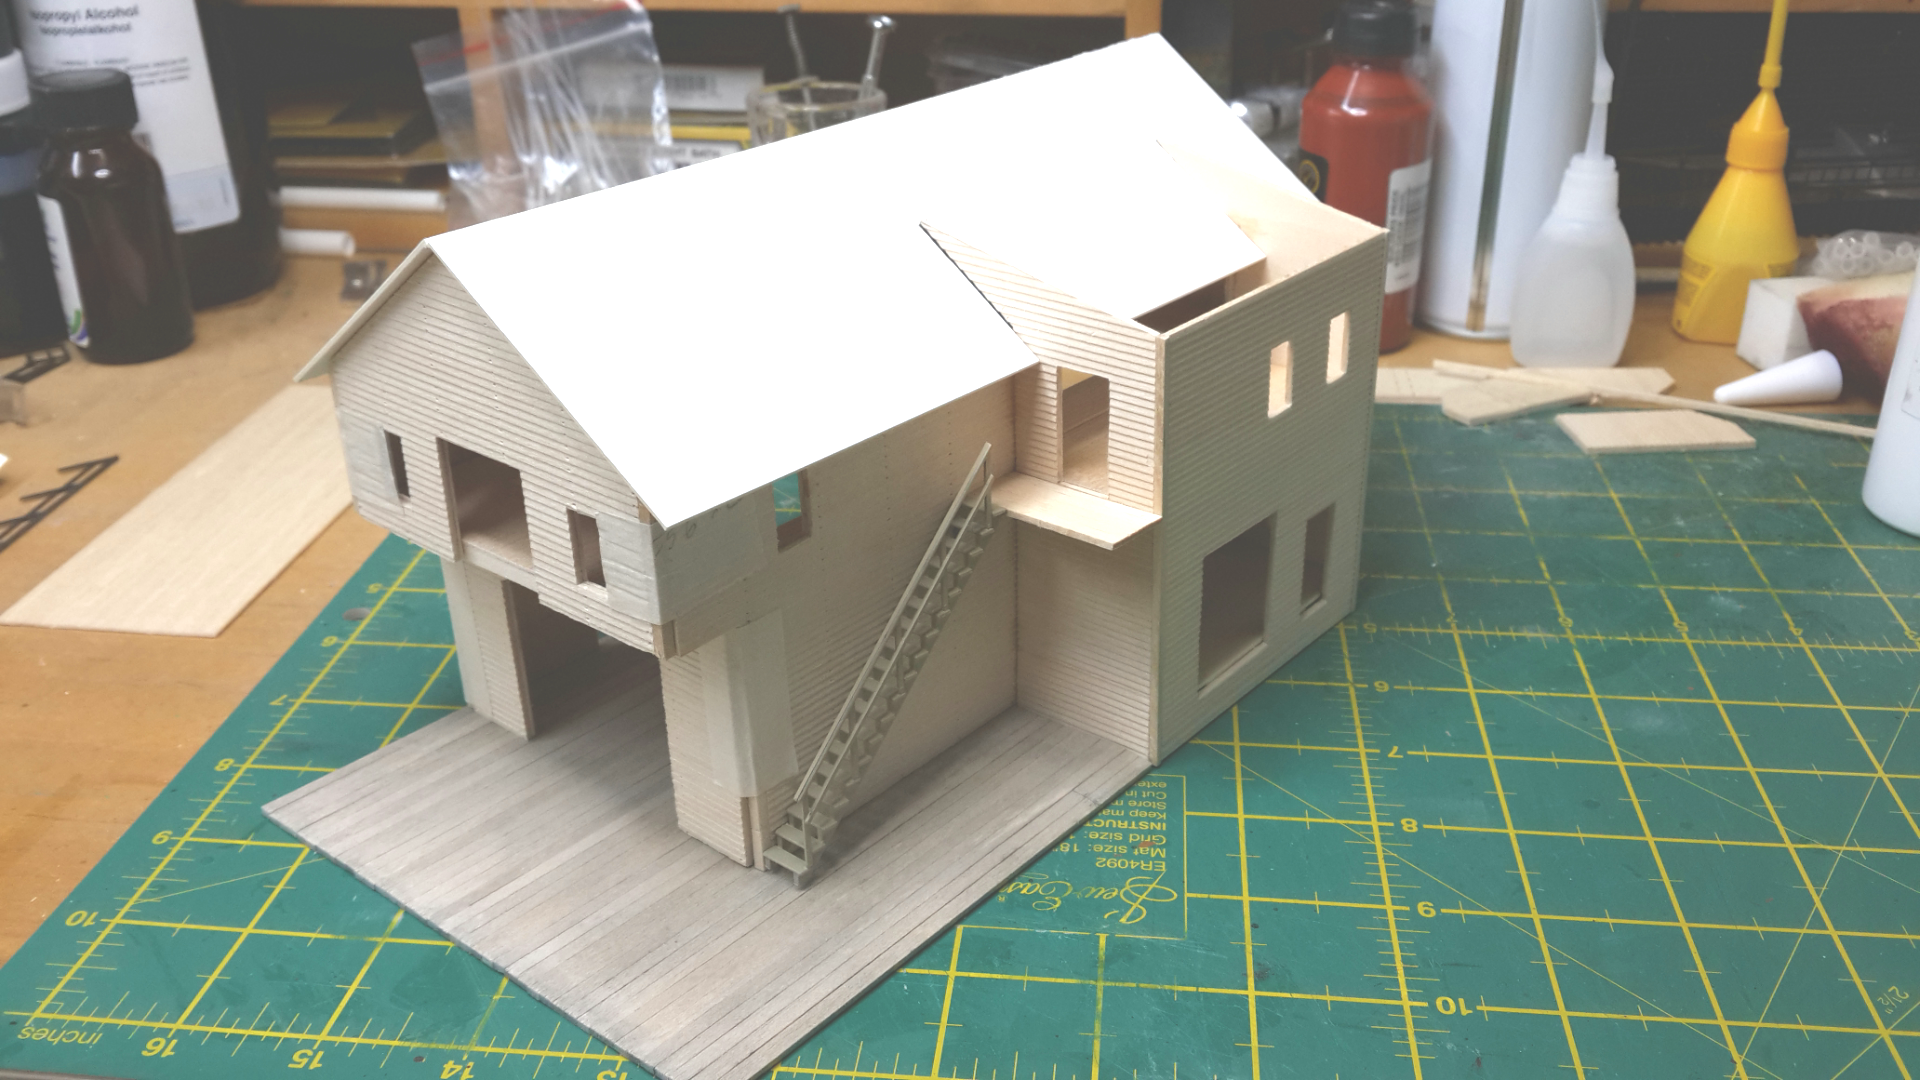
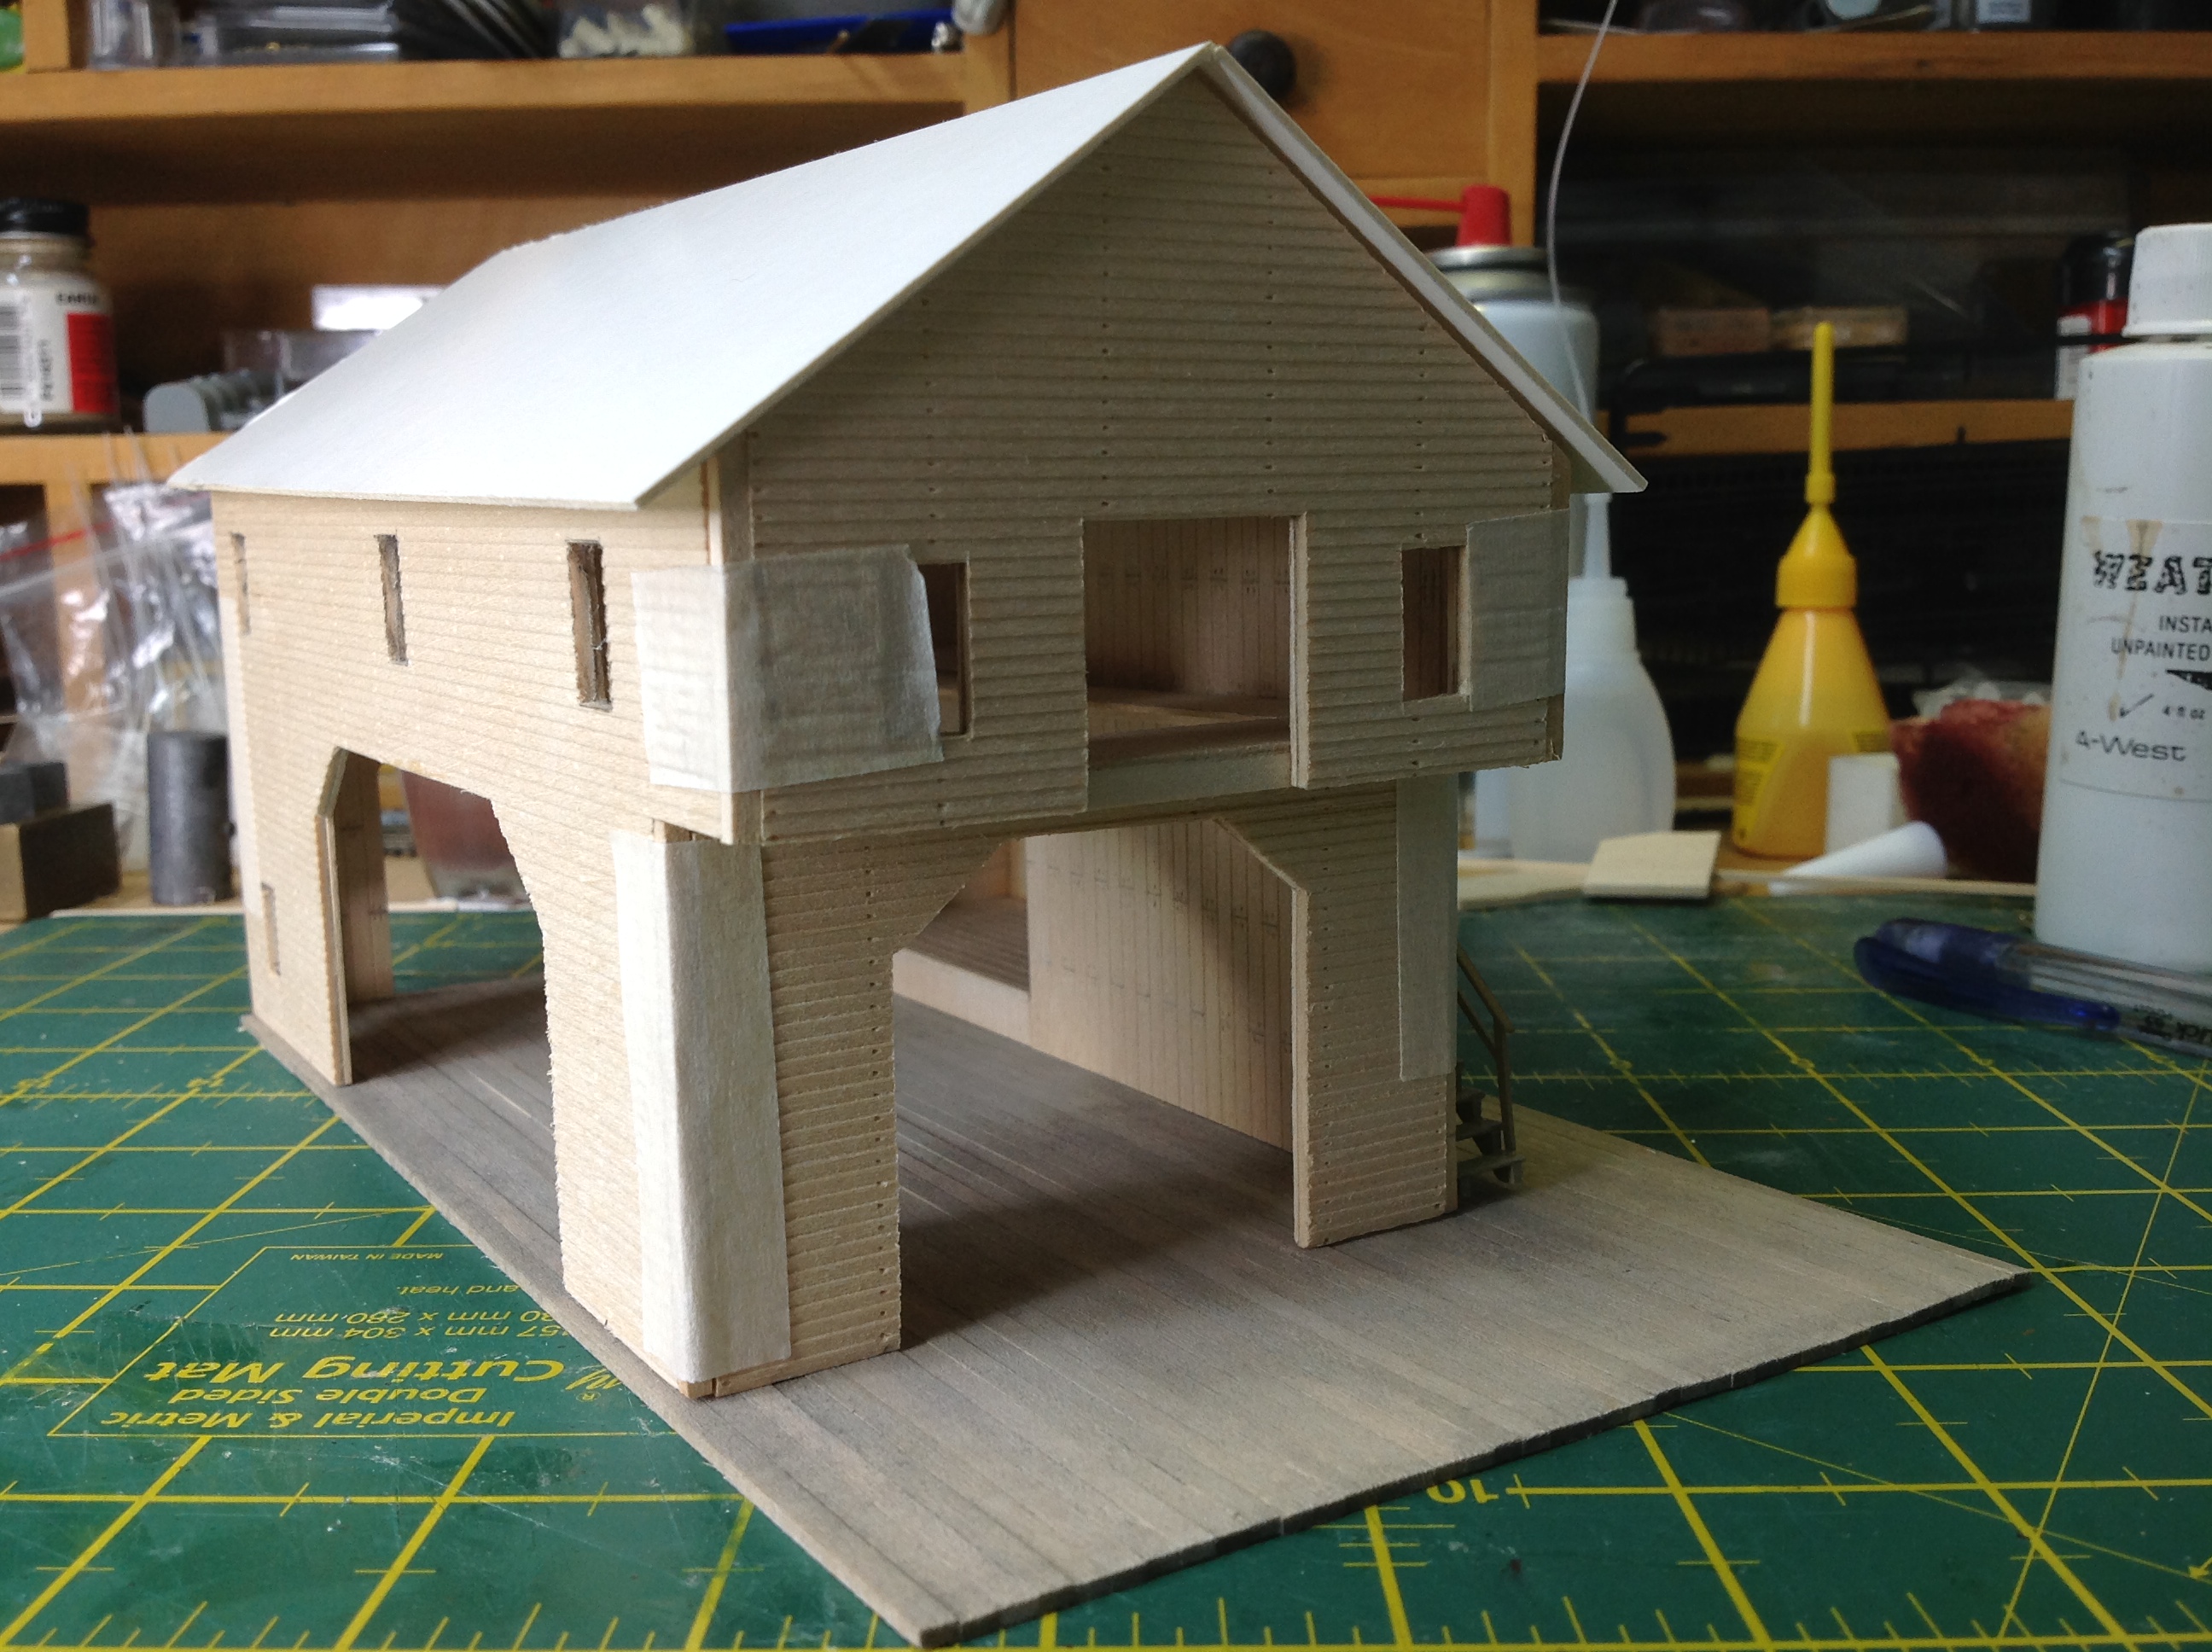
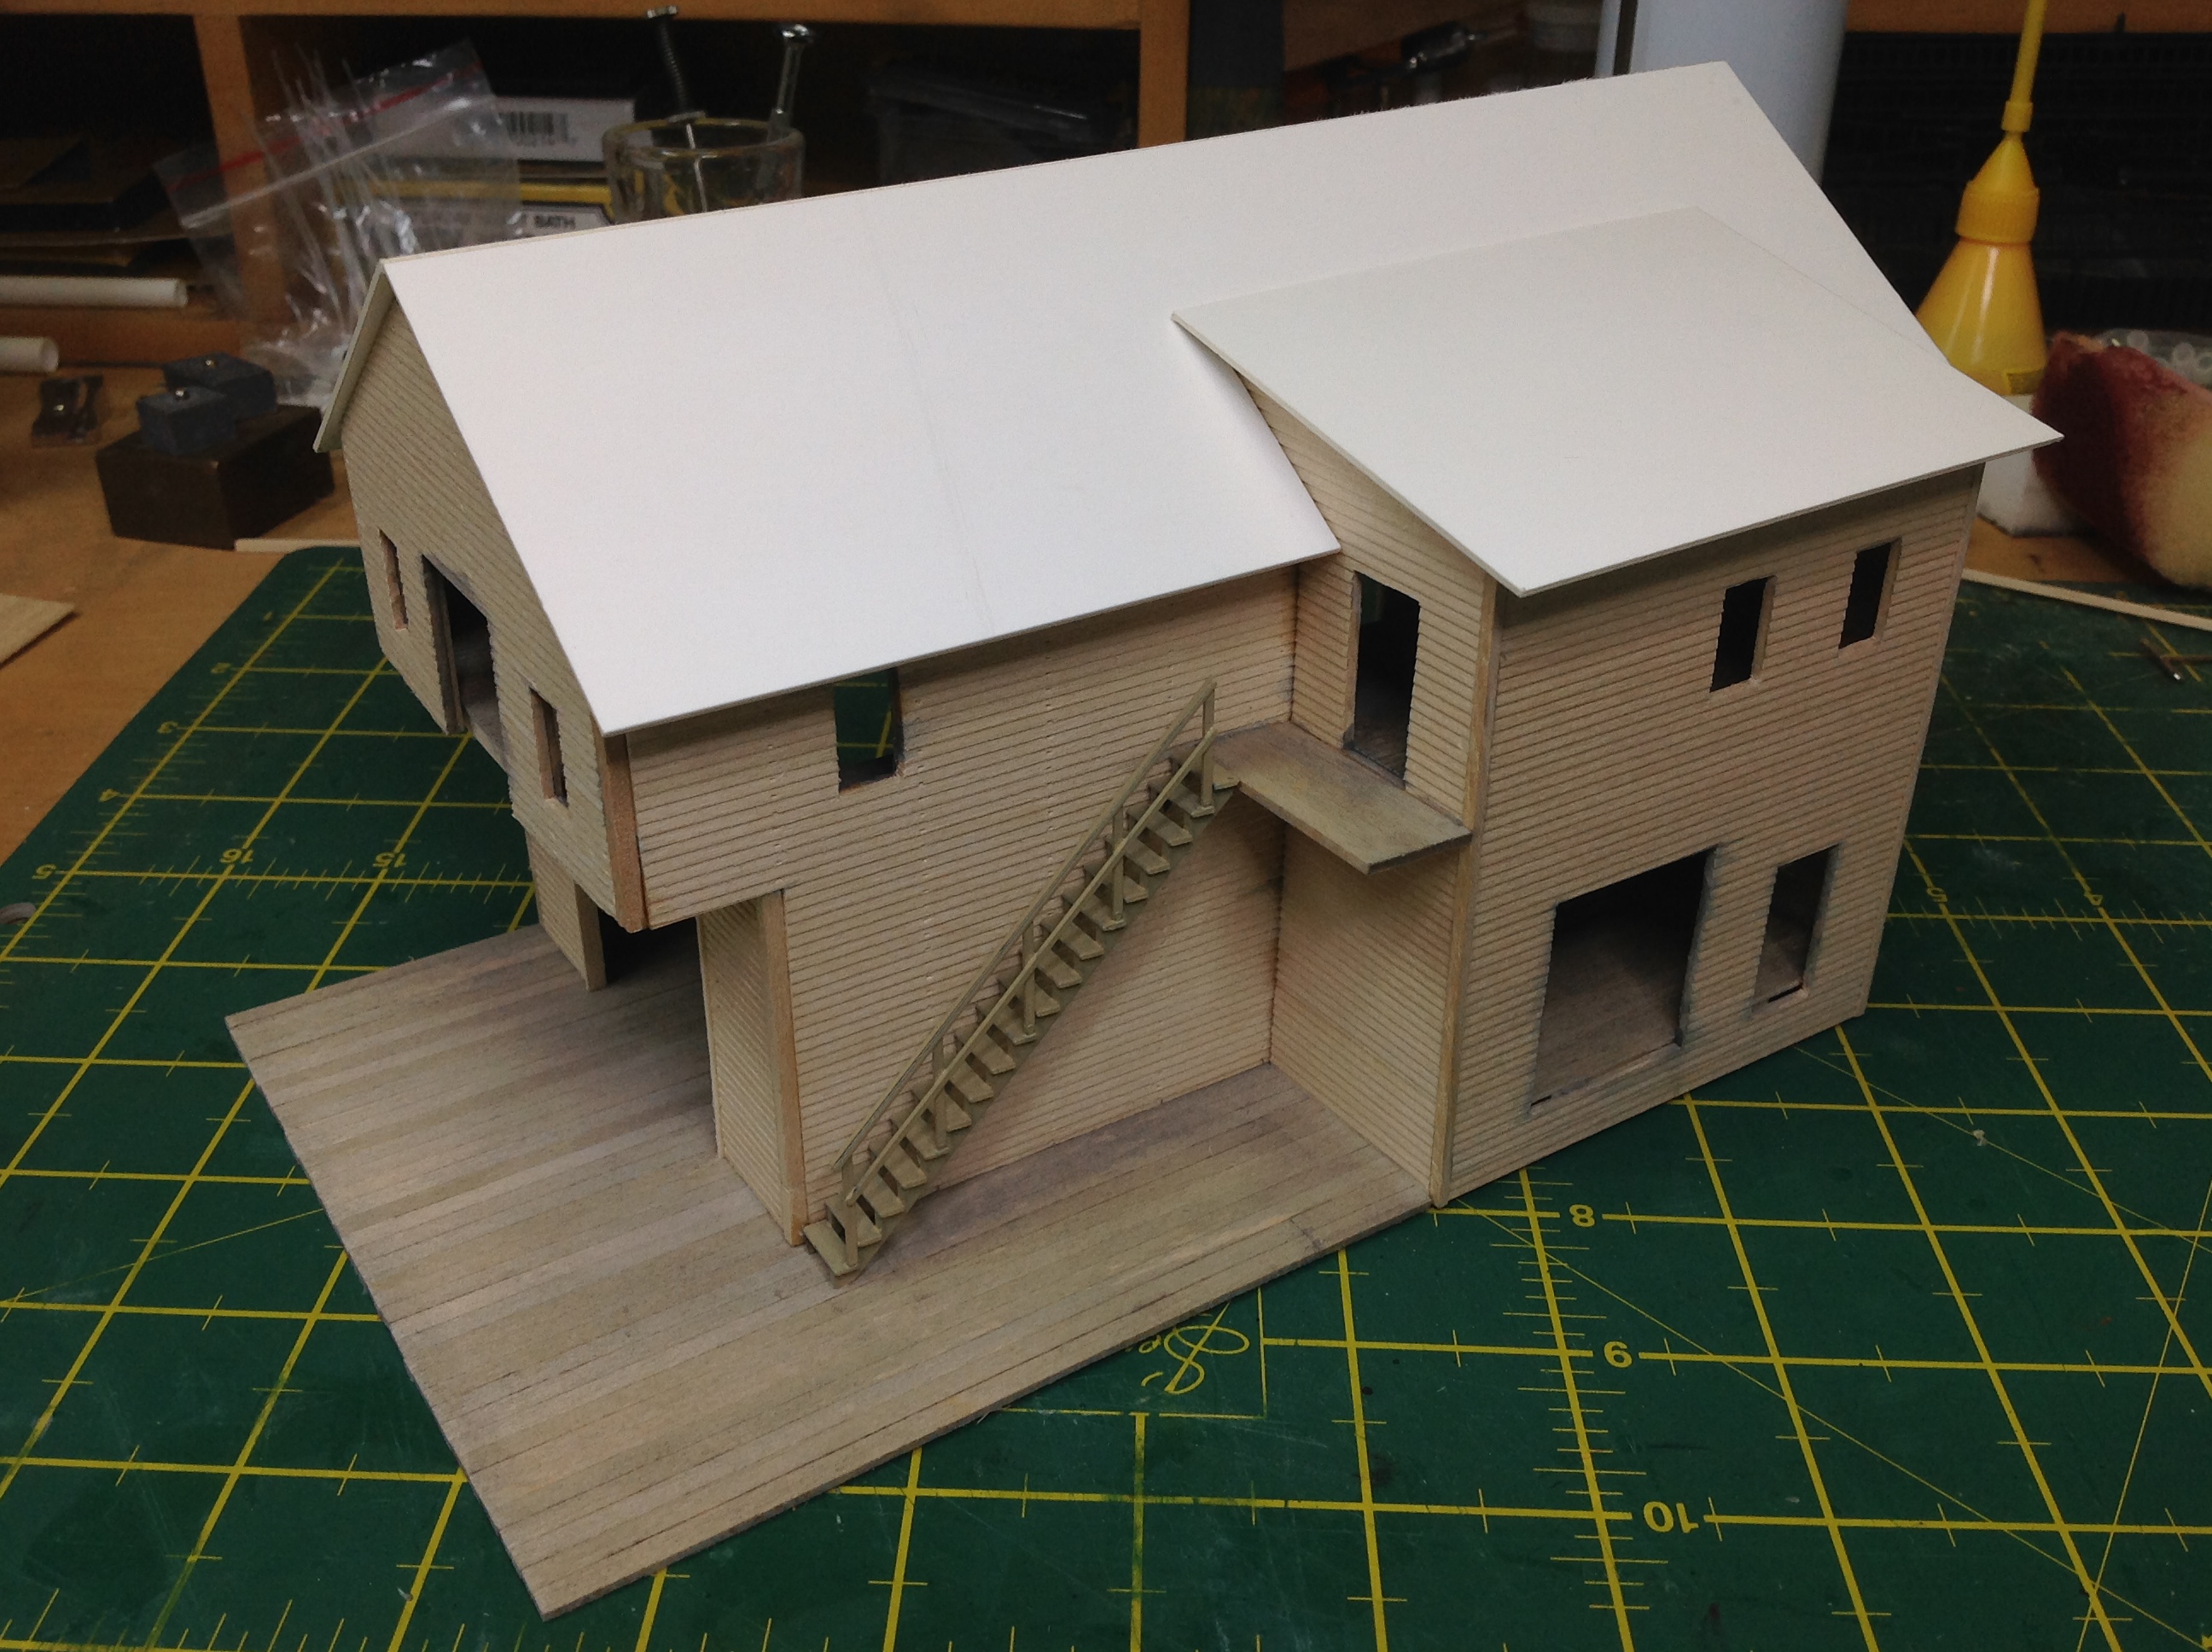
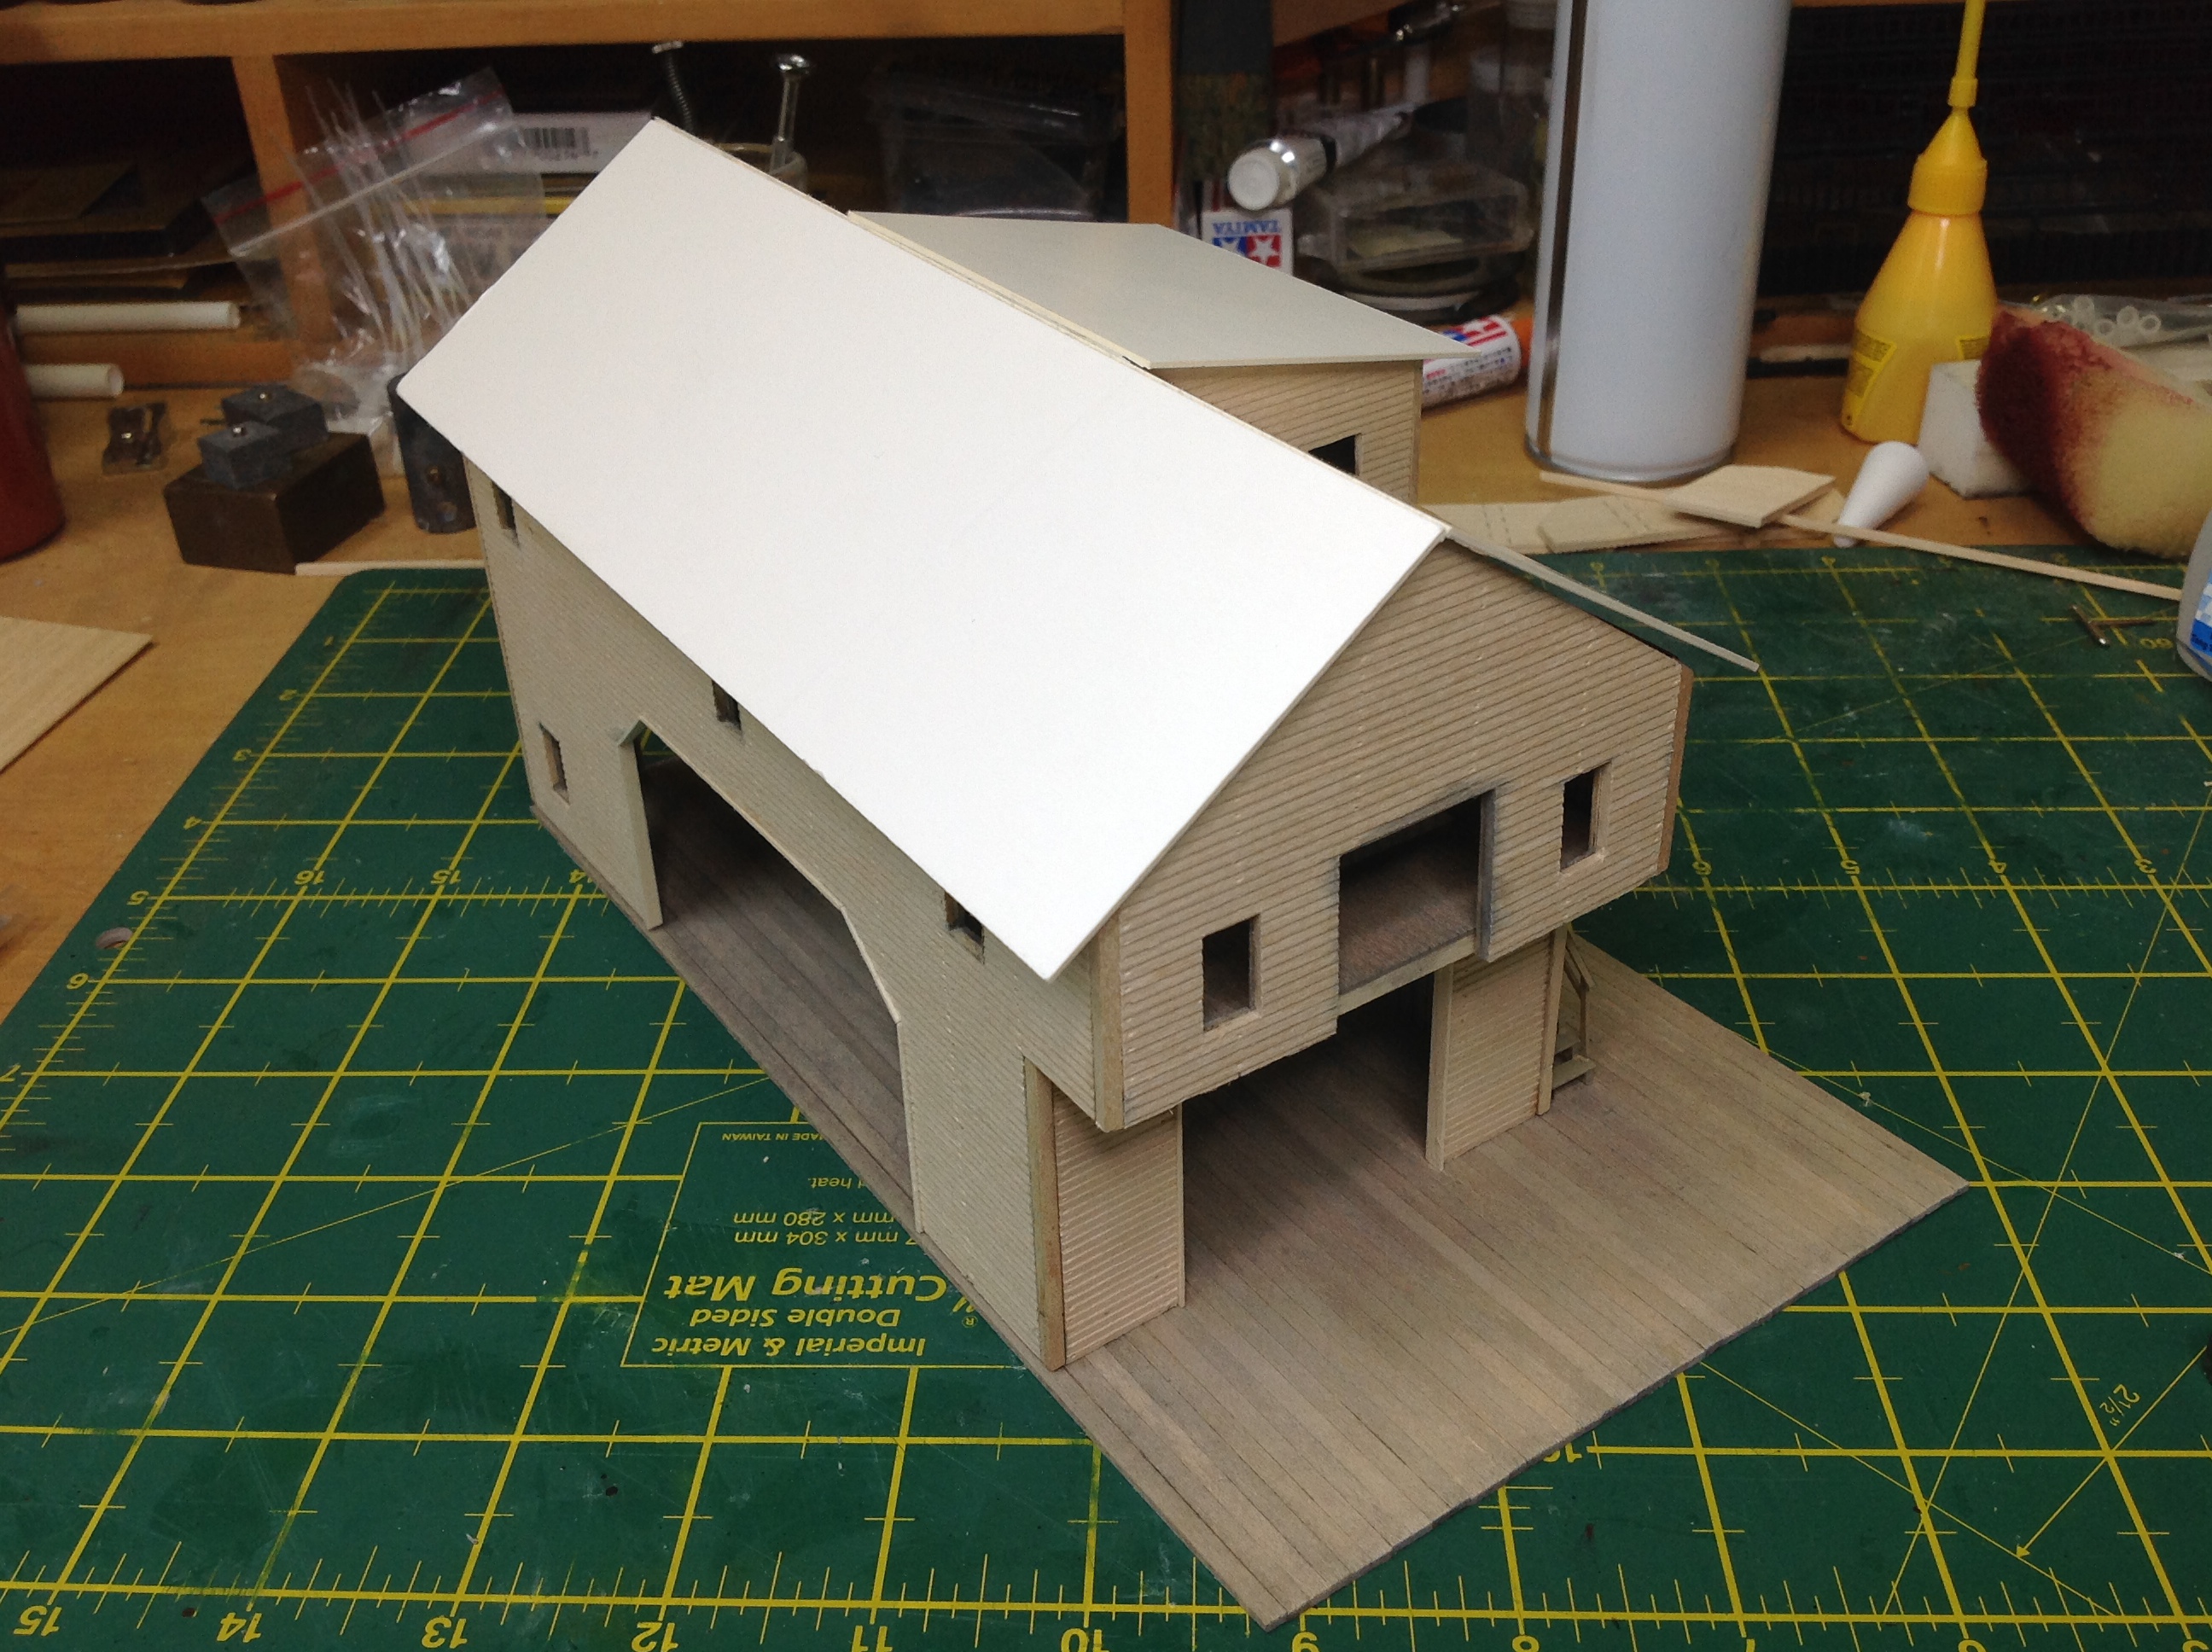
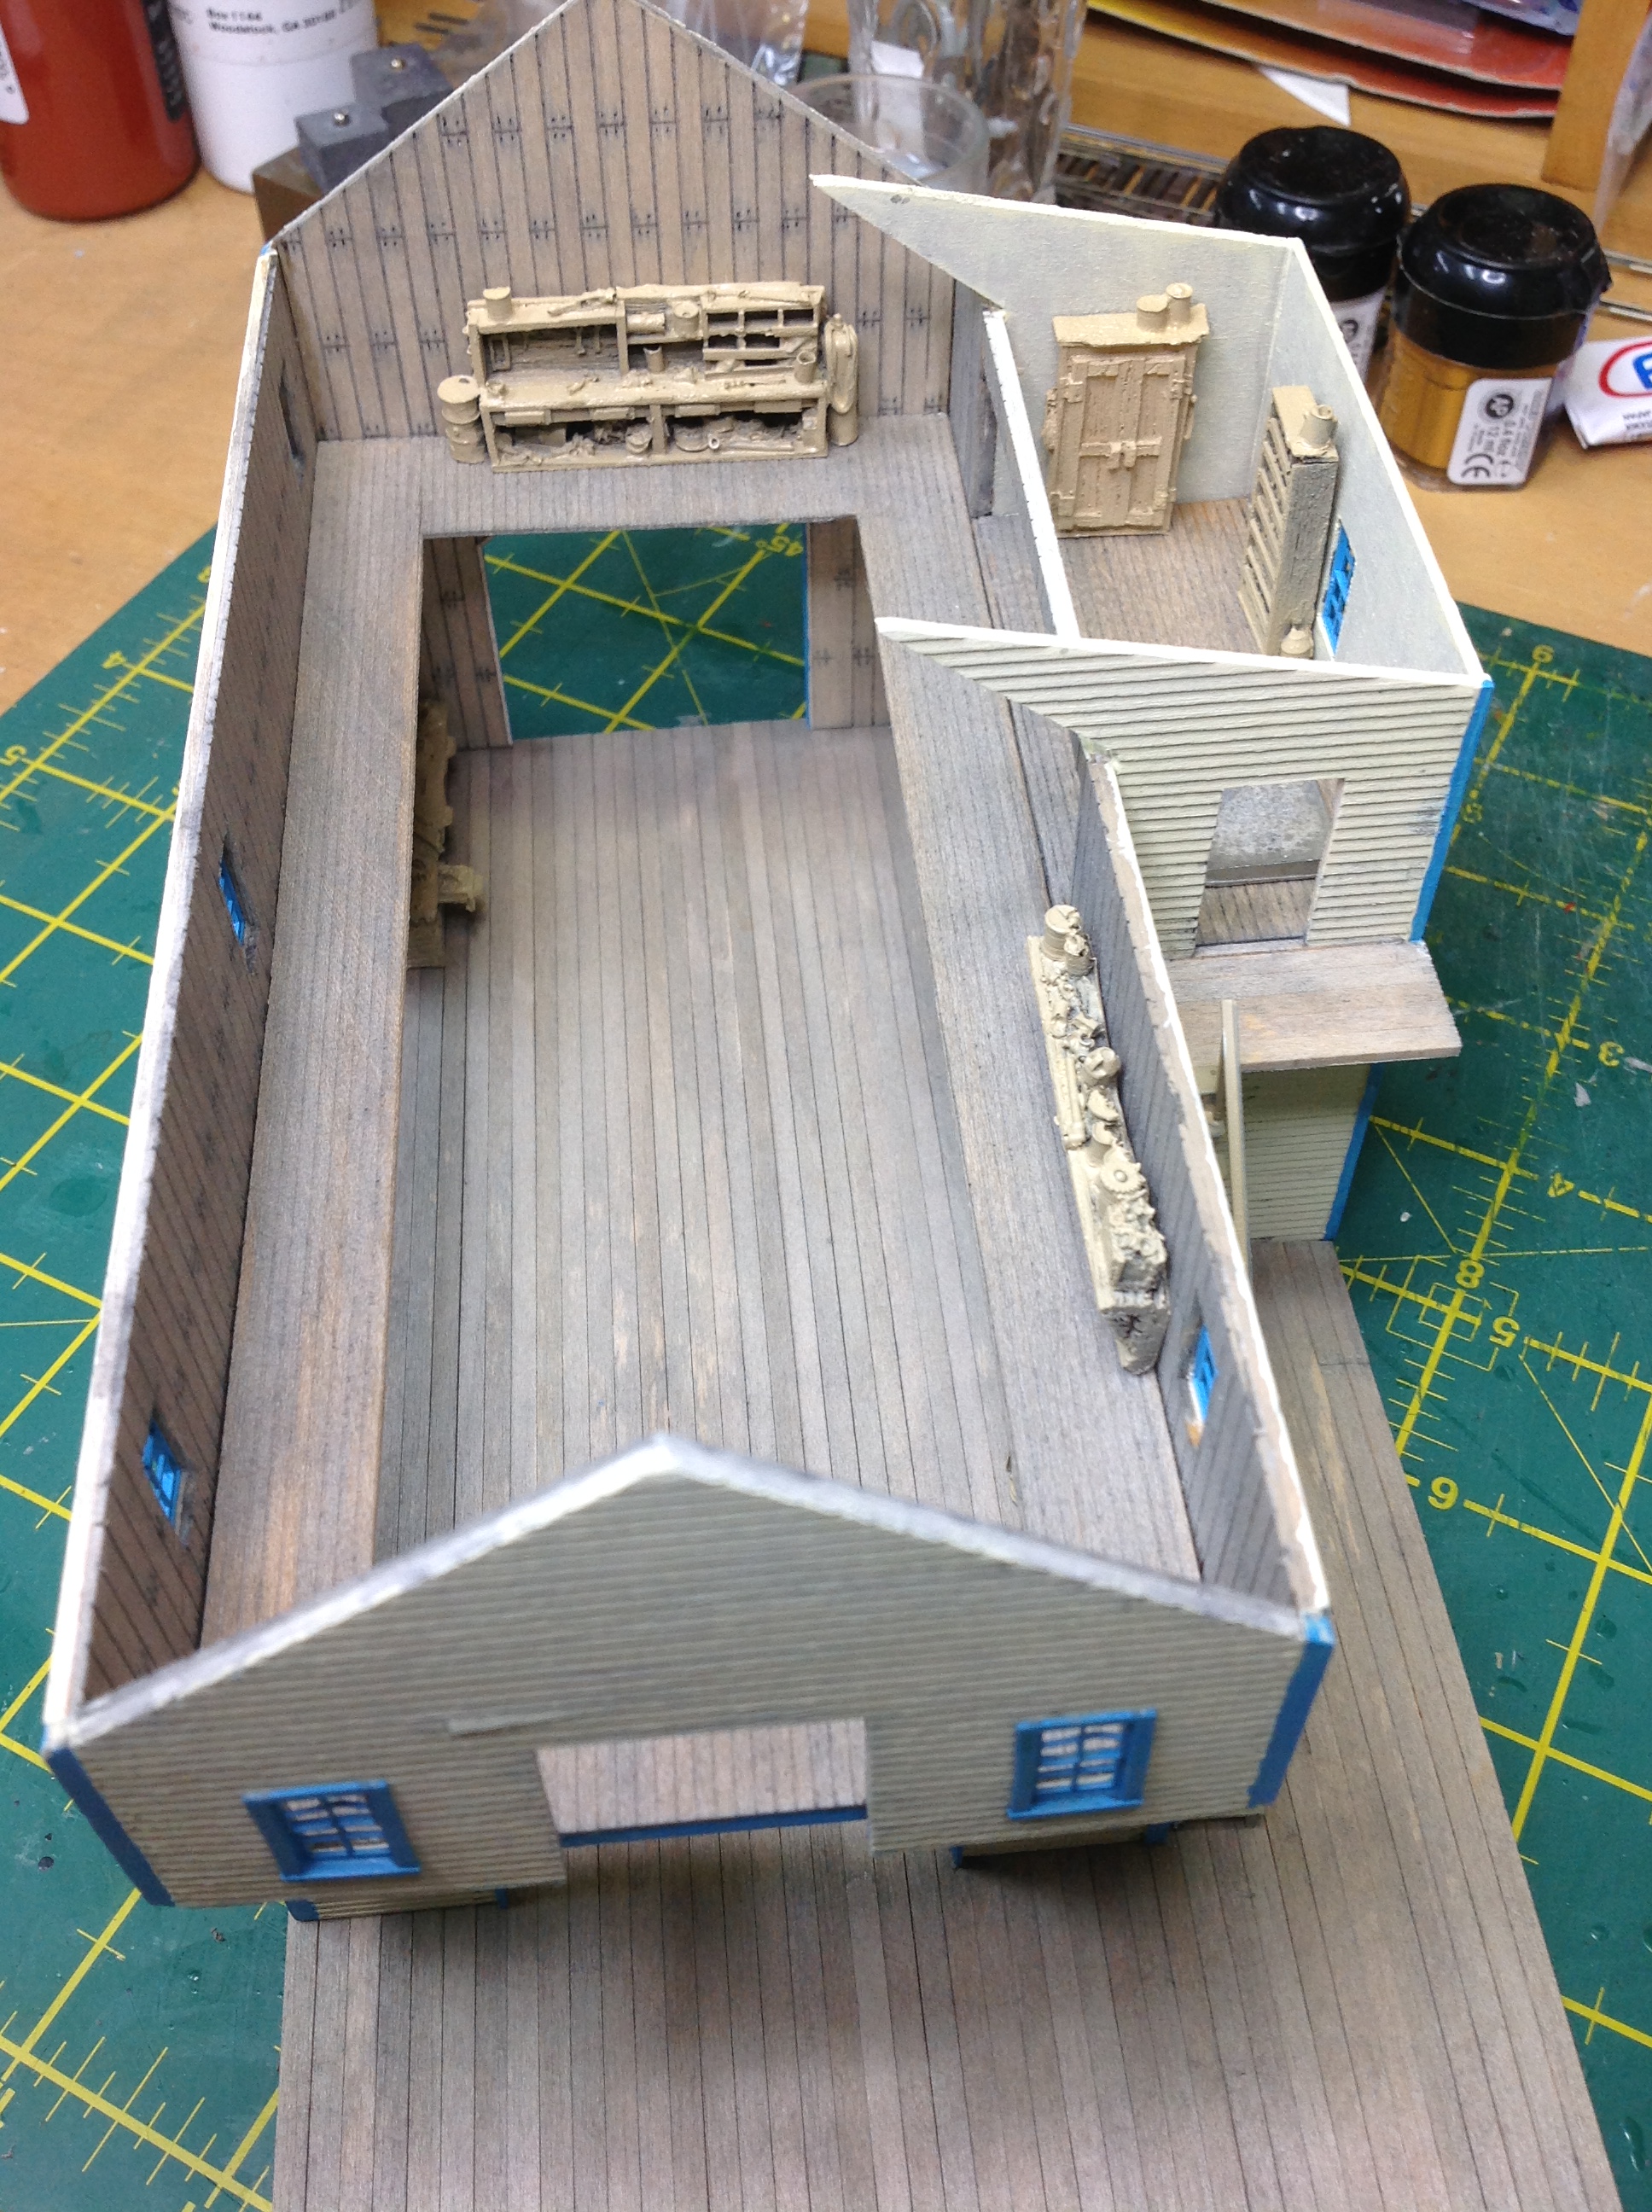
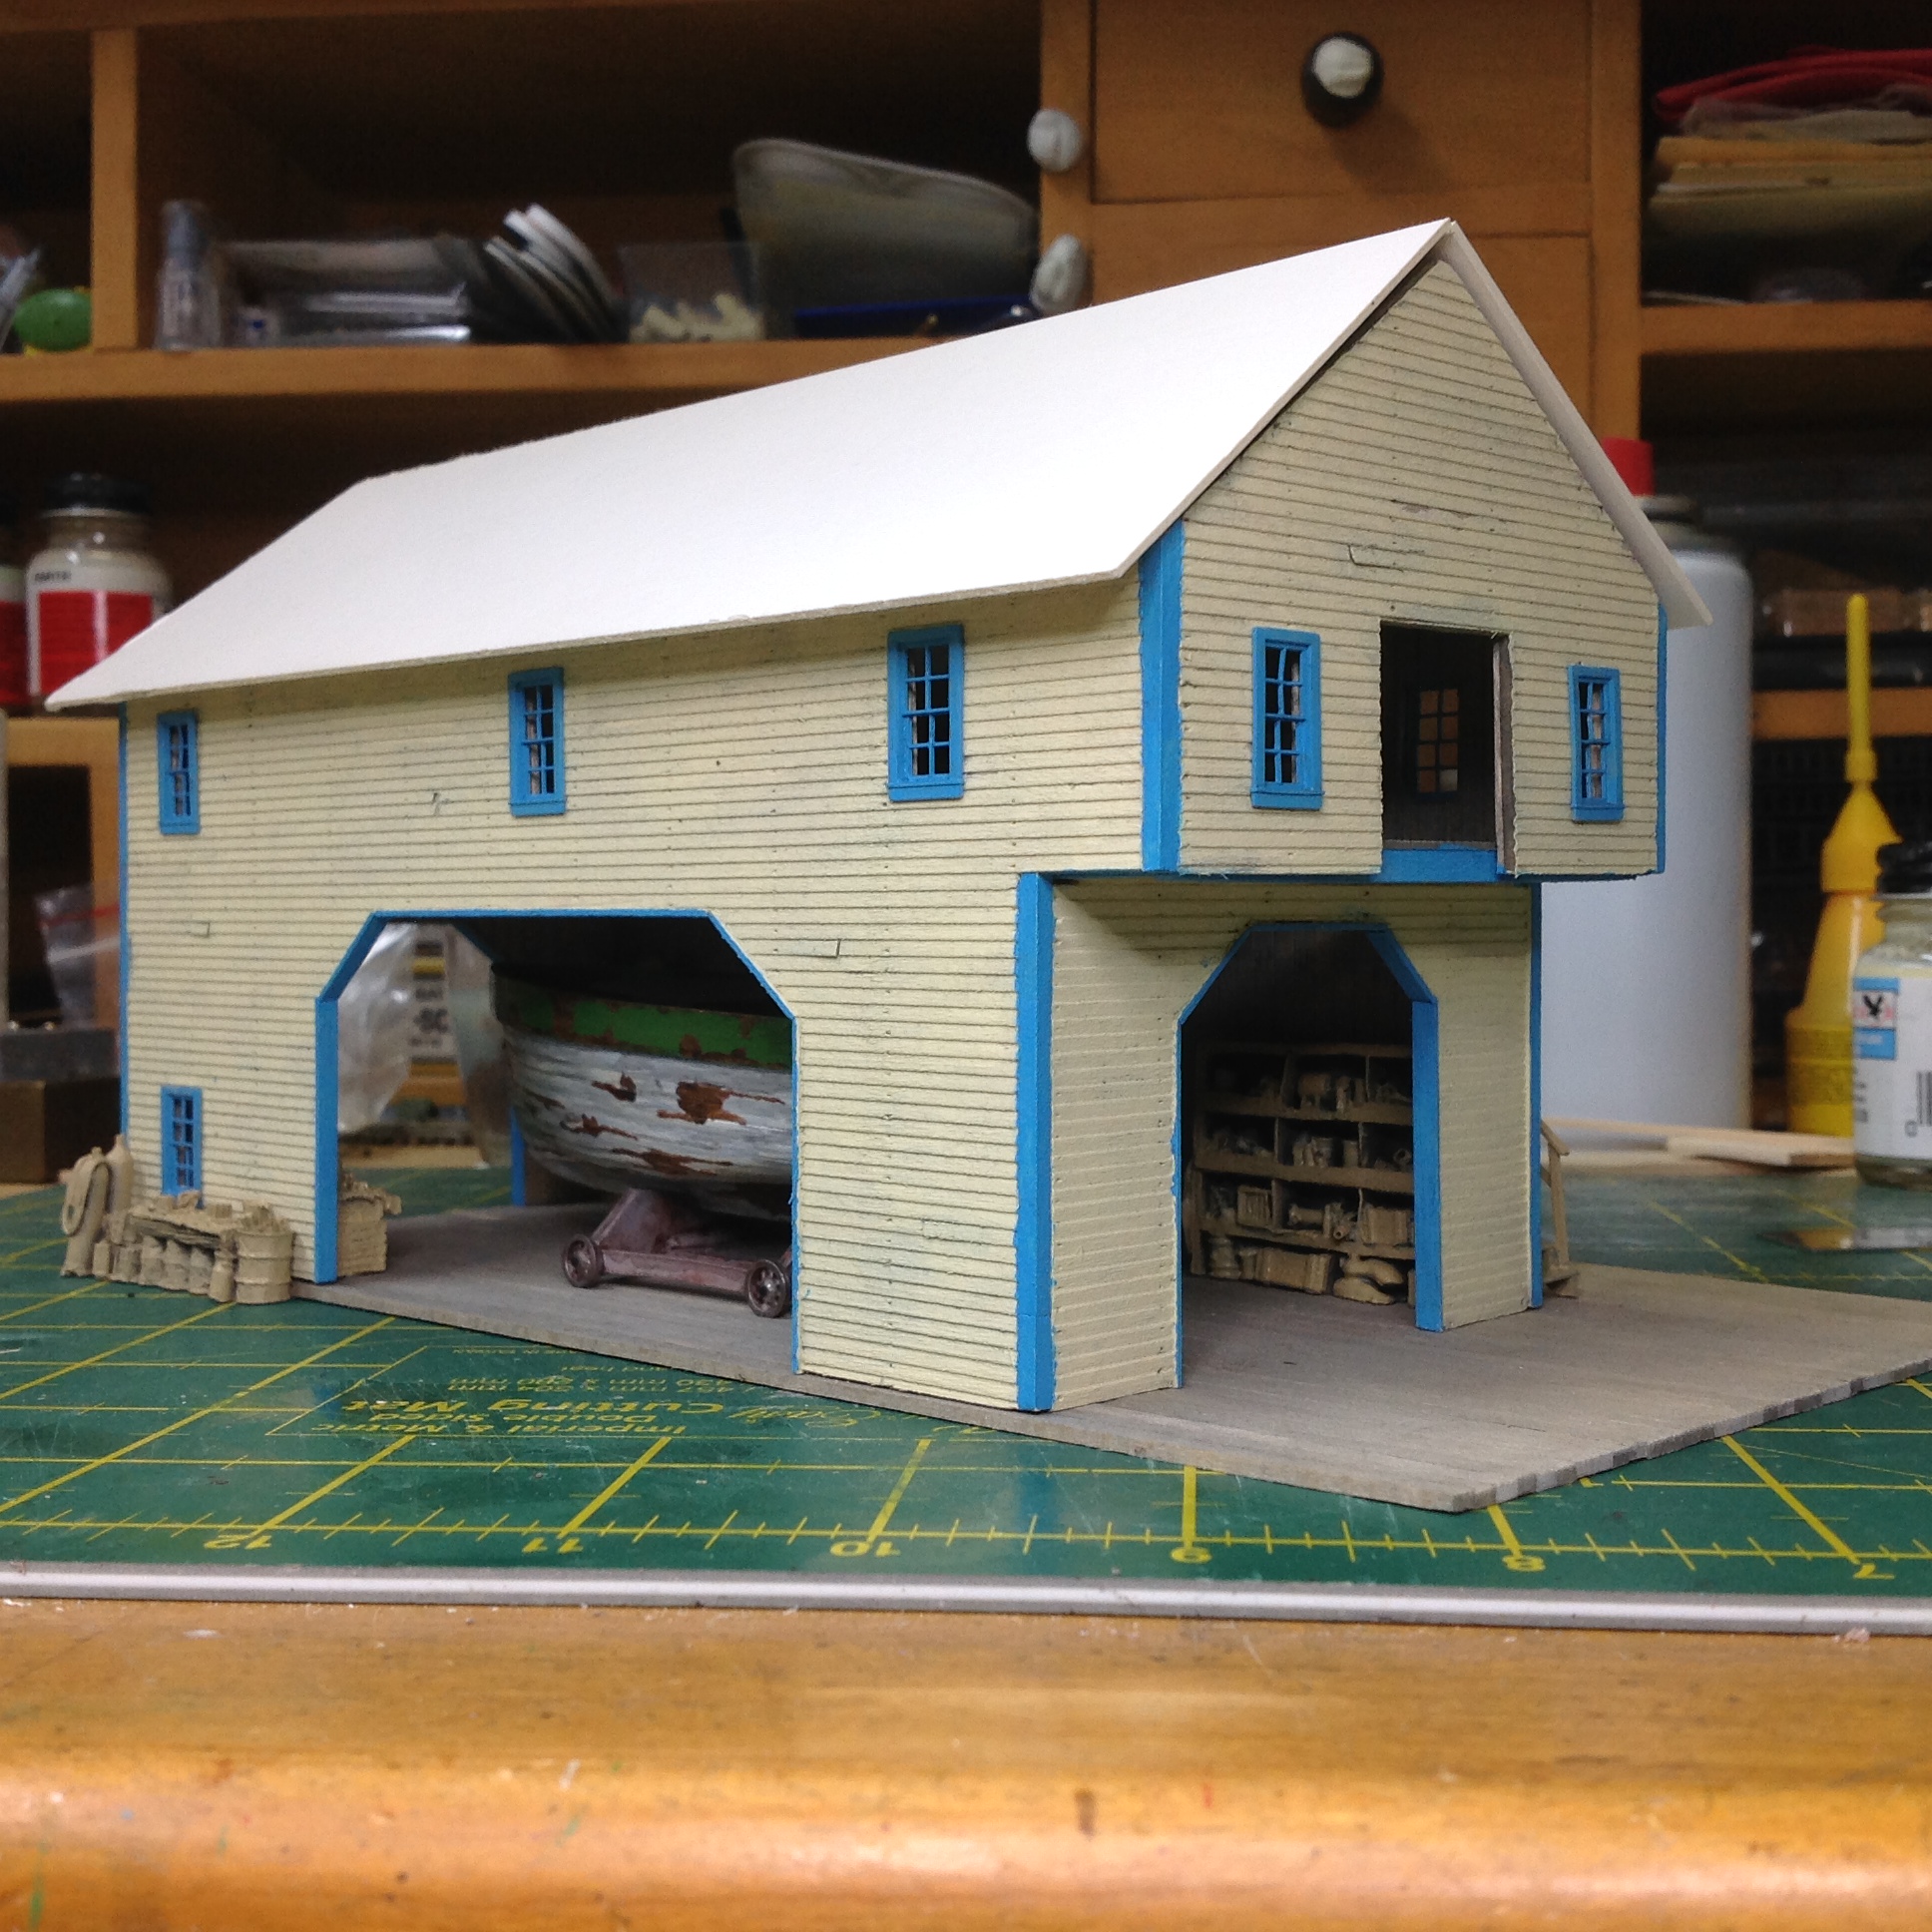
I have been busy with a new scratch built boat repair yard and will send a link to all the build so far. It is called Jacks Marine – boat builder and repairs.

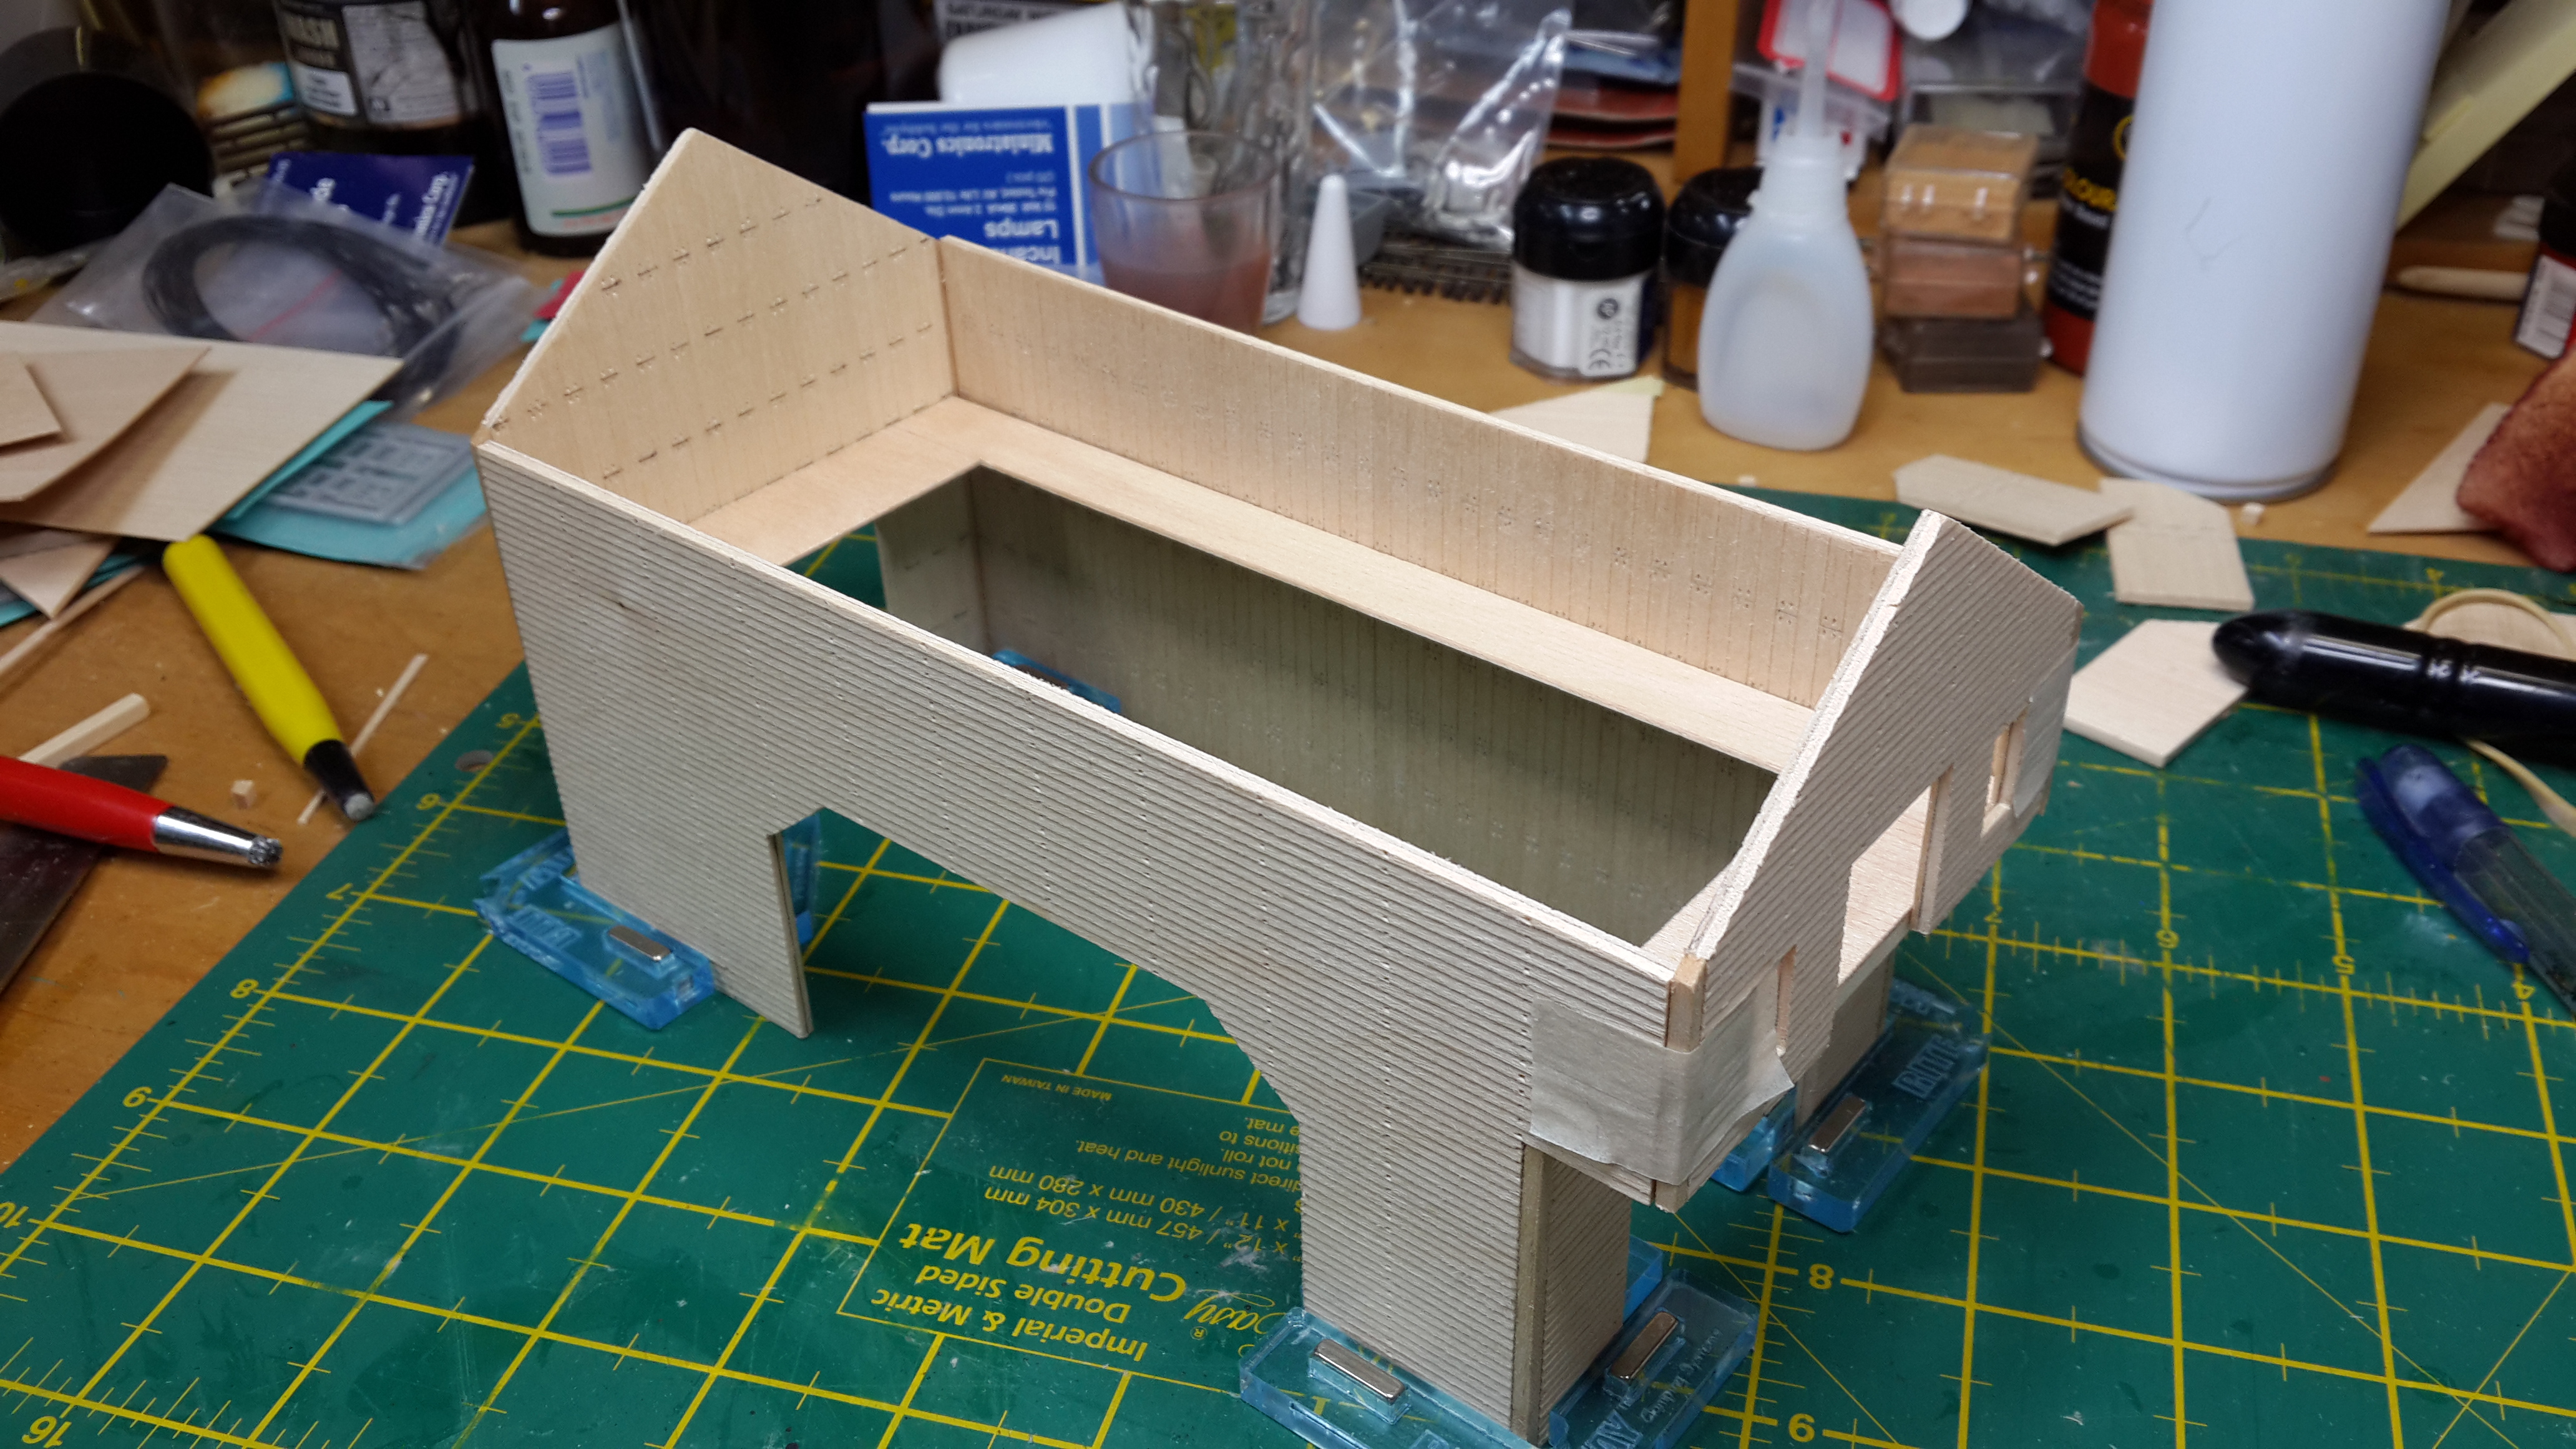
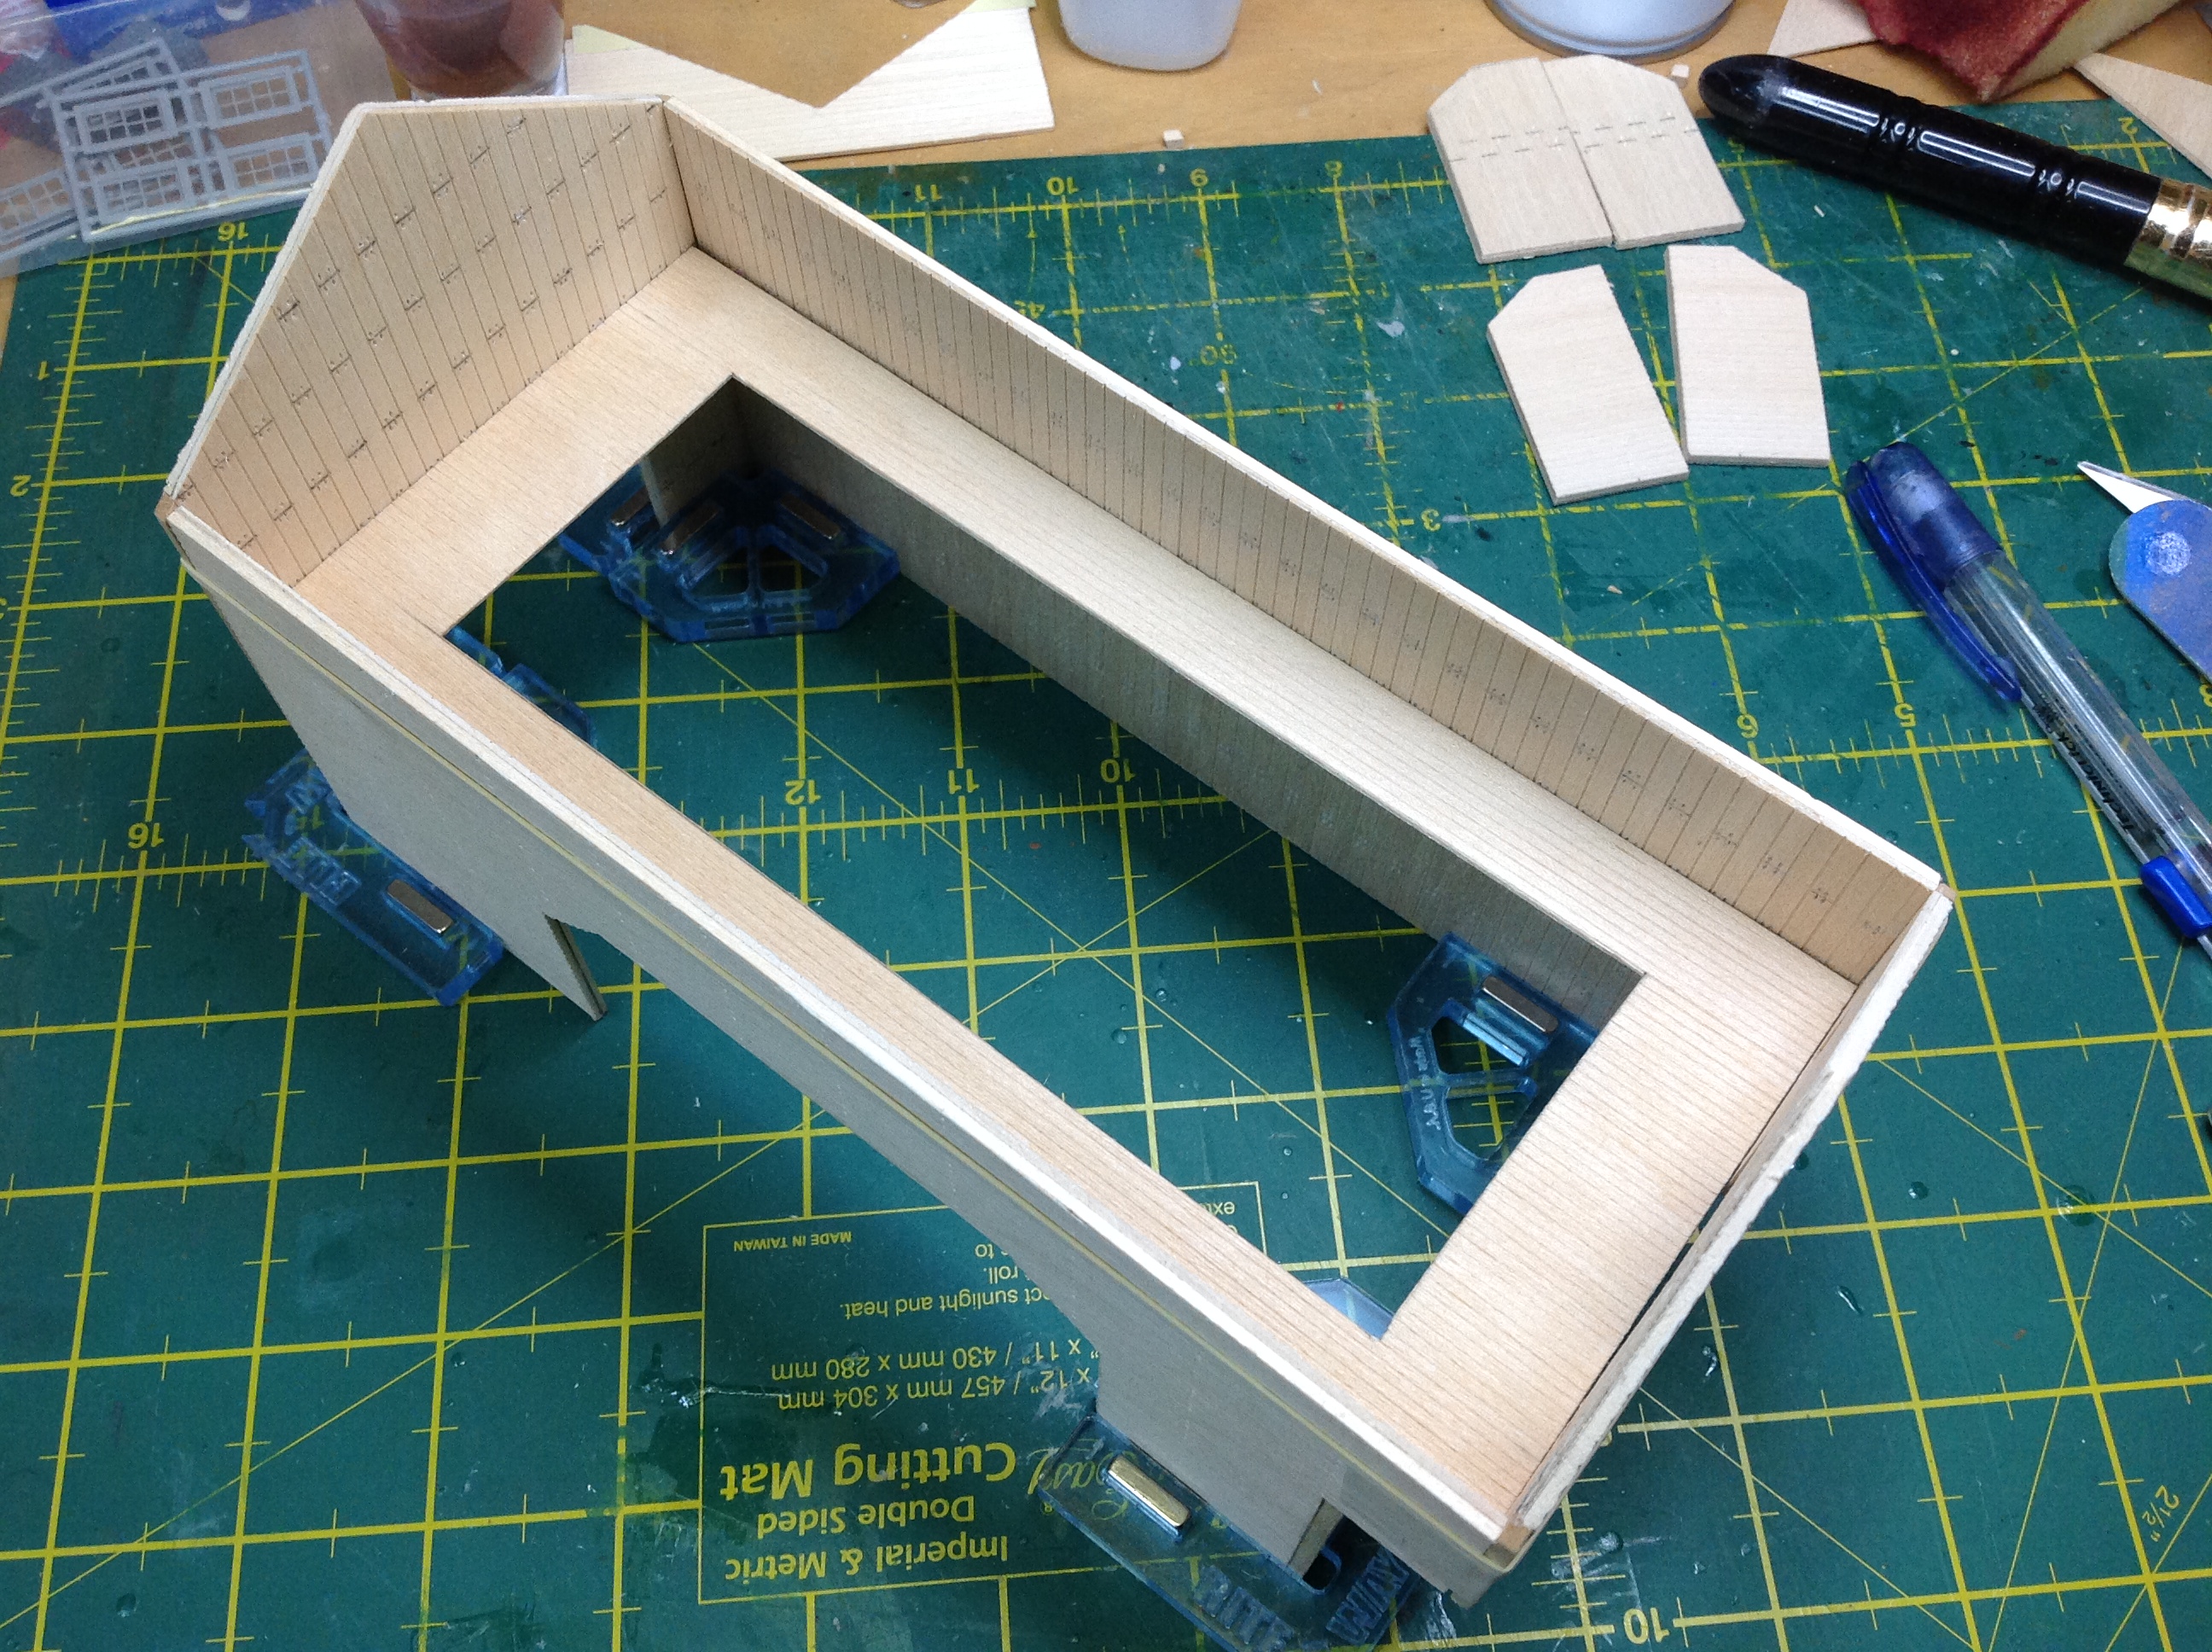
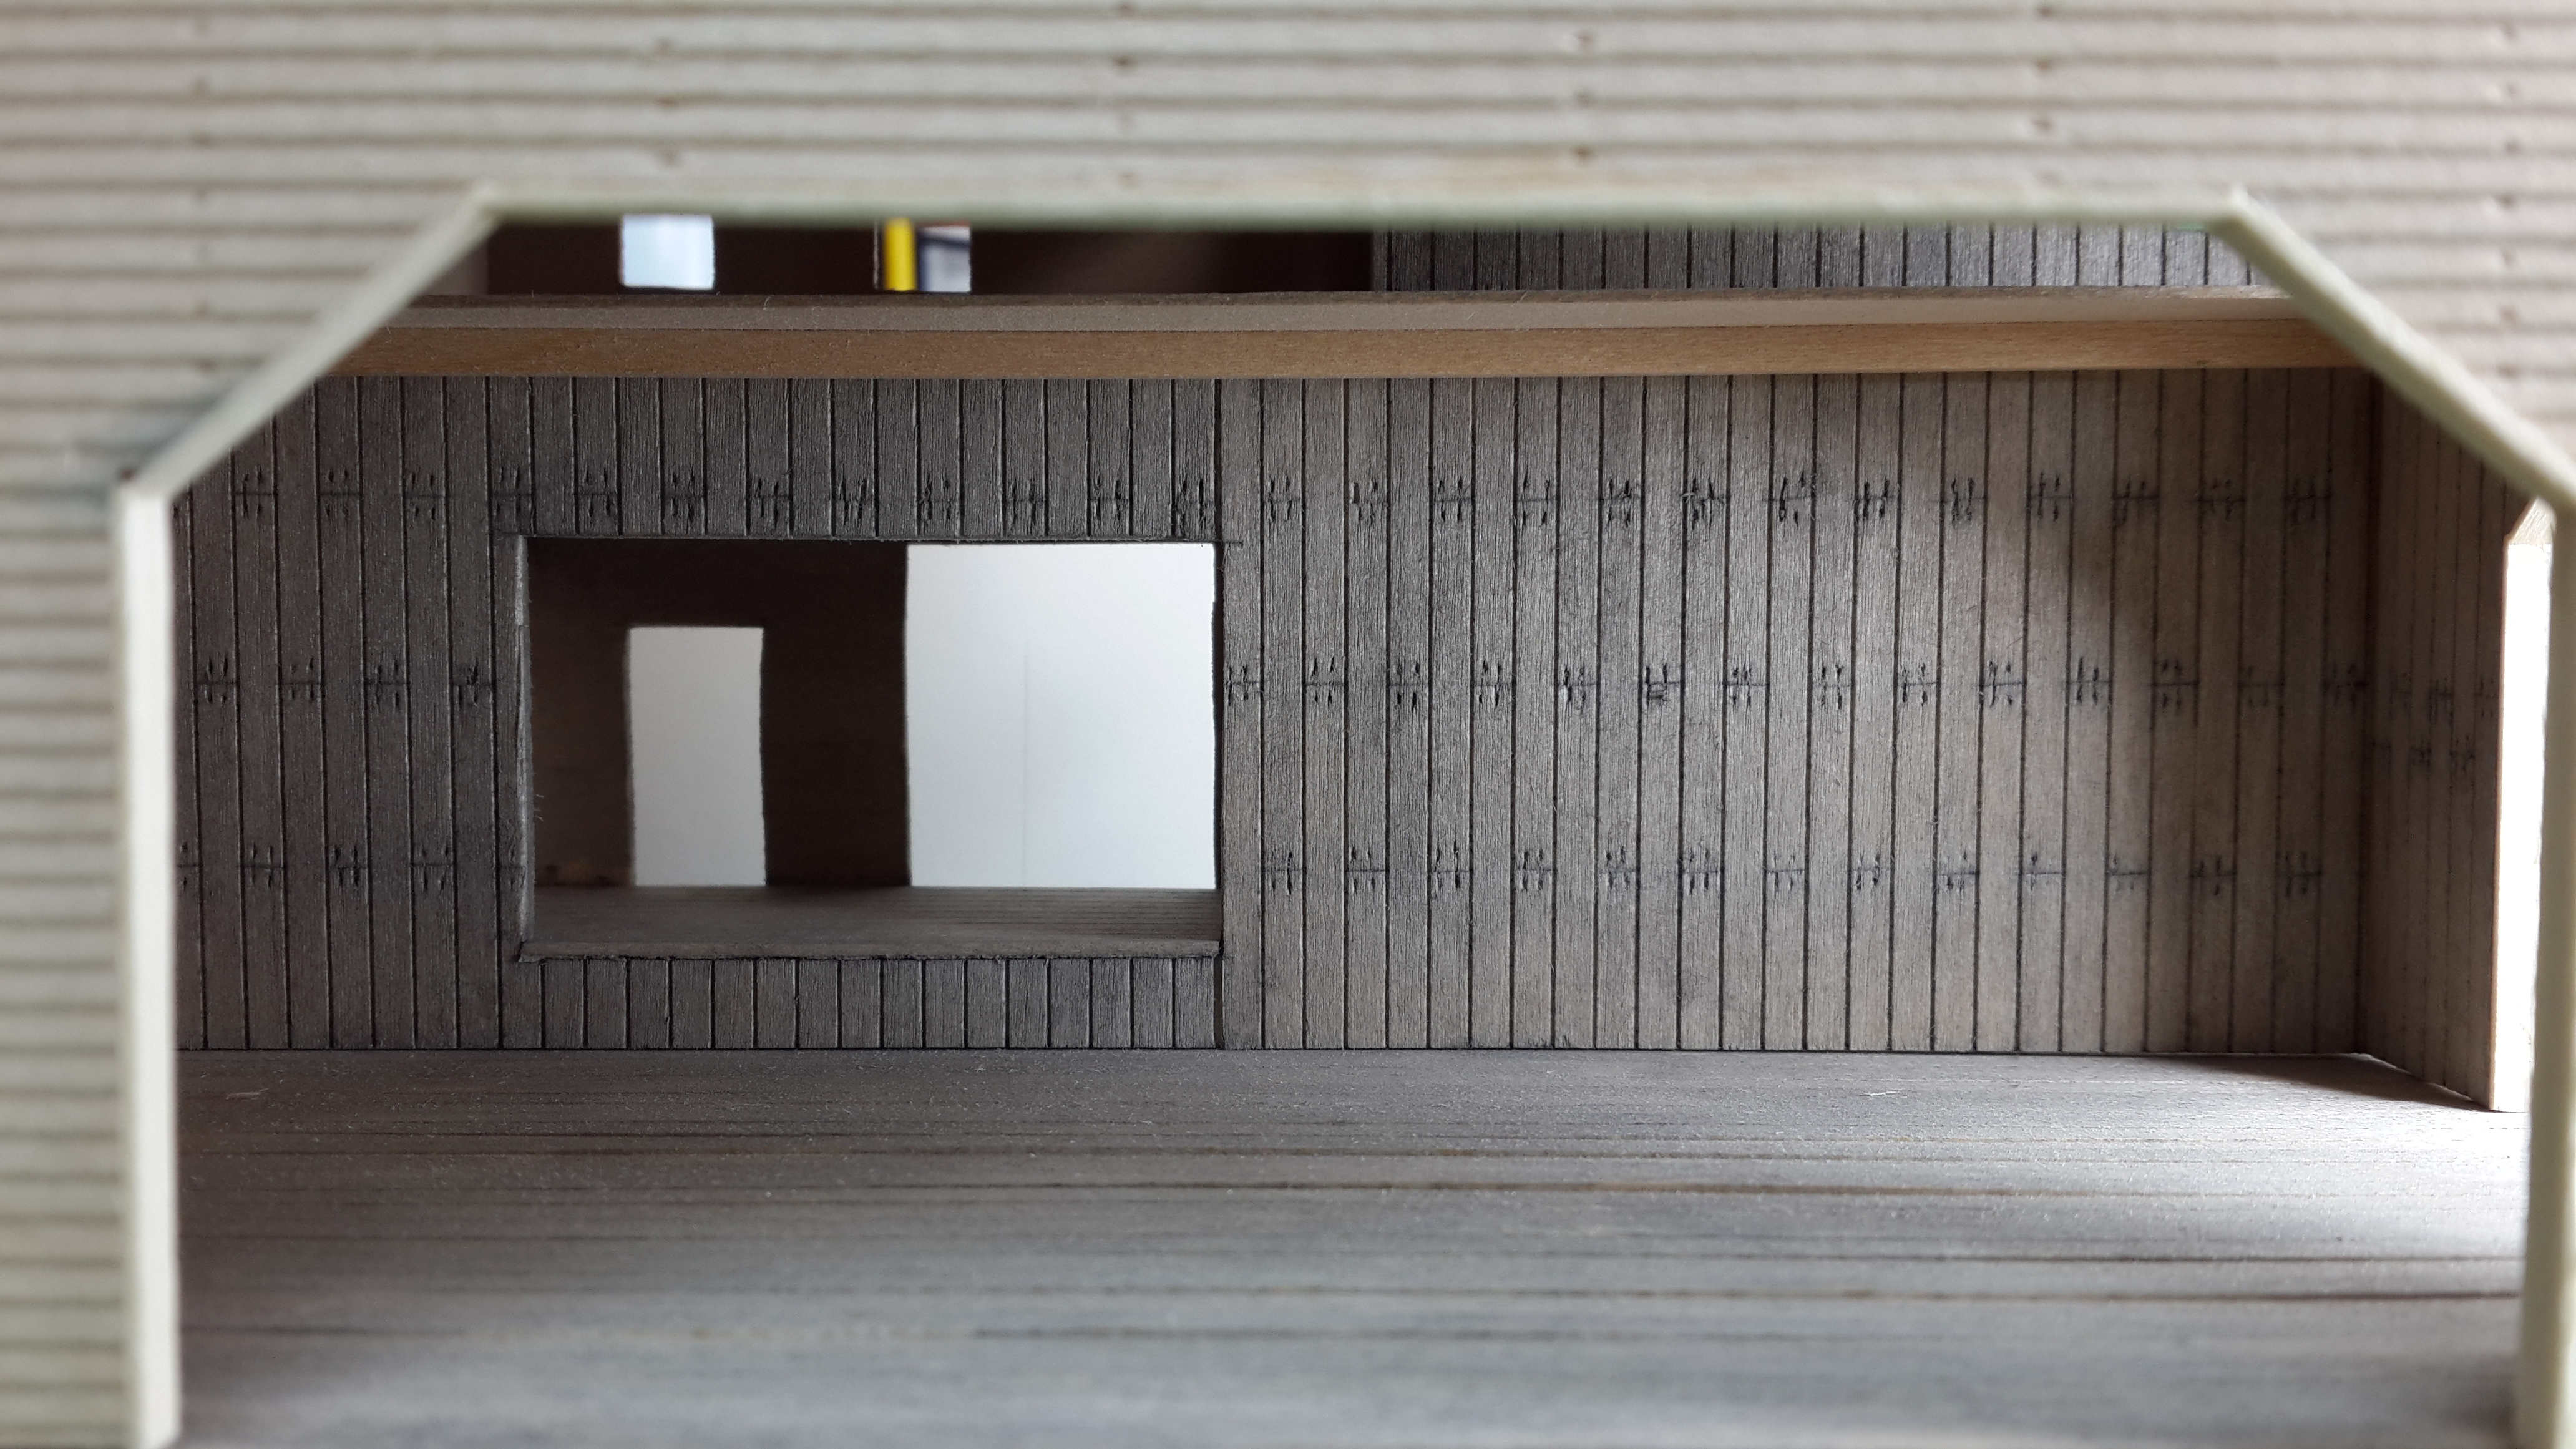
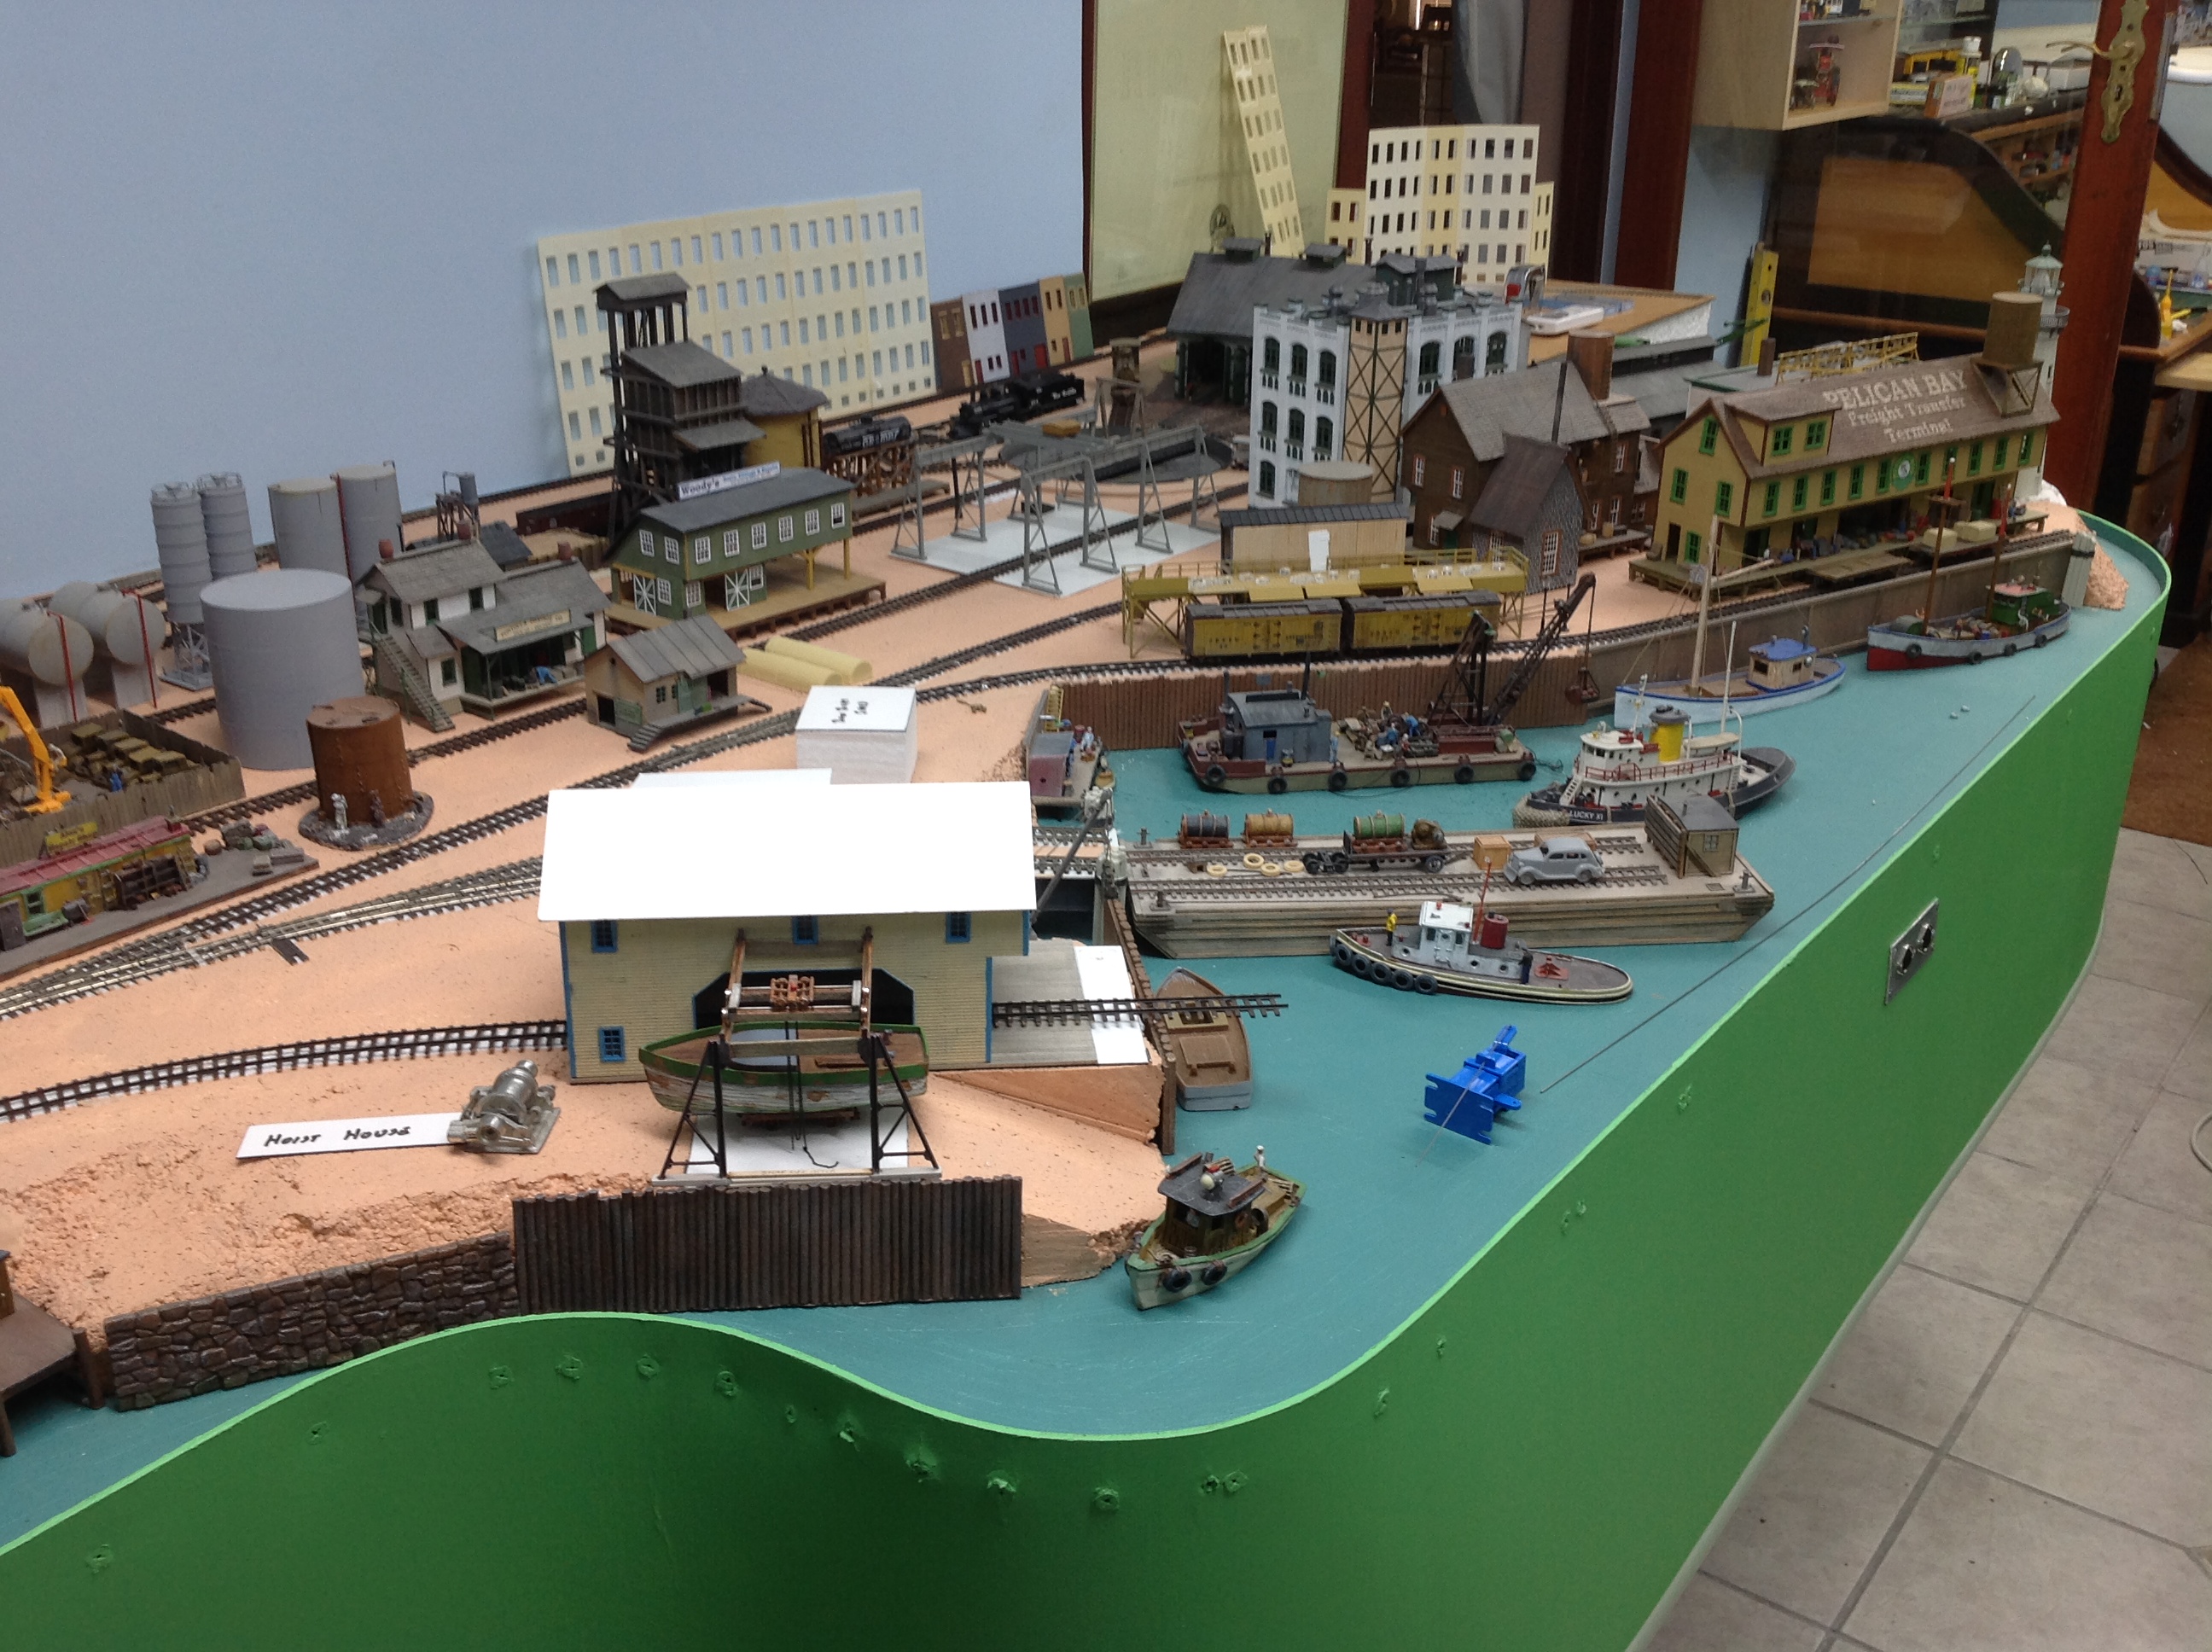
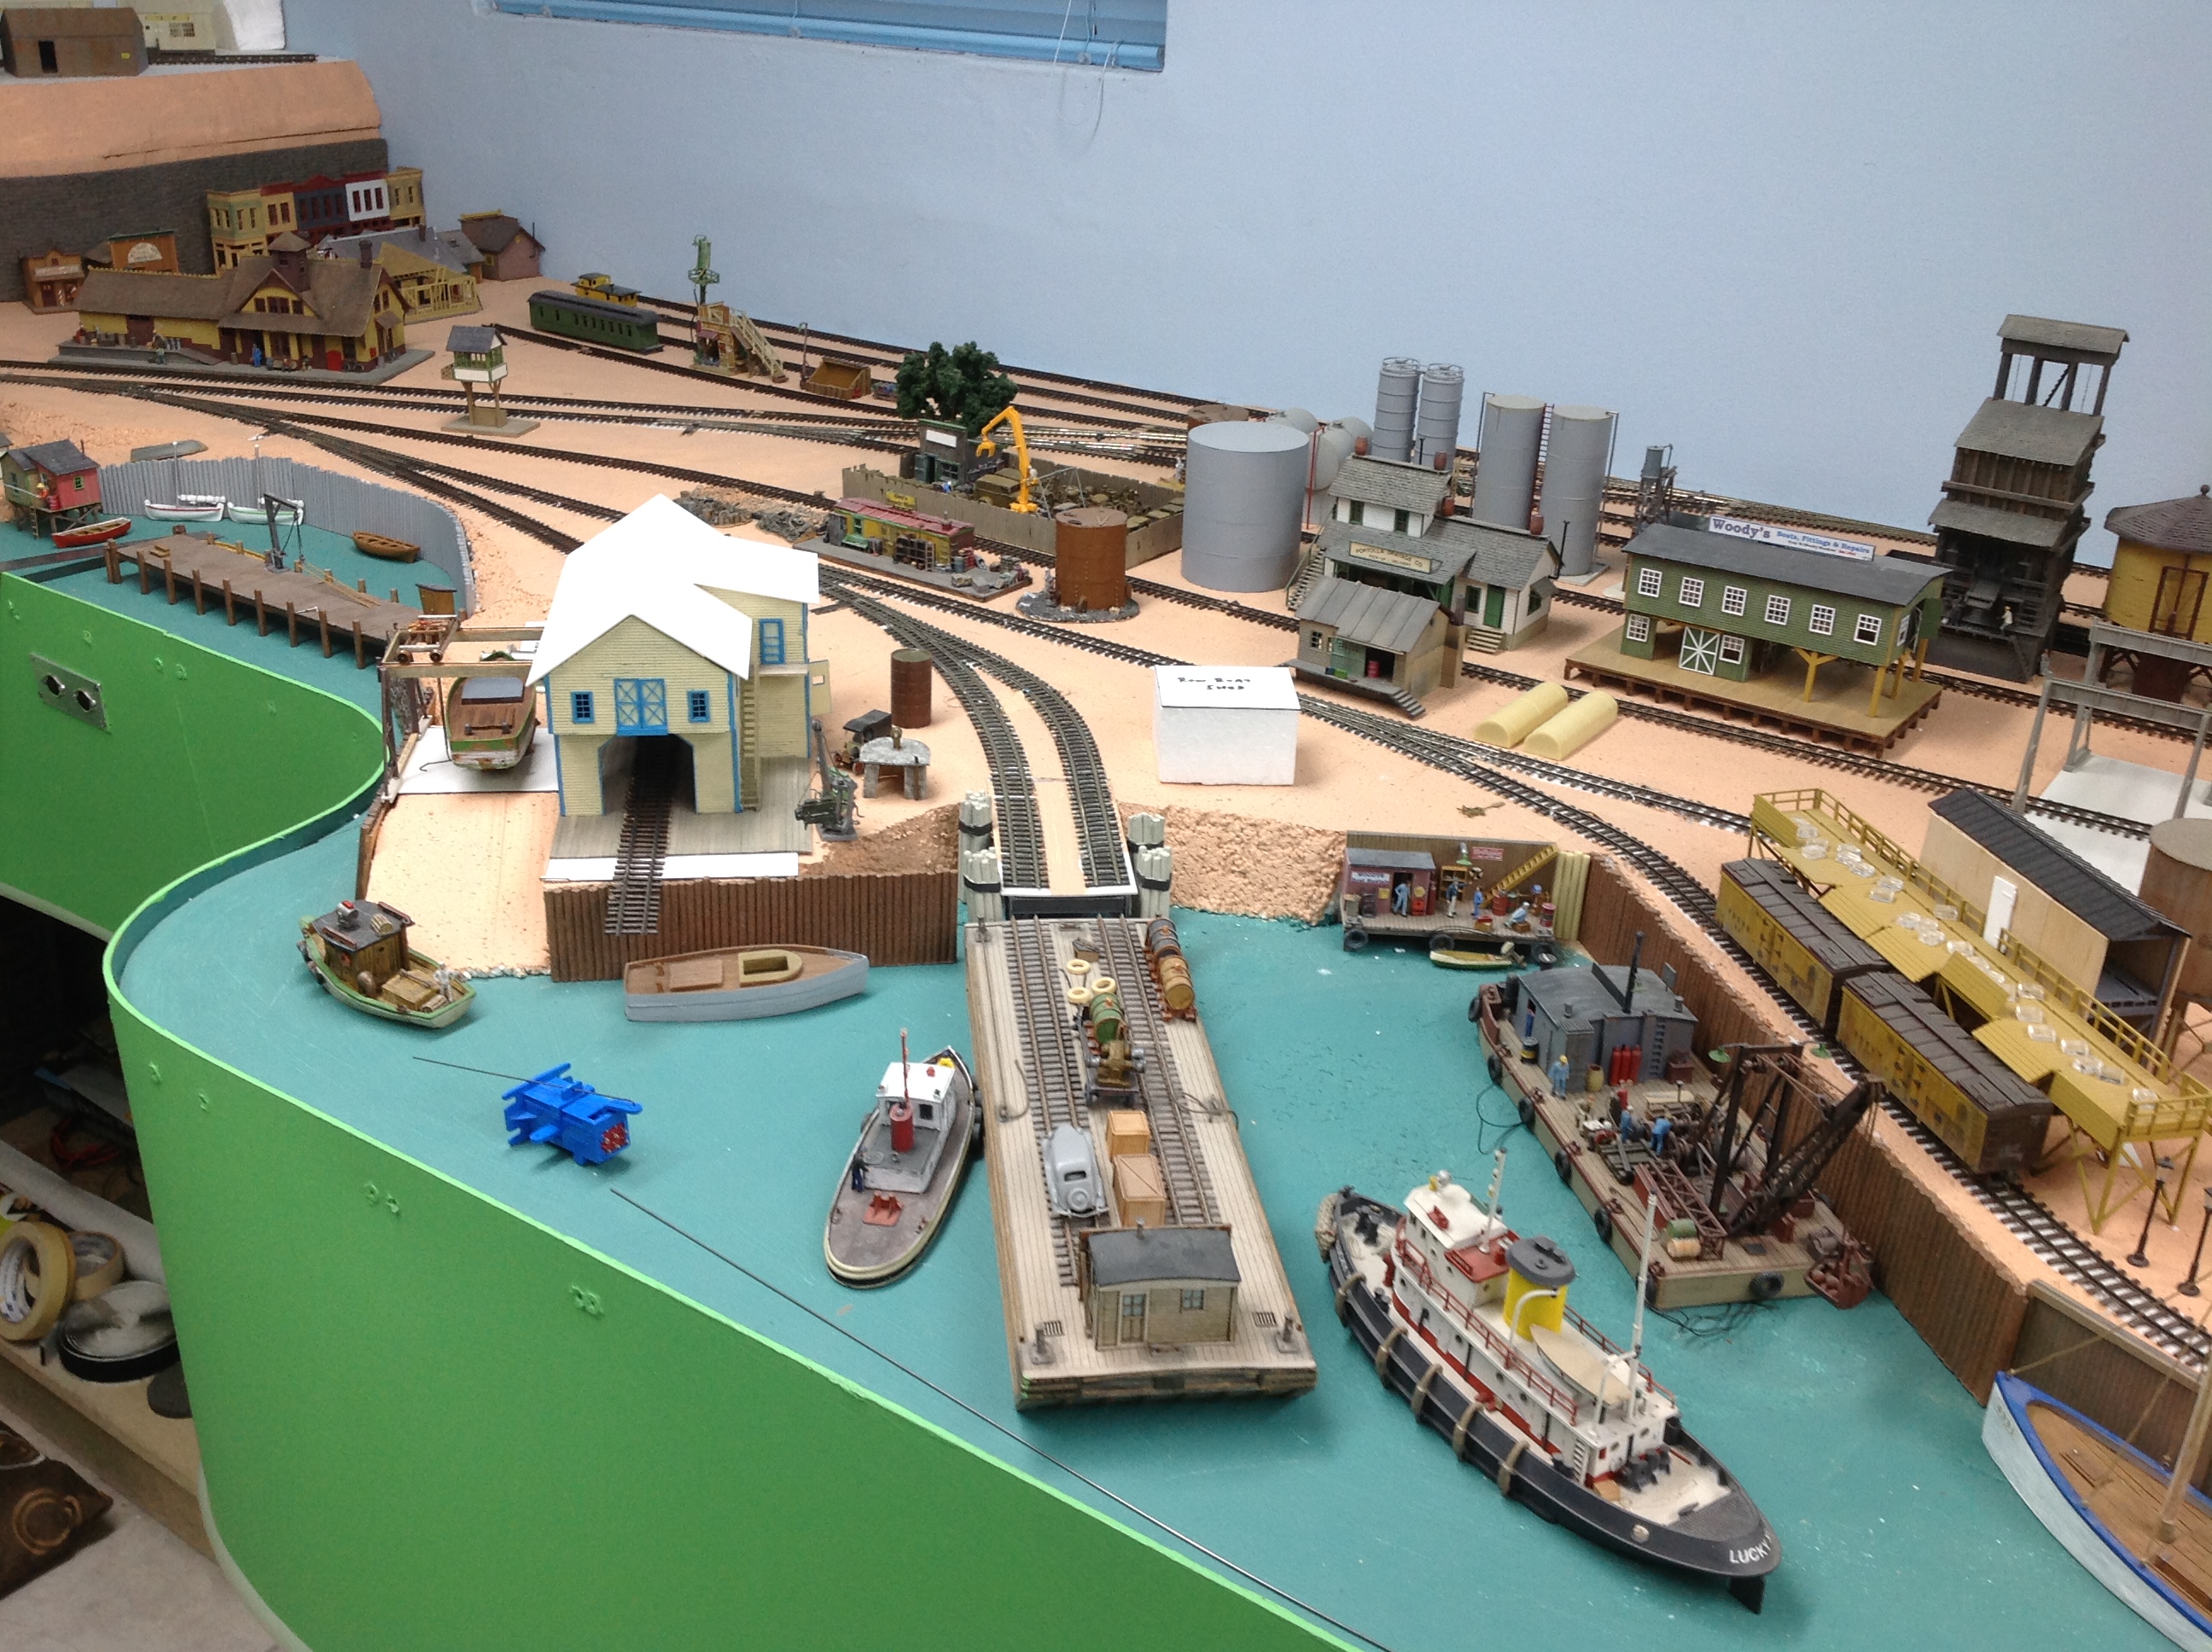
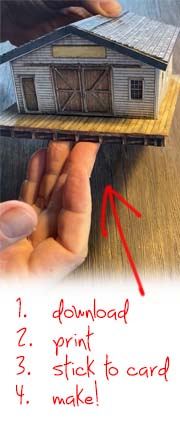
The build is a a scratch built mirror image of Shelby’s Marine (Sierra West Model Kit) The reason for the mirror image build Is to fit the area on my layout with some modifications and extra detail.

The card roof will be covered in either tar paper or shingles. Still have to make that decision as I am still busy with the interior finishes. Don’t want to rush the roof and spoil a good model.

Btw, the siding on the walls is a sandwich of vertical siding on the inside and horizontal clapboard on the outside. The sandwich is stuck together with my favorite – double sided tape as this prevents warping when painting and staining and makes a very sturdy wall.

Keep ’em’ coming.

Cheers.

Brian”


I enjoyed seeing how Brian creates his buildings. It’s a stunning layout in the making (his last post is here). Can’t wait for his next installment.

That’s all this time, peeps.

Please do keep them coming – just hit reply to any of my mails to get in touch.

And if today is the day you get started on your layout, the Beginner’s Guide is here.

Best

Al

PS Latest ebay cheat sheet is here.


Alan adds a fiddleyard

Alan’s been very igenious with adding another fiddleyard:

“Hi Al,

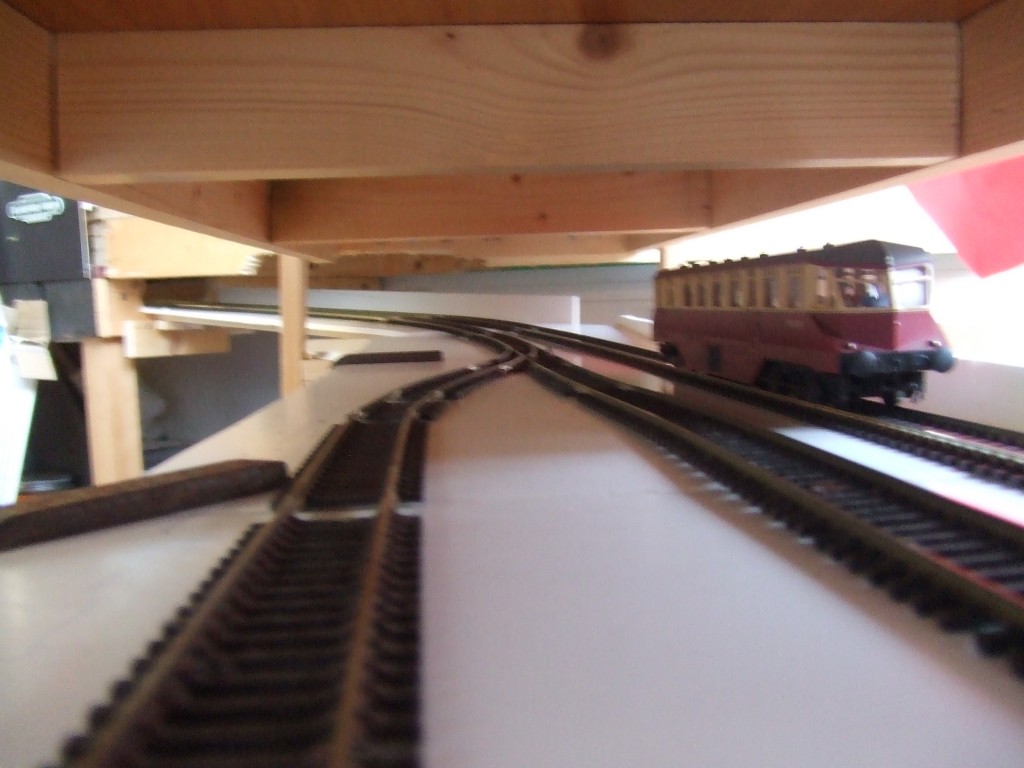
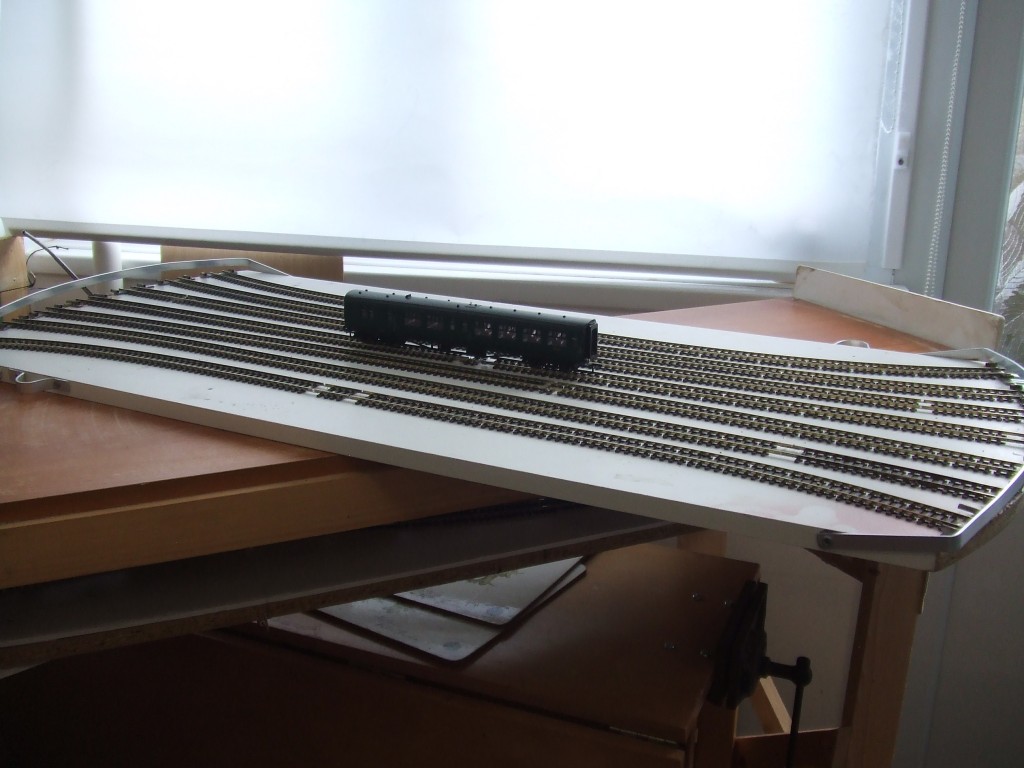
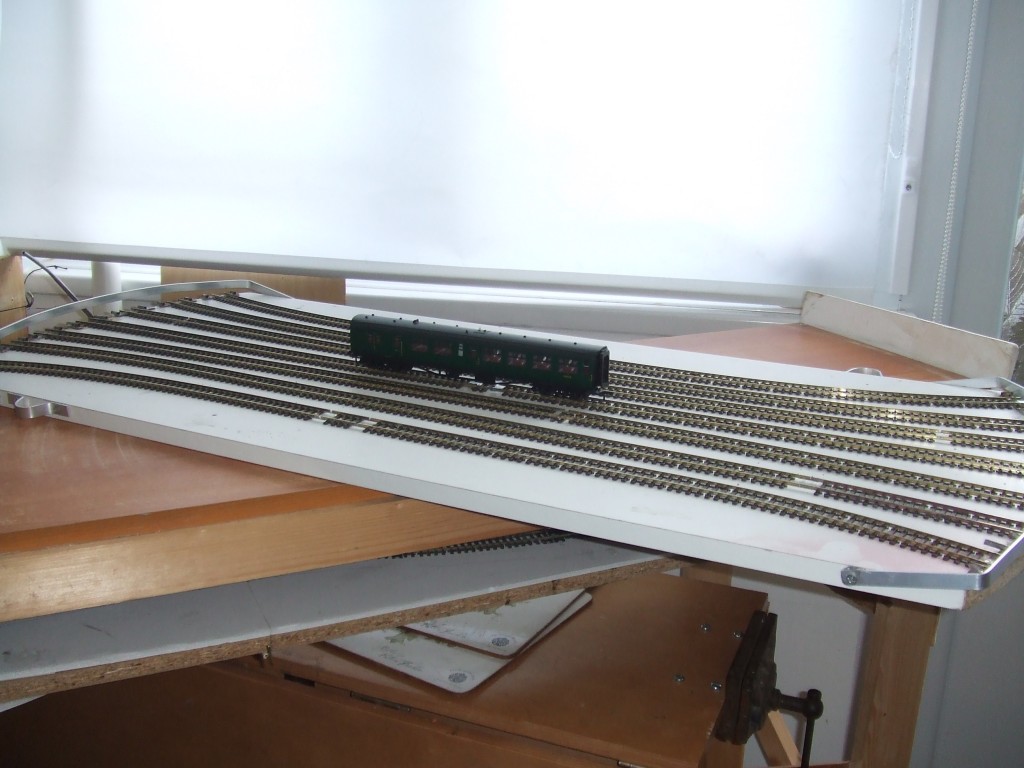
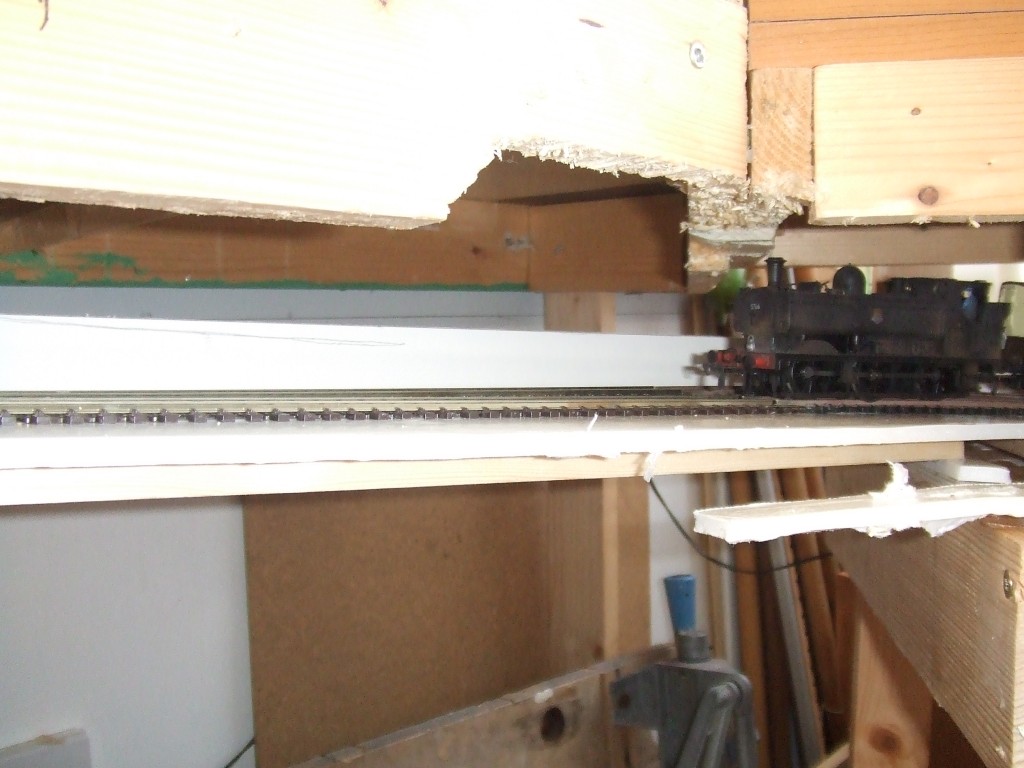
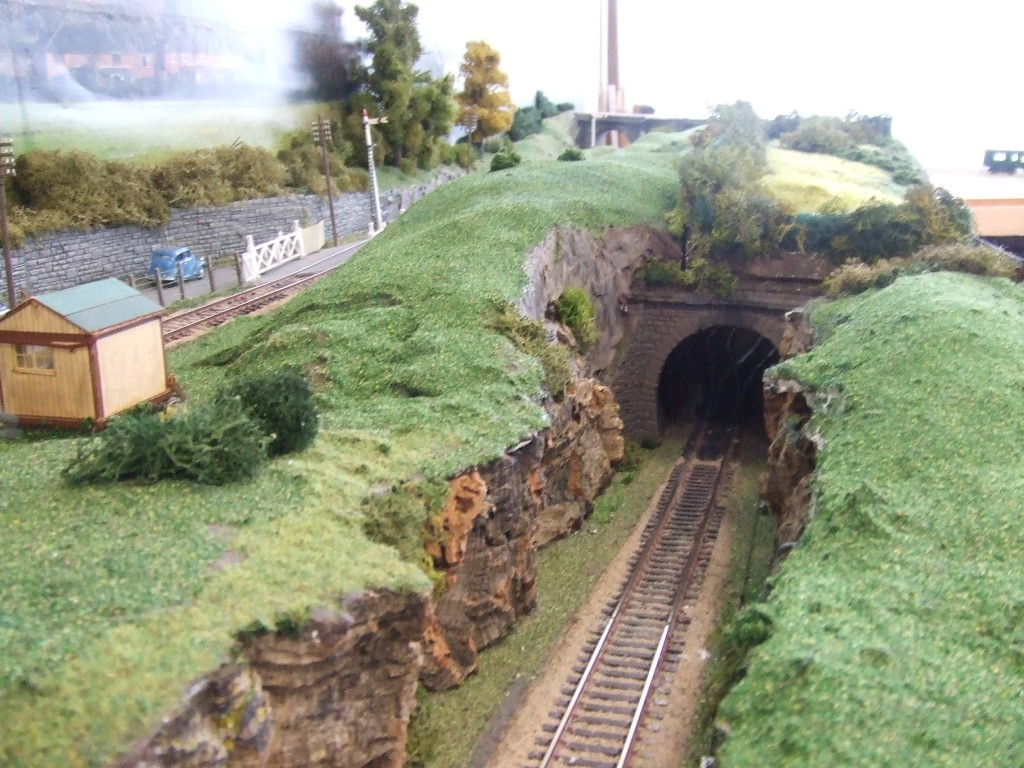
I seem to have too much stock, so my turntable fiddleyard is overflowing. So what to do? Well on the secondary branch of my layout there is a short tunnel which is a dead end.

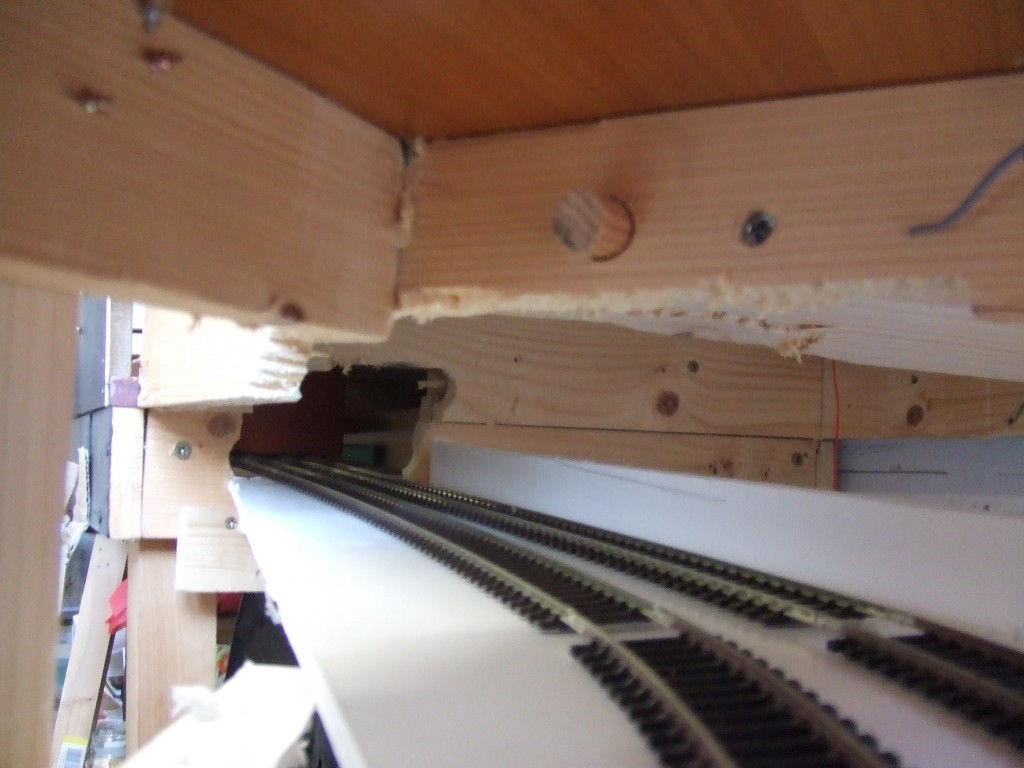
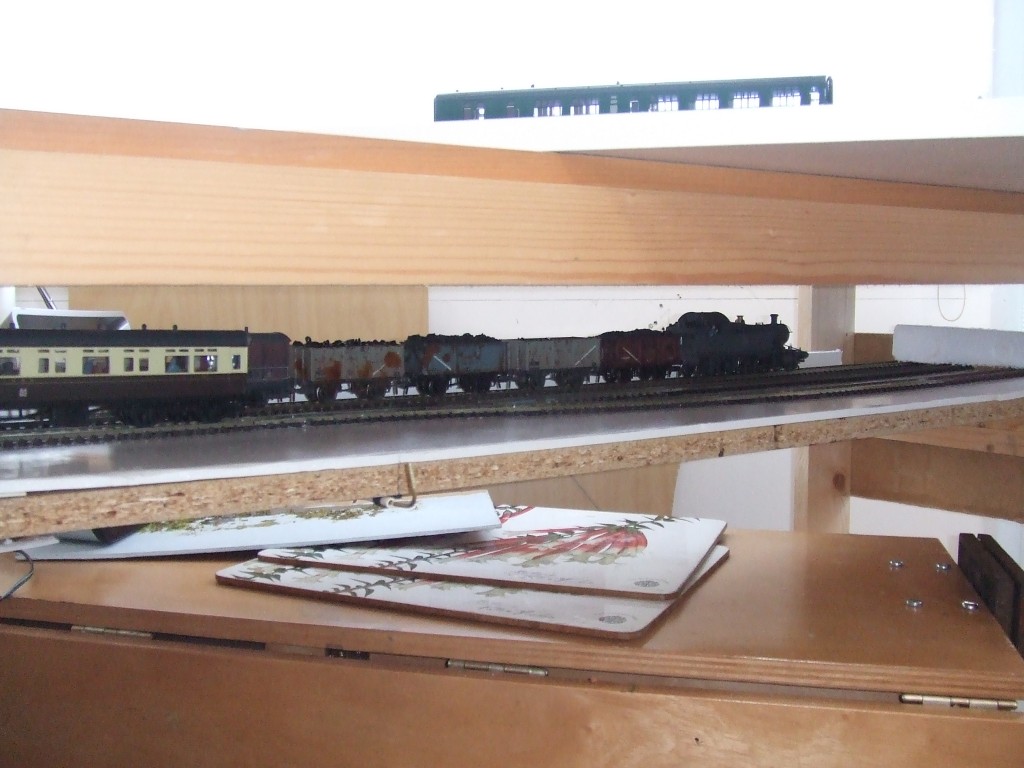
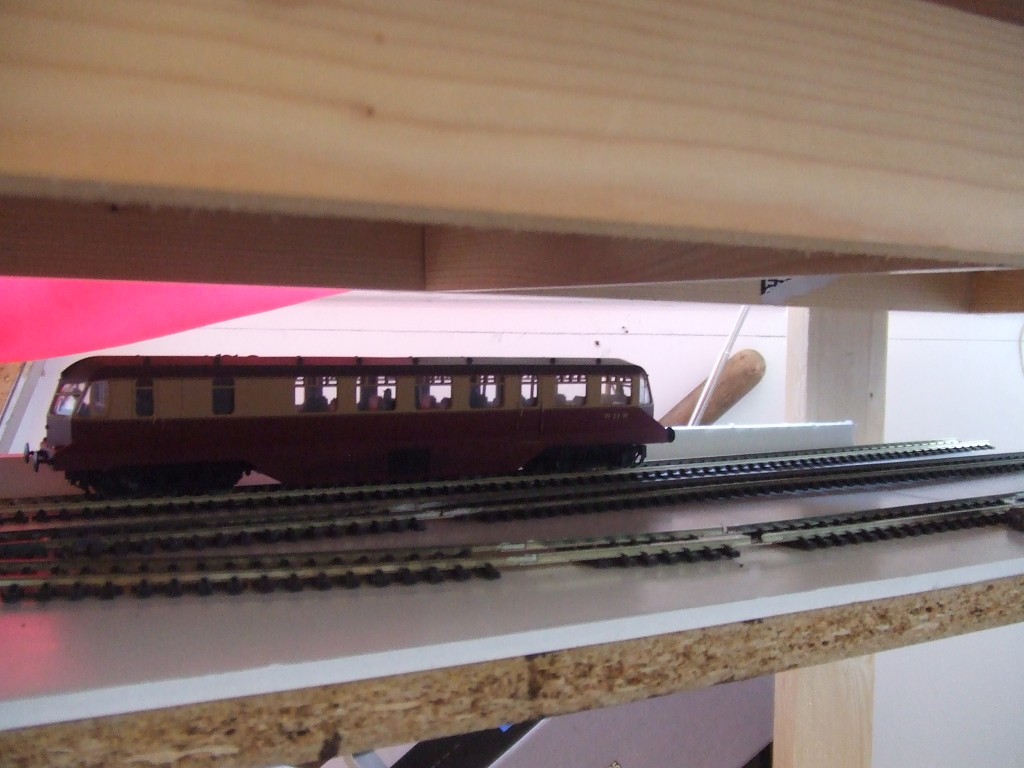
Immediately inside there is a point dividing into two short tracks which can accomodate a diesel railcar and an auto train. So what if I open up the other end of the tunnel and create a second lower level fiddleyard?

Well that is what I did, and although not completely finished I thought you might find the pictures of interest. I had to move all the stock to the other end of the layout, hence the empty turntable. There is quite a steep incline to the lower yard so only short trains could be used, but there are 3 longer storage roads.

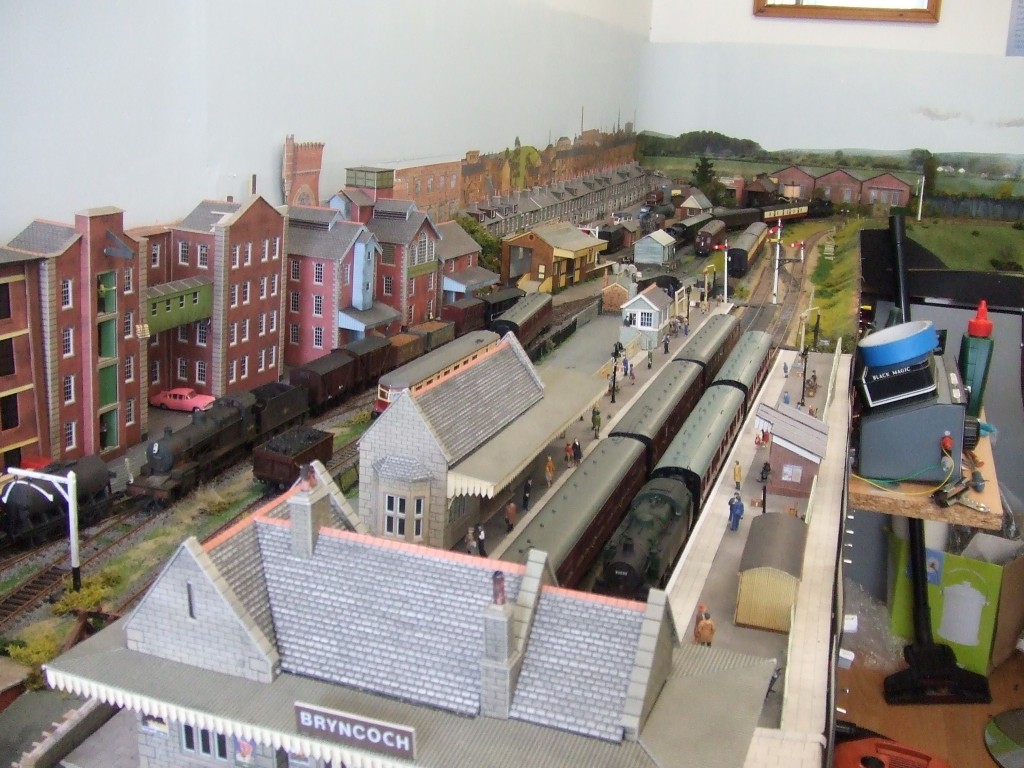
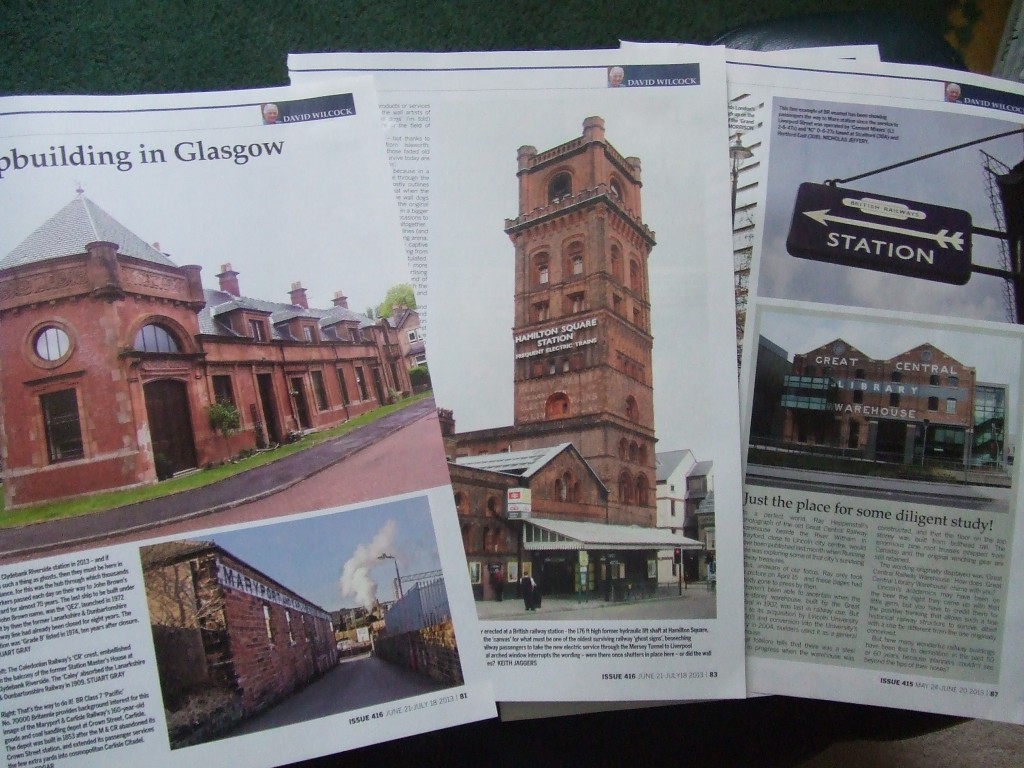
Another thing I would like to mention is that sometimes steam railway magazines feature old railway buildings and some of the pictures would make excellent additions to backscenes, see photo. I have used one myself but I cut out any that may come in useful in the future.

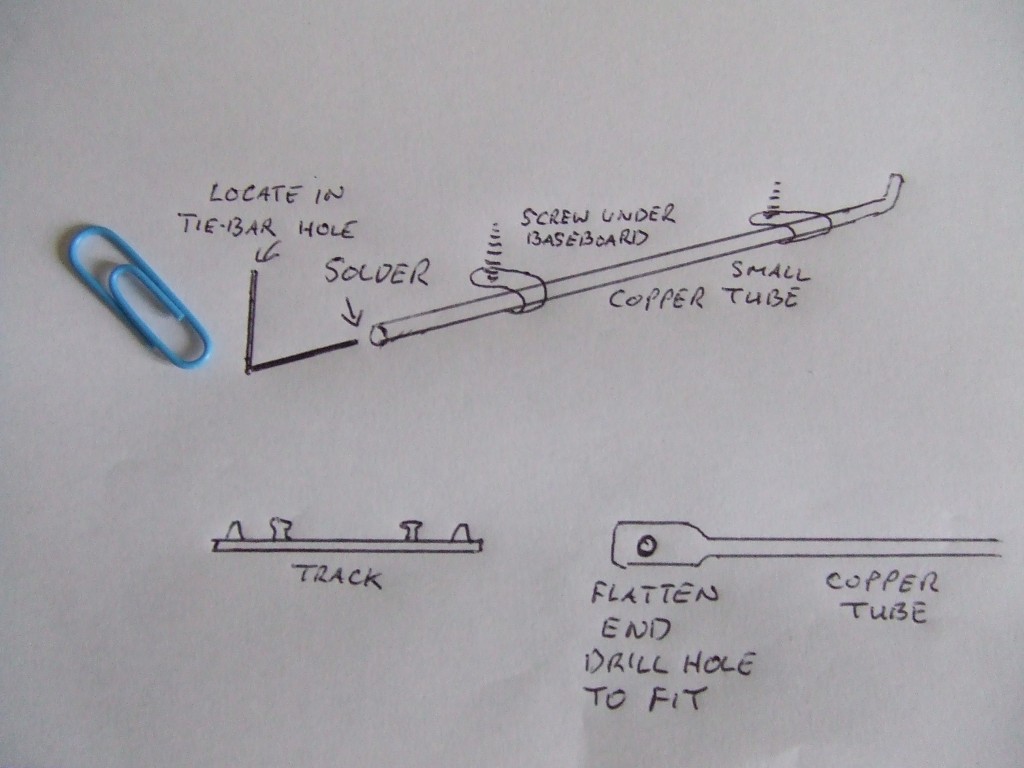
Lastly, I do prefer manually operated points. Electric ones are sometimes necessary and indeed I have several, but if possible I try to operate them manually. If a problem arises, is it the motor, the switch or the wireing? If it’s mechanical, you can see the problem. The last picture shows two methods I use.

The first is if you can use the hole in the tie bar where the motor arm would fit. I sometimes use a straightened out paper clip then bend to an L shape after cutting to length. I solder that into the end of a small copper tube, which is then secured to the underside of the baseboard using P clips or even a chock block (electric junc connector)

The second method is if for some reason you cannot access the tie bar hole. Flatten the end of a copper tube & drill a hole to fit over the lug on the tie bar. If it’s possible to place the tube on the surface (you can disguise it by various means), then it’s easily secured by P clips. But if it has to go underneath it’s a little more involved. It may be necessary to join 2 tubes together. You will have to drill a hole next to the tie bar large enough to allow lateral movement of the operating arm . The tube has to be bent to an S shape and fitted through the hole and then secured to the underside of the baseboard. Again, you can disguise the hole with foliage or something.

I hope the above will be of some use to all your followers.

Happy modelling

Alan”
model train tunnel nobody sees

model railway tunnel nobody sees

model railway dead end tunnel for fiddleyard

fiddleyard

fiddlyard


lower level train track

lowerlevel train track

model railway with scenery

model railway town scene

buildings for model railway scratch build

model railway points

A big thanks to Alan.

I do love seeing how people solve their layout issues. A very ingenious idea from Alan.

That’s all this time, folks. Your latest ebay cheat sheet is here.

That’s all for today folks.

Please do keep ’em coming.

And if today is the day you get started on your layout, the Beginner’s Guide is here.

Best

Al


Balsa buildings – Steven’s layout

Steve’s been busy with his Balsa buildings – but he’s after suggestions:

“Hi Al

I have been following your how to’s for a few years now and I need some help to decide on what to do for a town layout.

My layout is N scale, I have attached some of the scene shots of the layout.

What I am after is people’s ideas / comments on what building types to use – plastic / paper – card / Timber etc.

I have a tried most as you can see in the photos and haven’t been able to find the types of buildings in materials that suite to finish my town.

Town size measures 350 x 450mm + truck/ train yard of 350x350mm. Layout is far from finished years to go.

If anyone is interested I scratched built the scenery from common household and model items.

As you can see in the pictures I am joining two layouts together the one with the town (balsa buildings) was built about 3 years ago and this town needs a face lift, I run both English and American steam and diesel so the layout is my own would.

All help welcome.

Regards

Steven”

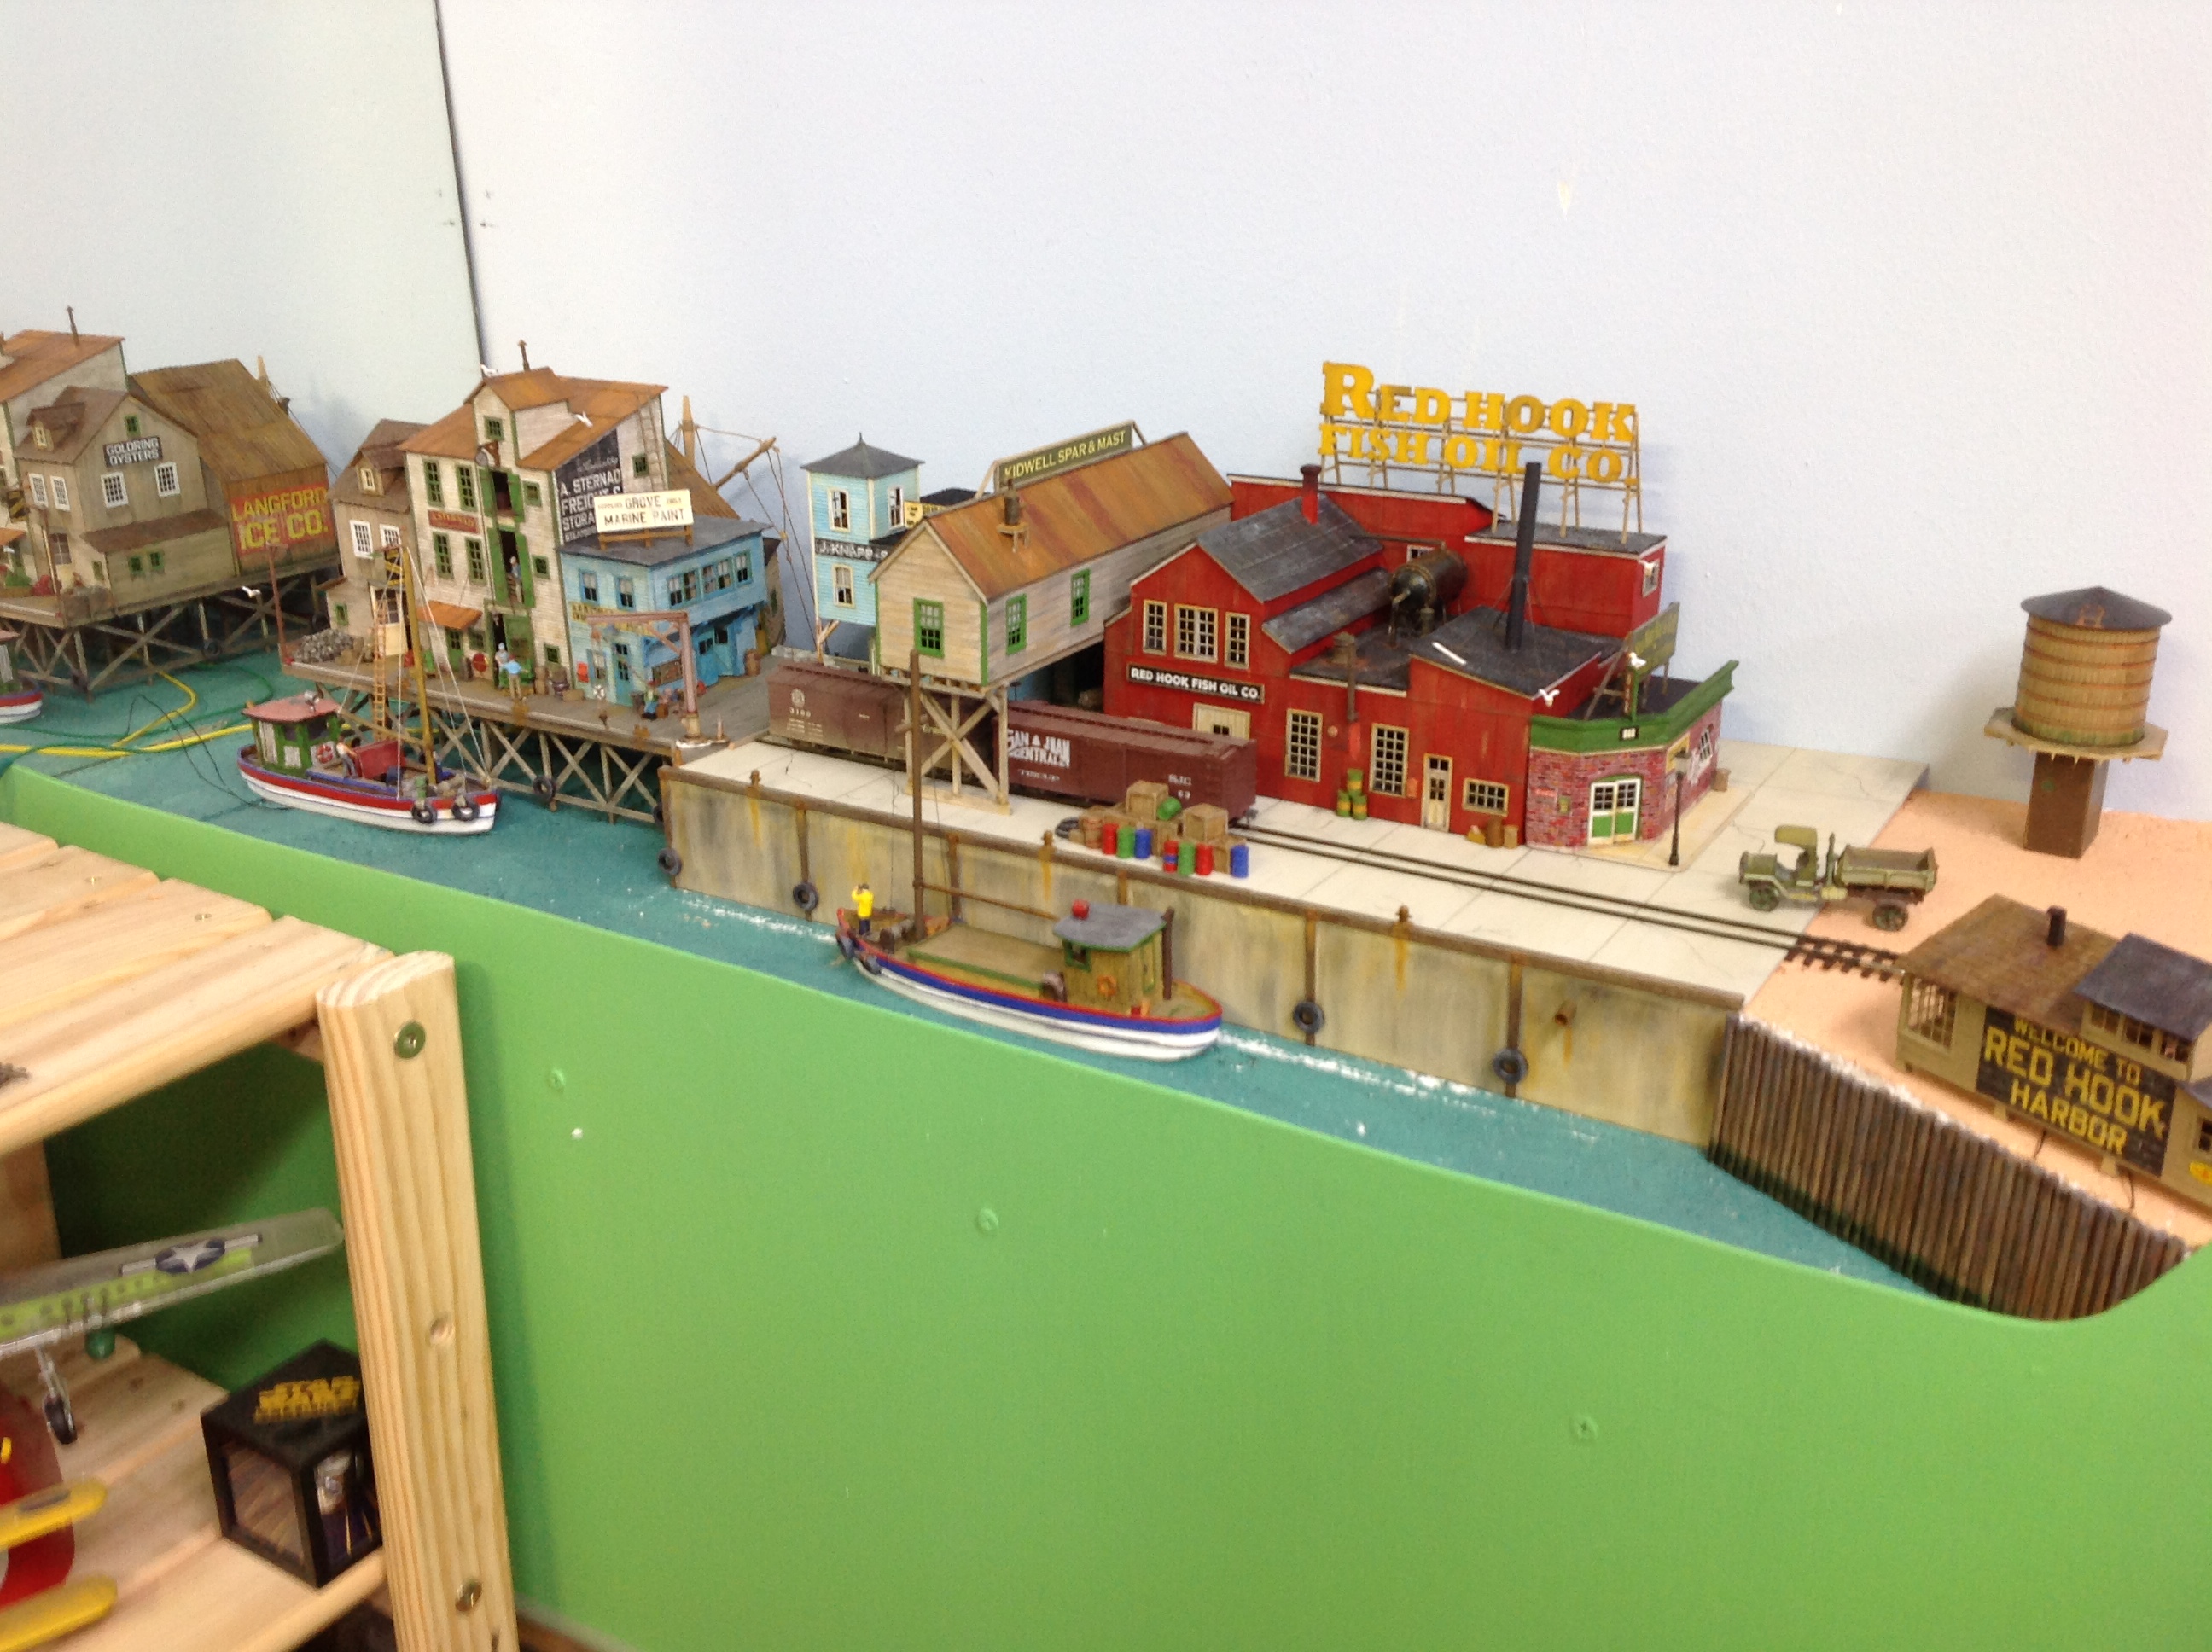
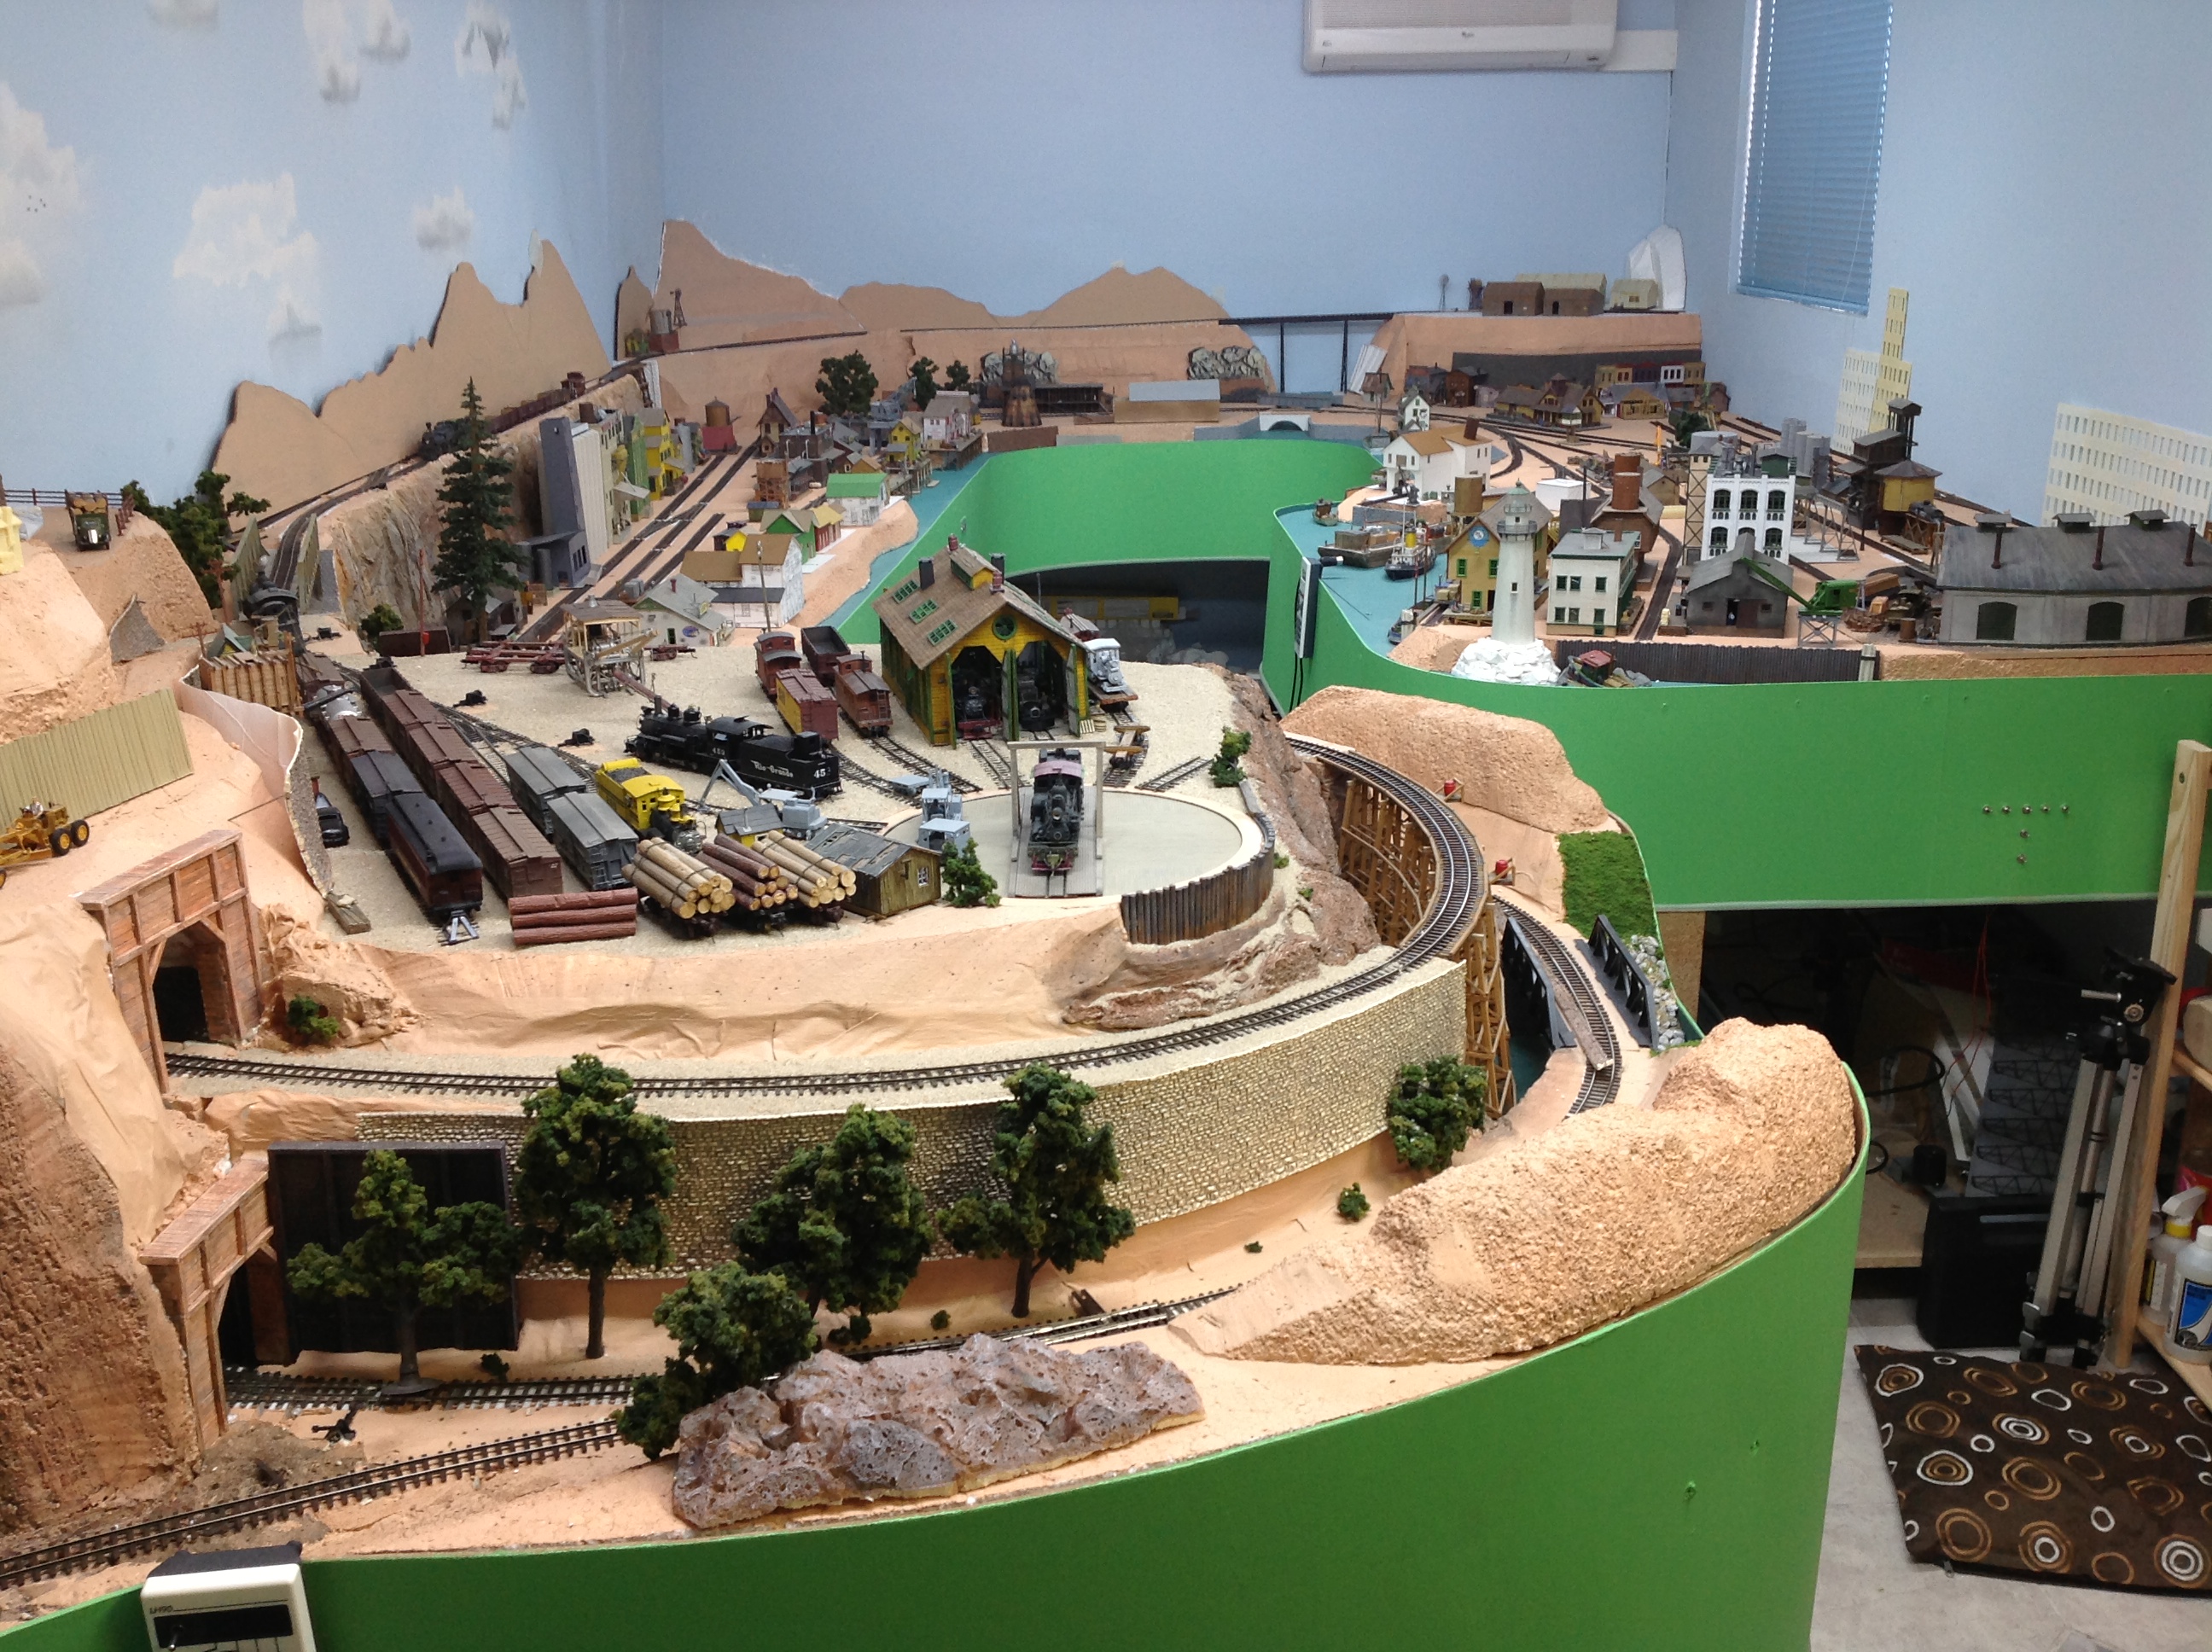
N scale balso buildings

N scale balsa buildings

N scale balsa buildings

N scale balsa buildings

N scale balsa buildings

N scale balsa buidlings


N scale balsa buildings

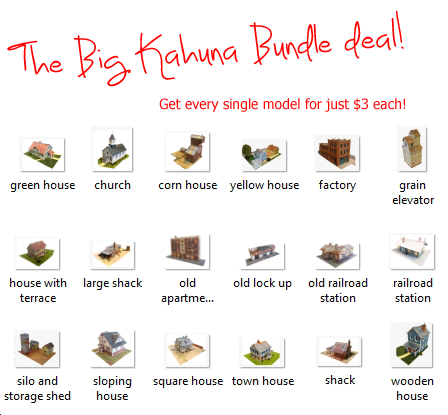
Any ideas for Steven? Mine’s a shameful plug for the print out buildings.

But I’d love to hear your comments. And so would Steven.

That’s it for today my friends.

Please do keep ’em coming.

And if today is the day you get bored of sitting on the side lines, the Beginner’s Guide is here.

Best

Al
PS Latest ebay cheat sheet is here.