Model railroad track cleaning car – Kim’s

The response to Kim’s model railroad track cleaning car has been startling.

(You can see his last post here: How to clean model railroad tracks.)

Lots asked on the comments for a ‘how to’ – and a good number of emails were sent to me too.

But Kim was ahead of us all. Got this in shortly after his first post on the cleaner:

“Hi Al and everyone.

How to make a dragging track scrubber:

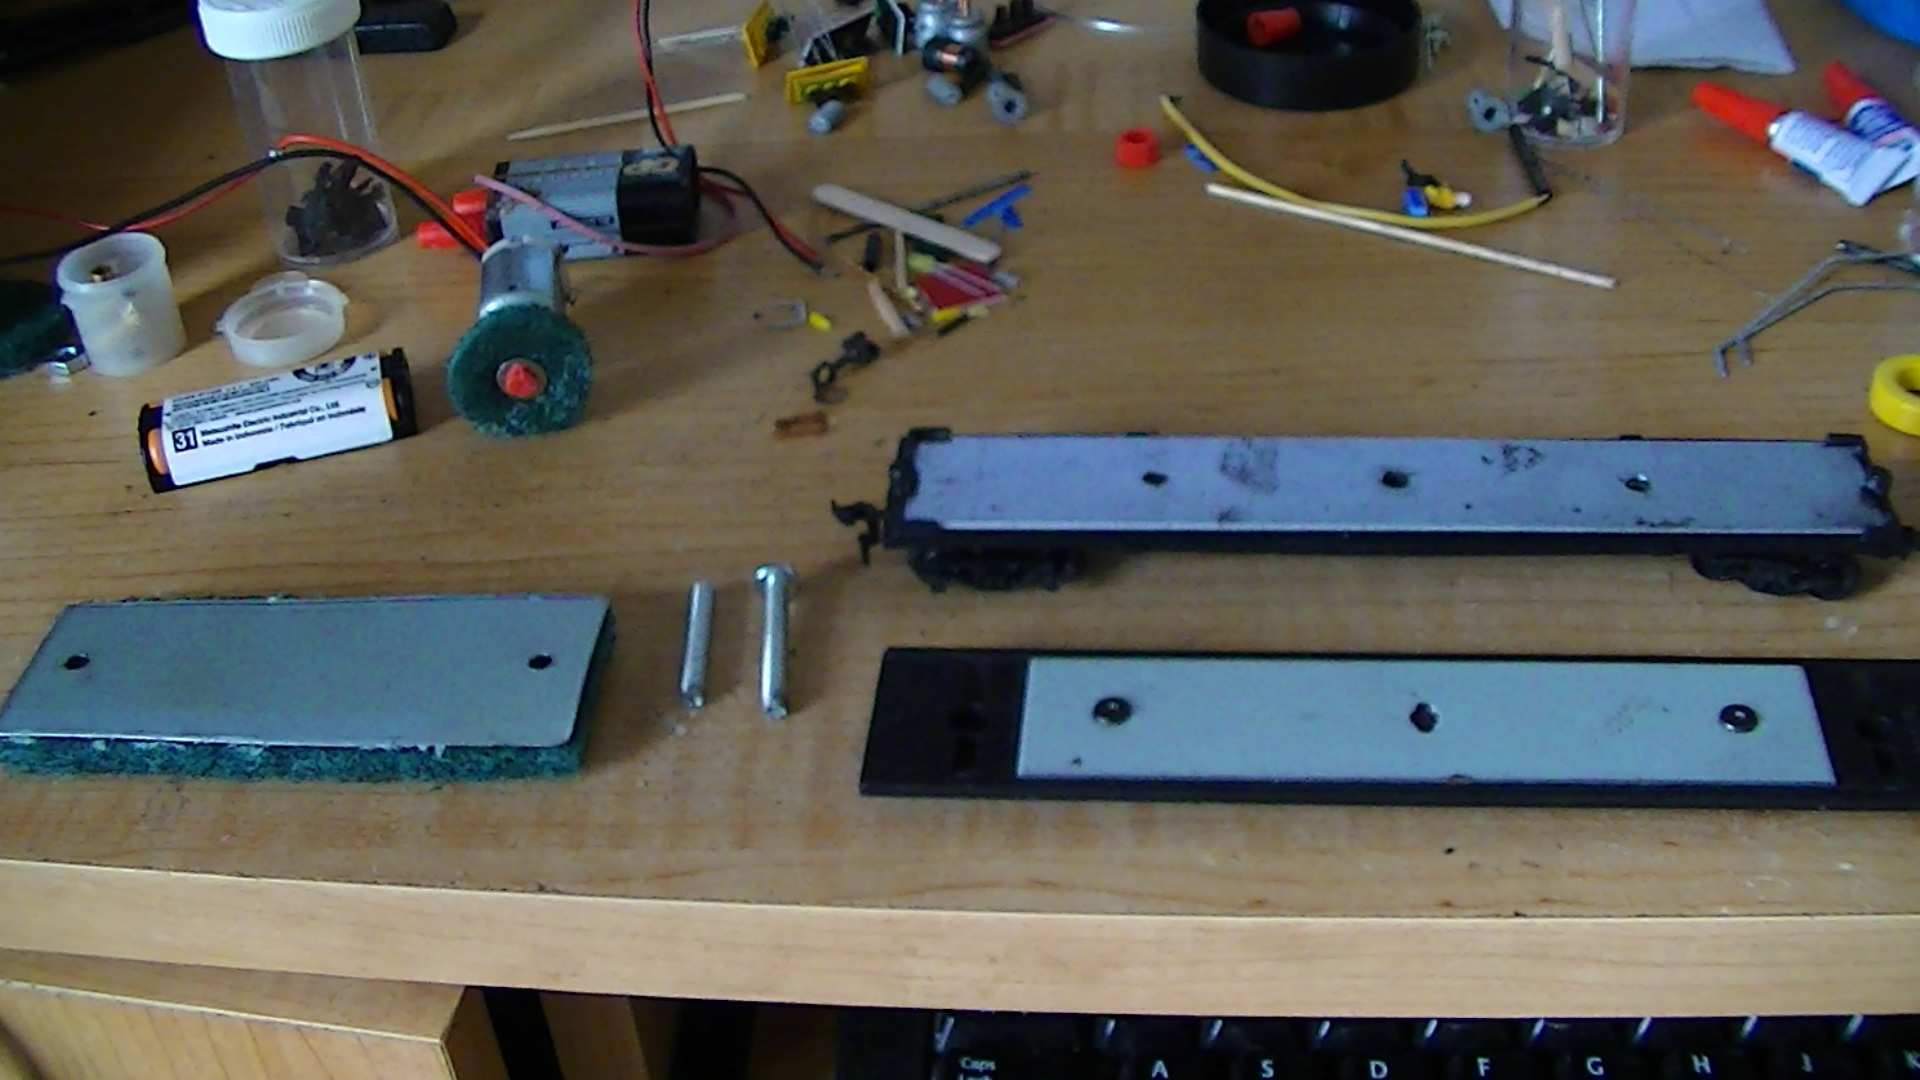
1 old car frame with wheels.
two screw’s with the heads cut off.
metal plate with a dish scrubber instant glued to it.

Take your old car and inlarge the two holes each end already there. Make the hole’s slightly bigger than the screws so they slip threw freely but tight. Line up the holes in the car body with the plate. make pencil marks and drill two holes. now make sure the holes are big anough so those two screw posts screw into them.

Glue the pad on with instant glue onto the plate. Slip the posts into the body of the car and threw. The scrubber will sit even on the track and if you lift the car the posts will slip threw.

Now when the scrubber is sitting on the track you can add bolts to the posts to push down with more force. If you secured the scrubber to the car it will cause the wheels to lift if you add weight, and may cause the car to start to bend or warp.

The more force you add to the scrubber the more you will have to add to the car. You don’t want that. If need be can add tiny weights above the wheels each side to push down on the wheels..but I didn’t have that problem.
Model railroad track cleaning car

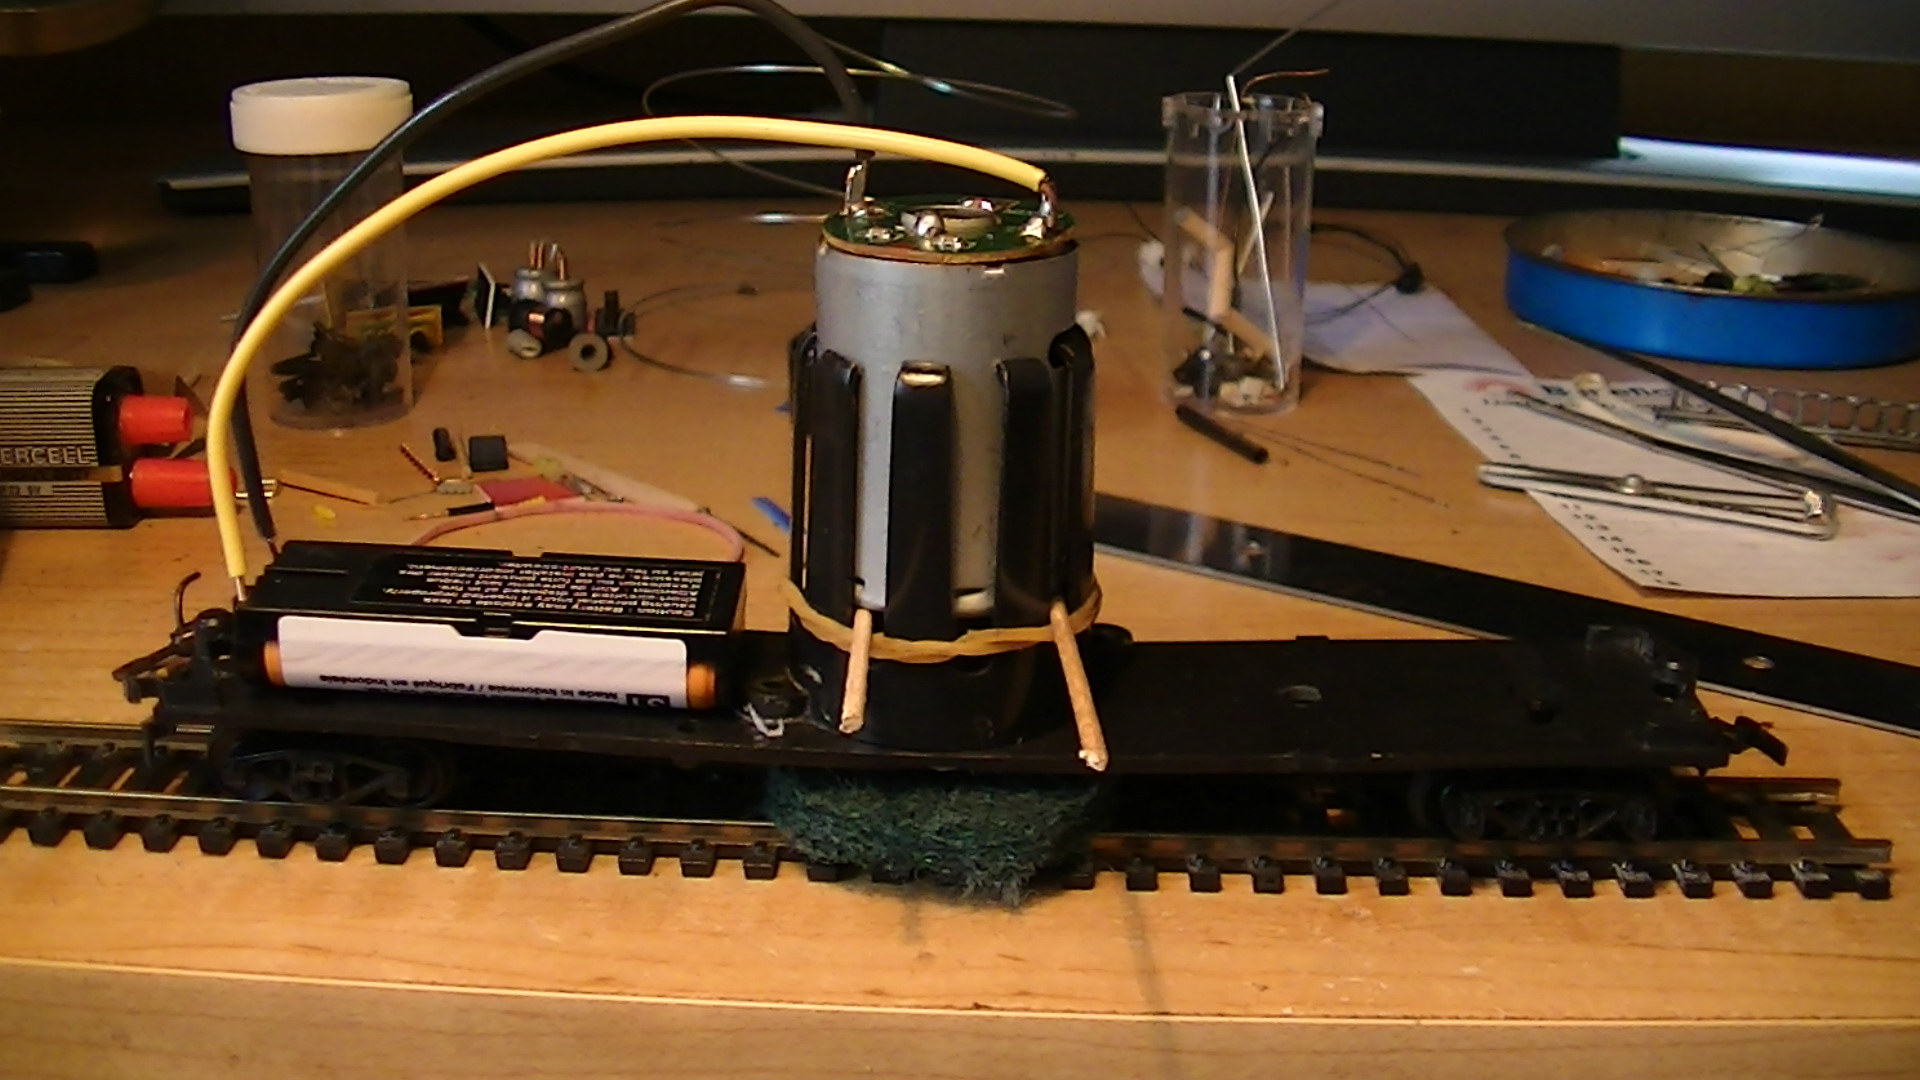
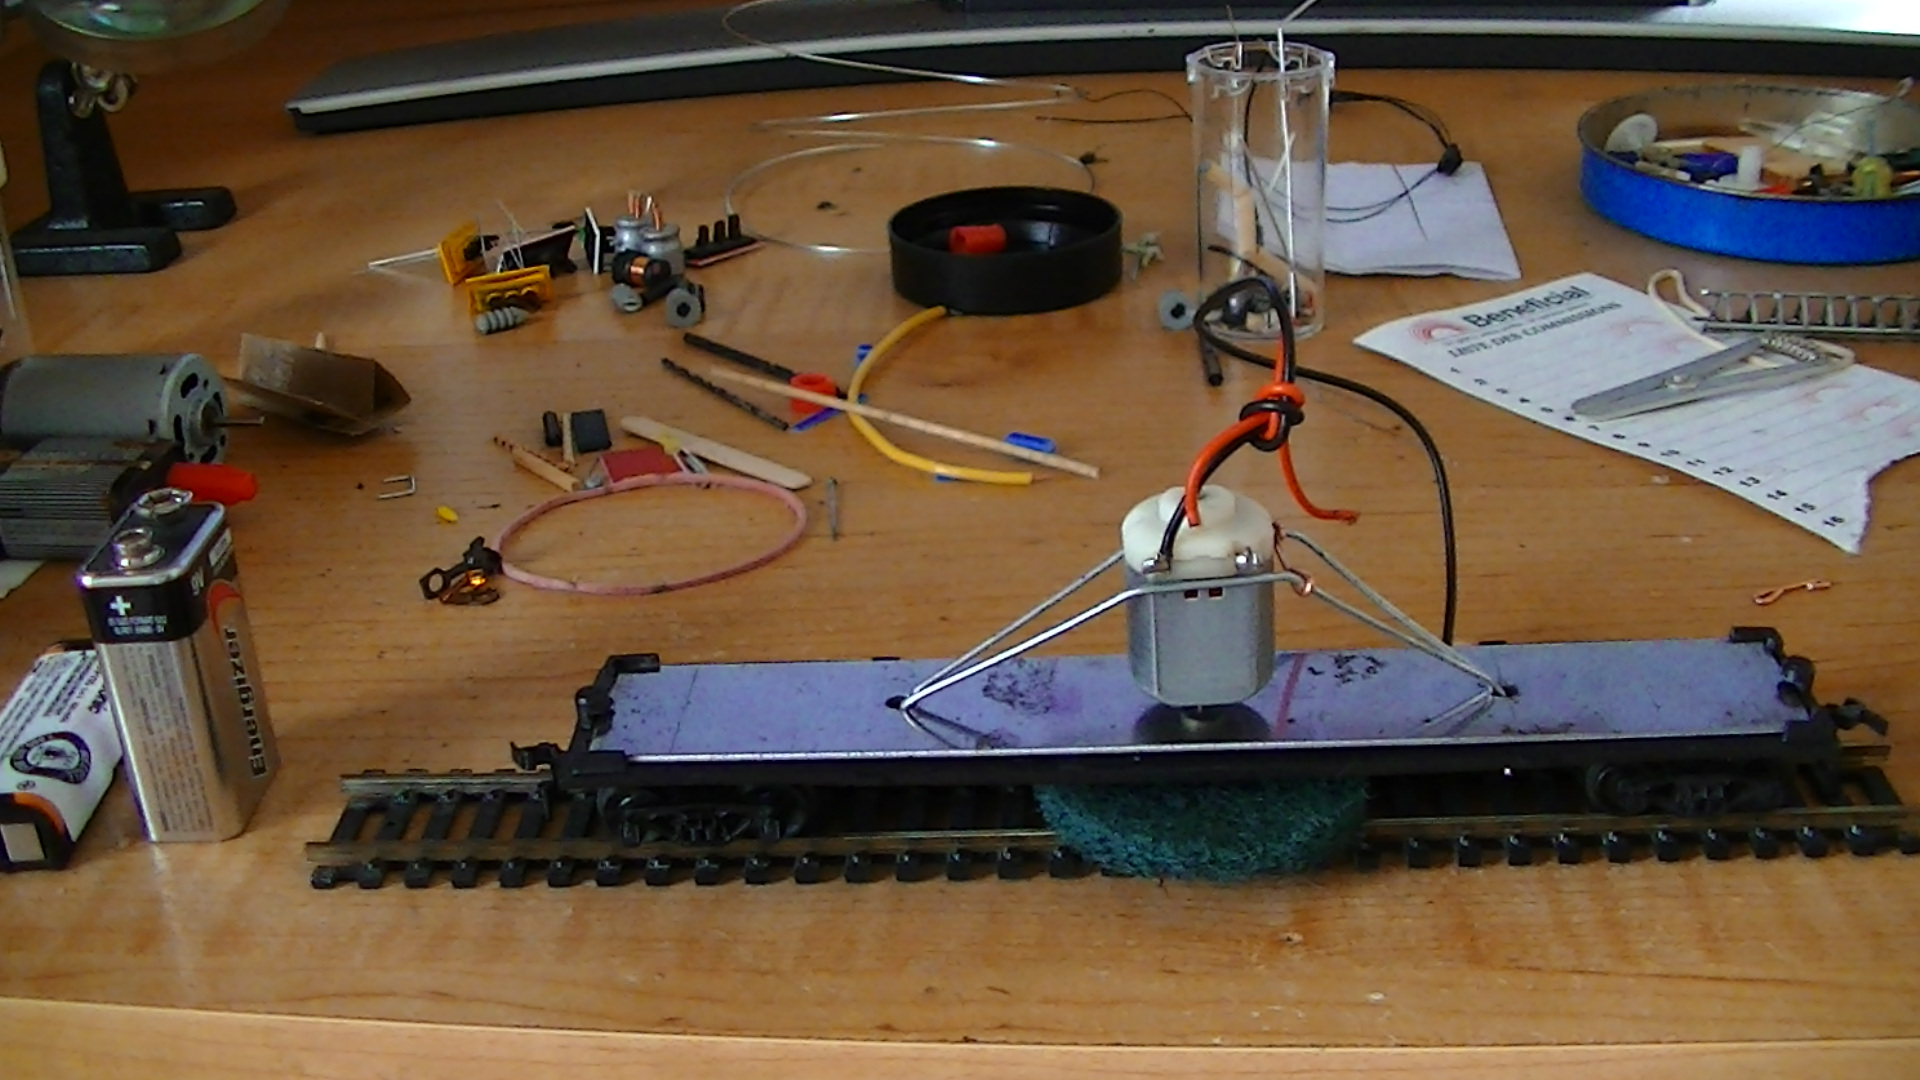
I’m using the same dragging scrubber for the motorized one. Take an old car. Take a small RC high output power motor, or I think a hair dryer motor or similar will do.

As long as you add power to it and is hard to stop with your finger will do. I took a used instant glue top cut it… added a tiny washer to the large end, slipped on a pad that I cut into a small circle.

Slip it on the post. Add another tiny washer (in photo). I did it this way as it wears down and is useless it would be very easy to make another fast and cheap.

Now take your car. If it has a hole in the centre already, drill it out just enough to slip the head of the motor into it (meaning where the post comes out that little head piece).

Now the motor post should be sticking out the bottom of the car. Attach your pad onto the post of the motor, it’ll be tight so give some force. Now secure the motor into place with a bracket or something so it doesn’t move and is even.

I took a volume switch from an old radio to vary the speed of the motor. A 2.7 volt battery run this scrubber at high speed. As you can see with the test track, it was passed once and you can see how much a difference it did on a over 20 year old dirty track.

Electronically it isn’t hard to figure out how to hook the motor and switch and battery. Positive power runs to the first post of the switch. Another power wirer runs from the second post of the switch to the positive lead of the motor. Negative runs from the battery to the motor. If need be add a resistor to the power wire going into the switch so it isn’t burned out.

The bracket you see in the other photos isn’t very good and was moving too much. You van use the extra holes in the car body to make a bracket to hold the motor in place.

This build looks very crude but works amazingly well. If you don’t mind making 2 tiny holes in the top of the car body you can slip a thin wire inside to activate a power switch to turn it on and off and well as tuning up the speed of the motor.

I had a set of old phones and am using the batteries to run stuff and test stuff with as they are rechargeable threw the old phones. I have one powering my scrubber.2.7 volts. Not many if anybody leaves the scrubber on the track or runs it all the time.

Once done cleaning remove it till next time – the way it cleans, it will be a long while before using again. And I use a ez command centre and ez track on some of my layout and the scrubber didn’t hurt or effect it or any points.

Any comments or suggestions would be great. Thanks everyone and thankyou Al.

Kim”

Model railroad track cleaning car

Model railroad track cleaning car

A fantastic ‘how to’! Please, please do leave your comments below.

(Kim’s post reminded me of Robert’s: Model railroad track cleaning tips.

If you’re heading off to ebay for parts to make your ‘track scrubber’ – have a look through the ebay cheat sheet and see if you can bag a deal.

Lastly, here’s another instalment from Dave. It’s a hoot!


A big thanks to Kim for sharing his Model railroad track cleaning car.

Please do keep ’em coming.

And if today is the day your railway adventure becomes more than a day dream, the Beginner’s Guide is here.

Best

Al

PS More HO scale train layouts here if that’s your thing.



printable buildings

And there’s the Silly Discount bundle too.

How to clean model railroad tracks

Kim’s been in touch with how to clean model railroad tracks.

Just have a look at the comments on this one!

“Hi Al.

Hope your doing well.

I have something for ya. I made up a track cleaner.

The ones for sale here are way to expensive. Works good was easy to make. Need a how to build it I will send in a how to.

Like most of these, takes a bunch of time to clean the track.

Now when I went to test it first time, I left the pad way to wide.

It started off well, till it got to stuff I had track side. Wam! It started taking out stuff.

I ran to it not thinking to run to the power and cut it. It outran me and got itself jammed into the bridge I made and started freaking out.

I call it The DESTROYER.

Then I got an idea. Why not put a 12 volt motor on it and run 9 volts to it.

Holly crap it sure cleans and super fast as well.

Ya I know looks like the motor would sit still and the car spin like a helicopter lol. It did at first.

Speed must have been 3500 rpms lol, so I decided better to use a 2.7 volt battery to run the beast – worked better and less scary and no more hair blowing as it spinned.

So build number 3, a smaller motor run on a 9 volt battery. Works really well and does the job super fast.

Not only does it clean the top of the rail but all of it. If you like can show the members my builds some may find it interesting some may laugh and some will like them lol.

Its all about showing others what they can come up with if they think about it.

The first pic is the scrubber you can add weight to the posts, the second is my upgrade to a 12 volt motor and 2.7 volt power source,the plate was added to beef up the car…the second is a smaller motor and can use 9 volt if ya like power or 2.7 volt with less force.

The pad is a dish cleaning pad.The ones with the motors will clean ya track like new and in seconds.

Kim”

How to clean model railroad tracks

How to clean model railroad tracks

How to clean model railroad tracks


A big thank to Kim on his take on how to clean model railroad tracks- I thought it was genius. I really am thinking about adding it to the ebay cheat sheet.

And have a look at the comments below. Kim’s cleaner really struck a chord – it reminded me of Cal’s too:
Cleaning model train track
.

Don’t forget, if you have a tip, pic or video you’d like to share, just hit reply to any of the emails I send.

Please do keep ’em coming.

And if today is the day you get started on your layout, the Beginner’s Guide is here.

Best

Al

PS Latest ebay cheat sheet is here.

PPS More HO scale train layouts here if that’s your thing.


printable buildings

And there’s the Silly Discount bundle too.
Your railroad pics and tips

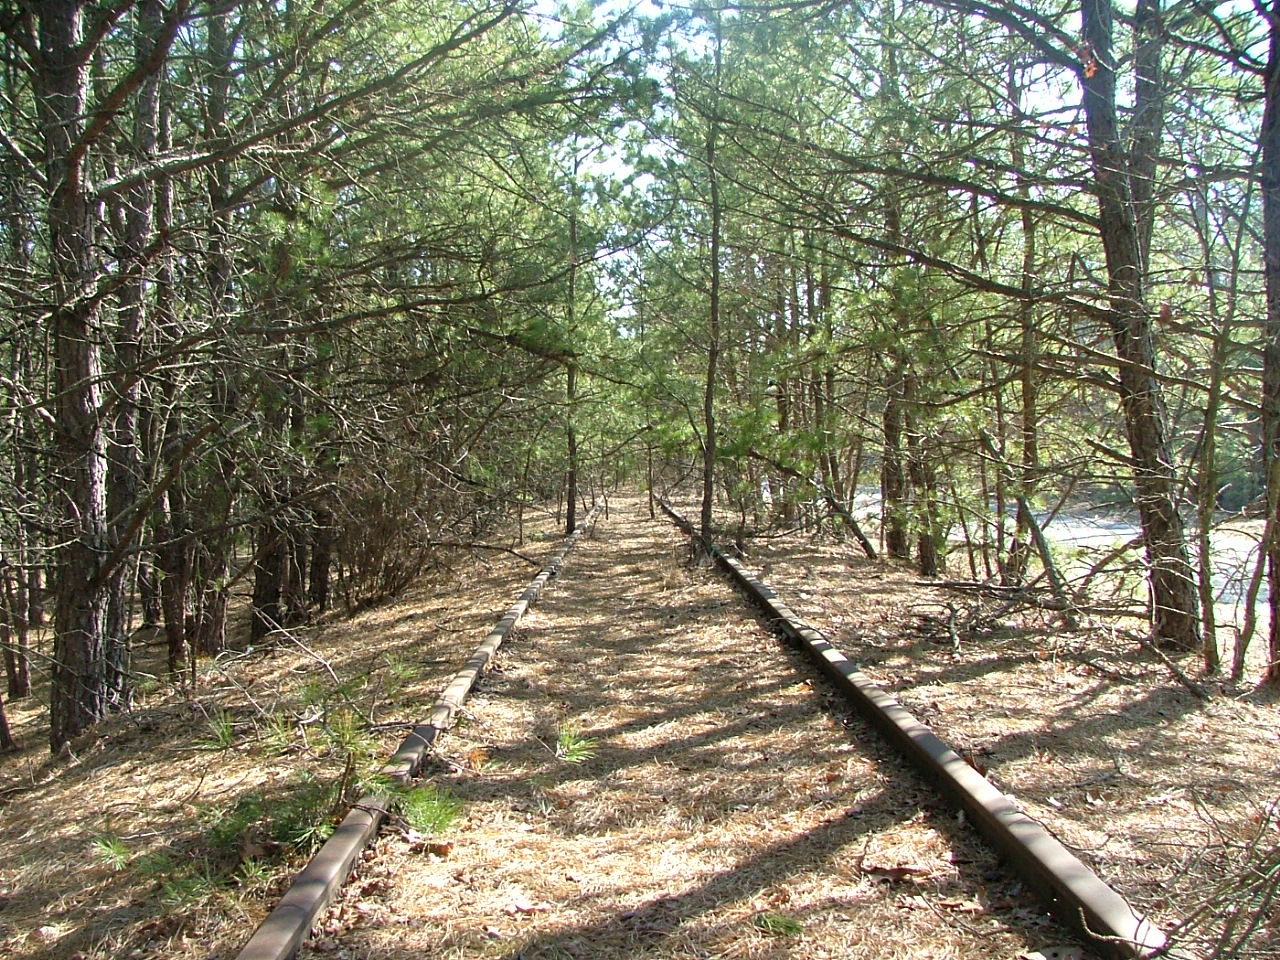
“What a beautiful photo of that stretch of abandoned railway included with your Wonderful scenery pics email..

Though not as beautiful as the photo you displayed, I found quite an unusual line of track fairly close to my home on Long Island. It was abandoned some years back however it was recently cleared and now serves as a path for freight service.

I love to sign on and find your wonderful emails.
Regards,

Sal”


No words from Bill, but he sent these in. Old pic but I still like the layout:


“Hi, I have an good tip; if you want to fill up your/a wagon with coal and you don’t want to use loads of it, you can fill your wagon up ¾ of the way with cardboard, then you can mix some coal with PVA glue until it makes a paste and the glue goes greyish, then you just put it on until you can’t see any cardboard and then leave it to dry. Once it has dried it will look realistic.
Adam”


“Hi Al,

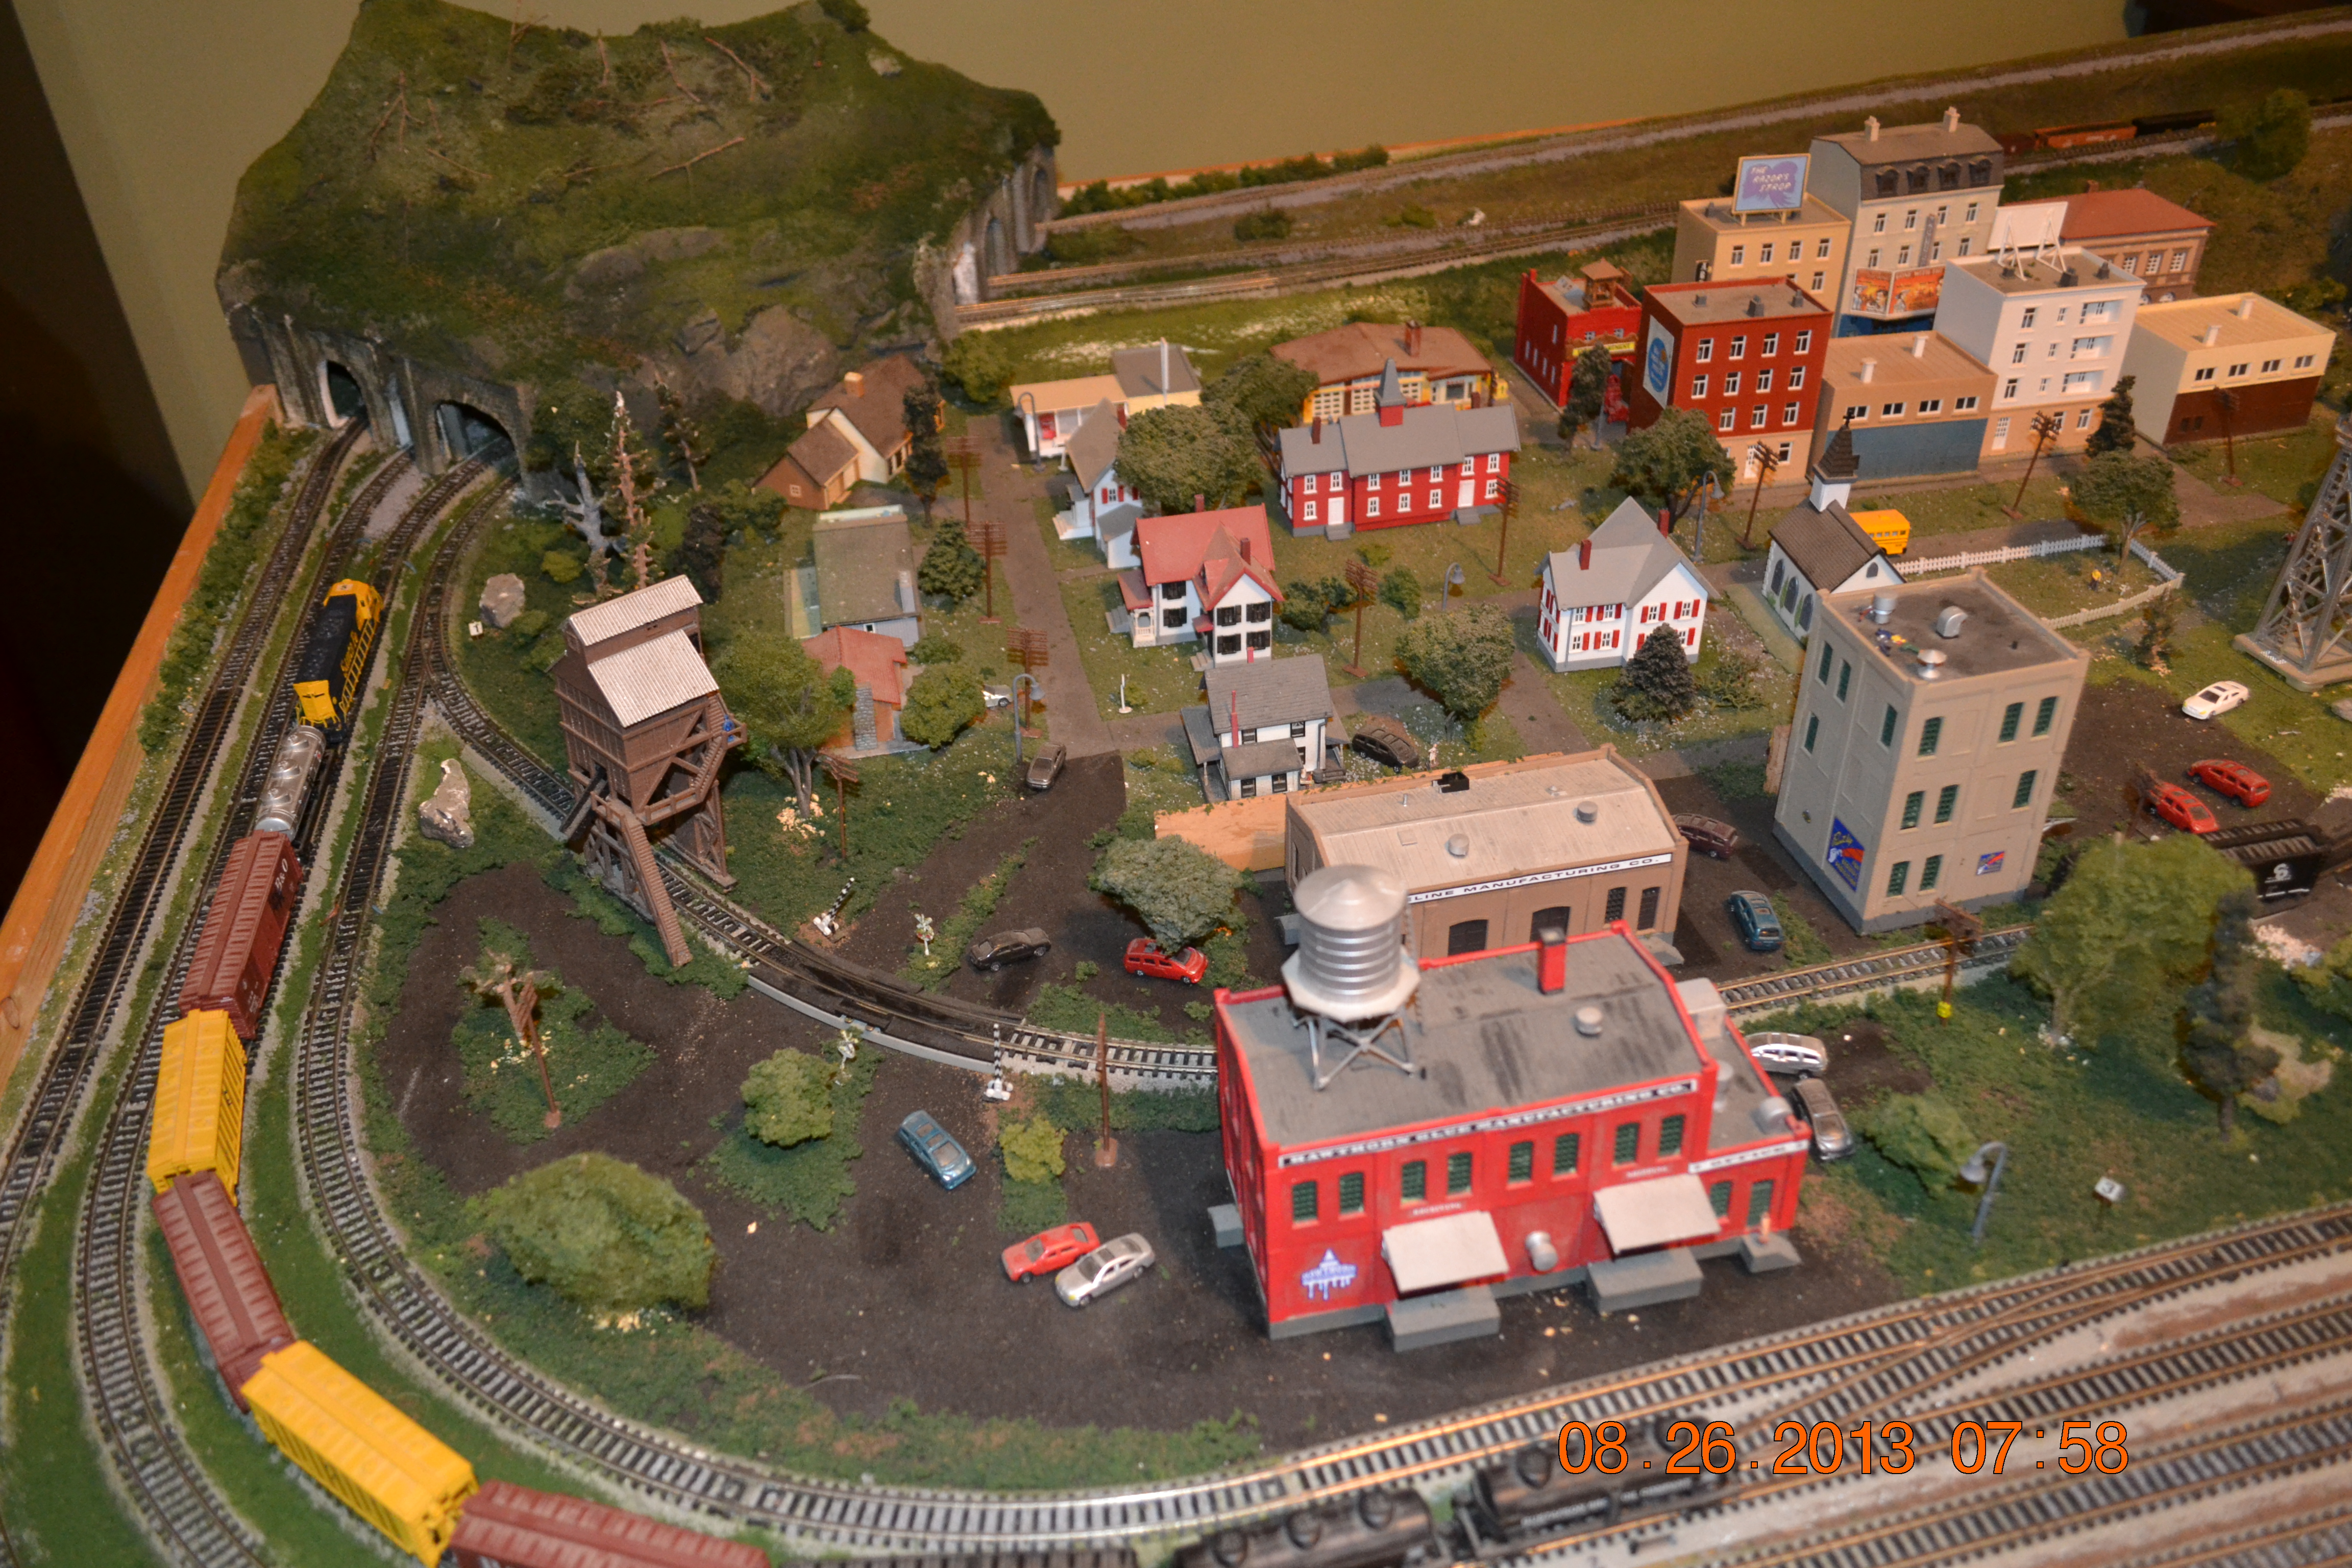
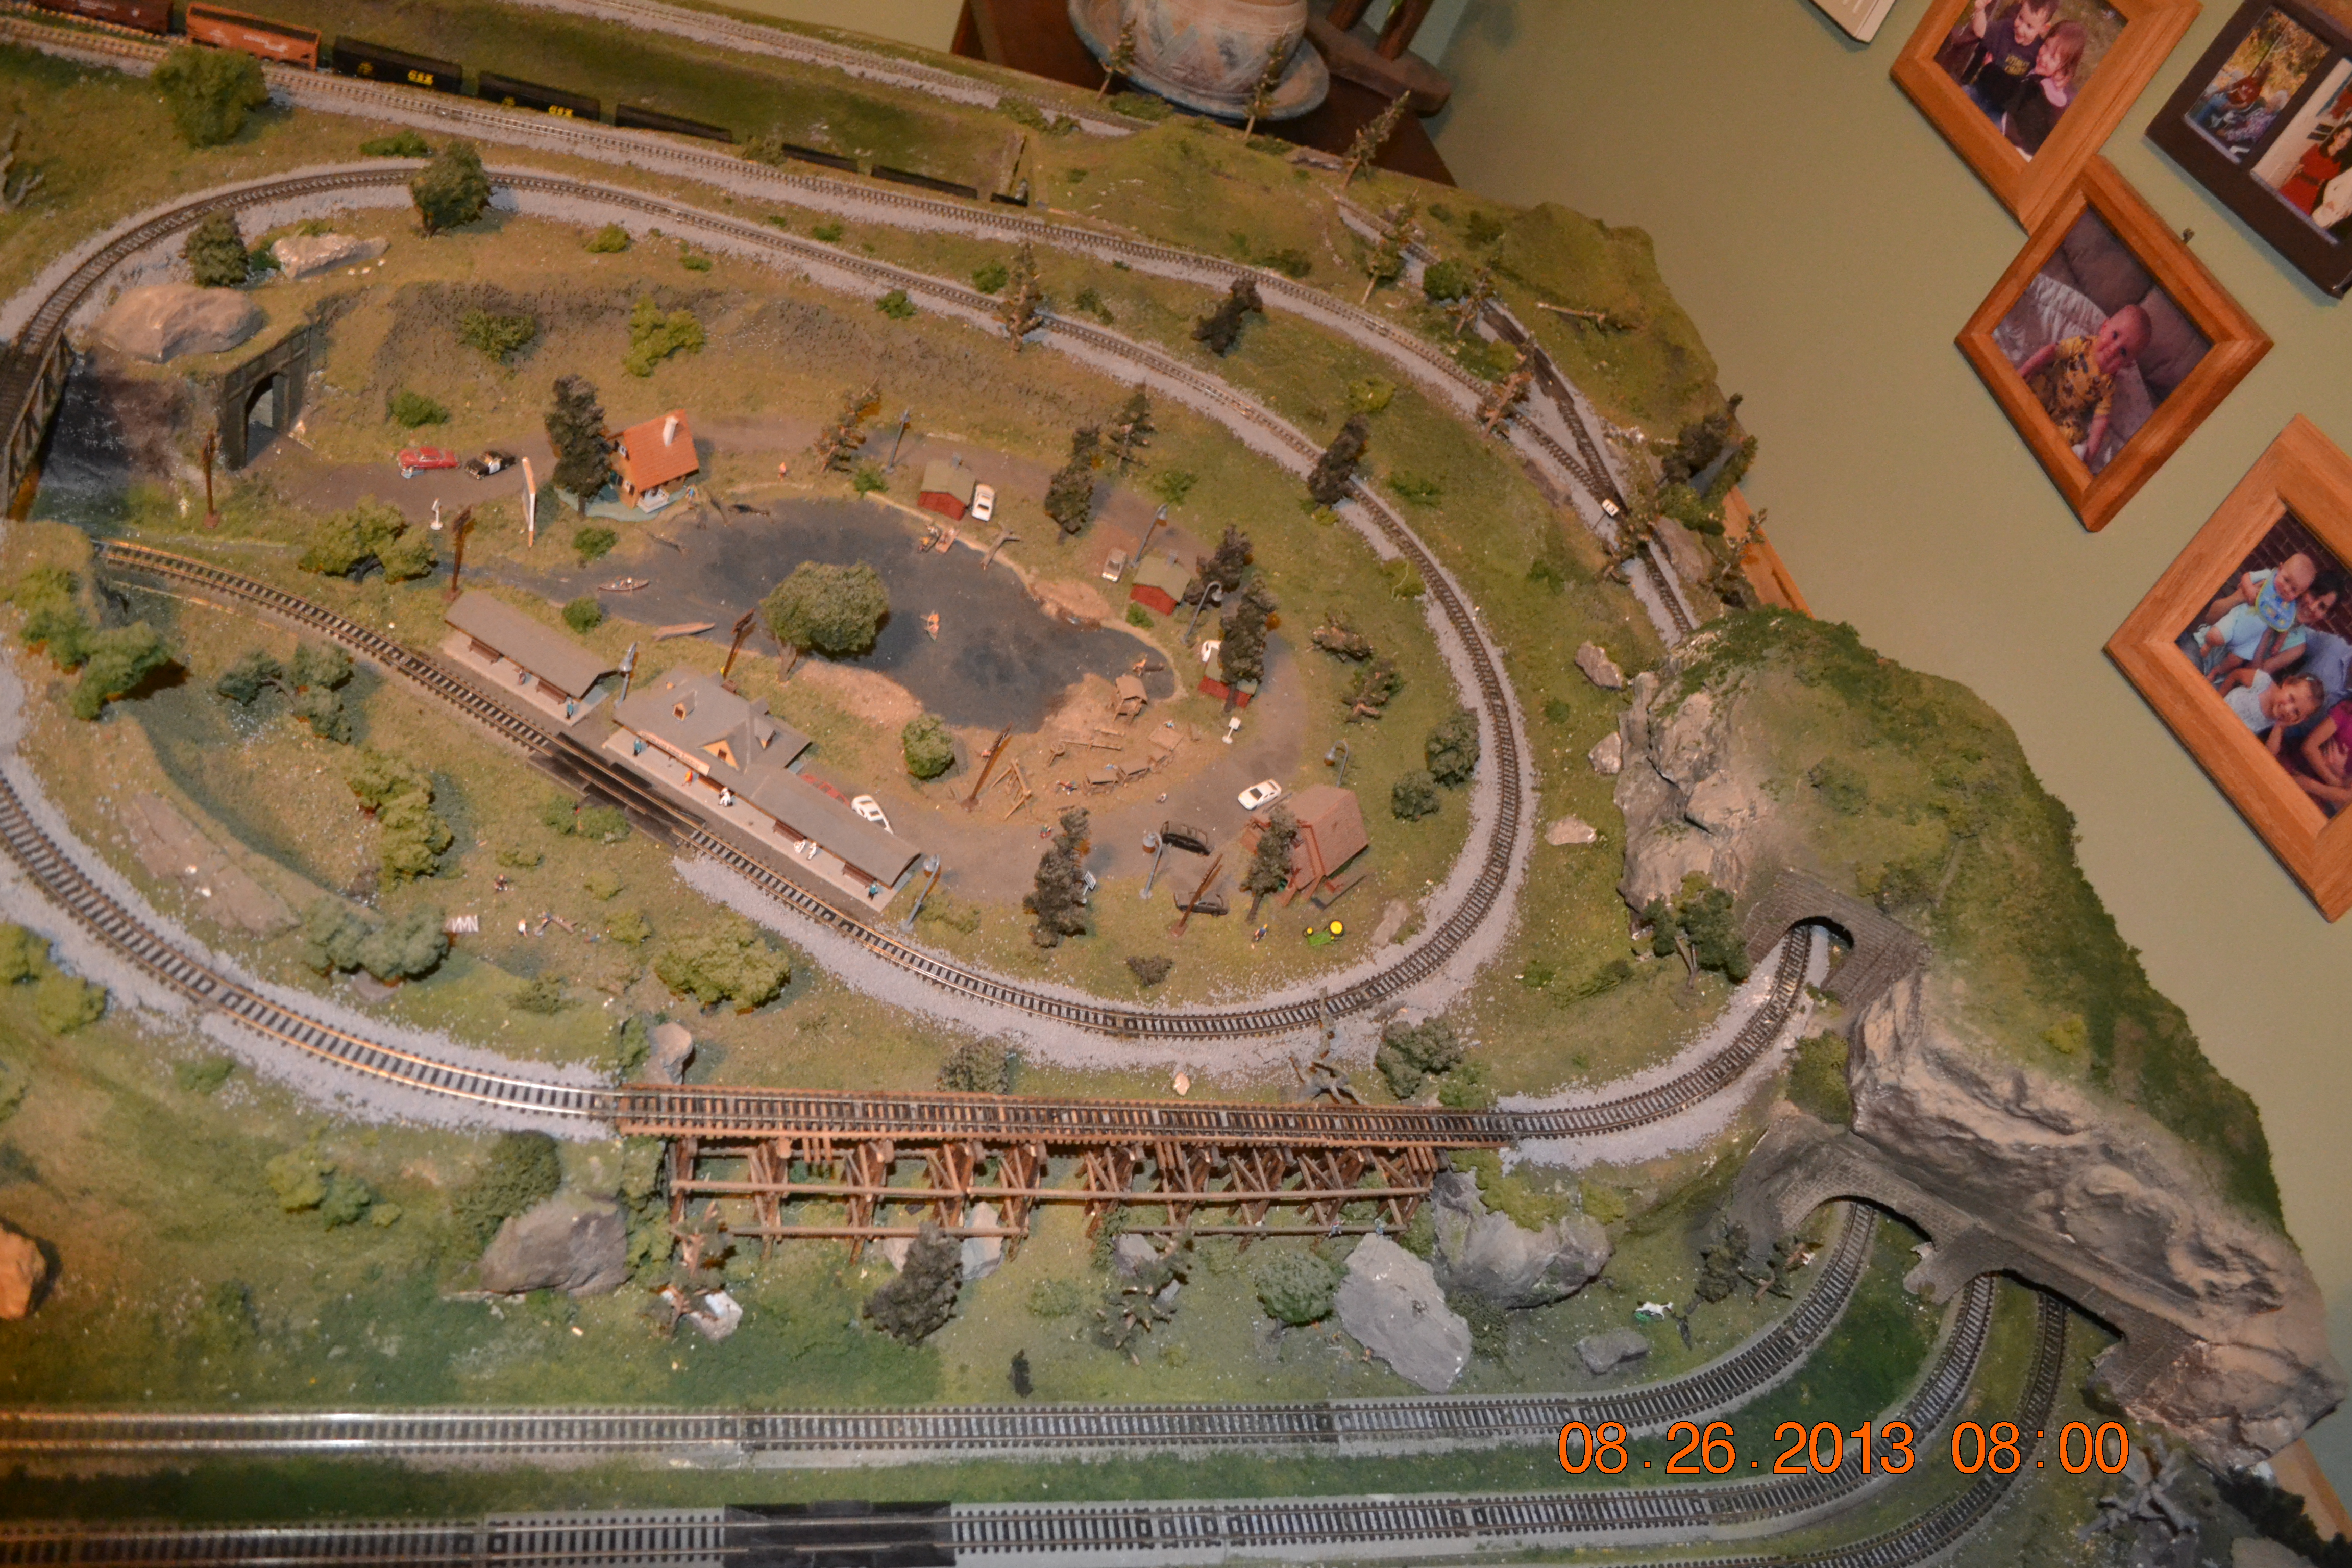
Here are some photos of my layout showing the progress so far.

Track has been ballasted, scenery still to build, wiring still in progress.

Paul”


“Hi Al , love the tips keep em’ coming.

New to modeling and need all the help I can get. Just thought I would throw you some pics of my layout so far. All of the road bed is cork that was in a big roll my father gave me. Couldn’t see paying them high prices for roadbed cork from the store so I hand cut and fit each piece. I read and save all the great tips that I’m getting from you . Will email some more pics as progress continues.

Walter”

And this in from Dave:

“Hi Al , just uploaded this video on youtube showing a new mini camera in a cam truck I have just bought , well pleased with the results …

Regards

Dave”

Latest ebay cheat sheet is here.

Please do keep ’em coming. Enjoying the scenery pics – just beautiful. Just hit reply to any of my mails and you’ll get through to me.

That’s it for today peeps.

And if today is the day you jump out of your arm chair and spring into action, the Beginner’s Guide is here.

Best

Al

PS Latest ebay cheat sheet is here.