Arnie’s latest video

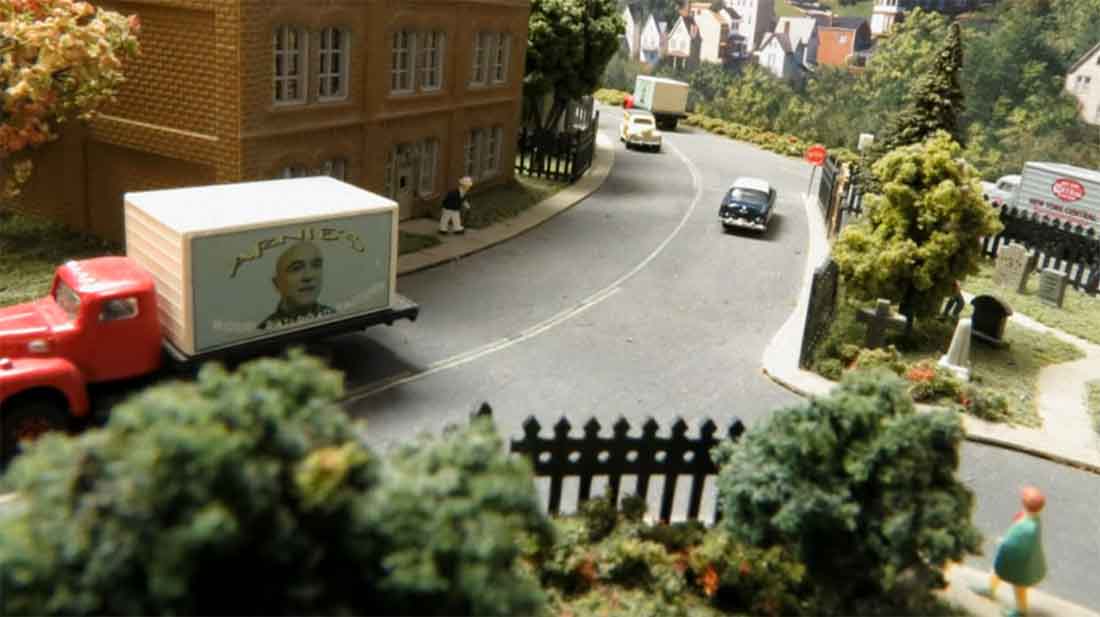
Arnie’s been back in touch.

And my word, he’s made a wonderful video.

Yes, it’s a little longer than most, but very much worth making the time for.

It’s a thoroughly enjoyable 22 minutes, I promise:

“Hi Al,

It’s been a while since my last contact and submission to you. However, I just completed a new video I thought I would share with you and the readers.

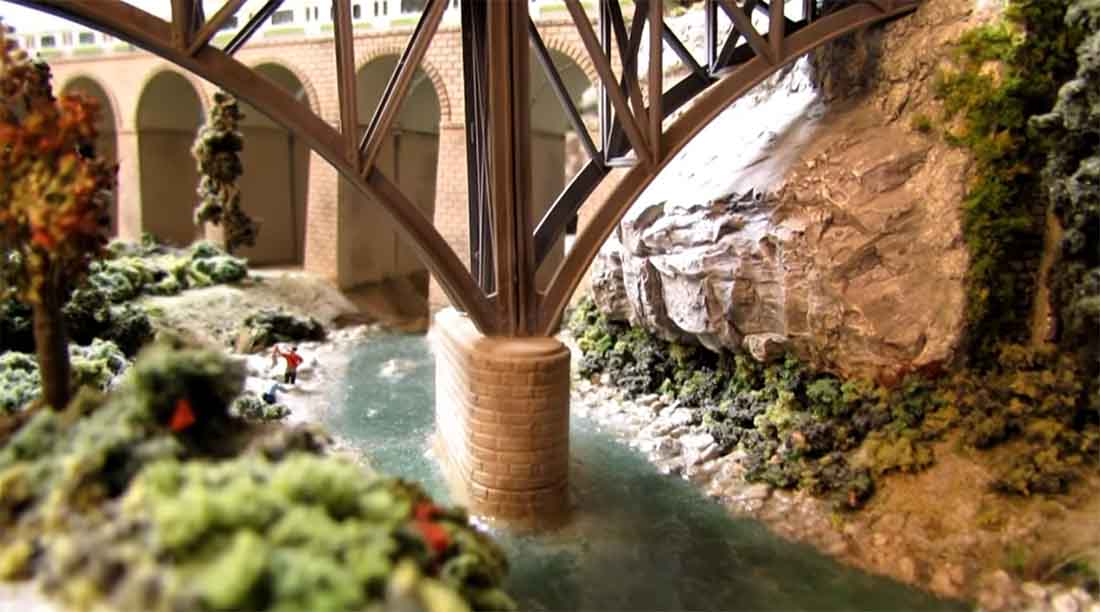
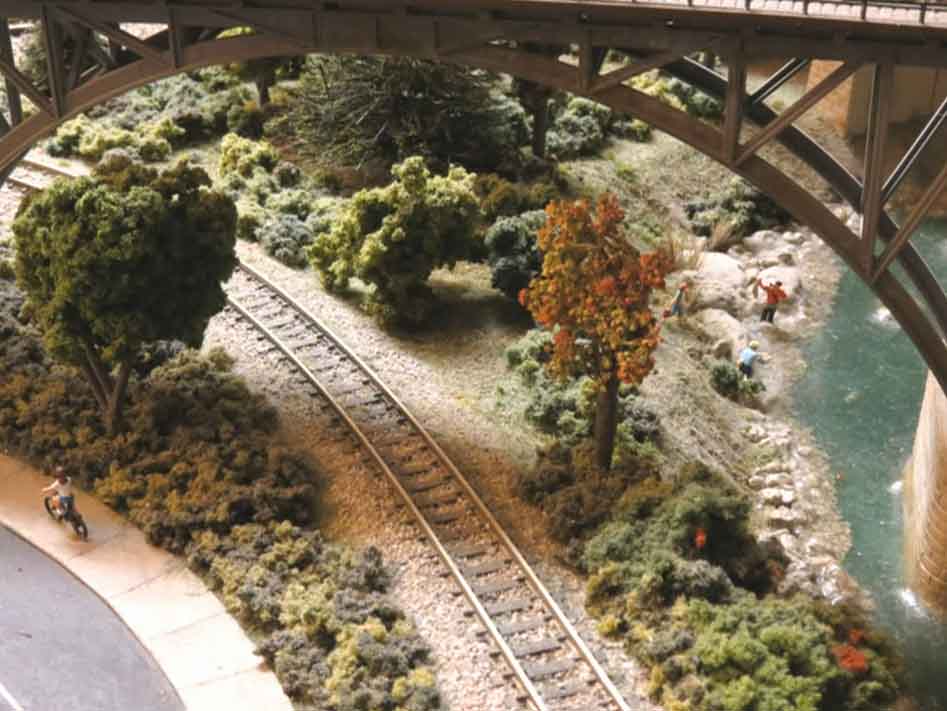
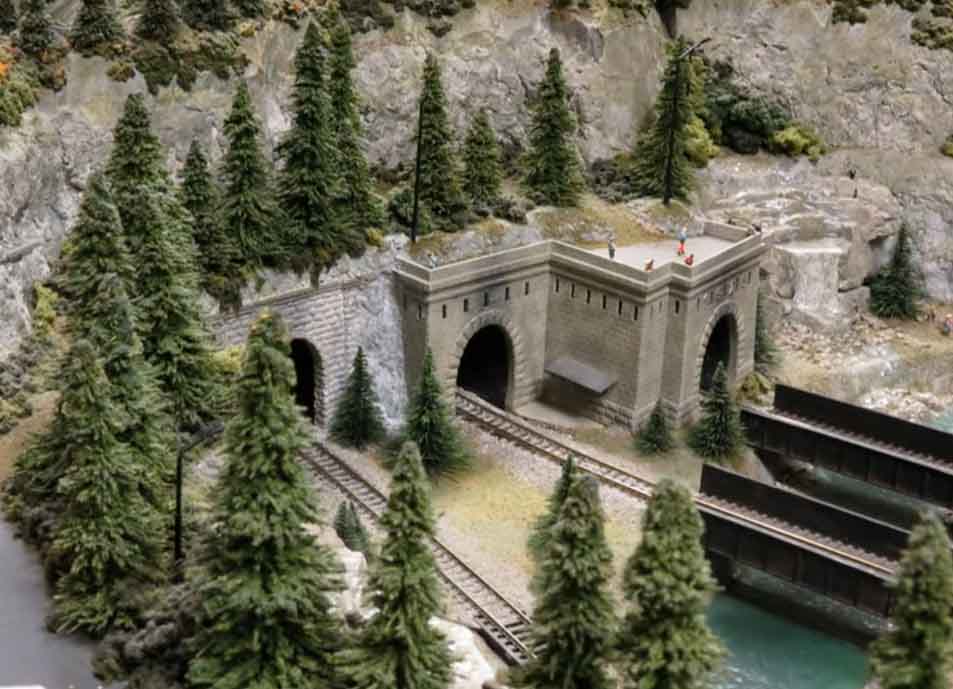
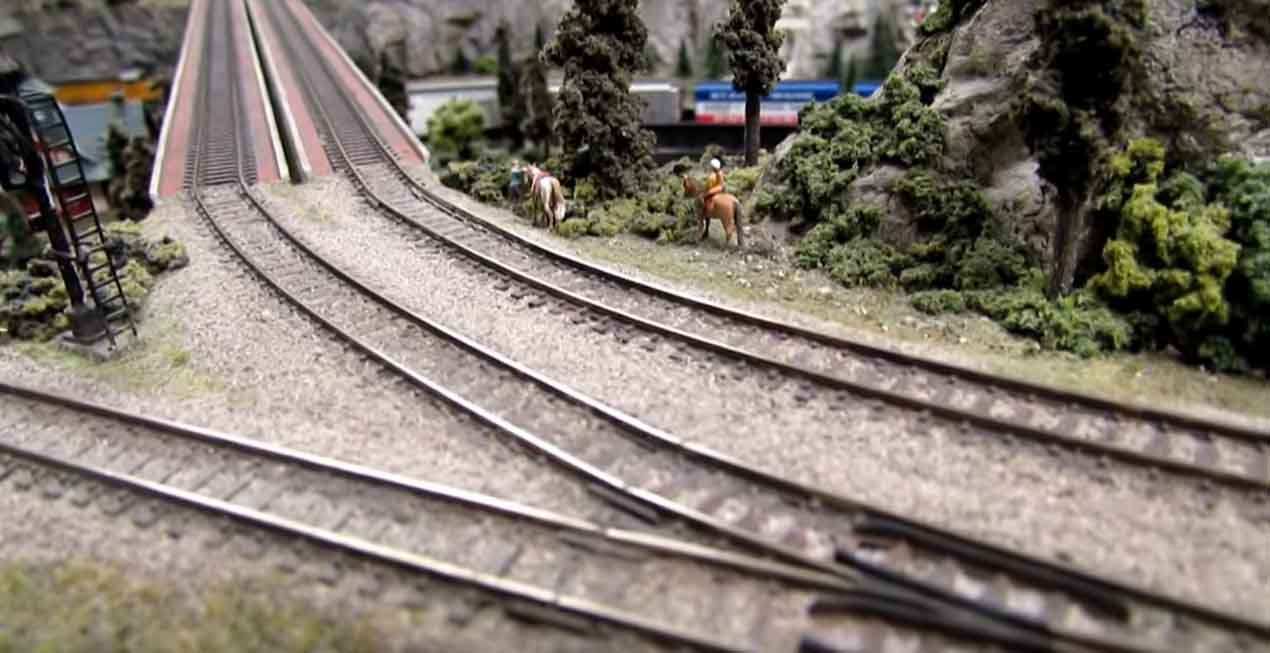
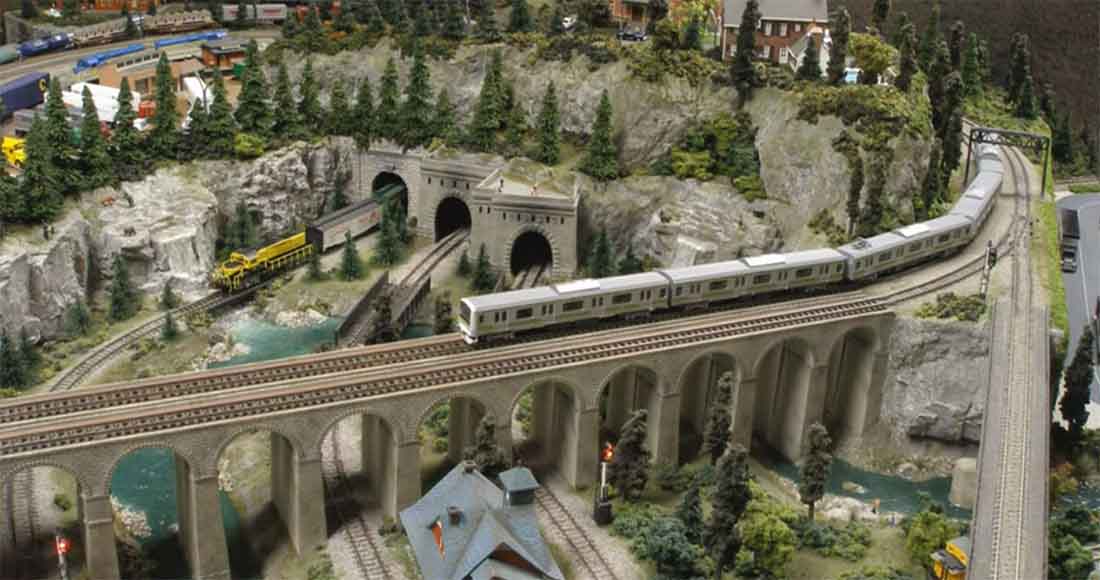
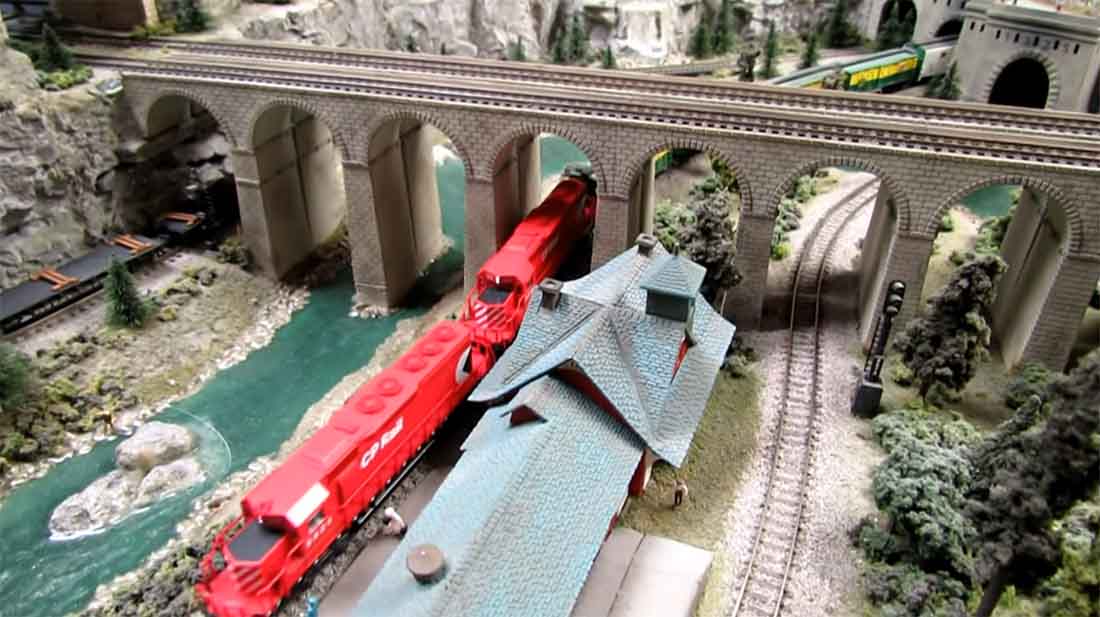
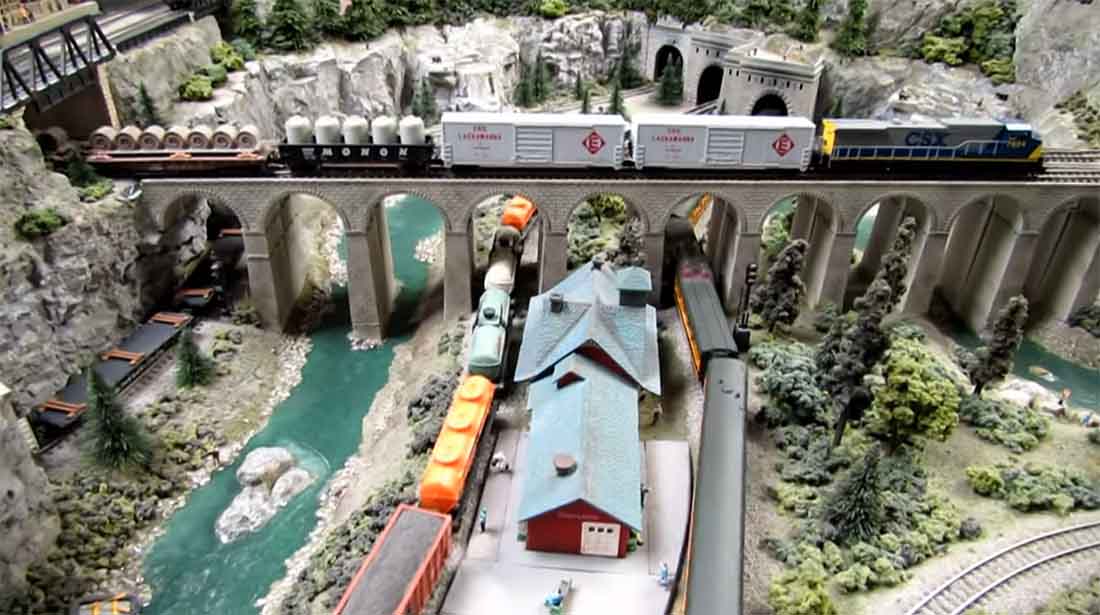
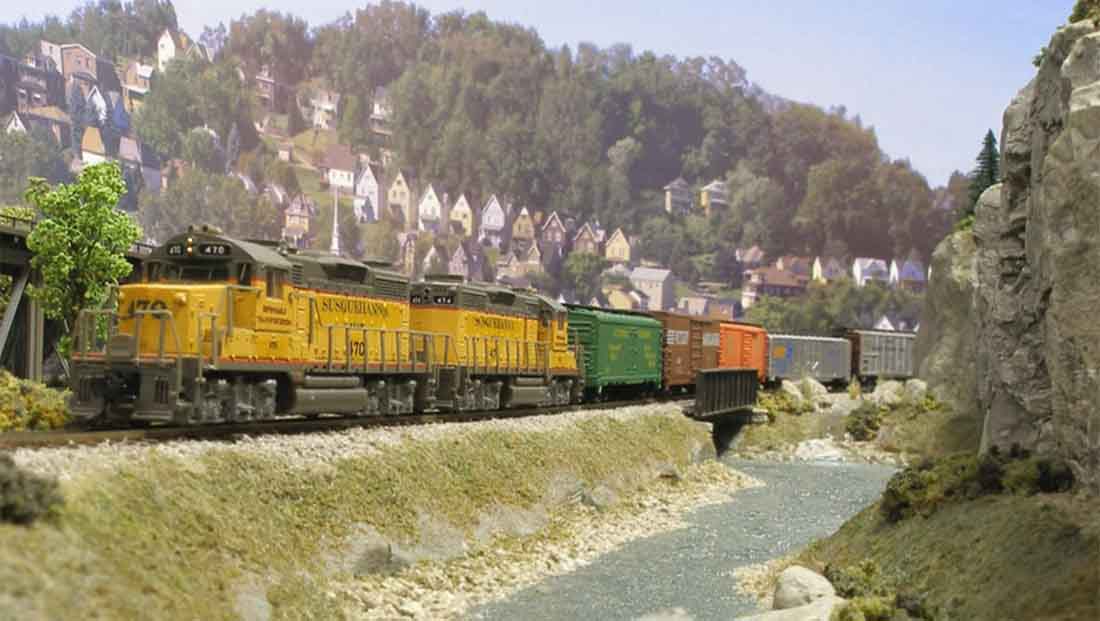
It’s entitled, “Life on the SV&S – Past and Present.”

It’s a sort of fictional historic perspective of the Susquehanna Valley on my N scale layout; the locale, its people, scenery, wildlife and the trains that have traveled the region from the steam era to the present.

I apologize that it’s significantly longer than my previous videos.

I composed it of ten small segments, but decided to put it all into one comprehensive video in order not to lose the sense of continuity I wanted to capture.

I hope you and the others will agree with my decision when you see it and I hope you enjoy it.

Thanks,

Arnie”

model railroad bridge

n scale road

N scale fishing

model railroad tunnels

model railroad n scale track

n scale model railroad


n scale model railroad

model railroad n scale

n scale road

diesel freight n scale

Hope you enjoyed it as much as me – it’s a stunning video.

Please do leave your comments below!

That’s all for this time peeps.

Please do keep ’em coming.

And if today is the day you finally get started on your layout, the Beginner’s Guide is here.

Best

Al

PS Latest ebay cheat sheet is here.


Kim’s flashing railroad signs

“Hi Al.

First take the signal and pop out the red lenses.

Now carefully drill by hand with a drill bit with black electrical tape to act as a grip on the drill bit.

Carefuly drill out the hole to make a tiny bit bigger than the led diode. Careful not to touch or damage the lens cover.

Touch the signal head with black paint to make brighter and darker looking. now slip in the 3mm red flashing led,one on each side and line up the negative and positive leads to each other.

Now bend the positive post to cross the other positive post. snip off just anough positive post touching each other so it make contact to each other.

Bend the post close to the diode itself. Now do the netgative. Okay you have the positive crossing the other positive as in photo as well as the negative. Now you have both led’s installed and eack post is bent to touch positive to positive and negative to negative.

Take phone wire and slip the positive wire under the positive lead’s and solder very fast as not to melt or heat to much.

Take the negative and do the same. Keep the wires in line so they will trail down the post of the signal. now if you noticed at the bottom of the signal post there is a tiny slit. I pushed the positive wire and negative into that slit.

Where you slip the signal into the slot of the crossing, make another tiny slit and push the signal post into place and presto your done.

Now when you apply low voltage power to the wires they will start.These are 1 second flash diodes and wont work at the same time.and if they do it wont be a sec before they will work seperatly.and if they do flash in sink cut power and add power again and that will throw them off.

You can hook them to work with your rail signal’s to go off when they do. Or can let them run all the time as a static working signal. So easy to make,and works super.Im also making yellow warning flashing street lights.even made a green yellow red stop light with flashing diode.I sent in this photo to show the slit I make and how it is wired.any question’s ask me okay.

Oh after done you can paint the wires silver to hide them as the post is silver too.okay my friend be back with more fun lol

Kim”

Buy your diodes here with the ebay cheat sheet…

And a big thanks to Kim.

Please keep ’em coming.

Best

Al

Dennis’ layout

“Hi Alastair,

My tip is to use sanded tile grout for ballast you can get black grout and grey grout and mix them to the color you want grout comes in many colors.

If the grout is too fine mix some sand in with, it if you do add sand you will have to glue it down without the sand all the grout needs is water.Haven’t tried this but N scale you could mix sanded grout (floor grout) with non sanded grout (wall grout). I’m in the states and grout is cheap sanded grout comes in 25lb bags wall grout In smaller bags . So you should have plenty off grout left for friends

Peter”


“Started this with one idea in mind – mining and lumber mill – then added a reverse track for a little pusher car to go in and out of the mine, then added the first raised track, then the second, then another reverse track going from the mine drop-off to the processing shed, and on and on. 5 trains running on one piece of plywood!

Dennis”


That’s all folks – please do keep ’em coming. If you’ve got a layout – half built or beautifully finished – we’d all love to see it.

Please do keep ’em coming.

And if today is the day you pick this hobby back up, the Beginner’s Guide is here.

Best

Al

PS More HO scale train layouts here if that’s your thing.


Need buildings for your layout? Have a look at the Silly Discount bundle.