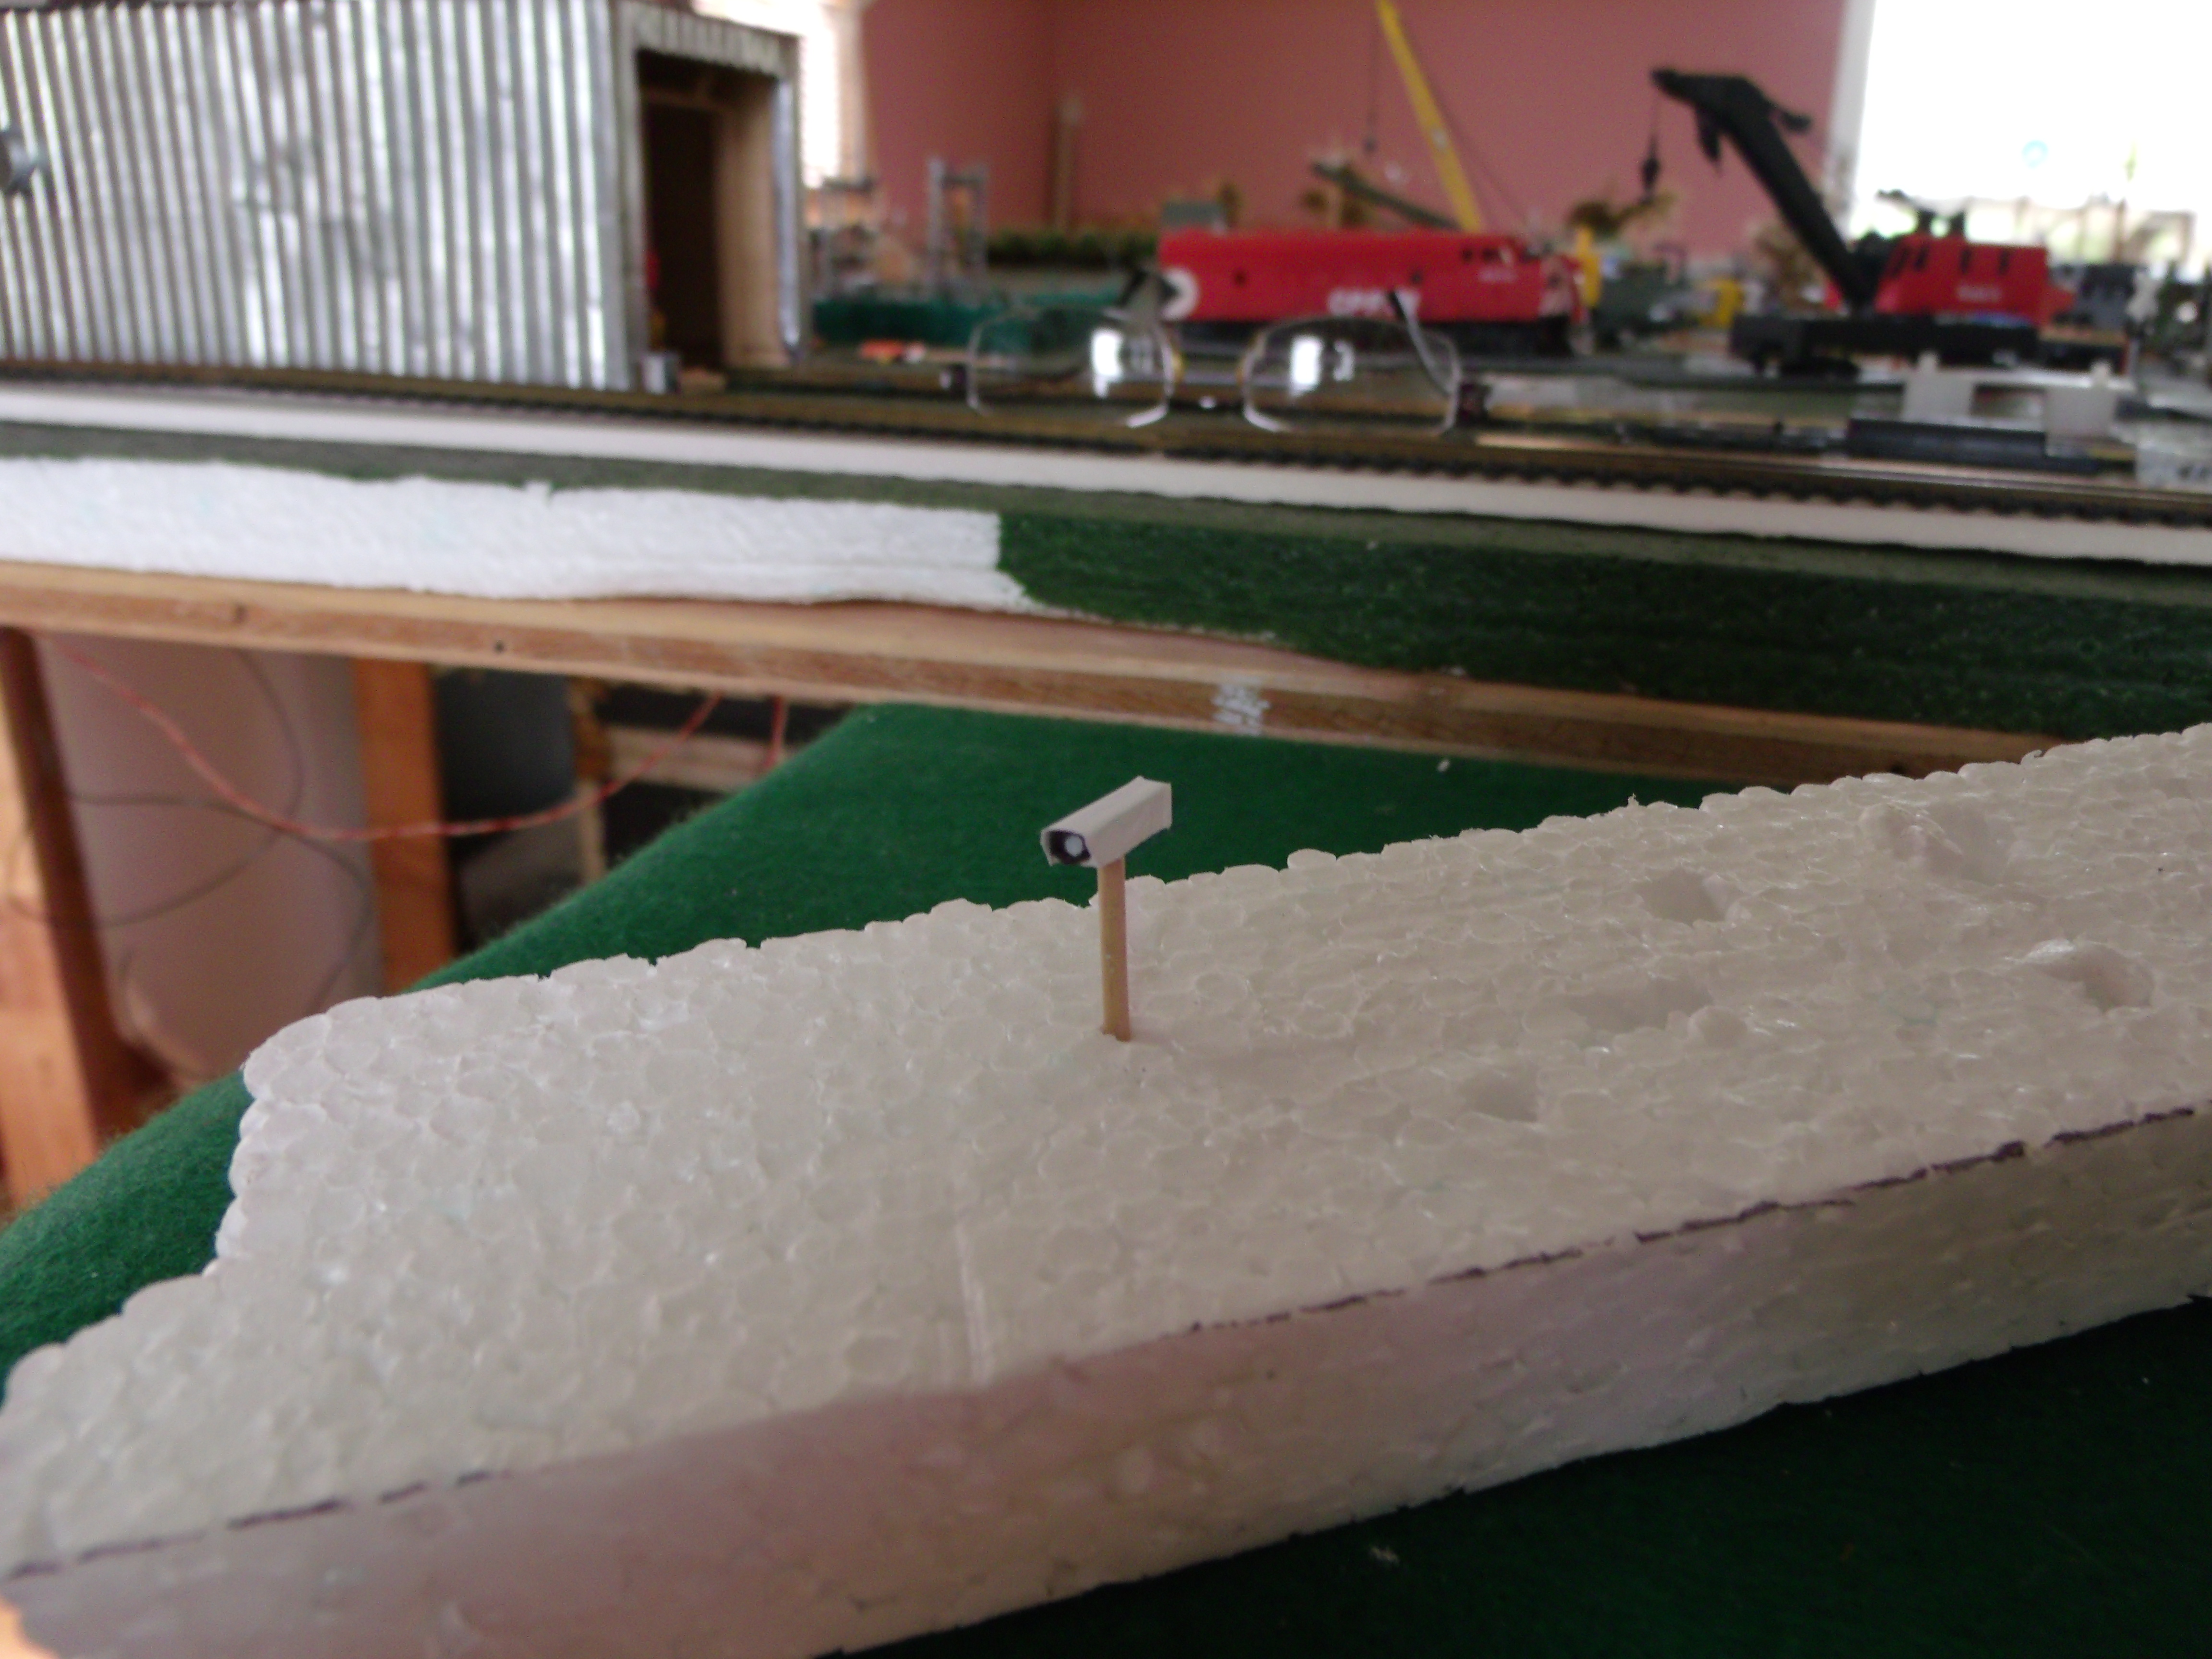
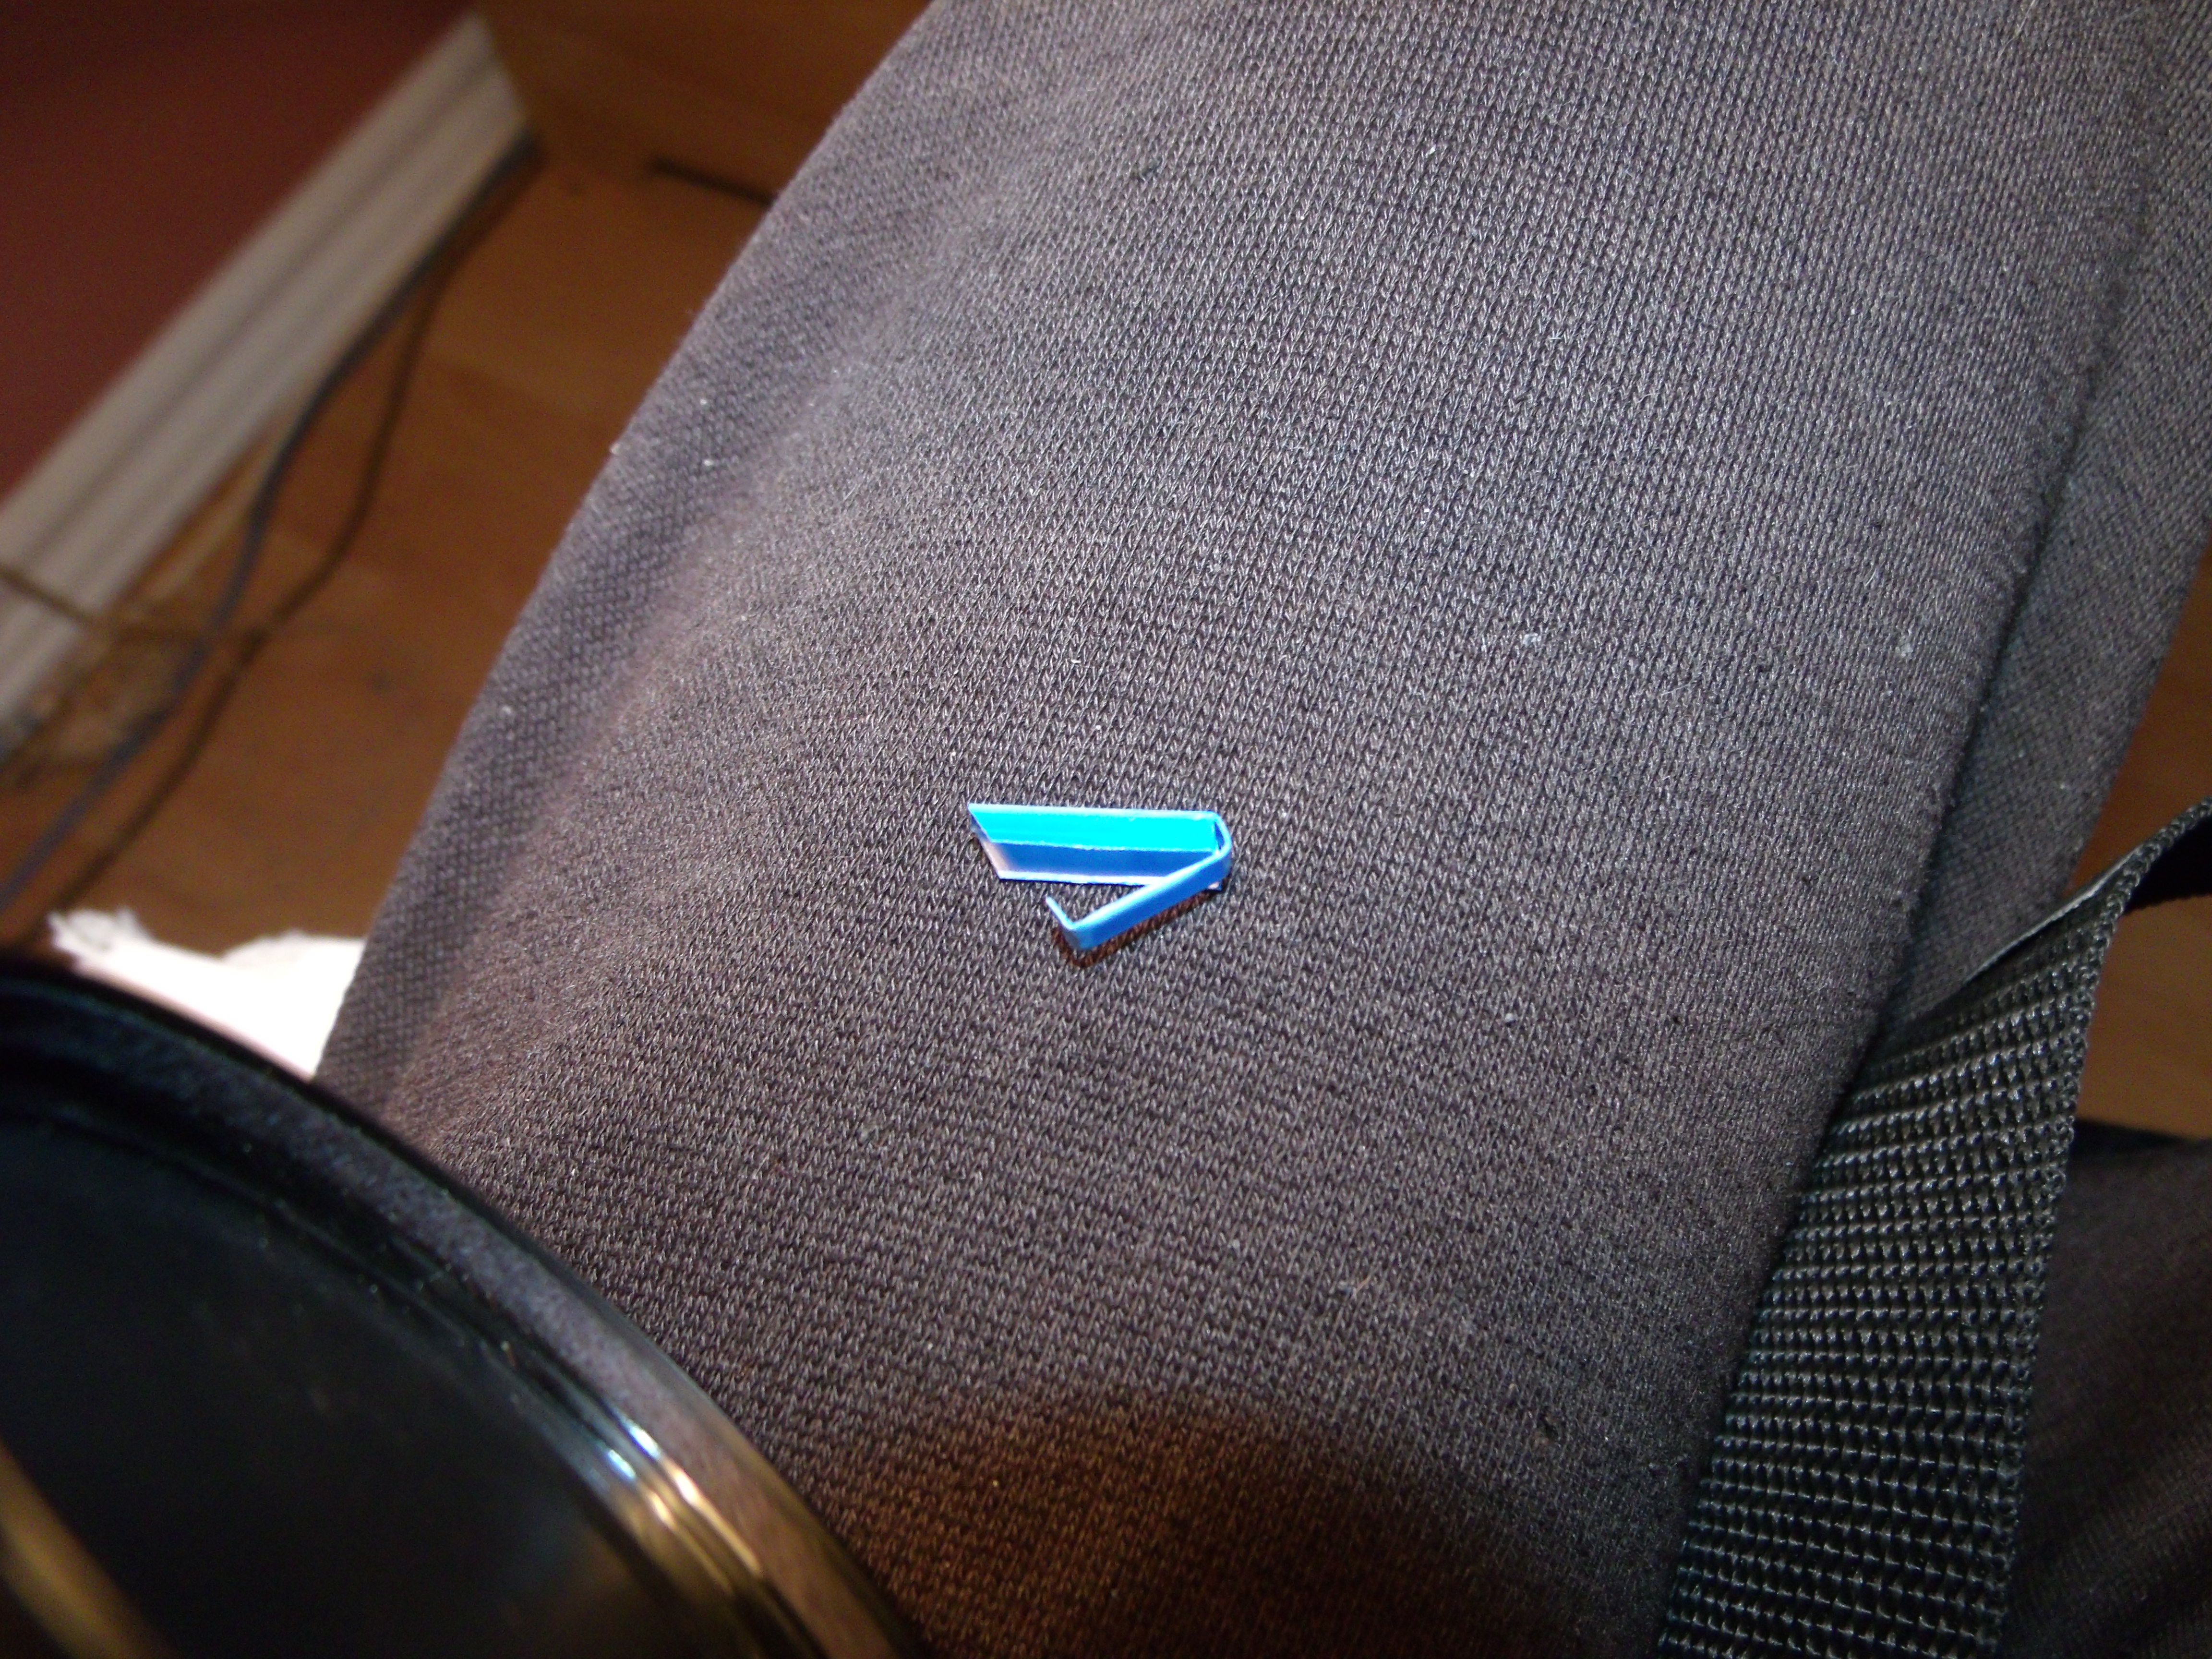
may like this one. a cctv camera made from one piece of plastic.you just snap it down in place add a tiny dot of instant glue and presto cctv camera for traffic.
just paint it add a lens and black cable and looks real anough.
this first pic is of a one piece plastic.the white cctv camera is made from two piece of aluminum from a food container and was a bugger to build.stick to the plastic.
Al I have a slide rule but don’t understand the numbers it’s giving me.Have any idea what 0.1.0 can build anything but cant understand a bloody slide rule.
Kim”
“Hi Alastair,
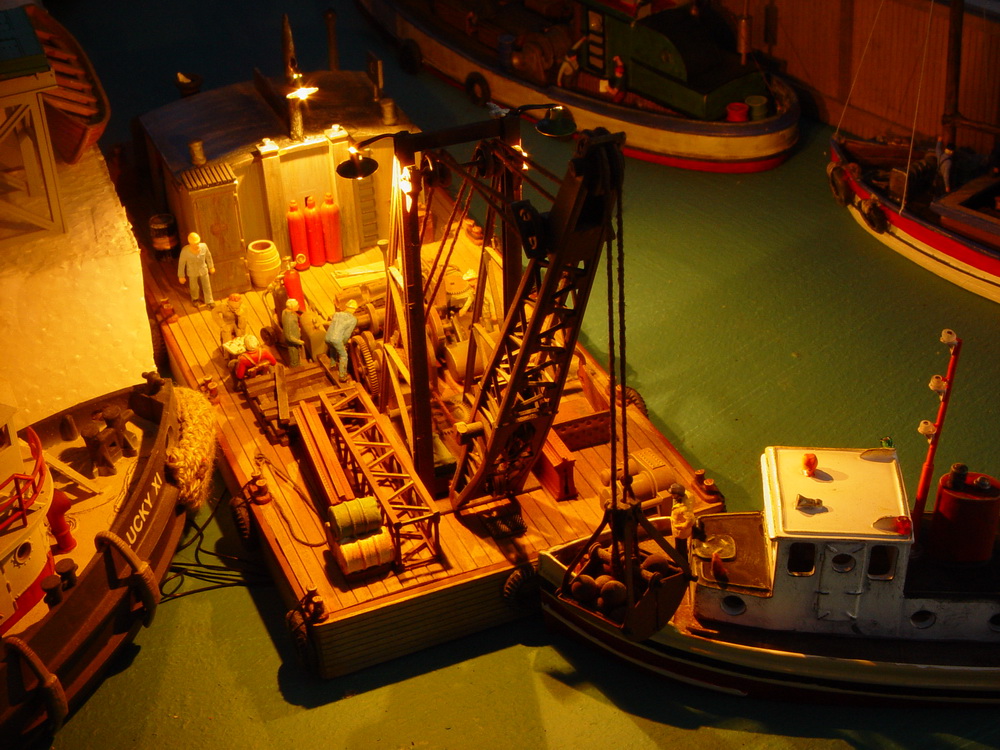
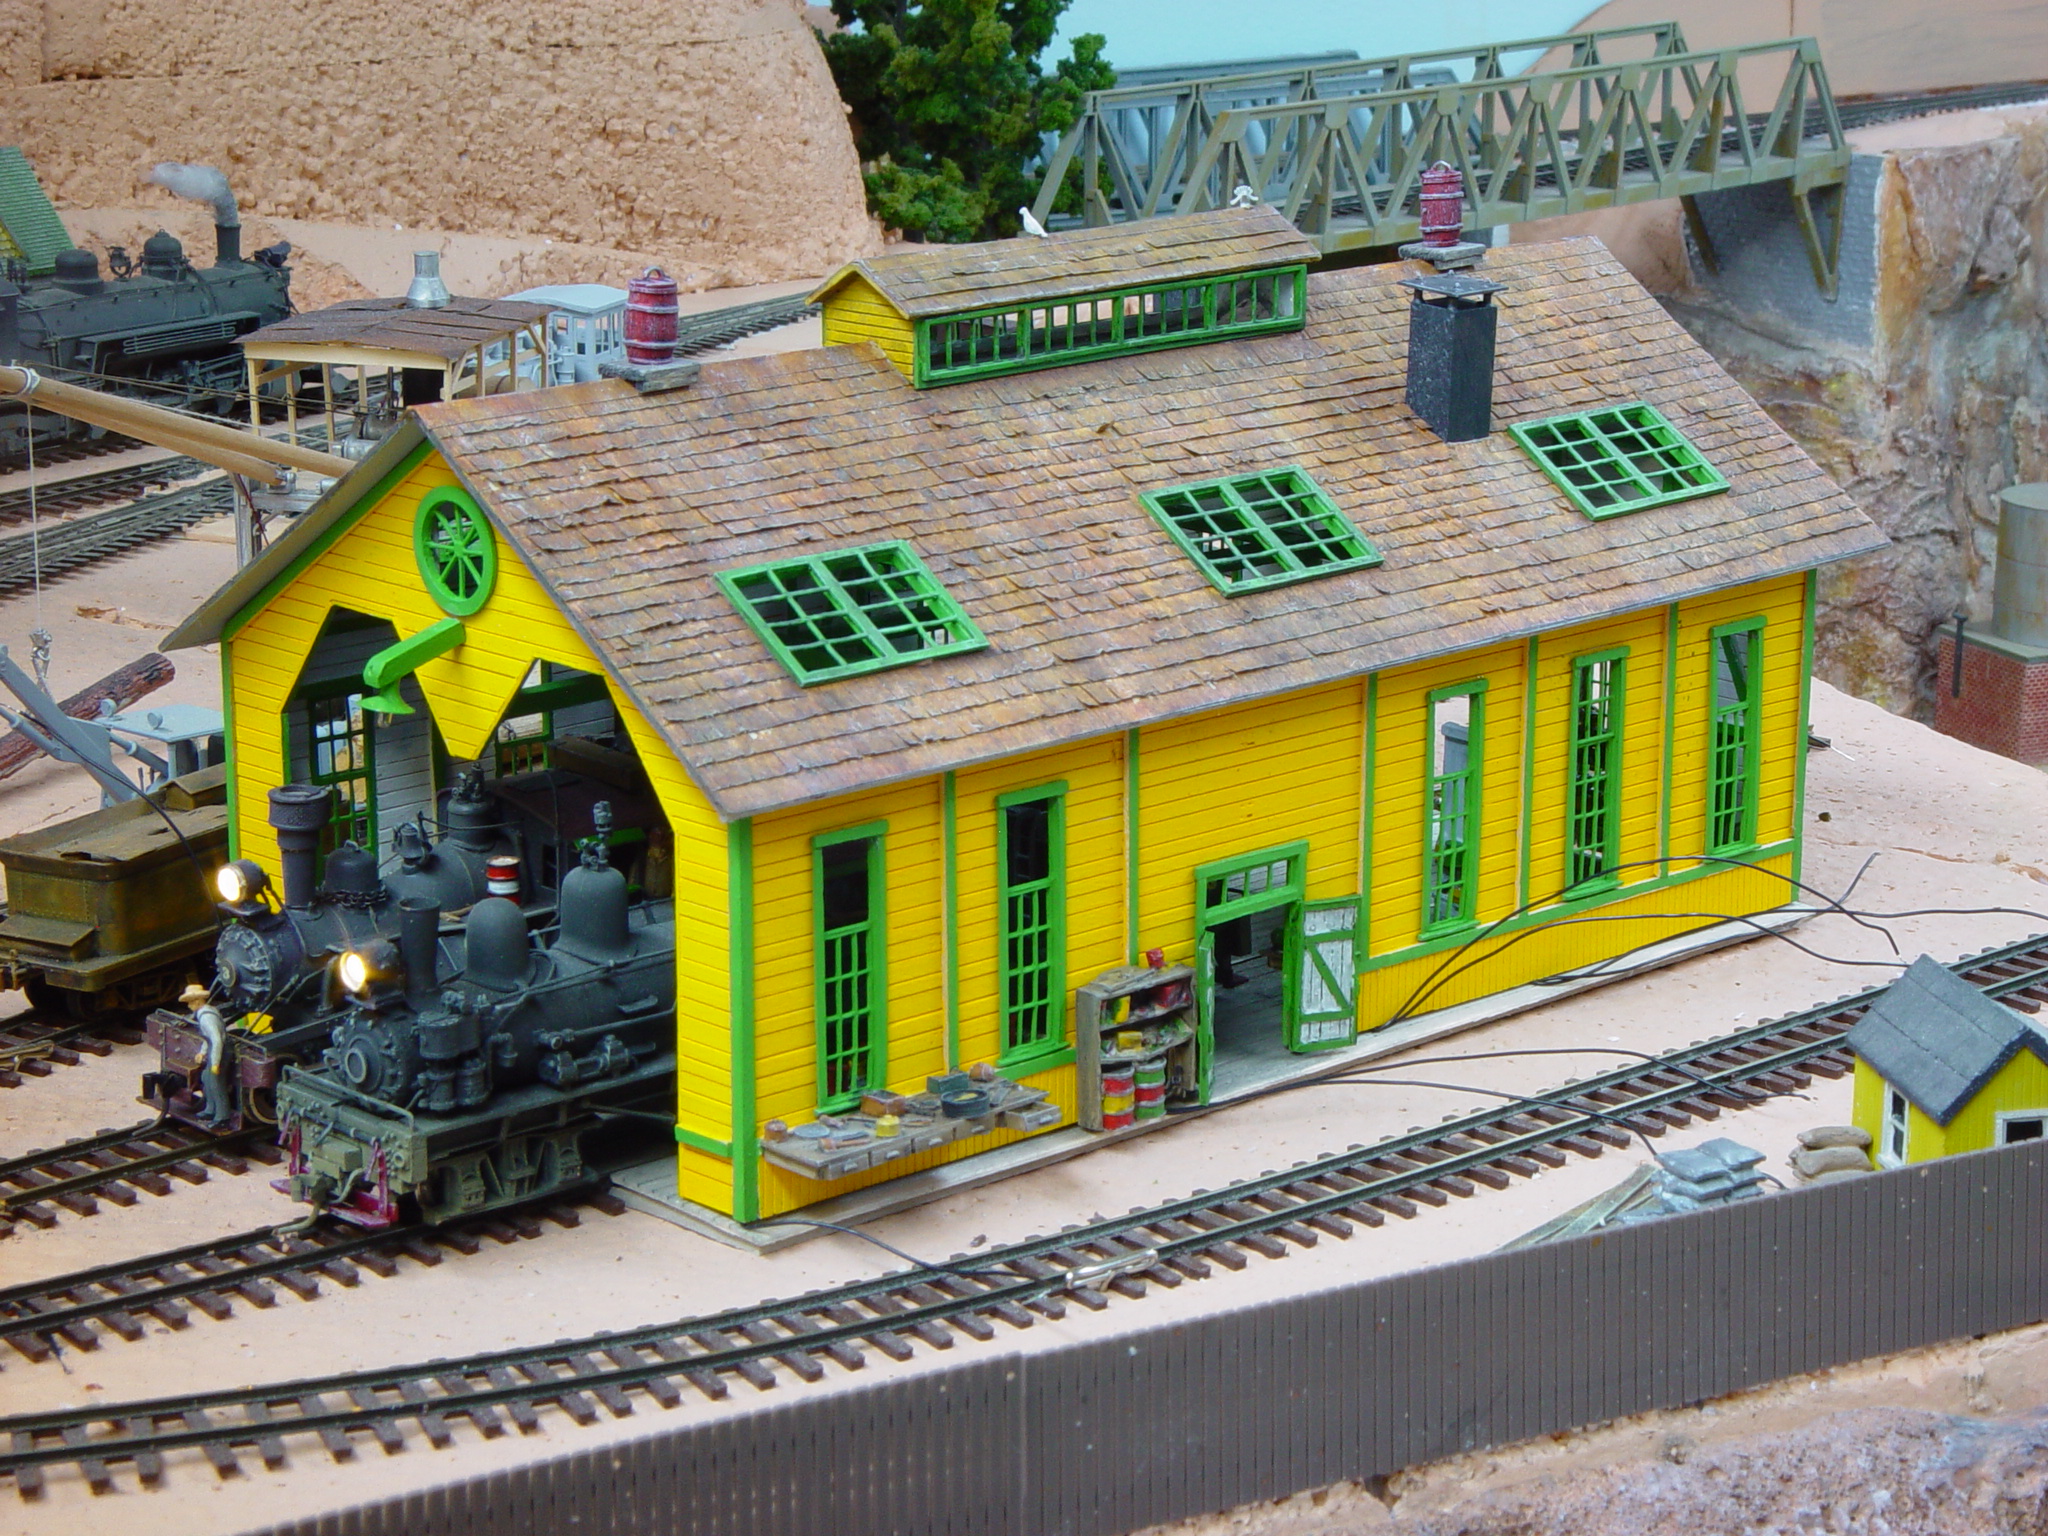
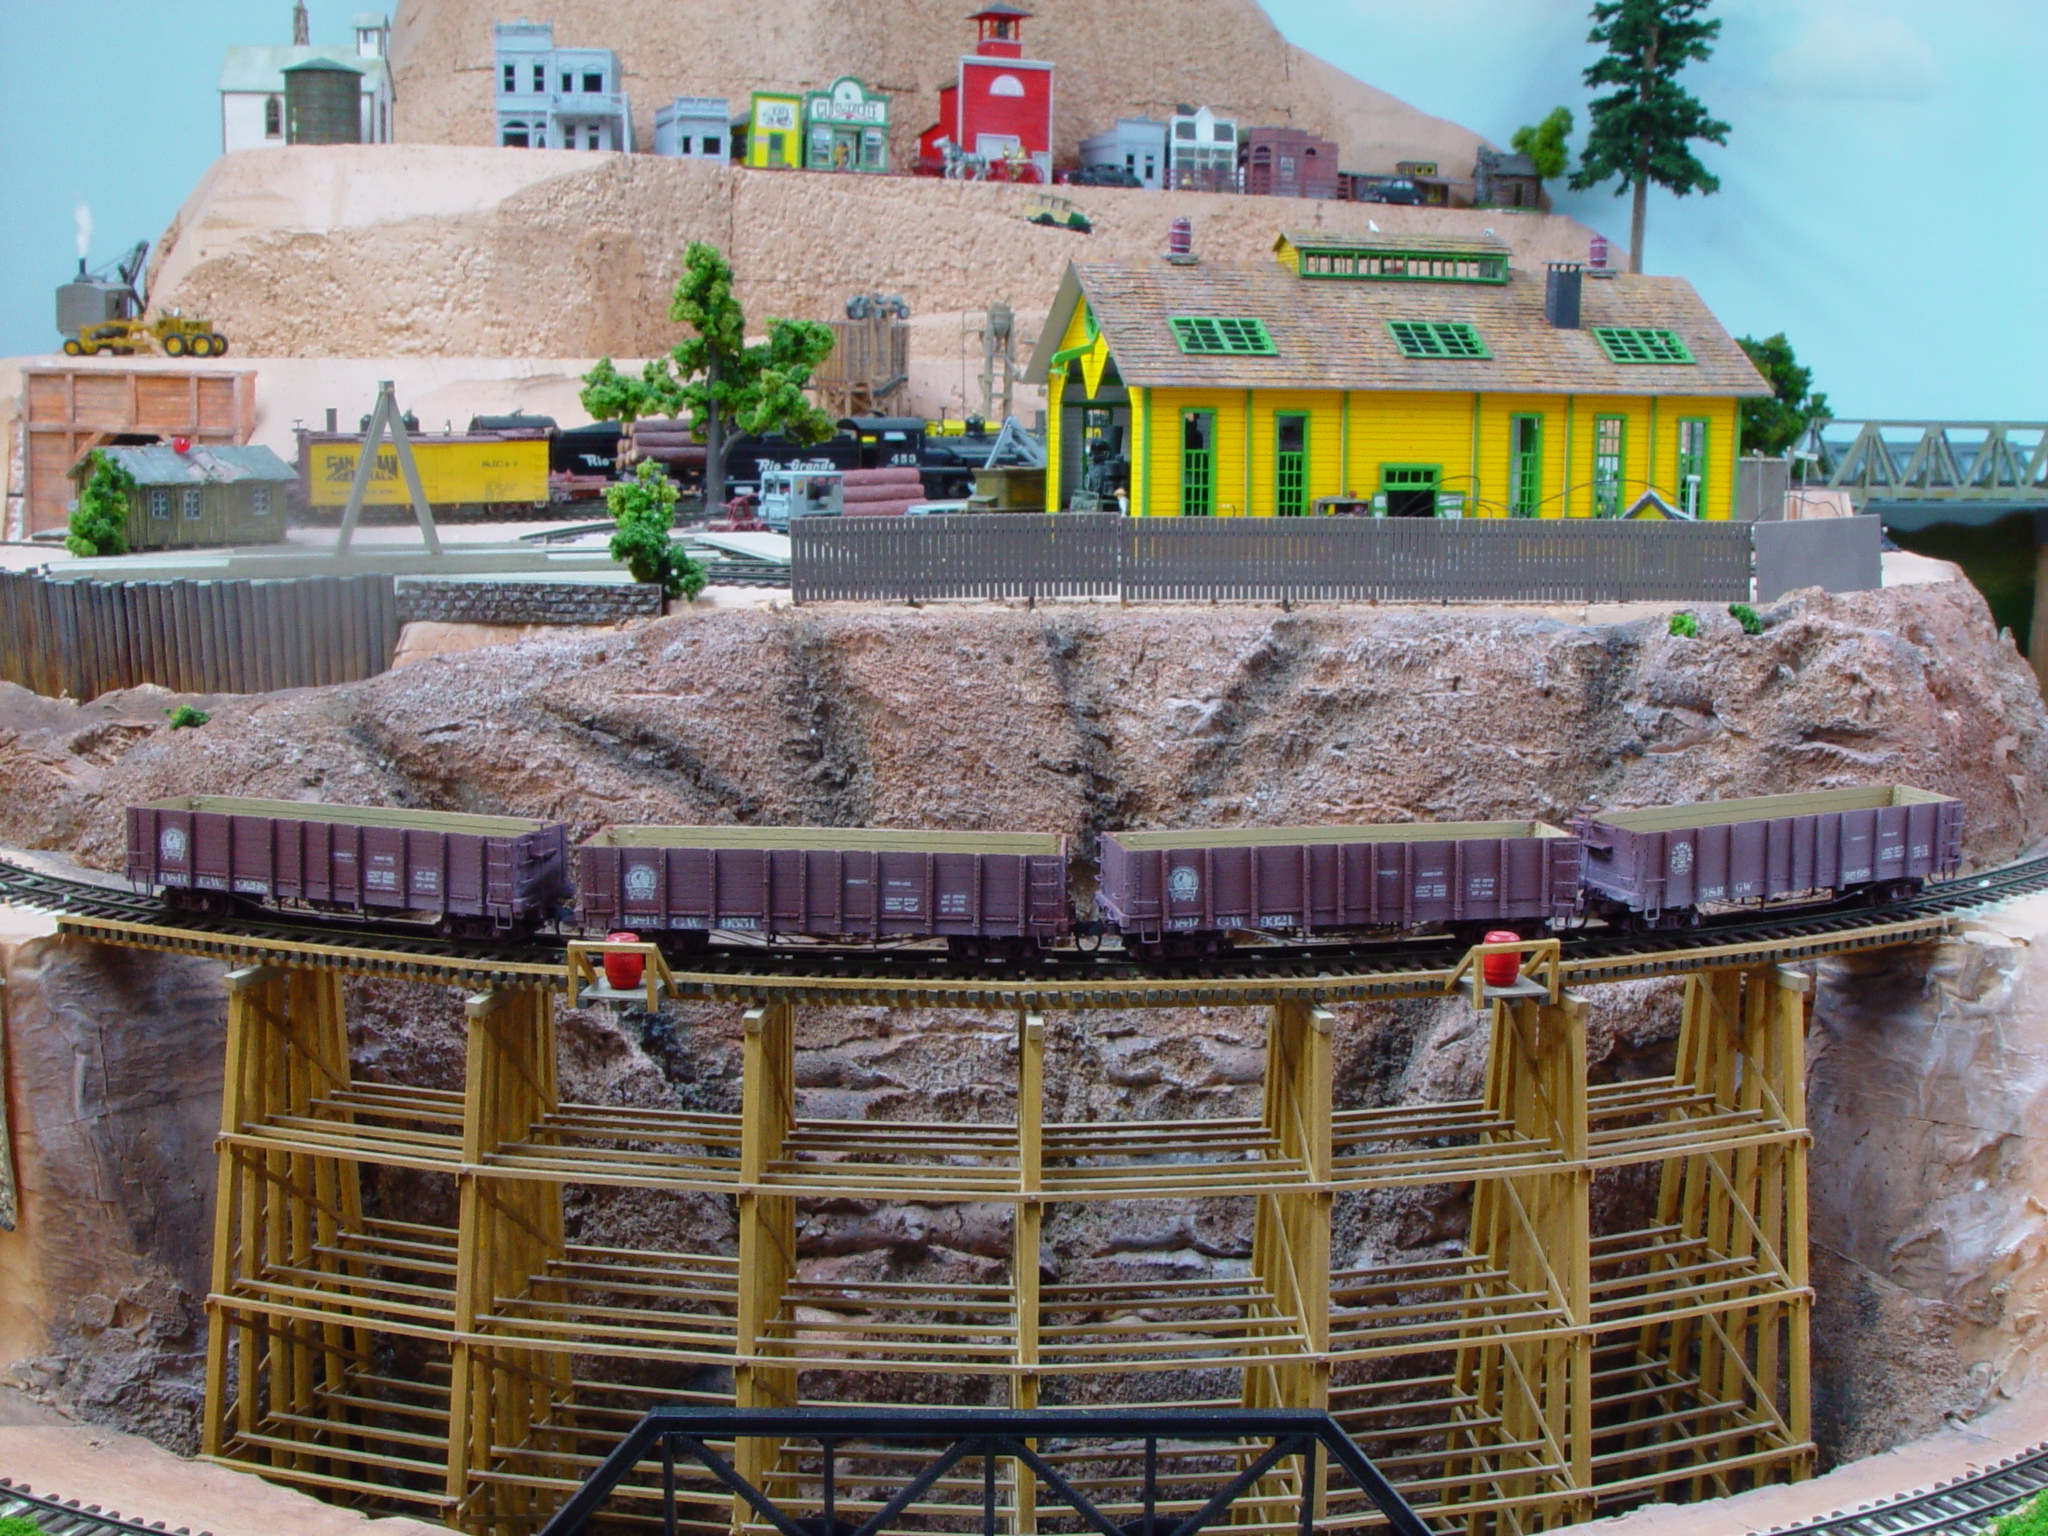
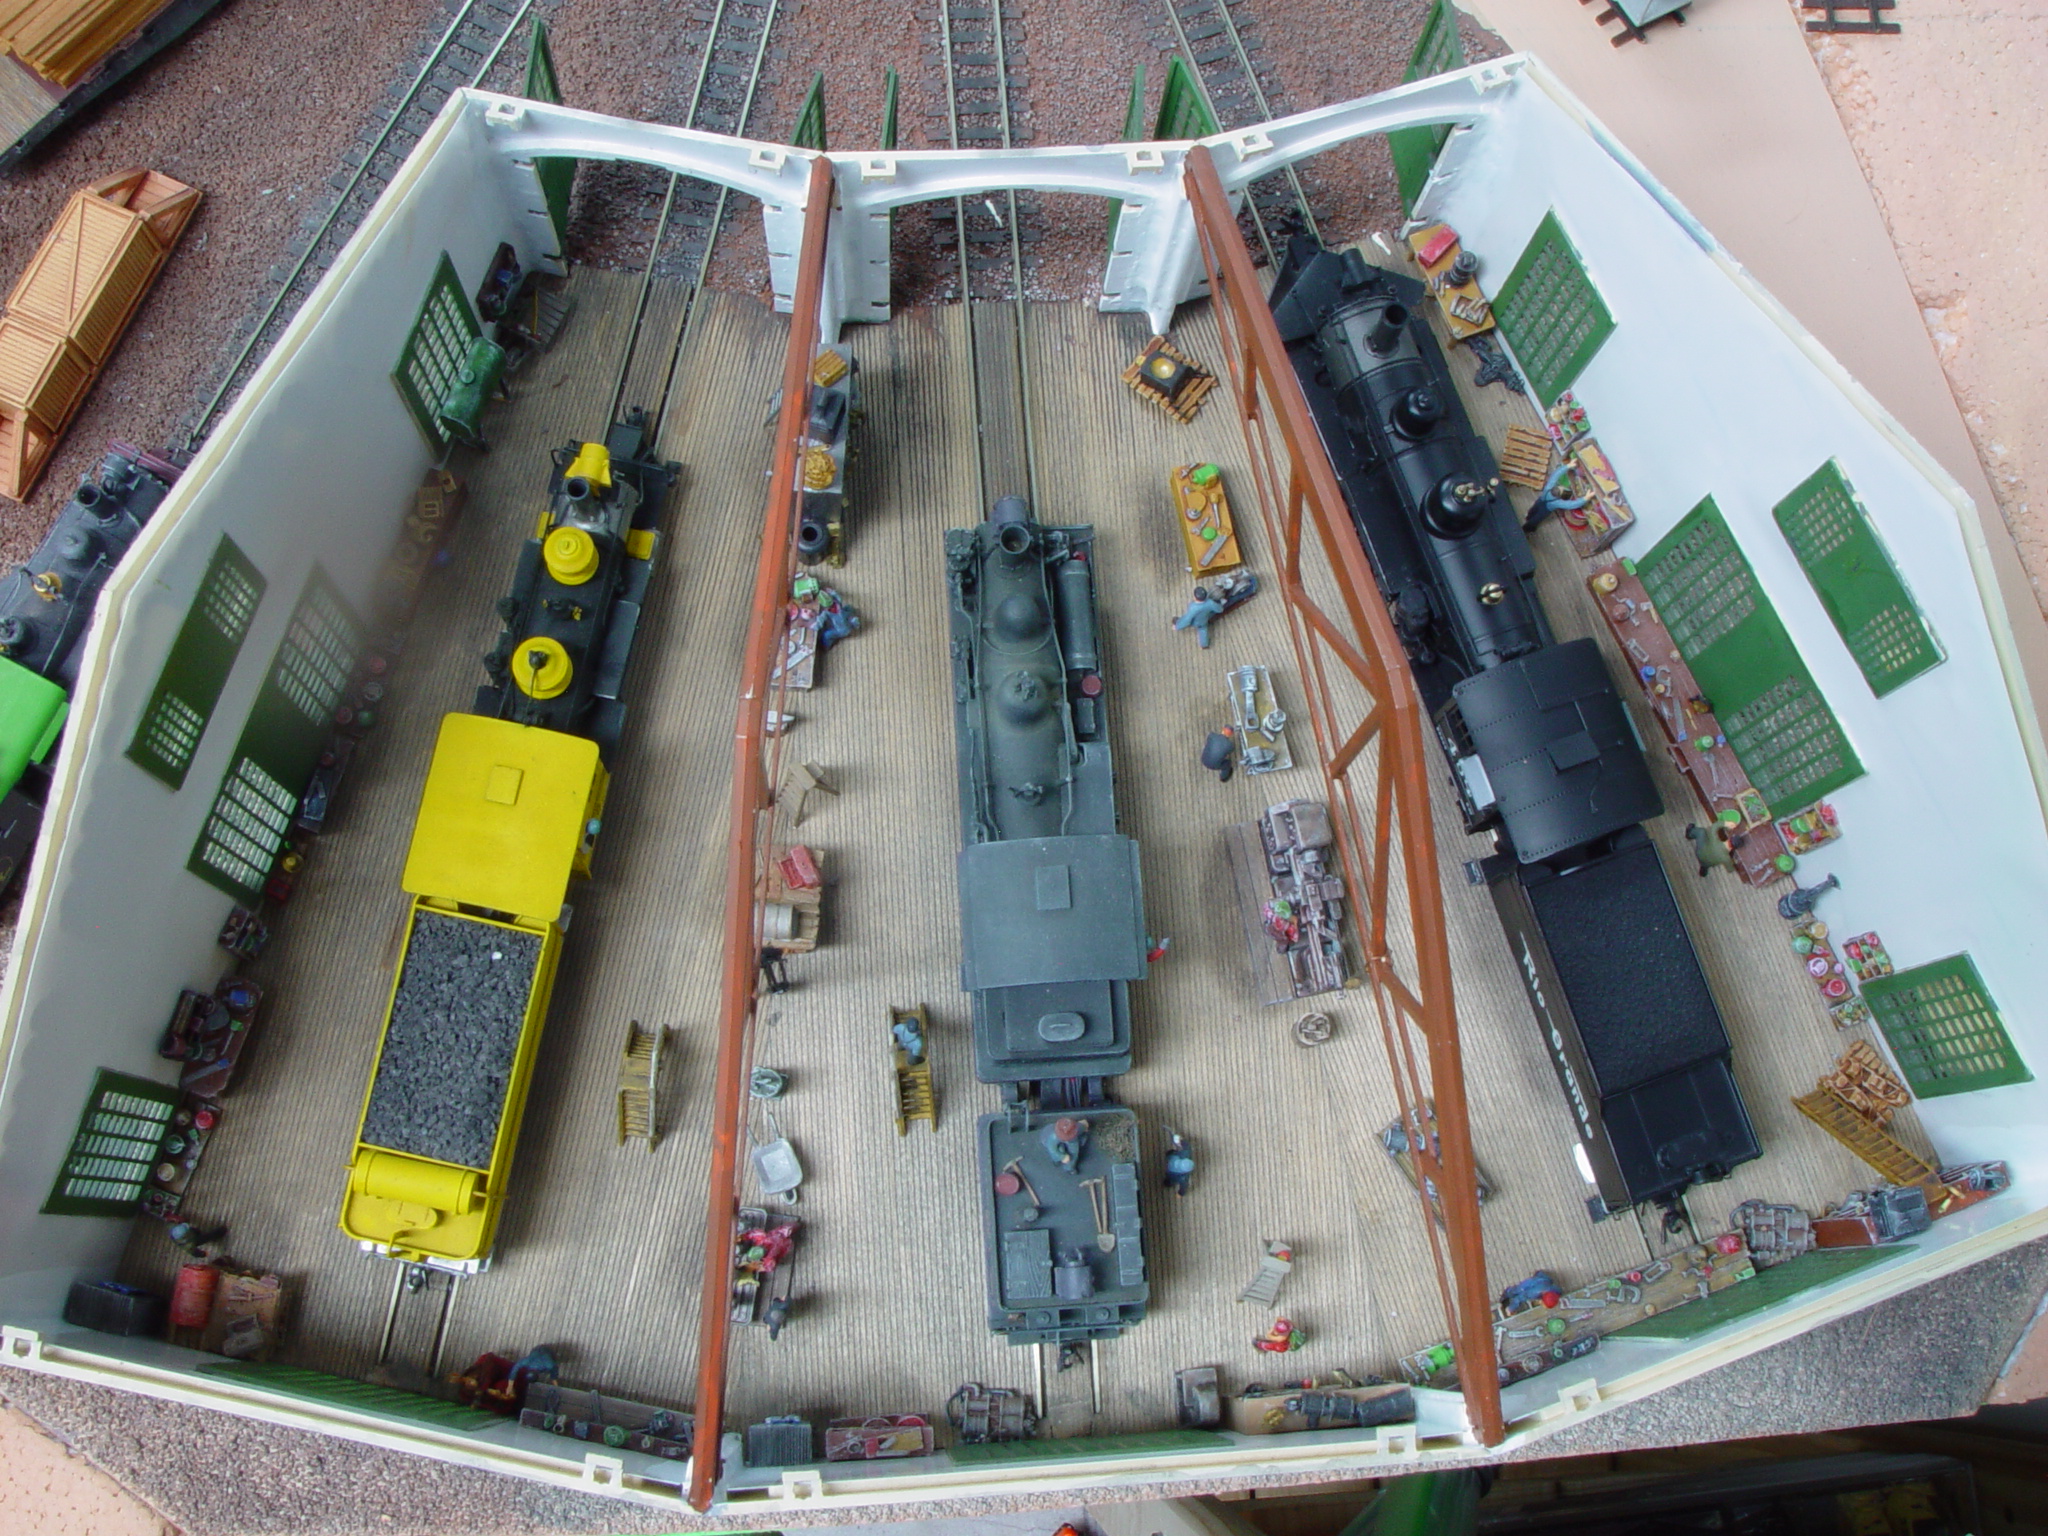
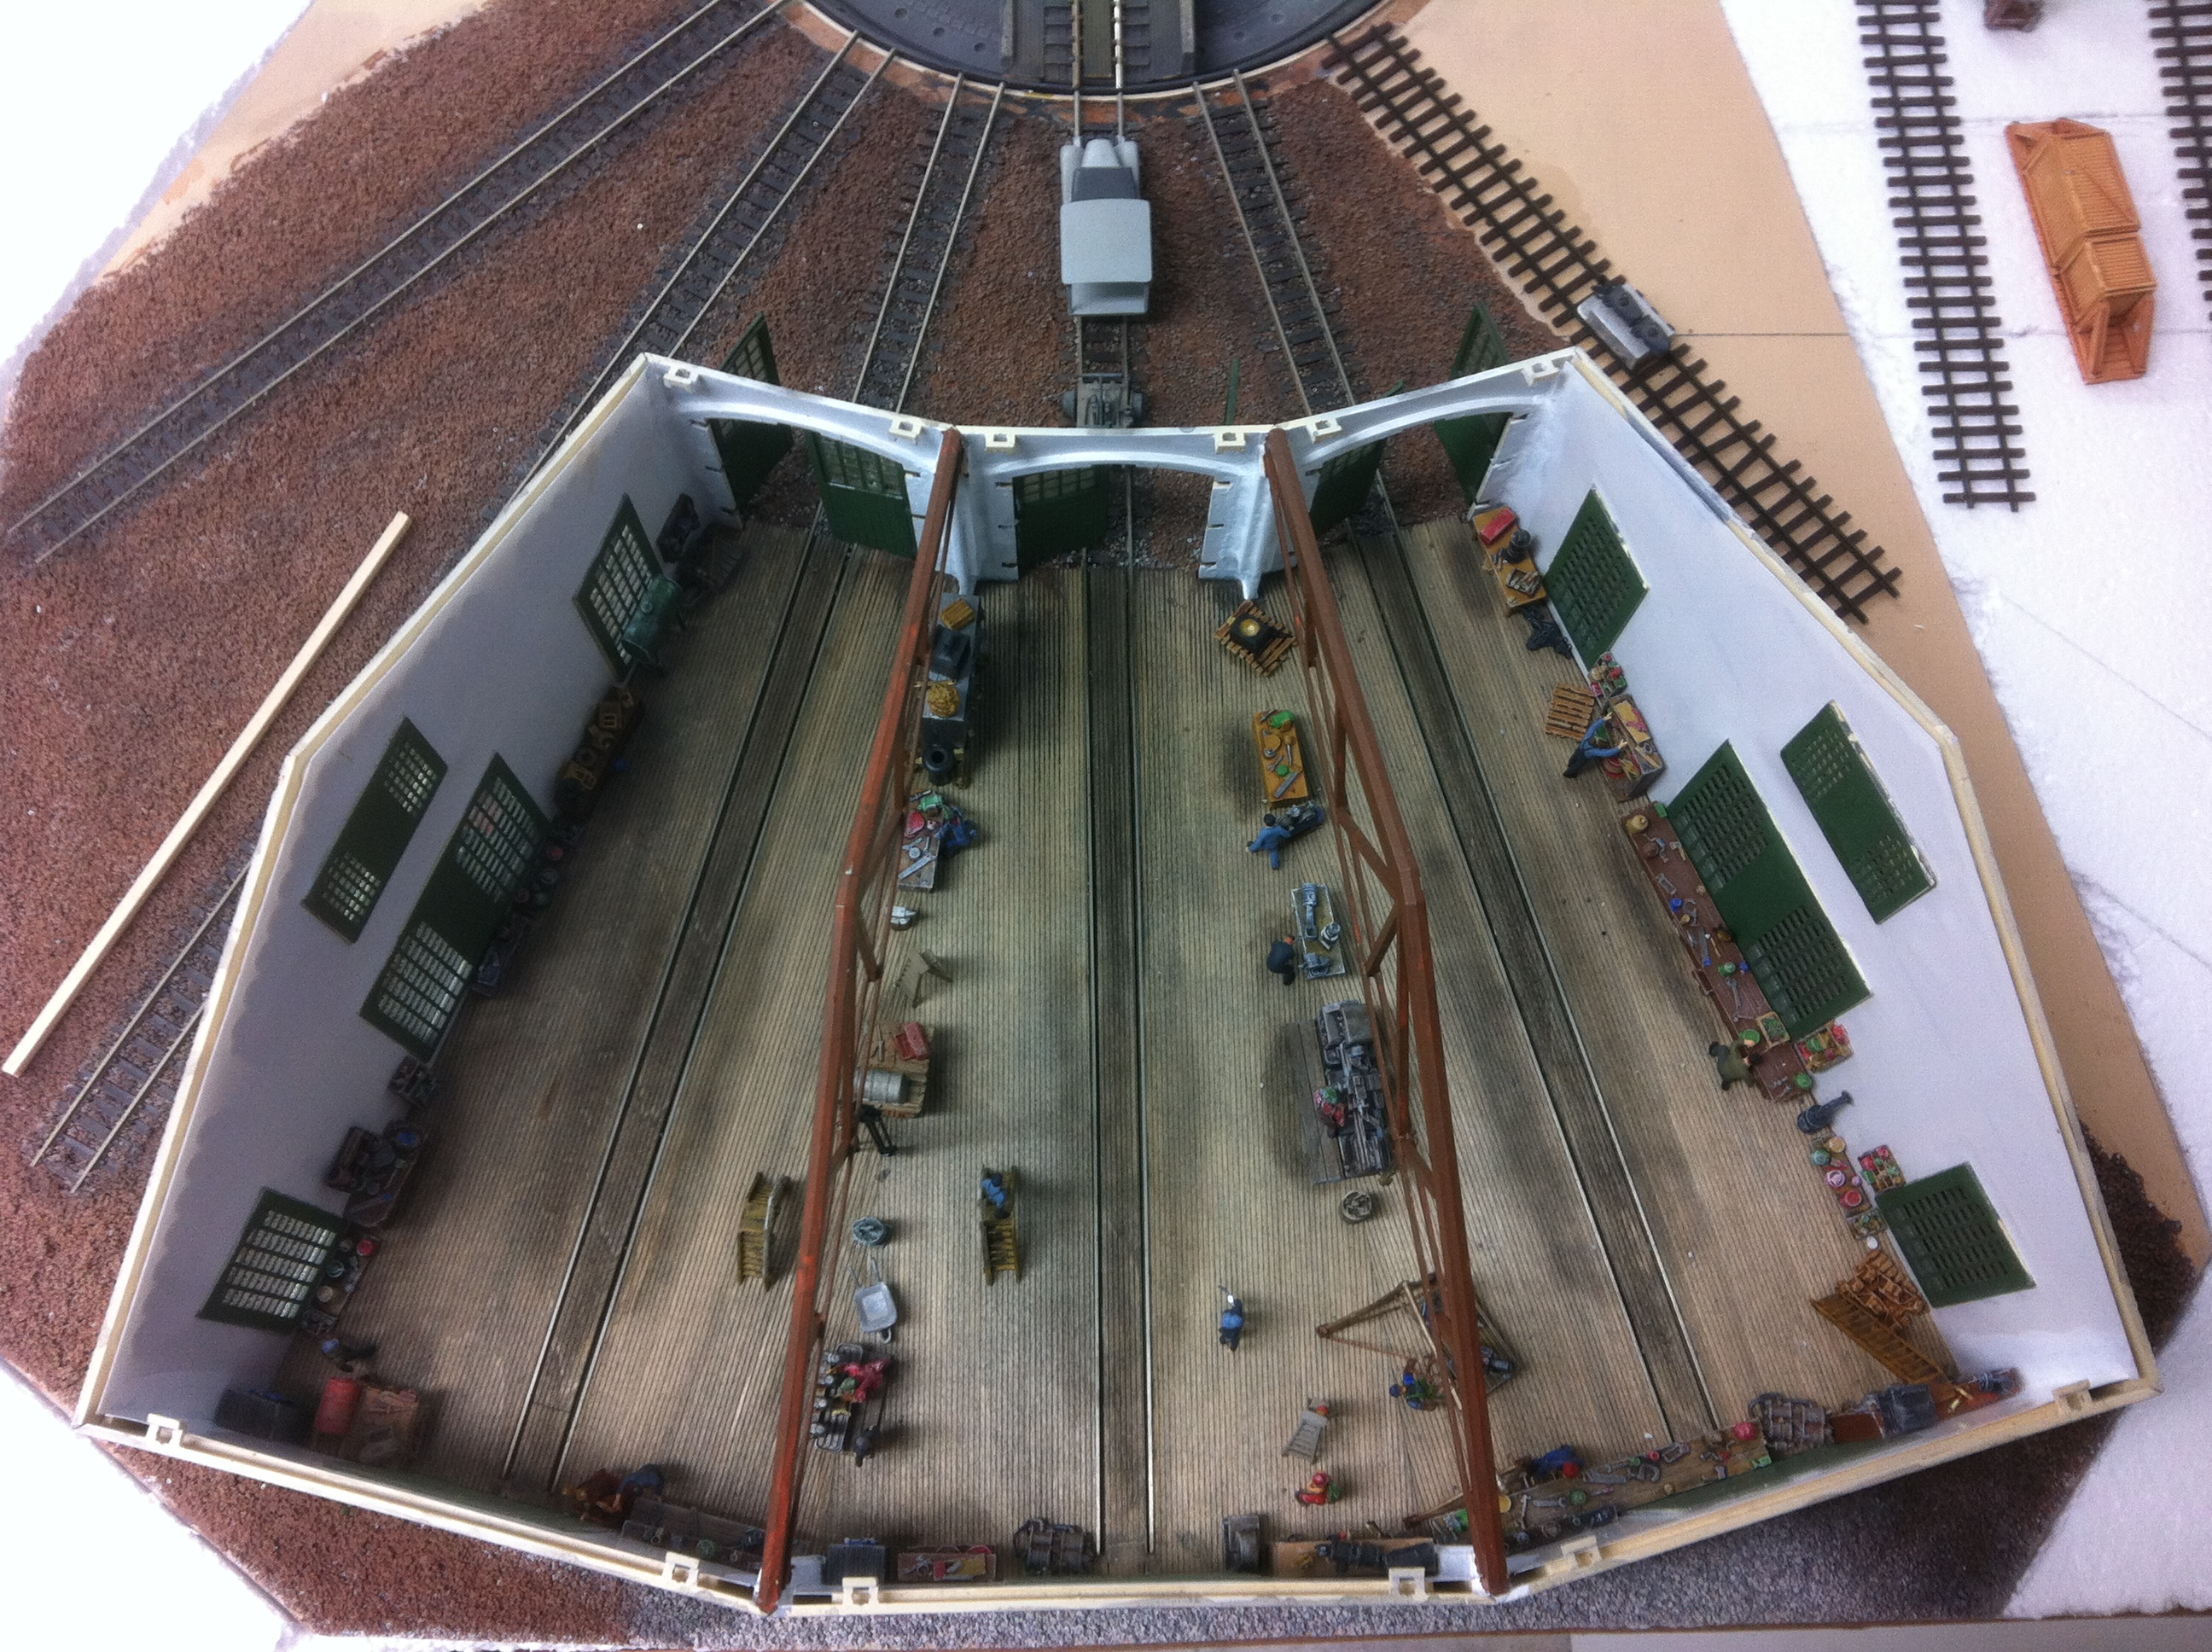
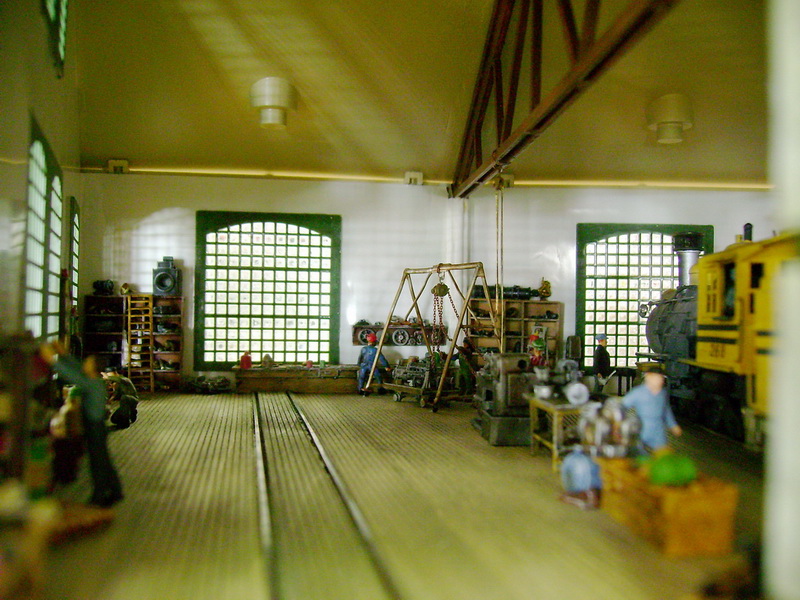
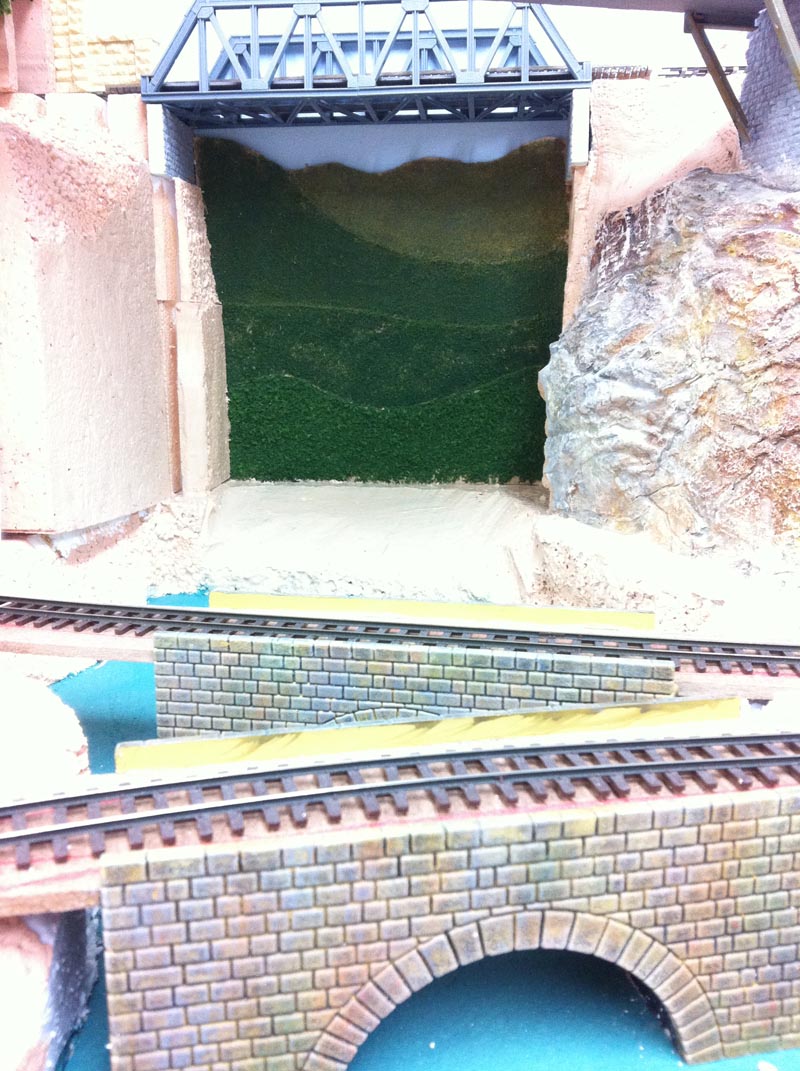
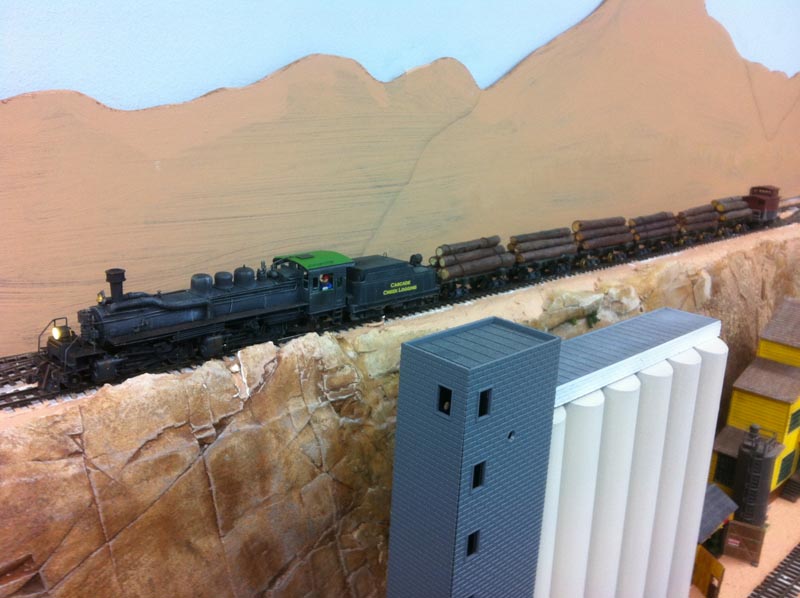
A few photos of areas around my layout.
Regards
Brian”
(Images are clickable)
“This is a video of my train. I make all my buildings with “foam board”. I make the images for the buildings on my computer. The current layout is on plywood in an ” E” format.
If you are wondering about adding traffic lights to your model railroad, Kim shows you how:
“Hi Al.
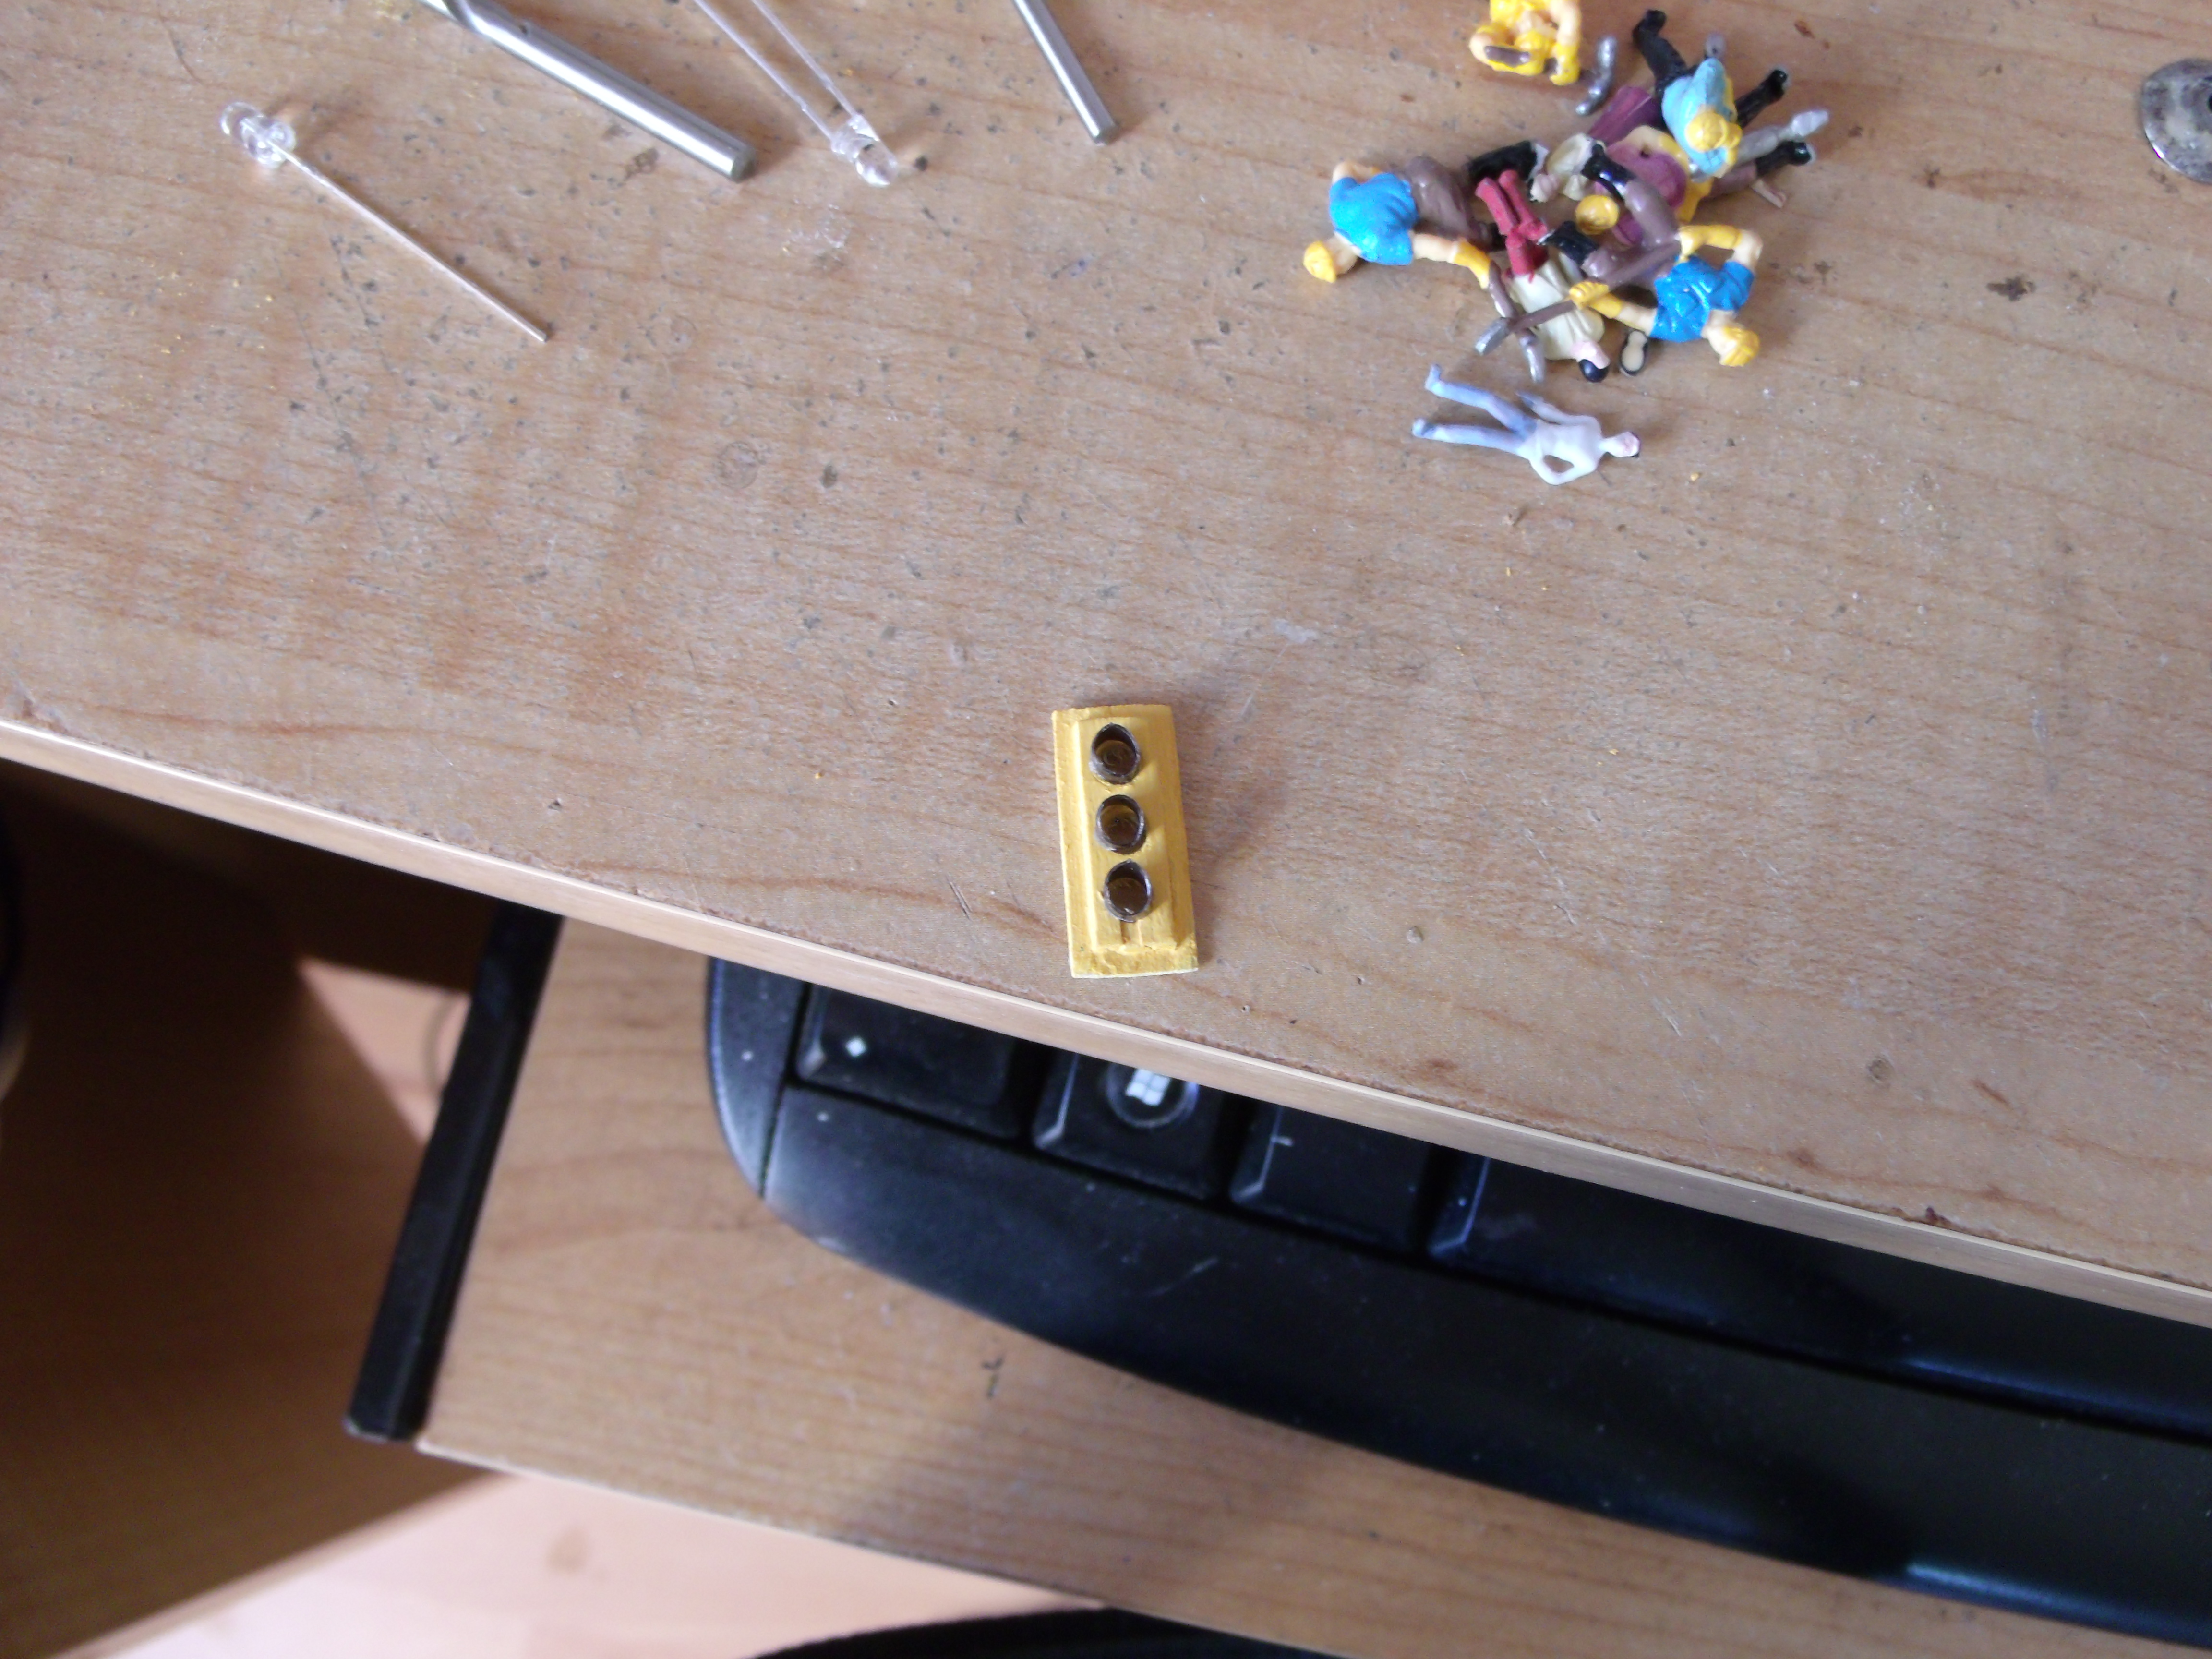
This is a test build of a north American traffic signal. Made from wood.
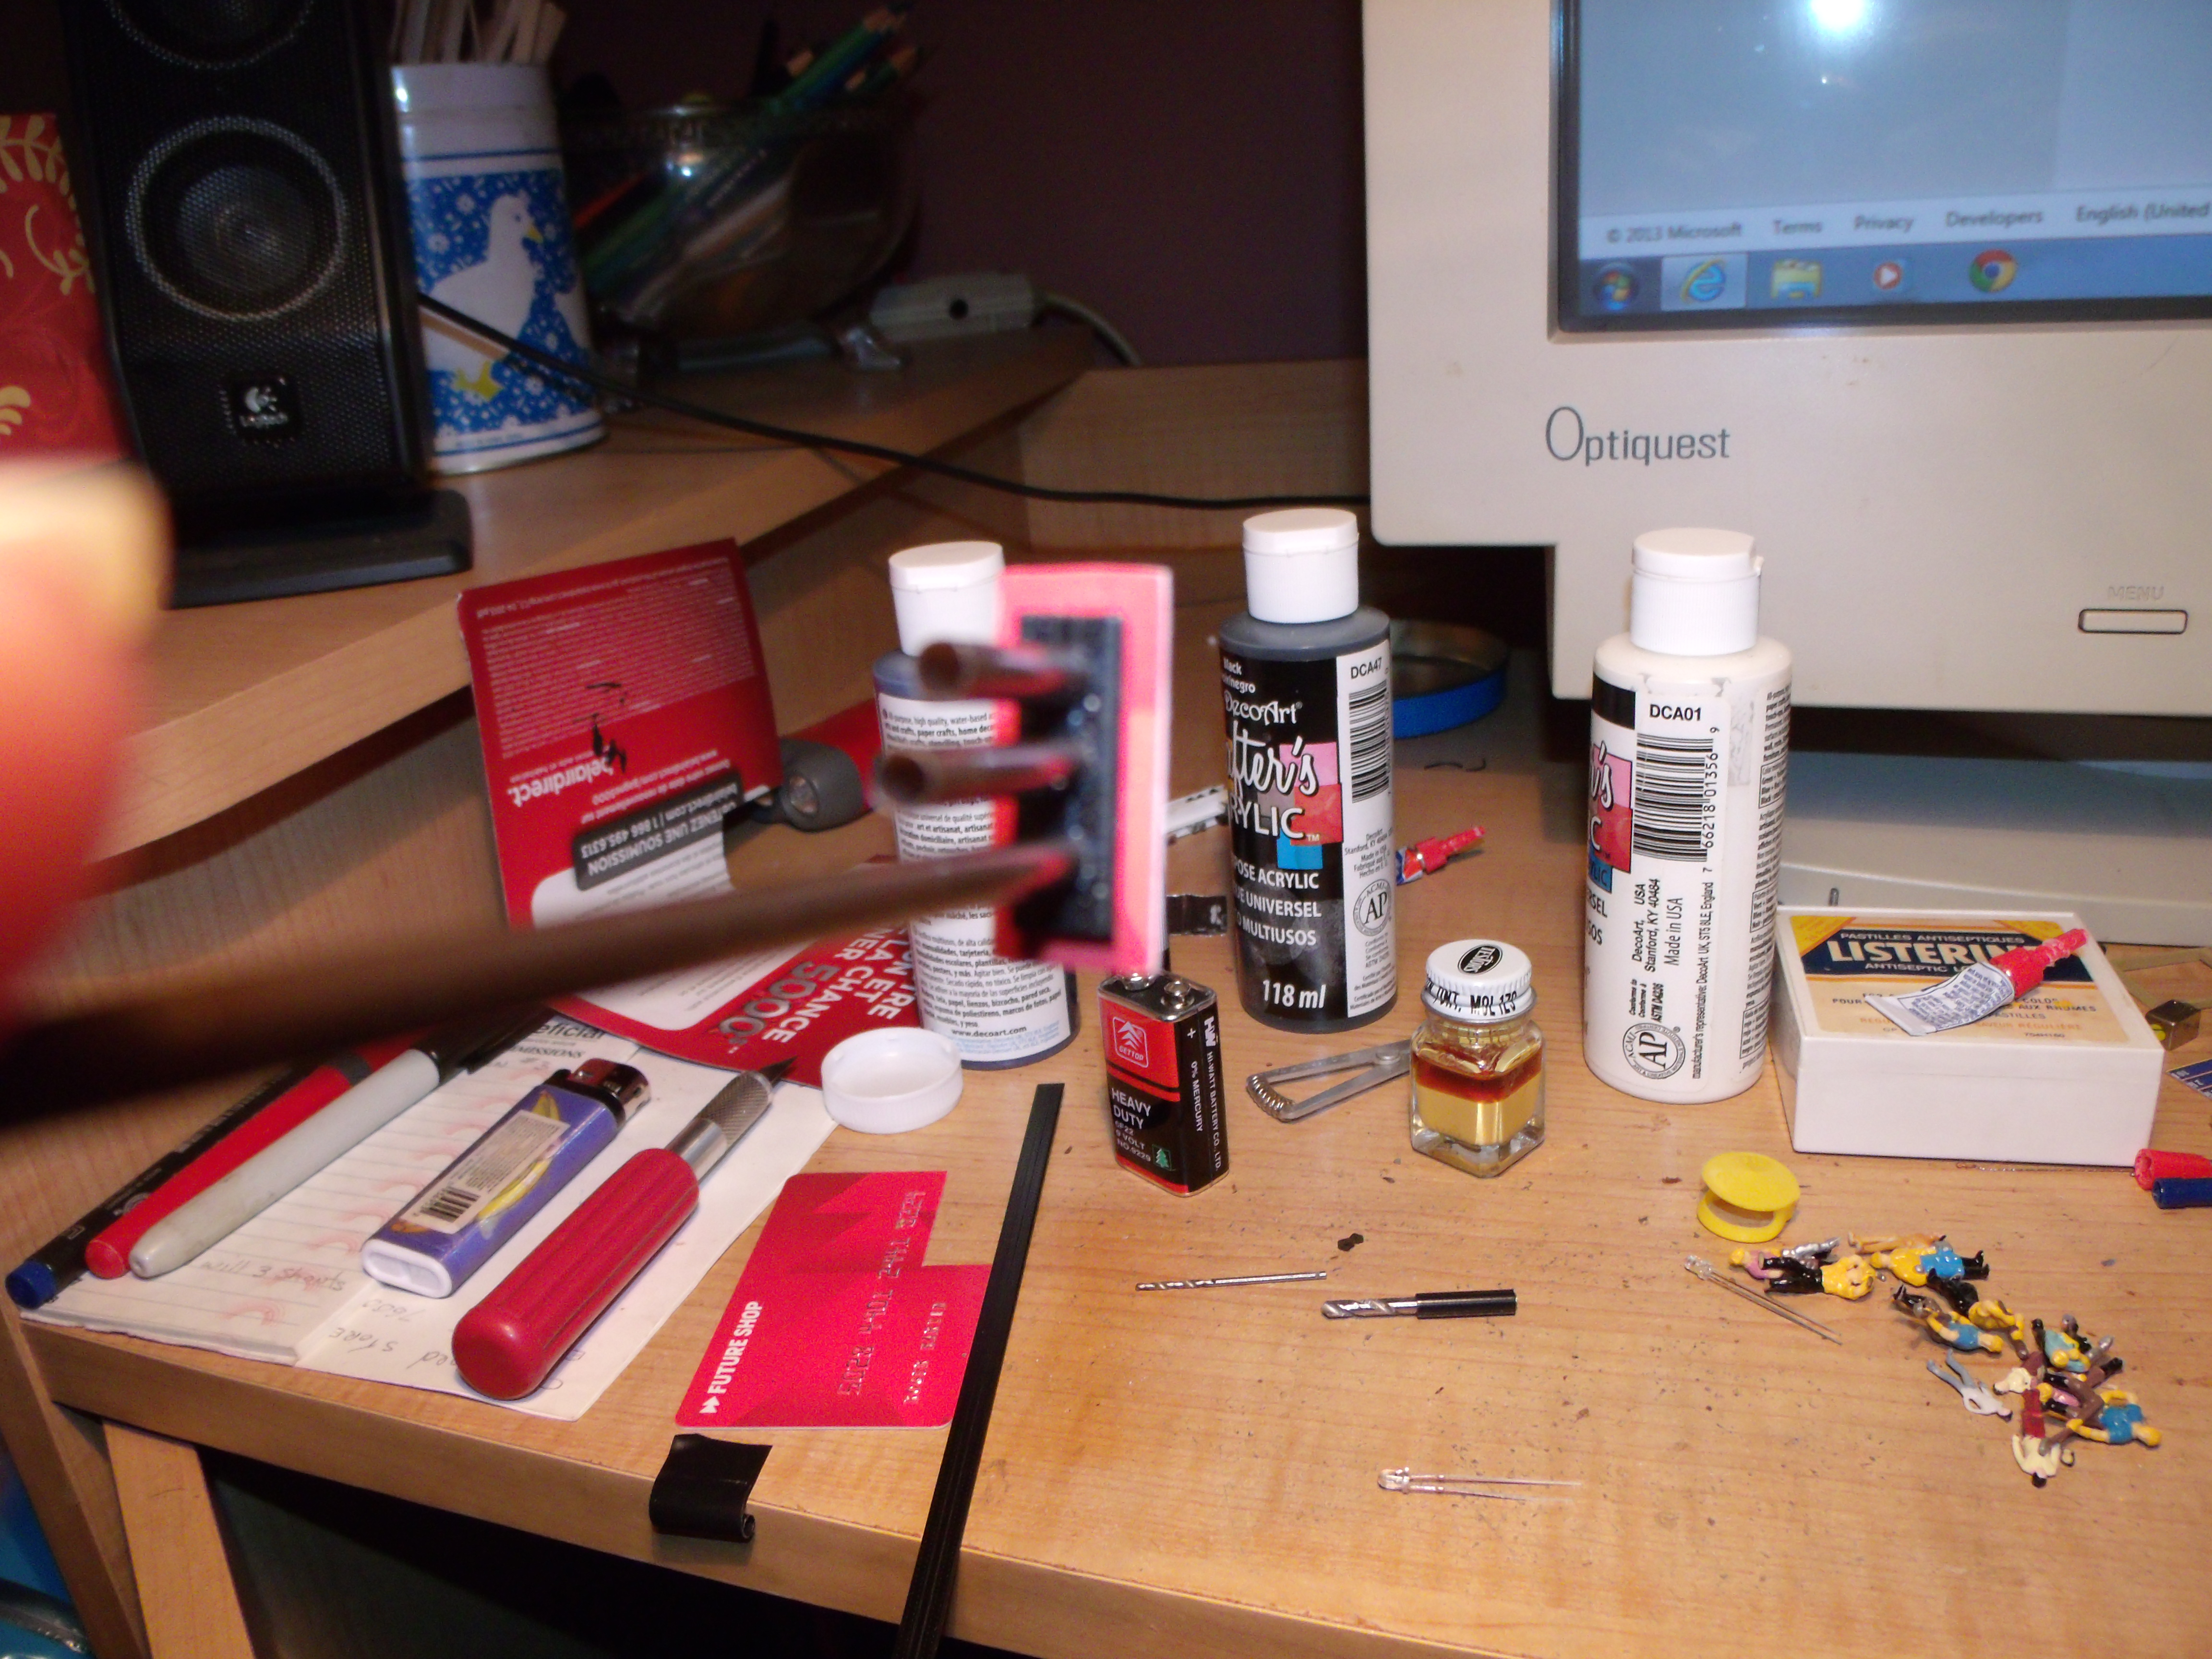
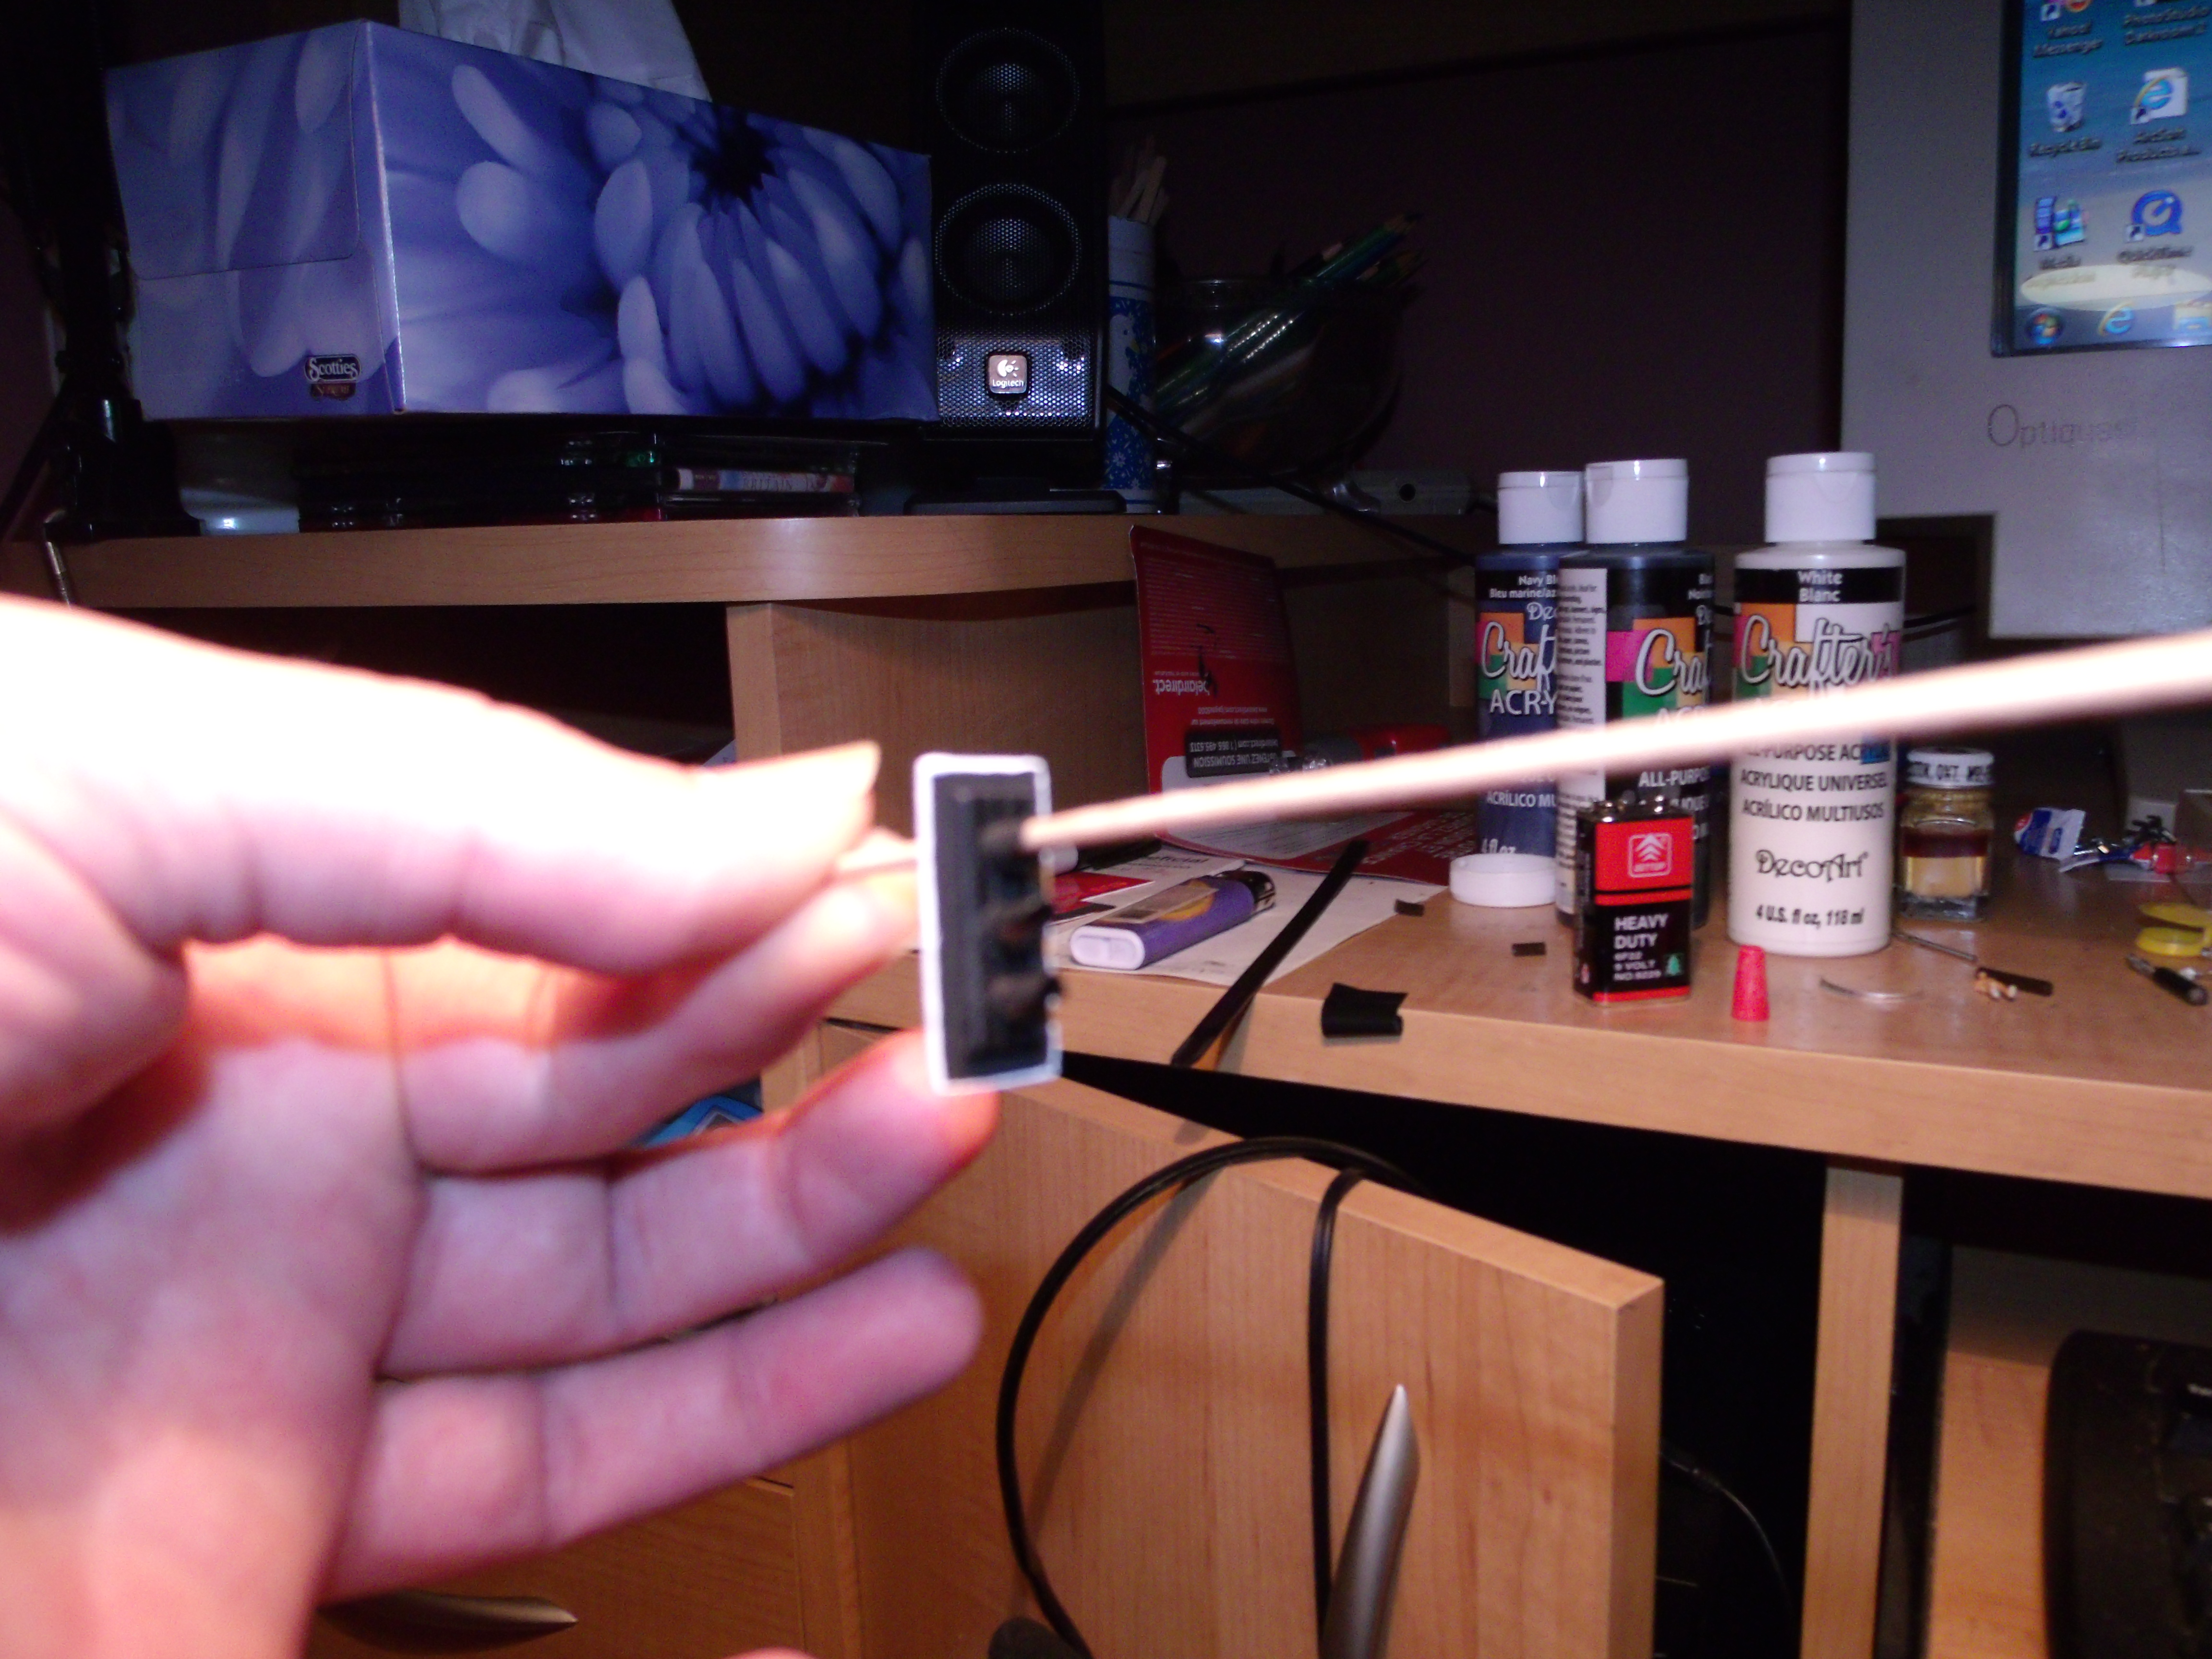
This next one is made from a credit card and a plastic large tie wrap,and coffee stir stick for the len’s. Now after painting,and the len’s trimmed.
This is the finished project other than installing 1 or 3 LEDs. The led’s will slip into the tubes. If you noticed they are not the yellow American signals. these are UK built in mind.
The led’s are 3mm red yellow or green or all of them. If you want can have say a yellow 3mm flash can act as a caution signal.
Or can find a small project from the net to run a bunch of signal’s and have them switch to each color alturnatly. So what ya think?
This signal is to be installed onto a pole like in the UK. Im working on a hobo moonshine still right now. HO scale. These signals are HO scale as well. If you like a run down on it let me know.
Oh forgot to add. if you want these to be north American signals. Just paint the signal the canery yellow.
In the UK don’t paint the twist tie as it looks better weathered.
Paint only the credit card,and len’s be adding those tiny cctv camera’s soon.
Kim”
Now on to Roger:
“Hallo or in sweden we say Hej Lee
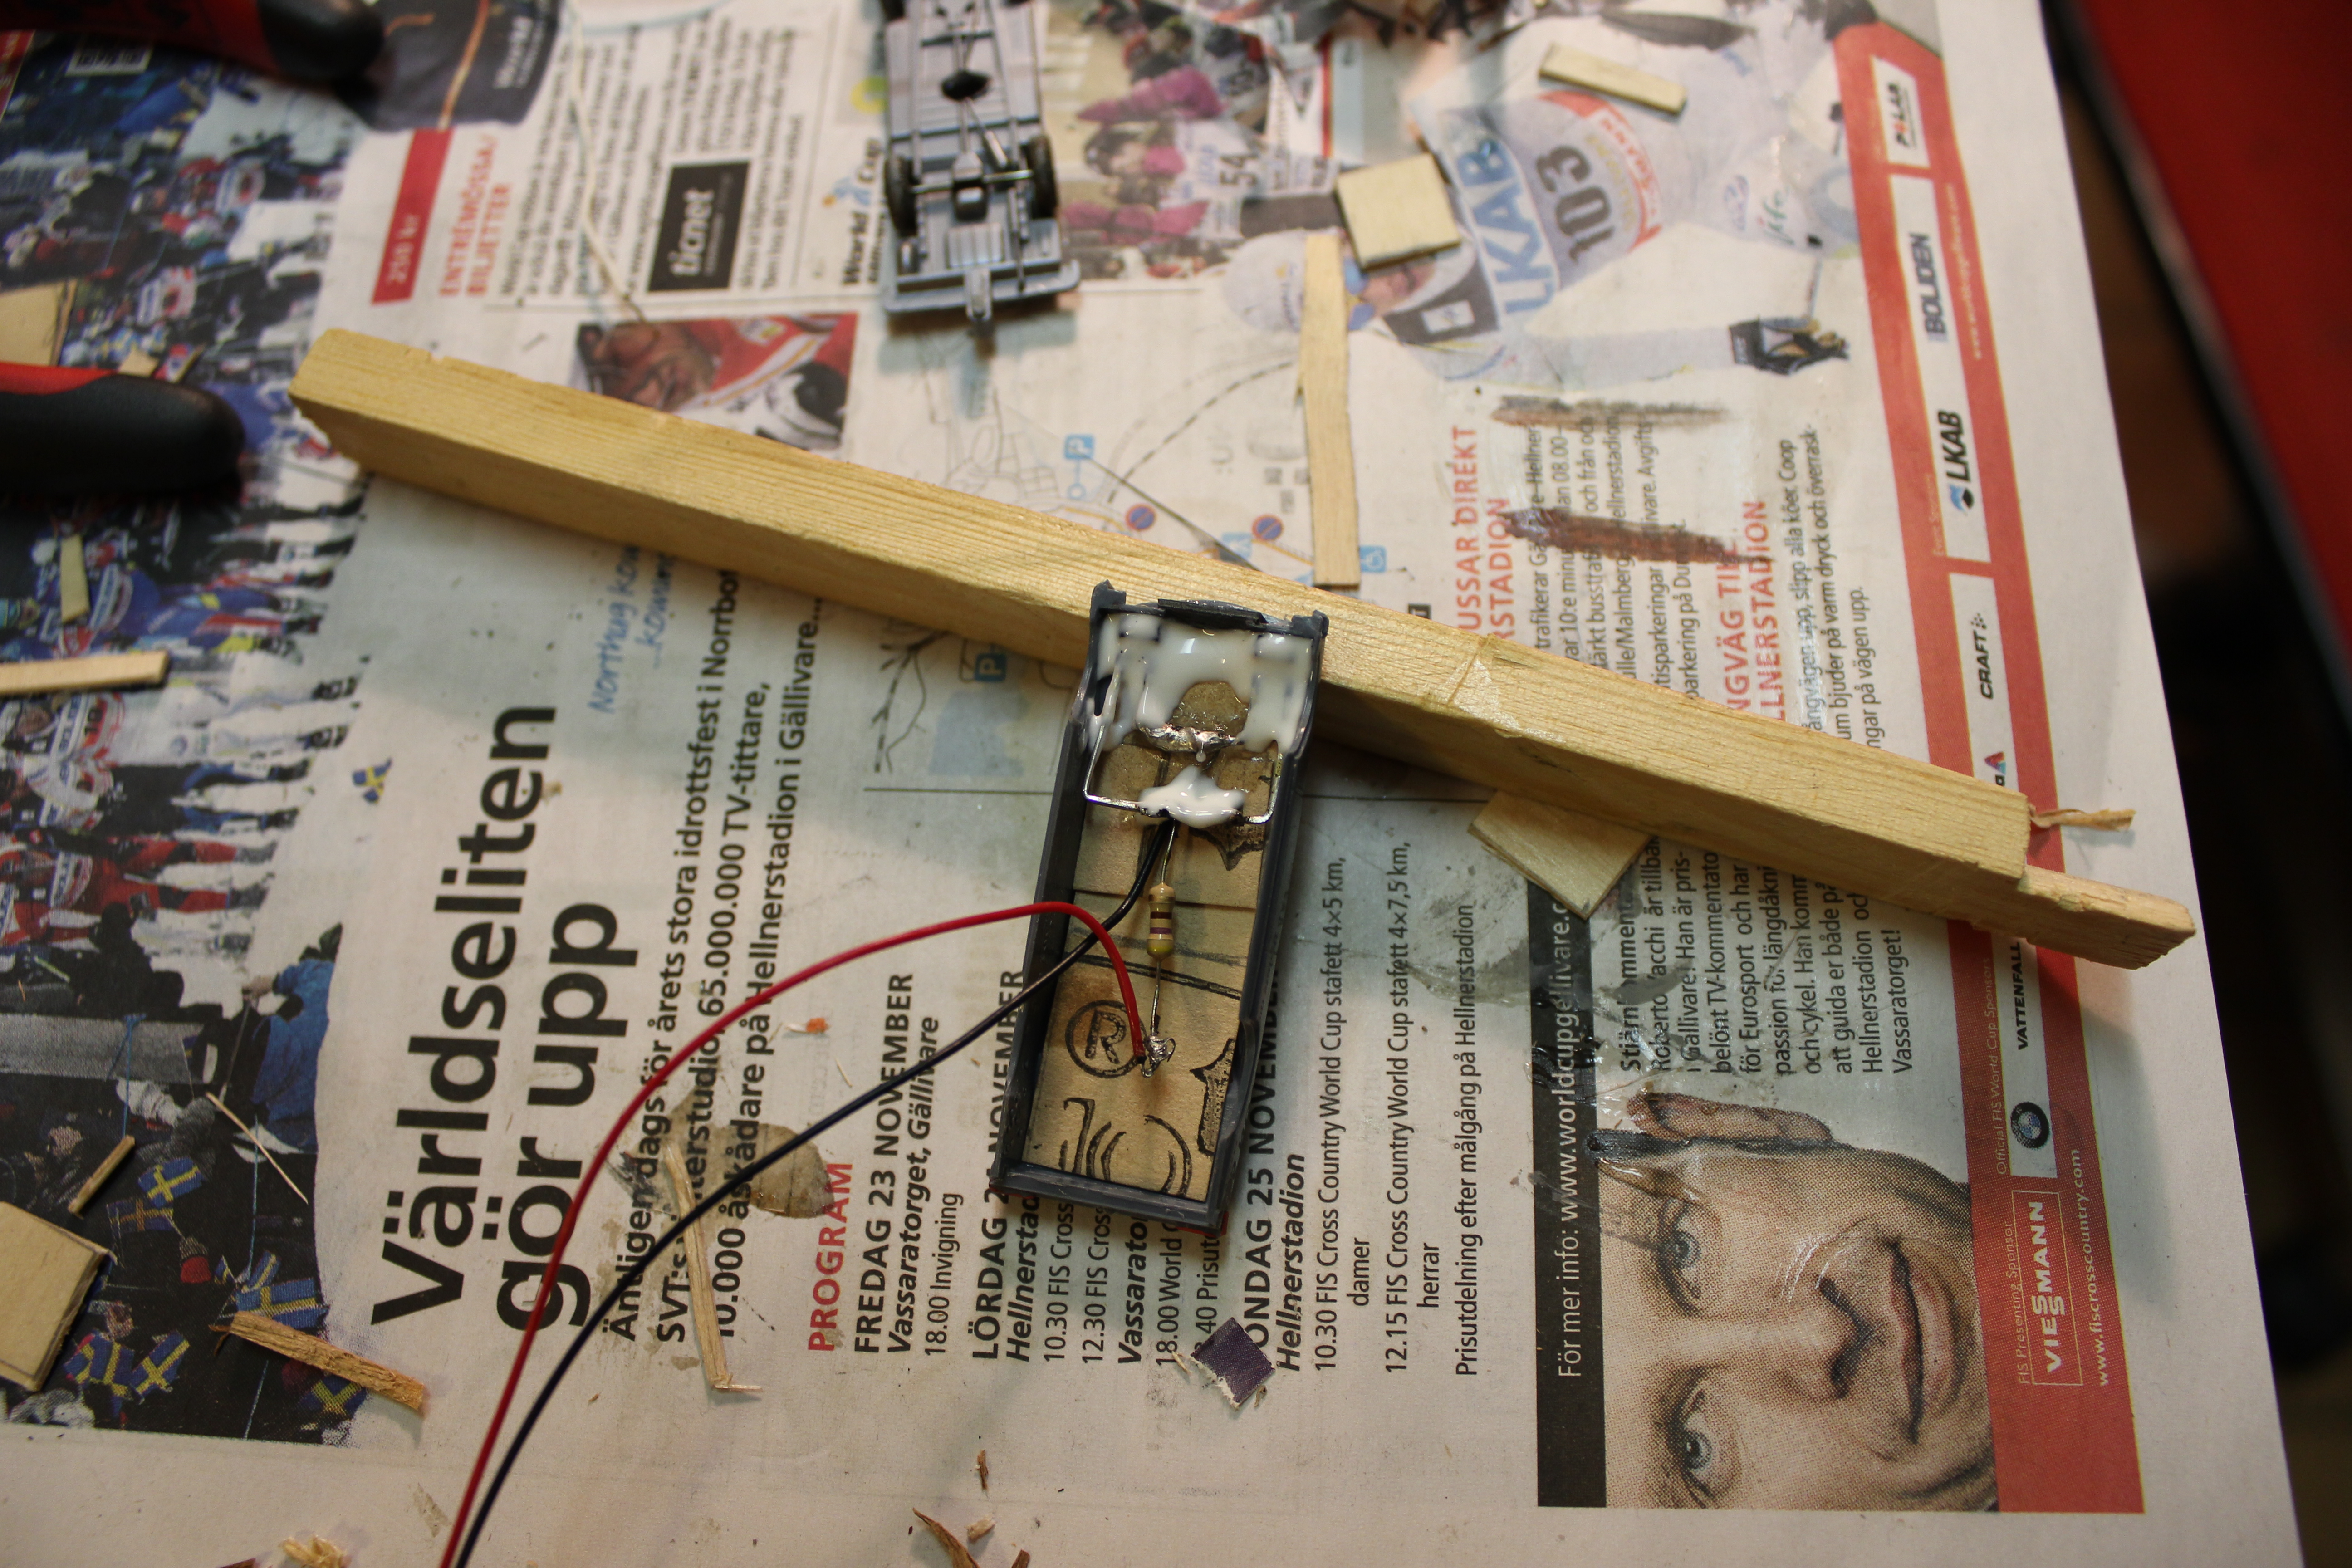
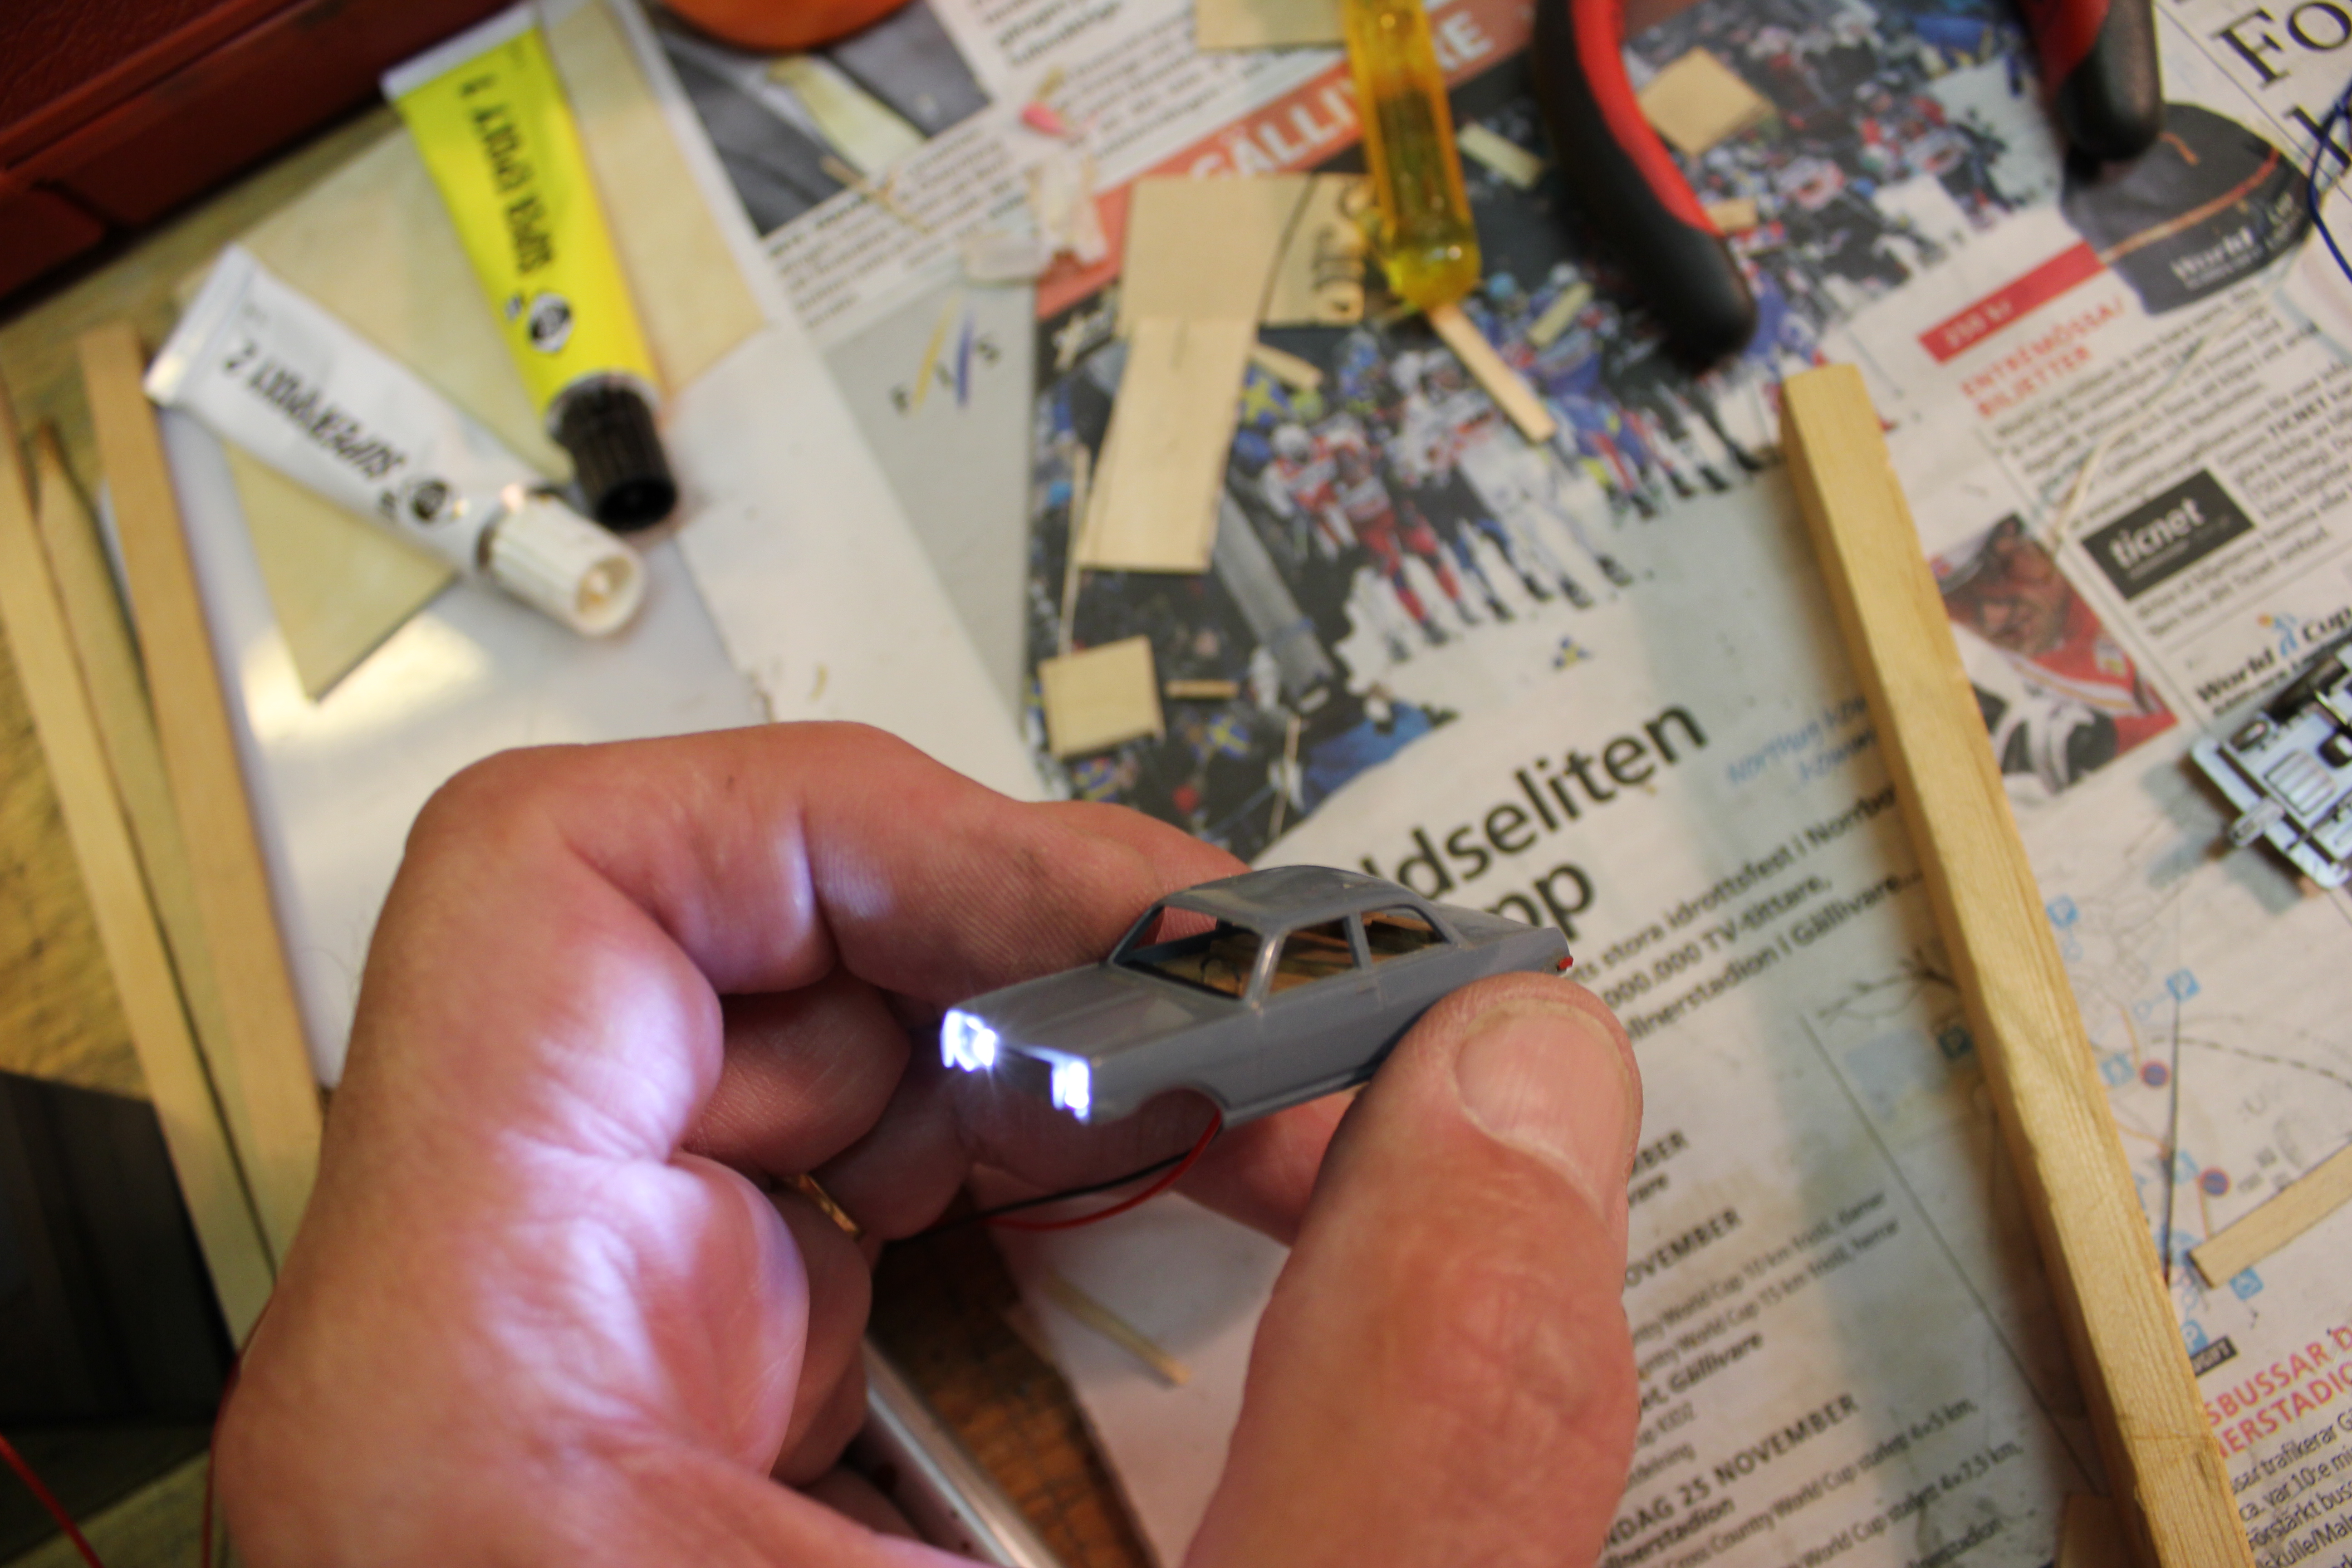
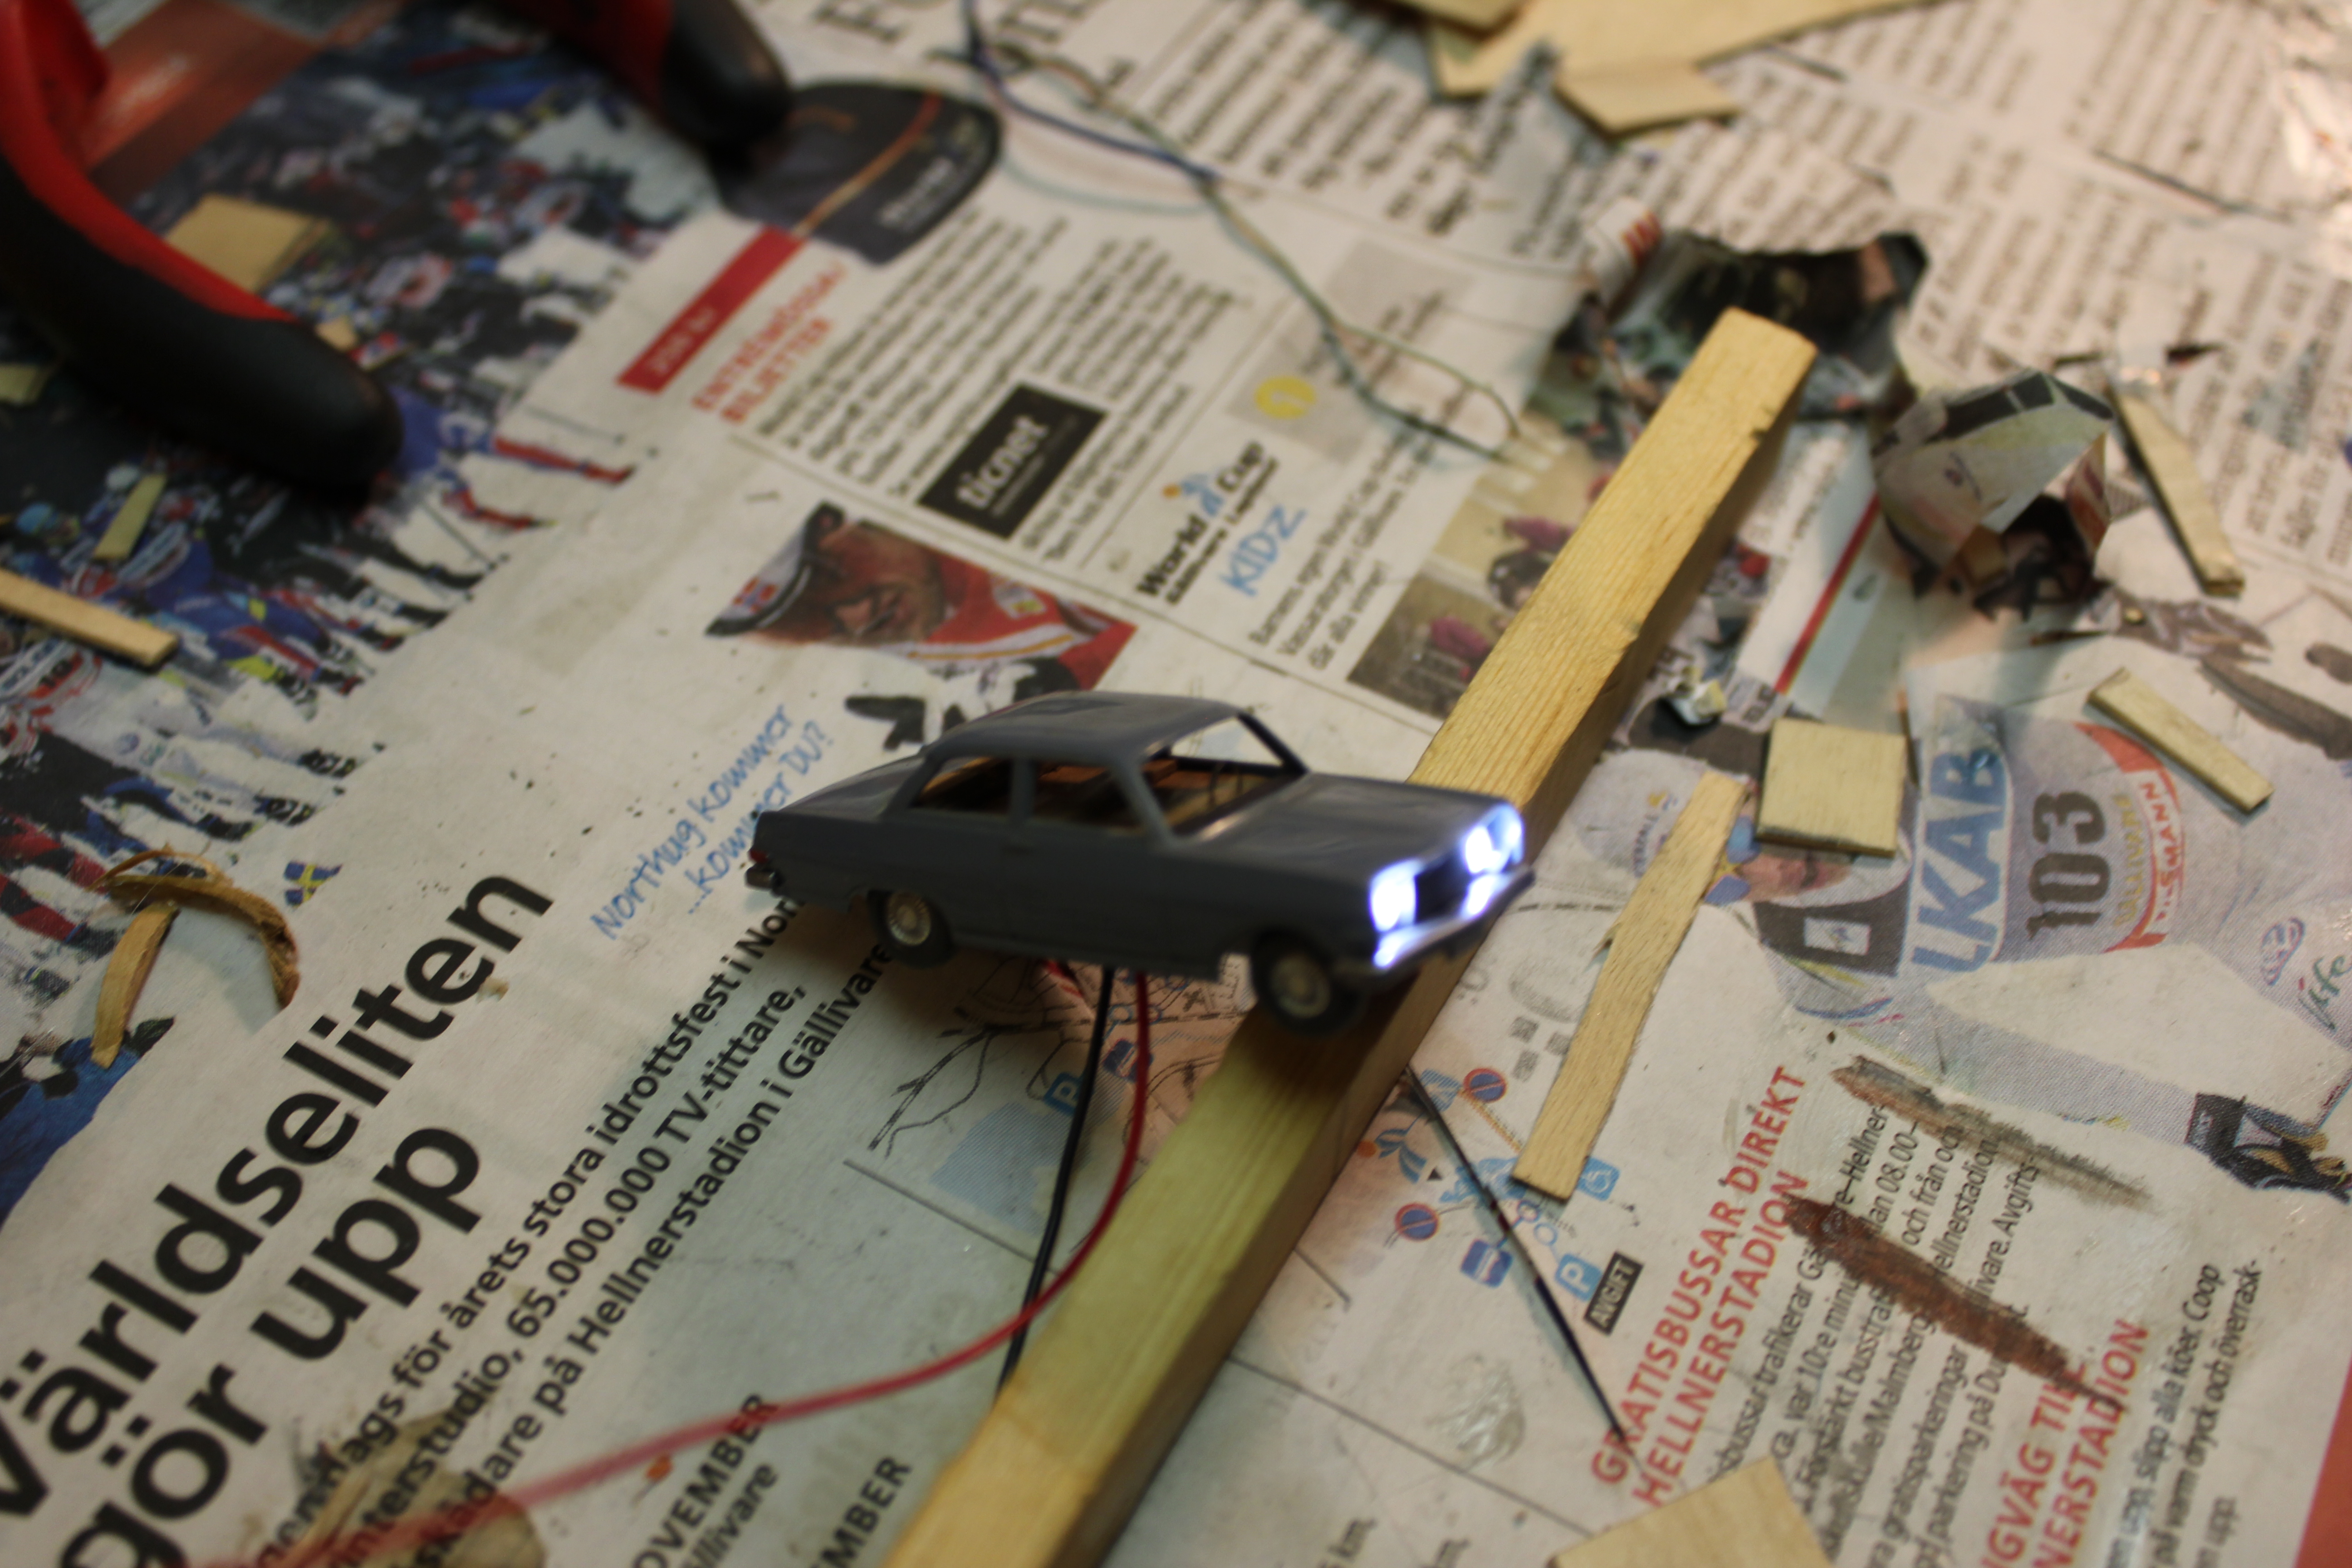
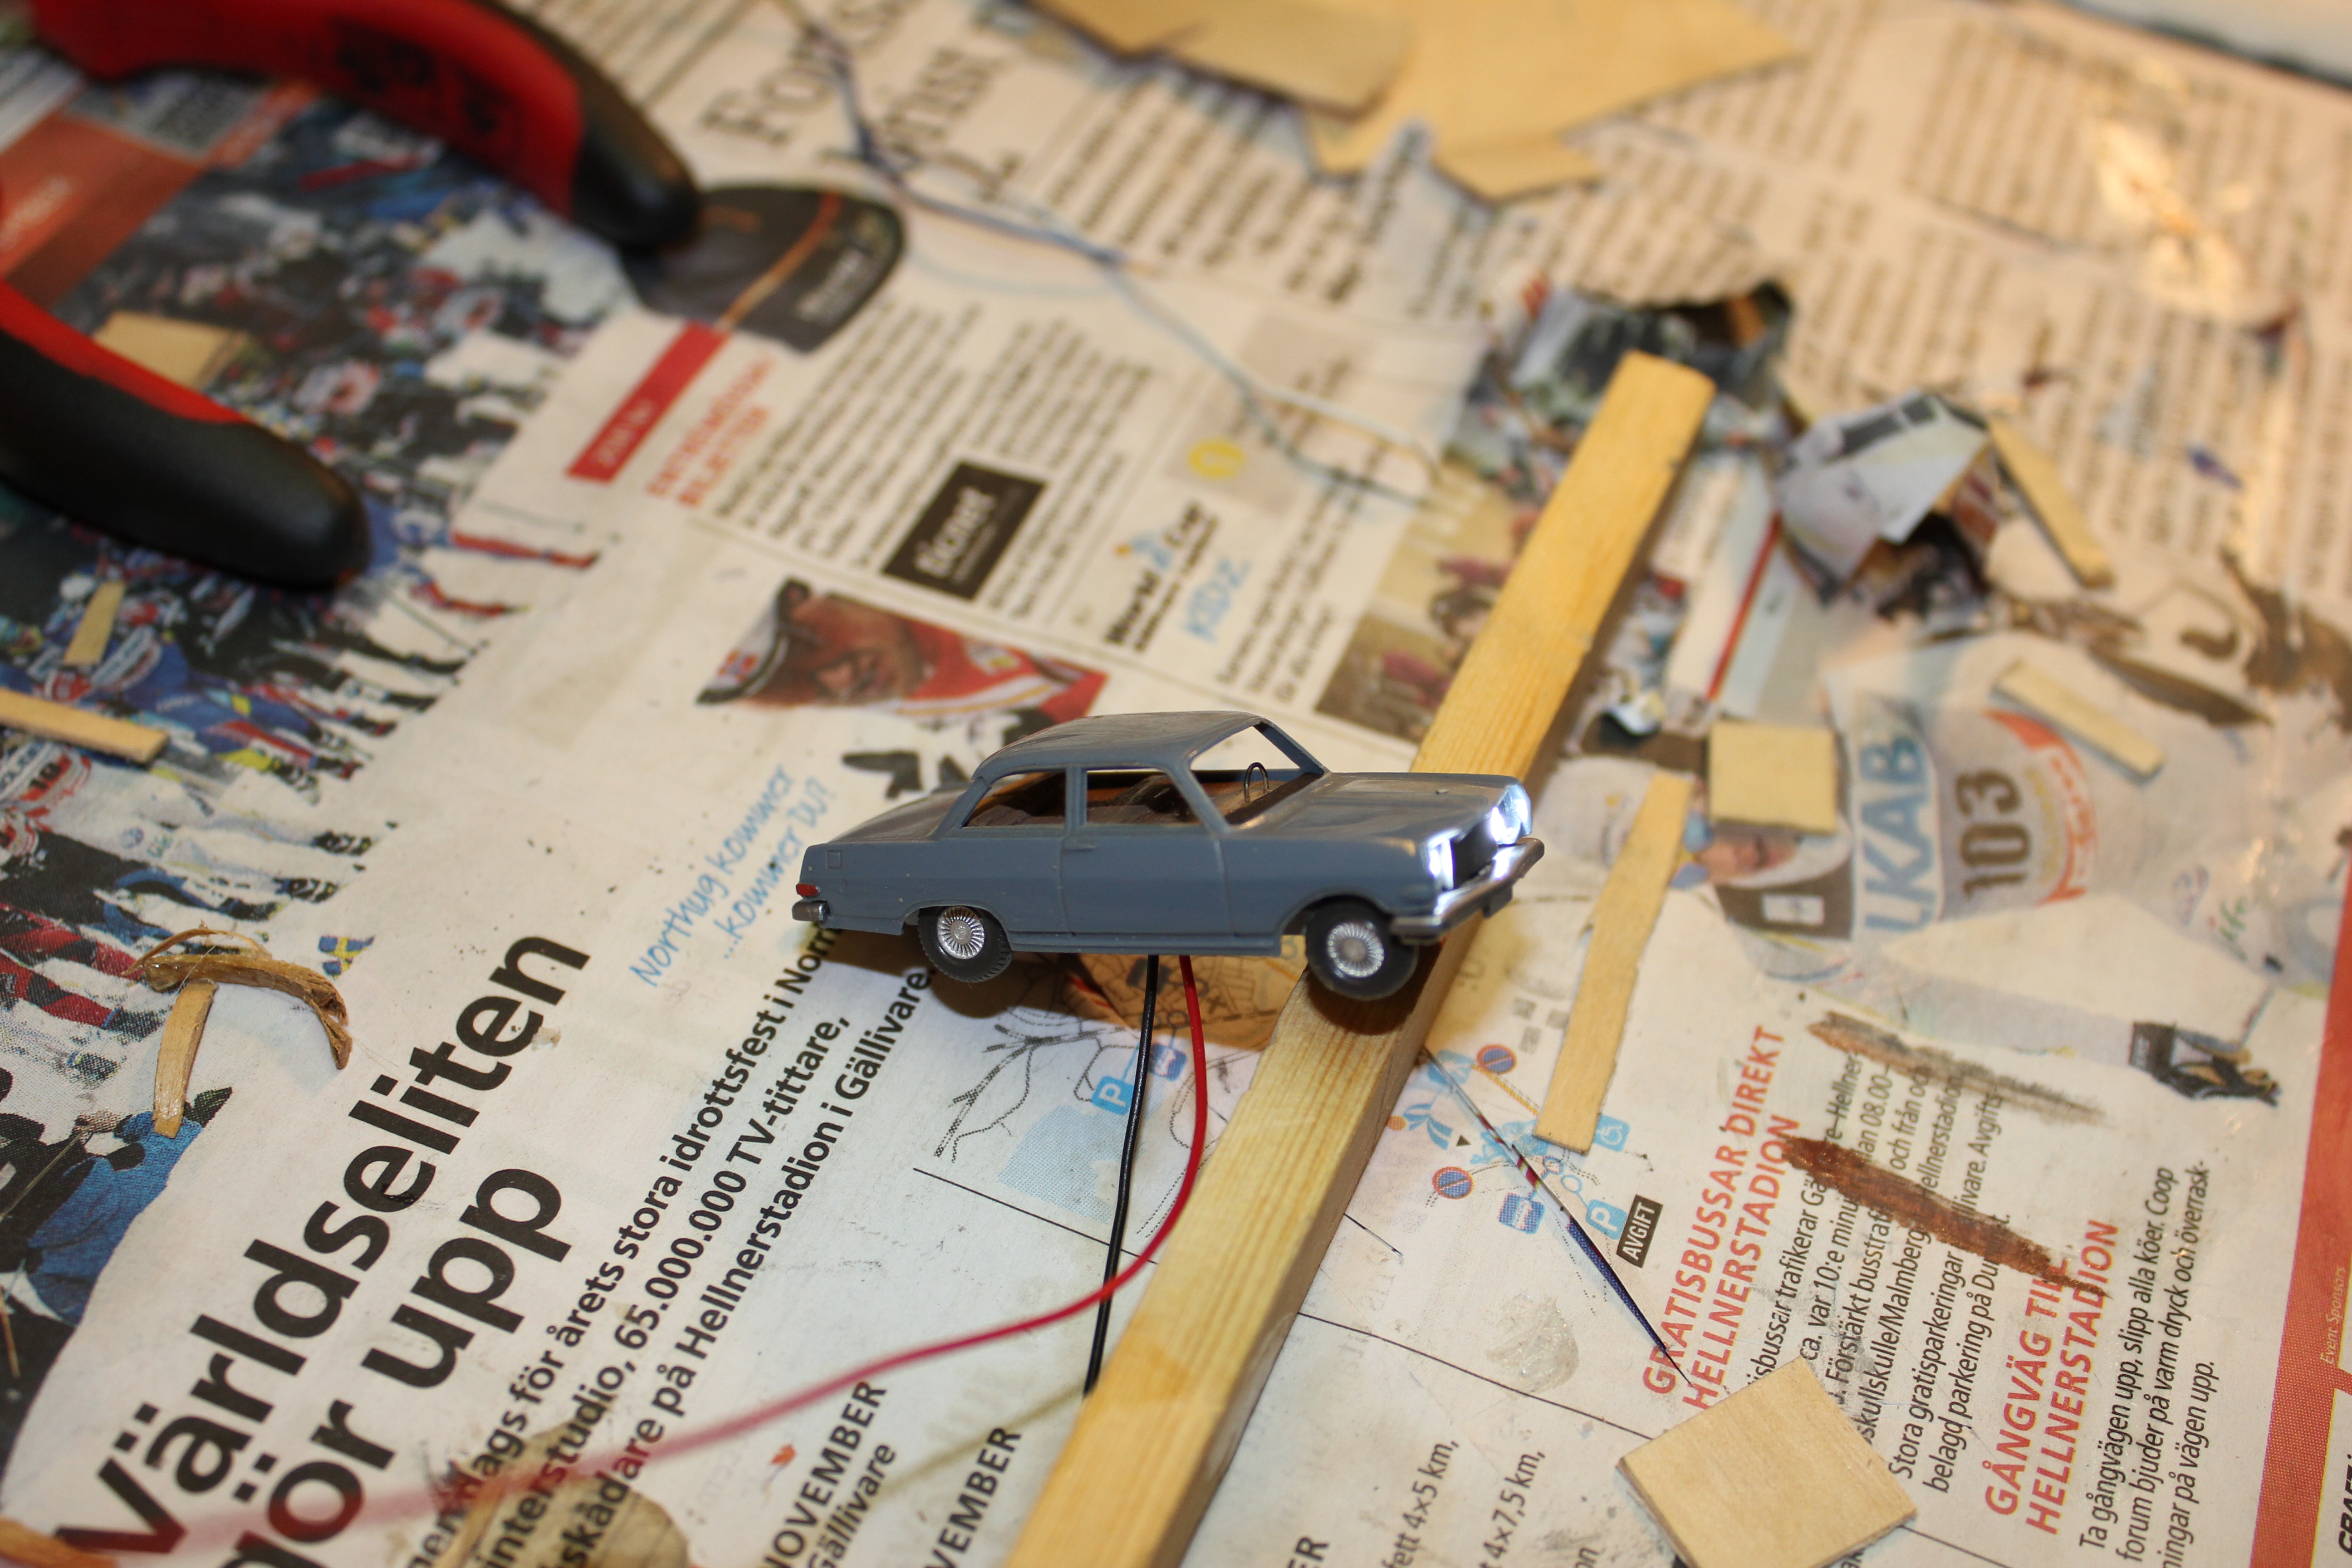
because of heart surgery if I newly completed so I have time to take up an old intesse if I had since I was young .. send some pictures of a old wiking car I fitted spotlights on the front …….-led lights 1,8 mm with a 470 oms resistance..I intend to set up a new model digital Roco.har earlier parts locomotive traces of an old Marklin train….you must be very thankful for those track plans you submitted it is not easy to find new things how they want their model
excuse my english is not 100%
Roger”
(images are clickable)
A big thanks to Roger and Kim. It was just by chance those two came in on the same day.