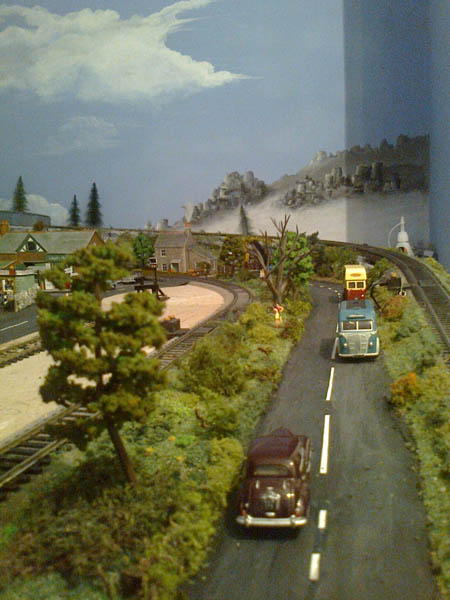
I’ll start with an answer to a question many of you asked Cameron.
If you’re wondering how he got the bus to move…
“Dear All,
Thankyou for your kind feedback and support for the video. It has left me feeling extremelly motivated to put the finishing tuches on the layout and film another one.
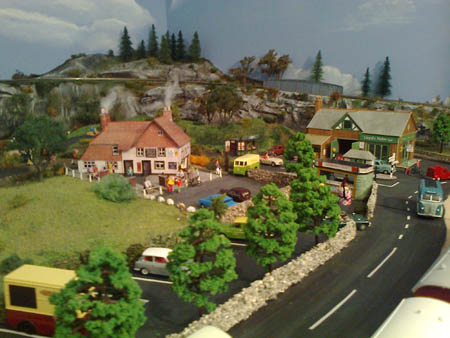
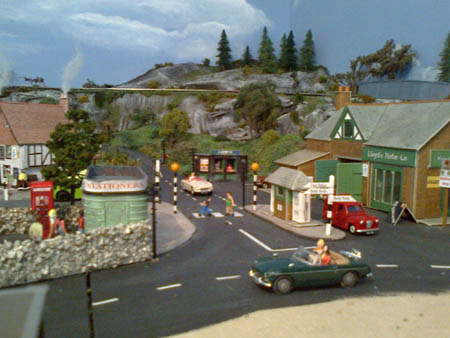
As for the bus and fire engine moving, it is not as impressive as the video makes out. Just some black thread and a 1:1 scale man pulling it along. I got the inspiration from Dave who used this technique in a video he submitted some time ago. Ahhh the magic of cinema.
Cameron”
“Hello again Al,
My decision to switch into a larger scale was not only based on the fact that I was thick fingered and squinty eyed but also I now had a larger space to play. I decided not to take apart my HO layout because I still liked running the trains and I felt I had too much invested into it. Thought this was a good time to mention that although my 1st layout had a switching area I found I really did not enjoy picking up and dropping off trains. I just like to watch them run around my layout while I sit and drink my coffee.
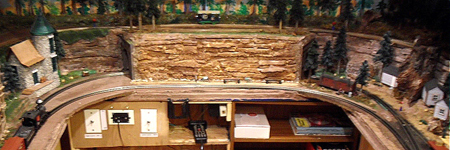
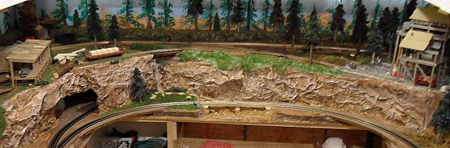
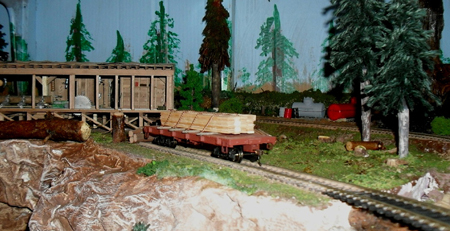
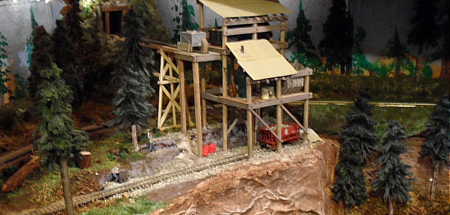
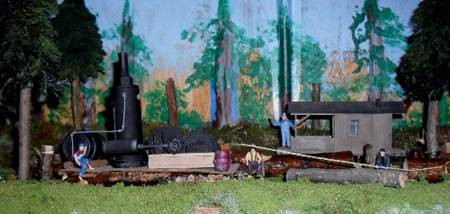
My plan was to build the On30 layout on top of my work and storage shelves directly under the HO shelf layout. The first thing I did was to buy a 2-6-0 Consolidated with DCC and sound and put it on the shelf to give me inspiration. I then bought a couple of what they call Craftsmen kits. I got one called the Hillside Mine from Ozsteam (Steam in the Bush) in Australia and the other was the Danby Saw Mill that I found on eBay. After I finished building them I designed my new layout. It was during the process of building the craftsmen kits that I got more confidence in my ability to do more scratch building. I got tired of using coffee stirrers from restaurants and tongue depressors that I picked up at my doctors office and went to a place called Michaels that my wife told me about (an 80 mile round trip) and bought all kinds of wood sticks. Some of these were like Popsicle sticks, others were like tongue depressors and some were just flat w/o the rounded ends. Forget the hobby shop (although I do wish I had access to one) this is the way to buy wood for scratch building. Also picked up a bunch of 1/4 size stock at the lumber yard.
Some items of interest about this layout:
1. Had to bite the bullet and use two drop-in’s (two levels of tracks) since this layout was too low (about 34″ high) for me to duck under.
2. Tried my hand at installing decoders. After destroying two locomotives, I have given up on this part of the hobby.
I buy my locomotives with the decoders installed or I send them out to be installed.
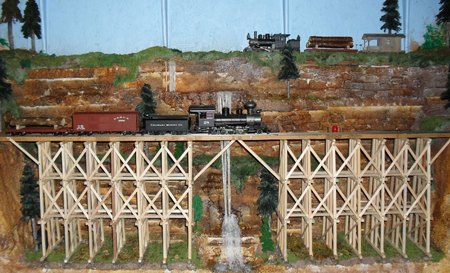
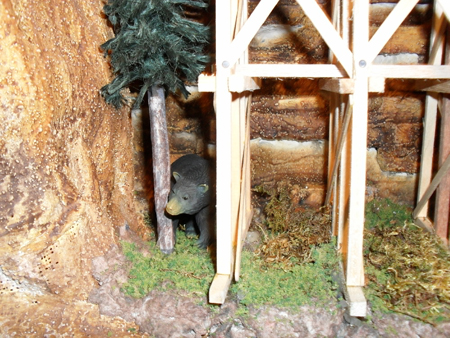
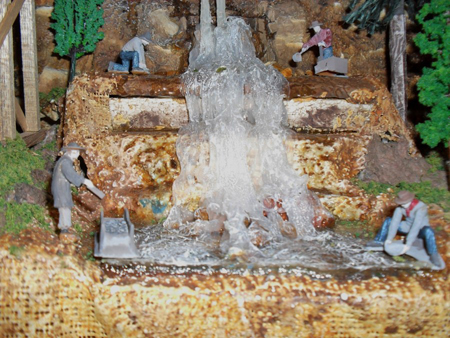
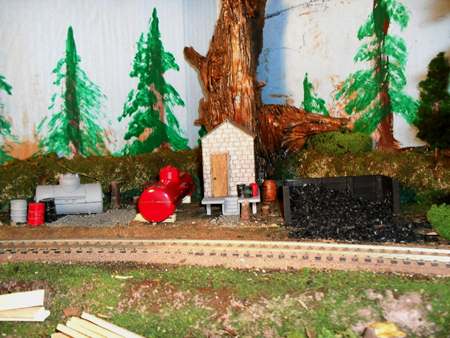
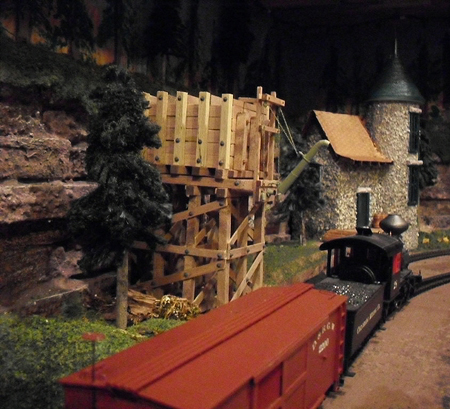
3. The main trestle with the waterfall is my copy of one I saw on the internet called the Sundance Central. The main station is my rendition of one I saw in a magazine called the Rubble’s Depot sold by Deben LLC. I built it out of cardboard boxes with the round part being a couple of salt boxes (Morton’s Salt) with the top being a funnel wound with string and a thing the doctor uses to look into your ears and nose mounted on the top. I then rolled the whole model in kitty litter. When I was at my doctors, he threw away the plastic do-dad that he used to look into my ears and I asked if I could have it. He then reach into a drawer and gave me a bunch of them. I now glue them on top of pill bottles to make steam boilers. Everything else is also scratch built from pictures I see in magazines of on the internet.
4. Just a note about making molds of things. For rocks and big stuff, Plaster of Paris is O.K. but on thinner stuff like tunnel portals it’s much too soft and the casts will break. Use regular plaster. If you need really strong plaster, I used Durham’s Water Putty. I bought a bunch of plaster stumps and spent a whole lot of time making molds of these tiny stumps and then making plaster casts for my layout. Much easier to just go out and get some tree branches and cut them into stumps. Live and learn! I made molds of barrels and then made dozens of them out of plaster. When I ran out of plaster I filled the molds with melted glue sticks …. much easier and the casts were better.
5. A gentleman named Mario gave me some advice when I began to build this layout and also the names of some layouts to look at. They really changed the way I try to plan and build my layouts.
6. Some of you may have noticed that I now use NBW (nut-bolt-washer) sets instead of pin heads. Make sure you don’t trim your finger nails when you play with these little things.
7. On my HO layout I used something called Liquid Water (I think). On this layout I used a product called Glaze Coat (Famowood – but any like product will do) that I bought at the lumber yard. Much cheaper and does the same thing. So if you like your water feature to have actual depth, this is the way to go.
8. Lighting this layout was always a problem for me. I tried strings of white Christmas lights. I tried string tube lights that are used under kitchen cabinets. I also tried small florescent under mount lights as well. None of these really worked for me. The main problem with lighting this layout was the fact that I did not allow enough height to provide for effective lighting. I could not use a valance because it would block the layout. If I would have planned for a layout under my existing one I would have used small canned lights mounted in the upper layout. My waterfall is actually strips of clear silicone caulk painted white on the underside.
9. The heavy foliage is some poly fiber that I took out of an old pillow that my wife threw away. I dunked it into a can of green latex paint, wrung it out and let it dry out in the sun. When I need it, I stretch it out into a thin sheet, then dip it into a 50/50 mix of white glue and water, ring it out a little and press it into a mix of scenic foam(one side only). I then drape the stuff over my scenery. If your scenery is unfinished plaster you may have to brush on some white glue to help is stick.
I operated these layouts for about a year and then had a scathingly brilliant idea. I called a contractor friend and asked if he could add a 12 x 12 foot extension onto my existing train depot. He said ‘No Problem’. This gave me a 12 x 24 foot space and another adventure had begun.
Robert”

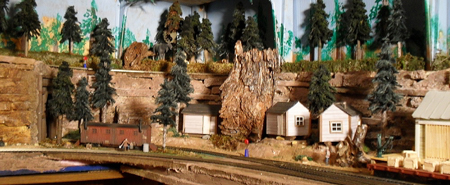
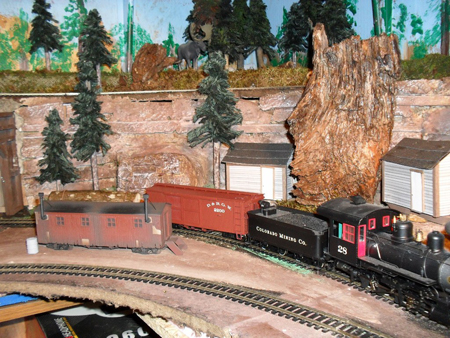
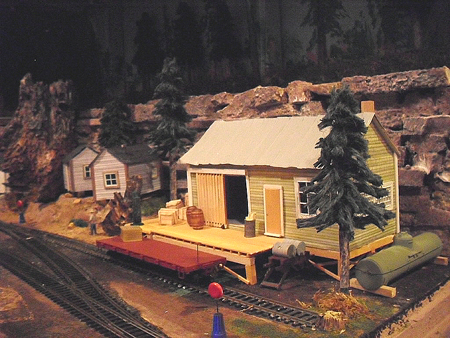
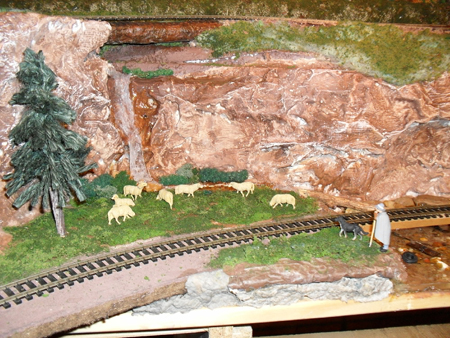
Wow! Another inspirational layout. Thank you Robert.
Don’t forget the very latest ebay cheat sheet. It’s here.
Have some fantastic tips lined up too.
Best
Al

(There are hundreds and hundreds of posts to enjoy and learn from – but the only way you’ll get to see them all is by being on the newsletter).