” Al,
For scenery, I use Plaster Of Paris and water based paint, available at any art shop or hardware.
If combining two or more colours, mix small amounts of each until colour is good, keeping notes on quantities.
Make it a little darker than required. Take a small amount of Paris and start adding water to about the consistancy of milk.
Again, take notes on quantities.
Add the colour slowly so that the mix is darker than required, to the consistancy of toothpaste.
You can always add more black etc to darken it. Apply the mix to a test strip and practice makes perfect.
Don’t mix too much at any one time, the Paris will lighten the colour and the paint will stiffen the mixture, causing it to dry more quickly than normal. It can also be painted over when dry.
Steve”
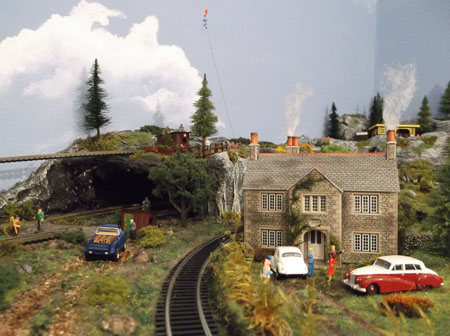
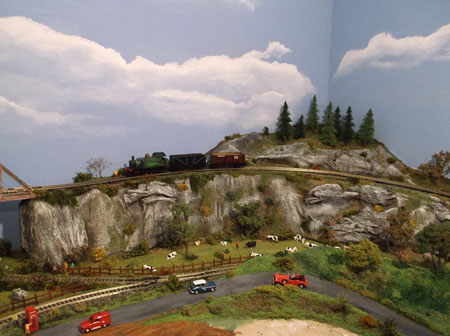
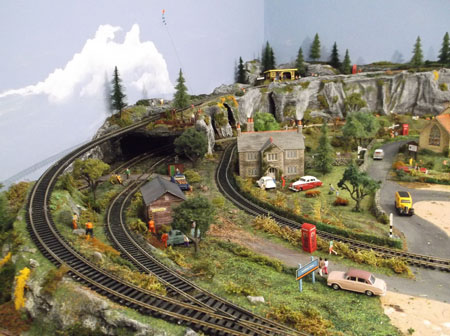
“Hi Al,
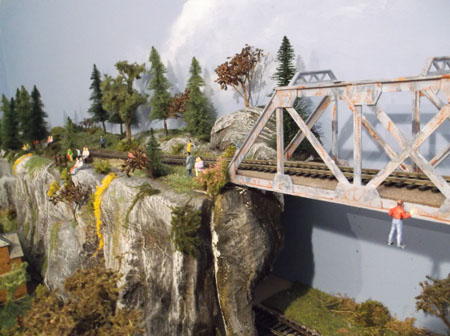
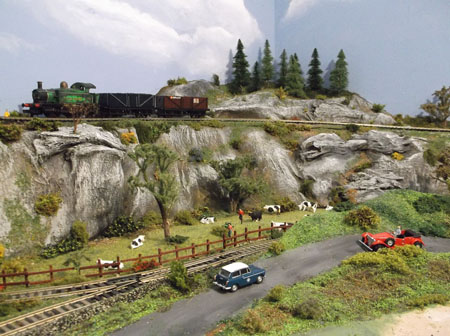
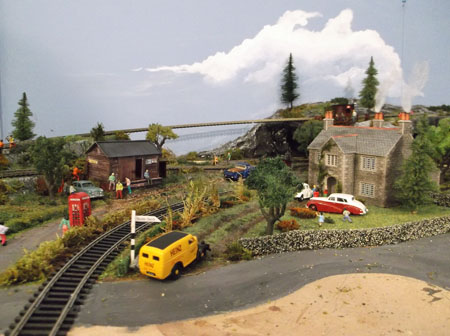
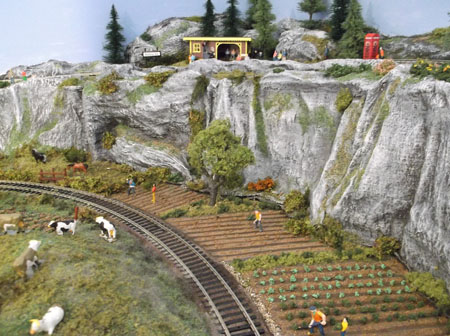
Here are 3 photos for you.
1 Flying Scotsman at my mpd.
2 Atlas water tower with weeds growing around it.
3 TR 67 on display at my model Park.
Tr 67 was built by Hudswell Clarke for the New Zealand Public works Department. later taken in to NZR stock.
Written off 1960.
Paul Otway”


“Alistair – making waves.
Dennis wrote:
“The only problem is that the liquid last for some time and it takes time to gather enough to make some more.”
That’s why we have relatives, and neighbors.
Another alternative (for loners like myself), is to buy as many as needed, and transfer contents into larger containers… like 2 litre soda, or orange juice bottles or gallon milk jugs. No need to wait till it’s used up…
Here is another tip for making “waves” at the seashore…
Clear silicone sealer. Comes in a caulking gun style tube.
Lay down a heavy bead, then with the edge of an old/expired credit card, start to press it into the surface going away from the direction of wave travel. This smoothes the “back” of the wave.
Do the same to the front of the wave. When that is done for the entire length of the wave.
Start at the base of the front of the wave Dig the card in, and pull it up and in the direction of wave, let cure, then paint.
Here’s a diagram…

And here’s the latest from the talented Dave:
“The Tornado from Bachmann Al , i am well impressed with the markings , but not the bet of runners
Regards
Dave”
That’s all for today folks.
Please do keep ’em coming.
And don’t forget the Beginner’s Guide, if today is the day you start your railroad adventure.
Best
Al
PS Latest ebay cheat sheet is here.