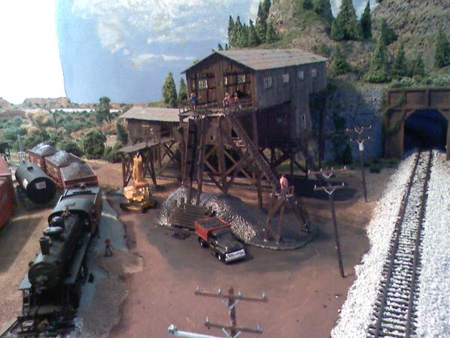
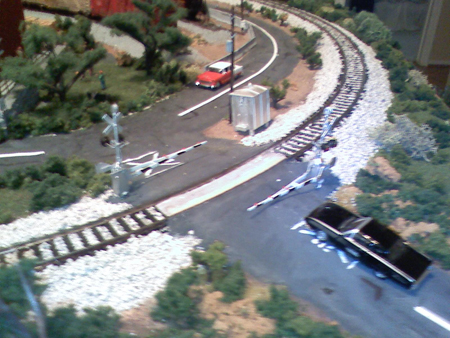
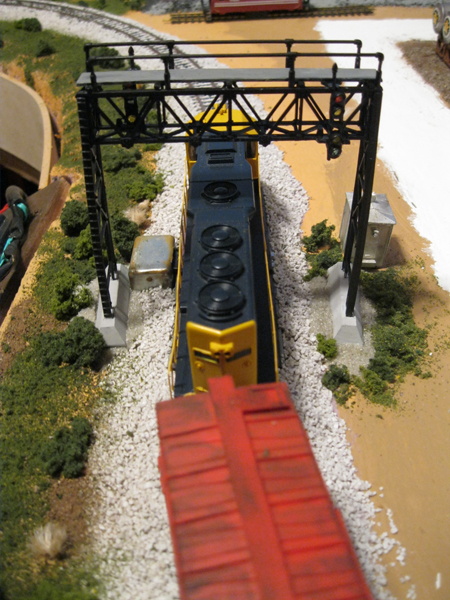
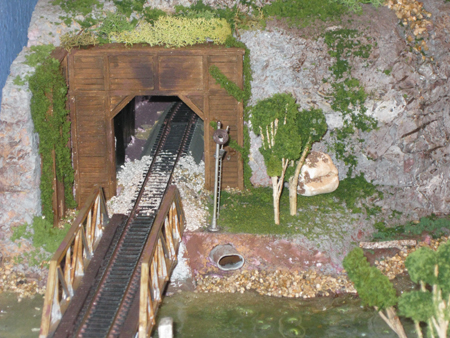
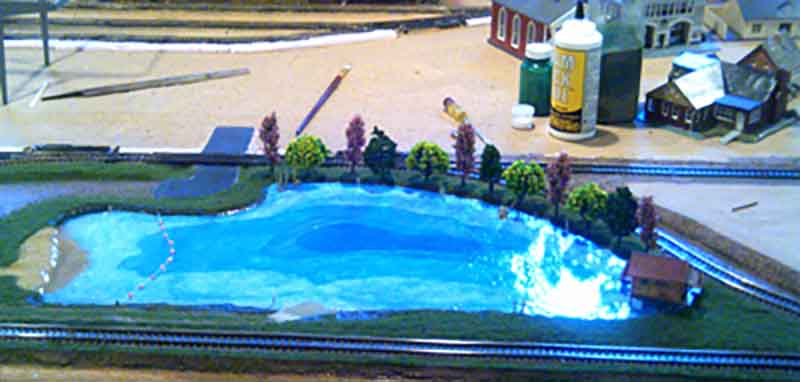
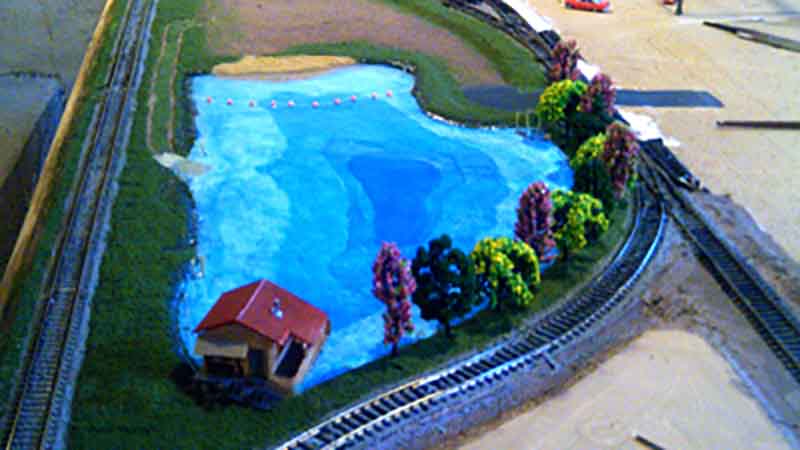
Jim’s a man of few words, no words in fact, but he sent these pics in:
“Howdy Alastair
“I couldn’t begin to pin down one “great” tip except as I said – be patient. The myriad aspects of constructing a “showpiece”model railroad are as vast as the universe and equally as confounding to grasp.
Here’s a tip I discovered by trial and error. Over the years I’ve read many articles in “how to” books and mddel railroad magazines concerning water tank bands. Even some of the great modelers sometimes complain about finding the right material, the difficulty putting them on and trying to keep them even. I’ve seen everything from string to wire to painted-on.
I use Chartpak brand pressure-sensitive graphic tape. It comes in a variety of colors (I use black or brown) and a variety of widths sutible for N thru O scales (perhaps even larger). It is tacky enough that it stays where you put it, doesn’t easily warp out of shape (as does thin strips of masking tape) and it can be painted with almost any type of paint normally used in model railroading.
I measure out X number of strips for as many bands as I need and simply tape them to a piece of clean glass. I paint and weather them, then wrap them around the tank using a cardstock spacer. It’s sticky so it takes very little adjusting. I place a tiny dab of super glue gel on each end where the band fastener is to be placed and voila. Although I’ve never had one come loose, I’ve always applied Testor Dullcoat over the top and slightly above and below the band just to help it “stick” over the years. It works better than anything I’ve ever tried.
Walt”
One “trick” I regularly use to repair smooth surfaces where “damage” has occured i.e. a drop of CA , solder etc. or even to fill in a low spot and smooth out later, without doing more damage.
Firstly cut strips of 4/5 mm wide wet & dry 400 grade Press w/d against raised area with finger tip use other hand to withdraw w/d firmly move finger whiledoing this will smooth out any tendency to dig a hole in the surface , and blend in with surrounding area.
I know its not much , but my idea of a “good ” modeller is one who is a good repairer of his own mistakes , this is pretty close to my skill level..
All the best
Mick”
“Here’s one: Don’t nail down track if possible, and don’t ballast points until you’re 100% sure things are right.
Use glue inside. That way you can remove track if you need to, which you almost certainly will because getting the right track plan first time seems impossible! Flexitrack is fairly cheap so wasting it isn’t a big deal. But points cost a fortune, so you don’t want to buy new ones if you can help it. It’s so easy to put points in the wrong place that you want to be able to remove them without any risk of damaging them.
Cheers, Neale”
“I have a tip that folks my want to use.
I fill my empty plastic pill jars (from the drug store) with quarts, nickels, dimes and pennies. They make excellent weights for holding building walls flat after painting, when they try to warp. They are also good for holding parts together when gluing parts together.
Enjoy!
Jim”
“I take the tabs off bug spray or any other spray, paint them and using them at diving boards for lakes. They are perfect for HO
RB”
“Yes, you can make HO scale “lumber loads” by using wooden kitchen matches.
Cut the heads off, stack and bind the “lumber” using thread or thin jewelery wire.
Helford”
That’s all for this time folks. Thanks to everyone for sharing their tips.
A bit if a DCC theme today – starting with a question from Andrew:
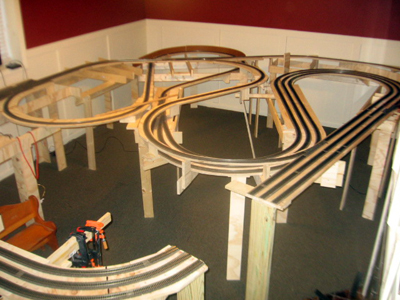
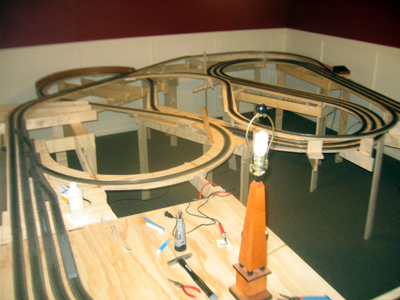
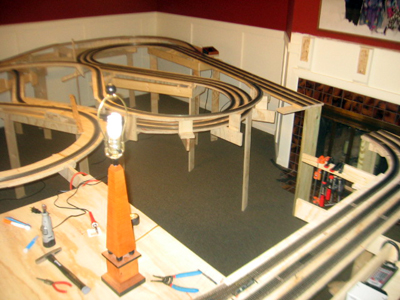
“Take a look at my layout so far…this is the bottom section and I’m about to start wiring for DCC
Any suggestions PLEASE !!!???? for wiring especially
THANKS
andrew”
“Al
I’m an HOer:
Drilling a 1/4 (or whatever) inch hole through my layout table and then inserting a 1/4-inch (or appropriate) plastic tubing through it so that I can easily route those pesky #26 wires for lighting accessories to the underside of the structure. I love it!
Blessings
Duane”
“hey al,
more very good stuff. btw, sand paper makes a very good imitation of various surfaces, i.e.:
aluminum oxide is a light tan color, good for replicating sandy areas. beach sidewalks, and parking lots.
emery paper, or wet or dry, can be used for streets and parking lots depending on the grit size …
the drinking straws can be dyed using everyday household “Rite” Dye. can be gotten at the grocery store. be VEEEEERY careful with this as it will stain anything it comes in contact with. I got an old sauce pan for a dollar at a yard sale and use it just for this purpose. the old timmey metal ice cube trays work very well if you can find one …
H”
Lots of DCC stuff on the ebay cheat sheet by the way:
Our layout is an S Gauge, built around the 13 X 15 foot room using L-Girder bench work.
No reach is longer than 30" so we can get to any item easily.
You get into our center operating area by opening a swinging gate track bridge, swinging open and closed with a 12 " piano hinge.
We have modeled our layout after my hometown of Quincy, Illinois. USA. Quincy is in the middle of Central US farm country and is also the Q in the old CB&Q Railroad in the late 1950's and early 1960's.
My grandfather worked for the CB&Q for 40 years, twenty of those years as a fireman on the left side of the engine and 20 years as an Engineer on the right side.
As far as our layout is concerned I find that visiting engineers (especially the younger ones) want something to do when they visit your layout and not just look at your nice scenery.
With that thought in mind, we have built our layout with things that operators can do –not just run trains but throw switches and signals, set routes, pick up and drop off passengers and cattle, bring a siding to life, etc.
To date, I have written 4 Engineer tickets and have sufficient space in the middle of the room for 4 operators at the same time to work those tickets, each using their own handheld remote. They can
then exchange tickets with each other.
Thank You,
Mike”
________________________________________
“ I use red led Christmas lights with all by buffer stops. Cut off the bulb with about 10cm of cable on each side, the bulb can be bent 90 degrees so it is in an “L” shape. Drill a small hole under the buffer and slot the led in so the light is facing the train. Attach a resistor to one of the cables and connect to a 12v power supply.
Or if you can’t get under the layout you can wire the above setup to the track.
Axel.”
________________________________________
“Model Railroader tip:
Don’t use kitty litter for track ballast. It is made to absorb moisture and will absorb and retain humidity moisture from your household air supply, possibly transferring that moisture to your valuable tracks, locos and cars.
Use aquarium gravel instead. It comes in different sizes, is all natural, and looks much more like real ballast instead of the all one color kitty litter. It is also very economical to purchase.
Superchief99”
________________________________________
“Dear Al ,
Tip cheap model trees and really life like buy potted herb THYME the more bushy the better cut to suit for N or HO gauge at least 30-50 per plant dip in glue away you go.
Mike”
________________________________________
“My best tip is rather a simple one. Solder the wires from the transformer directly to the underside of the track and drill small holes directly under them so the wires run under the track board. This way there’s no electrical clip-on showing and no need to hide wires in the scenery.
JJS
Deacon John J. Stetar”
________________________________________
“I’m just getting started in this hobby, but one thing I’ve learned is that you can never have too much track or too many switches. Starting with a standard 4 x 8 board, I quickly added another 4 x 6 addition to allow for a bit more creativity. DON’T NAIL YOUR TRACK DOWN TOO SOON. Experiment with a variety of layouts until you’re pretty darn sure you’ve arrived at the one that’s a keeper.
Dennis”
________________________________________
“Hi Al,
Thanks very much, I will ponder over the layout suggestions before actually starting to make a firm decision. I am a relative newcomer to railway modelling though I have been a modeller for over 65 years. I am gainign expericence by working on the new layout for the Mickleover Model Rail Group – I am in charge of the back scene and rock work from pink foam. A tool I find very useful is one of my Permagrits, they will cut through cast iron so foam is easy meat, I also smack the surface of the rocks with a fine wire brush which gives an authentic pitted appearance. For paints I use the cheap acrylics from the Works, these give good coverage.
Thaks again
Terry”
“hi al,
I use kadee couplers on all of my rolling stock. adjusting them can some times be hit or miss. they suggest using pliers for adjustments but that can prove daunting. I put a pair of pliers on the “leg” and gently squeeze the plier handles with a c clamp. this way you can apply gentle even pressure on the leg. has worked for me so far. if I had to do it more than once in a great while, I’d make some sort of jig to accomplish this task. I’m surprised that no one has to date …
Bill”
“Al good day, my thoughts;
Their are very many different types of Lay-Out Artists in the world, as such all have their own particular expression, some artists are good, then there are some Artists that are just a bit better than others. These are the type of Artists that make as you say “Some make superb scenery from little more than household items. Others seem to make electronic stuff with no more than wire and tape.
The others, they buy the standard scenery crap from the manufactures and that can be seen to be the same in many lay-outs.
Mind you I like Lionel and some others rolling stock, but lets face it a whole lot of their scenery stuff that they sell, like their plastic houses, barns stations and or whatever, well their something to be said, when it says on the side of a train set box “For ages eight and up”.
A very authentic lay-out is impressive, especially in it’s presence, equally impressive are the photos of these lay-outs, very rarely will there be two the same. The more authentic looking a lay-out becomes draws upon the designer to make it look as real as it can be.
Ask any true Artist and they will tell you that their canvas is never really finished. When you compare what’s being sold, to the hand made stuff then you can understand then compassion that some have. When your young its very easy to assimilate and imagine what’s in front of you to be the real thing, when you become older such is not the case that is why in my opinion that why train sets get shoved back into their boxes and handed down to the next generation.
You can tell by the look of some of the equipment and rolling stock being sold that shows the signs of boredom and or lack of interest.
My tip, if you is to be authentic, make your lay-outs as real as they can be, as well make your rolling stock look as real as you can. If one is able to read e-mails, they have the means to make their lay-out real as it can be. I would suggest that you choose the railroad company that you have been most a custom too through out your life.
In order to start your endeavour you will need to purchase a train set or two with at the very least three switches, the size (gauge/scale) is your choice. One has to however keep in mind at all times gauge/scale is going to be determined by the room that you have to set-up your layout. The smaller gauge/scale stuff looks pretty impressive, but that is only from afar and I say this from an experience that most modellers will never, or ever have unless they had the opportunity have hired on to and or worked on/for a railroad.
I would next, pick out/up some rolling stock that your not so comfortable with. As an example, I have chosen “O-27” and/or “O” gauge because that’s what I started out with when I was kid. I would then go to my nearest hobby shop or other known place and pick up an “Artist Air Brush Kit” and as well some red, blue, green, black and white paint, suited to the Air Brush manufactures specifications.
Next, build your table-top first or as you carry on. You can pick out a lay-out design from a book or wing it, I recommend if you lack carpentry skills read a book so that understand the essentials of building a secure table. Pretty well except for the original every modellers design from a book has been customized,
Next, I would make a work area close by where could disassembling my stock one car/locomotive/engine at time. Strip down and repainted all metal parts. Most rust is just surface, so with proper sanding the metal can be brought back to smooth. There’s some amazing rust proof paint on the market to day that stops rust for good. Once all metal work has been completed set aside. Clean plastic with TSP after you have take off Hand Brake wheel(s), brake rigging and or other attached pieces that maybe on the shell and set aside. If your manufactures logo does not come off do not fret, in the real world rolling is sold and in most cases the buying company just paints right over the pervious owner’s logo and car specifications.
Nows the time to take out your air brush and get down to business and start practicing because practice makes perfect. When dry secure with an appropriate sealer and then its decal time start to customizing your fleet under the rail road company logo of you have chosen. When your working on rolling stock you can as well be thinking and planning your lay-out table by table top, and when your building your lay-out you can be thinking on how to best improve your personal customizing of your rolling stock which will lend support all details as seen from the railways right of way.
When building your lay-out plan wisely, as a lay-out is easier to build than it is to take down should you decide to change things because your plans did not turn out right.
Take care, Jim”
Now on to Mark:
“Hi Alastair,
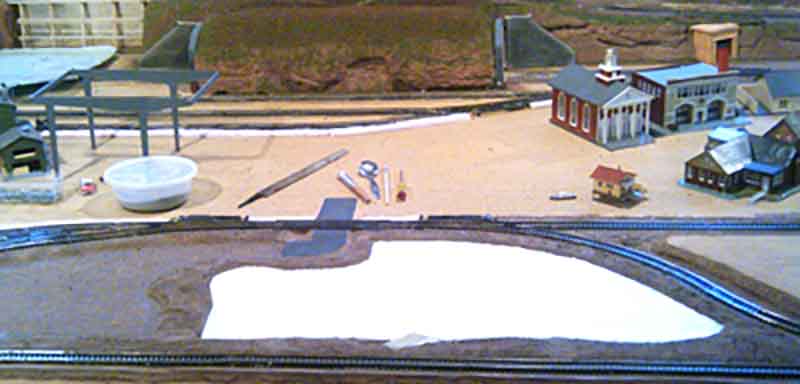
I have been working on my first layout for about 7 months, doing my best to take my time. My grandkids wanted to spend the weekend with us and see “Grandpas Train Set”.
Well, although the track is laid and operational, it would look pretty boring to a child. Against my better judgement I decided to junp ahead of my plan and add some color to the layout by working on the Lake area so that “Grandpas Train Set” wouldnt look so boring to the kids. Here is a before and after photo and I have to say that for a rush job it doesnt look too bad!
Mark”
A big thanks to everyone (love what Mike did with his cattle in the video).
That’s all for today folks.
Please do keep ’em coming. And don’t forget, the Beginner’s Guide is here. Course I’m biased, but why do we all learn the hard way?