Pat’s railroad dilema

I had the below email in from Pat, which touches a nerve with us all.

But first, we are going to go to John, because his post is very relevant to Pat’s:

“Hello Al:

Some pretty realistic chain-link fence can be made as follows:

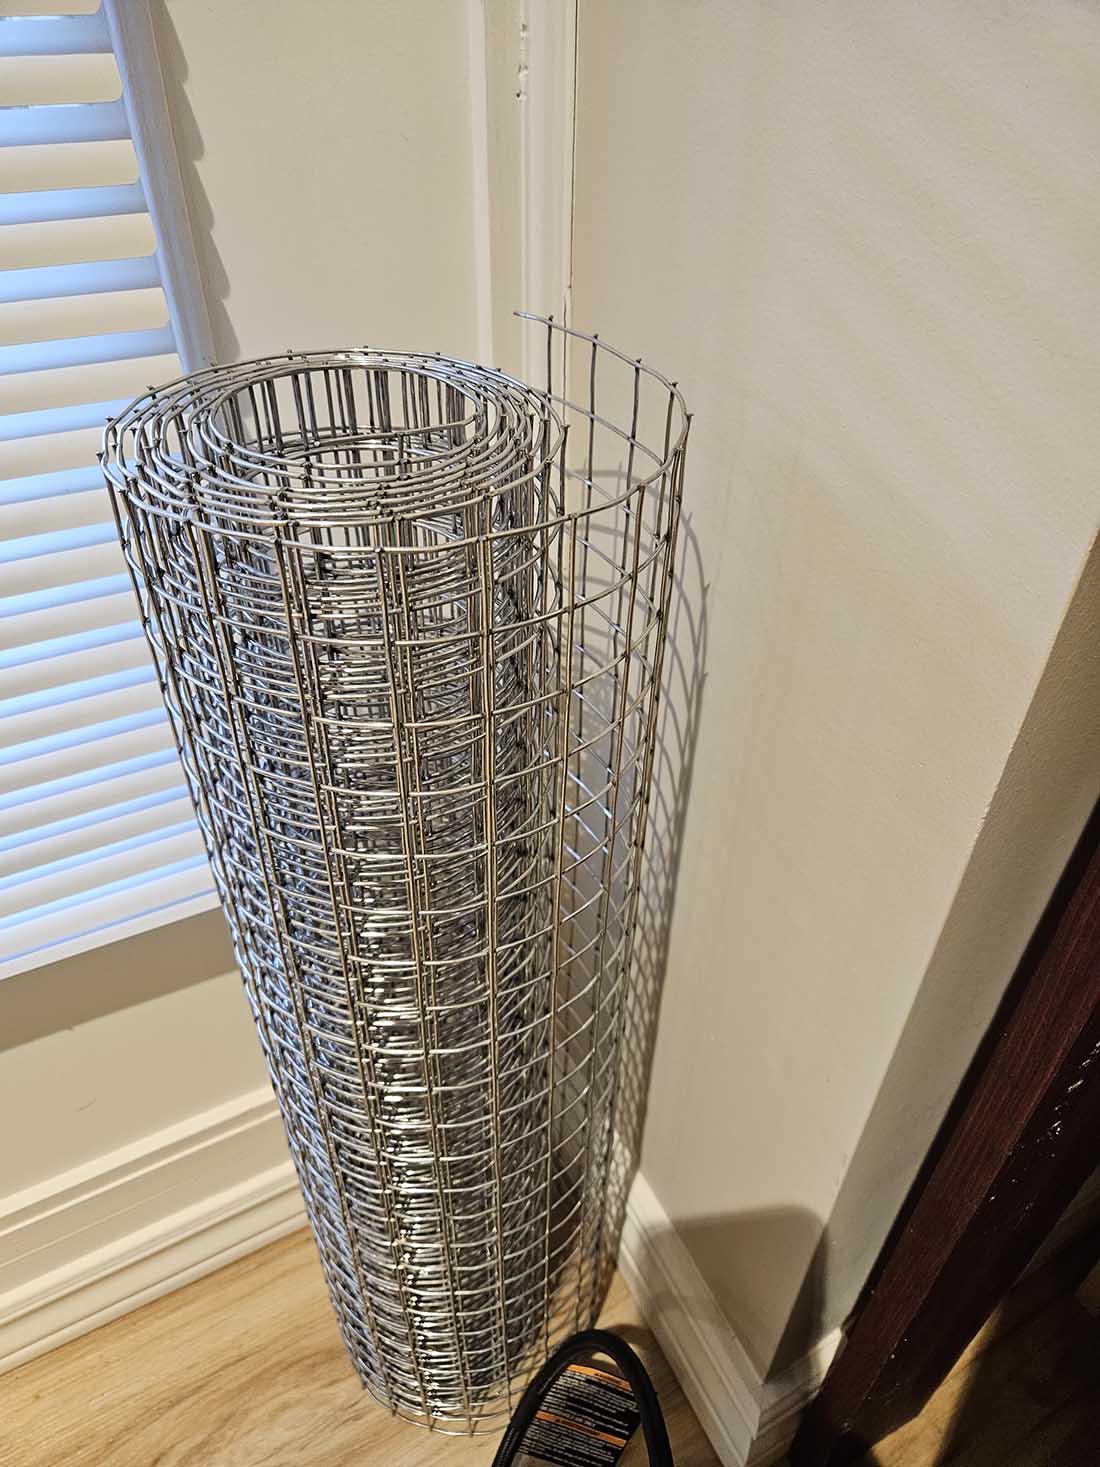
1. Acquire some 1″ X 1″ square chicken wire. In my case it came in a roll of about 20 feet. The remainder will be used by my railway model club.

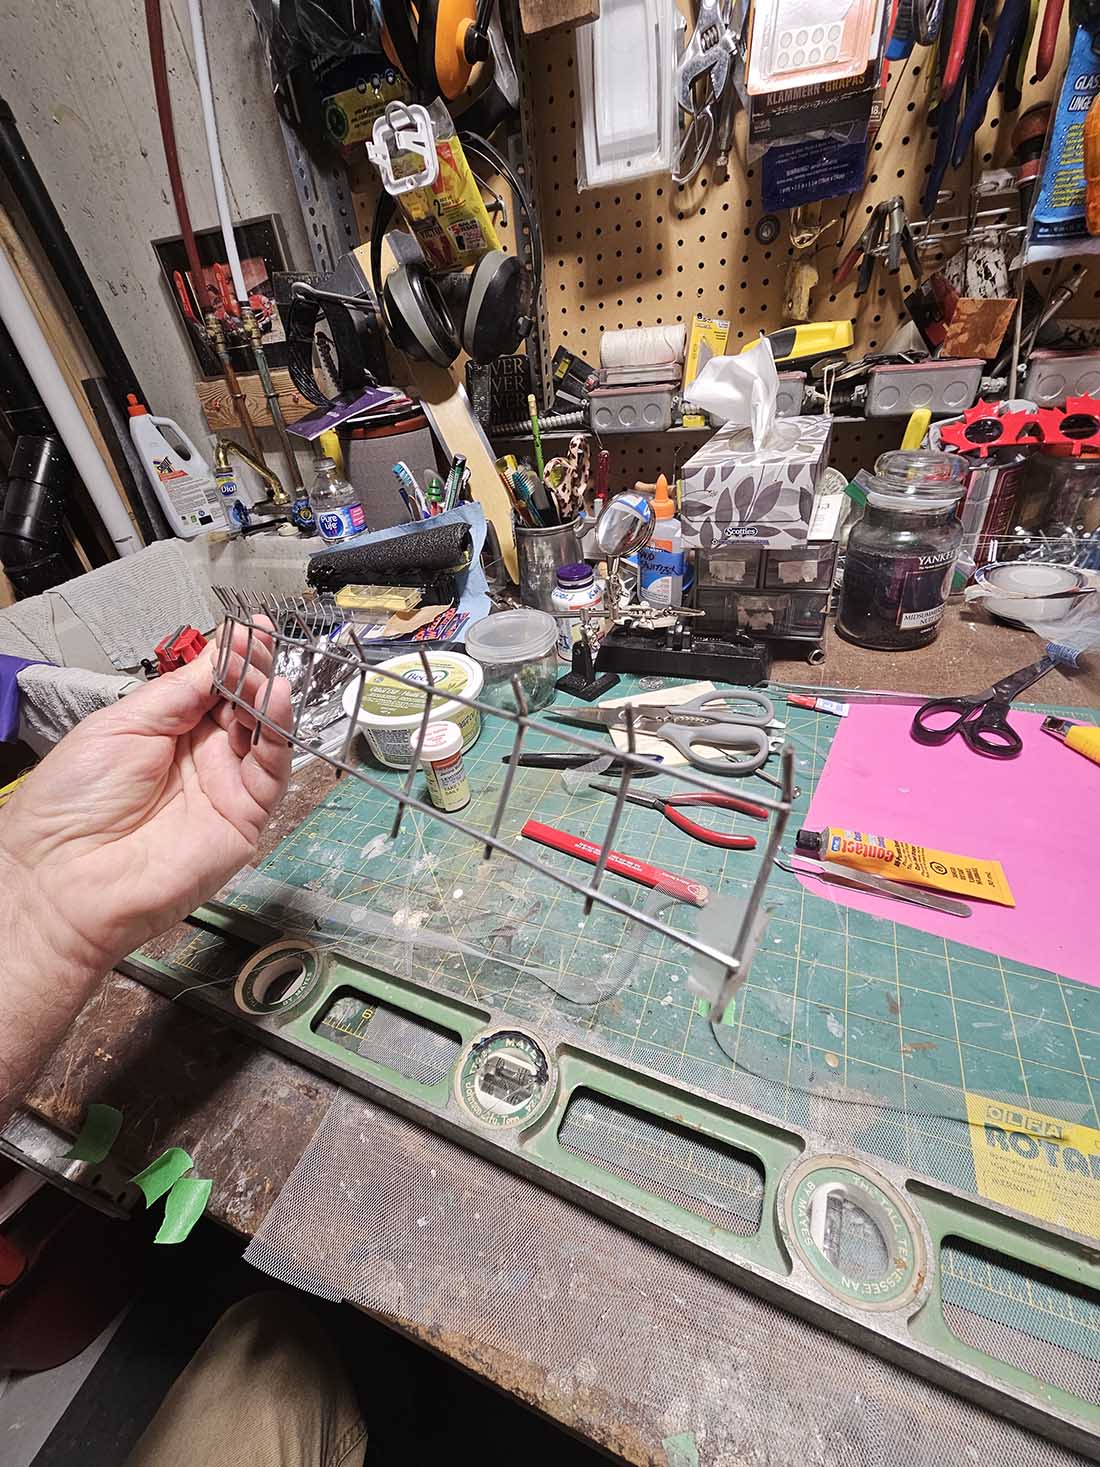
2. Using a Dremel cutting wheel trim off a few lengths (see photo). I left every 4th pole a bit longer for insertion into the ground. I left about 3/8” at the top for barbed wire.

3. Bend top portion for barbed wired – if needed. If not, trim cleanly to the cross bar.

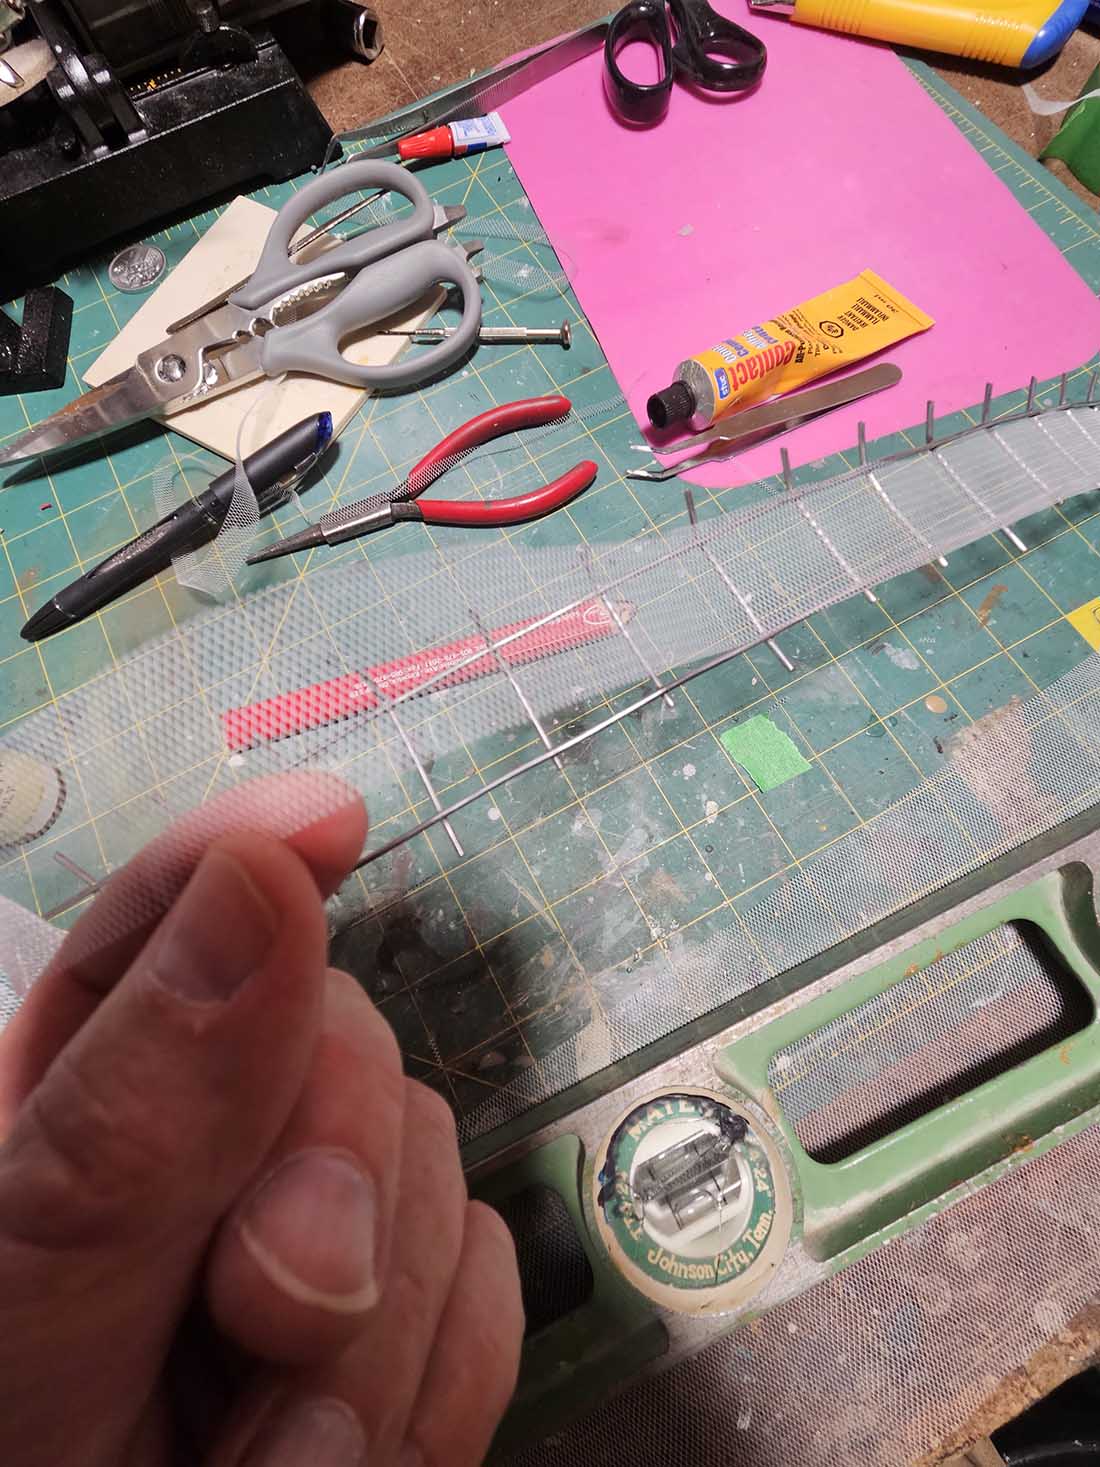
4. Acquire some appropriate chain-link fencing material or “tulle” at a fabric store. It’s very inexpensive. Size of each strip should be slightly wider than 1″.

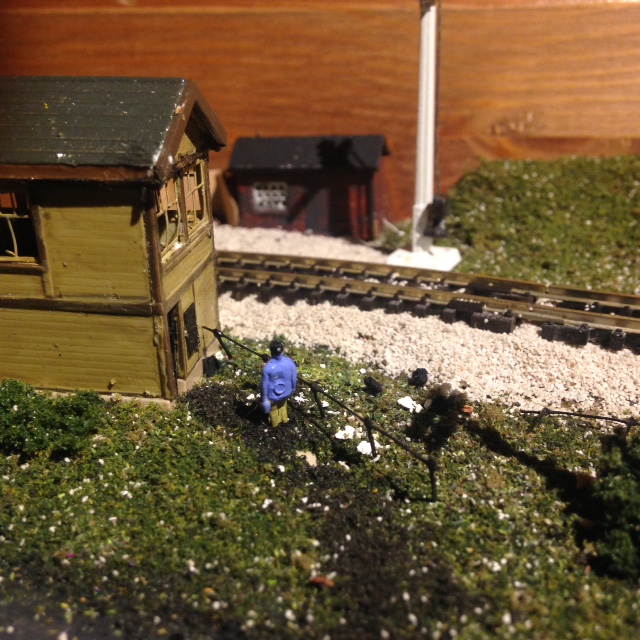
5. Use some 100% polyester sewing thread and begin the “looping” of the thread around the barbed wire stubs. I added a touch of glue to the thread on each stub. If stringing multiple strands of barbed wire, be sure you slide the first string of wire down to the bottom of the stub. String successive lines above the last line you’ve strung.

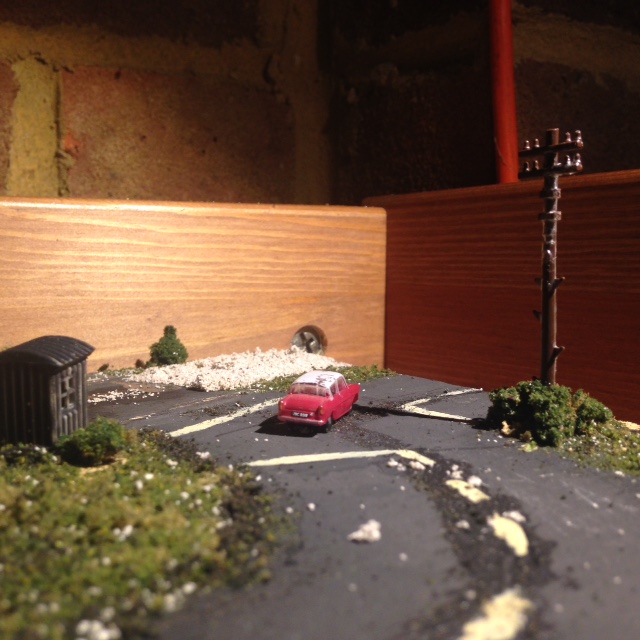
6. Apply some clear glue to the chicken wire and lay the strip of material sown ensuring you leave overnight to dry.

7. Spray with a lighty Grey colour.

8. Weather using a light brown for rust and a darker black-brown for additional weathering.

John”

model railroad chain link fence

model railroad chain link fence

model railroad chain link fence


A fab money saving tip from John, which leads us back nicely to Pat.

It’s something we have all mulled over at some time judging by all the comments.

So I thought I’d put it ‘to the collective’ and see what wisdom comes out.

Just post your thoughts below!

(If you read the comments, you’ll see a common thread. And it’s good advice.)

“I really enjoy your e-mails and many of the wonderful attachments as they are very informative and answer many of the questions I have as I return to this hobby.

I owned a hobby shop twenty five years ago but that venture did not go well in a town too small to support it and with the advent of the internet, that was sort of the final straw so to speak.

In those years since, this hobby has changed and modernized to where I feel I am really too far behind to make a correct decision on what to do next.

As I approach retirement, which is four years away, I am looking at getting back into the hobby and have spent many hours “window” shopping in my Walthers catalog and have a building list that is $2,700 long.

That was based on a layout that was five by fifteen feet.

I was under the impression that I needed to determine my industries, locate them on the layout and then lay track based in the corresponding need of the industry (one track, two tracks, or multiple tracks placed so far apart and so on.) Now I have been told that I need to lay the track then place the buildings. I am now just more confused.

Then, in reading some articles, it was suggested that a modular layout was the best to have and in some respects that does sound practical.

So what I am asking, is what is your opinion on how I should proceed. Industries first or tracks? Large layout or a modular one? Any thought and comments are welcome.

Pat”

Not that I’m biased or anything, but you could do a lot worse than starting here

Anyhow, post your thoughts below and let’s see what we can do for Pat – and the rest of us!

Now on to Steve in Oz:

“Hi Al,

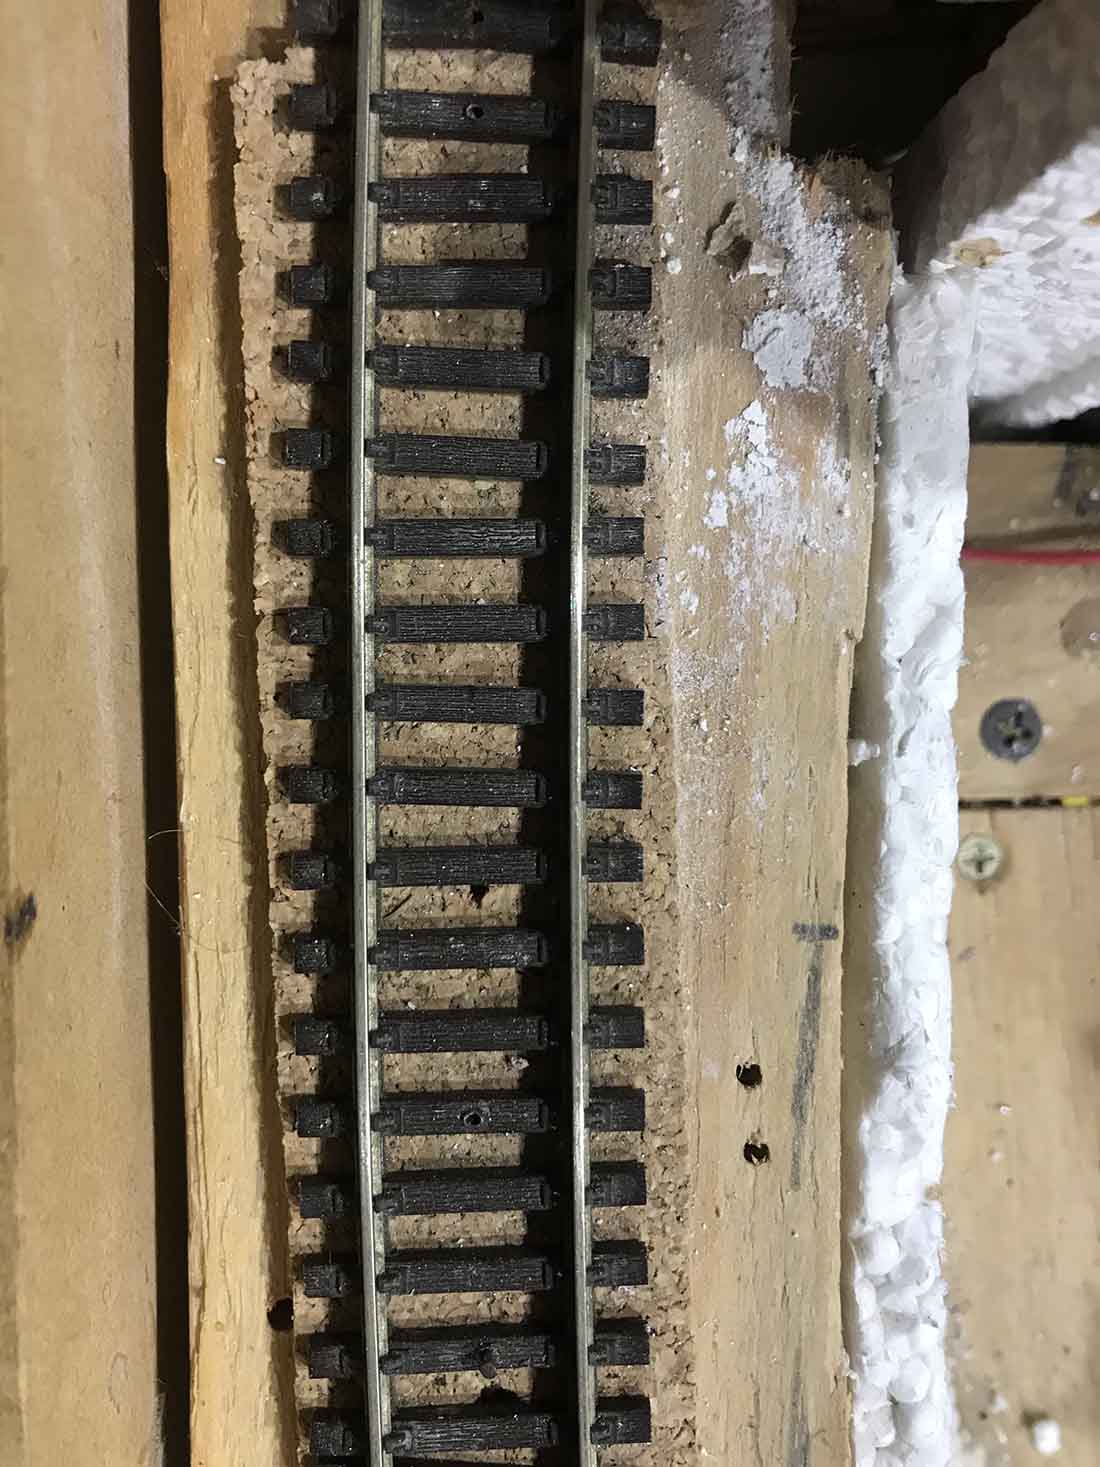
In Dave’s recent video, he talked about cork underlay, and that he cuts a ‘nick’ on the inside of the cork when going around bends.

Here is how I do it.

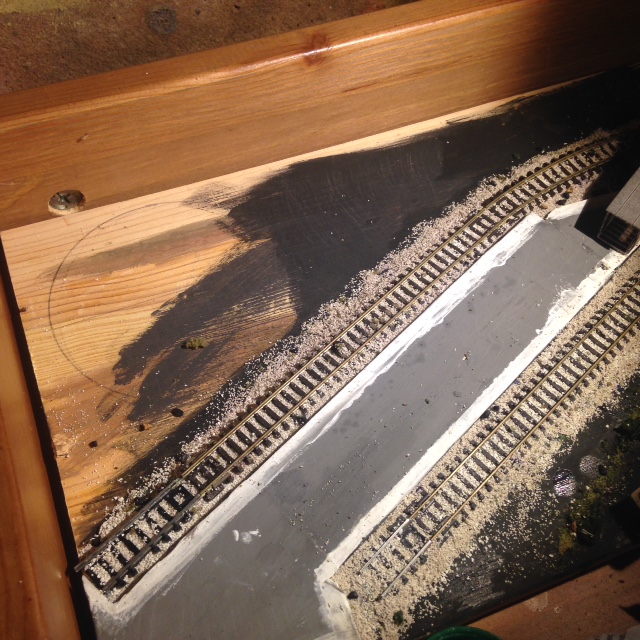
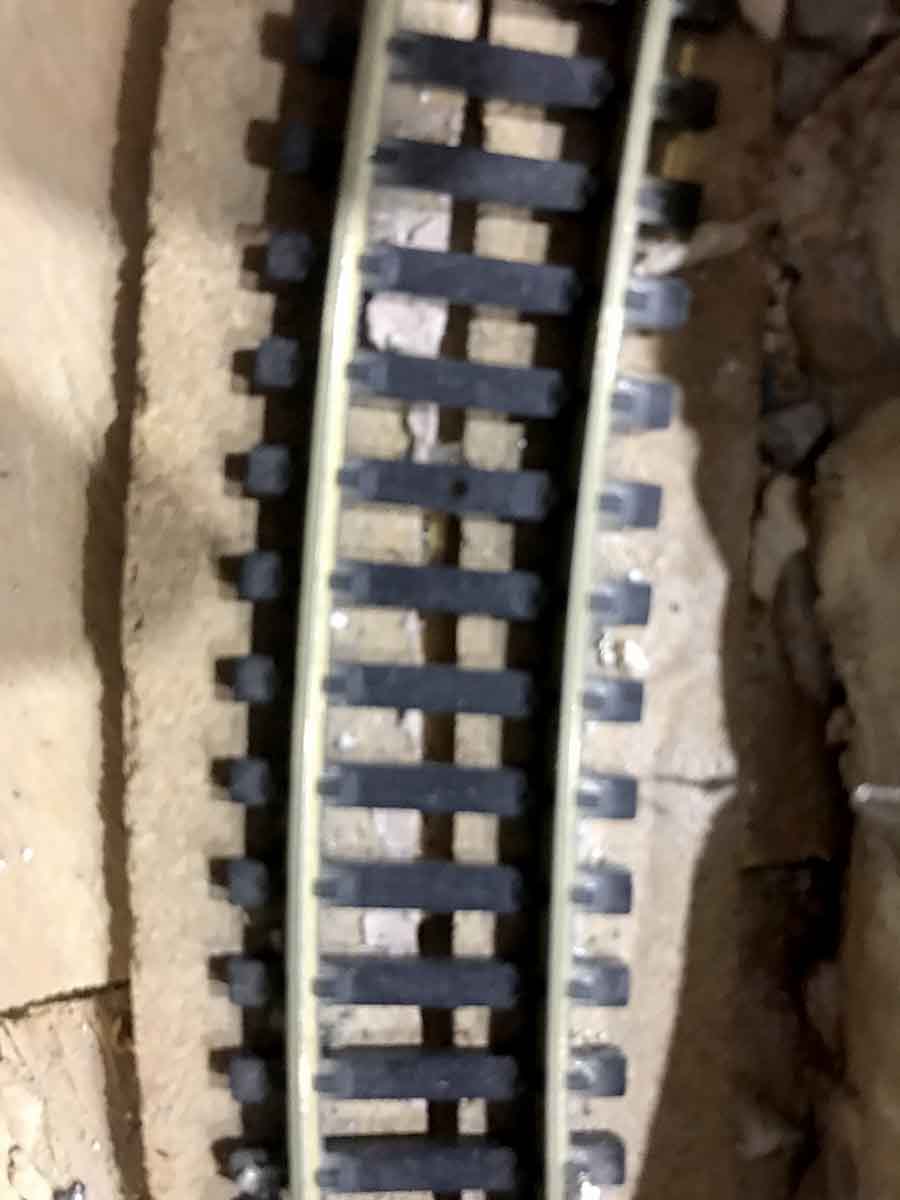
When I come to a curve, I cut the cork down the middle (for the length of the curve). This allows me to install each piece of cork from each side of the track.

This makes the cork very flexible and plyable.

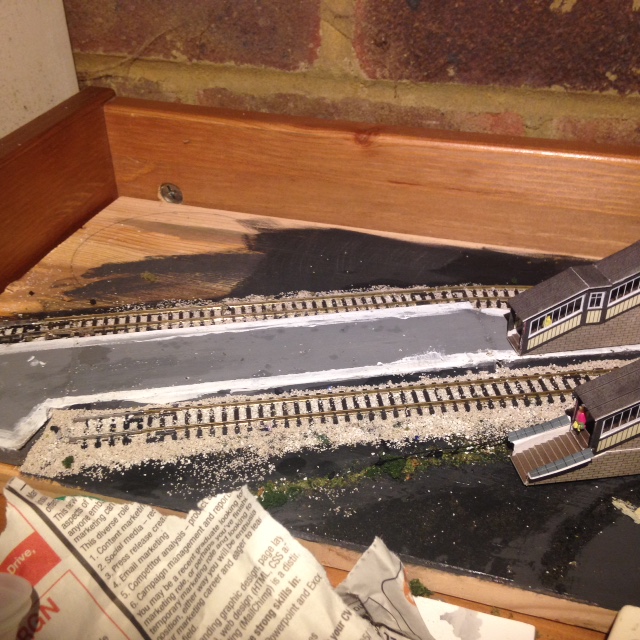
The first pic is a straight section.

The second is the curve.

Alternatively, ‘N’ scale cork is about the correct width for doing this. So its up to you as to which method to use.

Regards

Steve (Sydney)”

n scale track cork

n scale track cork

Thanks to Steve.

That’s all for today folks.

Please do keep ’em coming – I’ve never known it so quiet.

And please post if you can help Pat. As you’ll read there is some sensible advice.

Best

Al

PS More HO scale train layouts here if that’s your thing.


Need buildings for your layout? Have a look at the Silly Discount bundle.

Dave’s railroad incline video

The talented Dave has been busy again – this time he’s put together a video on how to get your loco pulling weight up an incline.

Here you go!

Click here for the latest ‘ebay cheat sheet’. Thank you all for your comments on it.

Best

Al

PS Looking for the Beginner’s Guide? It’s here.


Model railroad storage boxes

Alan got in touch. And I have to say, I agree with him. Why just dump your unused cars and locos in Model railroad storage boxes?

“Hi Alistair, I just thought that you may like to see the sought of thing that an odd mind like mine can come up with.

I wanted a storage shelf for my ‘O’ gauge vehicles and this was the start of “Justash Elf Village”, I could’nt see the point of plian shelves would appreciate all comments good or bad as we can always learn.

There are more photo’s of this and ‘Tramps End’ if you wish to see them.

Alan.”

Model railroad storage boxes shlef

Model railroad storage boxes shelf

Model railroad storage boxes shelf

model train storage

model train storage

A big thanks to Alan for sharing his opinion on Model railroad storage boxes. I have to say, I do agree with him!

Next, Cameron:

“Hi Al

I am a beginner in the hobby and have very limited space for my layout. It is a 4ft long end-to-end terminus shelf layout based in the South of England. I am about 70% complete with a couple of buildings to build and people to place but I have a small problem.

As I said I have a very small layout so I’d like to use the space as much as possible. But there is an area (about 1/5 of the layout) that is blank. I haven’t placed any scenic stuff down or buildings because I was hoping for some suggestions from you and the other model railroaders in the forum.

So far I have one suggestion from a friend which is to put a turntable in because it’s a terminus but there simply isn’t enough space.

Thanks Al for all the hard work and effort you put in to keep this forum going. I find it very useful.

I have attached some pics too.

Cameron”

model_railrway_shed

model_railway_build

model_railway_car

model_railway_platform


model_railway_road

Now some more of your tips:

“Best method of creating a landscape? Sprays. Just spray your layout with a spray gun or can (obviously before anything goes on). Then cover with another colour or go straight to laying track, scenery, and other goodies.

Bit obvious but it helps!”

— Jamie


“To BROWN or not to BROWN.

I have never been very big on the black ties of flex-track. I usually lightly spray paint the flex track with a dull brown acrylic ( I suppose a gray would be OK too).

This makes the shiny black ties appear more natural and weathered. Sure this will paint the track but a light sandpaper will remove the paint, restores the contact and rail shine. I also sand the interior of the rails to improve wheel contact.

You can also paint switches, turnouts and crossings to blend but extra sanding is needed at all electrical points of contact of the throws and frogs of the turnout itself.

I usually do all of this “RR tie painting” anytime before applying ballast.”

GRADING is not too difficult to achieve as long as you don’t exceed a max of 4.5% elevation.

Take in consideration the height of an over/underpass. The elevation angle is determined by cumulative height of… “the cork-bed ballast, the track/ties and the tallest car plus .25″ clearance”. This will give the total inches/degree of elevation on a run of 100″.

Lets say that the total height is 4.5″; that converts to a 4.5% elevation over a 100″ of linear track. If the running length of track is say 75″ then the angle becomes greater to 6.7% (too great and possibly will stall any long run train). Compared to a running length of 120″ (10-feet) equals 4.2% angle of elevation/grading.

Multiply your grading/elevation by 2 to allow for down grading as well at the same “gentle decline”

— Ron


“My tip is get the correct couplers you need so you dont get them mixed up like tyco or the knuckle couplers”
— Jason


In reference to rail cleaning after painting or for general rail cleaning.

Never use sandpaper as even the finest grade of wet & dry will leave tiny scratches which will attract & trap dirt & grime.

If you need to clean paint from the rails after painting or spraying use a small piece of softwood the end grain of which is ideal for the job.Any residue left over can then be cleaned simply with a piece of cloth wrapped around your finger.

For general rail cleaning use Isopropyl alcohol or mentholated spirits.

Also to keep rails clean eliminate any plastic wheels from your stock as these are like dirt magnets & simply spread the dirt everywhere.Metal rails are much better & even help to keep rails clean & extend the periods between rail cleaning.

Tony”


“Cleaning Wheels:
To clean my N Gauge loco wheels, I use earbuds and vinegar.

Dip the earbud lightly in the vinegar and then gently run the wheels. The angle of the earbud helps get right into the flanges and it picks off loads of dirt and greasey grime. I then simply pass a current to the wheels to turn them round and continue cleaning. Once finished I use a clean earbud or soft lint free to remove any residue.
Hope this helps

John”


“Tony’s tip on using a piece of wood to clean track is great. I have used scrap pieces of 1×2 to clean my n-scale track for years. When it gets really bad I dip it in alcohol before use. I regularly run one hundred plus car length trains and have maximum grades of about 2.5% on my layout. So, smooth operation is absolutely a must. Another tip I use is to clean my wheels on a straight spot in the track I place a piece of paper towel, spay it liberaly with alcohol and the just run the train. Make sure the paper towel is small enough to only break contact on a single set of pick wheels on the locomotive and be sure to clean the track every few passes of the train or you will just make dirty track!

Ant”

That’s all for today folks.

Please do keep ’em coming.

And if today is the day you get started on your layout, the Beginner’s Guide is here.

Best

Al

PS Latest ebay cheat sheet is here.

PPS More HO scale train layouts here if that’s your thing.


And there’s the Silly Discount bundle too.