Dean’s been back in touch, this time with a take on 3D print model train scenery:
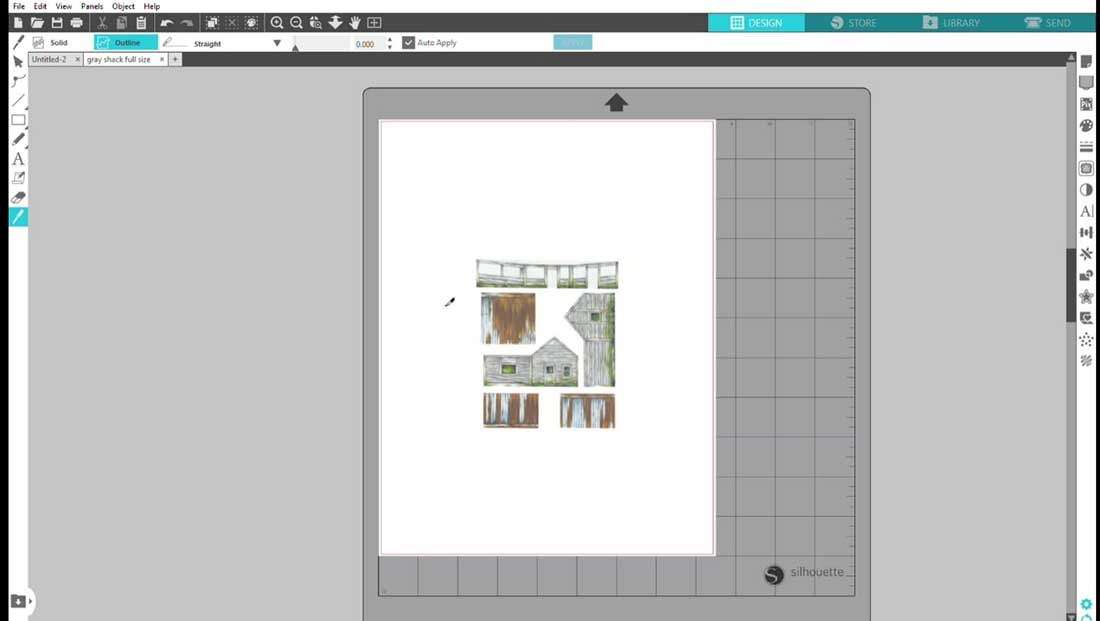
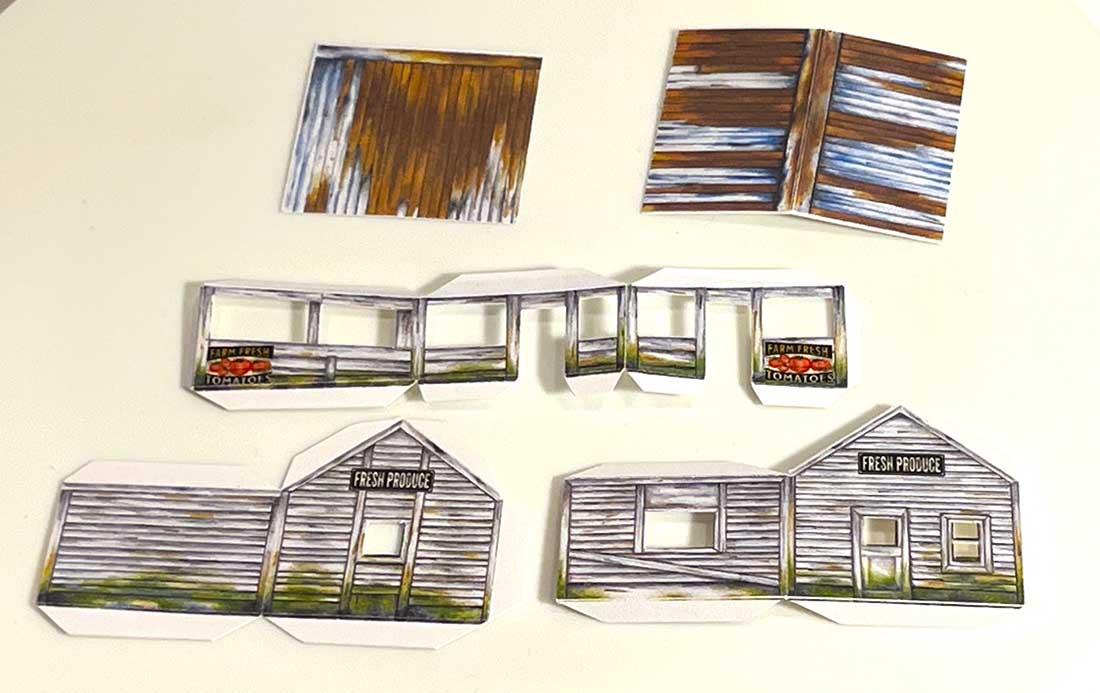
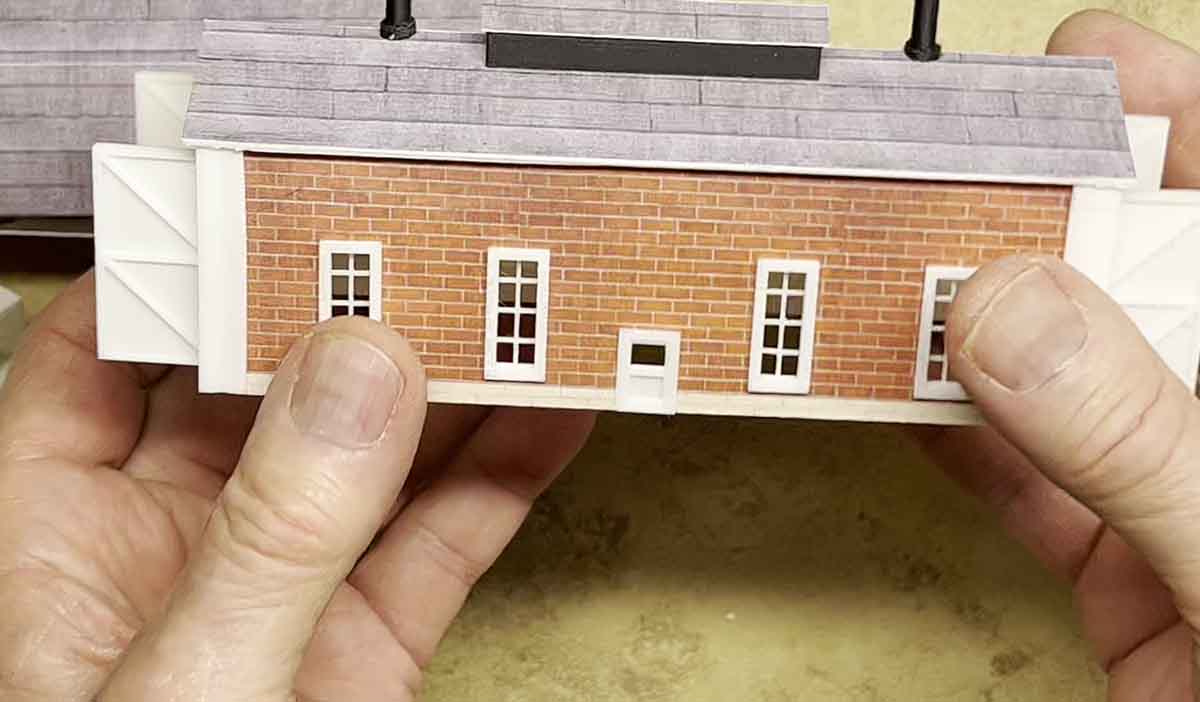
Al, greetings from Dean from New Mexico. I recently put together one of your printed buildings, the Gray Shack, complete with the front store.
Cutting these small pieces, particularly in N scale or smaller, is difficult for me. So, I use a cutting machine. (I bought mine from Silhouette America, but there are other brands that do the same thing.)
These machines cost about $200, but I’ve used mine for numerous projects, so it has been worth it. There are many videos on how to operate these machines on YouTube and the learning curve is quick.
Here are some details of how I did it.
I first placed the image into the Silhouette Studio software (you can download this free) and reduced it for N-scale
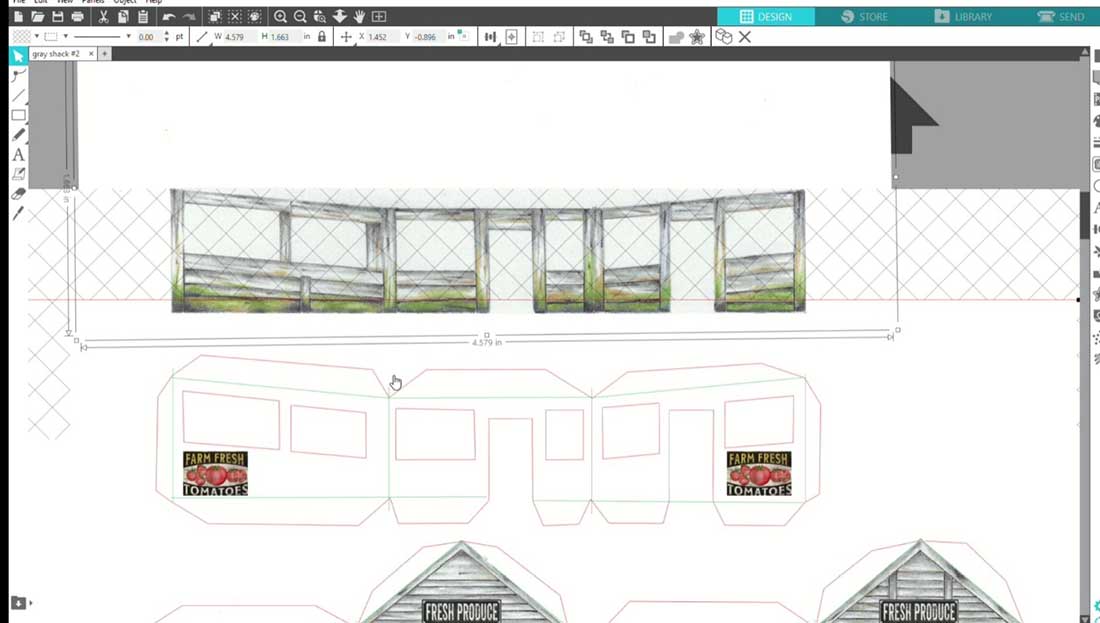
Then I added cut lines (in red) and score lines (in green). I moved the store part of the piece in the photo below above the cut and score lines so you can see how they are set up.
The lines are easily added with drawing and editing operations. Also see how I added additional small images to enhance the building.
You can also see how I added glue tabs to aide in the final assembly of the parts.
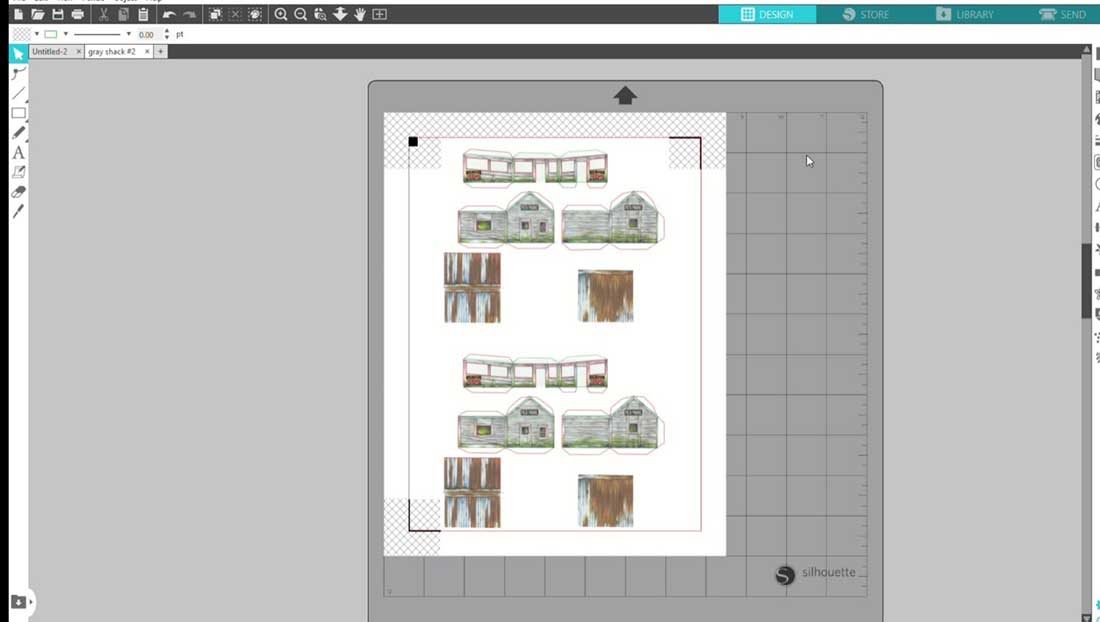
The next photo shows the final setup for the cutting machine. The small black square and L shapes are added by the software. The machine reads these to align the images, so the cuts are exactly where you set them. Note I added a second copy of the parts to the page so that I got parts for two buildings.
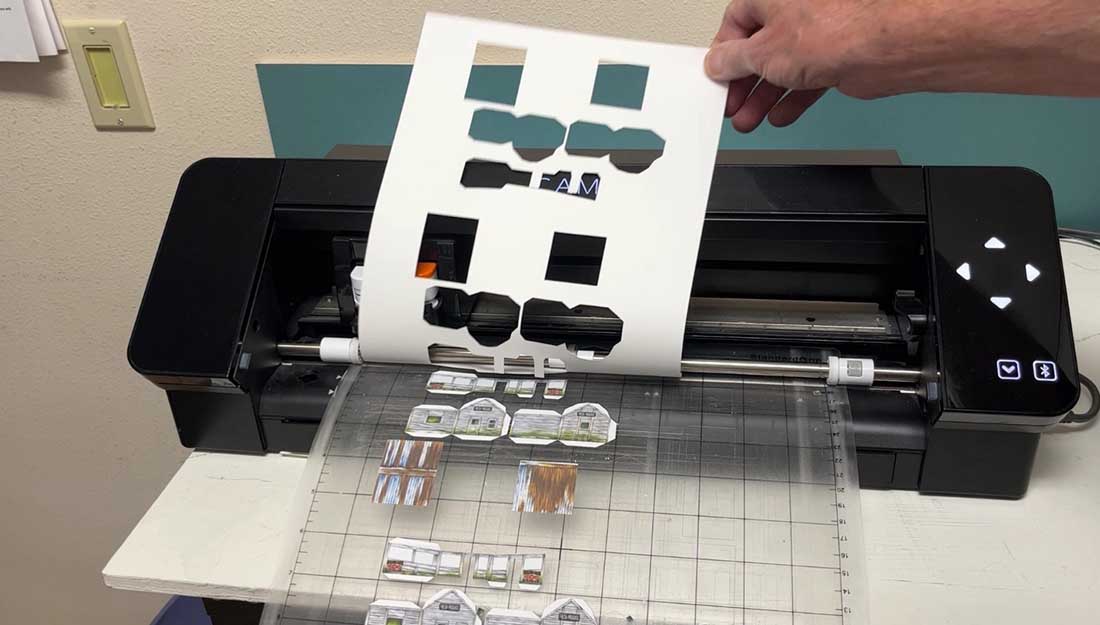
Here, the page was printed out and the cuts have been made and I’m pulling the sheet away from the final images. The mat has a slight stickiness to it, so the pieces stick to it until removed.
And here is a photo of the final cut parts.
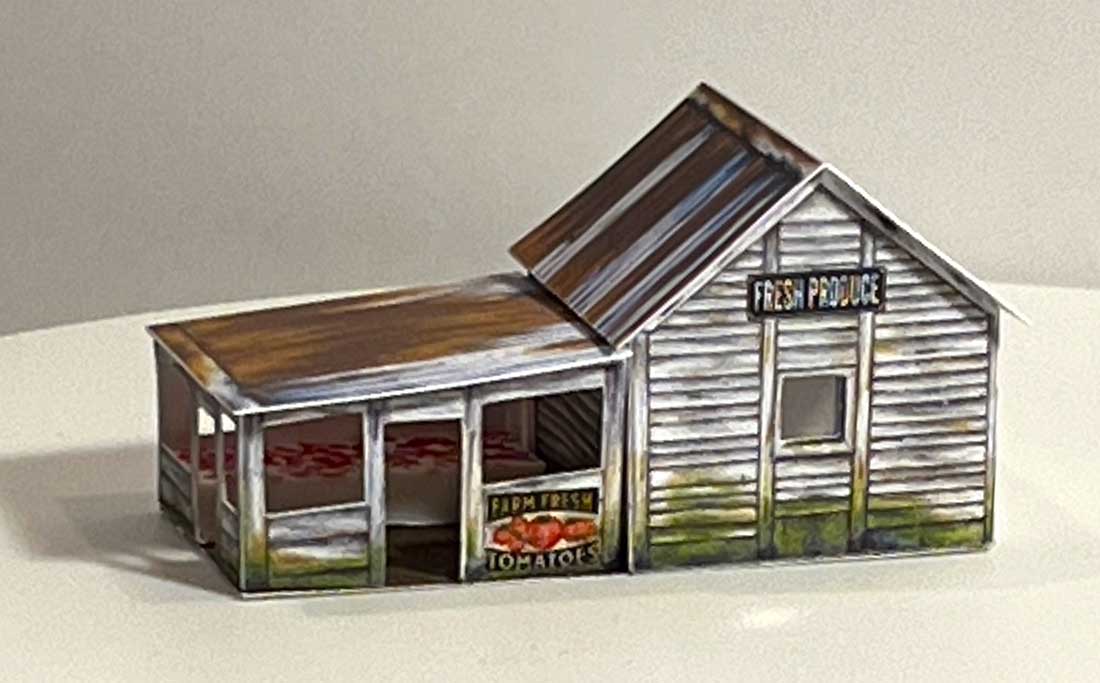
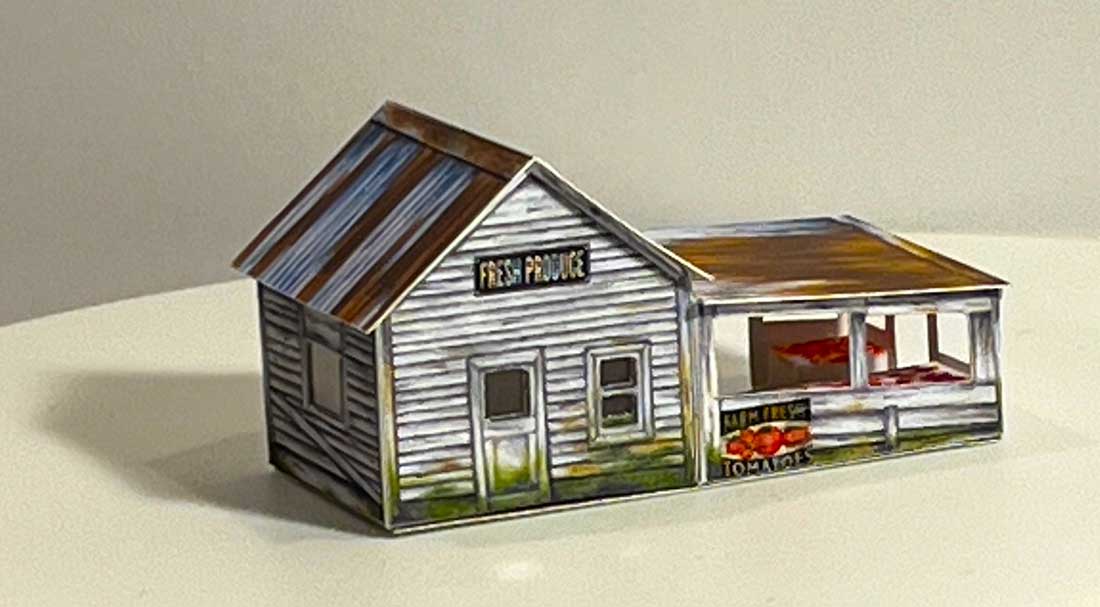
And two photos of the building as put together. As you can see, I added internal glazing and bins for fruit
A big thanks to Dean for sharing his 3D print model train scenery fun.
I didn’t think it would be long before someone stuck the printable building designs to a 3D print.
What I didn’t think about, or know about though, is a cutting machine. I didn’t even know they existed – and that’s the great thing about you lovely lot. There is always a snippet of information somewhere in every post that helps.
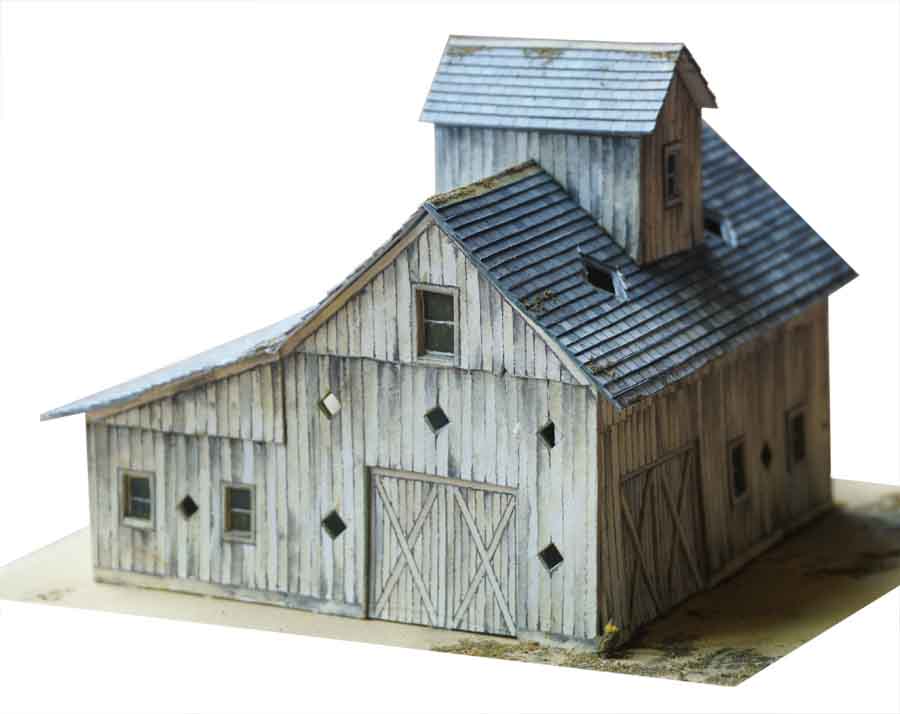
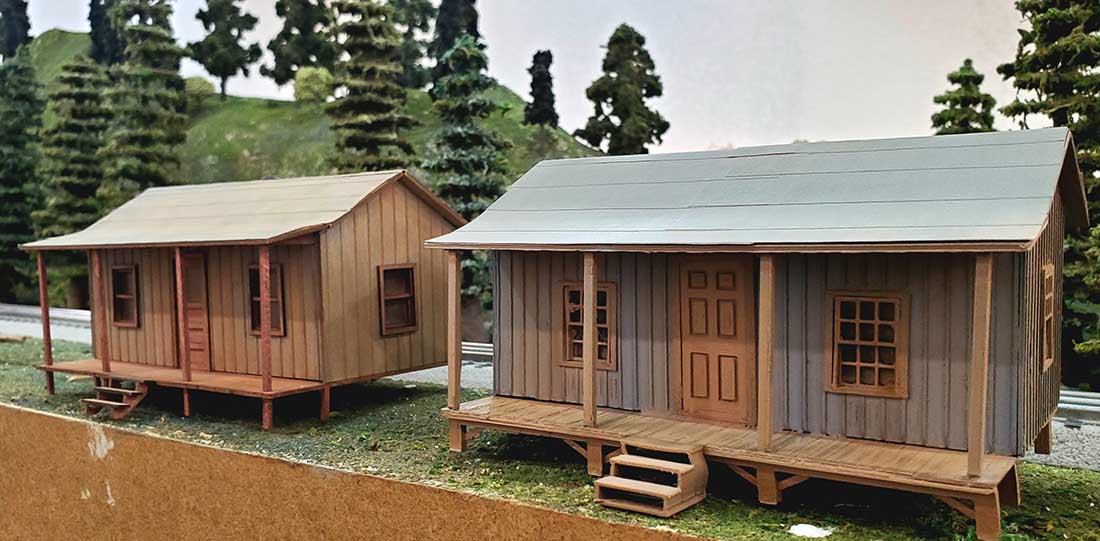
I do like what Dean has done, but I have to say, the printable buildings look a million times when you add relief to them – that’s building them up over several layers.
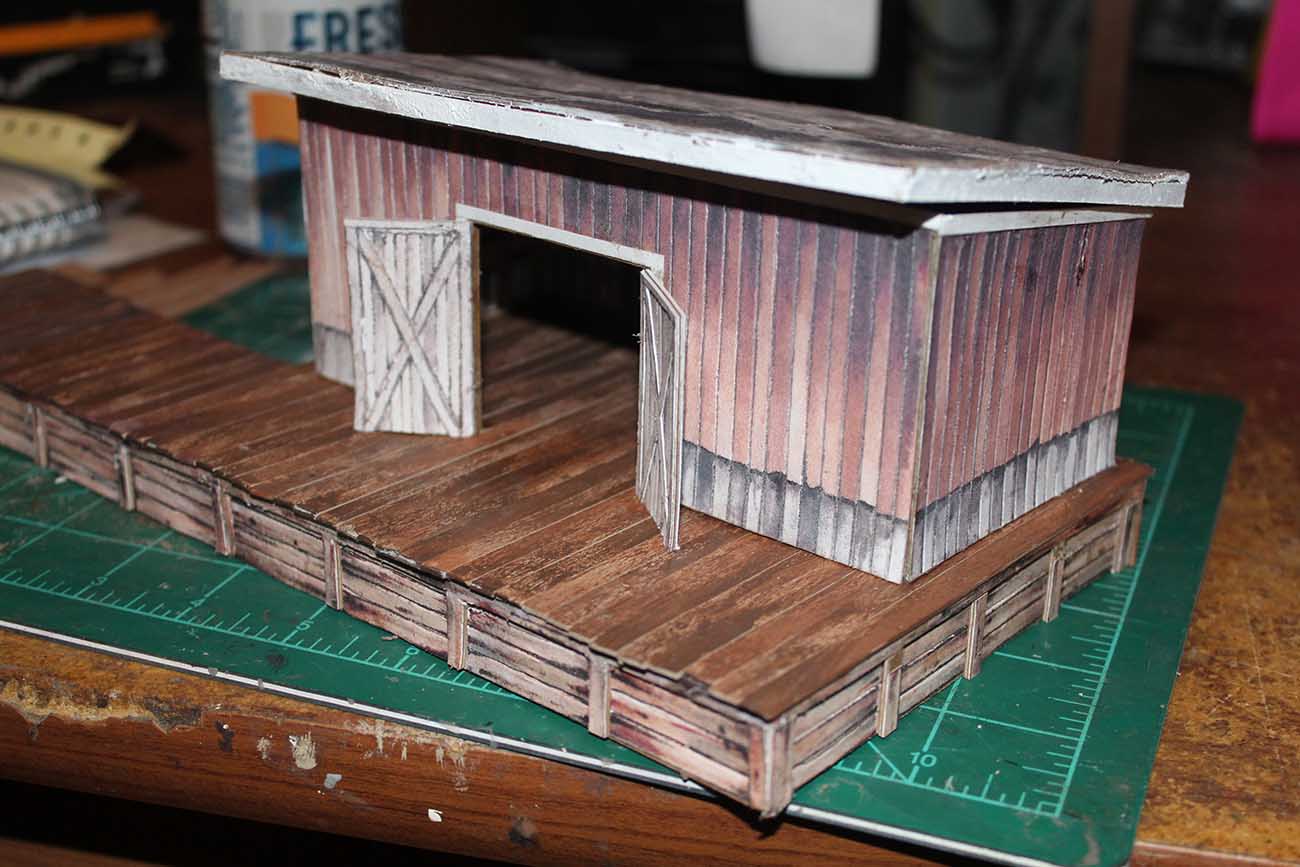
Here’s a pic that demonstrates this admirably, it’s of one of the barns (comes free with the Beginner’s Guide). You can see it doesn’t look flat at all.
Just having two layers, so the windows and door sit back from the walls makes it so much more realistic. Have a look at the tiles on the roof too.
And then there is Brian, who also goes the extra mile when if comes to detailing. These 3D prints look rough and ready because they are, but 3D printing does solve the problem of hard to get items:
Another post of ‘hard to get items’ that springs to mind is Gary’s HO scale. He was unable to find a class B1 engine anywhere – but it was 3D printing that came to the rescue:
Tom’s been in touch with his Kato Unitrack HO scale:
“My name is Tom H. and I live in Colorado, USA. I live near Durango, Colorado, which is home to the Durango and Silverton Narrow Gauge Railroad.
I started model railroading as a child and have been doing that off and on since then. Now that I am retired I have more time for the hobby.
I did have an N gauge layout for years, but got tired of working with stuff so small !
So I gave that 6′ x 6′ layout away and started a new layout in HO gauge, which is the gauge I had as a kid.
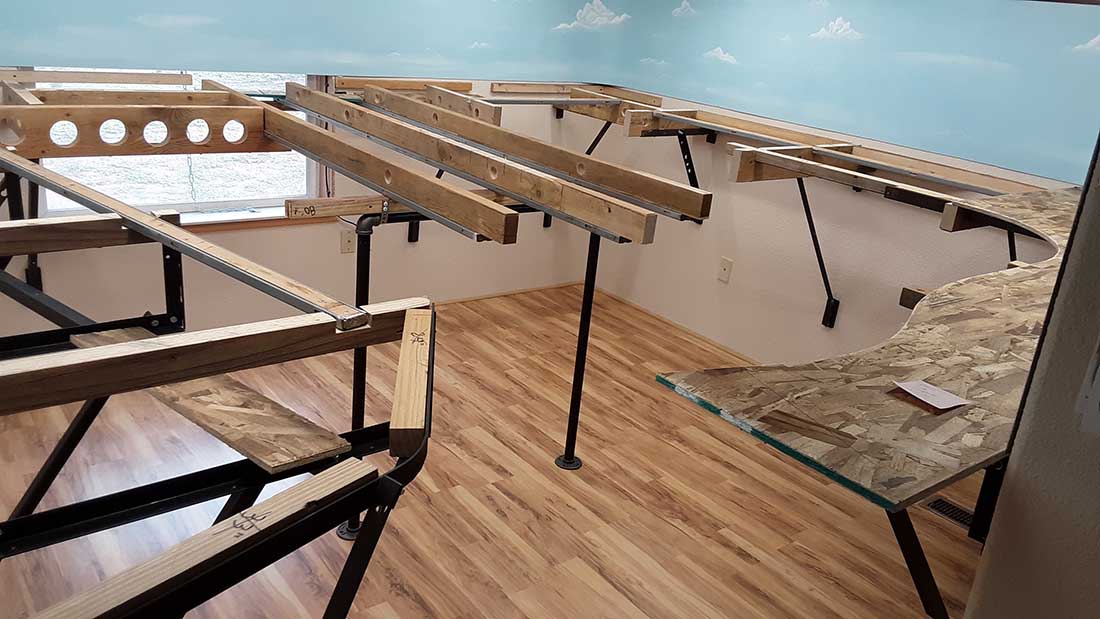
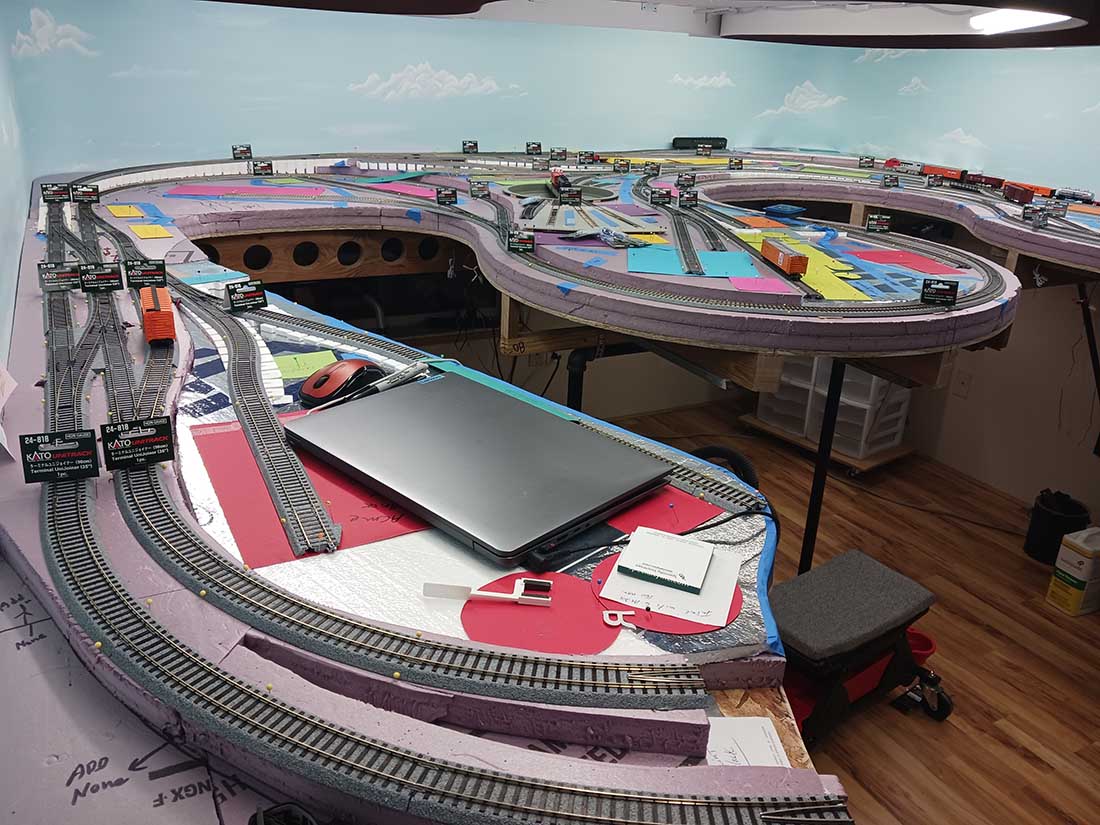
My new layout is in a spare bedroom in my house, which measures 10′ x 13′ (3.048 meters x 3.9624 meters).
I didn’t want a bunch of support legs that would interfere with easy access to wiring as well as interfering with cleaning the floor.
So I elected to cantilever supports fastened to the wall studs. The only straight legs are the supports for the peninsula.
I use a mechanic’s creeper chair to do the work underneath the layout.
The angle steel I used is from used bed frames bought at a local thrift store. Wood was added to the top of the steel in order to easily screw down the OSB tabletop. There are holes drilled through the wood pieces to route wiring.
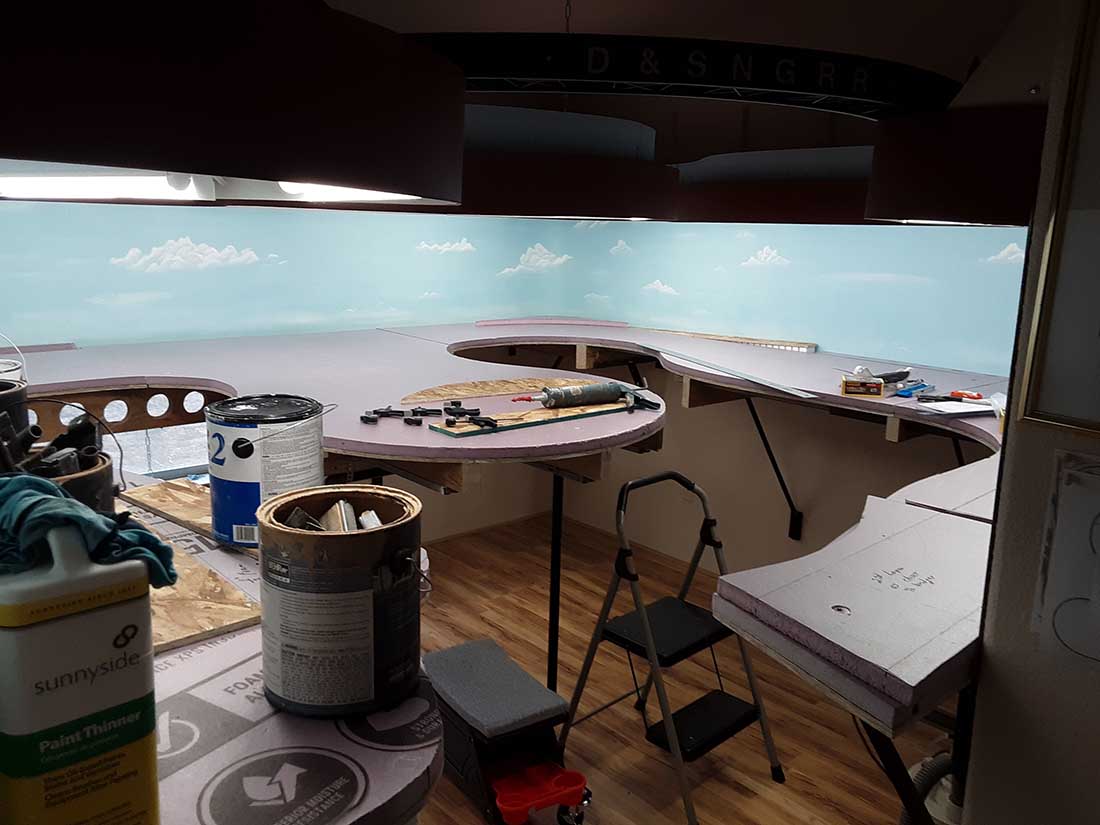
The layout has two lift-out bridges at the entry door to ease access. I am modeling two railroads, The ‘Atchinson, Topeka and Santa Fe’ and the ‘Denver and Rio Grande Western’.
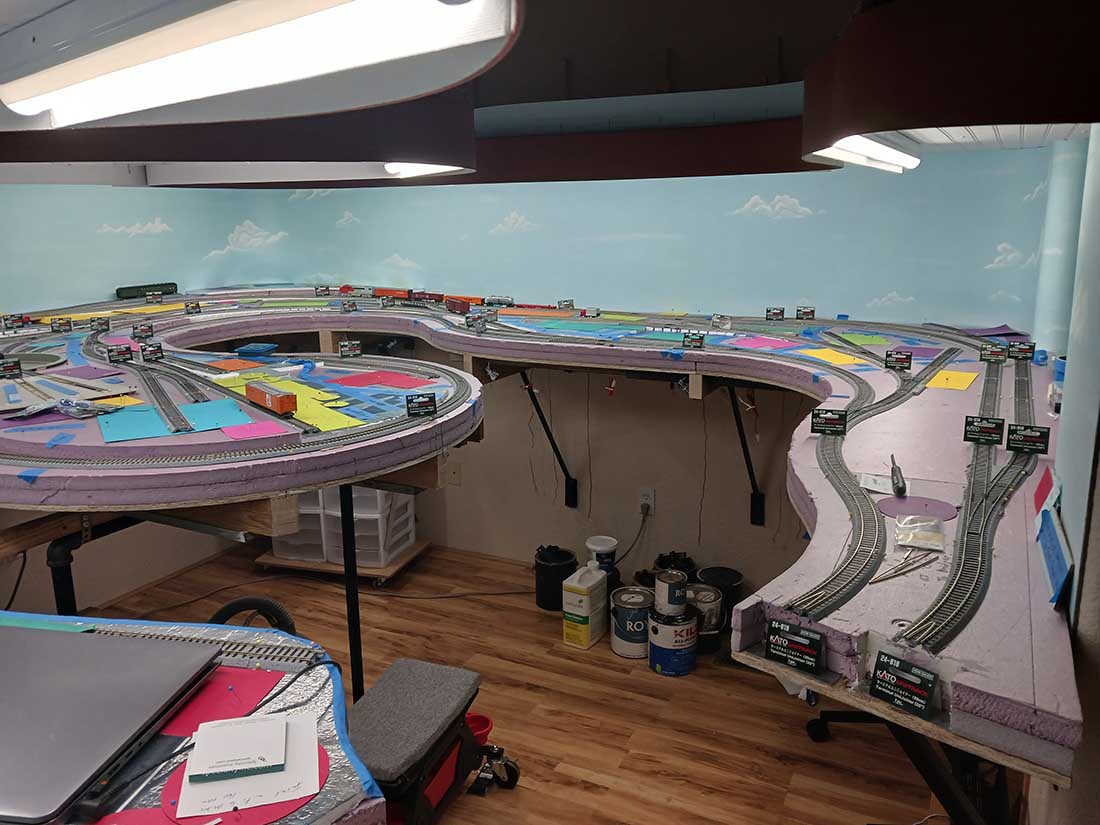
The location for these on my layout is Castle Rock, Colorado (with great liberties on my part!) This is one of the few places in Colorado where both these railroads went through the same town. The era is mid 1950’s, as diesel was replacing steam.
To design my layout I used CAD software from AnyRail.com, which takes alot of guess work and measuring out of designing a layout.
I used rulers in the software to transfer the layout plan to the layout tabletop.
After I laid the outer track, I then trimmed the OSB tabletop to contour with the track before applying the facia. AnyRail has a library of many different brands of track. I also use software by Trainplayer.com which runs trains on the Anyrail layout plan. This software catches any place where there is a track problem with the layout design.
I am using Kato Unitrack HO scale, which is nice to work with and trains run well on it. I am using DCC by Digitrax for the layout, except for a train I run on top of the Valance with uses DC and is a model of the Durango and Silverton Railroad, as a railfanning train running most of the time I am working on the layout, to keep me entertained, lol !
I am using electric turnouts and found turnout controls that I like better than the Kato controls.
The Kato ones stick out too far for the close quarters of my layout, these ones I use are made by RPC Electronics (rpc-electronics.com) and are mounted flush with the facia. They are specifically for Kato brand turnouts.
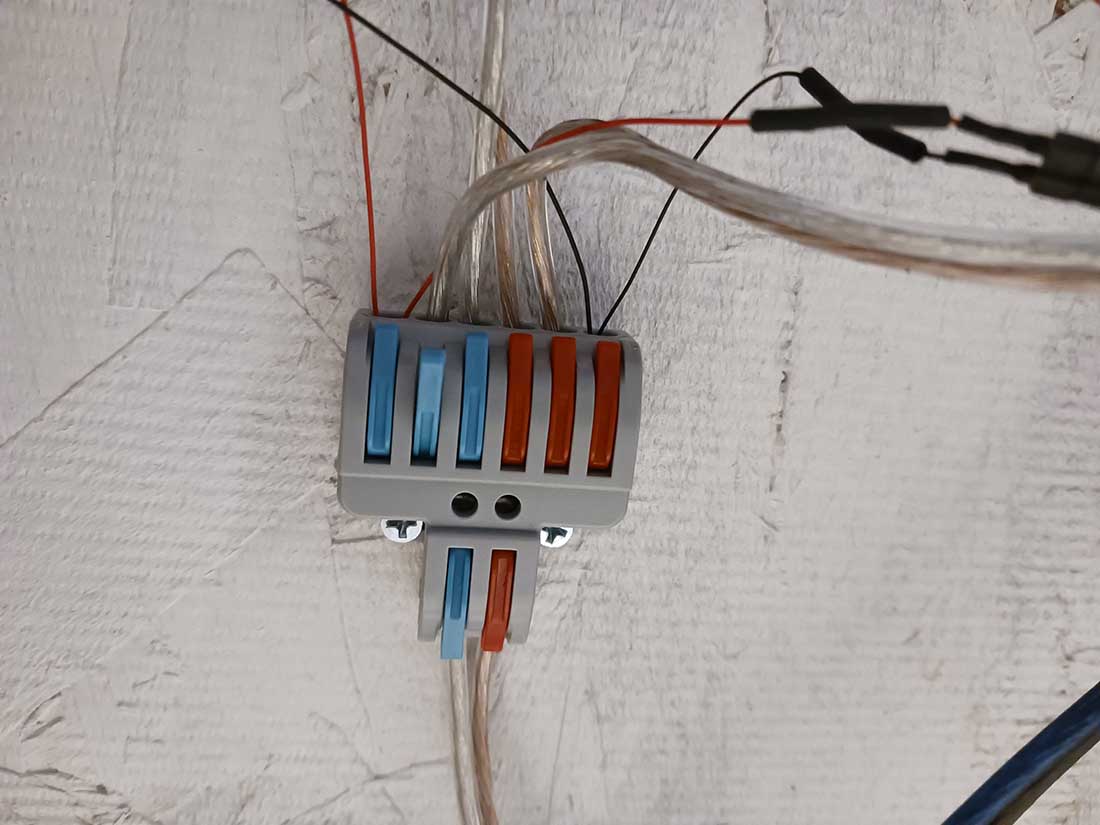
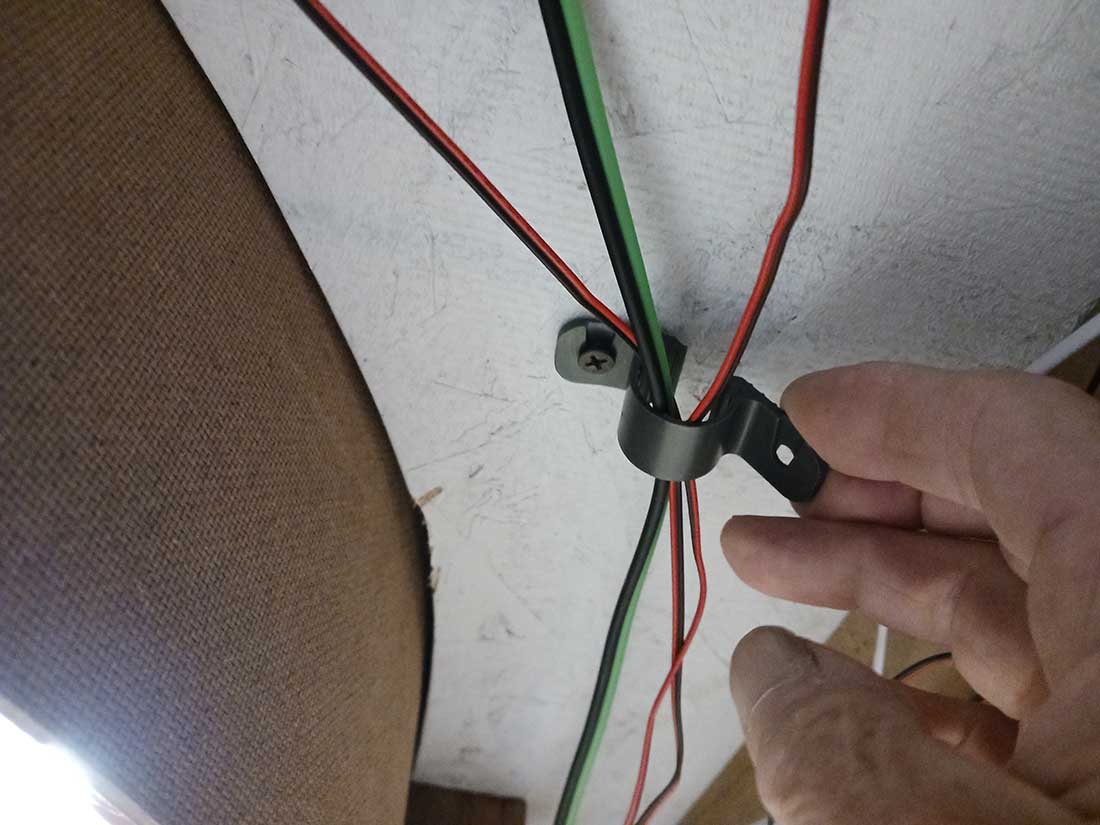
For securing wiring underneath the layout I use plastic 1/2″ pipe brackets, fastened with only one screw so they can easily be opened to slip wires into. For connecting wires I went with a very easy to use and simple connectors which are CirKits SPL-62 Multiple Terminal Blocks, which are push in cable connectors. (wire stripping required).
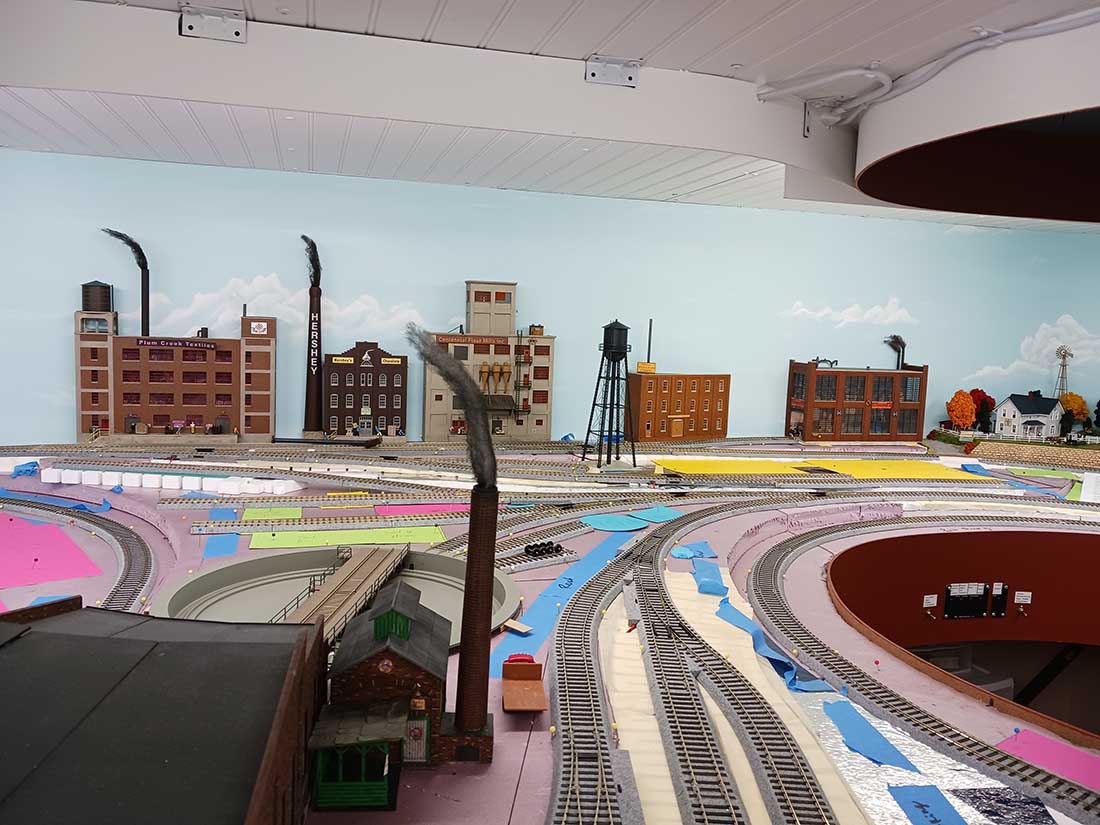
All the track is in place and trains run with DCC, and everything runs very well. You can see on one picture the lower shelf which is the staging area. A track from staging runs under layout at a 3% slope and exits at the track level on the layout. I have built the roundhouse, a diesel shop, and a line of background buildings so far.
I will post more pictures in additional posts.
Tom”
A huge big thanks to Tom for sharing his Kato unitrack HO scale layout.
Tom’s layout reminded me of Dick’s Kato Unitrack layout.
You don’t even need to give your email address to download – but if you enjoy this post and the free freight shed, you may want to jump on to the newsletter where there is much more like this.
There are no instructions on the download, but everything you need is below, as with all the free HO scale cardstock buildings:
“Dear Al…
The Shed Story now begins…
Two days into Al’s challenge I offered some “Work In Progress” photos…
This is a small freight shed…
The building now has a roof…
I intend to add a ramp and a small matching office…
How I built my freight shed…
The shed portion came first…
The covered bridge kit was first printed out as it comes…
It was then cut up to give me the pieces that I needed…
Those pieces were then copied at 135% to give me what I wanted…
The width of the boards, how high the boards needed to be and so on…
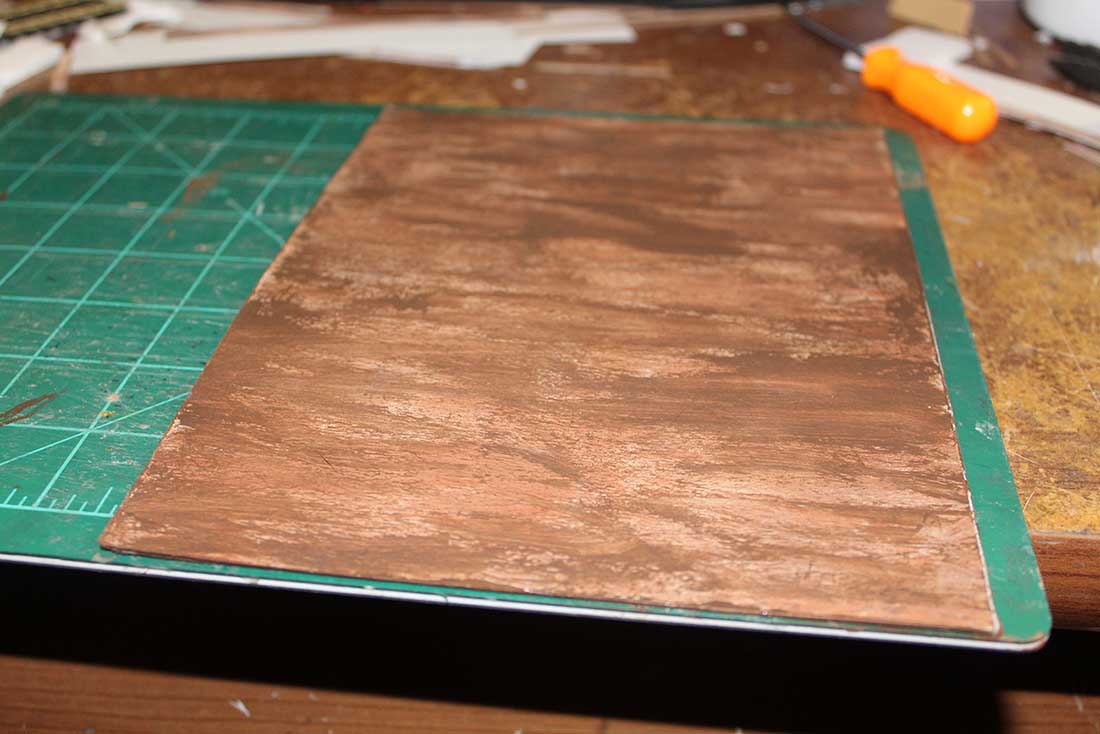
These were then glued to cardboard salvaged from soda can boxes…
They were glued to both sides of the cardboard and both sides were
scribed with an awl to give texture and relief (making it look like individual boards),
Card models tend to need interior support to keep warping down…
Balsa is popular but in building the Porterhouse I discovered I could use card as well
The use of card gives detail to the interior walls of the building…
The interior detail is important when one is in O scale and plans to have open doors!
The door opening was sized from the doors of Al’s barn kit… printed and then copied at a scale to suitl
Note, the ends were cut before the interior detailing was added…
All was measured to the best ability…
And space was left so that it would all fit together
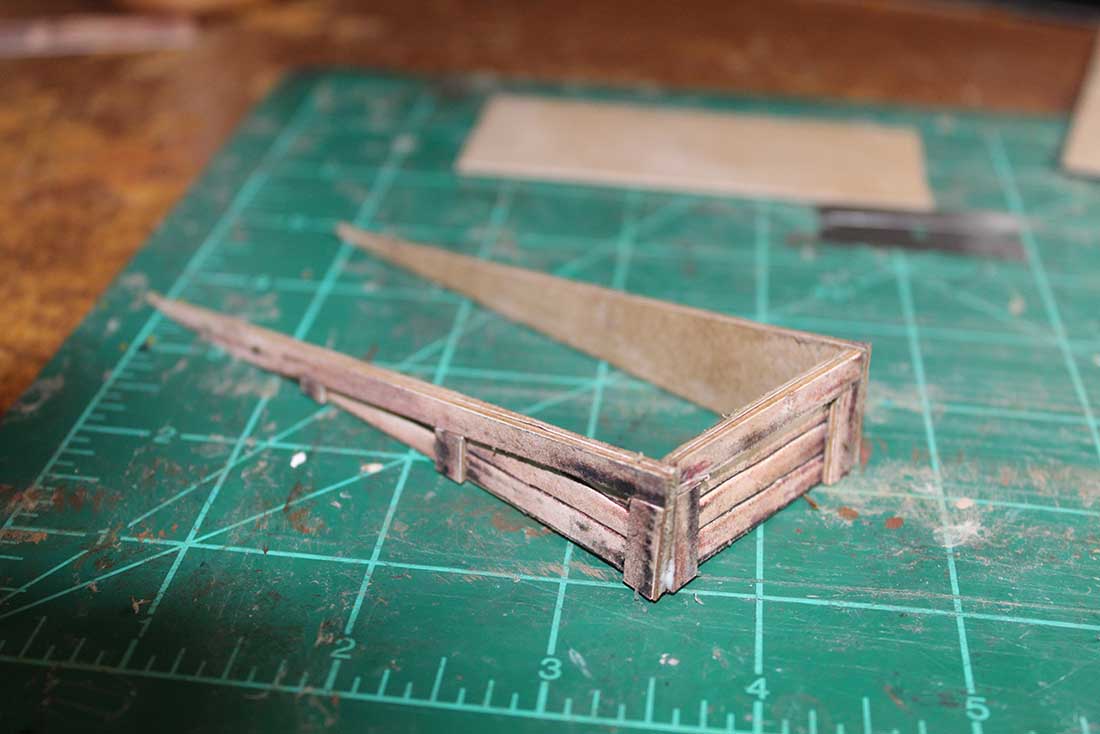
Once I had my walls finished…
I glued the shed together…
Once the shed was together so I had a better idea of how it would all fit, I began the base… The platform was made of foam core board.
I framed the foam core board to allow for track height and the height of the floor of a box or flat car.
Once I had the platform roughed in, the detailing came…
I used Al’s wooden tunnel set printed as it comes…
Actually I reduced it to 95% on the print out…
HO kit, printed a little undersized… For an O scale building…
That is “Eye Scale” for you!
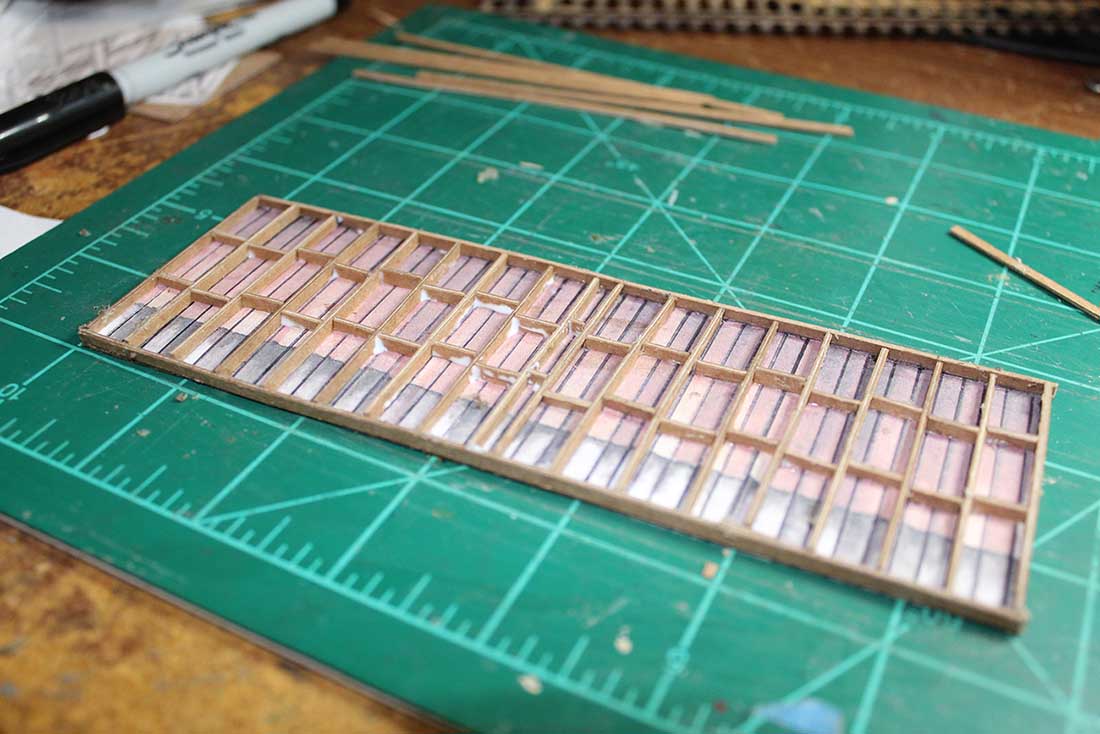
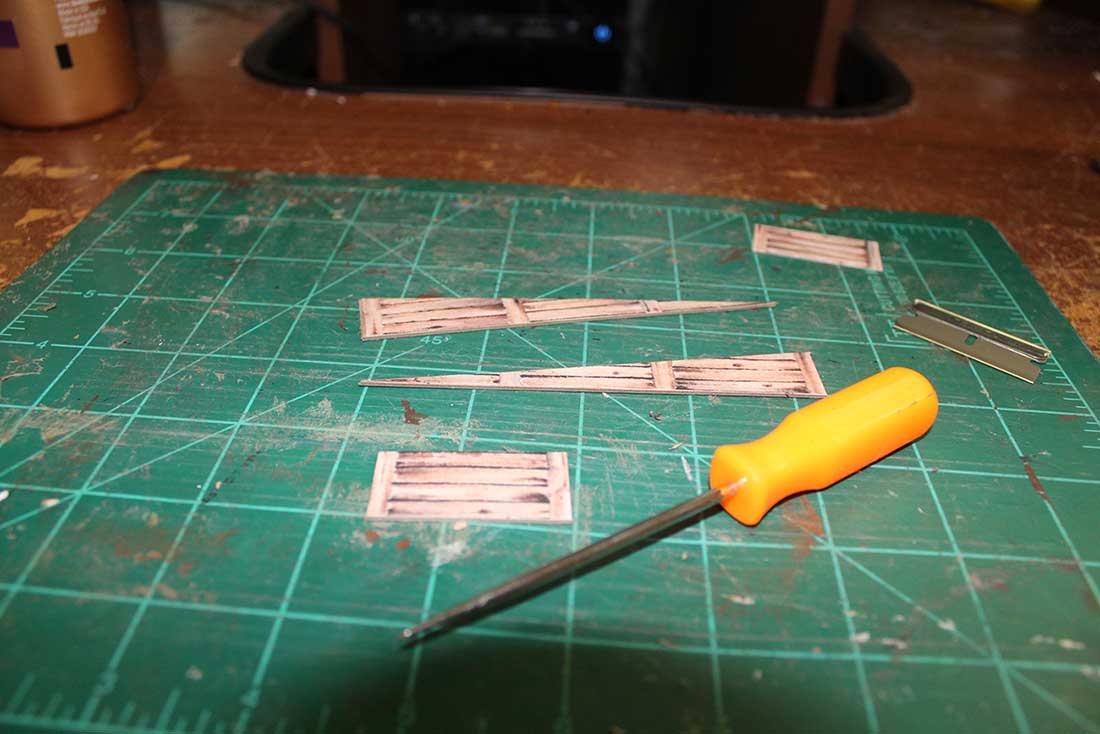
The prints were glued to double thick card.
The timbers were cut and then it was all glued to another print…
and glued to more card… this allowed me to scribe the boards behind the timber framing…
When I went to make the top of the platform, I did not find a print that suited me…
So I made my own texture and boards…
Double layer of card glued together, random painting with craft paints…
Boards were cut at 1/4 inch to represent 2 by 12 boards…
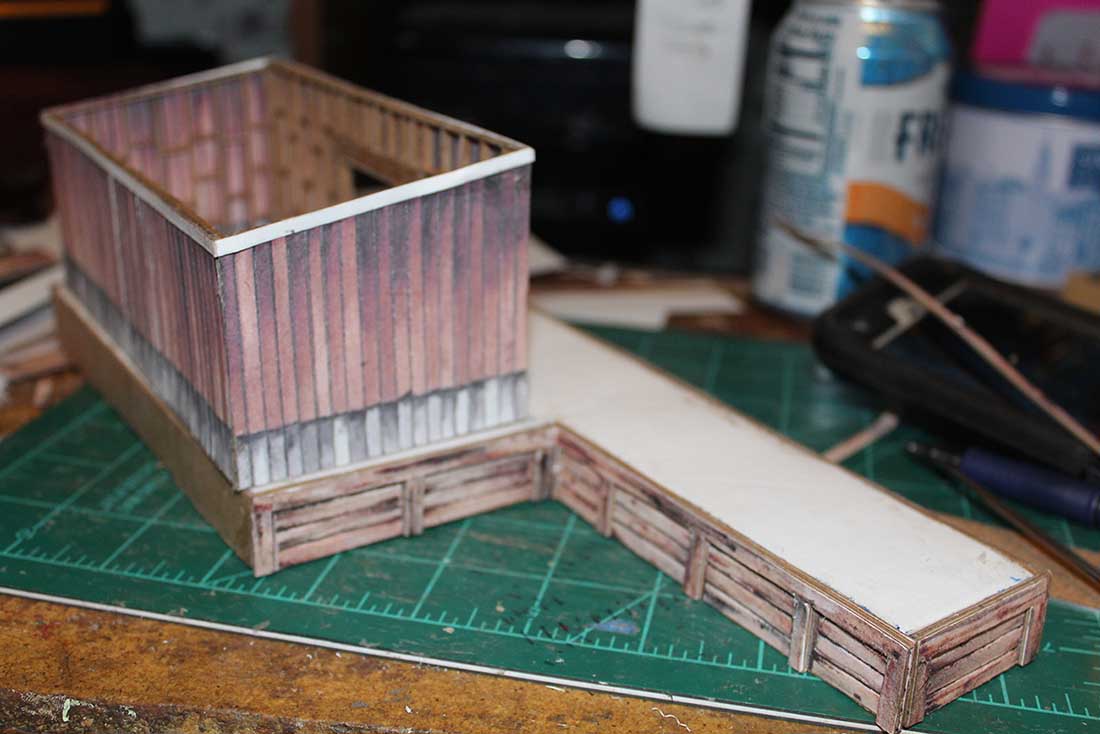
The finished platform…
And the shed glued in place…
The doors for the shed were made from the barn kit as mentioned above… Four printed layers and one layer of card all assembled as mentioned when sharing the shed platform build.
All that is missing is a roof now…
Now I build the roof…
the base is again a double layer of card that has been scribed to represent boards.
I took one of the textures from Al’s concrete and asphalt sheet.
I chose the one that looked most like asphalt (probably for a road)
Printed it up and then copied the print at 160% to get the size I needed..
This time I tried something different… I purchased some tissue paper and spray glue.
I sprayed a standard (American) 8.5 inch by 11 inch sheet of printing paper and then put it glue side down in the tissue…
I wanted texture and something that would absorb the ink and fade it a bit…
I cut the resulting print into scale 2 foot by 16 foot sheets…
Once I had the sheets of “Asphalt” and the base, the time had arrived to “roof the roof” — Layering the “Asphalt” sheets…
Once I had the “Asphalt” on the roof…
I needed to frame it…
This allows the roof to be removable and keeps it on the building as well.
I hope you have enjoyed all these..
I do apologize for the length of this…
I hope the details help others…
Here is the completed build as it is so far…
I built a ramp to go with my freight shed…
An office will follow soon.
The ramp construction may give more detailfor things in my tutorial on the shed…
When building my structures I use “recycled” cardboard from soda can boxes and similar boxes.
I used to remove the waxy side “decorations” with steel wool.
I now use a rubber sanding sponge.. Faster and it does not cut my fingers.
I also use Aleene’s “Tacky Glue” for most of my work.
After securing the print to the prepared card, I scribe the board lines with a cheap awl that I got from Harbor Freight…
This gives definition and a 3d effect to the boards.
Once I had the sides done, I cut “boards” to finish them
These were from the Wood tunnel print.
Once that was complete I glued the side pieces of the ramp together.
Once I had the ramp together, I had to stiffen it up before adding the top boards.
The top boards are painted card (Random browns)
To give the effect I was looking for and to match the planking that I made for the shed platform.
My completed ramp with the rest of the shed and its platform…
I only made one ramp but there are two or three places that I can use it…
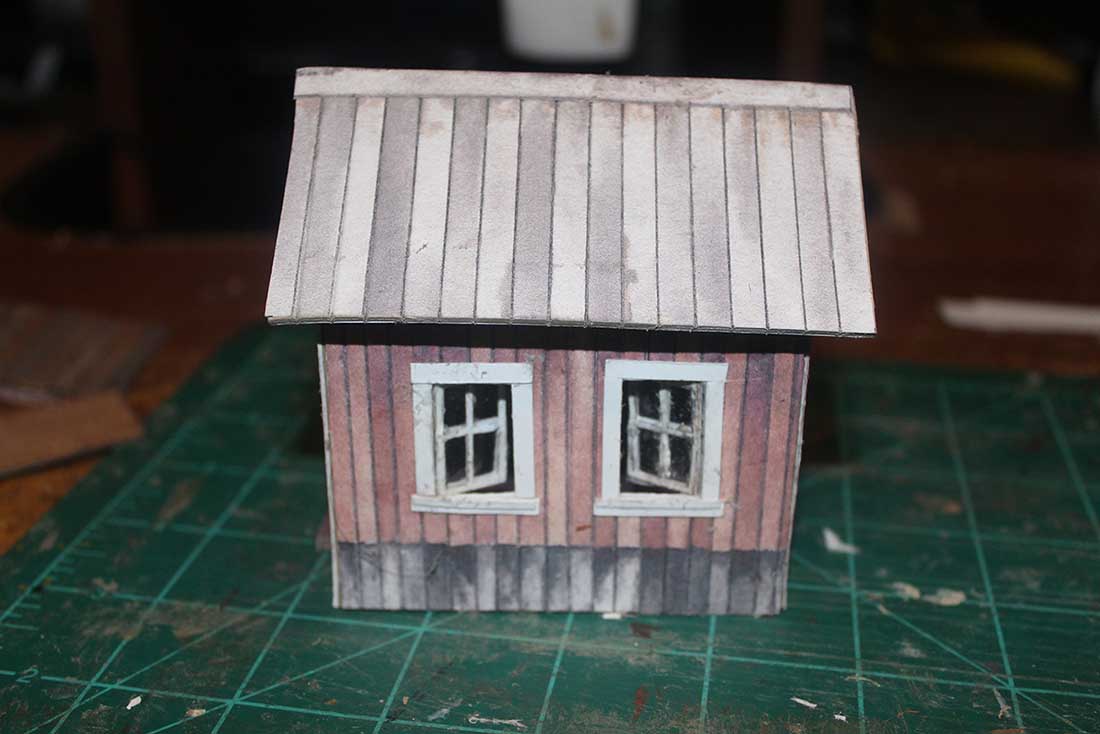
I mentioned that I wanted to build a little office to go with my freight shed…
I did and here it is!
When I built my freight shed that was inspired by Al’s contest…
I decided that it needed a shed to be an office…
Today I built that shed!
The walls are from left over extra prints from Al’s covered bridge.
The windows are from a small shed that is sold with a water tank..
The door is from one of the Garages that is part of the “Big Kahuna Deal”
“Wood” for the floor and the interior of the roof comes from his Corn Elevator…
(Also part of the Big Kahuna Deal).
The roof is from one of his engine house kits (the brick one).
The windows have “glass” from the “blister” off a package of track.
The windows and the door are in an open position to “invite” viewers in…
Here is what my “Office” looks like with the ramp and shed.
This is the intended position…
BUT… Since the ramp, office, and shed are three separate models…
John”
A huge big thank you to John for putting this ‘how to’ together on one of the free HO scale cardstock buildings.
In HO scale or any scale come to that – there are always railroad accessories that enhance the realism and detail of your model train layout.
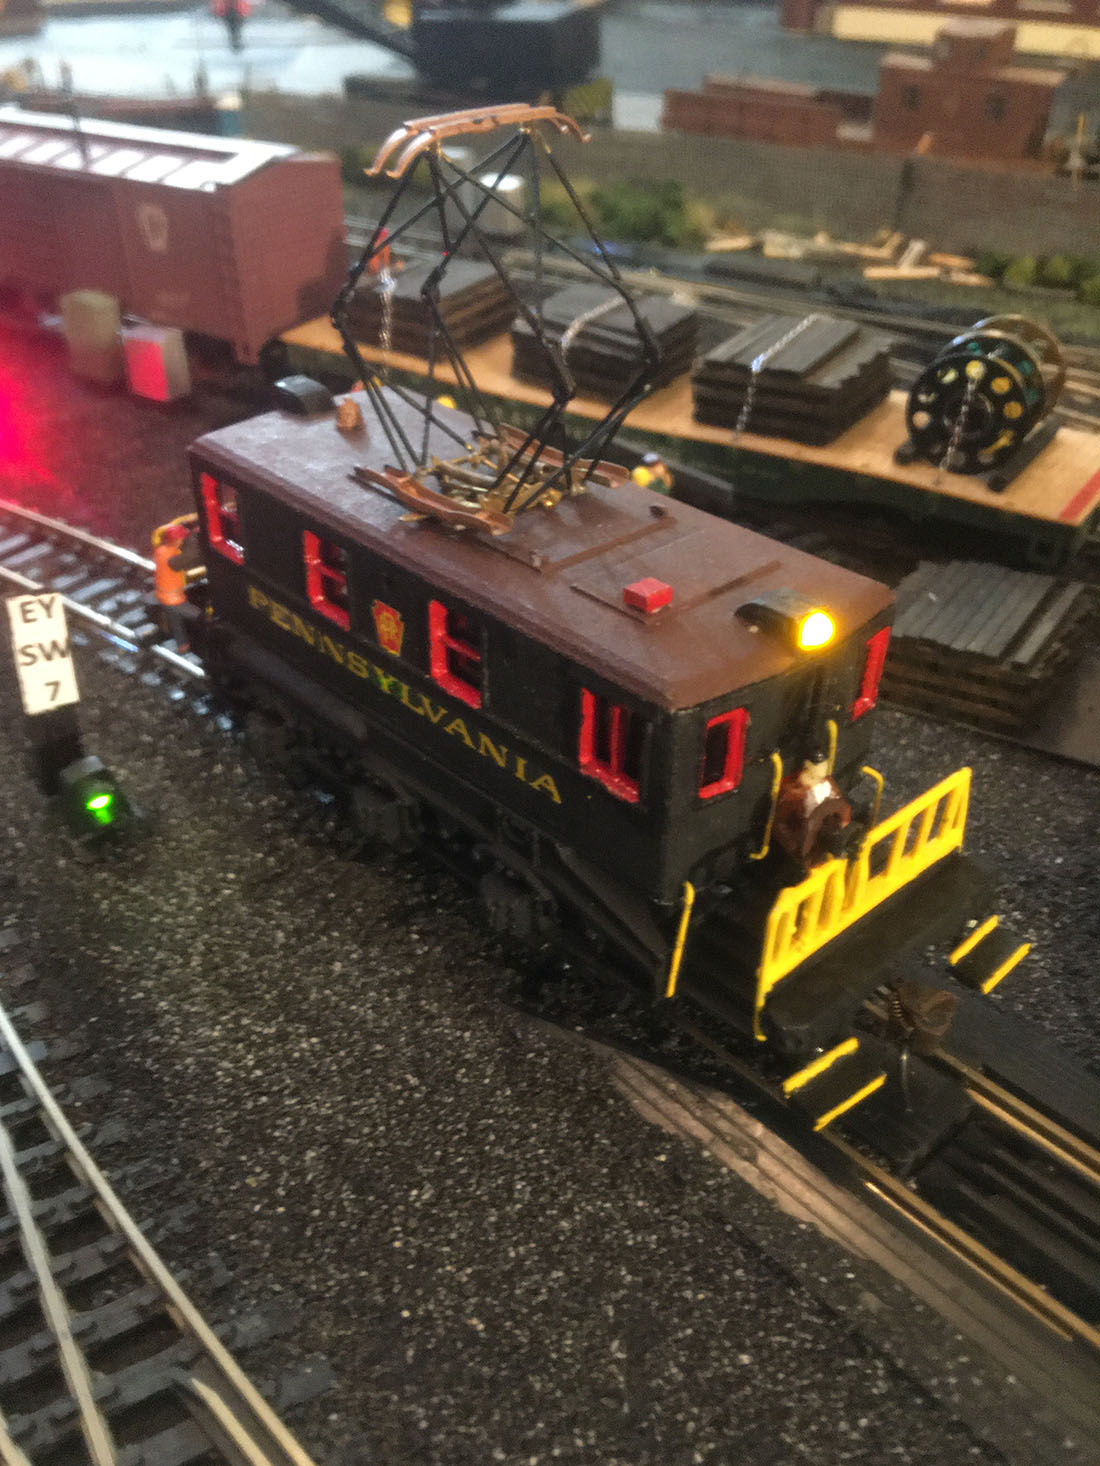
These accessories include thing like diesel storage tanks, cable drums, and storage sheds. If you look at any picture of a railroad for example, you’ll see lots of stuff lying around. Any of these add an extra touch of authenticity to any scene.
And believe it or not, there’s a way to make unlimited ‘train accessories’ like diesel storage tanks and they are perfect for replicating other things commonly found in real-life rail yards.
Here’s Brian showing how it’s done with his silicone molds..
And the same goes for cable drums or any other train related equipment you see lying around along the tracks – they are easy to make with these molds. There’s quite a lot of you getting involved with 3D printing too.