Brian’s been back in touch, this time showing us his modifications to his HOn3 turntable:
“Hi Al.
Some time back, someone on the blog asked how I modified my Atlas turntable to be powered from underneath it.
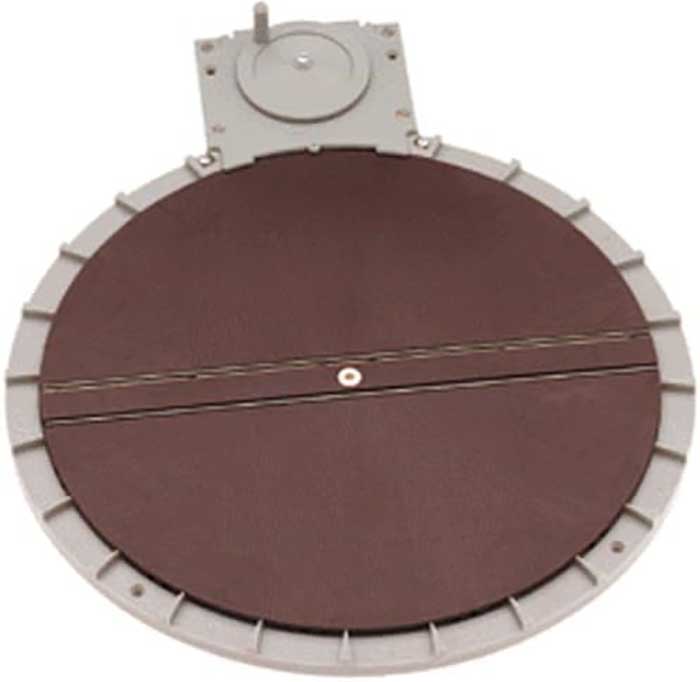
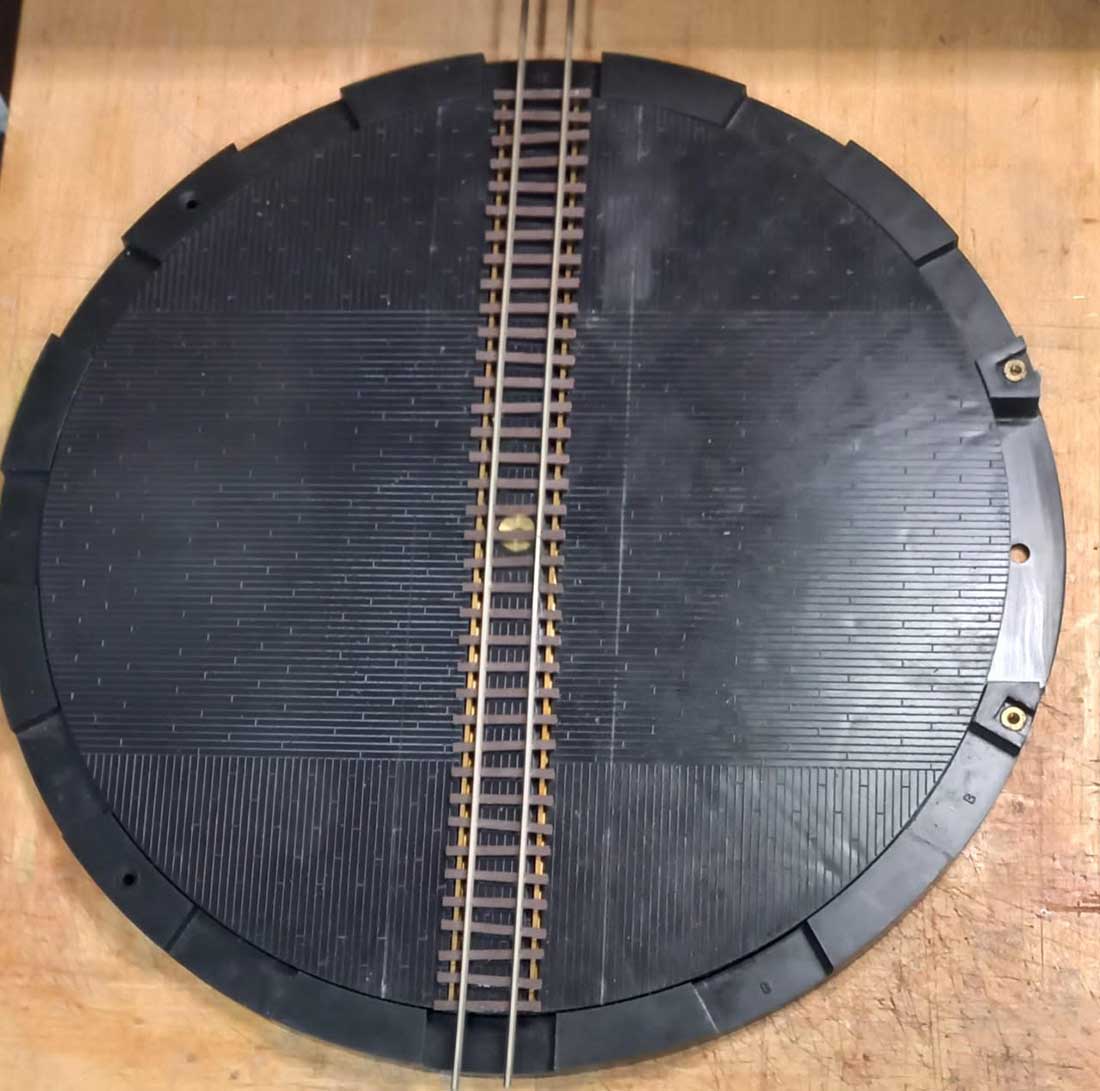
Here are two modifications that I did to two separate Atlas turntables. Below is the actual Atlas turntable.
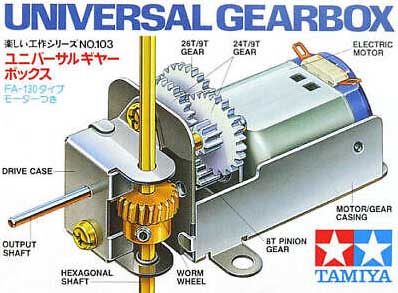
Below is a photo of the Tamiya Gearbox that I used. (purchased from a radio control shop) part number 103 – universal type, mounted onto the underside of the turntable.
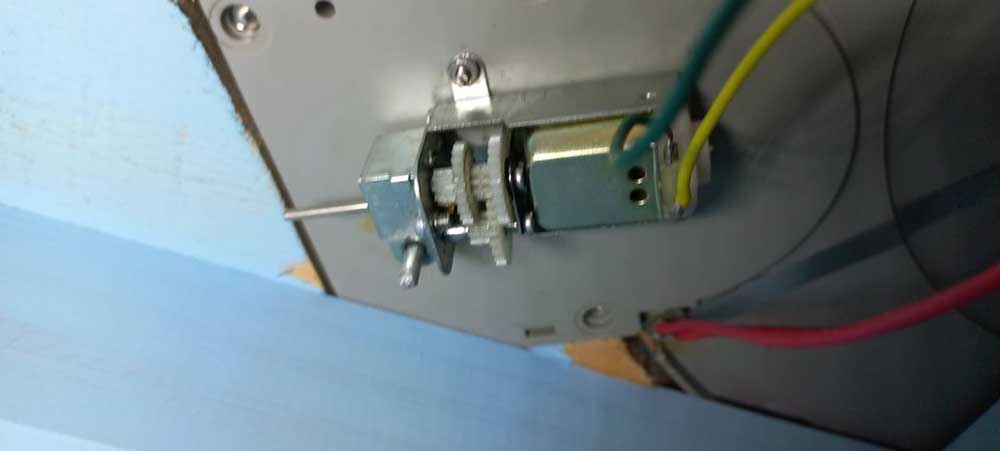
A very quick and simple mounting with a metal shaft supplied with the gearbox through to the top side where the plastic shed would be placed.
I replaced the supplied plastic corrugated shed with the turntable to a more fitting shed that suited my era. Happened to be the exact size. Photo below shows it in place on the turntable.
The new gearbox is less noisy than the existing one and more reliable with gearing instead of a rubber band drive.
I am very happy with the result.
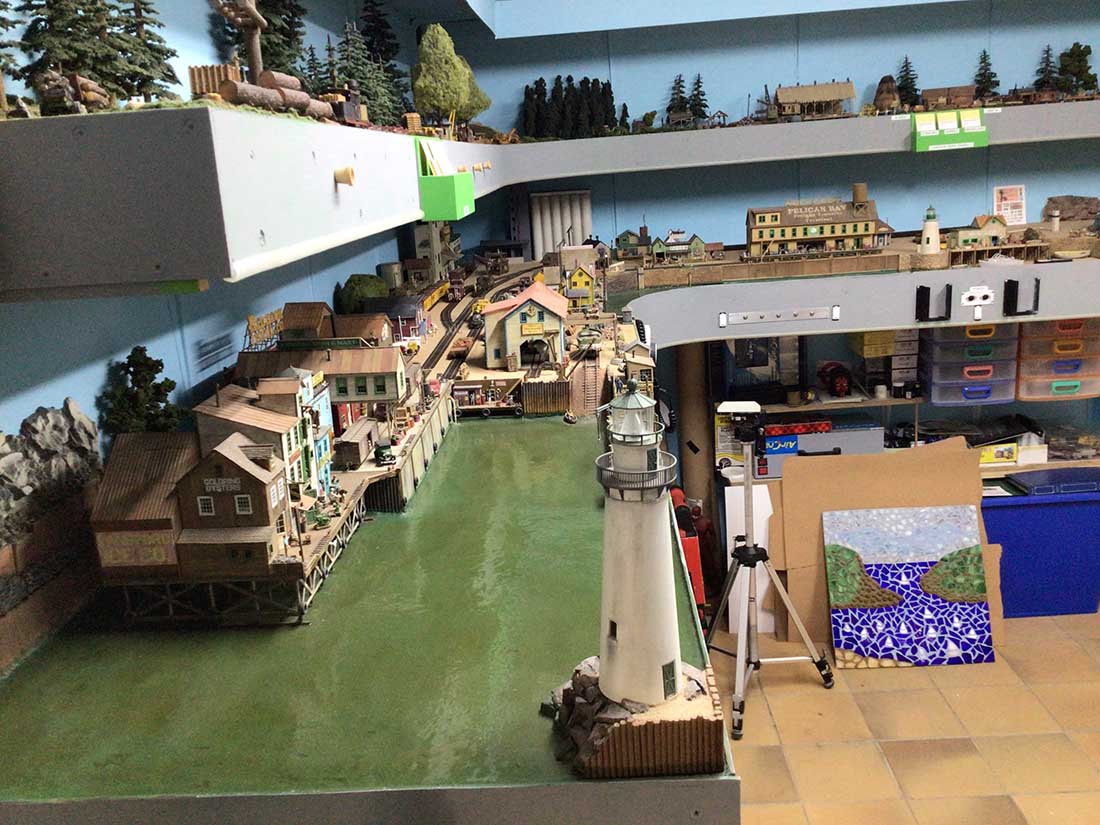
The shed can be seen on the left hand side over the original drive plate as shown above.This one was added to the upper level of my layout many (about 12 – 15) years ago.
A surrounding ring was cut from plastic card to cover and hide the original track placement guides and will be covered with ground cover eventually.
Next, I decided that I needed another of the same type turntable on the lower level of my layout beyond the harbour to be able to have the locomotives running in the forward position. The lower level being point to point and has a turntable at the other side.
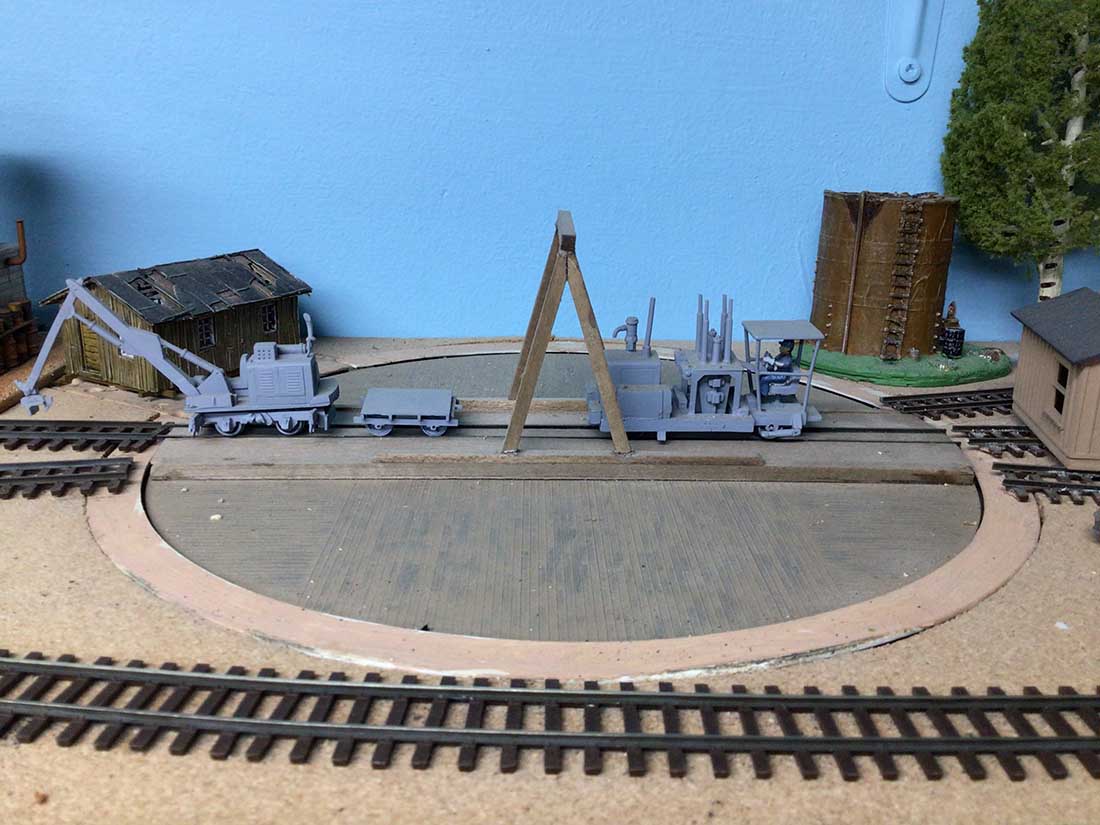
That one was a modified Heljan ‘n’ scale one as seen below.
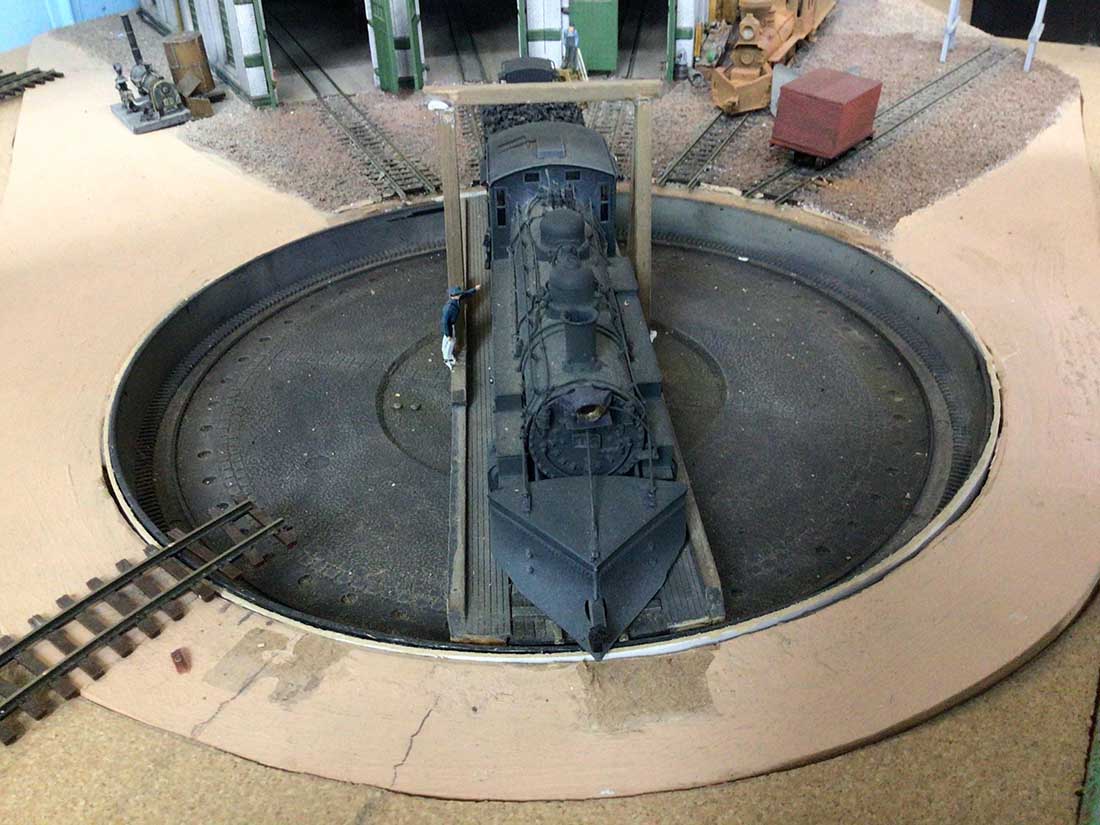
One of my friends in our WhatsApp group had a spare Atlas one which I obtained from him for the new location on my layout as seen above.
I did a lot of thinking about this one and decided that it needed to be an “Armstrong “ type which with be manually operated. (By hand)
I did not want to cut a hole in the layout for it to fit in as a jig saw (or any saw) would have caused too much vibration and jolt all the surrounding buildings and details.
A start was made by adding HOn3 track over the HO standard gauge track and short wires would be soldered from the track below to the one above it. Here, the motor base has been removed (right hand side) and all the associated gears. In doing this, the turntable no longer uses the “Geneva “ system of locking it in place.
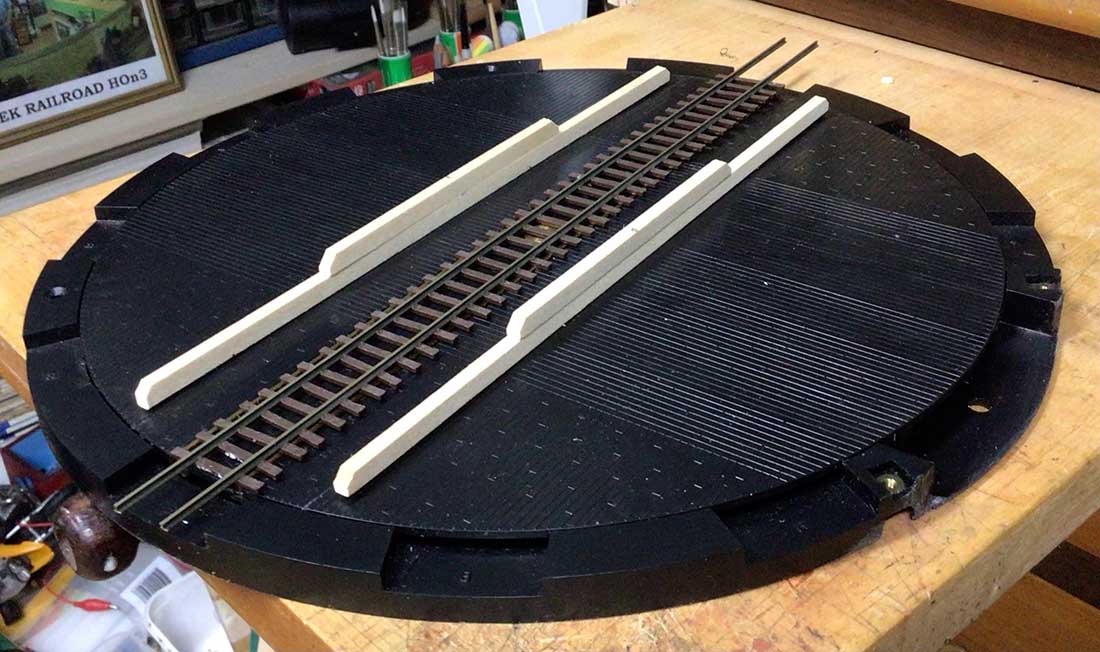
Below I added wood side supports for the “A” frame that would be over the track.
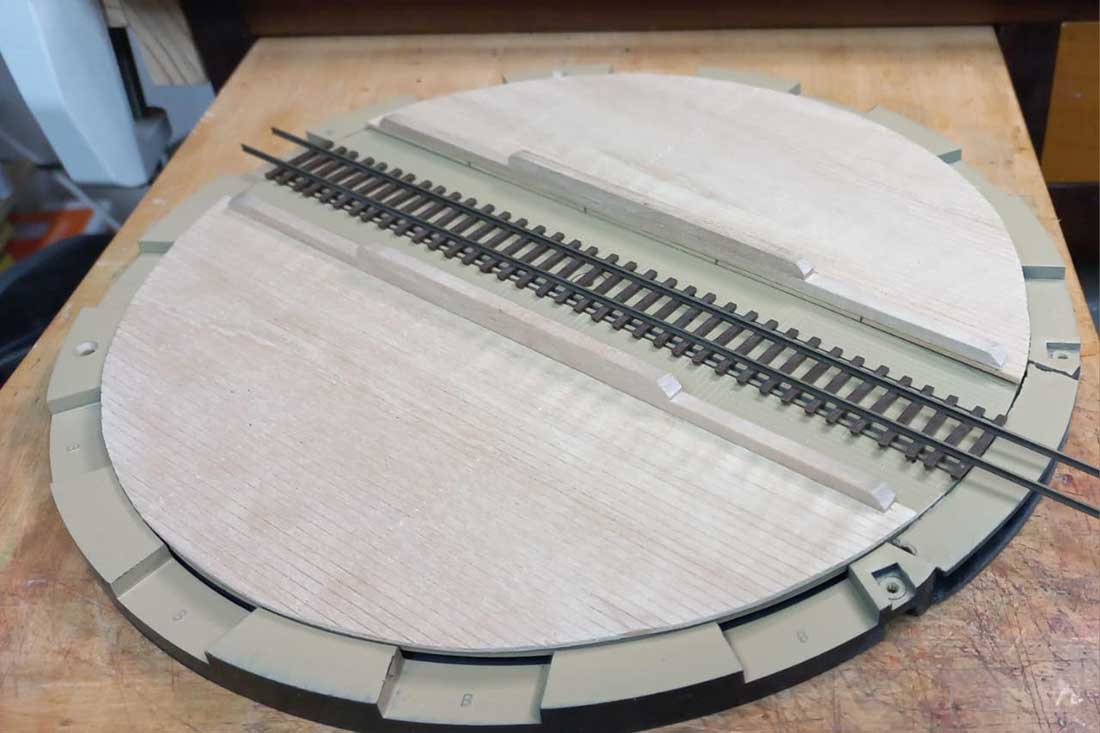
Below I added a wood deck over the existing plastic one.
fter a bit more thought, I figured that the outer circle would have to be removed to lower it into the cork roadbed.
After carefully scribing the under side of the outer ring, it popped off and minimal cleaning was required to the table itself. This is the outer ring cut off shown below.

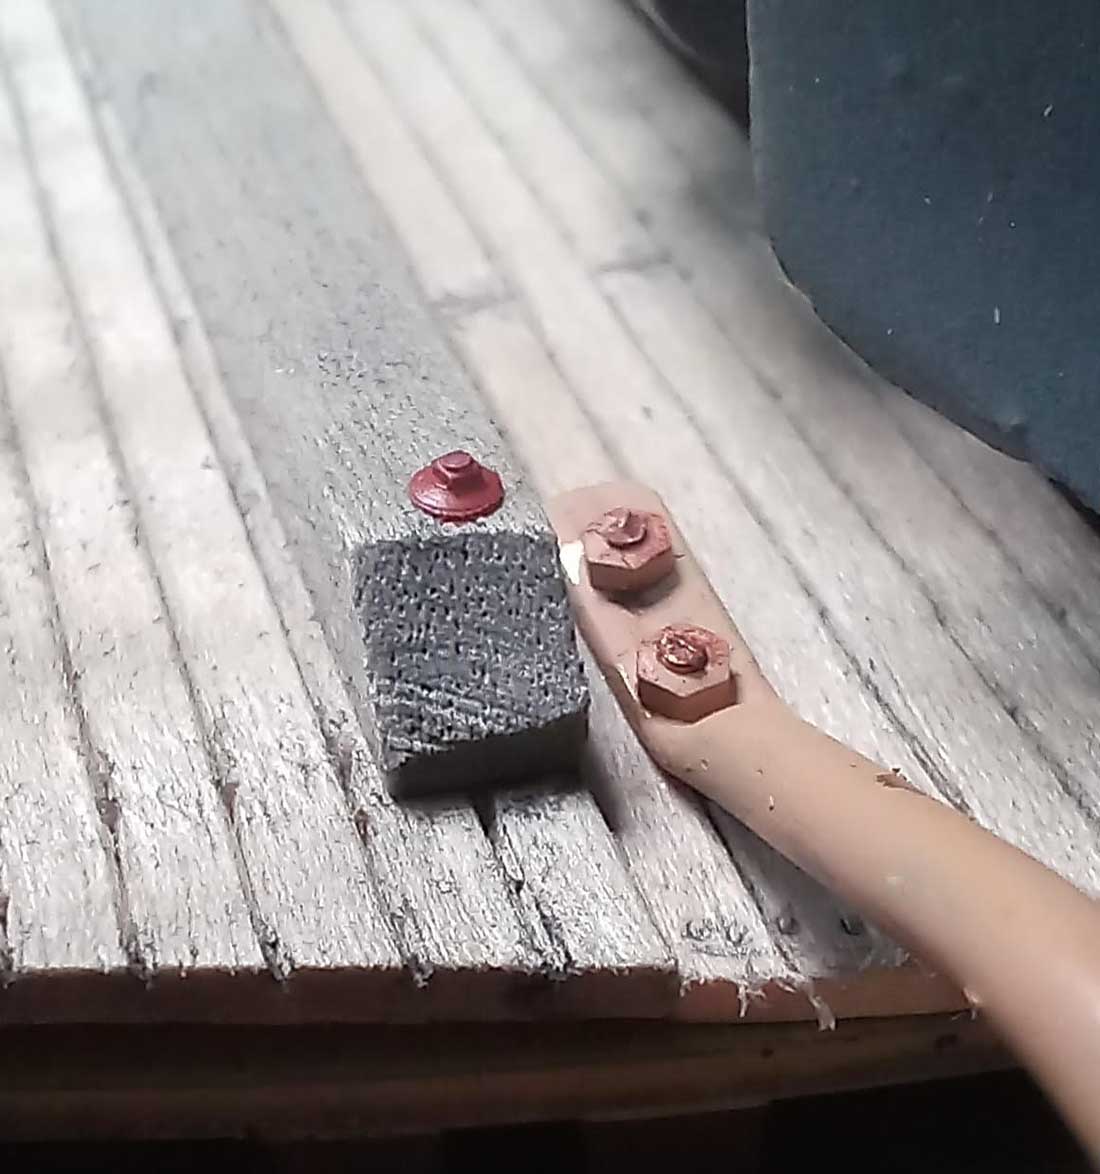
The photo below shows almost everything in place ready to be placed on the layout. Note the NBW castings added. Still need to add more. The cables to keep it level will be installed next.
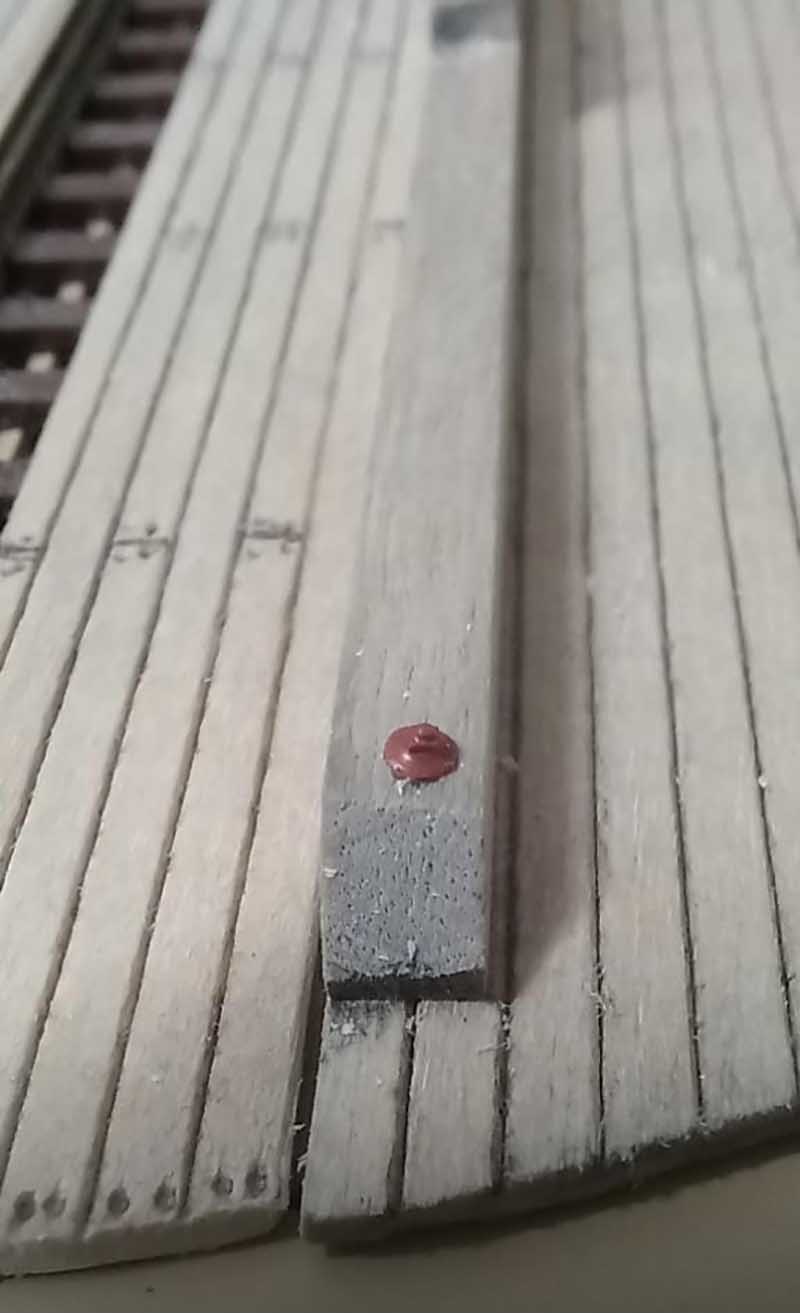
Cables installed below
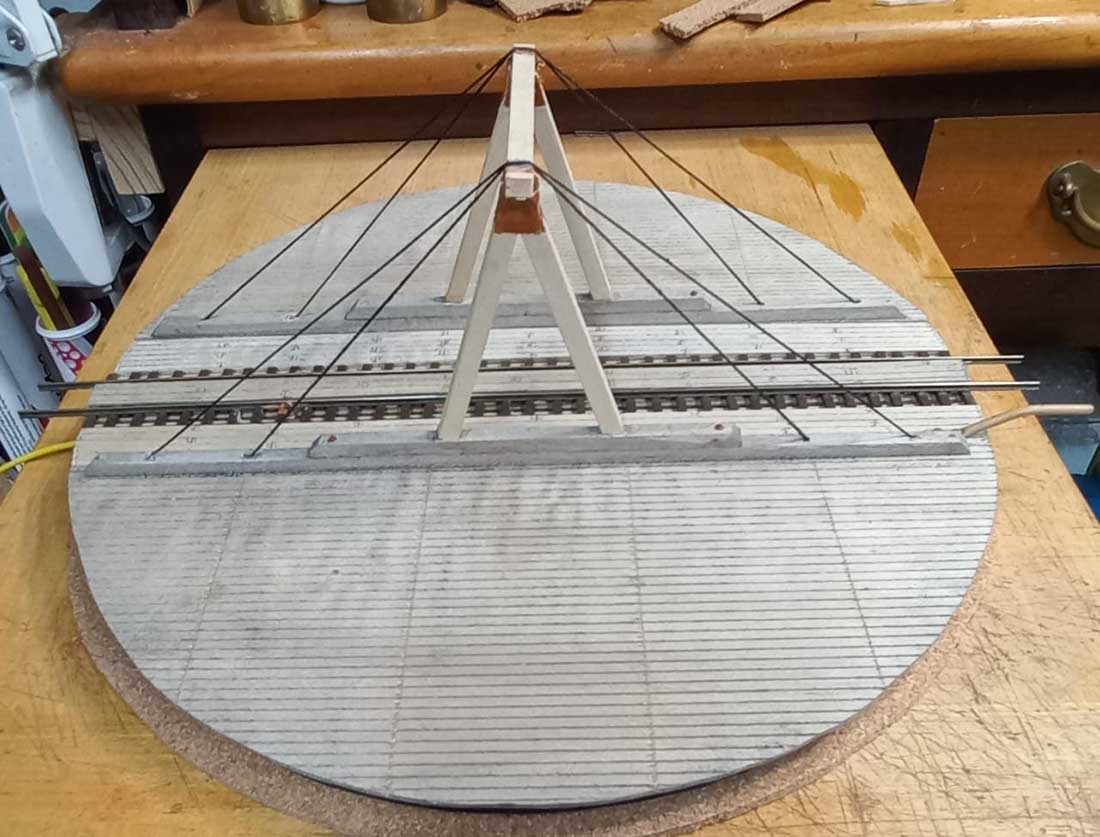
The last item to be installed is the arm on one side of the top the turntable next to the track to be able to push the table around. I used 14 mba brass nuts and bolts which look pretty neat.
With this modification, it spins nice and freely.
Very pleased that it has worked out as I was very apprehensive about cutting up a new Atlas turntable.
The new turntable is right at the front of the layout therefore easy to operate without knocking any of the surrounding buildings and detail.
Once it installed, I will post some new photos of it in situ.
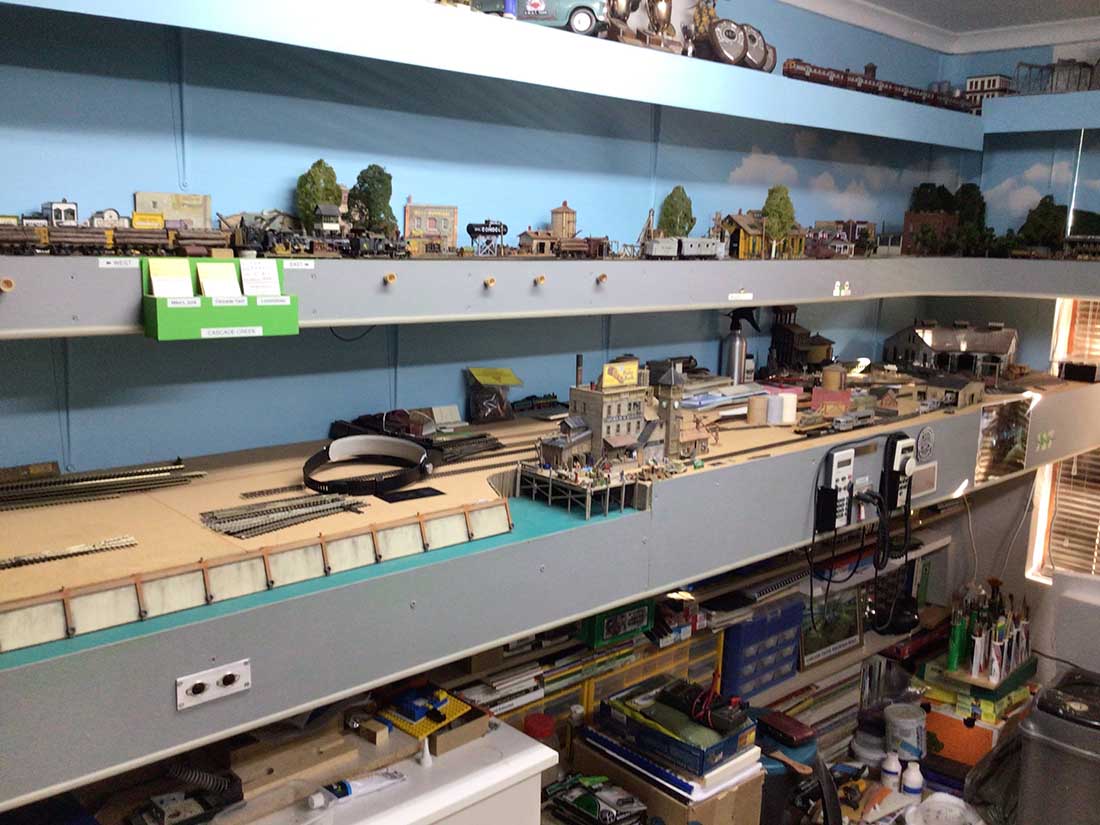
After biting the bullet and listening to other modellers about the colour of my facia boards, I changed the colour to a medium grey. (Don’t know what I was thinking way back then) with the green.
Once again, big thank you to Al’s excellent work on the blog.
Brian – the HOn3 guy in Knysna RSA”
A big thanks to Brian. Some clever stuff going on there with his HOn3 turntable. If you want to fast forward and see how it panned out, it’s here: HO turntable conversion.
That’s all for today folks.
Please do keep ’em coming – it’s still very thin on the ground this end.
And if today is the day you get started on your layout, the Beginner’s Guide is here.
Best
Al
PS Latest ebay cheat sheet is here.


Brian your turn table turned out great 😃. Great modeling 👍🏼👍🏼
Brian
Much thanks for this descriptive piece. Shows how a man with guts & tenacity attacks a project and completes it with a craftsman’s touch. To a layman what you did was cute. To a modeller what you did was – How the hell did you do that?
Great stuff.
Amazing what a difference the facia color makes! In the old photo my eye jumps to the bright green areas (facia) but the grey seems to redirect me to the actual layout. Good move!
Hey Brian,
What a difference a Gray makes!
Nice work all around.
Great Job Adapting the Gear Box to the Atlas Turntable….Question: What do you do to Control the Speed and Direction of it? Do you use an Aux Transformer or do you use a Double Pole- Double Throw Toggle Switch to change directions and connect it to a Main transformer ??? Can you use the Same Gearbox/Motor Unit for a Walther or Concor Turntable ? And what is the Cost of the Gearbox/Motor
Unit?
Hi Mike B, I use a standard 12 volt transformer wired to the motor via a double pole double throw centre off switch. The motor runs at a fixed speed and works through the ‘Geneva’ system of the Atlas turntable.
You can use that gearbox for other makes of turntables and just figure out how to mount it to the underside of the ‘pit’.
I purchased the gearbox unit in South Africa where I live therefore it was purchased in our currency – ZAR. I suggest you contact your local radio control hobby shop for US dollar pricing.
Brian – the HOn3 guy in Knysna RSA🇿🇦
Nice tutorial on your turntable adaptations Brian. Thank you for sharing it. The gray fascia is definitely better than the green. I think I might just have an old Atlas turntable somewhere in my model railroad collection that I’ll have to give new consideration to using on one of my layouts.