Brian’s blown off the dust on one of his Walthers HO scale buildings:
“Hi Alastair,
made a change from my usual wooden buildings and assembled/kit bashed a plastic building.
This is a Walthers HO scale plastic Sunrise Feed mill one that I have had stacked away amongst my unbuilt kits for a very long time.
I really liked this kit and said to myself that I would build it someday.
This is what it would have looked like if assembled as per the instructions.

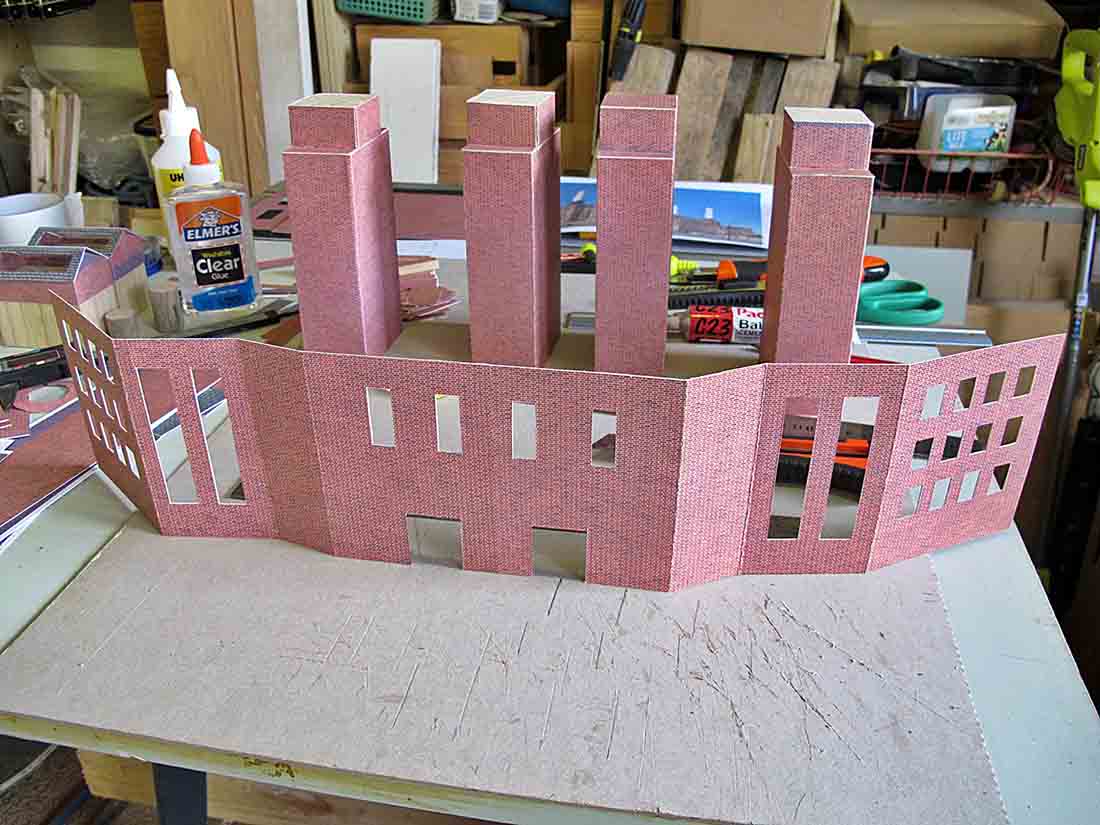
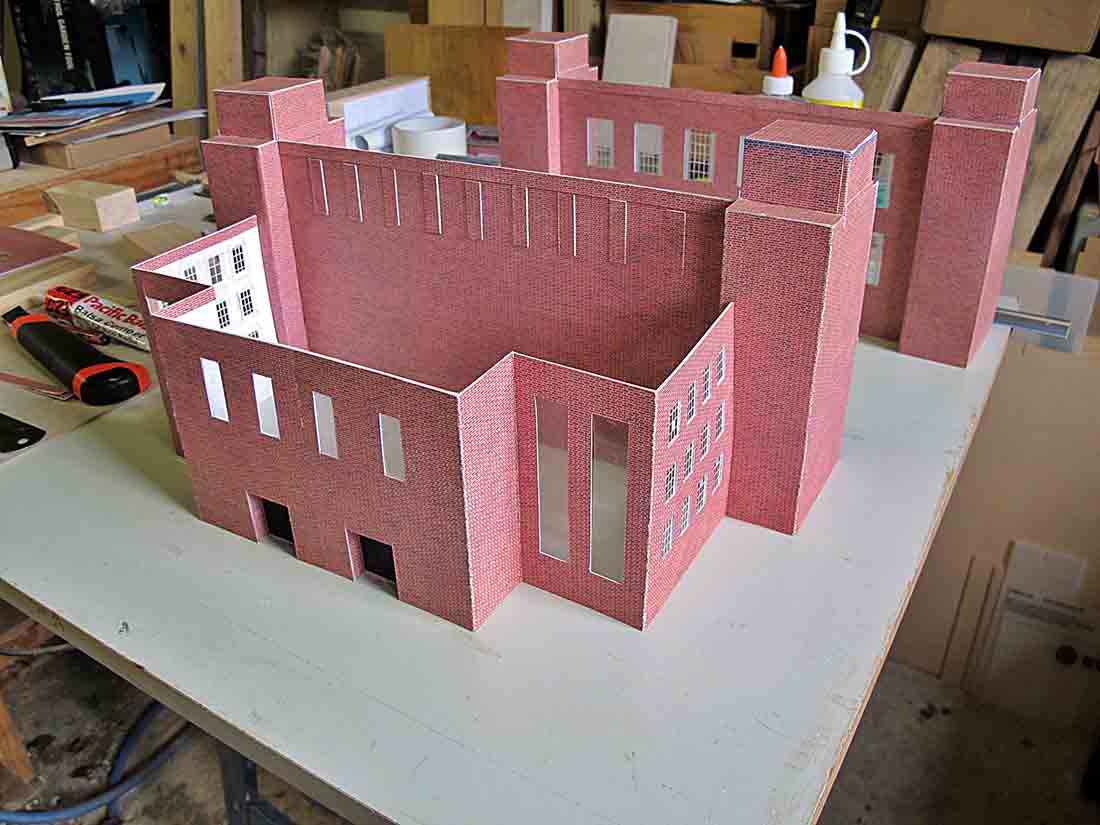
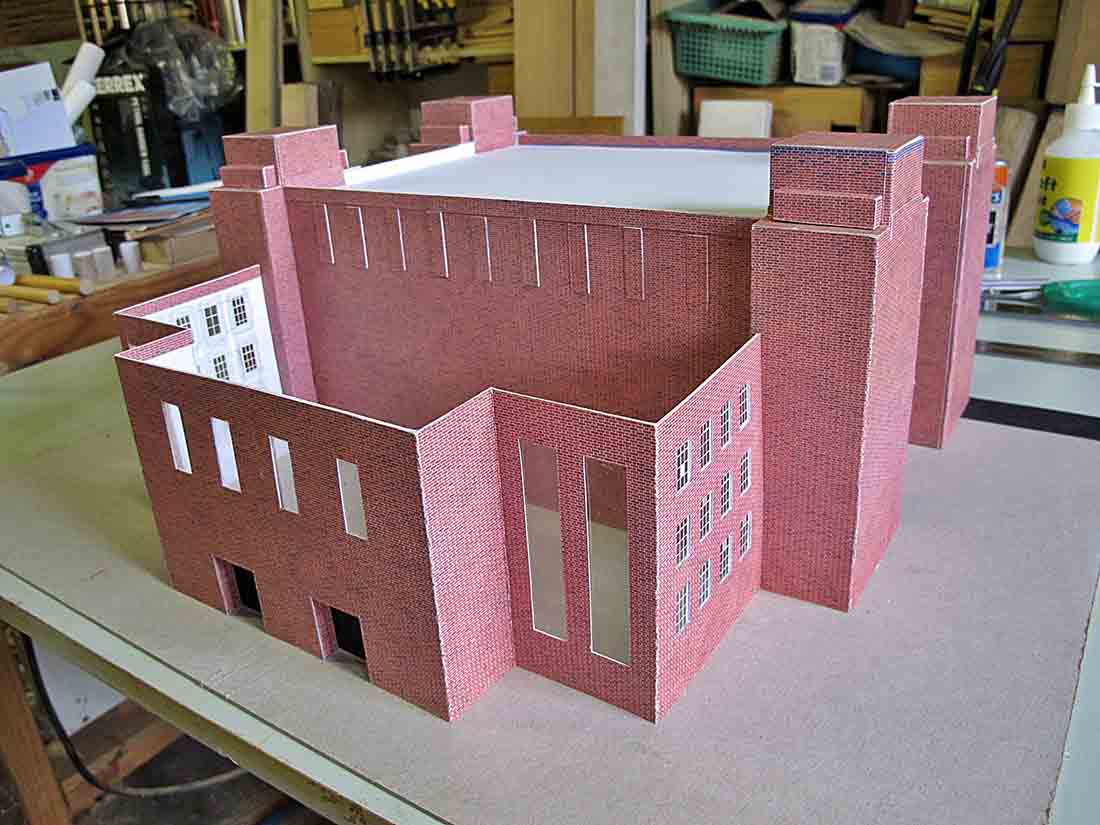
I temporarily assembled the main building to see what needed to be done if I wanted to modify it.

I placed a card stock floor in it in case I decided to open a door or two later on in the build. (Another mistake that I made, should have cut out the door first).
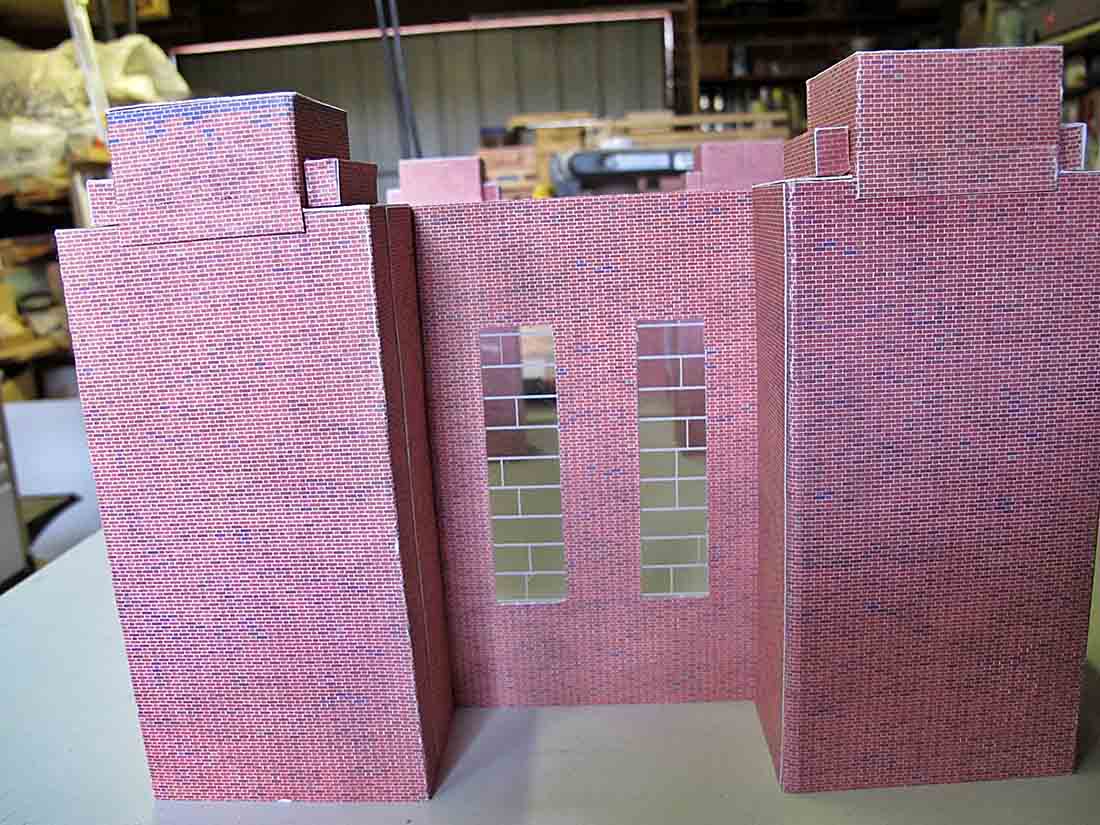
Satisfied with it so far, I sprayed it white and would weather it later.

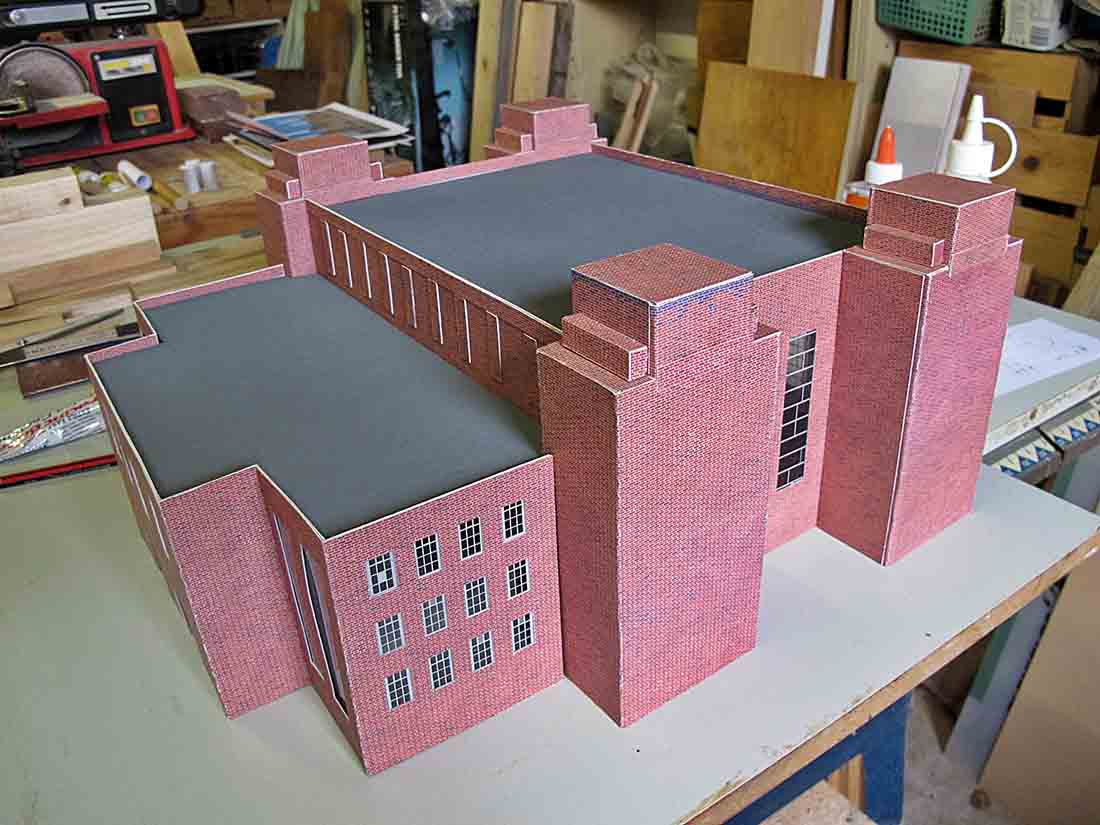
The roof was cast in black plastic and I was not happy with it looking the way it did.
I sprayed it with a coat of Matt grey and once that was dry, I sprayed it Matt black. Again when dry I used a very old worn sanding block and proceeded to lightly sand it to bring out the edges of the tar paper. Small top roof sprayed but not sanded yet.

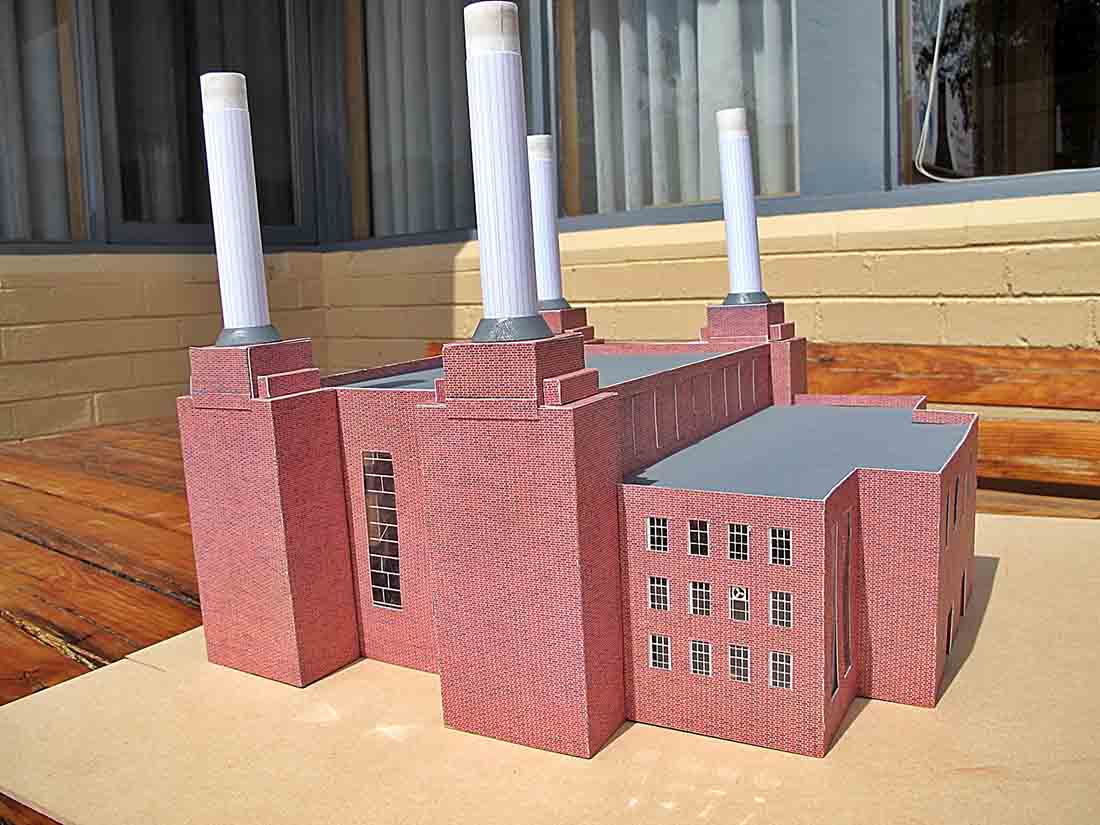
Added my usual weathering techniques to the roof and main building after all the windows were inserted.
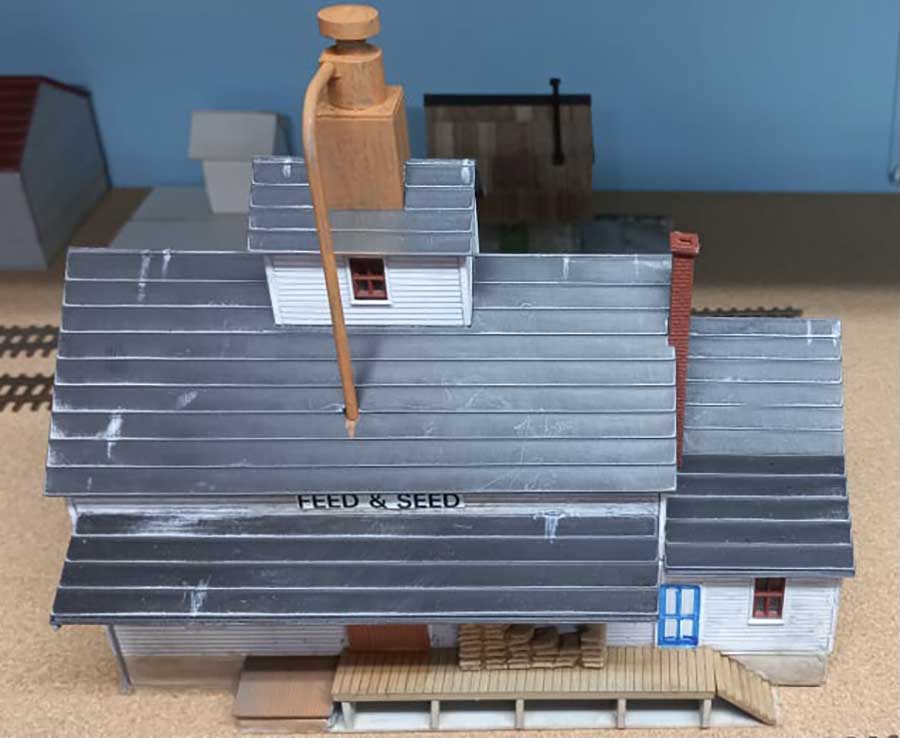
I rusted up the metal (plastic) parts ready for the final weathering. The wood (plastic) deck got the same treatment and the chimney on the side office was added. The foundation was painted a concrete colour and weathered later.
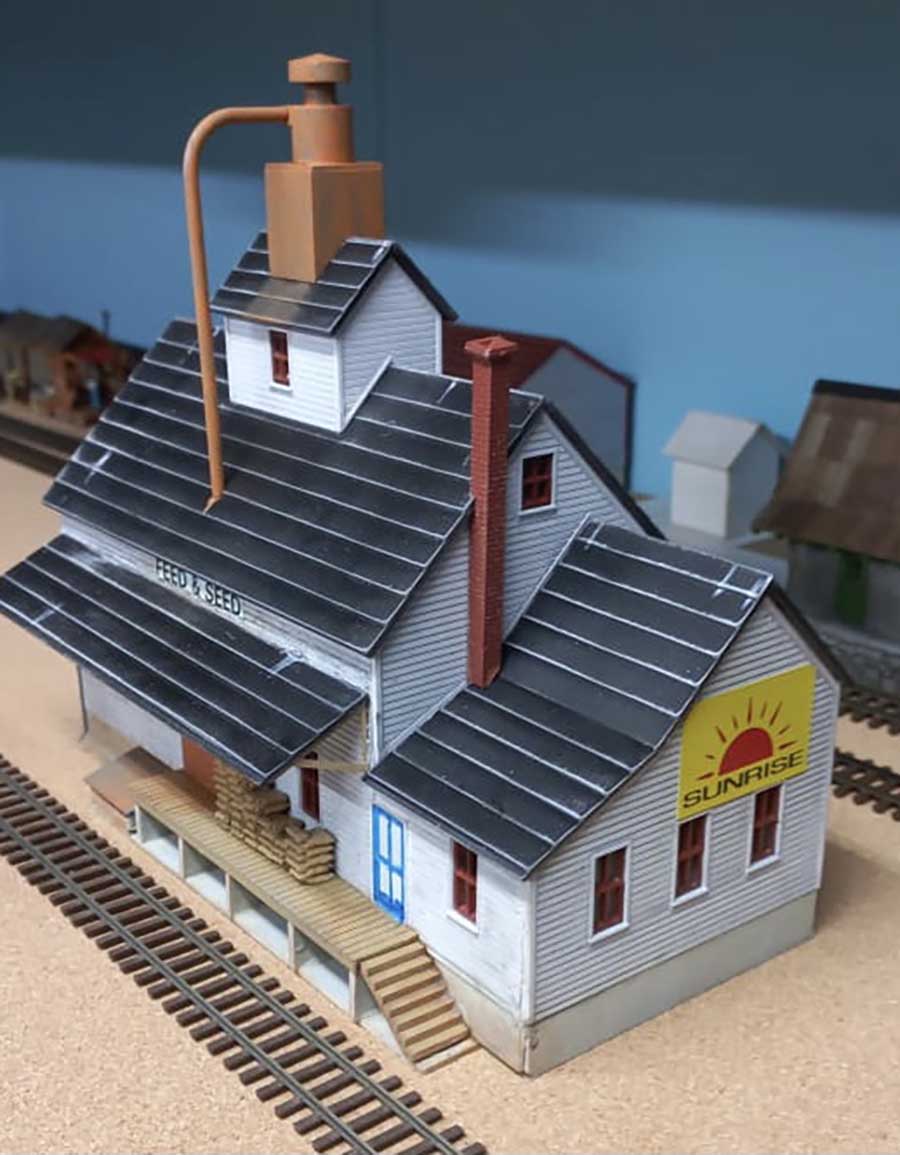
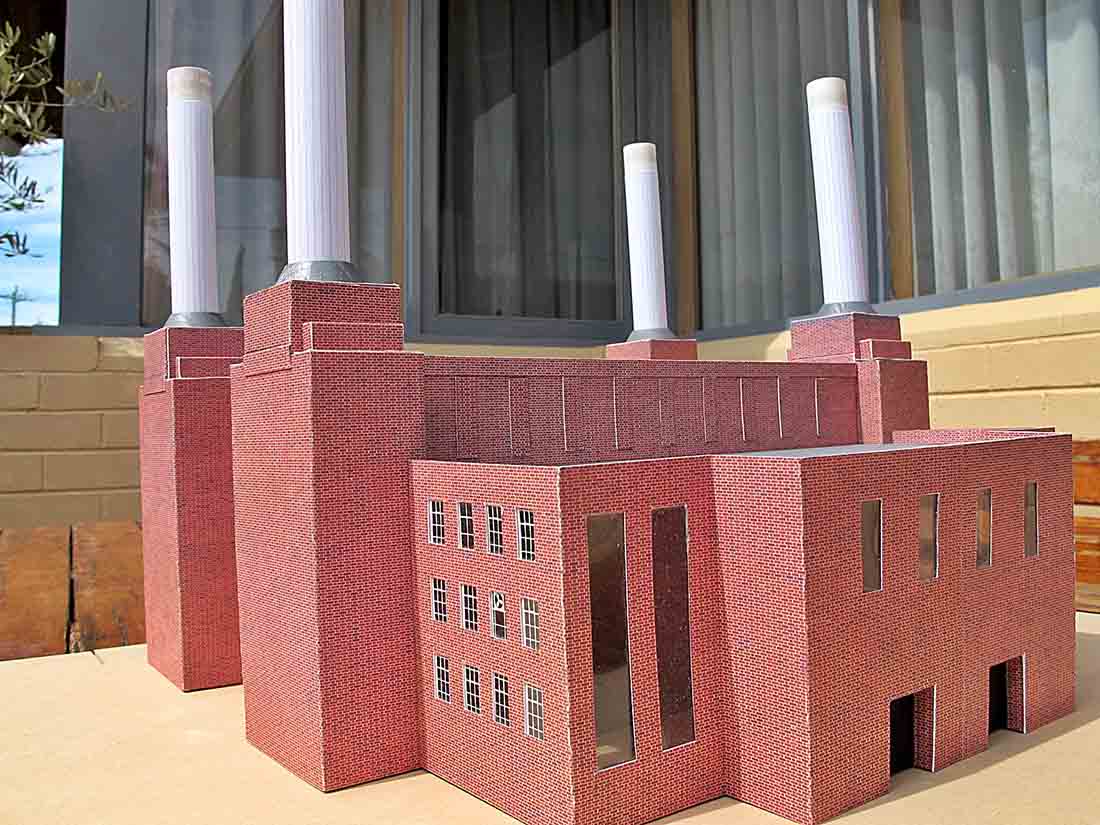
Signage was added in the following photos.


Need to add more details once placed on the layout.

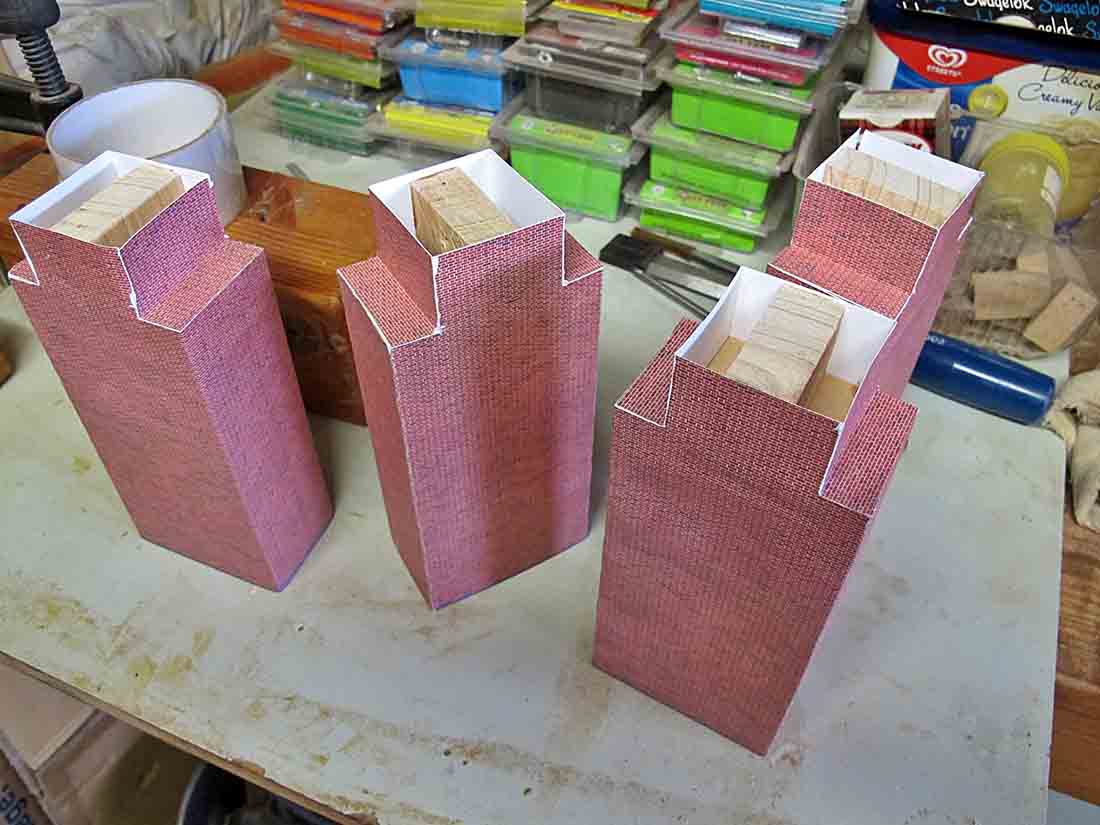
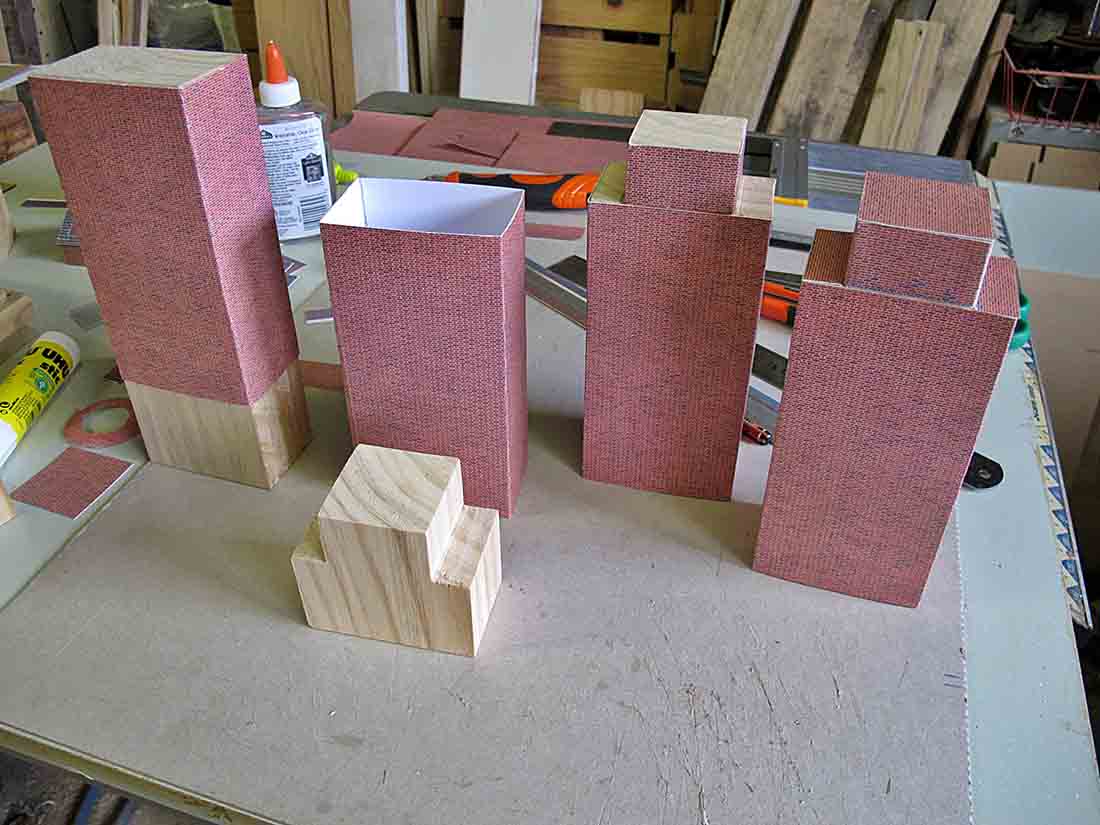
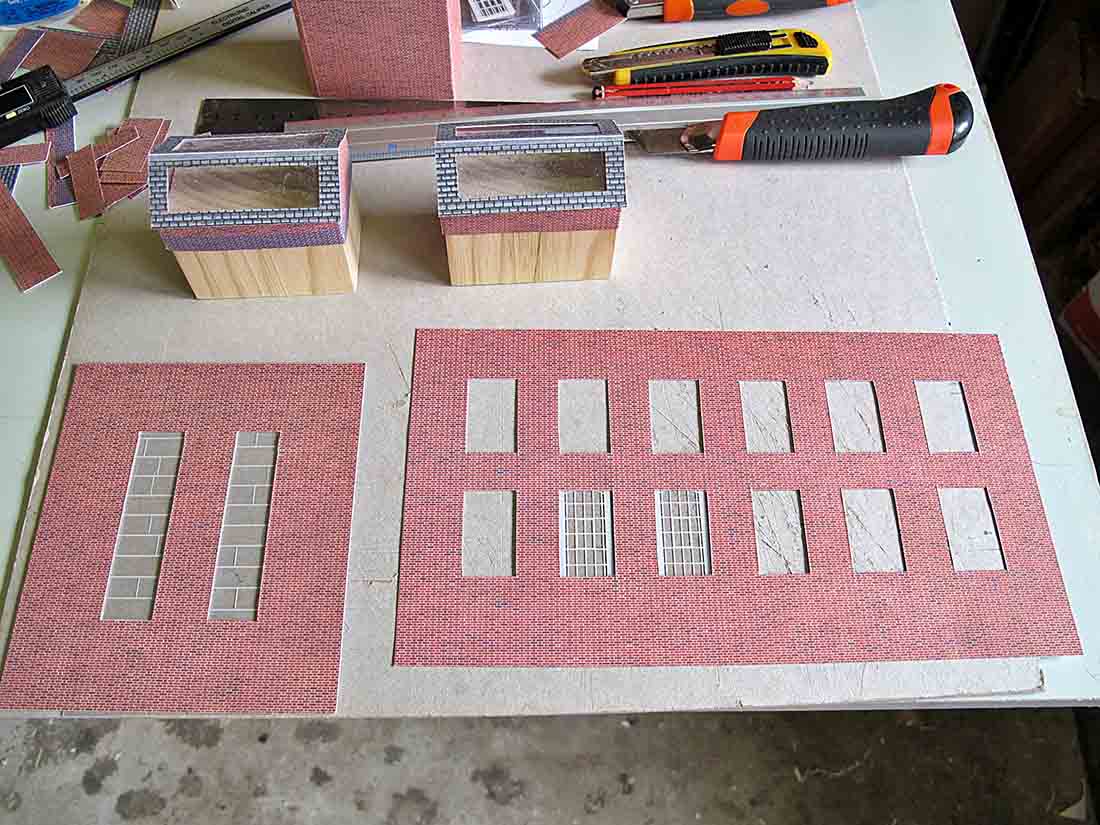
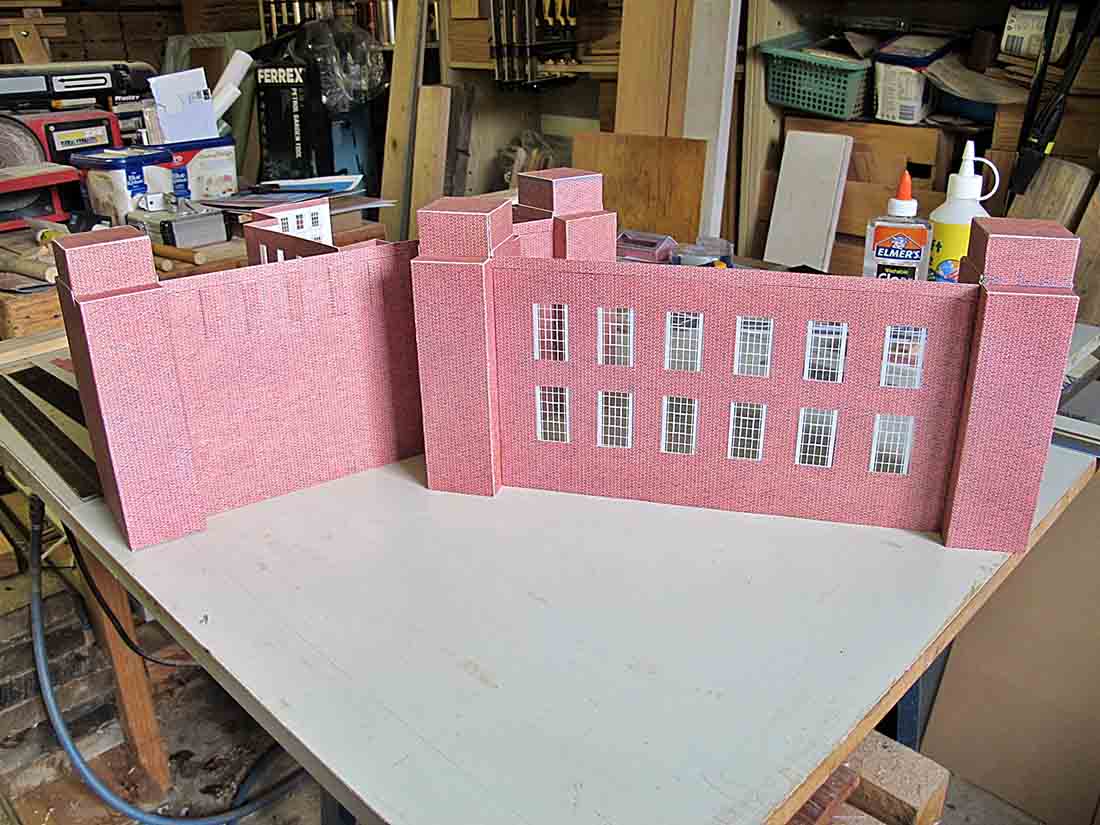
The next part of the build was the (I call it the storage/warehouse) that would go next to the above on the left hand side.
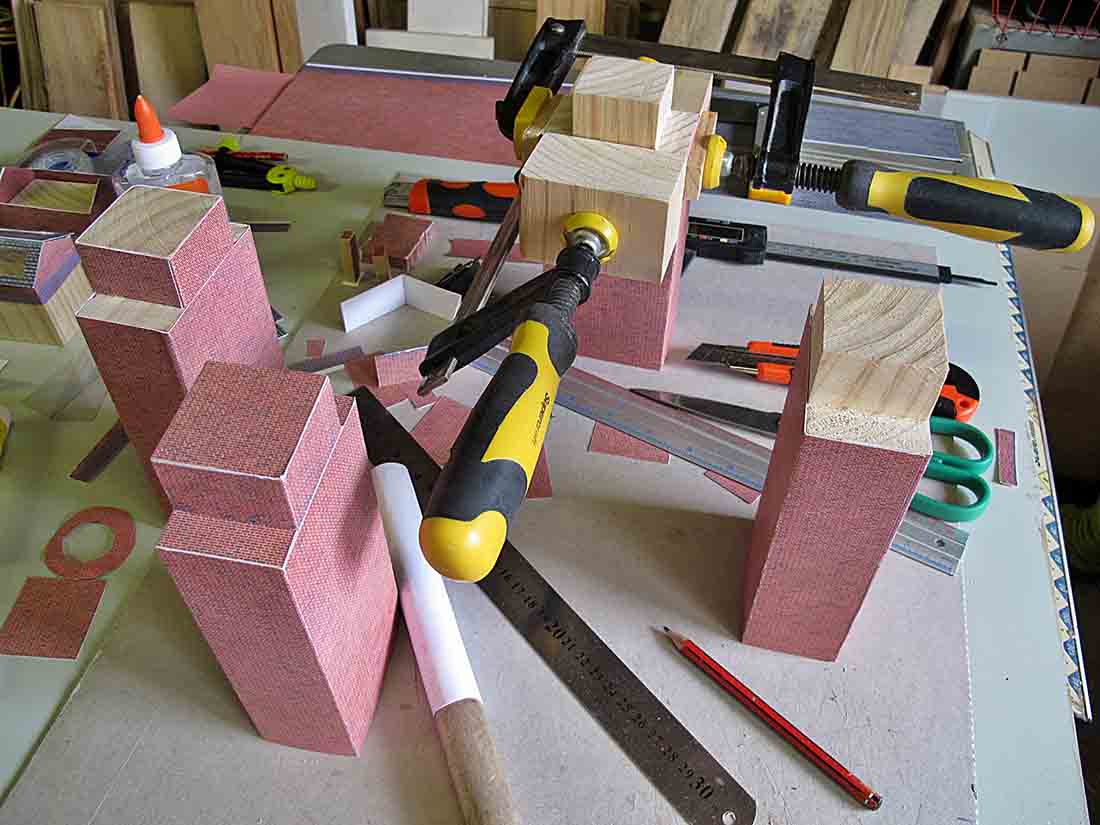
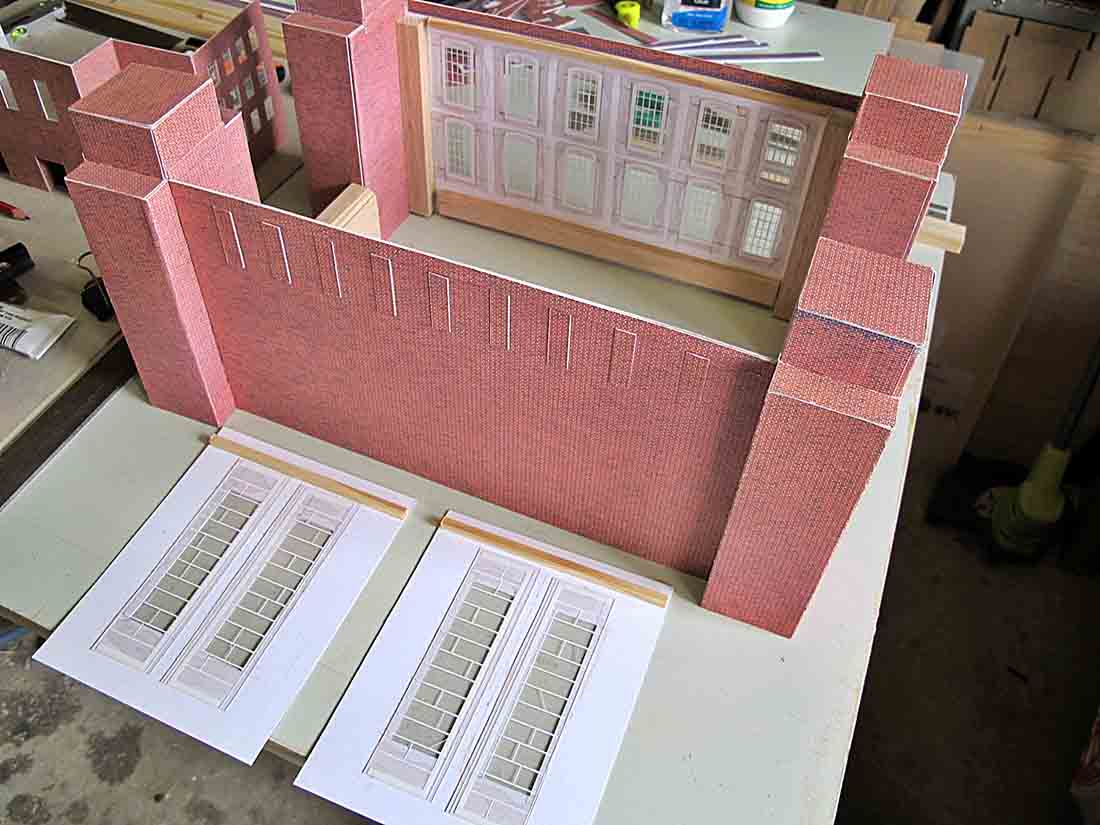
Because this building would be next to the main building, a full wall was not in the kit. No problem to me, I matched the siding of the main walls and found the same wood siding in my stock of wood.
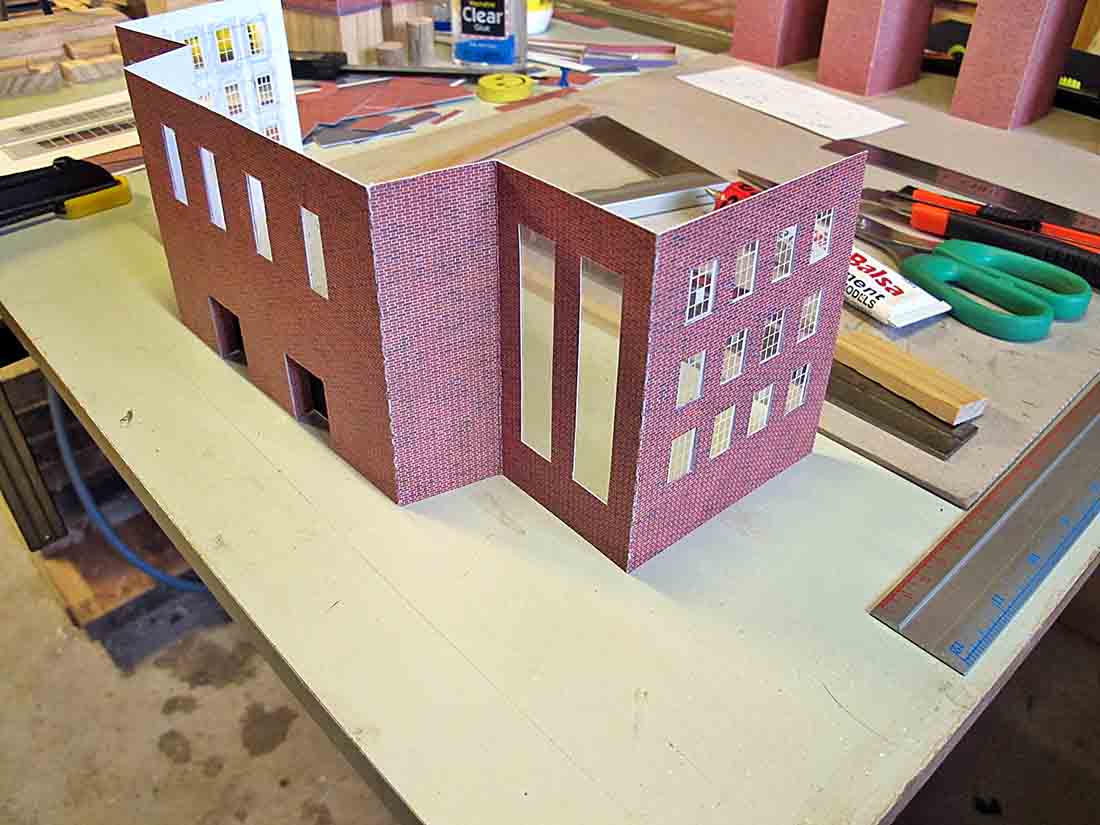
Marked it out using the opposite side as a template and then glued the structure together. This is where I made another mistake, forgot to cut out the door on the front side but managed to do so without any damage.
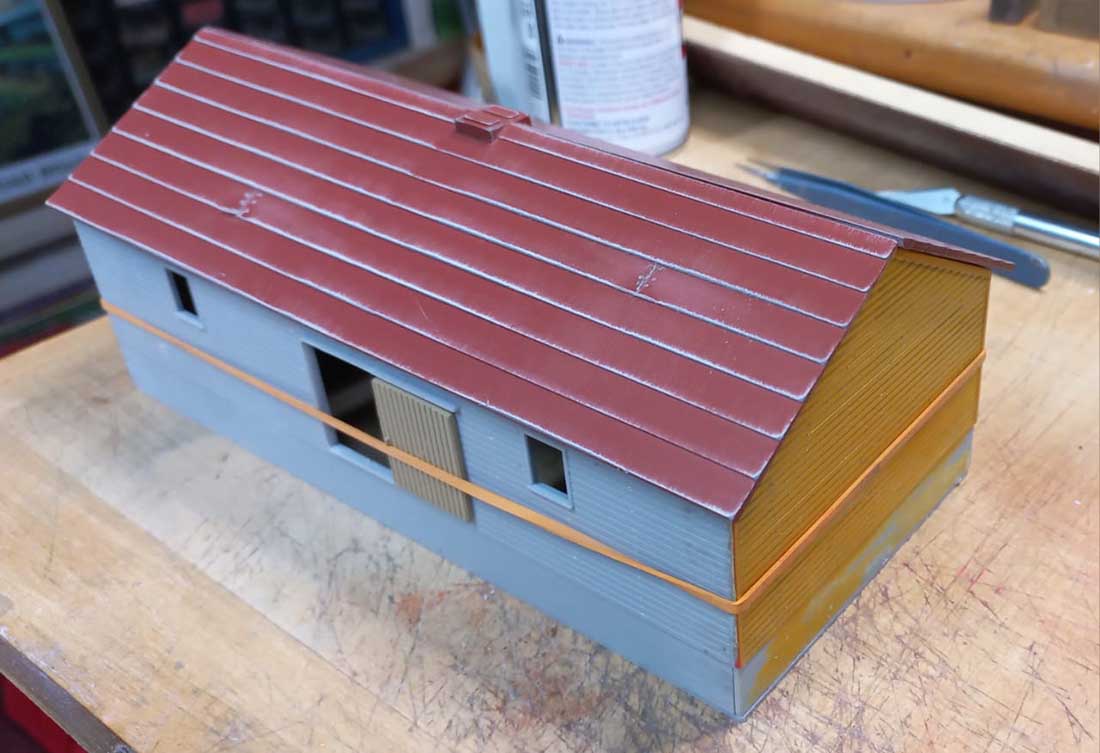
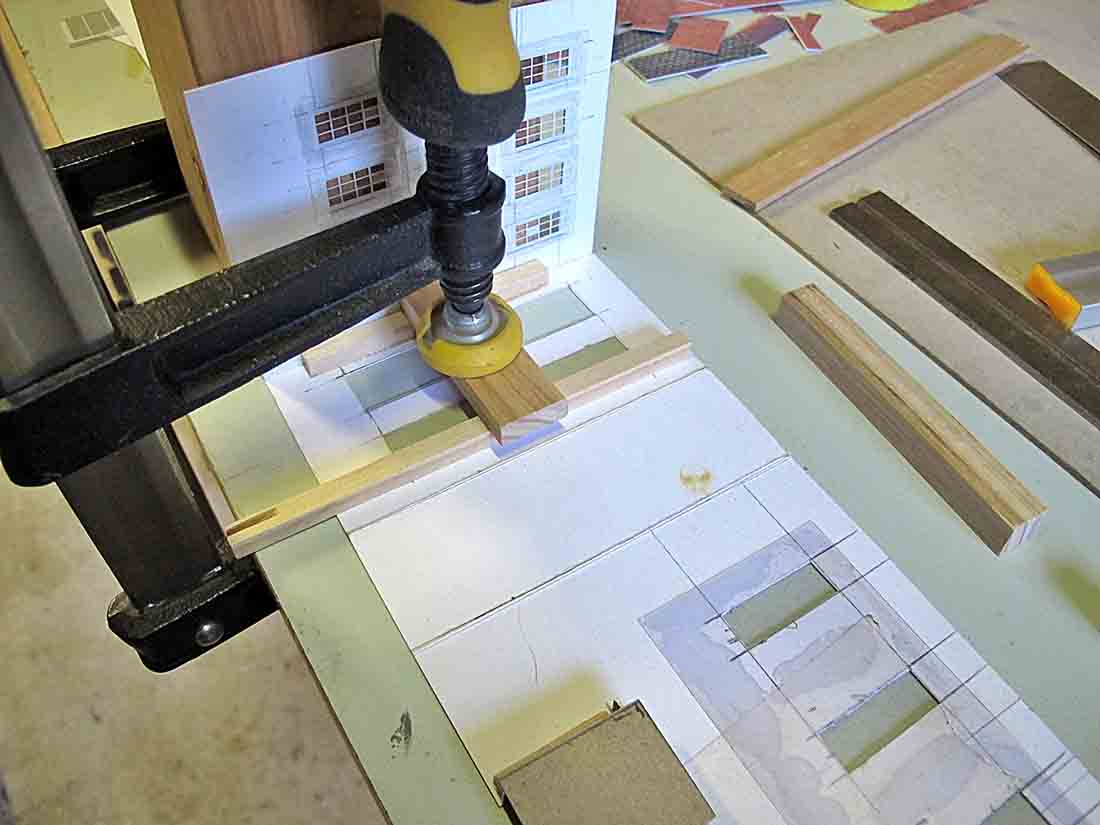
Same method used here for the roof. Sprayed the black roof with grey paint and once dry, sprayed It with a red paint. Before the painting was done, I cut a few joins and lifted the corners on the tar paper to represent different lengths. I sanded the roof again using a fine sanding stick to bring out the edges. – Note the elastic band keeping it together to make sure it all fits together properly before gluing it together.
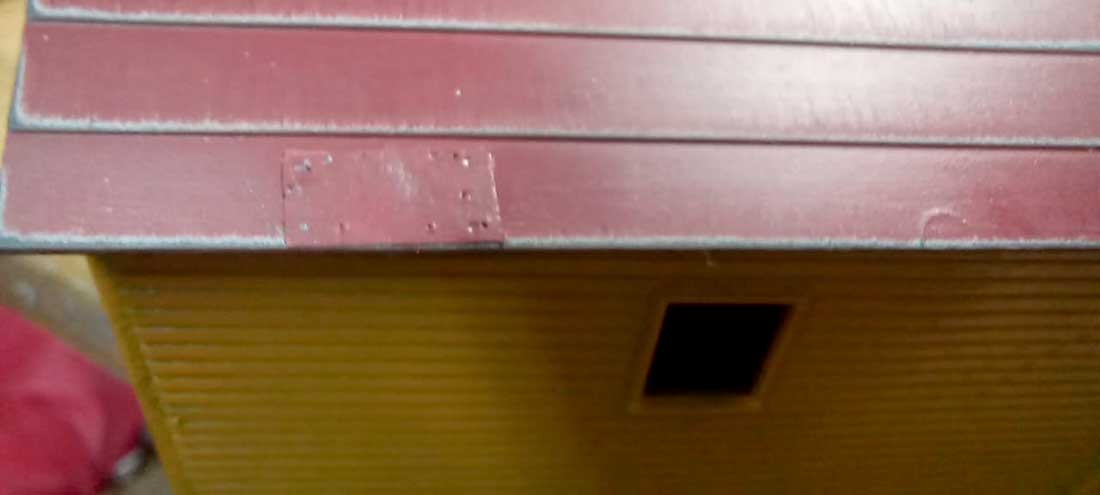
A flaw in the moulding process was quickly patched to show repairs on the roof.
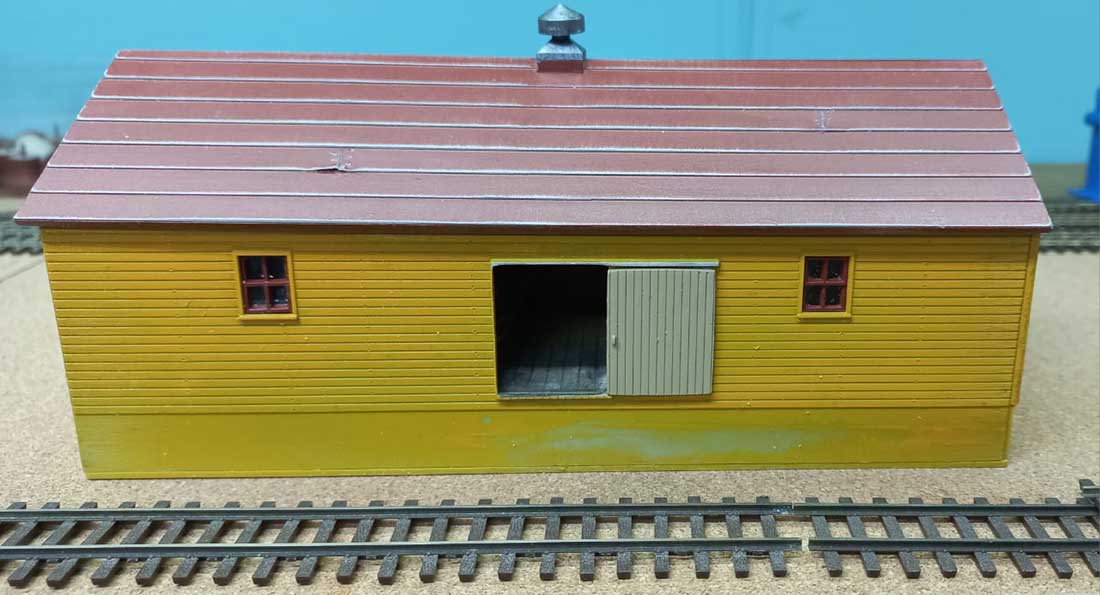
The structure was sprayed yellow for a change. The foundation will be painted a concrete color and weathered.

A dummy floor was added inside and a few details put close to the open door. The wood deck on the dock was added as well as pilings under it. Details were added to the deck ready to be weathered.
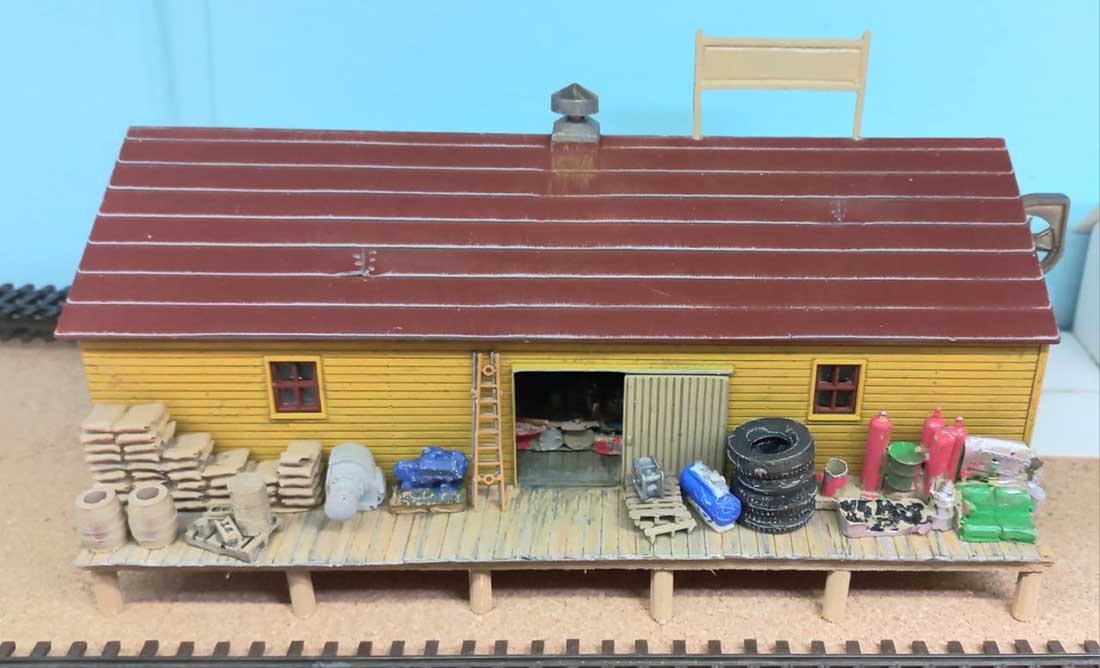
Finally I will add signage to it once I have figured out a name for it.

Waiting for the sign writer to add his bit on the roof sign.
I was not that happy working with this plastic kit and in future will stick to scratch building in wood.
Until next time – keep modelling.
The HOn3 guy in Knysna RSA”
A big thanks to Hall of Fame member, Brian for sharing his Walthers HO scale kitbash. I do love his stuff.
And now on to another Hall of Famer, Dave:
“Hi Al..
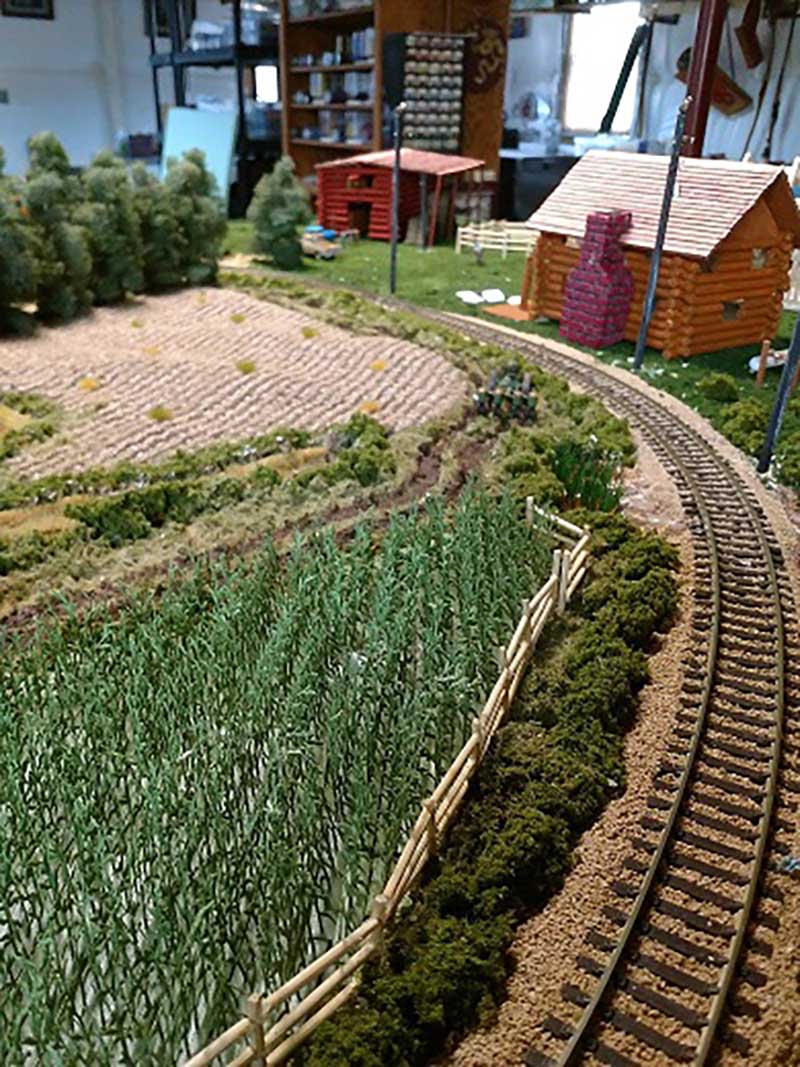
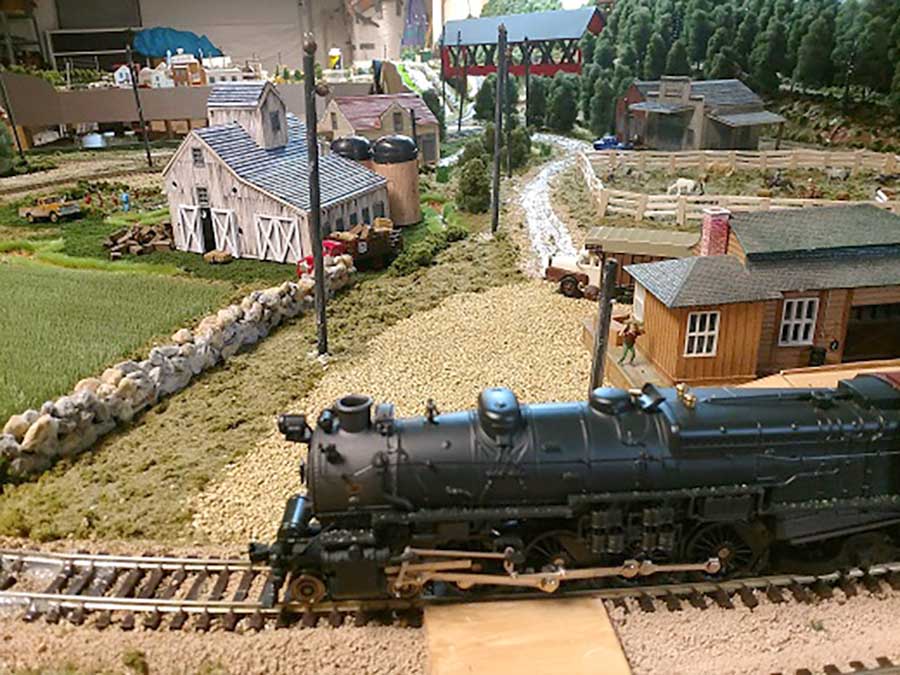
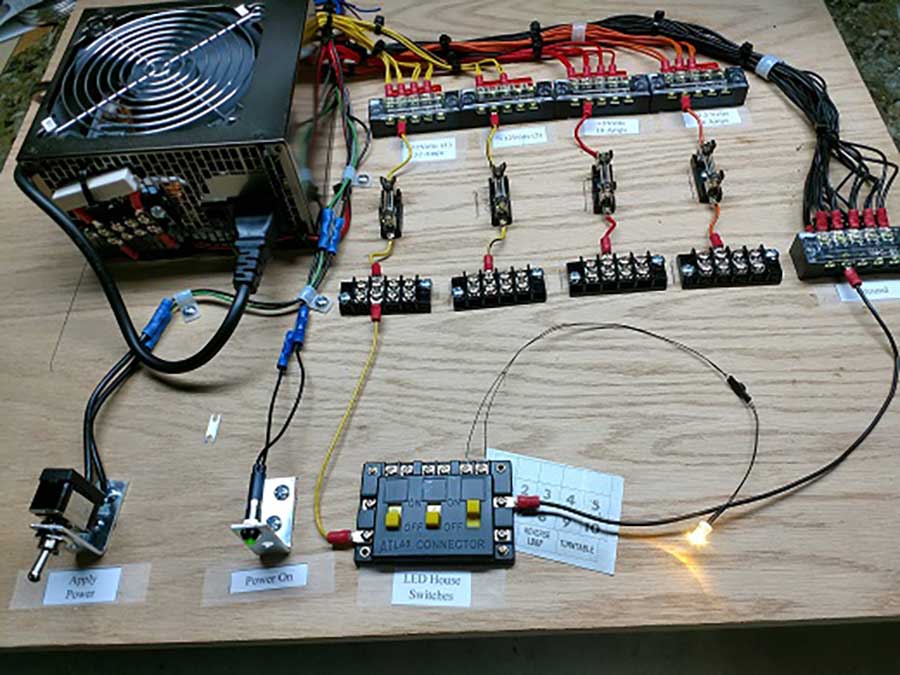
I have been having a few track problems after the hot summer weather due to expansion etc, its something we all get and is a constant part of keeping them running smoothly doing repairs.
I have shown on here replacing some track adding new points and also soldering between joints on the points (crossovers), something I don’t usually do, but this has left it running far smoother, so something I shall probably do in the future.
Also I show laying ballast, then adding grass ,and then using my CMX track cleaner
Regards
Dave”
A huge big thanks to Brian and Dave.
That’s all for today’s missive.
Please do keep ’em coming.
And if today is the day you stop dreaming and start doing, the Beginner’s Guide is here.
Best
Al
PS Latest ebay cheat sheet is here.