Dan’s been back in touch with his Santa Fe line train layout:
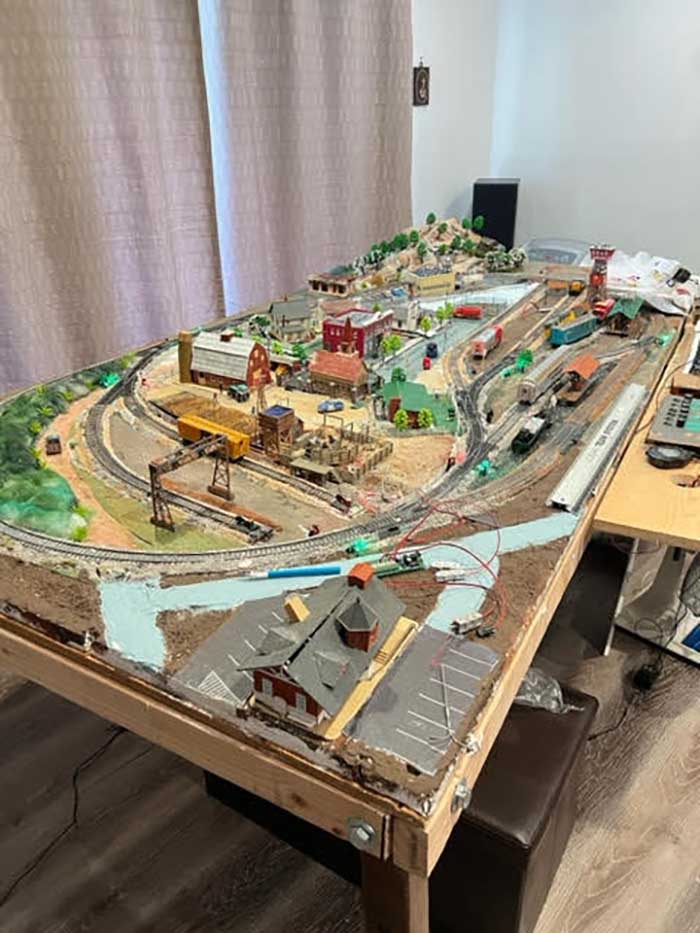
“The Santa Fe Railroad in Colorado and New Mexico is an HO scale layout. It is scenically located in the southwest.
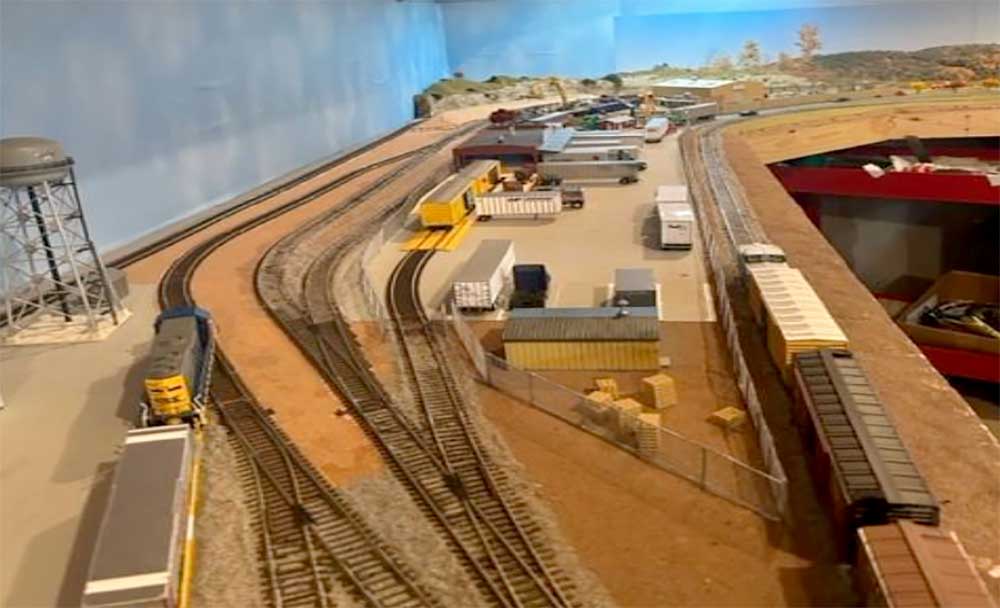
The 35 by 15 layout represents the double track Santa Fe mainline.
The era is late 50’s and early 60’s. With modelers license it has a ruling grade of 3.5 % that represents the grade of Raton Pass and a branch line like the line to the Grand Canyon.
The branch line is also part of the old single tracked mainline with sharp curves and a 4 % grade.
The layout is 99.9 % finished. It uses block control and DC power from walk around Hogger power packs. There are about 450 freight cars and about 85 passenger cars.
The motive power is mostly Athearn “Blue Box” and some A-B-B-A passenger and A- B-B-A F unit Genesis sets, and several Model Power E units.
Other manufactures are also found on the layout including two BLI 4-8-4 Northern locos. All locos are powered because the freight trains are usually 30-40 cars long and the passenger trains run 10-
15 cars.
The main town of Sharon Springs (wife’s name) could be Albuquerque.
This allows some engine facilities and switching opportunities and is a division point. This is also the interchange with the Rio Grande near Douglas Junction at Bovine. Douglas Junction is the junction with the old main line.
Sharon Springs is also the starting point for the operation of the service to Burnt Lake a resort ala the Grand Canyon.
The resort can be reached only via train. There is no road access. The resort passes over a 600 foot long curved trestle reaching heights of over 100 feet as it passes thru Rainbow Canyon. The
canyon gets its name from the colored rock formations.
The main line passes the town of Almost. The name is because it is near the summit of the layout. The town is experiencing a boon because of the discovery of low sulfur coal.
The mine, Almost Mine is the home of “all most clean coal.” It is the home of Almost Fresh Donuts and the Almost Christian Church (with a wedding taking place).
The train station at Almost has an addition attached to accommodate the increased traffic.
I am a scenery person and enjoy doing the scenery. I really like all phases of the construction process.
The layout was not built as an “operating layout” as I preferred a scenery-based layout. I have opportunities to operate on several nearby layouts.
I have a run through and staging yard as a lower level reached by way of 3.5% grades. This simulates the ruling grade on the ATSFs passenger line.
I can store 6 complete trains in the staging yard with the main line trackage being separate. The trains can then appear as needed.
I have posted many photos of this layout as well as The Inland Pacific for which I did 90% of the scenery, The Boston & Maine for which I built all of the layout and The Great Northern for which I helped on the design, construction and scenery. These can be found by searching santafedan on www.trainorders.com

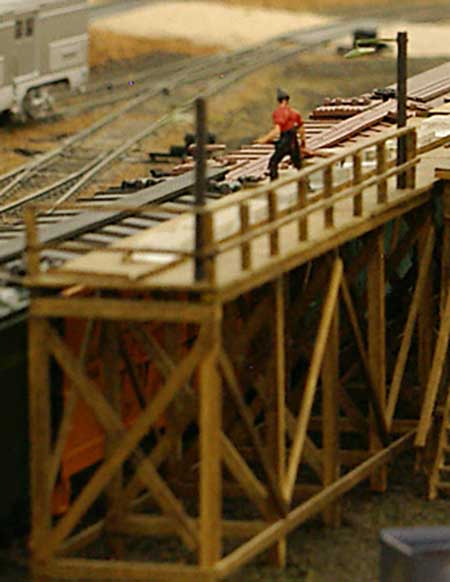
The workers on the trestle have been replacing damaged railings at the fire barrels
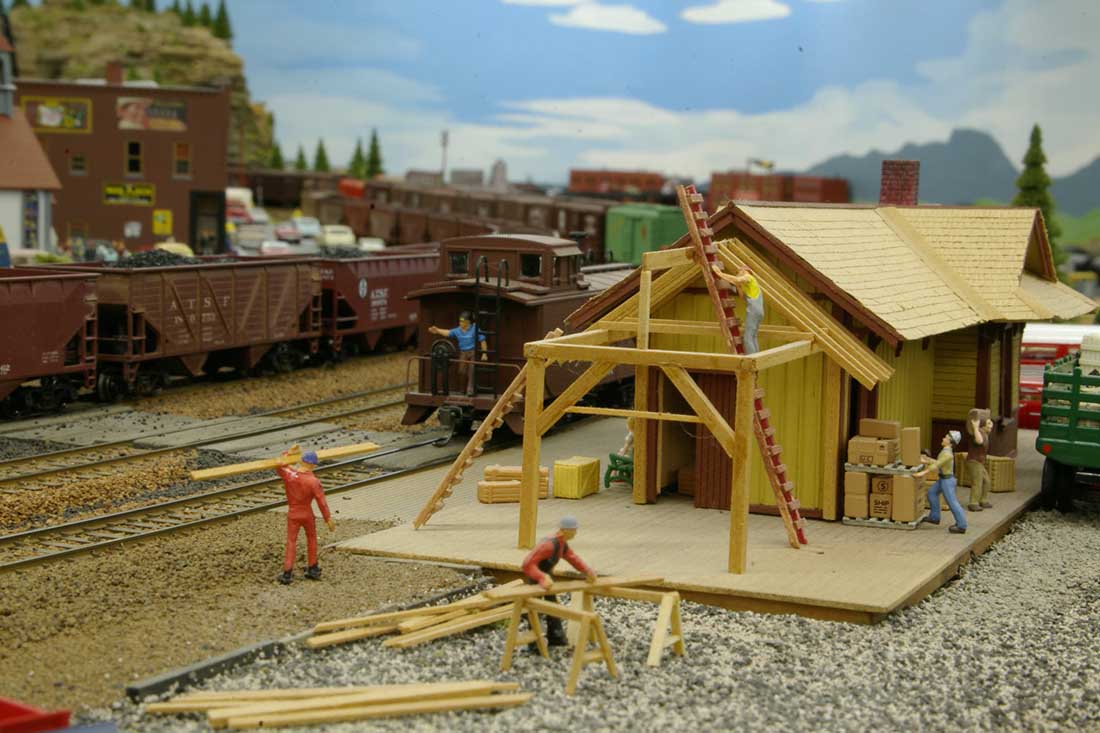
The town is having a building boom

The station at Almost is getting an addition as the local coal mine is doing very well
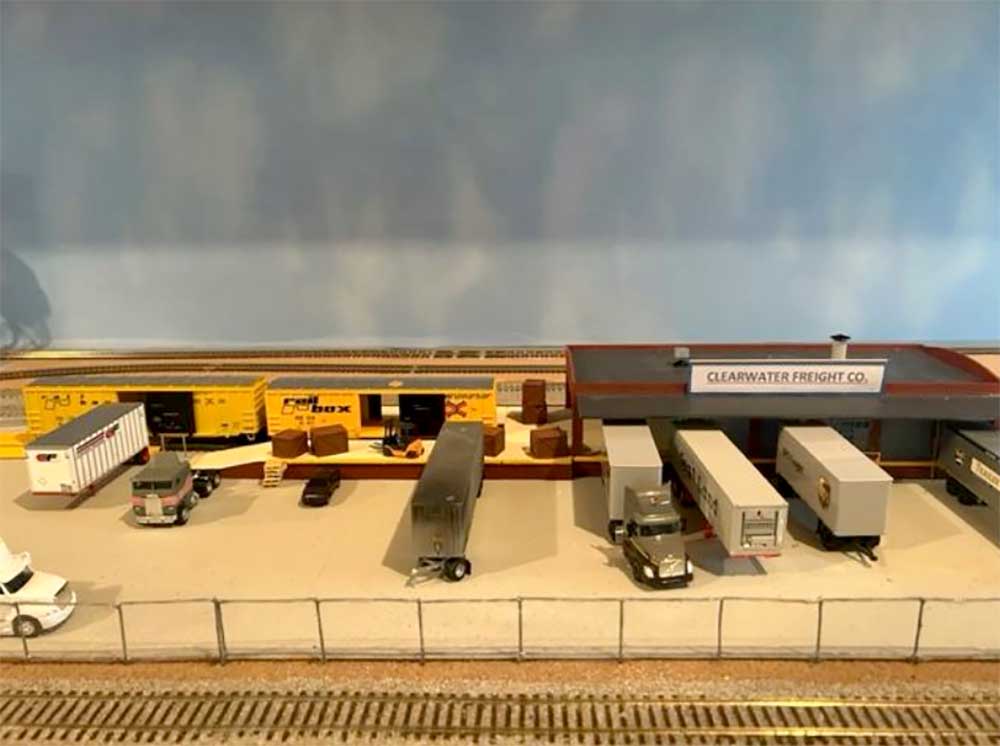
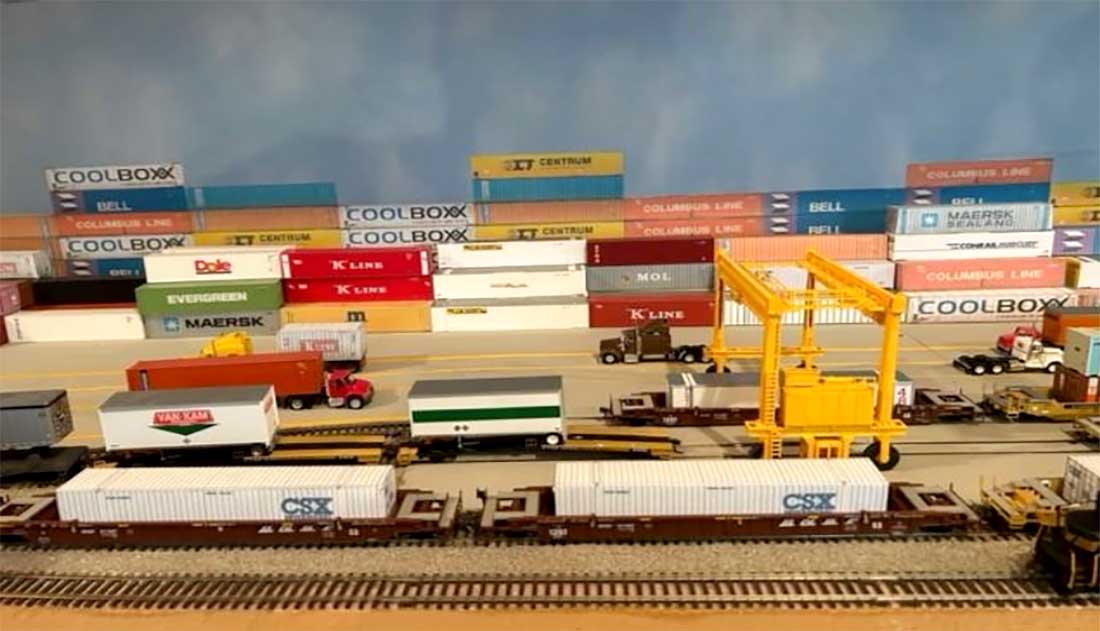
Working at the icing platform
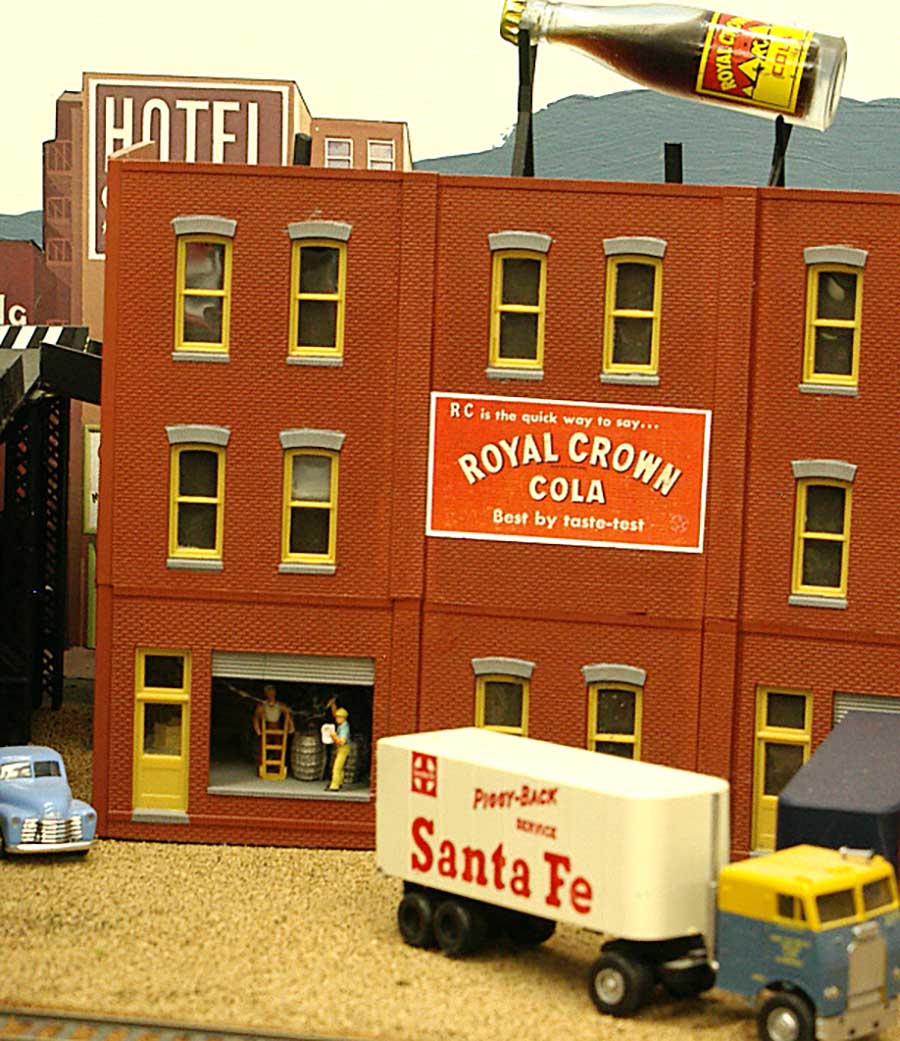
Loading RC Cola

Busy at the market

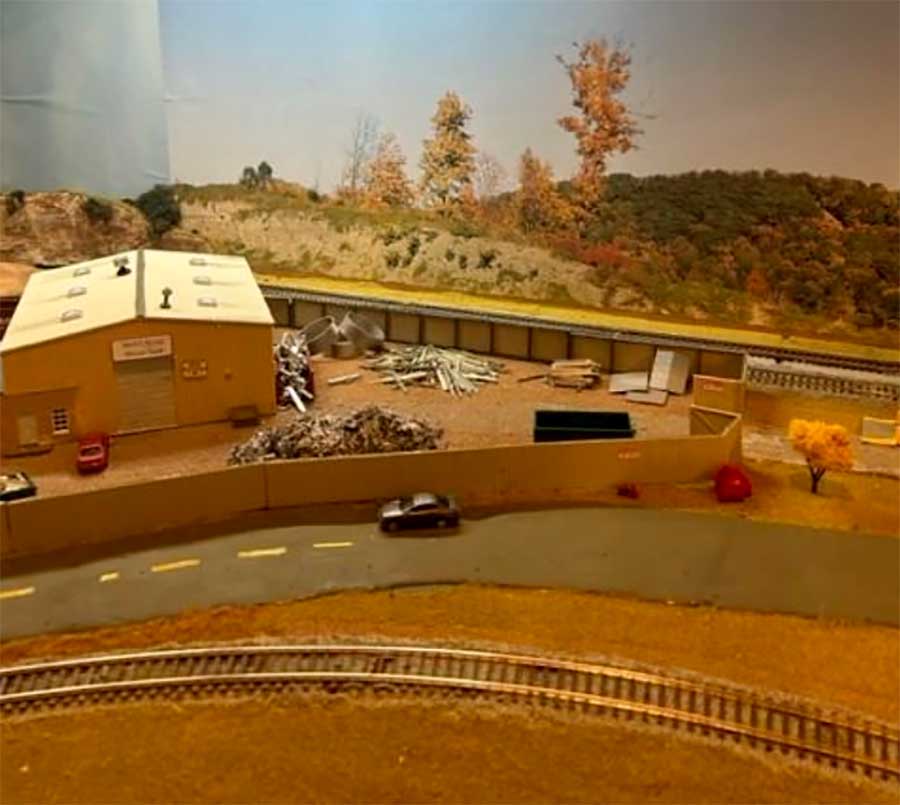
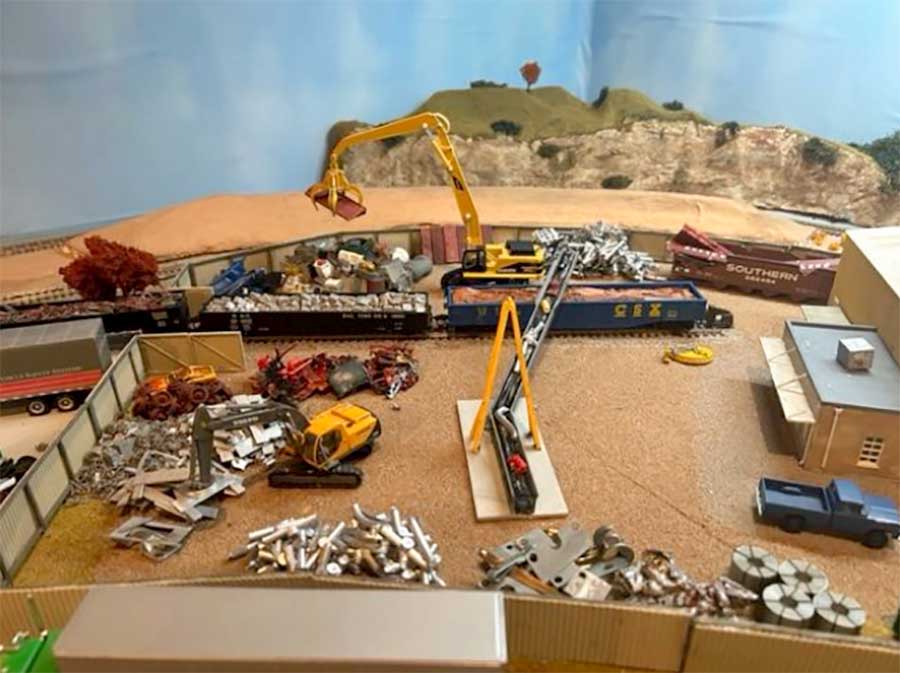
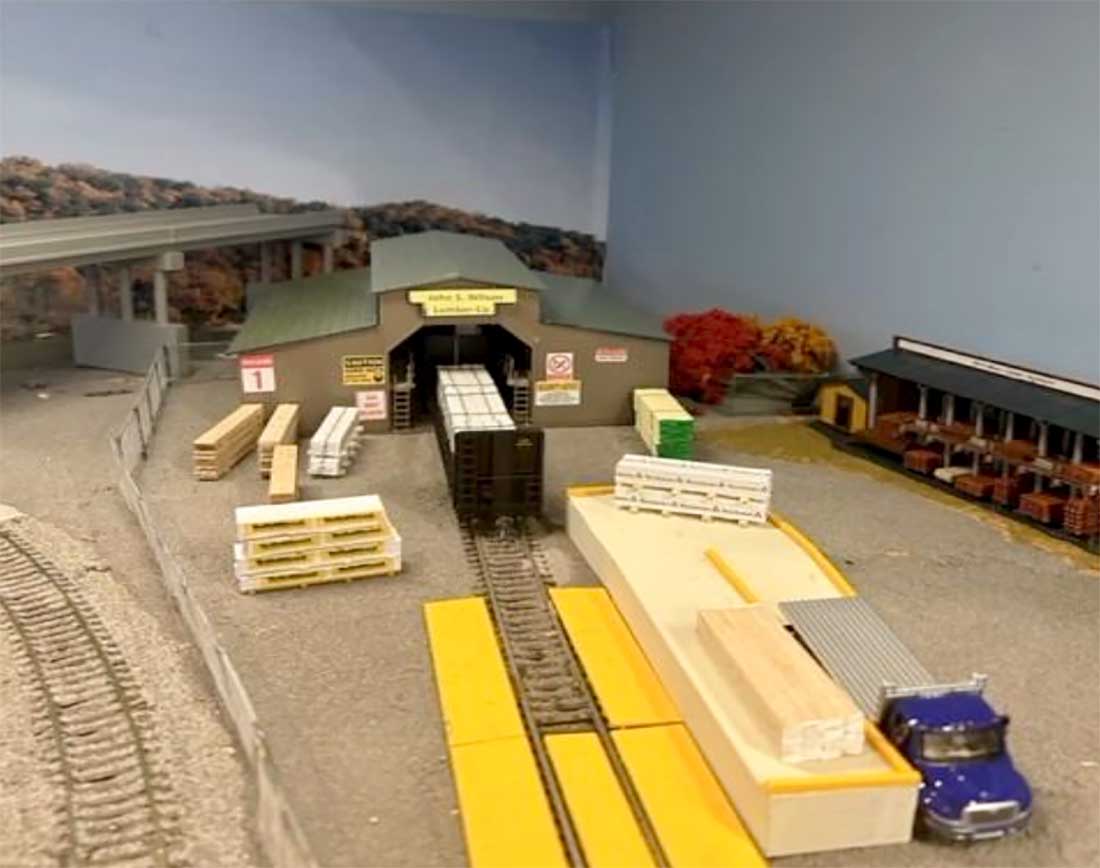
There is a chromite mine on the railroad. The ore is used to make chrome plating.

The grain elevator is having a paint job. (On my layout I do not do a lot of weathering…personal preference.) This to demonstrate for the complainers (they do exist) that I do know how to do weathering.

The silos are Pringle cans wrapped in teletype paper (yellow) and sprayed with a gray color.

Notice the costume (US at least) of tin cans trailing the car. They are solder drops on a wire.

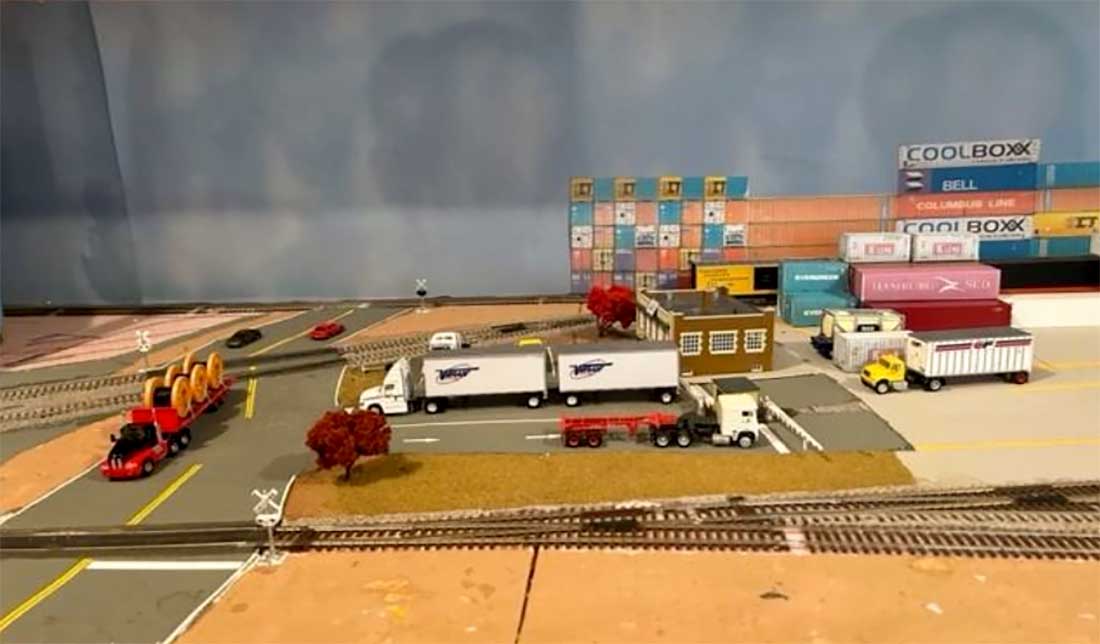
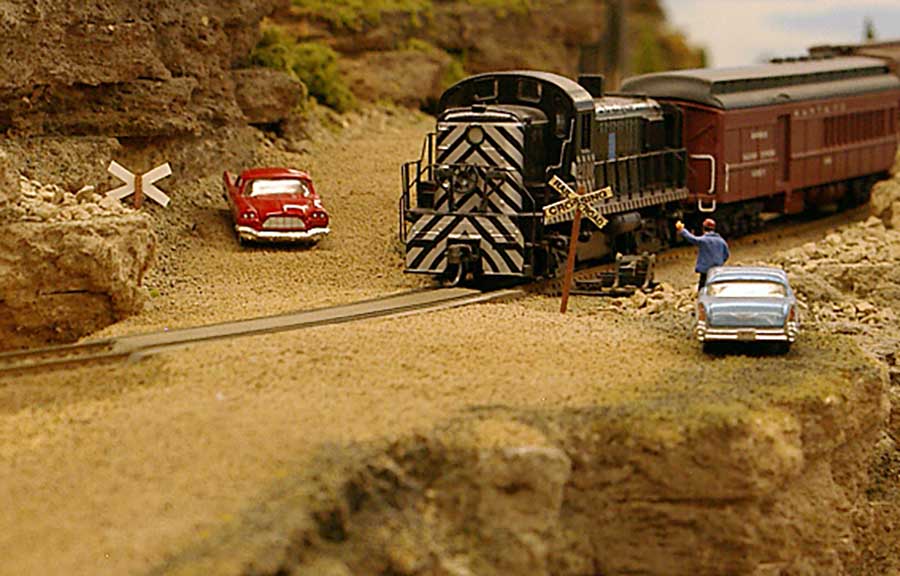
The crossing guard lives in the shed. He is full time as he is needed when the train to Burnt Lake arrives. It will be shown in another photos later. The van is owned by the hotel and uses to bring in the visitors. There is no road in or out of the resort. To help set the time period the stop sign is yellow, the standard up until the late sixties when our signs became the universal red.
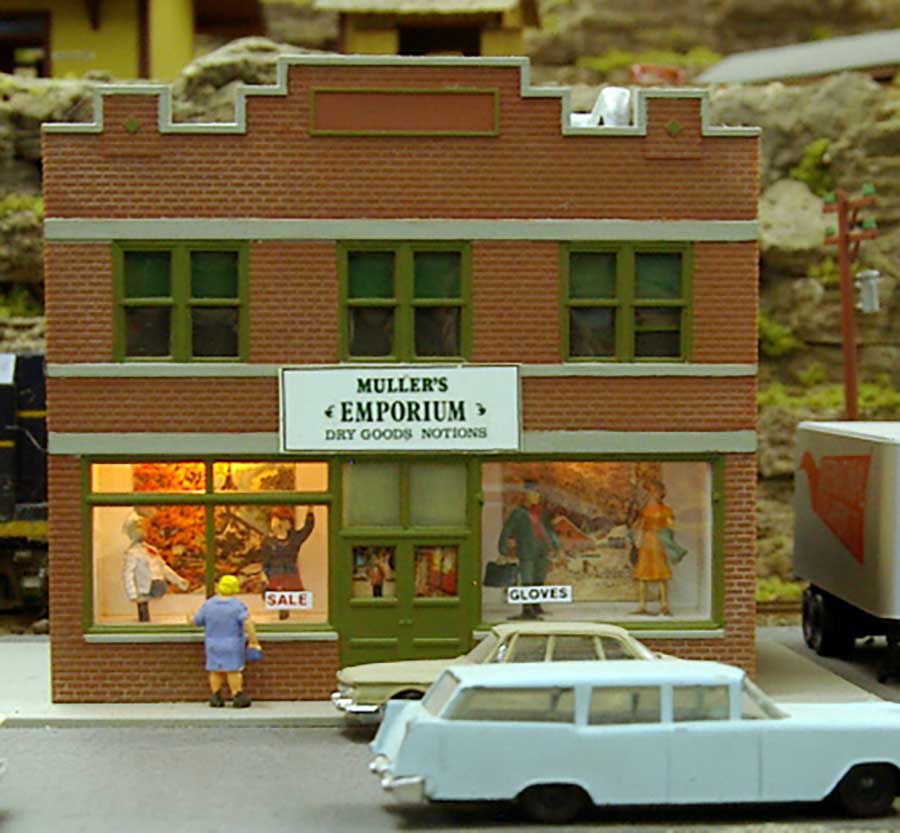
The figures in the store windows have been trimmed to fit. I have arms and legs all over.
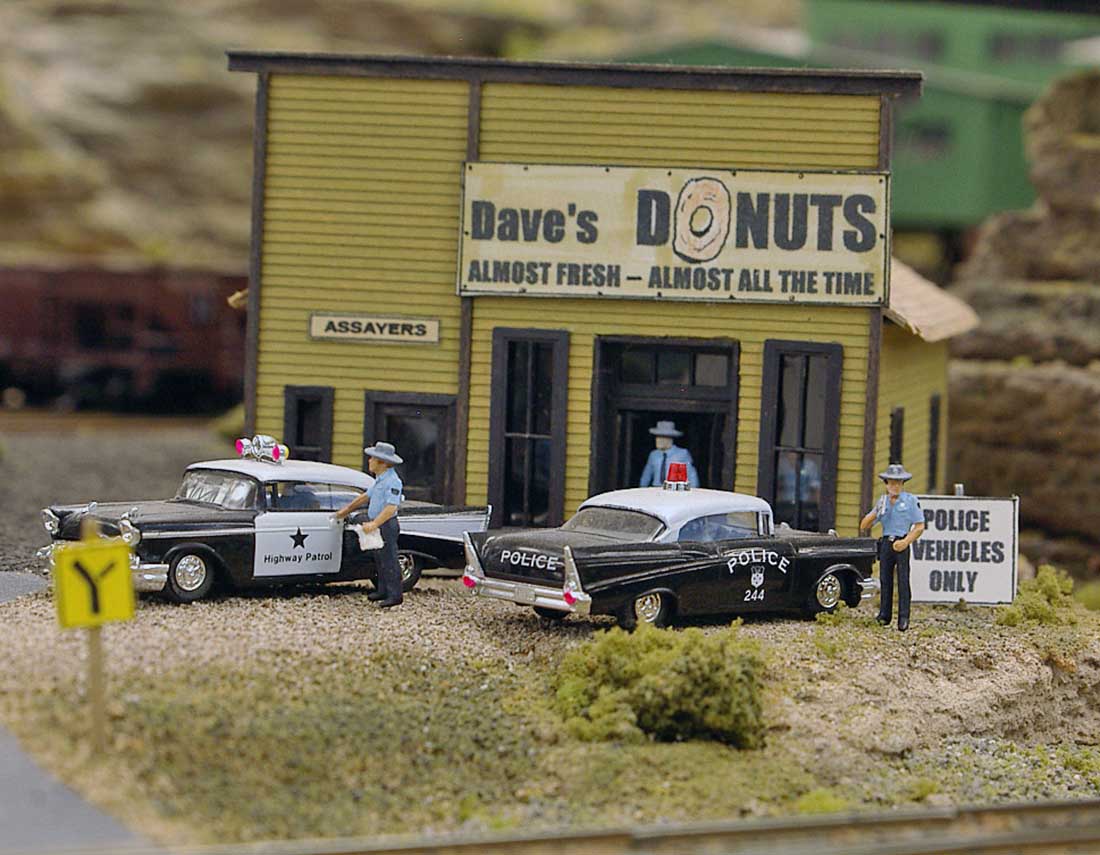
I have friends, also model railroaders, who are police. Therefore, the doughnuts.

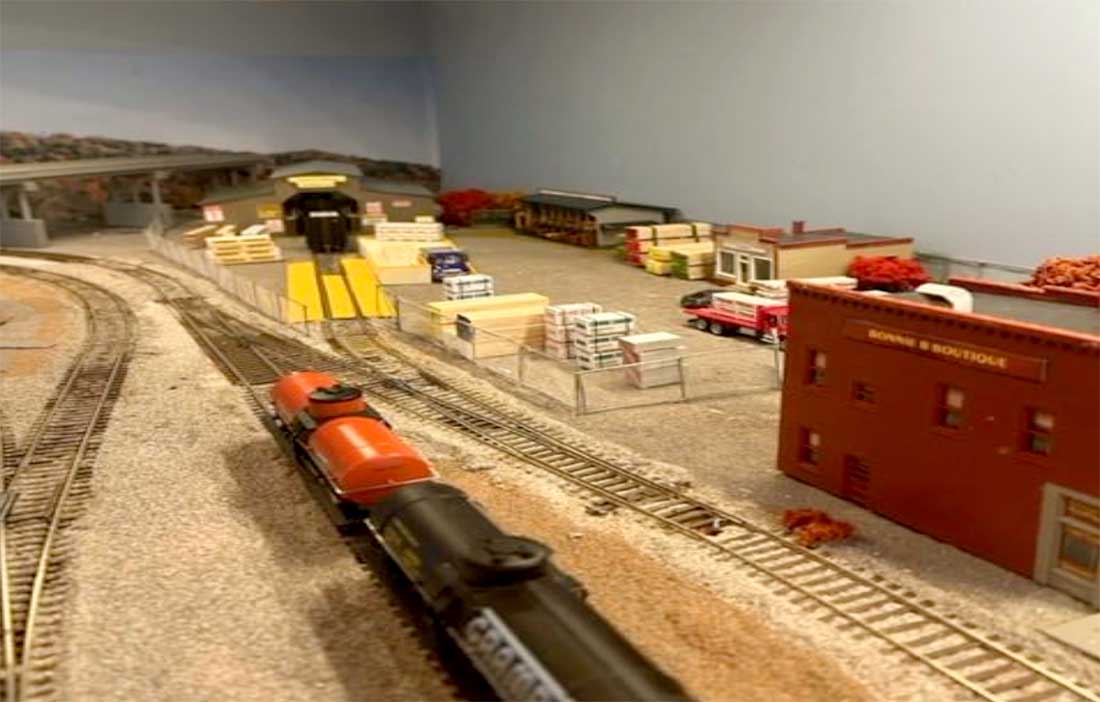
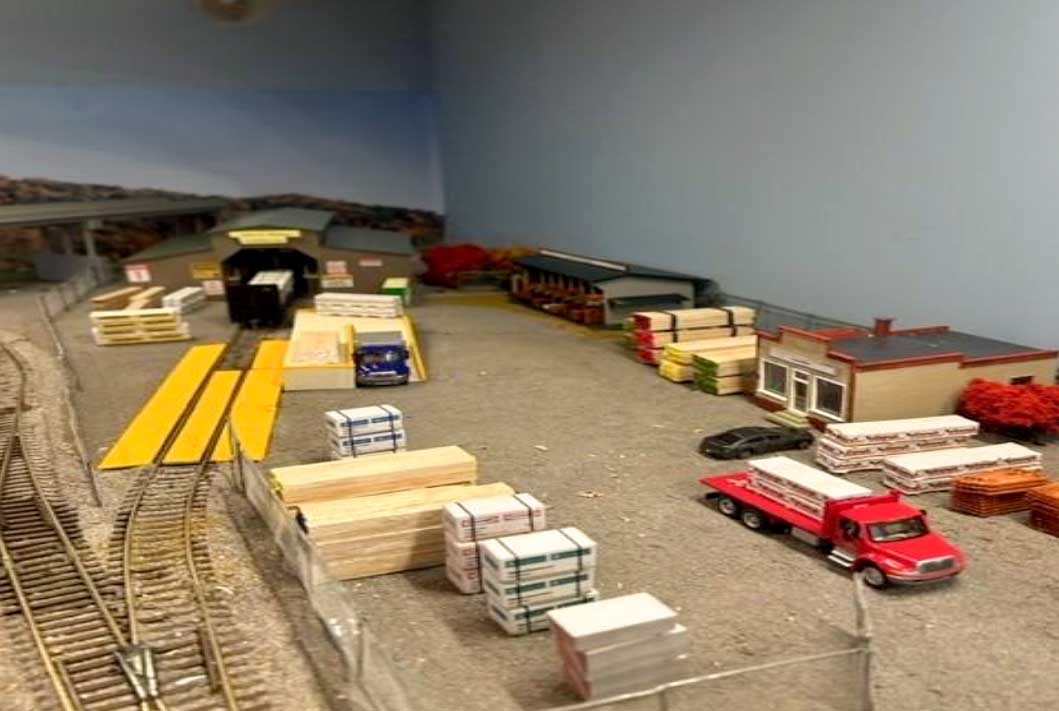
The coal bins are a Fine Scale Miniature kit. The pickup truck is a resin model I painted.
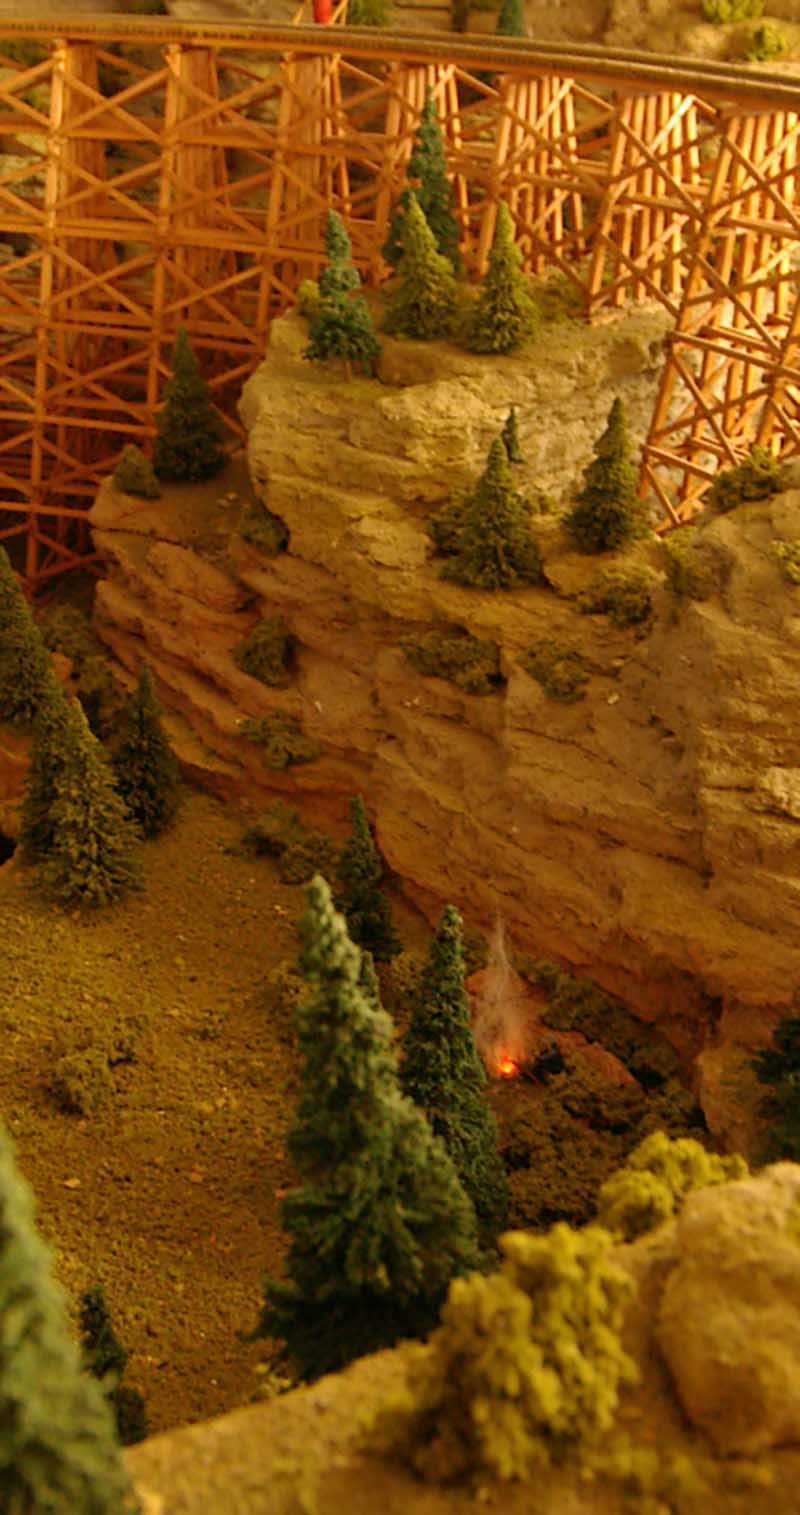
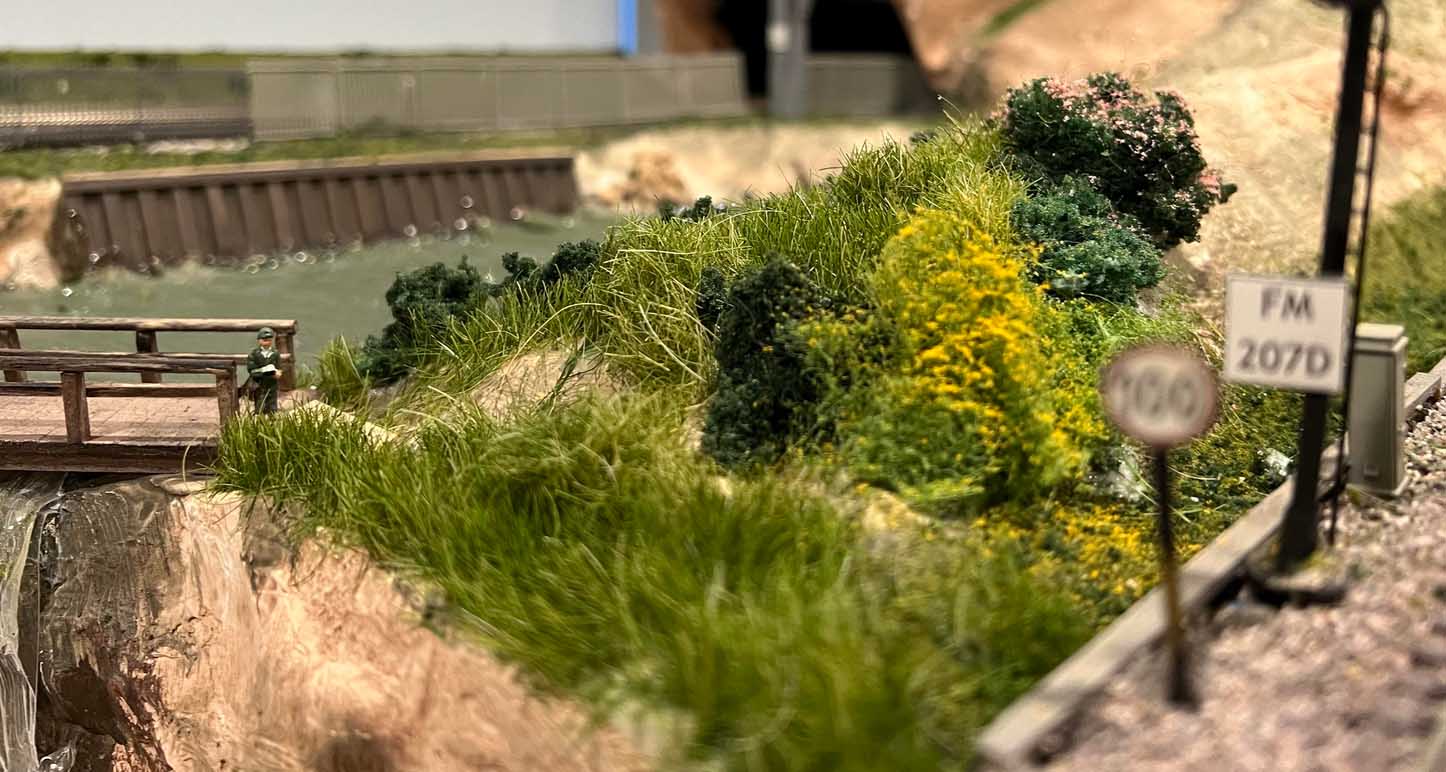
A hobo camp below the trestle in Rainbow Canyon
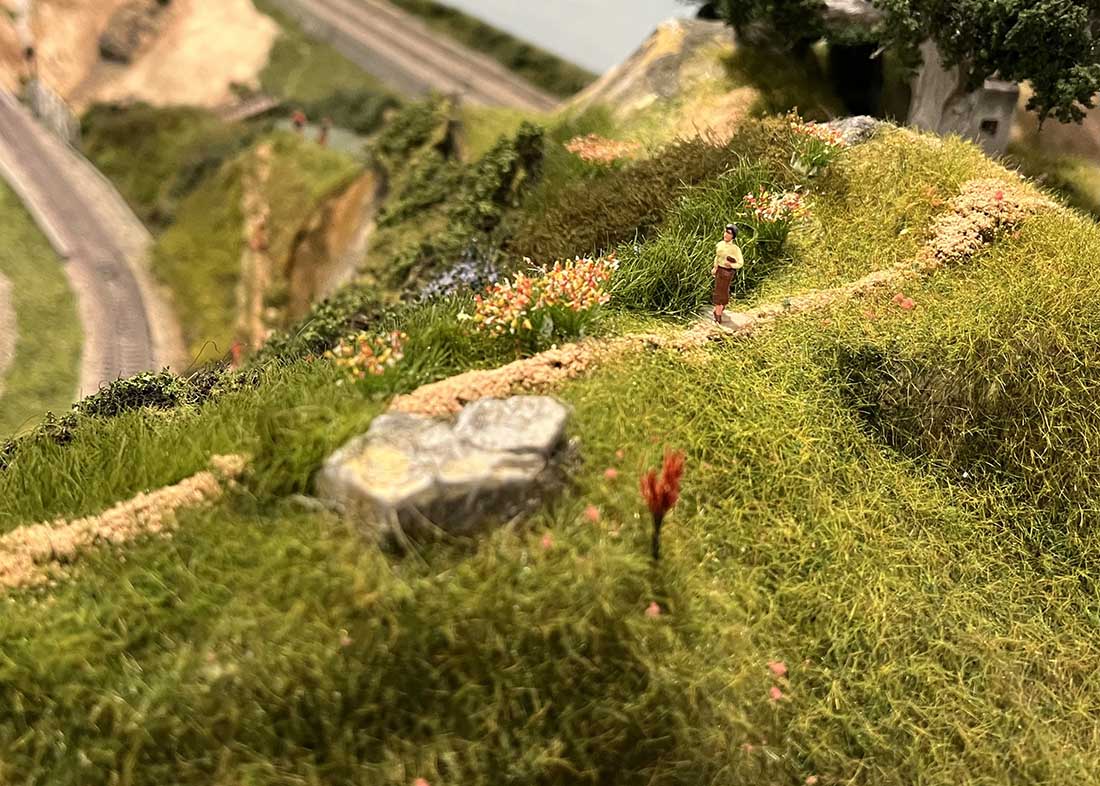
The ever present wave

I had a professional photographer friend. I put him on the layout taking movies. (He was a little over weight.) The “camera” is made from KD coupler box parts. From this photo you can’t see the path her took to get this vantage point. I never put figures anywhere unless there is a way to get them in place.

I chose the Santa Fe for several reasons. First, I guess was the influence of Lionel trains Santa Fe passenger trains.
Second, I have ridden the ATSF route several times. I rode the el Capatain in 1959 and the AMTRAK version three times. I have driven the Passenger route from Kansas City to Needles California.
Third, I like the scenery.
Sant Fe Dan”
A big thanks to Dan for sharing his Santa Fe line train layout.
I know I’ve said it before, but it’s funny how just naming the places and scenes adds so much life to a layout.
Really looking forward to seeing more of Dan’s work.
That’s all for today folks.
Please do keep ’em coming.
And if today is the day you join in the fun and get started, the Beginner’s Guide is here.
Best
Al
PS Latest ebay cheat sheet is here.
PPS More HO scale train layouts here if that’s your thing.
Need buildings for your layout? Have a look at the Silly Discount bundle.