It’s a joy to post his layout because it’s easy to see he’s had fun.
And frankly, that’s all that matters:
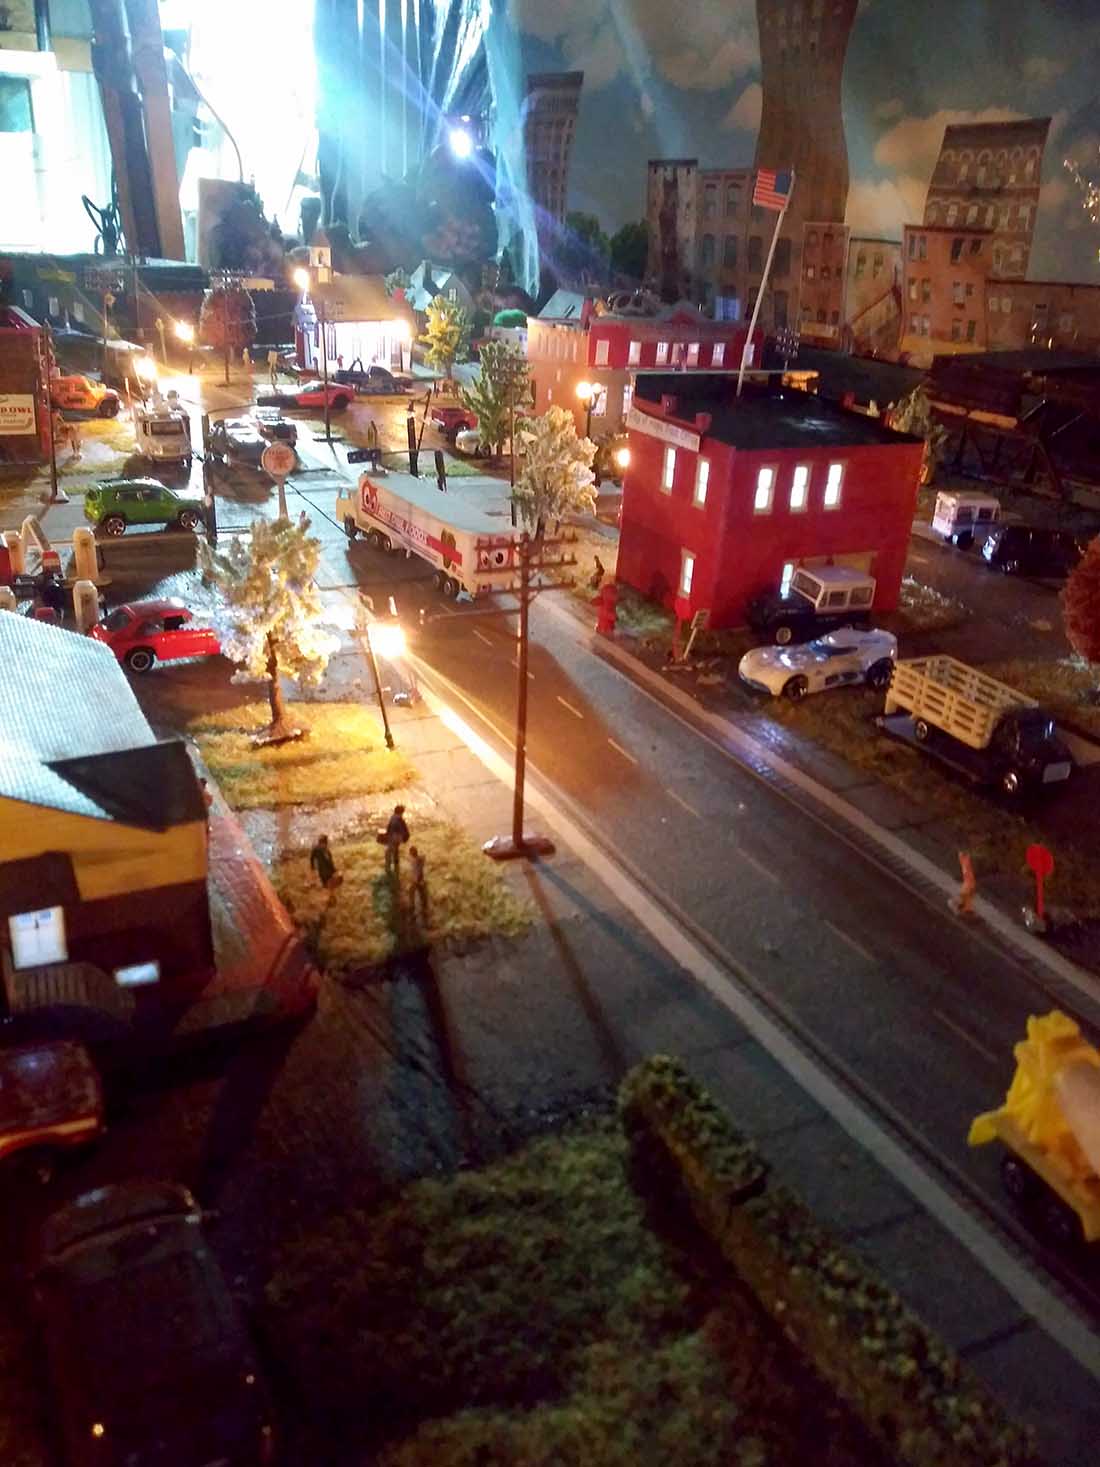
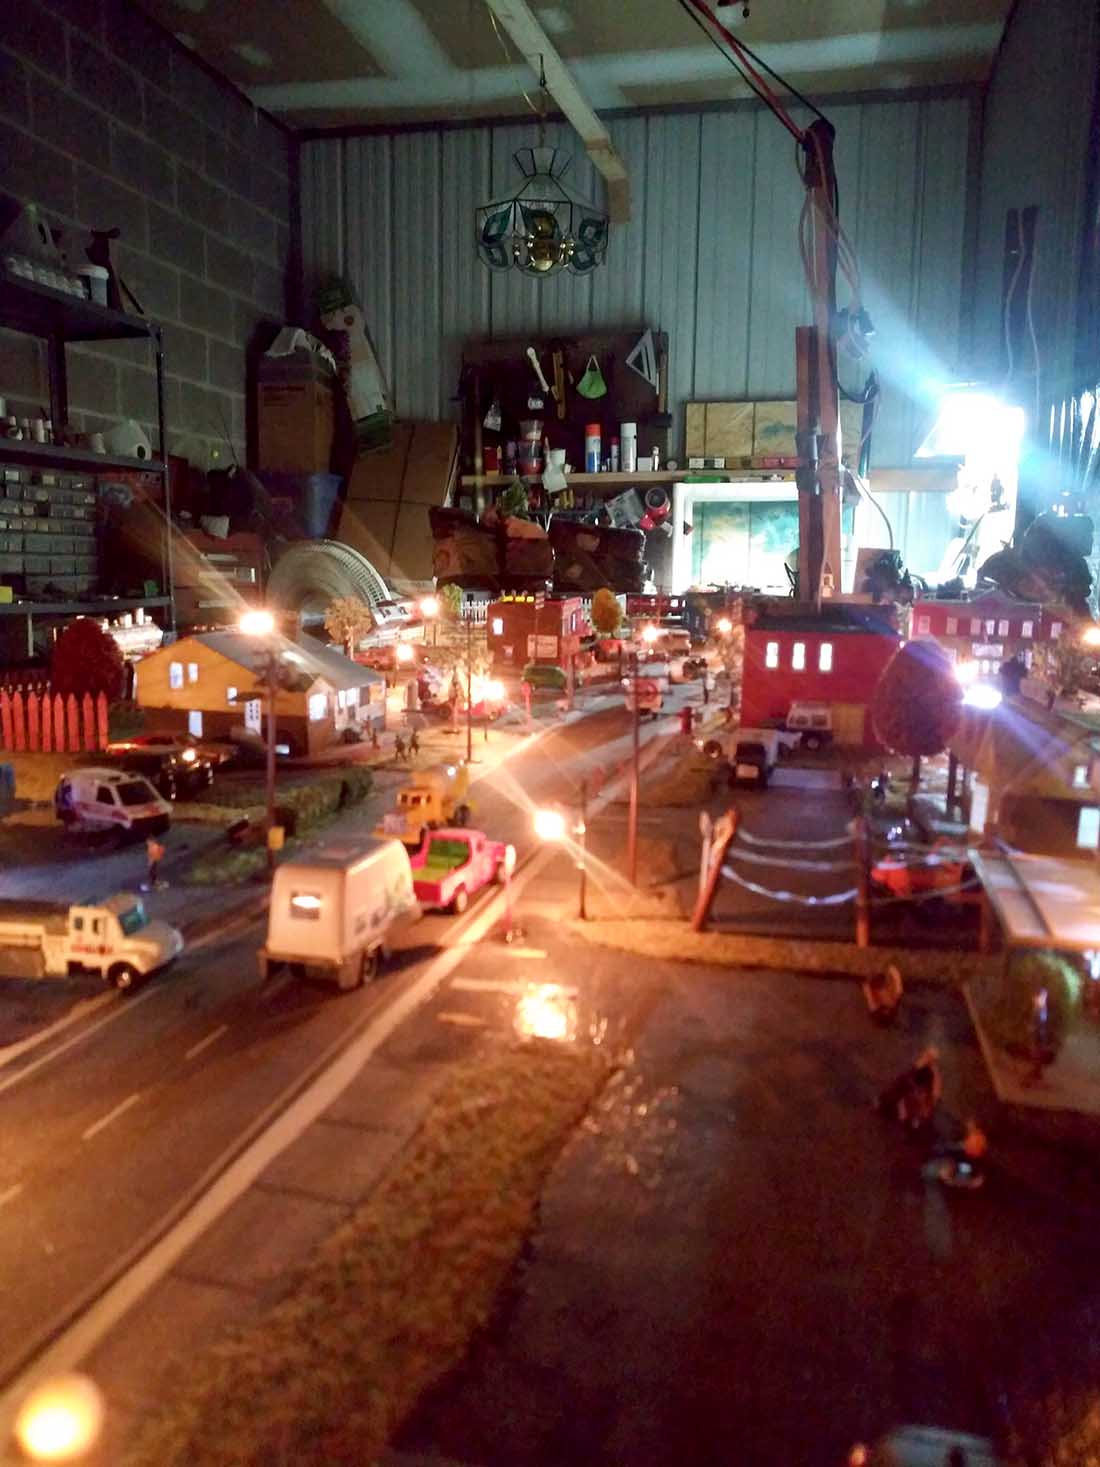
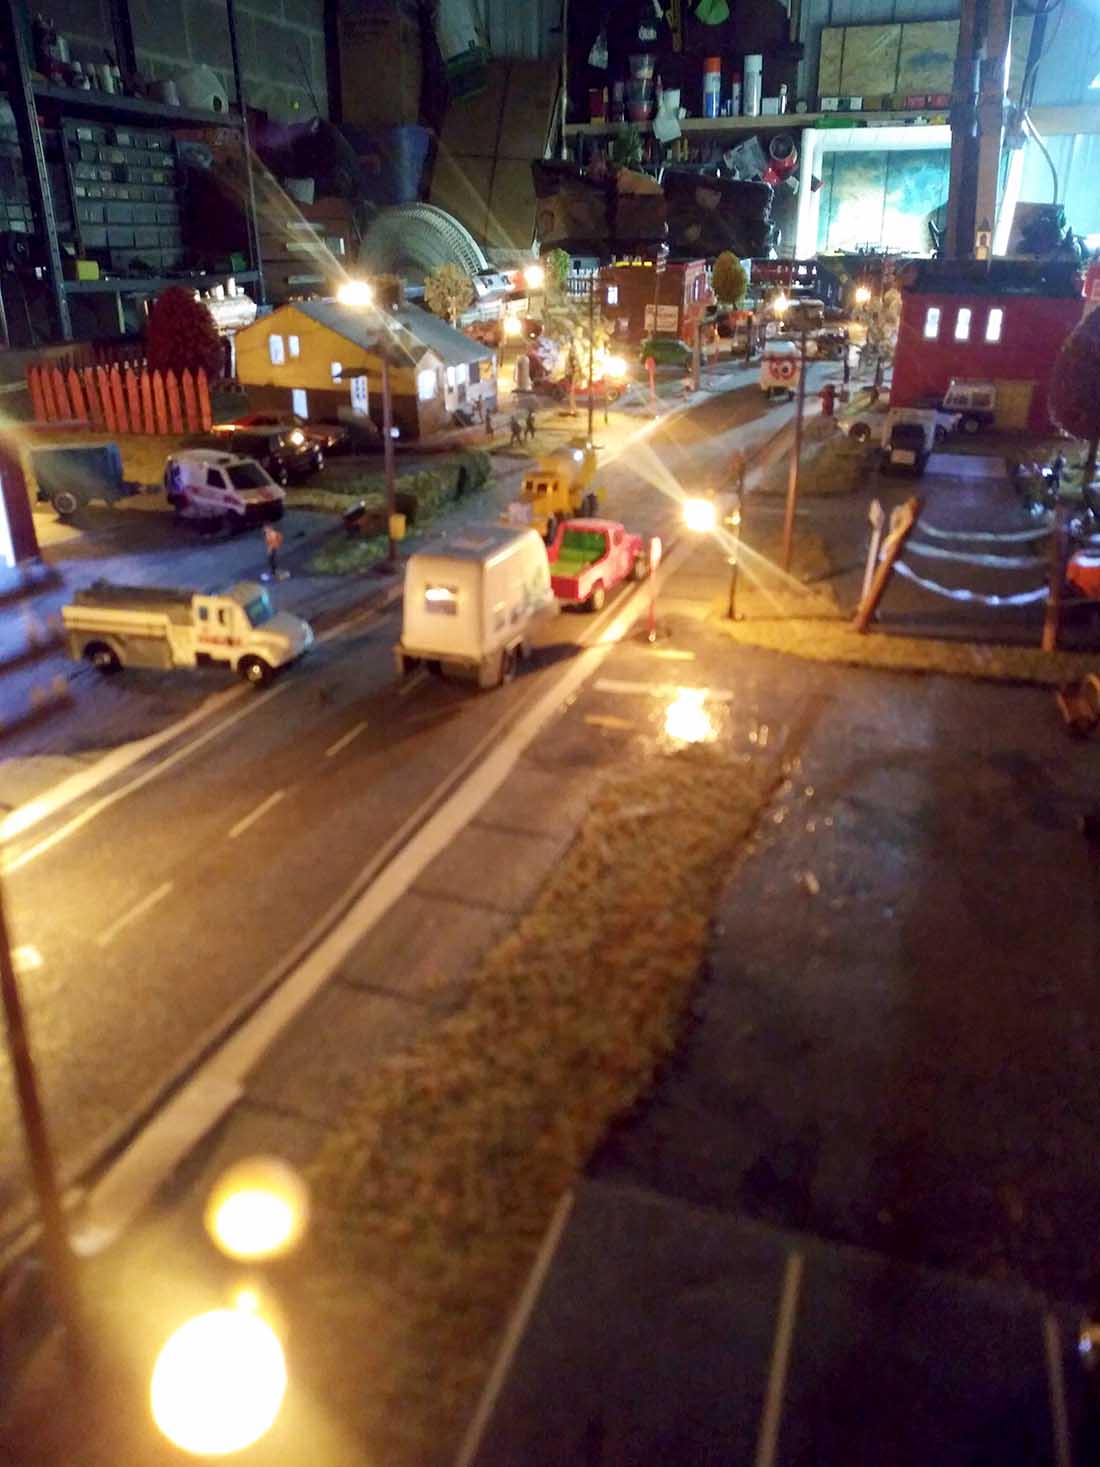
“Good Morning Alastair,
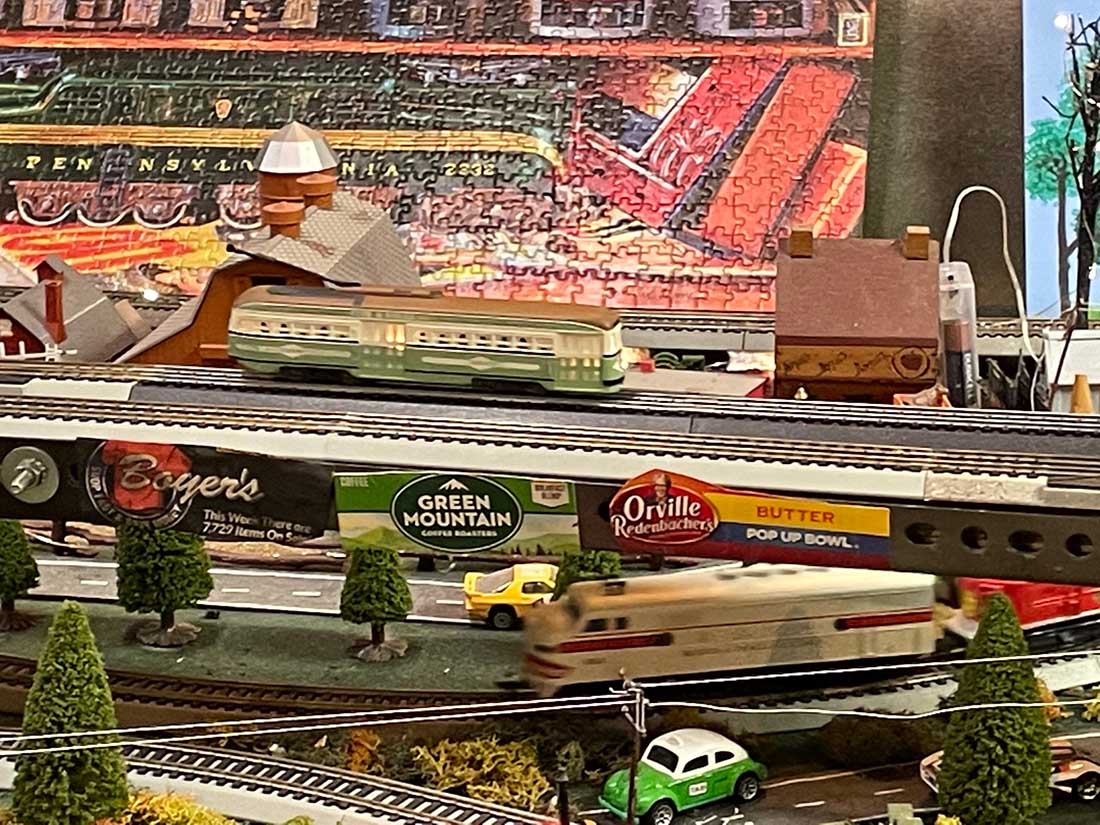
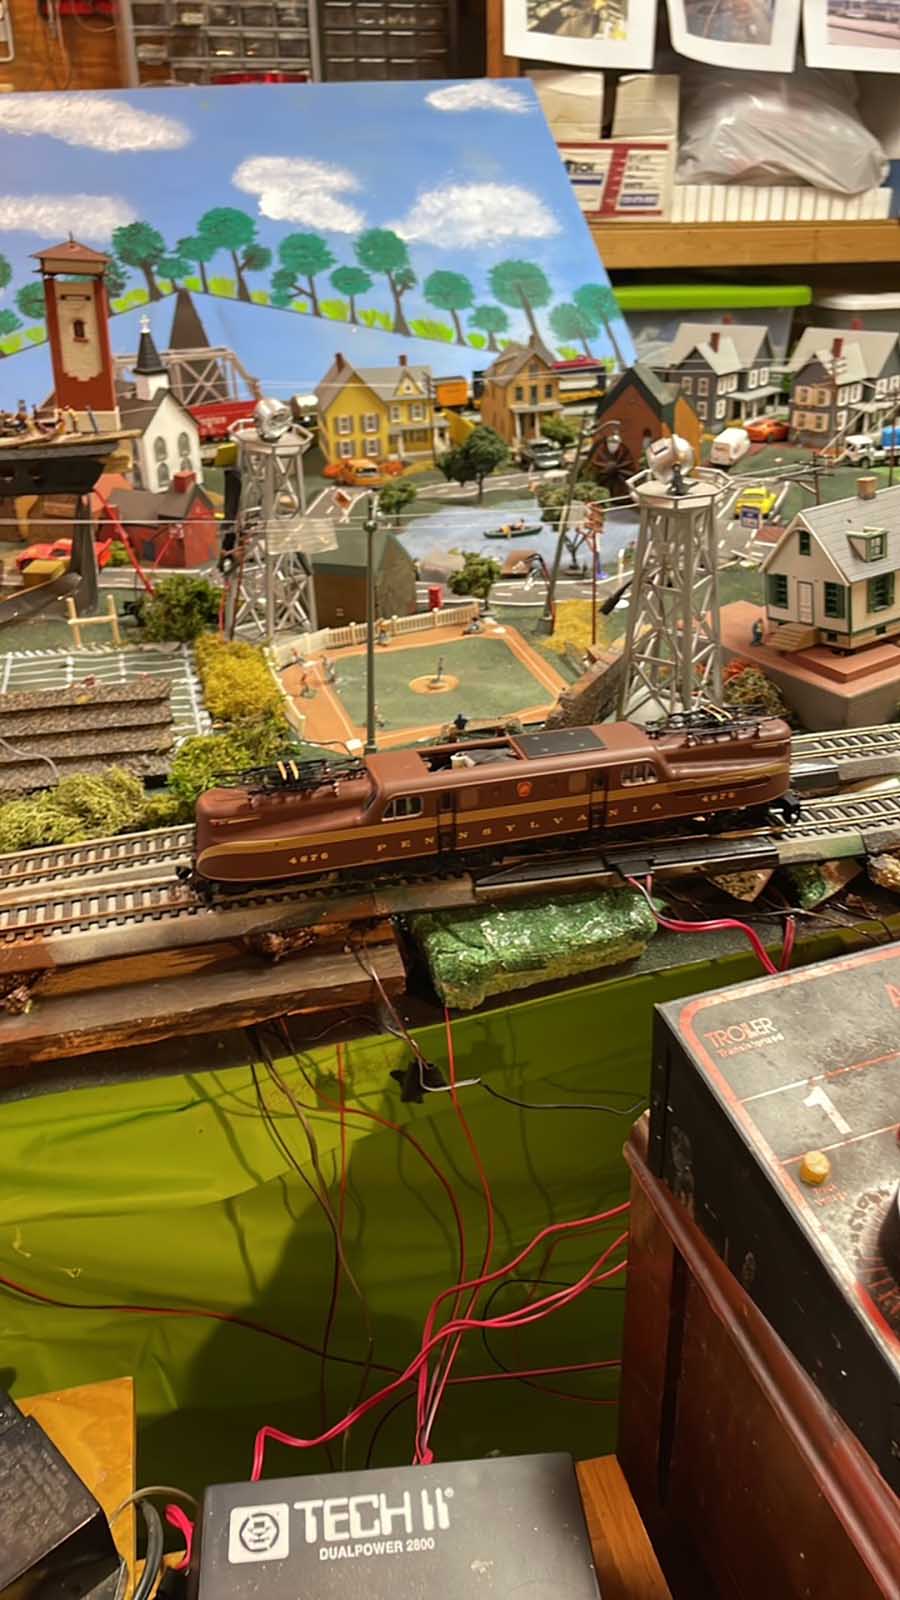
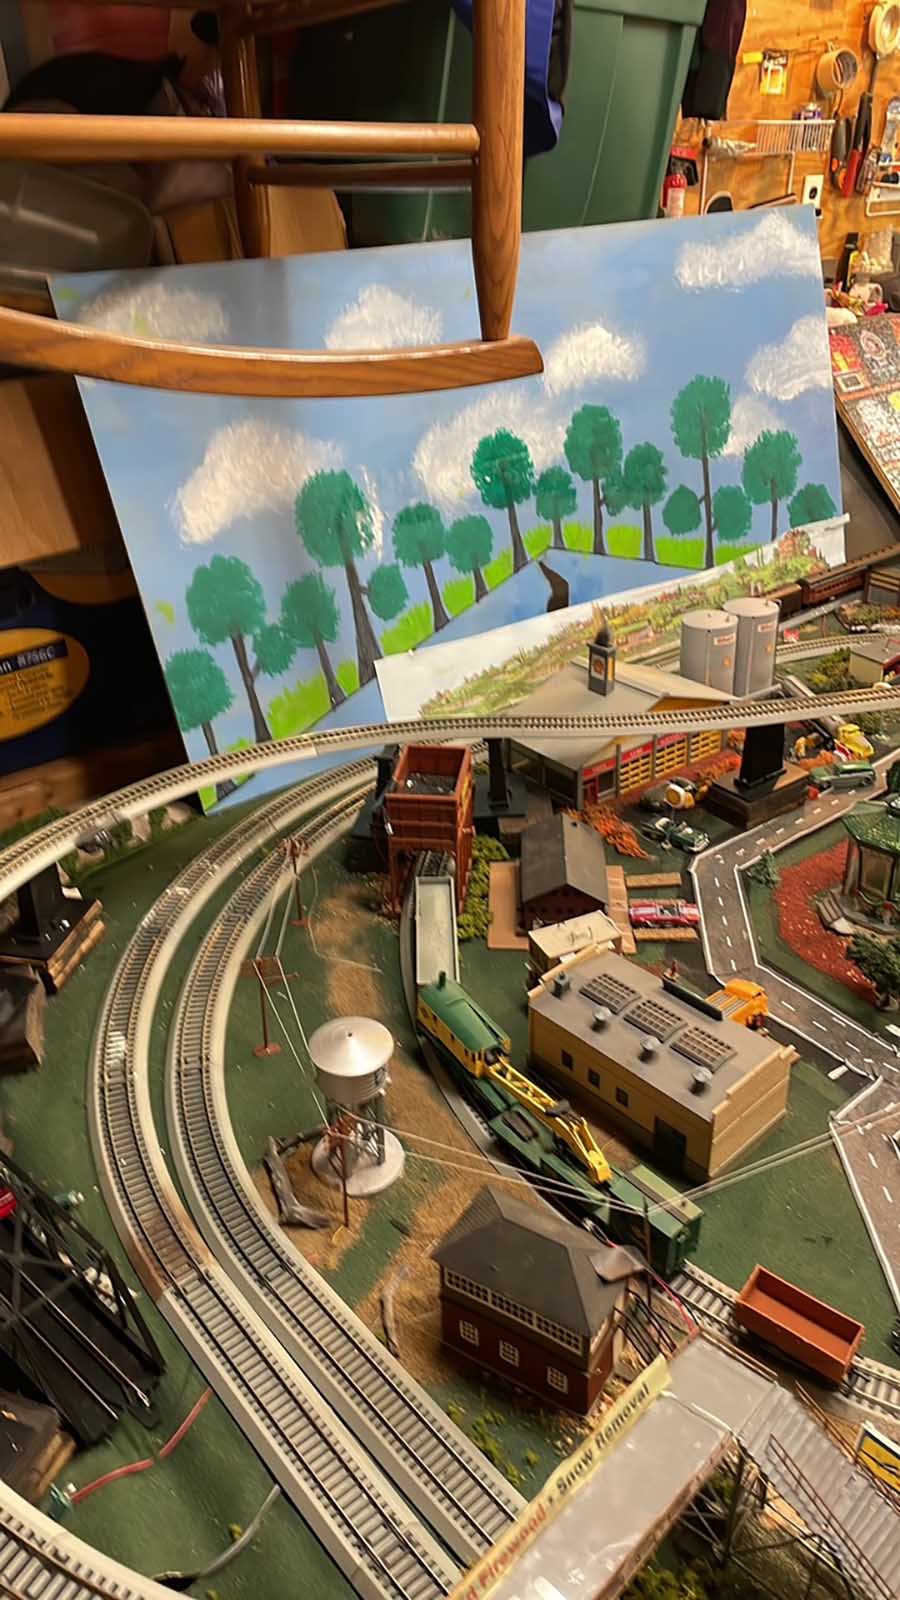
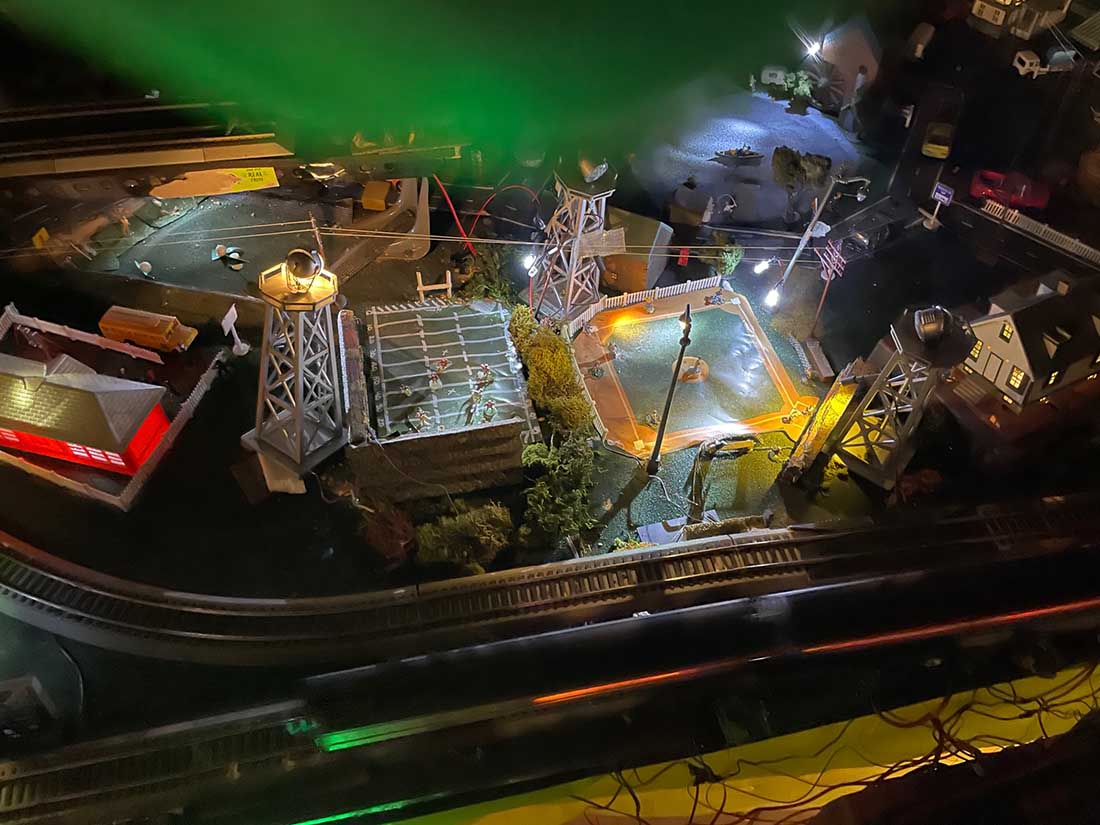
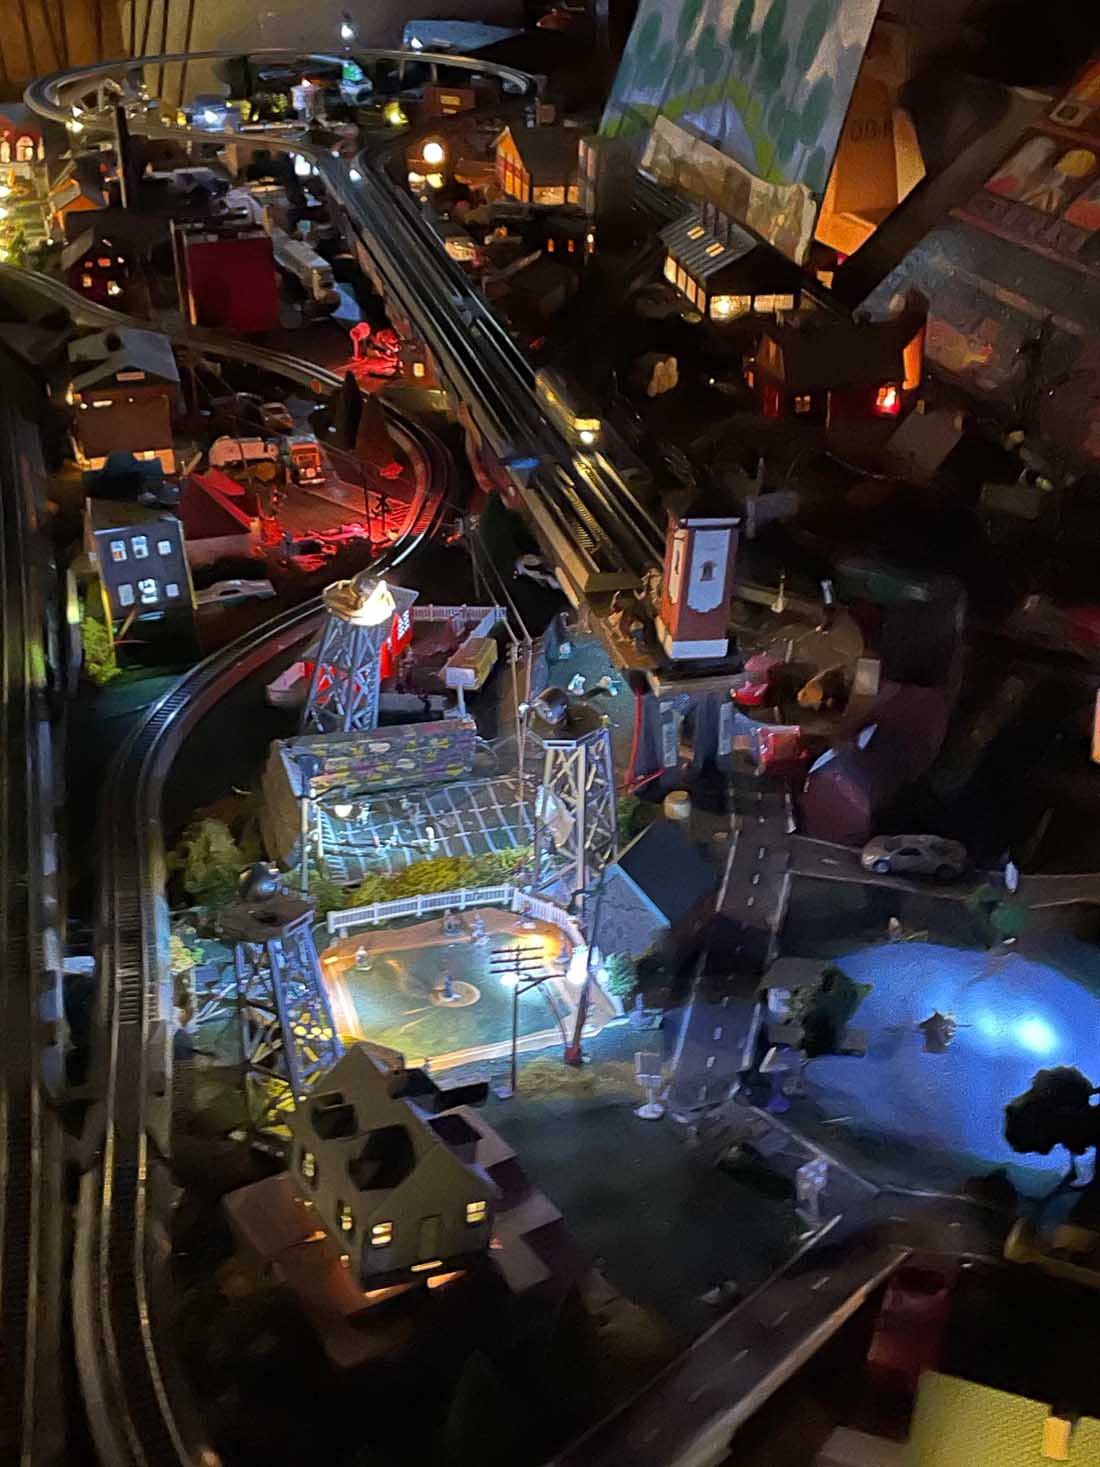
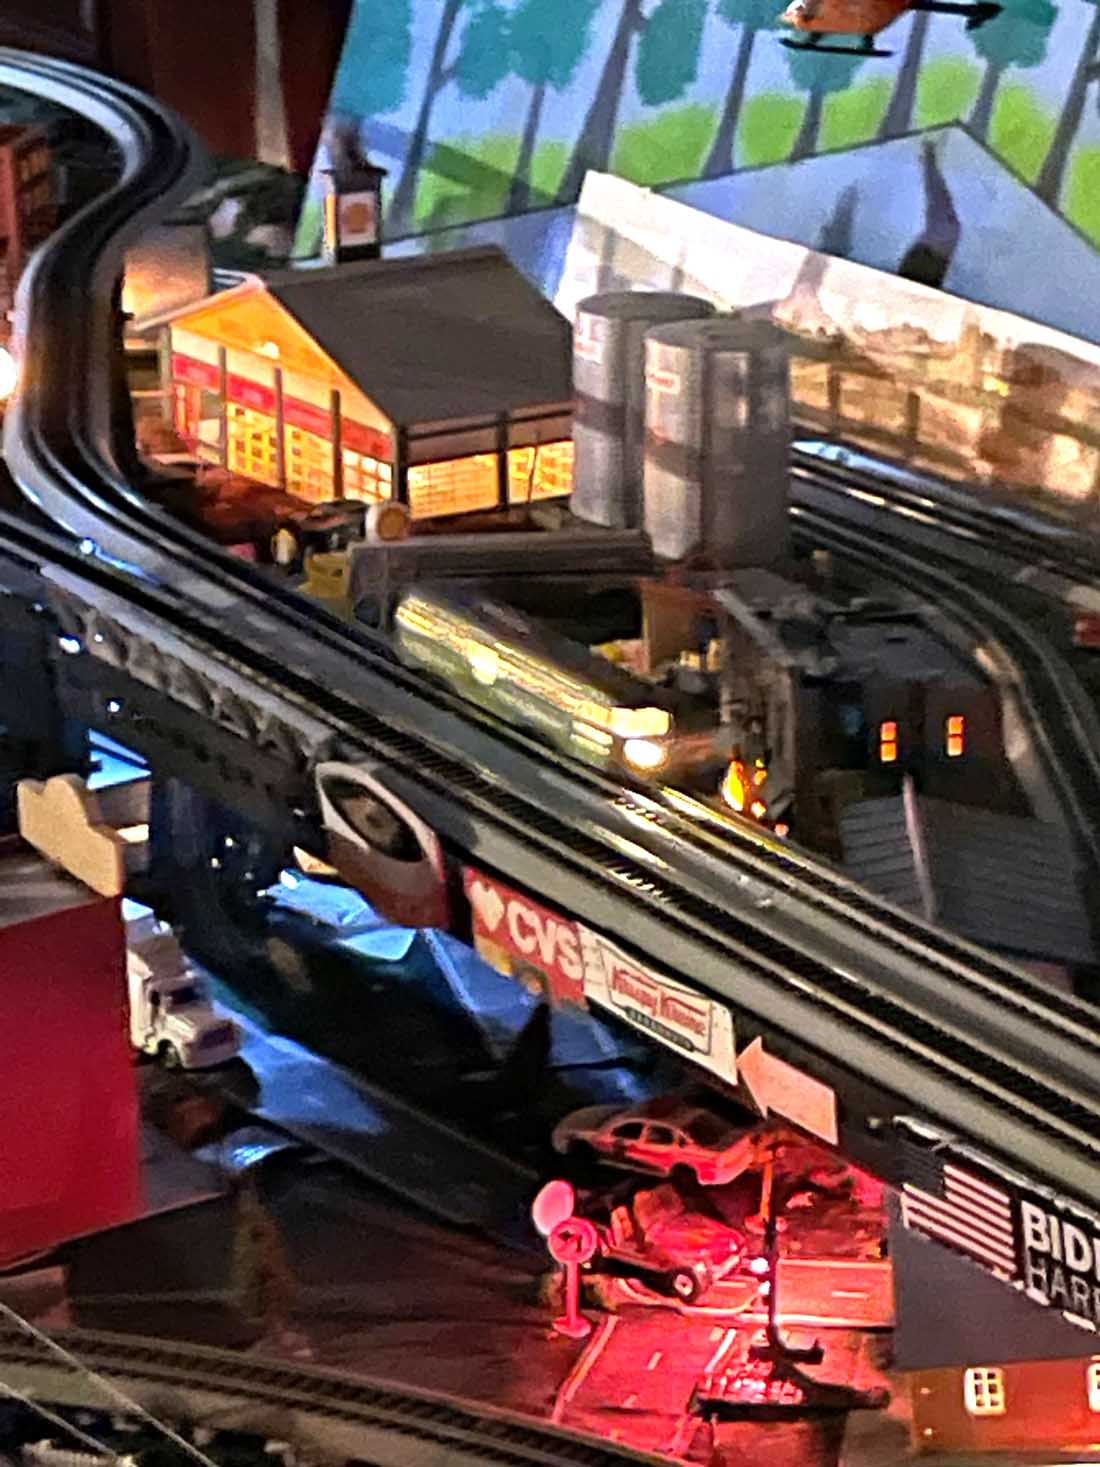
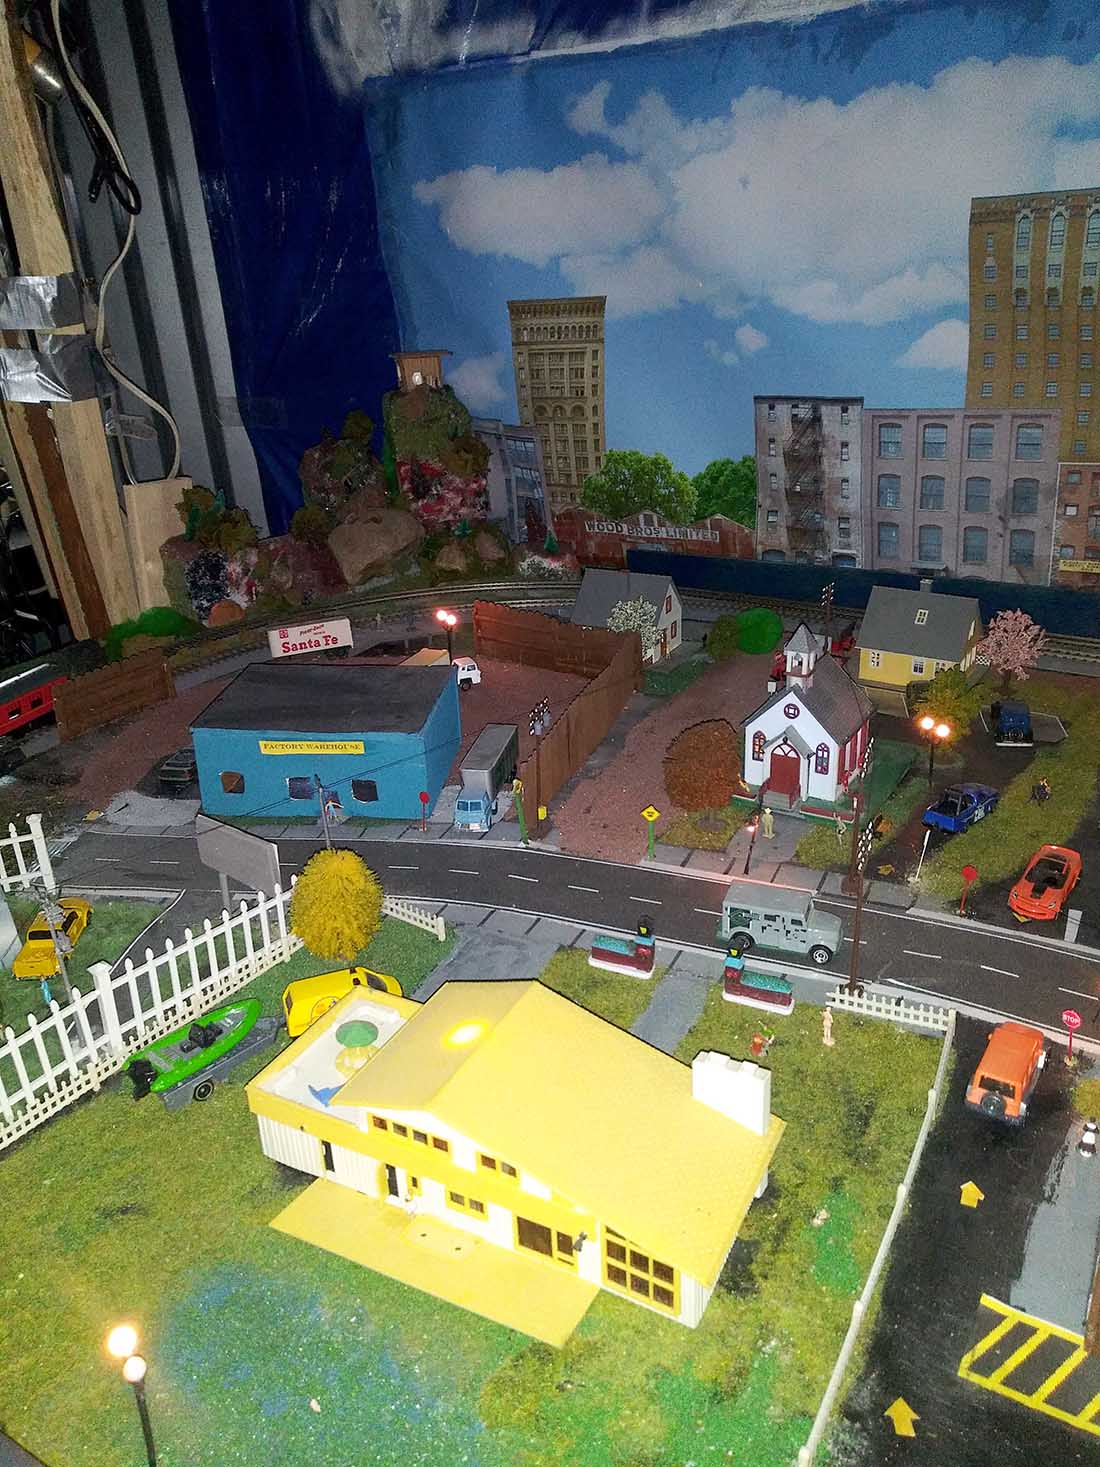
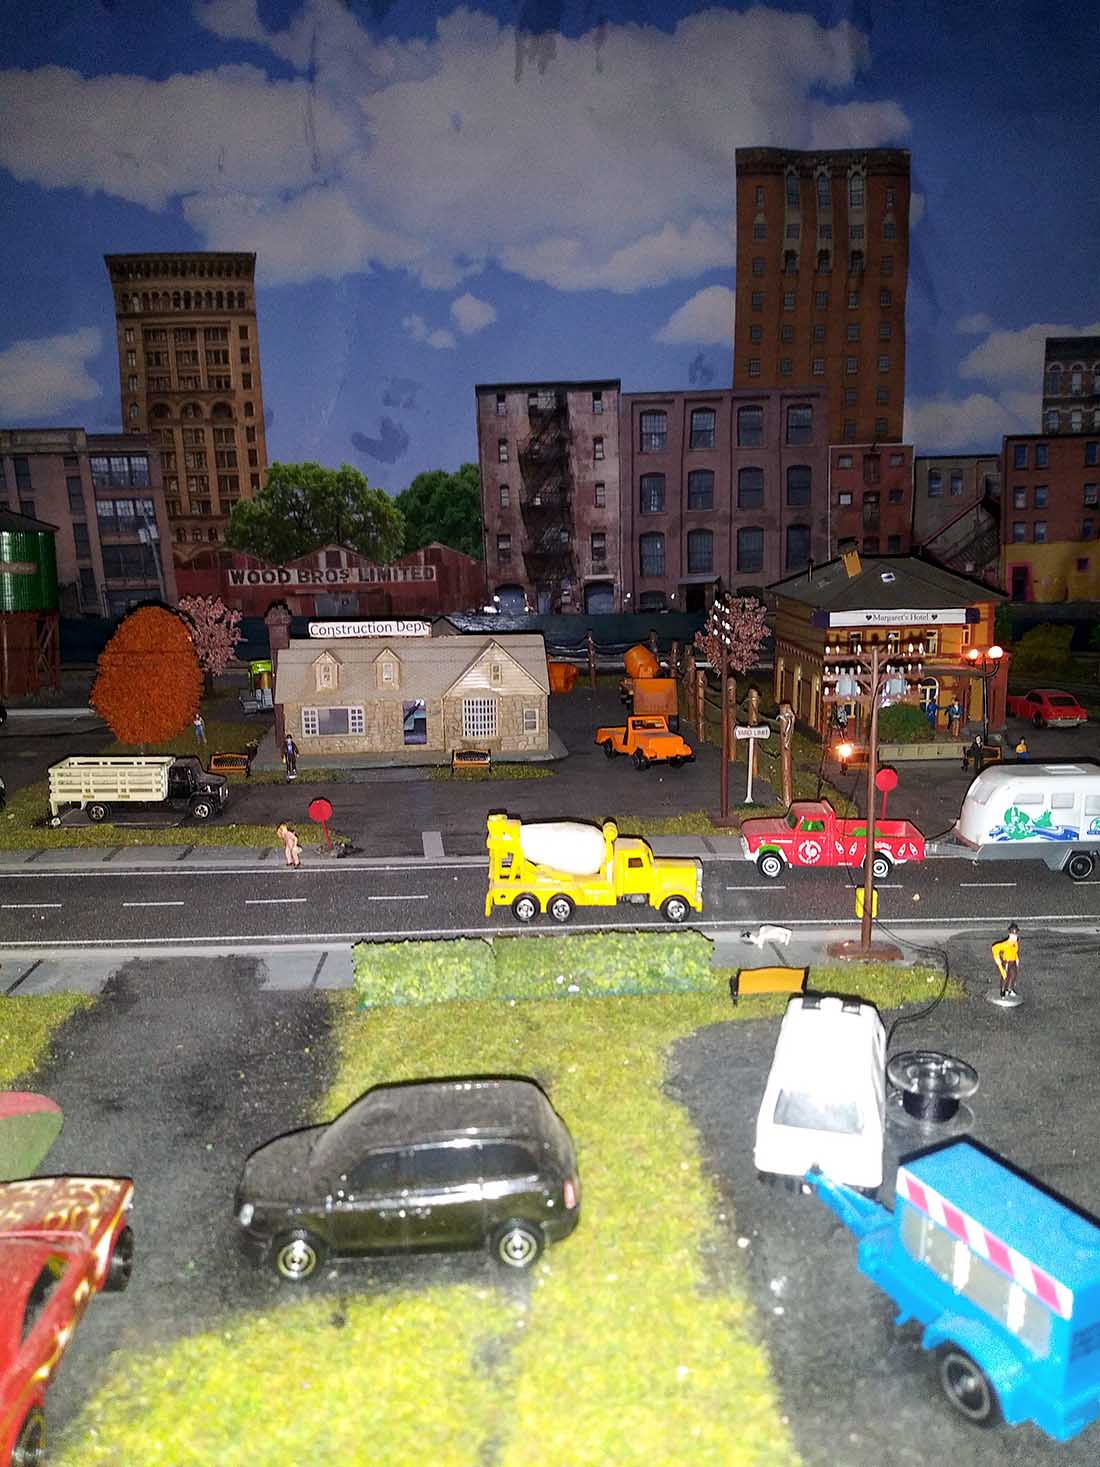
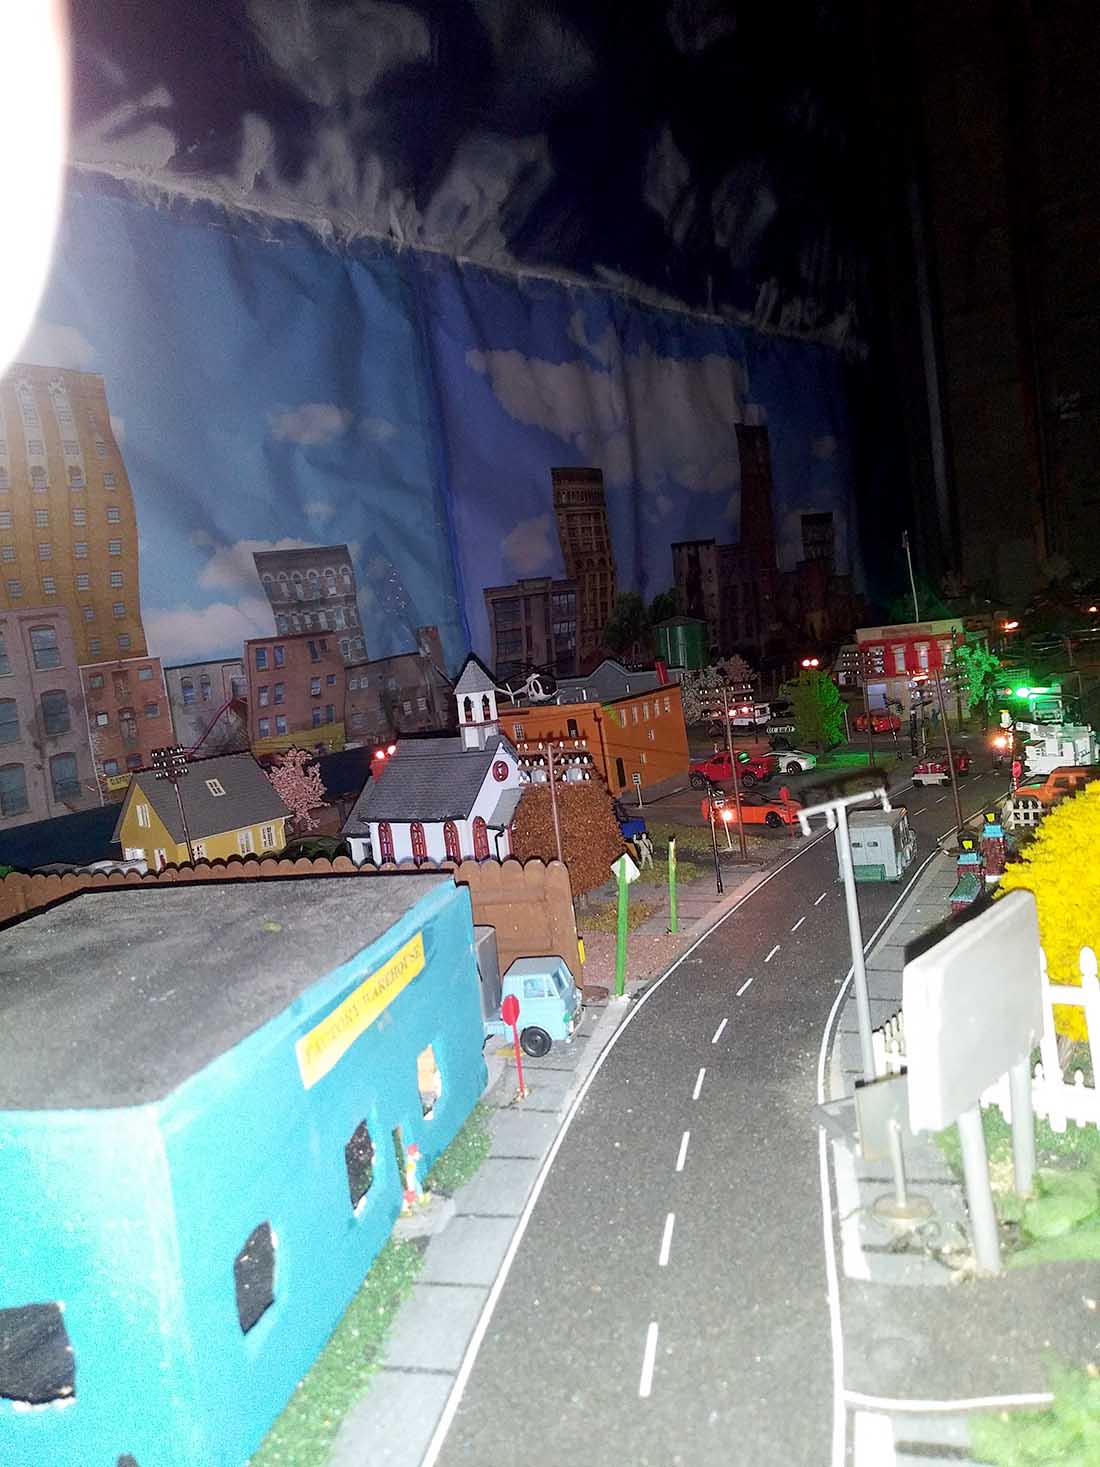
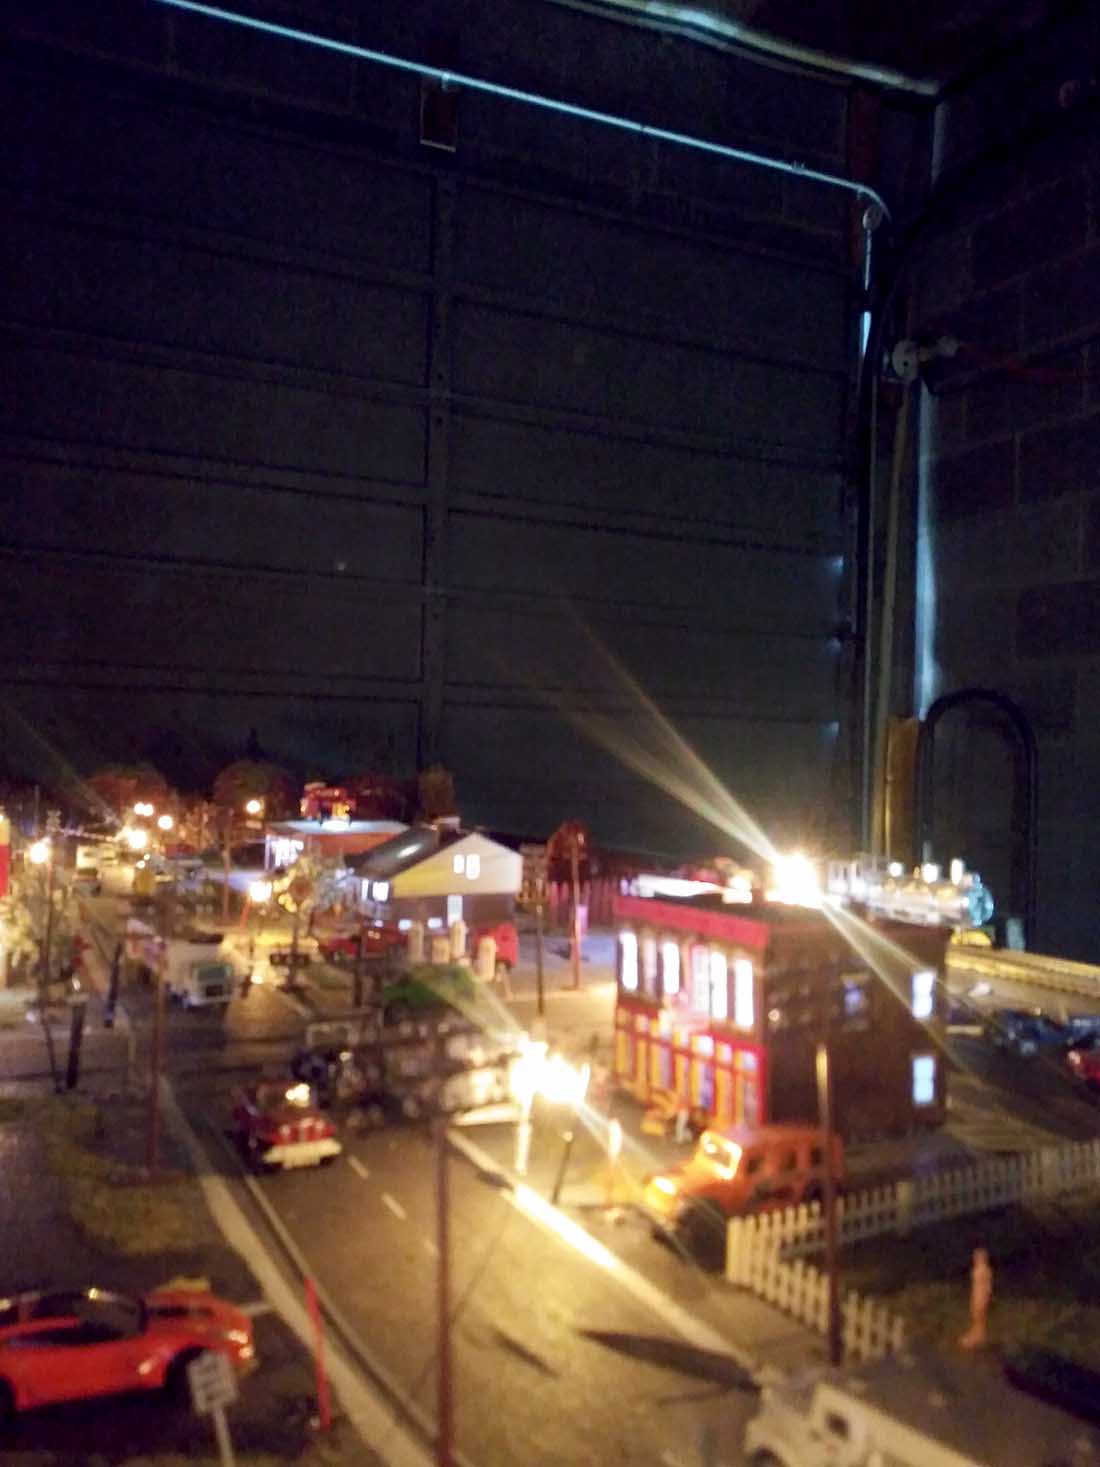
Spent two years during the pandemic and fighting an incurable cancer and my amateur train platform doesn’t come close to the professional looking job that others have posted but thought, what the heck, here are some evening pics of my platform.
Denny”
Now on to Arnie:
“HI Al,
Arnie here from across the pond in hot sunny Florida working on starting again on a layout.
Fell 2 yrs ago and broke my femur and using a walker. Makes it hard to get close to the table. Anyway decided to downsize from 60 x 72 to 30 x 72 and work on a new layout.
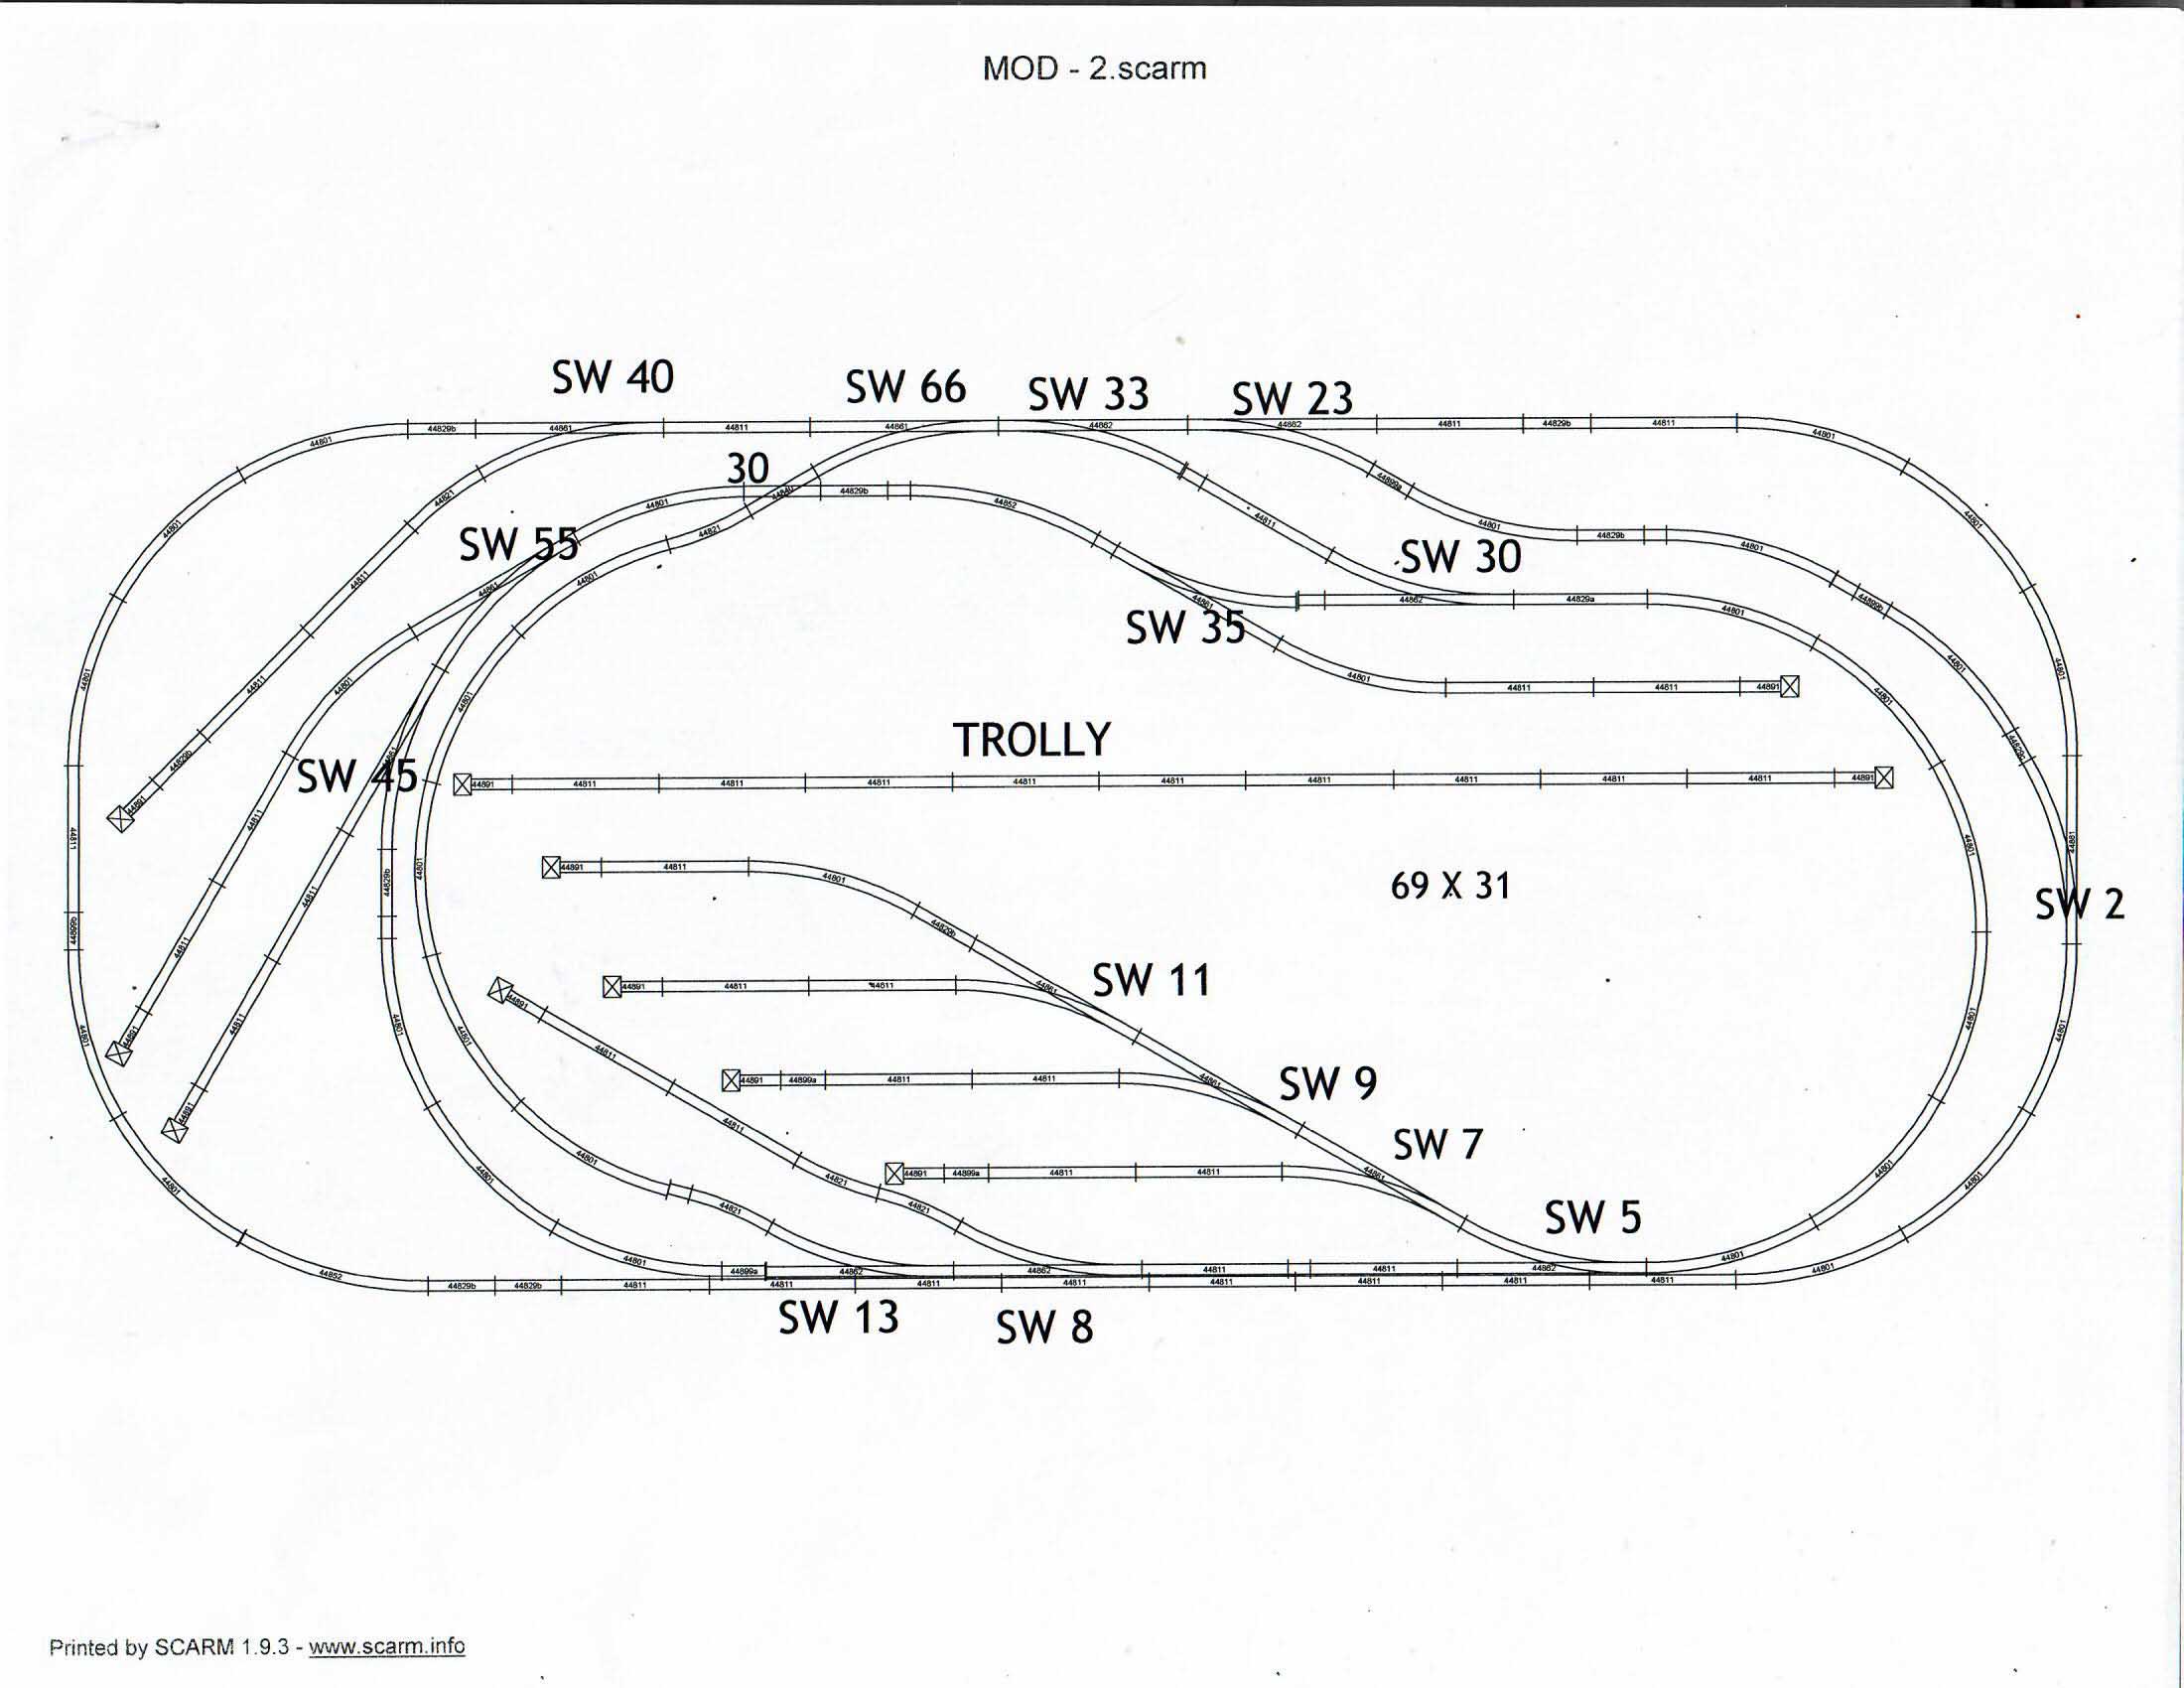
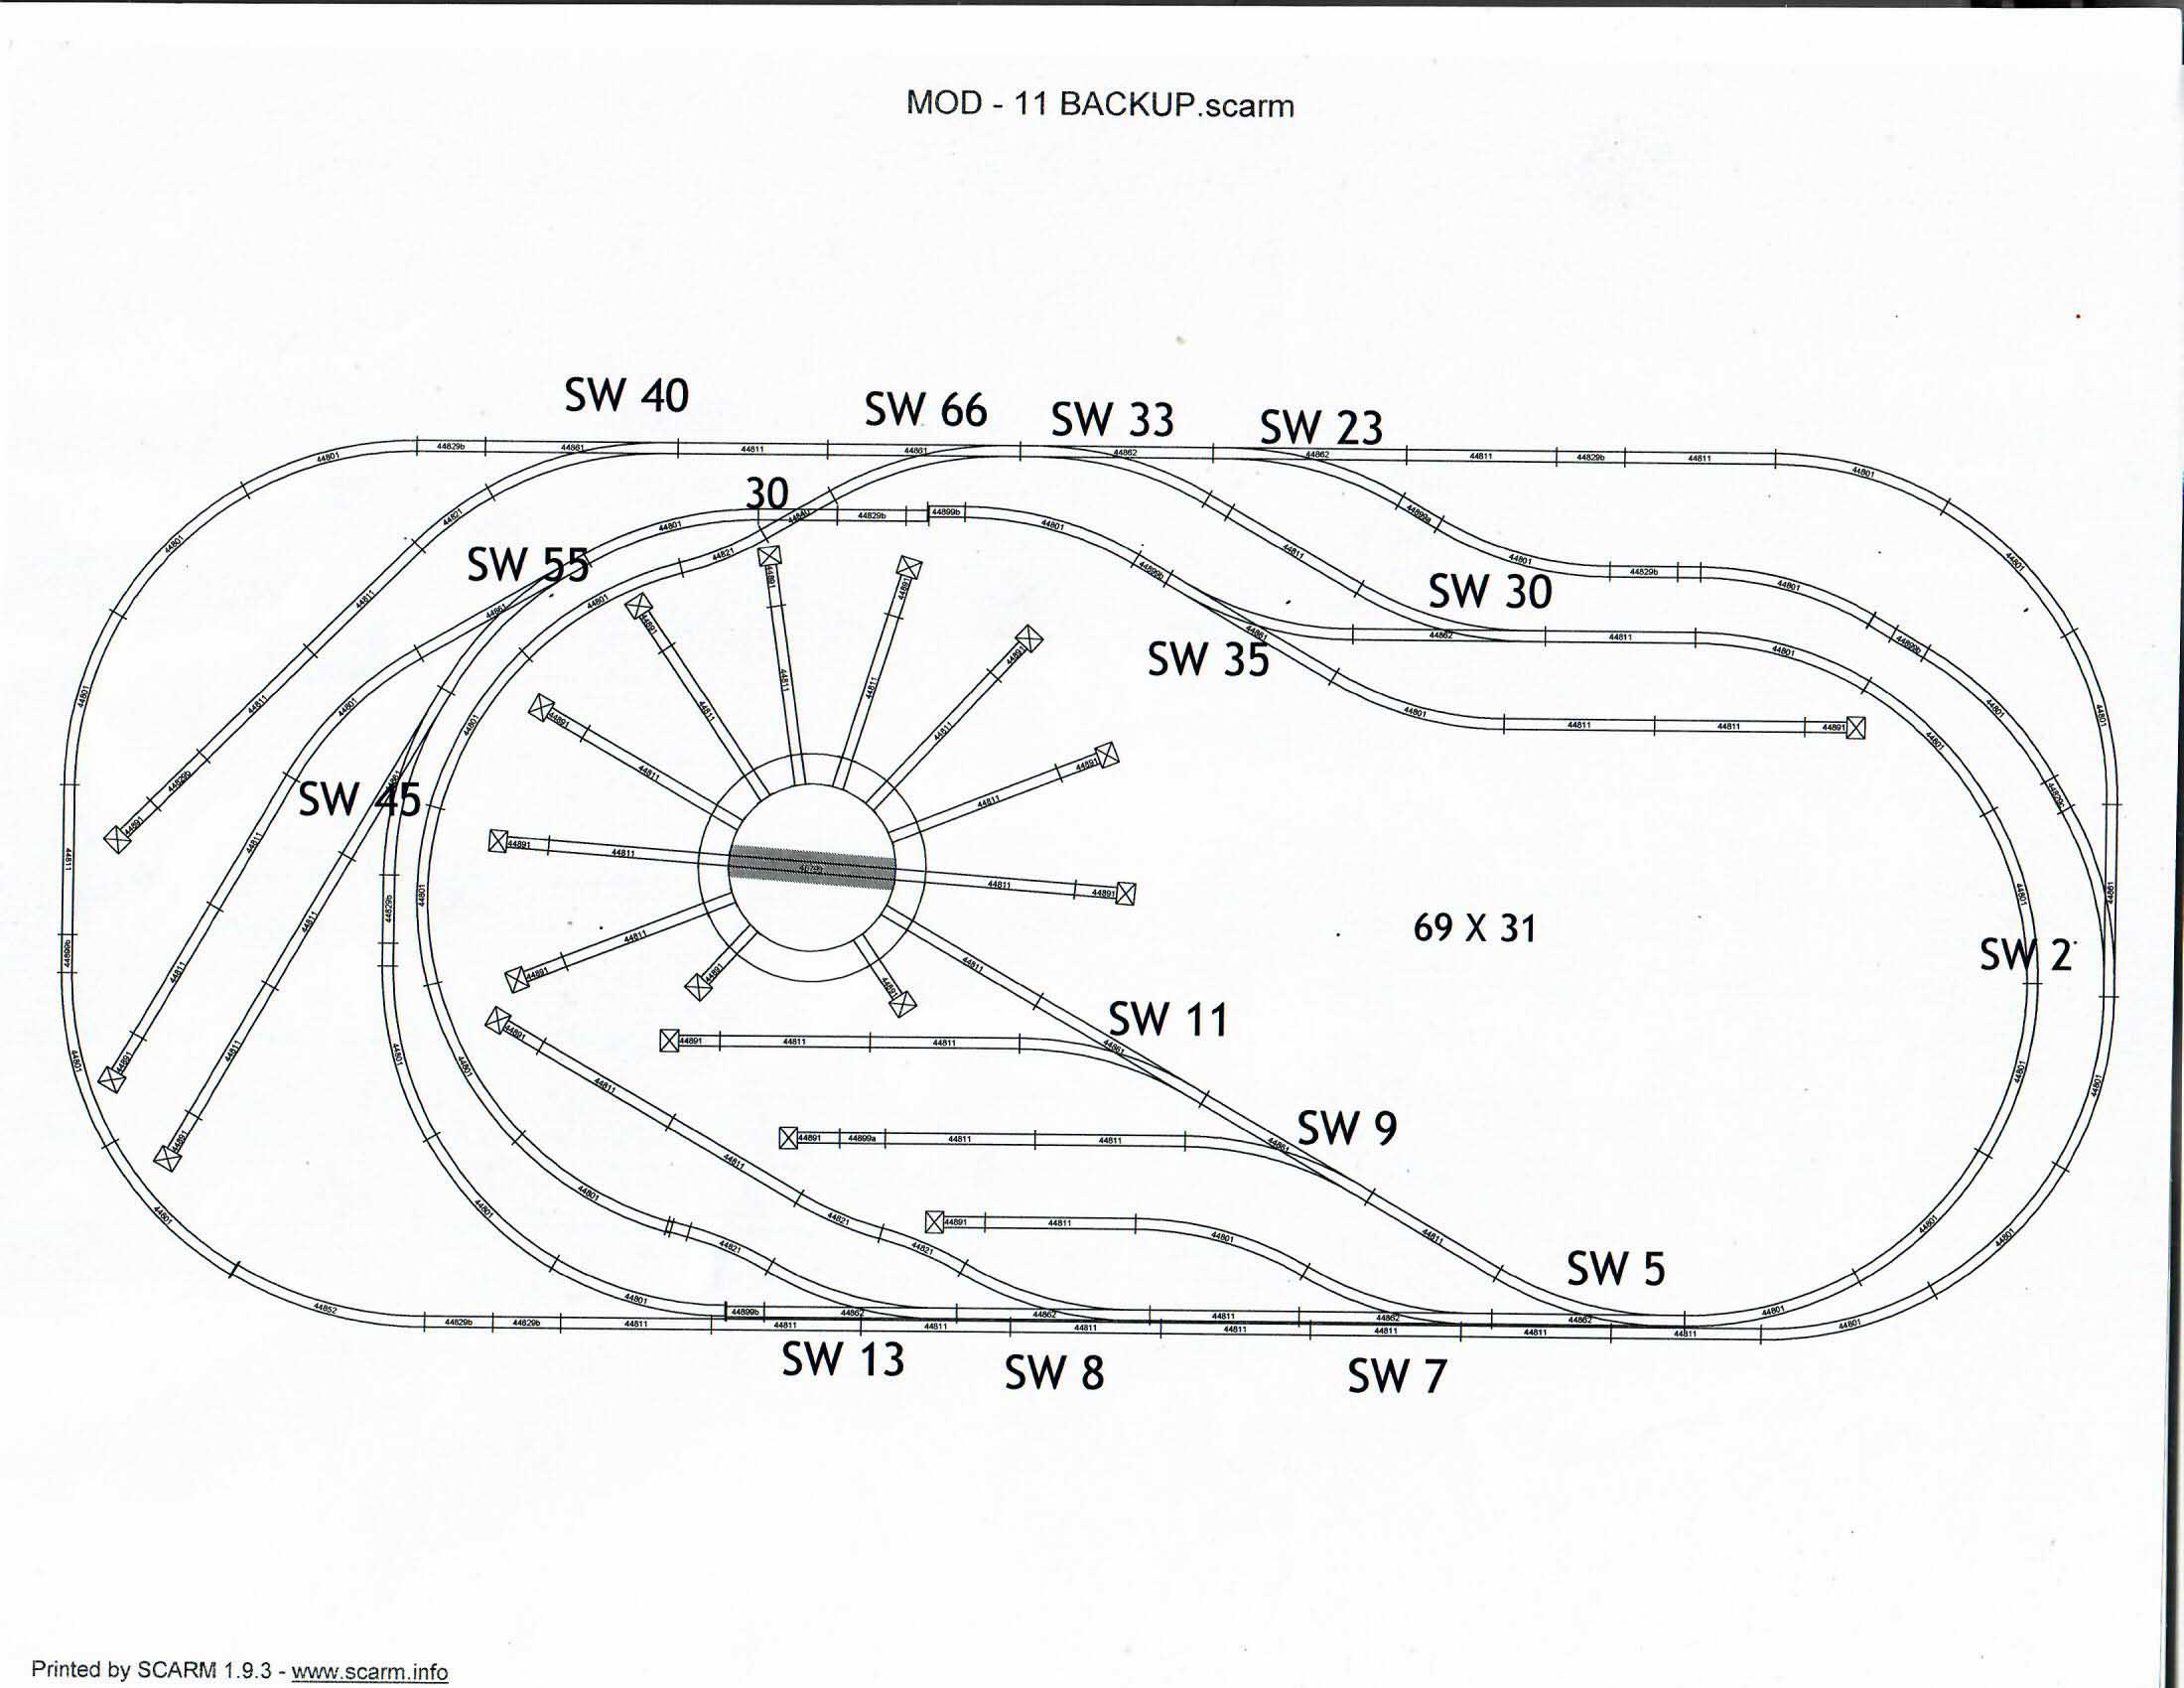
Enclosed is a copy of the plans with pictures to come in the future.
The layout is done on SCARM and is 69×31.
Have several different routes on the layout and can go from the outer to the inner and back again. The table is 30 x 72. I have foam on it and it extends the table a bit.
The track is Bachmann N scale e-z track and it has 15 points of which several move depending on the path of the trains. We can run two trains around and switch them back and forth between routes.
Based on no era I decided to just put it together. The switches are wired and powered up and the engines do run over the layout over different routes.
The control is Digitrax DCC.
I want to thank you and all your readers for being there and sharing tips and tricks for your blog.
I do belong to a club in the community I live in and we run both N and HO scale.
Please keep up the good work as I look forward to your blog each morning as I read my E-Mails.
Attached are two different versions of the layout. I haven’t decided which way to go yet. Maybe your readers can help.
Arnie”
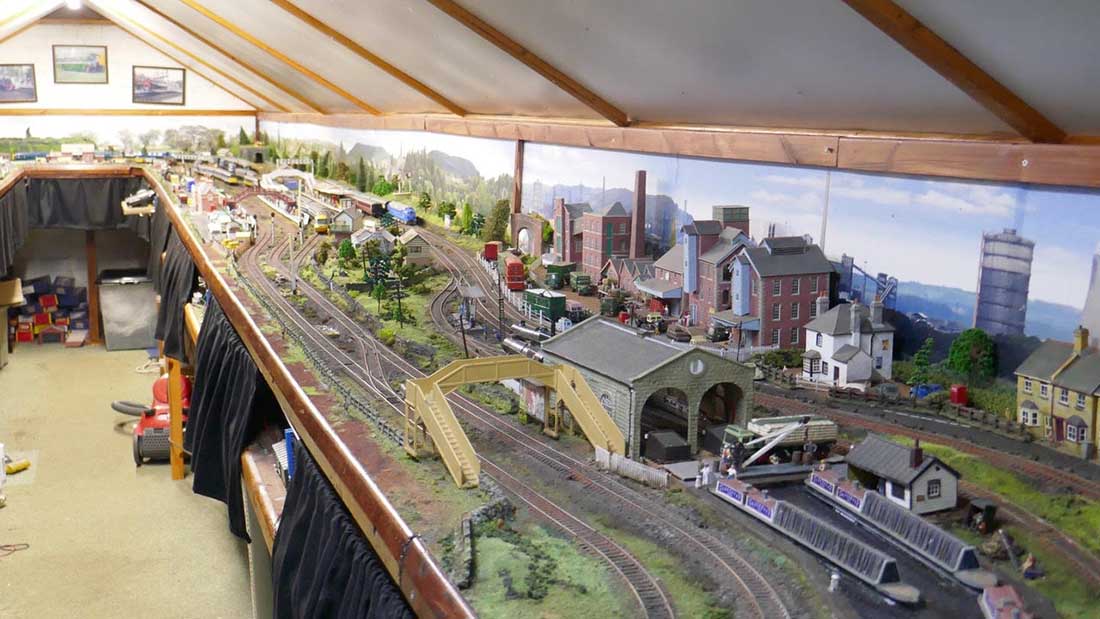
“Hi Al..
just a short video showing my 2 Pullmans, The blue Pullman has being doing the rounds in Uk lately…
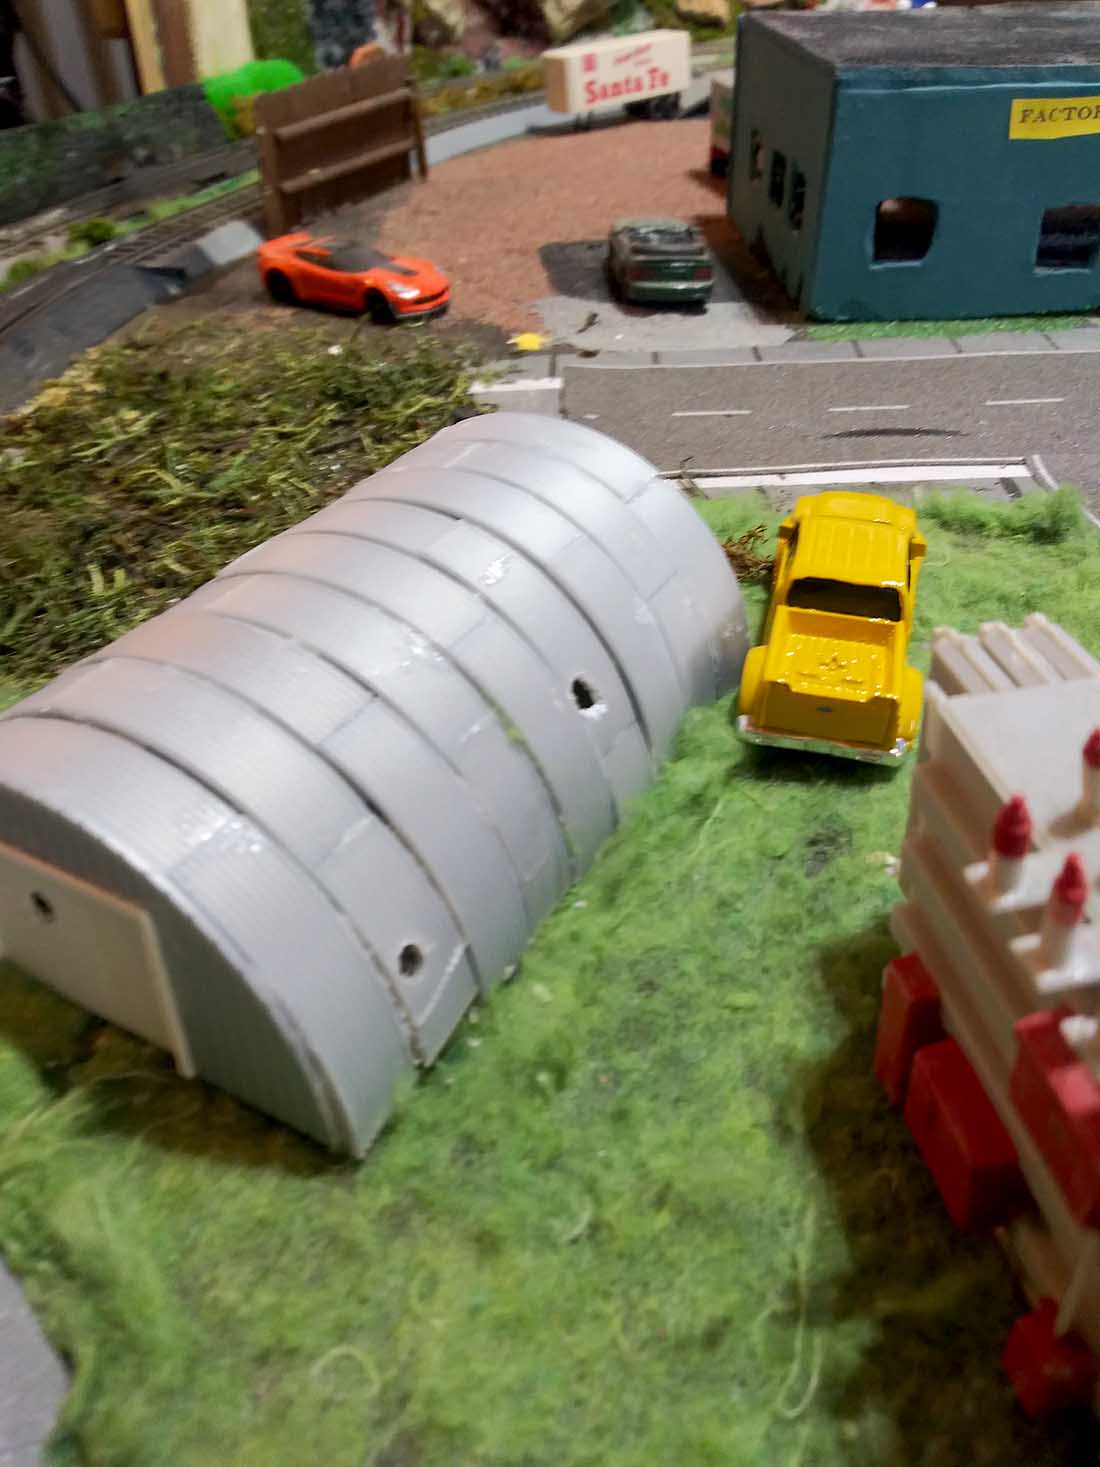
This is a short follow-up to my last video on tuning up my freight cars.
In the earlier video I admitted that I couldn’t adjust the weight of my 3-dome tank car because I couldn’t think of a way to add weights.
There was a good response in your blog with several suggestions from your readers. One reader suggested I pour sand through the small holes in the bottom. Another idea was to add something like epoxy then let it set.
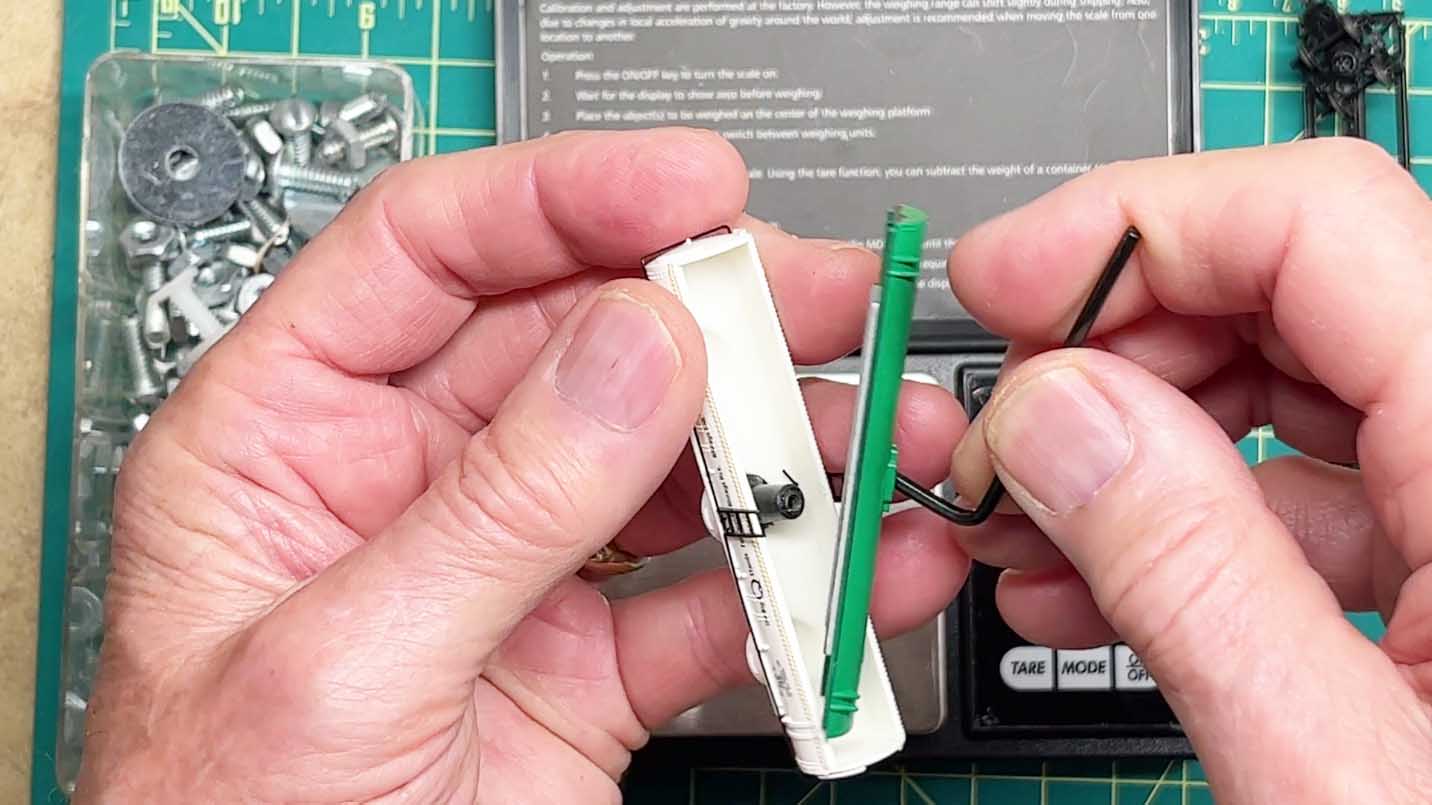
But a couple of modelers pointed out that it was easy to pry apart the two parts of the body of the car.
With a little trial, I found it was indeed easy using a small Allen Wrench as you can see.
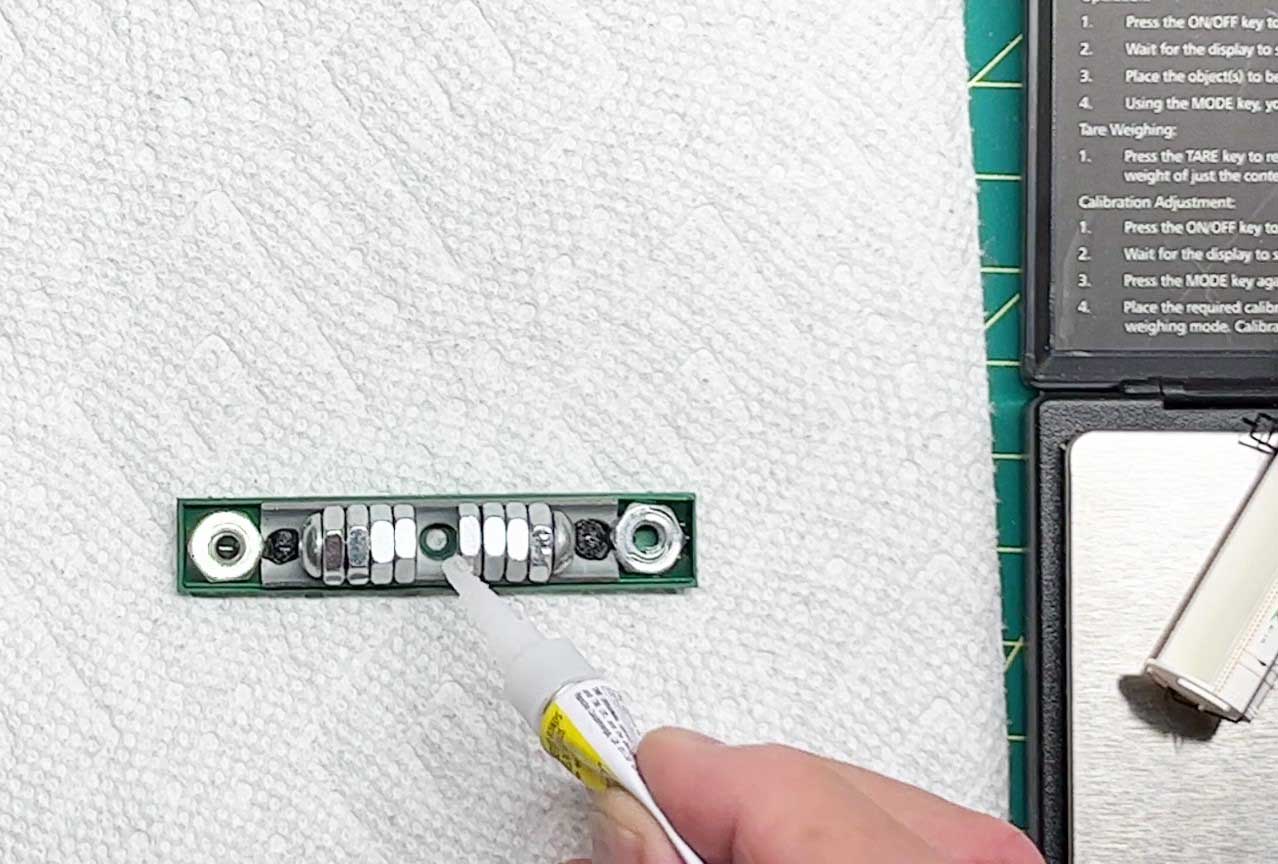
After that, there was no problem with adding weights, although I used smaller (10-24) nuts and bolts than before.
A little Super Glue and Bob’s your uncle.
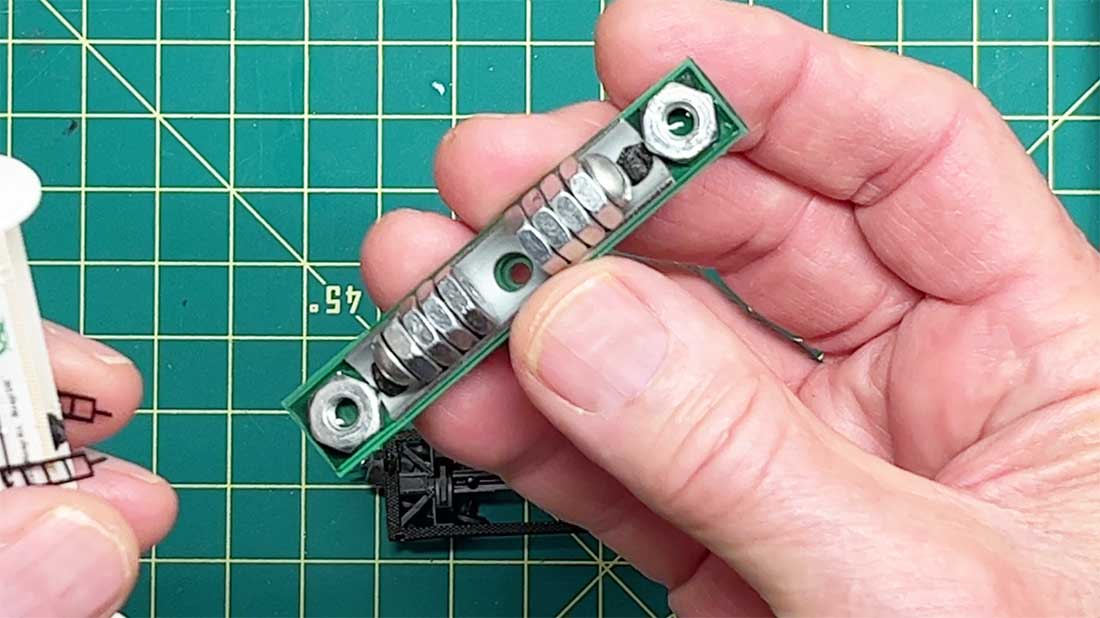
After the Super Glue set, the final assembly looked like this, and it was easy to put the car back together again.
I’ve put out a video that shows the assembly in more detail and a 5-car train running with the tank car in the middle.
Before adding weights, I could never include the tank car except at the very back of the train.
Hope this is of interest to others,
cheers and thanks,
Dean”
A big thanks to Dean. When it comes to freight, I’m always reminded of Jim’s: N scale freight.
Now on to Craig:
“Greetings,
Enjoy seeing and learning from all the railway layouts that get published here..Am enclosing a few snaps of my own…
Had some Lionel as a boy, now retired and am busy modeling after the Duluth Mesabi + Iron Range railroad here in Northern Minnesota.
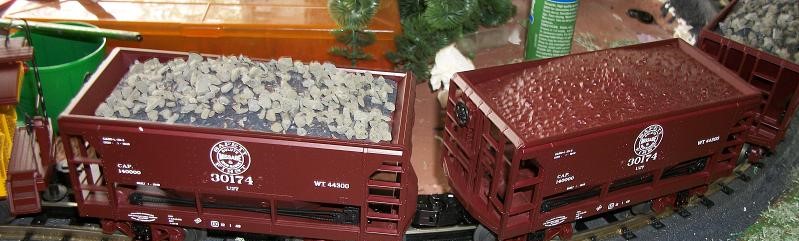
I ply this hobby in O-Gauge, easiest for me to handle. Rolling stock 90% MTH, with some Williams and Lionel. The O size is, as we know, quite a space challenge. Design becomes critical; achieving realism definitely requires an effort.
I use GarGraves trackage, wood ties. Rust colored paint sprayed on rails sections before installation; as well as black spray paint misted on from overhead to color ties. After installed, top of rails clean to a shine with sanding block.
Ballast is actually small size chicken grit, which starts out a reddish color. I soak it in water with a little black paint dissolved, and it comes out a great shade of dull brownish-black.. then spread it out, spray w 50-50 mix of white glue and water. Stays, and no dust.
The MTH ore cars are exact replicas, but the phony plastic loads need help. After coating the load with some white glue/water mix, I sprinkle some real material on them. I use real Taconite that has been screened thru to the right size.So that’s 100% realism!
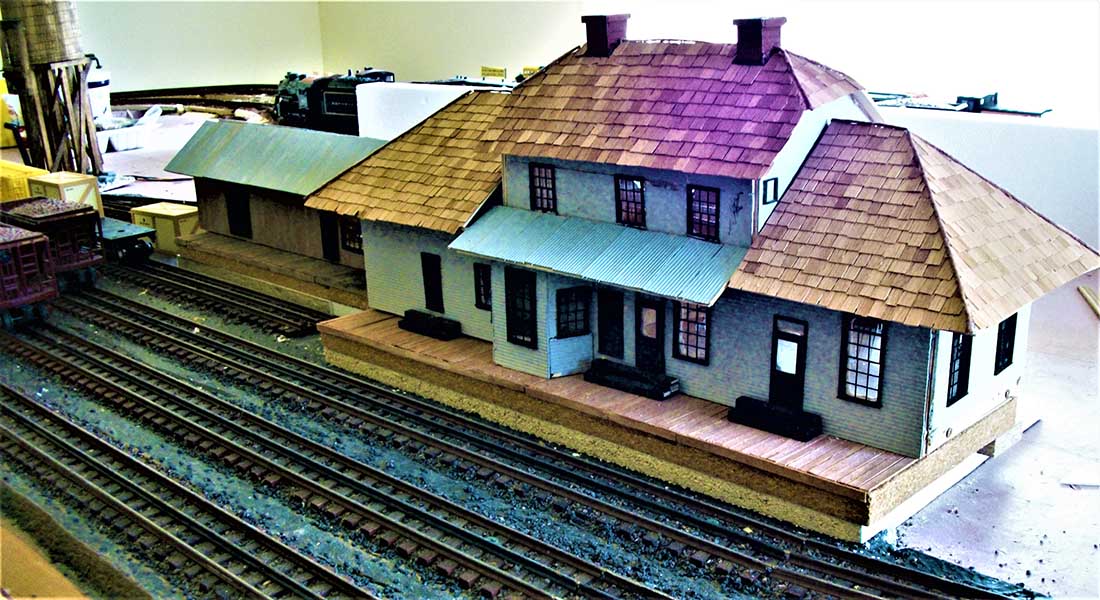
I live in Ely, Minnesota, where the iron ore mines have been supplying hi quality ore for over 100 years. Both surface (pit) mining and underground mining supplied much of the ore used to produce the steel needed for WW1 and WW2. The heart of it all here is the Ely Depot- and so the Depot is the scene for the heart of this layout.
The original building still stands, but the rails have been removed and the building repurposed since the 1980’s.
I researched with old newspaper photos, tax maps, and interviewed the few remaining that remember the way things were there in the 1940’s.
Found a set of architects drawings, and that added to personally measuring the dimensions, I built a model out of wood.
The roof design and angles took much time; the cedar shingles are actual cedar paper, individually cut to scale, and glued on. (over 1,000).
The platform is made of wooden coffee stirrers- at 1/4inch width, they are perfectly to scale for the 2 X 12 boards originally used. The window and door frames are the only premade pieces.
For window glass, I used microscope slide covers; little pieces of crystal clear glass, that look so much better than clear plastic.
Also needed to build a roundhouse- not really round, the square one here in Ely was actually for repairs of ore cars, which always took a beating. It housed a small “drop table”.
The ore cars were pushed over this small round lift, small enough the car body sat on it, and the trucks did not. Raising the body, they could drop off the trucks and service wheels, axles, etc. Built the structure out of wood, covered sides w plastic brick material, and then the roof.
Duplicated roll roofing by cutting lengths of black 180 grit wet or dry sandpaper. Looks Perfectly real.
He did a great job with his lights – but there’s only one layout I think of when it comes to LED lights: Fred’s LED lights.
And lastly, I do just want to say thank you to everyone who supported the blog by grabbing the Beginner’s Guide.
I know I lot of you buy it just for the printable buildings that come with, so I’m very much looking forward to seeing any of the buildings on your layouts soon.
Anyhow, without your support, there wouldn’t be a blog, so thank you.