Ron’s been in touch with his 11×14 HO scale – and Bob’s share’s an update too.
First up, Ron:
“Hello, I have been following your email posts for sometime.
I find your content fascinating and and just plain different because it offers content out of the massive model railroading main stream.
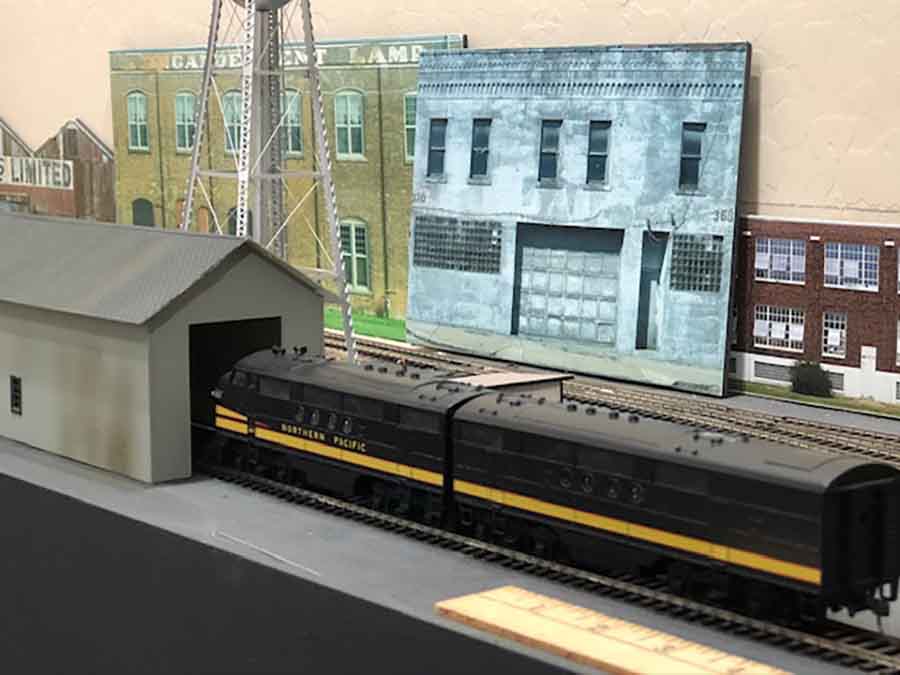
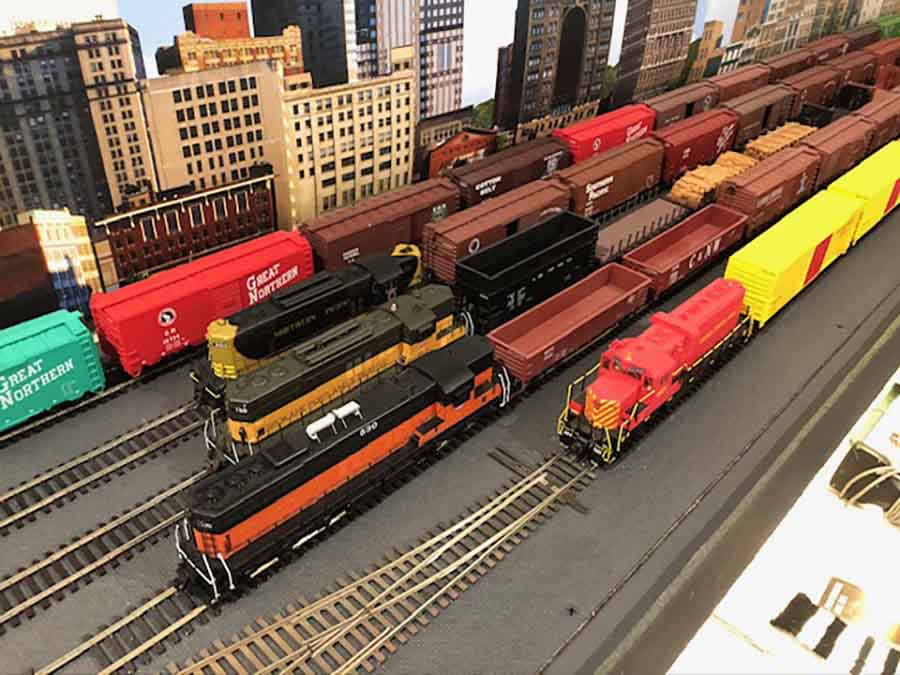
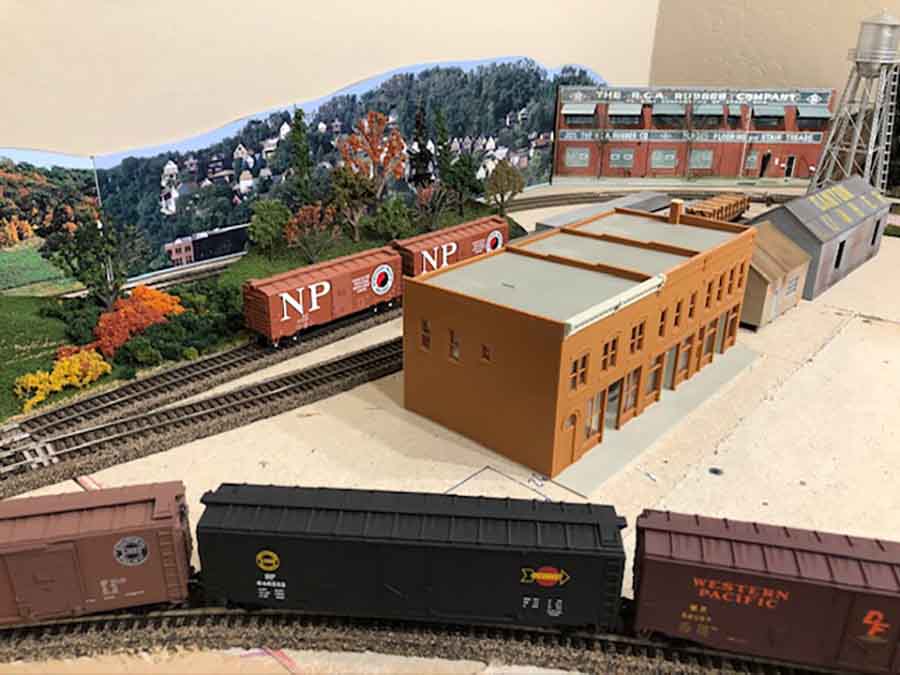
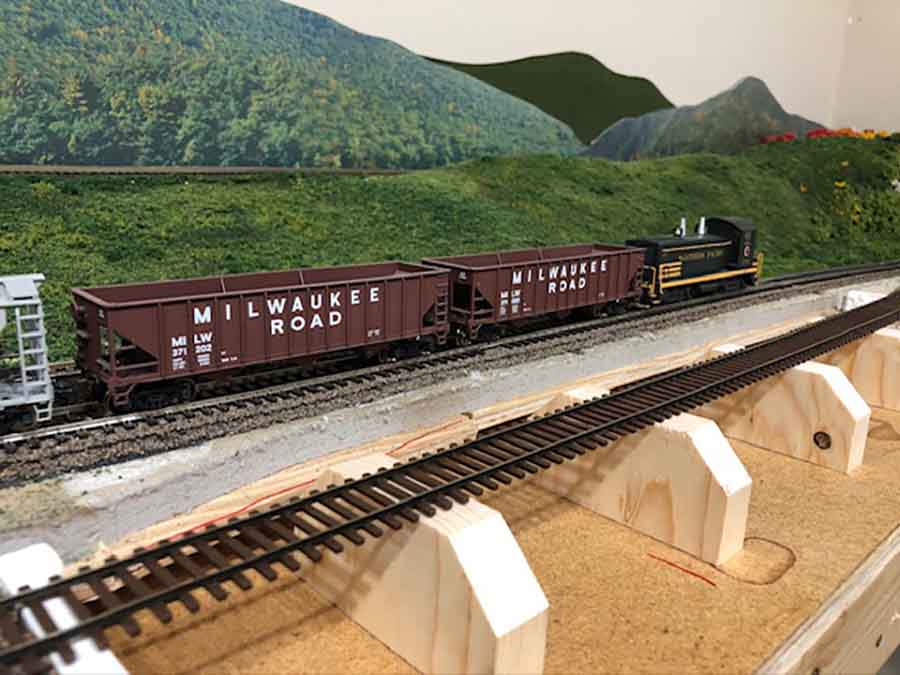
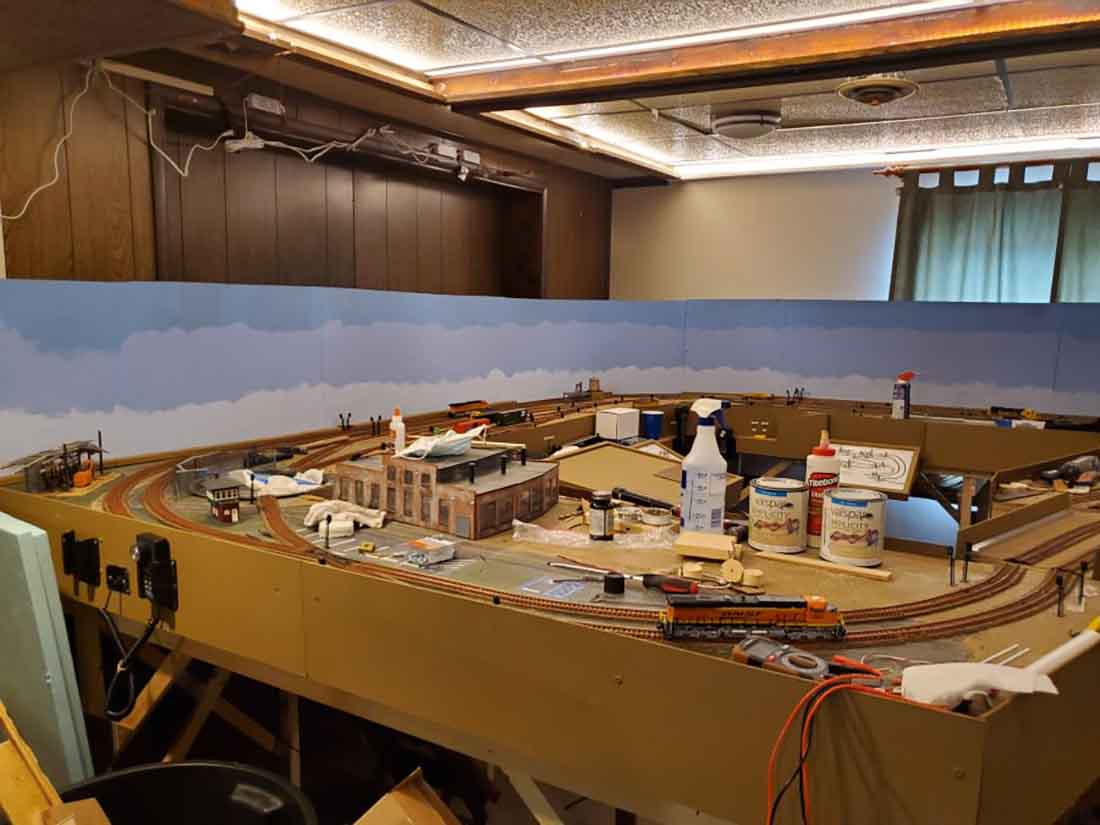
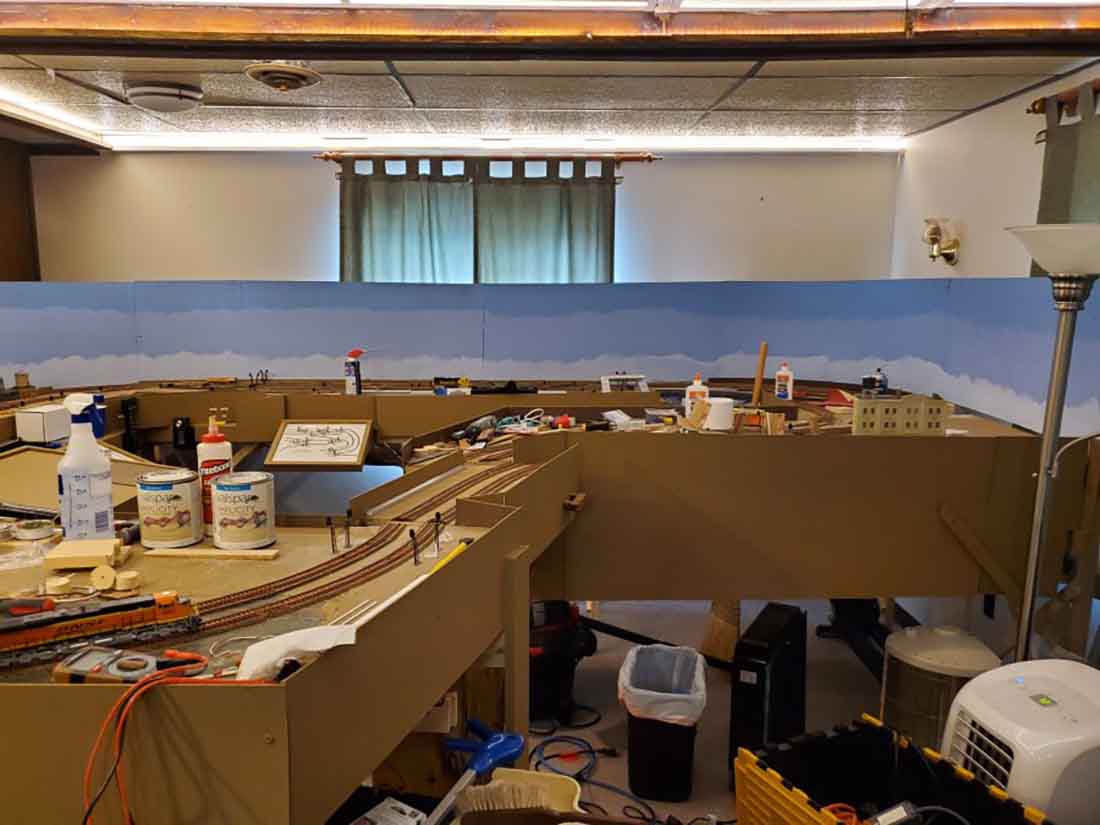
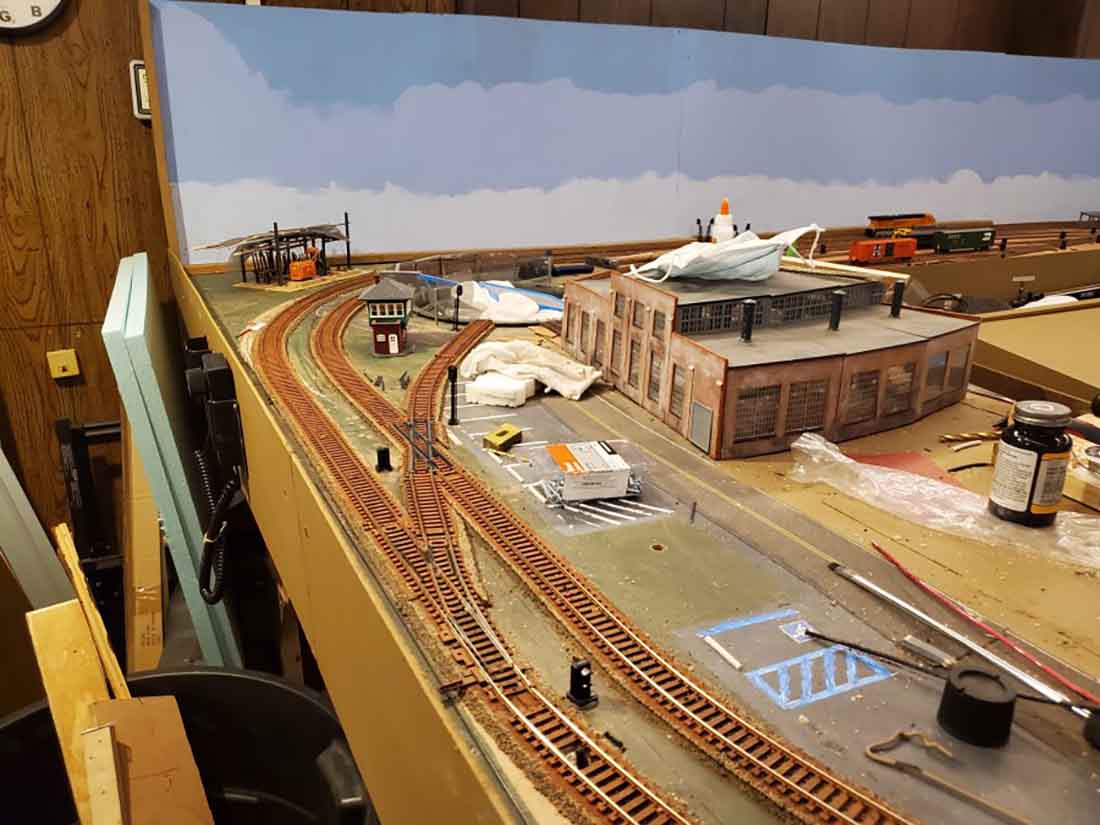
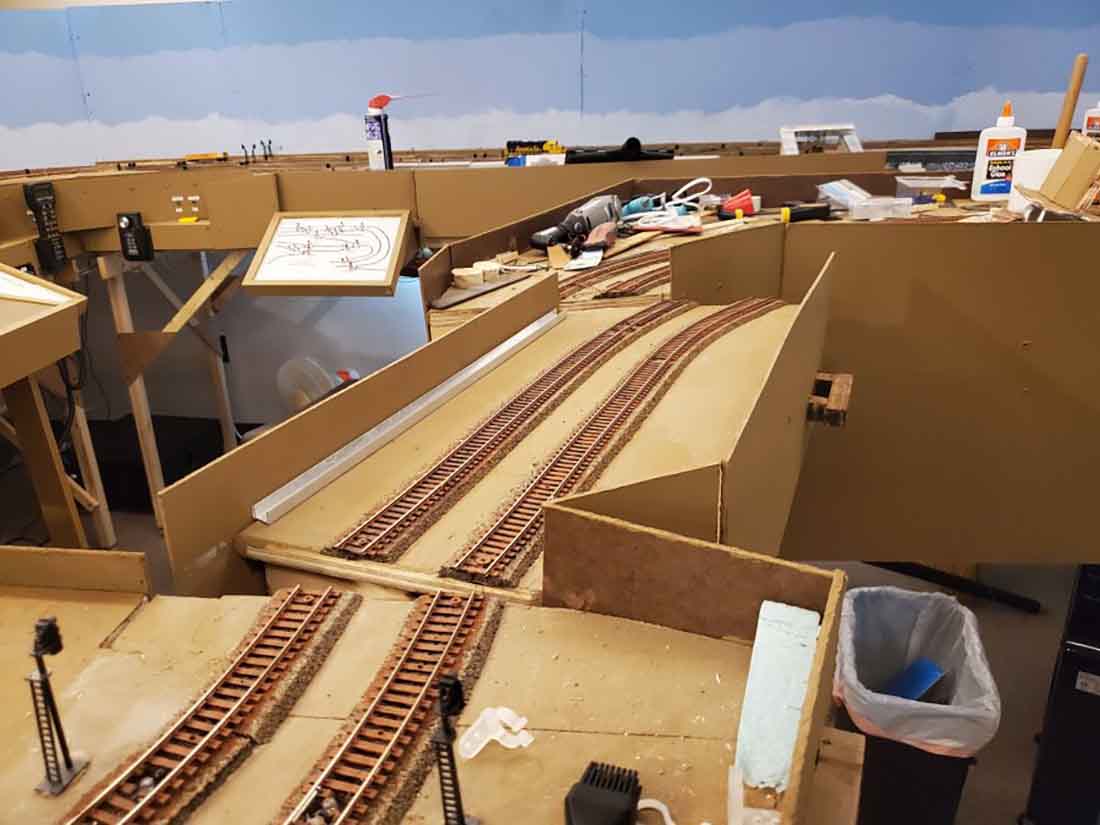
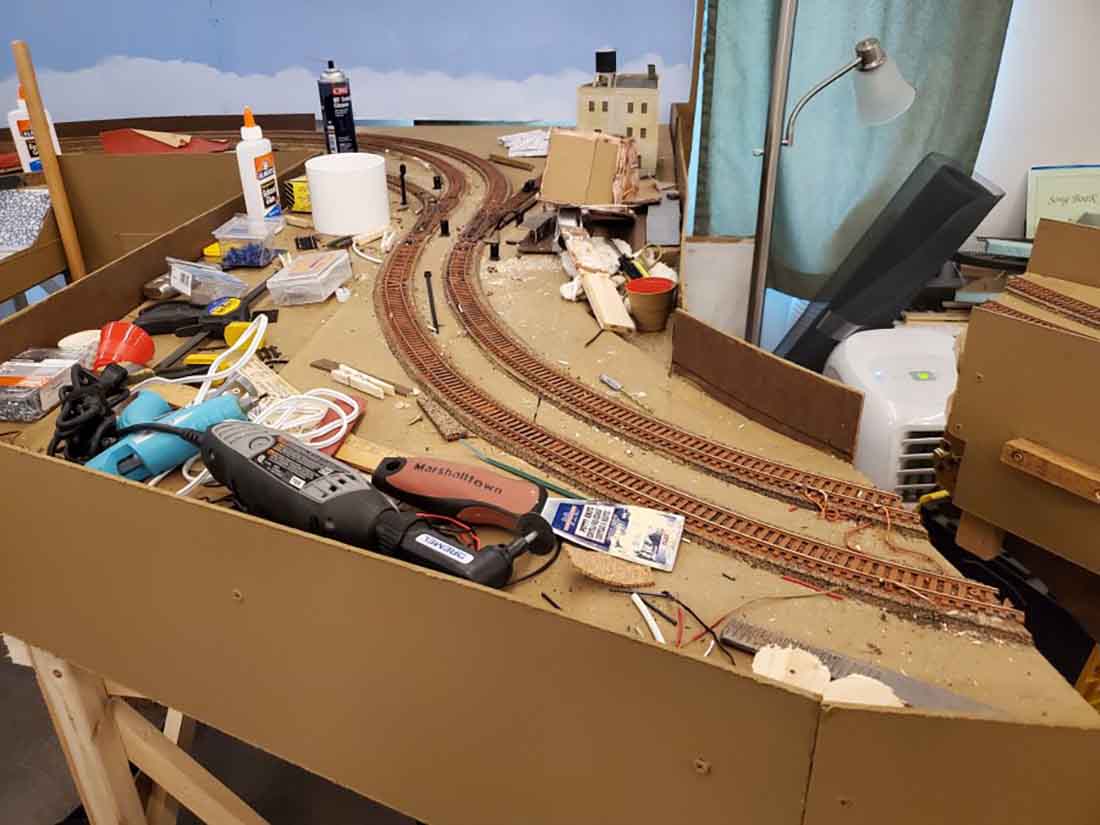
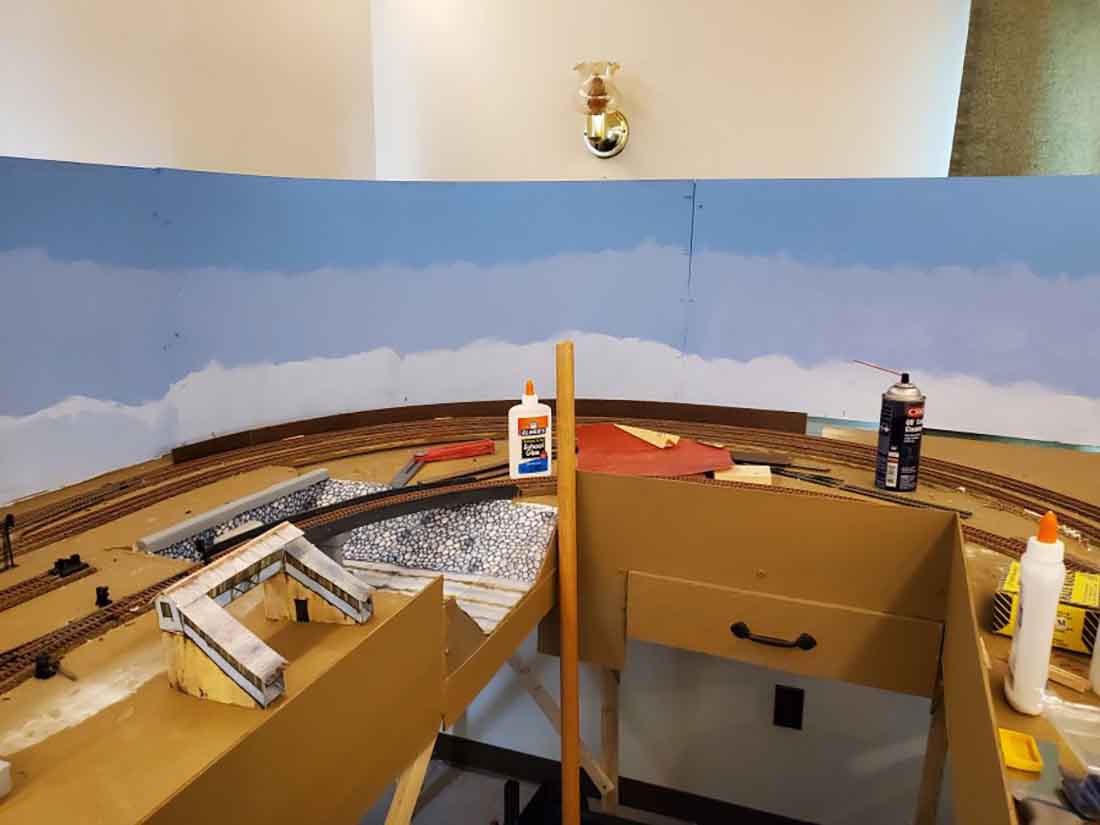
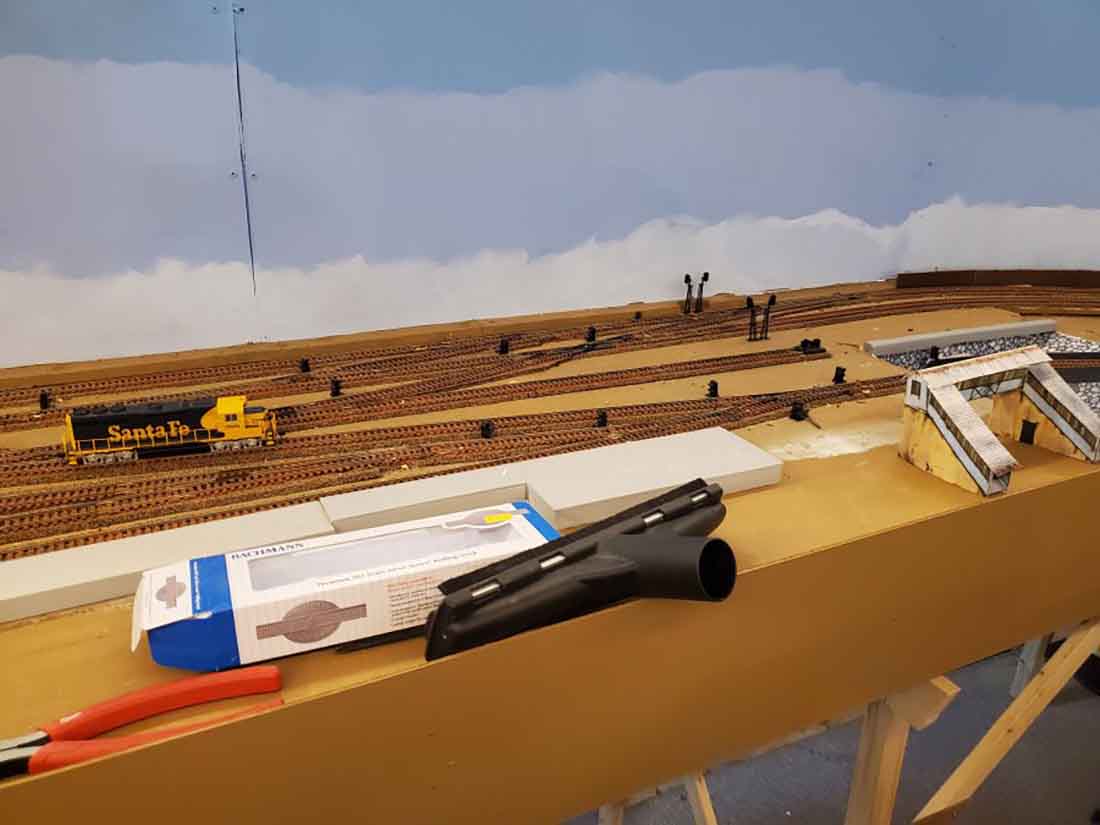
I have a small 11 x 14 layout. I would like to share with your readers.
It’s not very complicated, but it certainly is railroading in a small space. But generous enough for my current style of model railroading.
Simple dogbone with eclectic scenery. Learning along the way and just having fun running trains.
It’s a practice layout shall we say.
Here are a few images.
Ron”
A big thanks to Ron – now on to Bob:
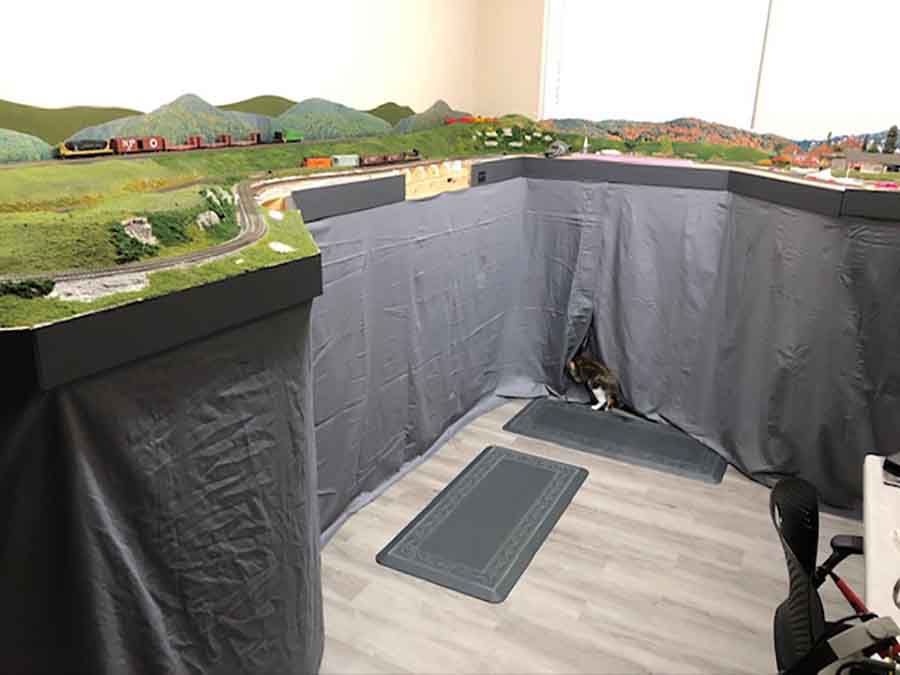
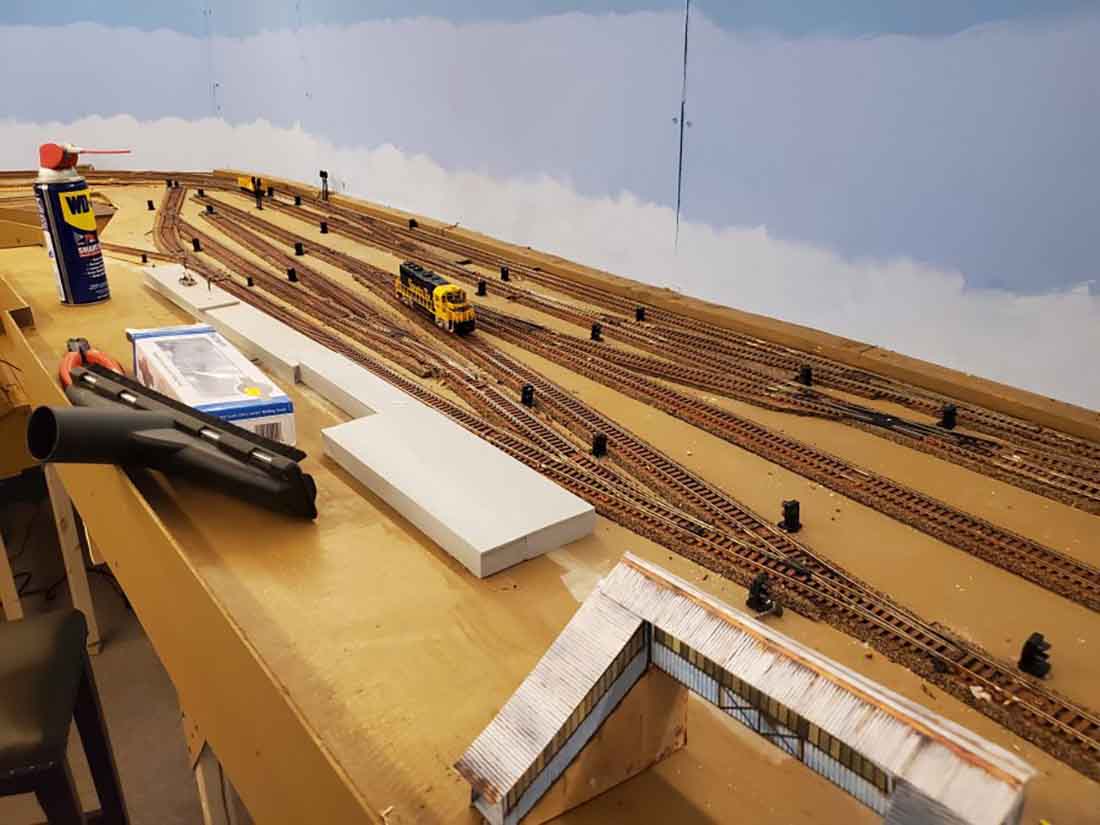
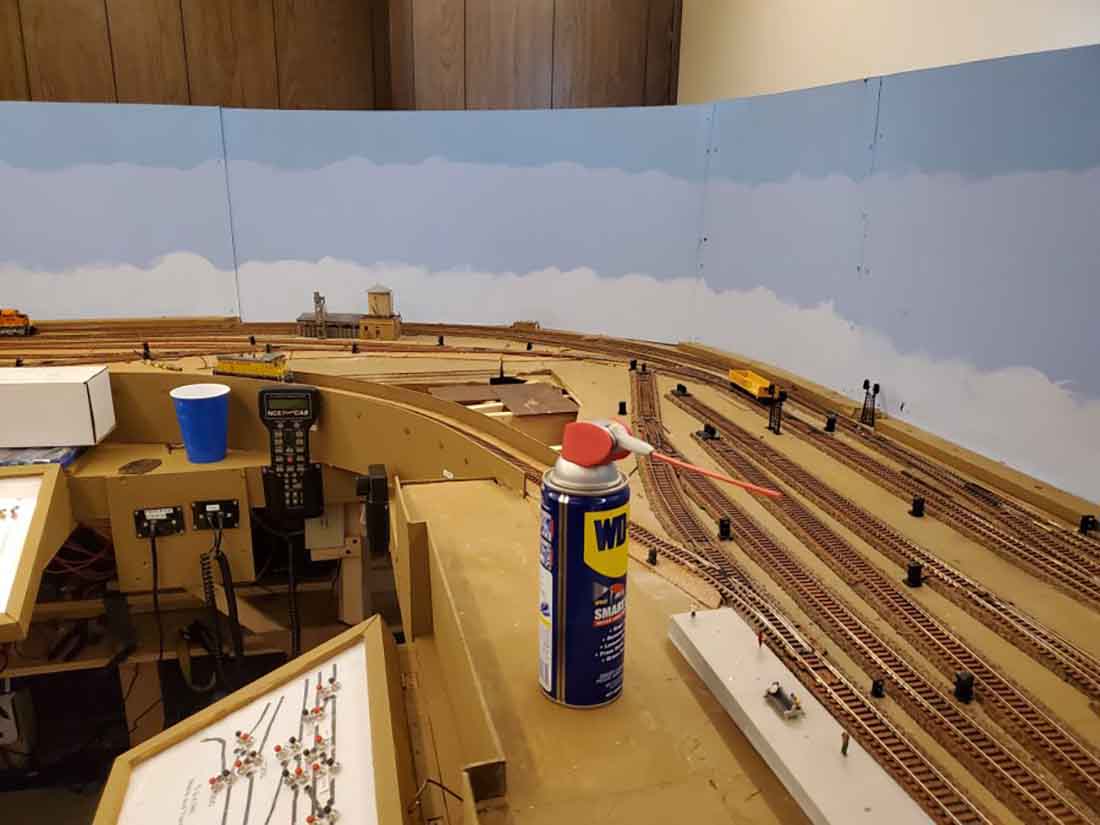
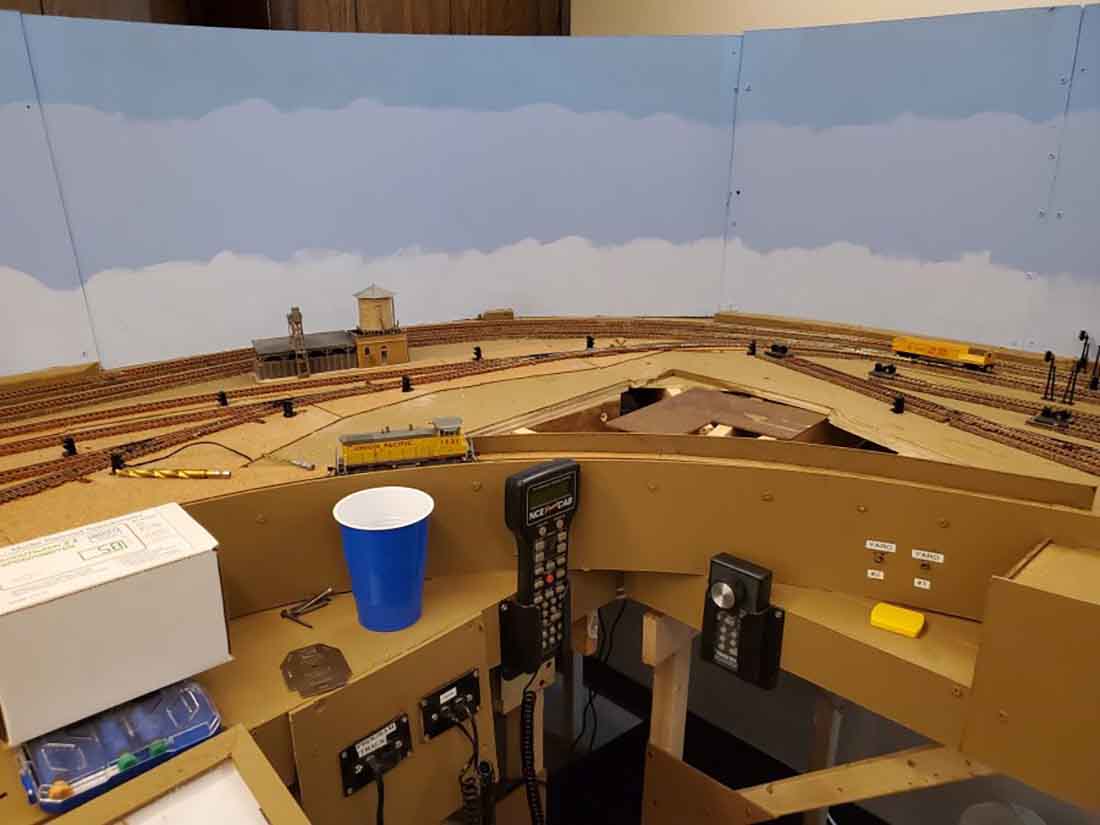
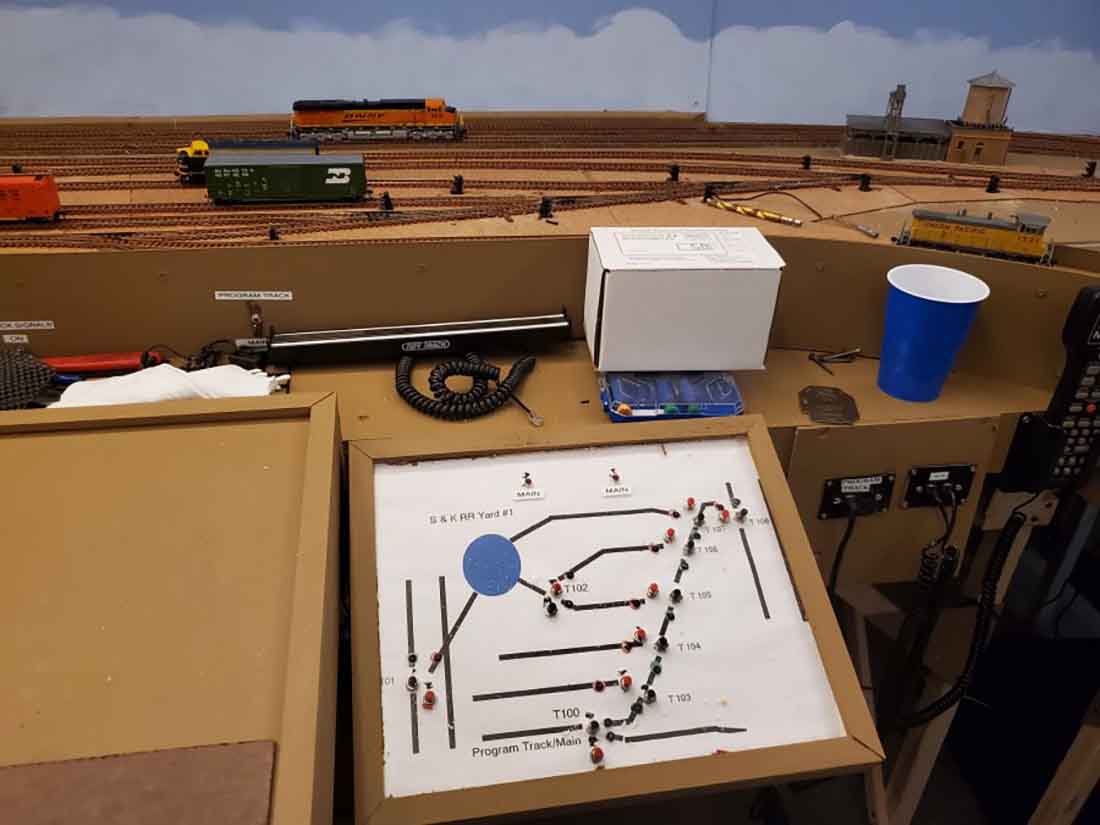
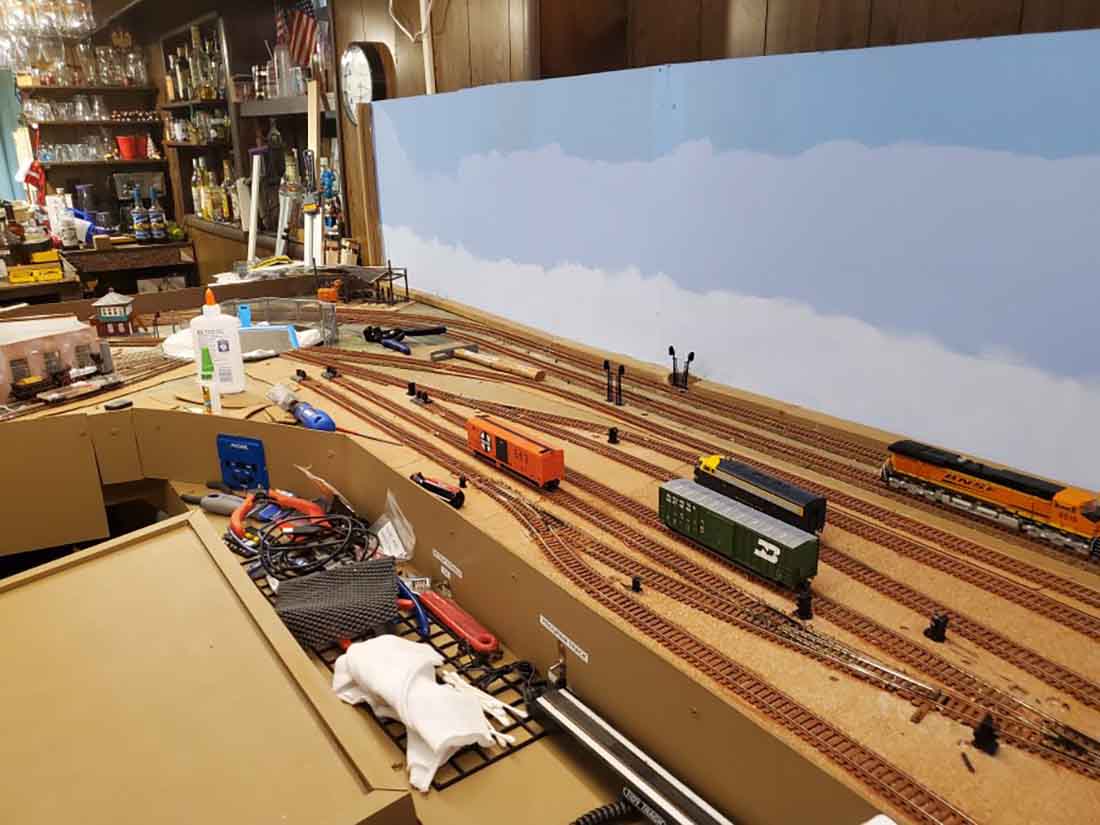
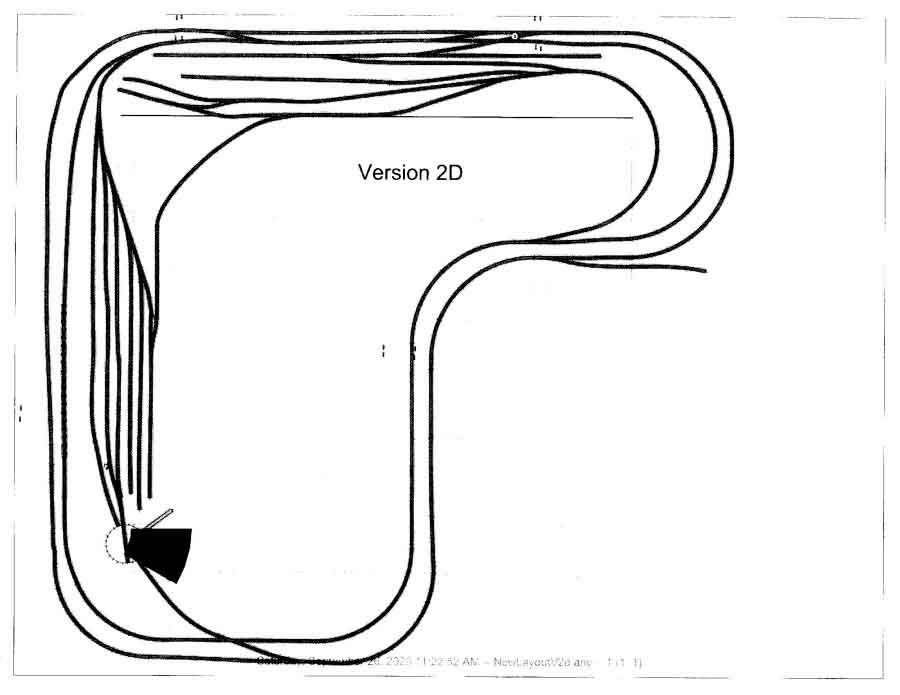
“Attached is an update of my train layout. I took down the old layout in Jan and this is where my new layout stands as of September.
I am currently working on a flashing crossing with working gates for the double main as well as test running all my locomotives.
Once everything is good to go, I will decide on what scenery I want and do the backdrop based on that.
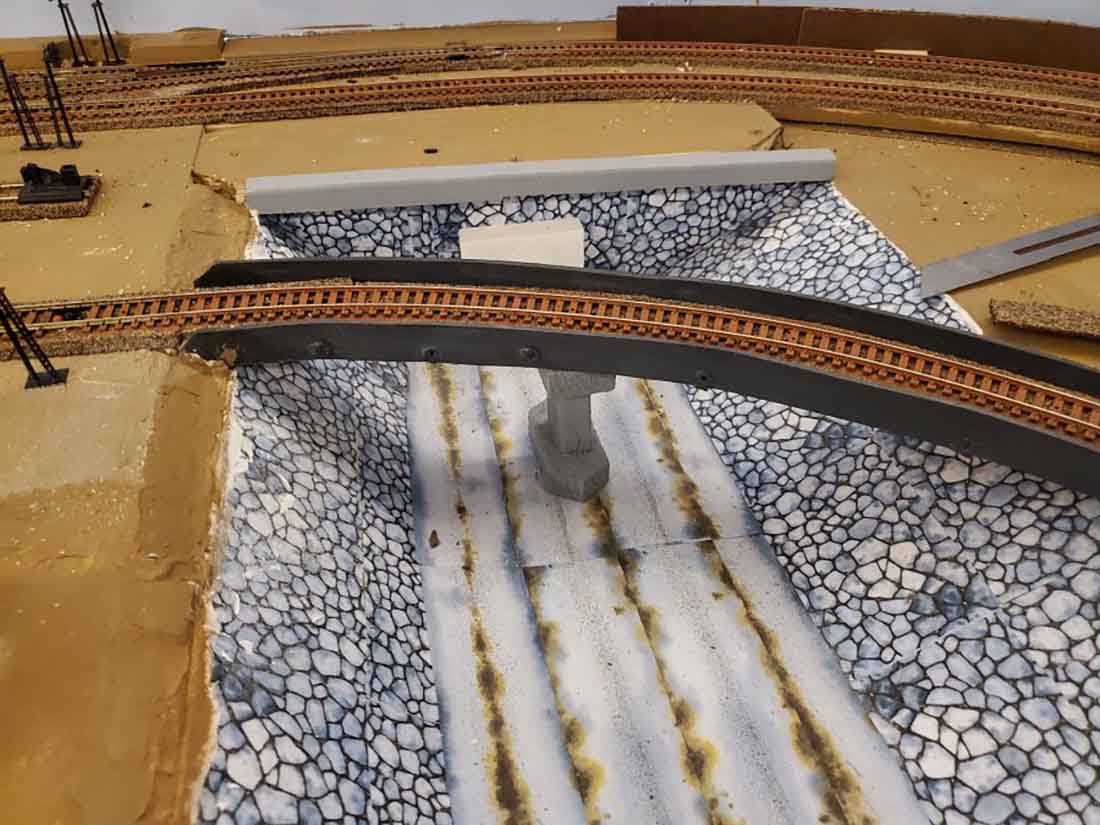
There will be a tunnel in the corner where the drainage ditch is. There is a piece of Masonite protecting trains from falling off.
Access is available from below in case of derailment.
That’s it for now. Thanks for all you do for the hobby.
Bob in Newport News, VA.”
A big thanks to Ron for sharing his 11×14 HO scale – and to Bob too.
They reminded me of Yale’s layout: HO scale layout 14×4.
They just go to show, it’s all about making that start and cracking on.
If you want to see some more – here’s a collection of HO scale train layouts.
I wondered if I should do more pages grouped by scale? Some more HO scale train layouts? More N scale?
And let’s not forget the other scales too.
I don’t know – please leave a comment below if you’d like to see more of them by scale.
One thing I enjoy about the site is all scale are welcome – so whatever is your thing, that’s fine.
What’s more, it doesn’t matter if your train layout is half finished, just started or nudging into the sacred ground of ‘finished’.
Please do send in where you’re up to, and I’ll start putting the posts together.
That’s all for today folks.
Please do keep ’em coming.
And don’t forget the Beginner’s Guide is here, if you want to stop dreaming, and start doing.
Best
Al
PS Latest ebay cheat sheet is here.


Hi Bob, Good idea for the masonite around the outside. My beloved DC Flying Scotsman took a dive off a 3rd Radius curve and broke the cabin. Dear wife immediately wiped away the tears and ordered me a new one, DCC with sound.
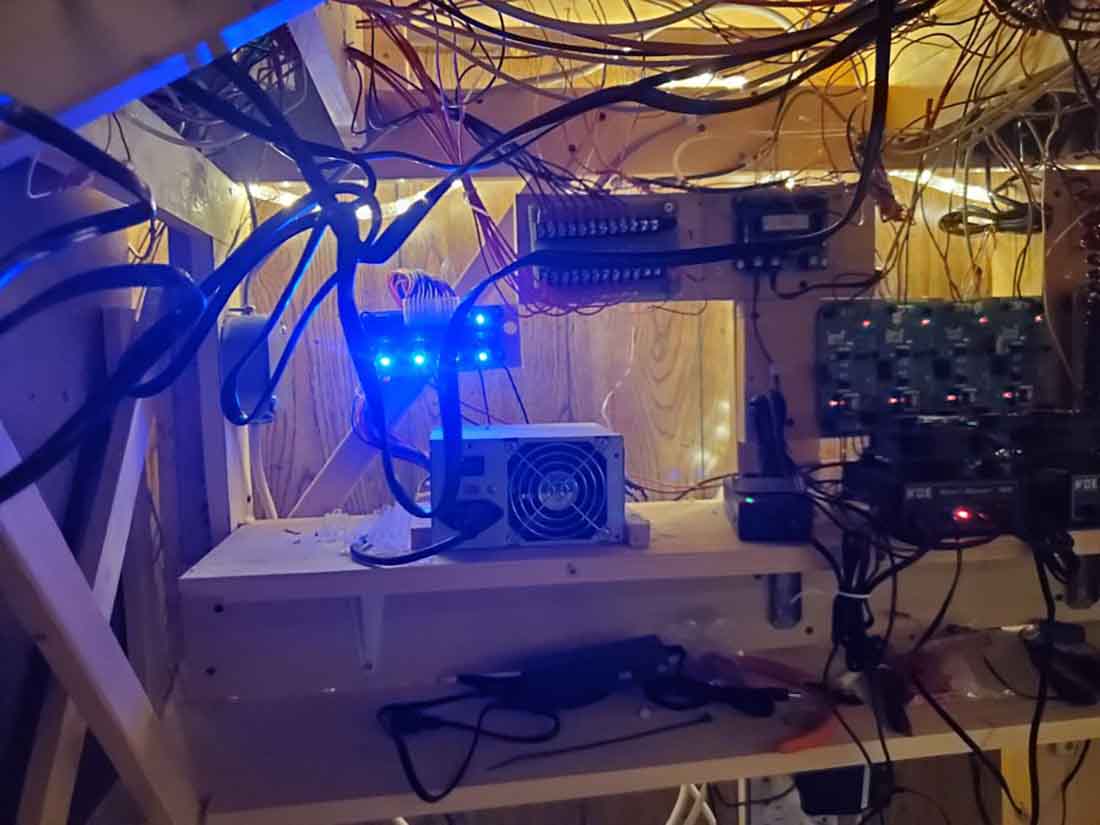
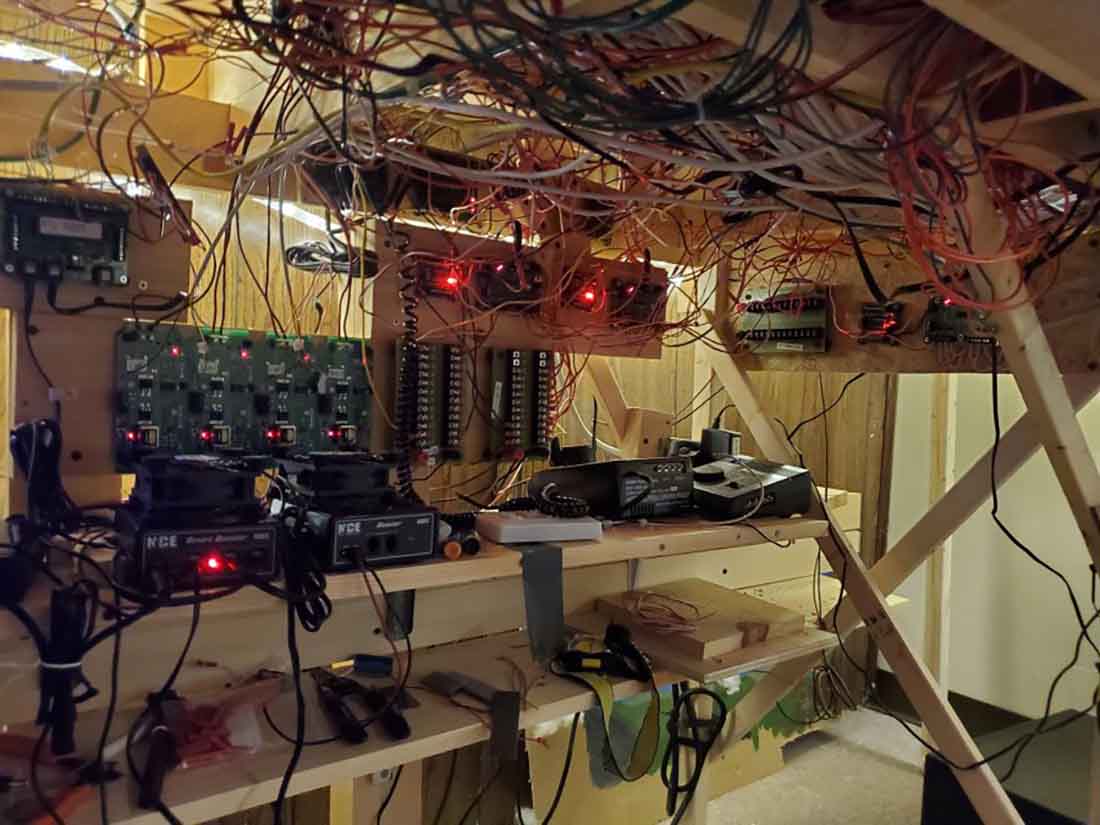
Is that the underneath wiring for your layout in picture 16?
To Bob and Ron. Bob your layout is looking very good. (I would not like to try and solve an electrical problem underneath though)😳
Ron, a good start to your layout. Keep up the good work.
Brian – the HOn3 guy Knysna RSA 🇿🇦
Bang go’s the myth that you only need two wires with command control LOL
Well Bob Now I know why you have shelves full of alcohol, after looking at that electrician’s nightmare i would need a drink too. Lol
The Critic
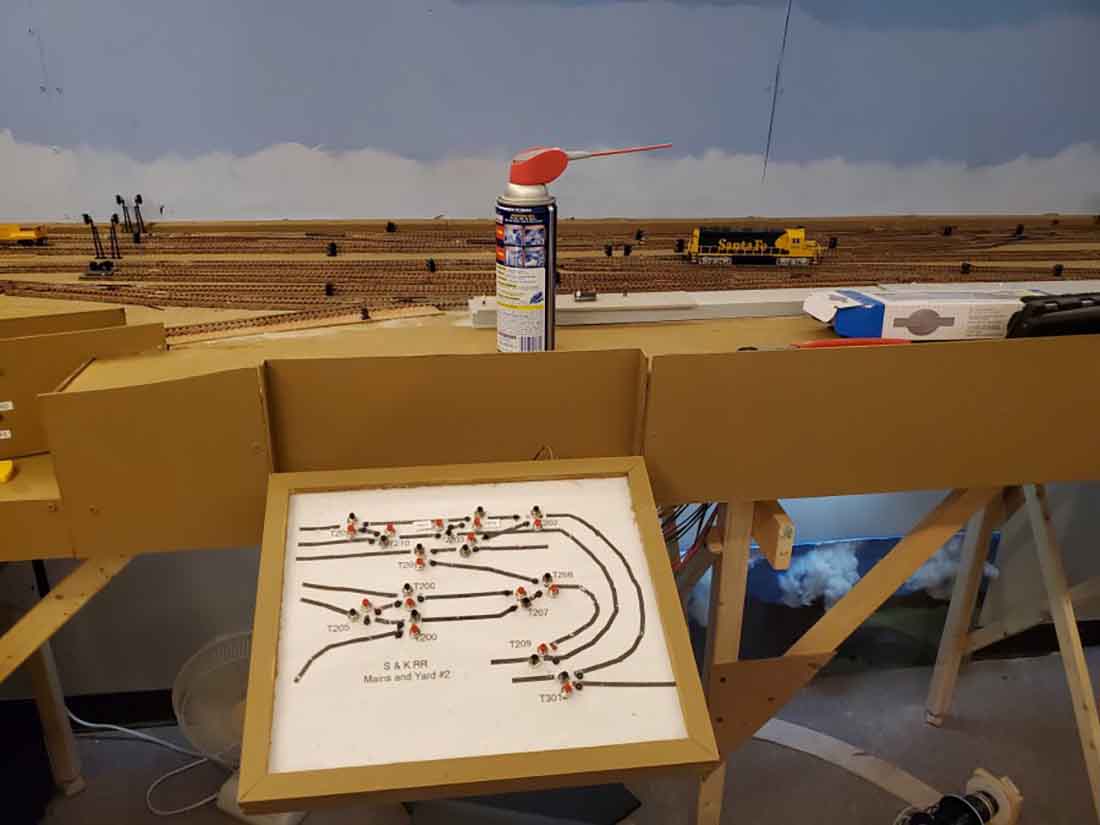
The last two pictures show all of the power and control boards. All the wires are marked and I have a spreadsheet that lists all of the connection and their endpoints. It looks messy because I am not finished checking every thing. Once testing is done I will use cable ties and clips to make things neater.
Bob in Newport News VA
Nice build there Bob , and that wire works is something I just love to see , and Ron that small layout of yours is first class …Dangerous dave
Wow talk about a wiring nightmare. What is it about all the power boosters –are you planning to doing some welding on the layout? Interesting layout — would like to see the scenics when done.
Bob, like your idea of using a computer power supply for things. I was thinking of the same thing for my n scale layout, but since I need 24 volts for throwing the turnouts, I went with wall warts of various voltages. Really nice job so far, I wish my below-table wiring looked as tidy as yours (wink, wink, nudge, nudge)!
Liked the Photos of the first layout.. shows the work in stages.. Though I spotted that roll out with the track line up the wrong way,, oops..
The other layout with the Skirting was a nice idea.. Then I spotted That CAT going under the Skirting.. CATS and Model RR Layouts Don’t Mix Very Well. I had a Landlord’s cat get into the basement apartment where I used to Live and Walk along the wall knocking Things Over it Didn’t Like.. especially an ATLAS HO Scale Modern Church.. damn Cat Smacked It onto to Floor demolishing it! Now, you can’t find them anywhere … Used to go once a year to the Big E Model RR Show in Amherst, Mass. ( New England, USA ). But since the COVID Started… All the Model Train Shows have been Cancelled.
Lastly, I was impressed with all the Circuit Boards, electronic cable lines, power supplies under the layout.. Nice Idea to use a Computer Case Power Supply for Power. Thought that DCC was supposed to make things Easier to do and use on Model RR’s…
From Mike in N.H. U.S.A..
Did you use two layer of ballast on the second to last picture? And will you fill in the ties and the slope on the ballast?
Great Bob, you are a major Leaguer playing in a stadium where as I am still in the backyard playing whiffle ball in my backyard! But this is inspiration. Nice job.
About “practice” layouts, most layouts are practice layout. Also, for this man, the fun is running trains so that’s what I mostly do. One of these days I’ll send pix.
Lester in GA, USA
Bob…. you have put in a lot of work……. I will be waiting to see more. By the way……under your layout wiring looks just like mine.
Ron…..i love your backdrop scenery. Good Job.
Hi Al
I have noticed over the last few months fellow readers talk about computer control, one of your readers showed his Ardunio micro chip setup.
Although I live on the Canadian west coast I also belong to a UK group known as MERG (Model Electronic Railway Group) The sig group for Arduino meet via Zoom twice a month 7:30pm gmt. Anyone wanting to learn more should visit their web site.
They also have small kits (PMP) you can build that come with all the parts – you just solder it together – light, gates and tons more all at cost.
RON Love your back drop and layout.Especially you model era.
The Critic
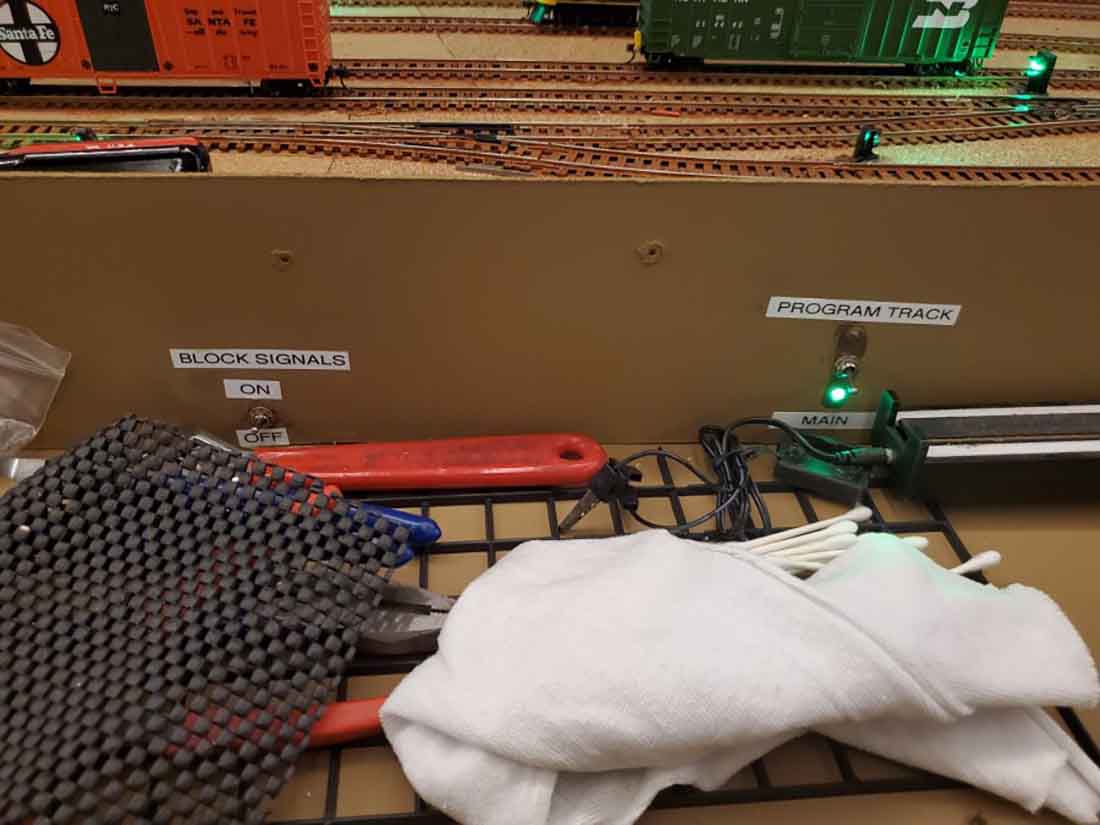
SO good to see Bob’s layout with signal lights at every turnout. As I have done with my 28 points. And as for the wiring, that has also given me great confidence as I attempt to neaten up my 112+ wires.
Eric of Perth, Western Australia
Thanks for your site, very informing and entertaining. Love to see some layouts by size, I am an 027’er so it would be good to see several of those layouts togeter. Thanks again. jsb Colorado
What I would like to see more of is the TRACK PLANS and over all view of the entire layout. I am in planning stages and starting to build so those types of pics helps me a lot more than closeup scenic shots.
Great to see many of you documenting the progress on your railroads. I’m a fanatic about it, but it’s fun to be able to “look back” at how it all began.
I am another Ron. I have a similar sized layout that is pretty much complete except for scenics and wiring. At 88, I find it hard to wire under the layout. It is basically Marklin track and trains in an American backdrop. I modeled it around the area where I live. I’m using overhead catenary that I designed and constructed myself. It doesn’t look bad and I have seen actual catenary that looks a lot like what I have made. I will try to present some posts on making catenary easy. I’ve kept away from “European” style catenary; too complex. Thanks a lot Al for all the usefuf stuff you put in your daily blogs. I miss John’s posts. Is he still active?