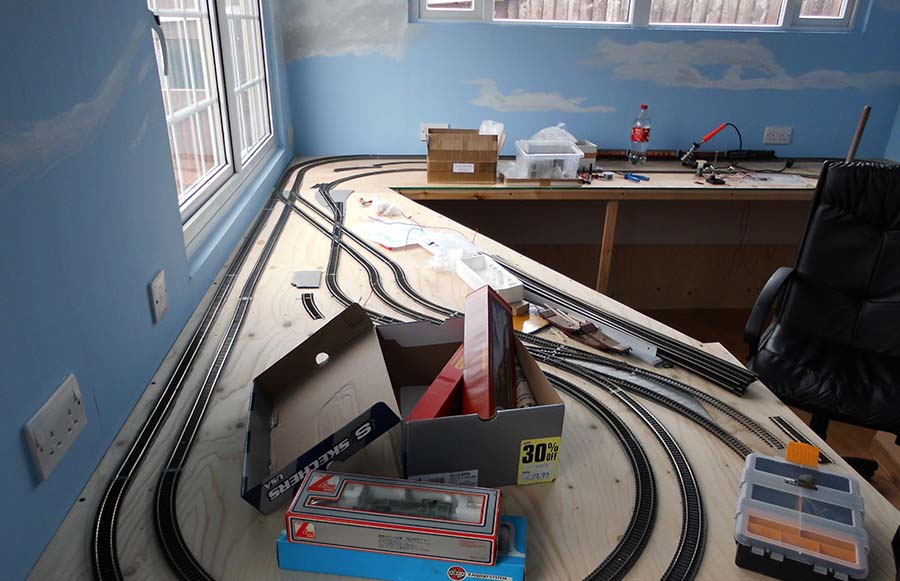
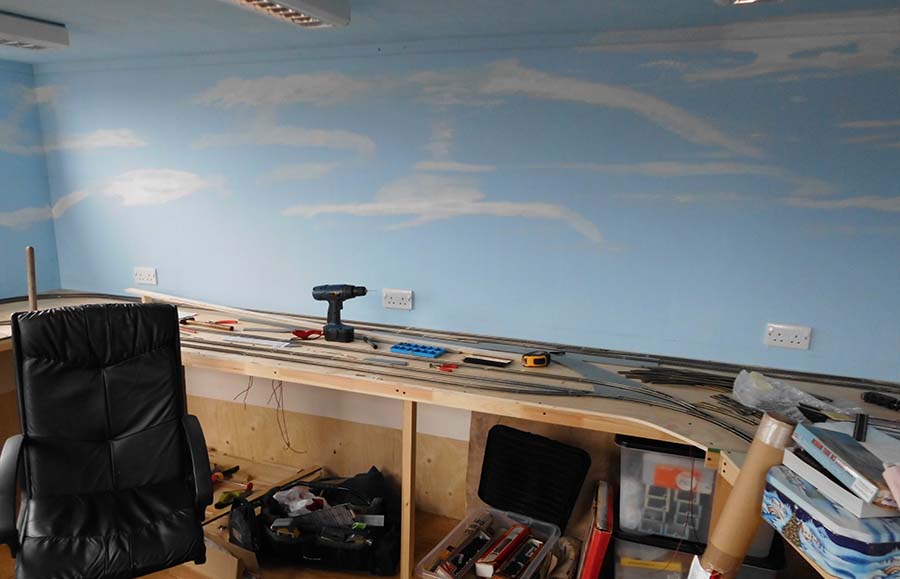
Brian and Andrew have been in touch – both with HO scale L shaped layouts:
“Hi Al,
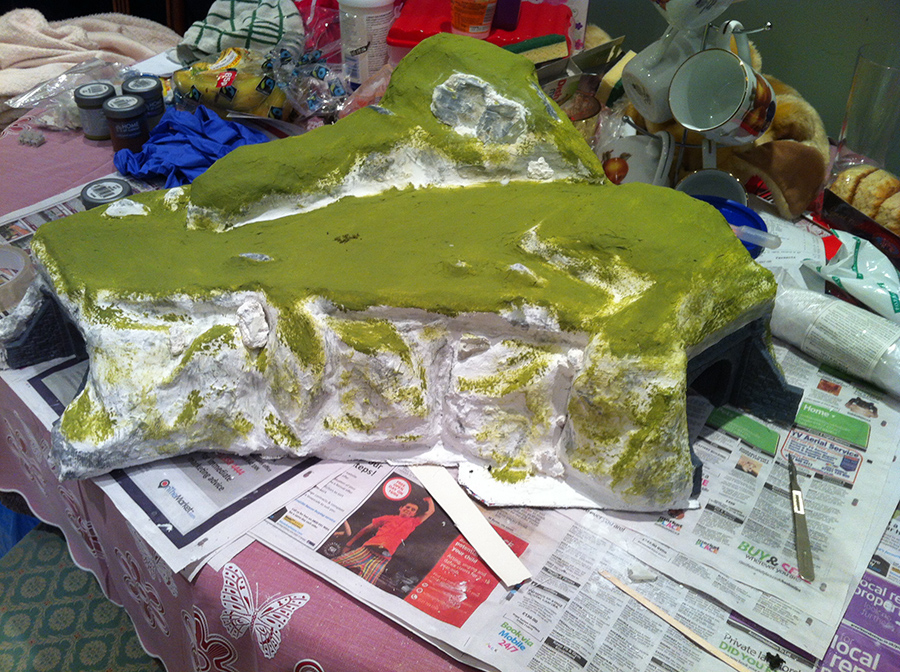
You have not heard from me before but I have been receiving your messages for years now and looking at the tips and layouts that people have sent to you from near and far, and found them inspiring and helpful in many ways.
I had always wanted to build a model railway since I was a kid but didn’t have the money way back then and the room and time as work and family life took me through my middle years, but a recent move from house to bungalow has given me a place at the bottom of the garden to be able to try my hand at doing it.
I do love building it but often wonder if I will ever get it finished, I have been working on it for about 3 years now on and off and there is only the close family who have seen it.
I have taken photos at different stages except for the building of the baseboard track and electrics, so after a good 60 years of waiting, I am about a third of the way through and would like to share some photos of my efforts so far. its a long way from being finished, but I keep chipping away as and when I can.
These photos are at the starting of it all, more will follow until its up to date, if that’s ok.
Thanks to all who send you their tips and photo/videos.
And thanks to you Al for your world wide information.
Brian”
Now on to Andrew.
“Hi Al
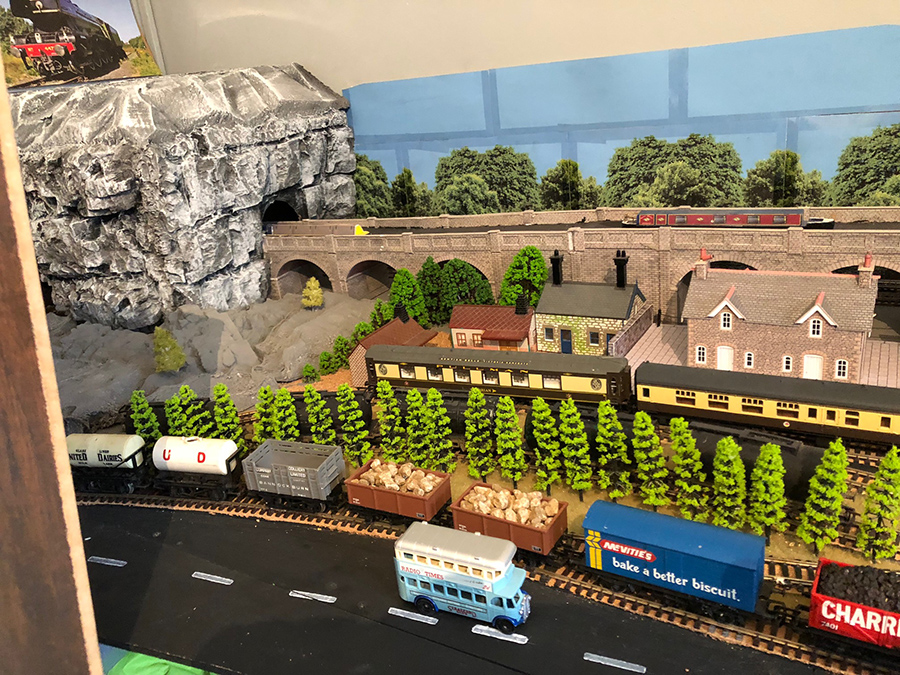
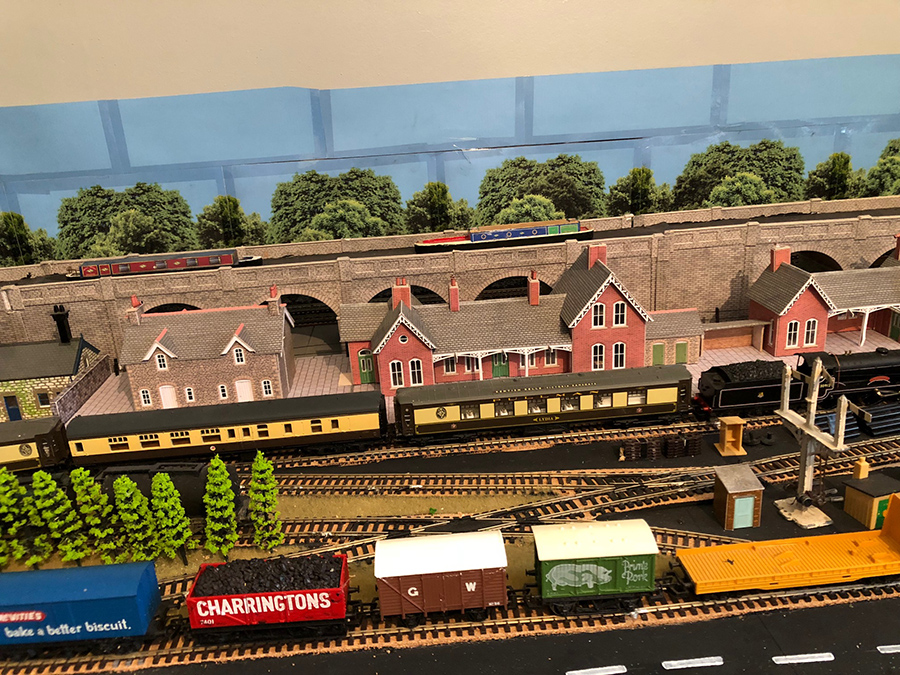
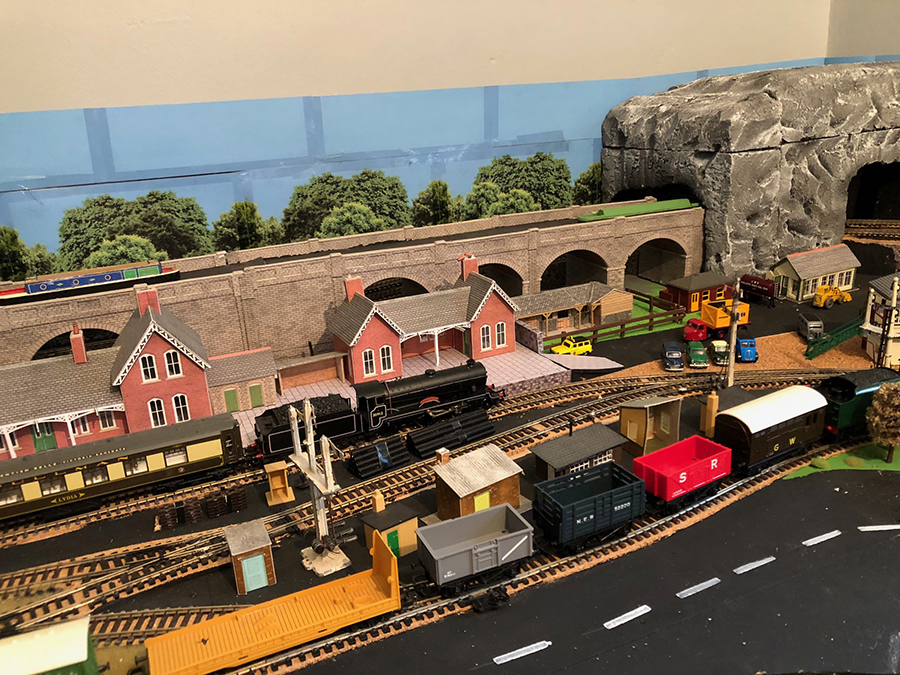
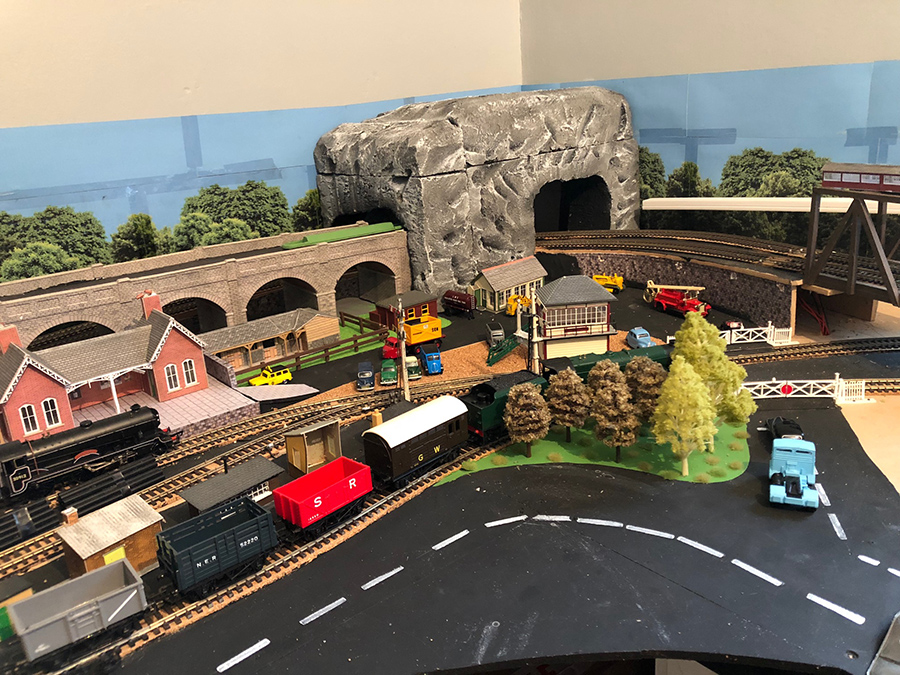
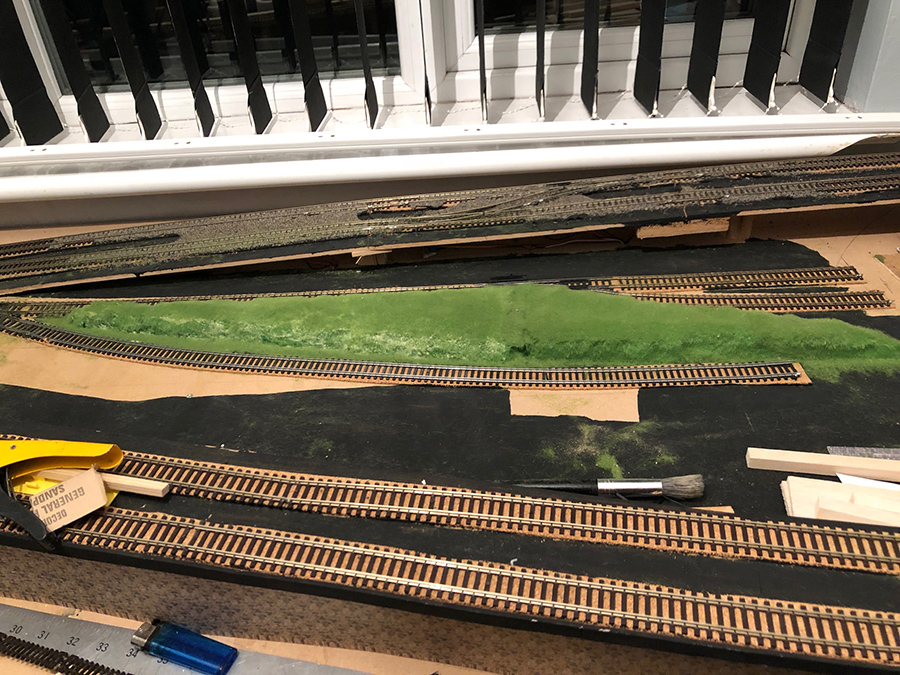
Well I moved my railway out of the shed as it was too cold and damp was affecting me and the buildings on my railway, so I decided to bring it in my spare room, so started again.
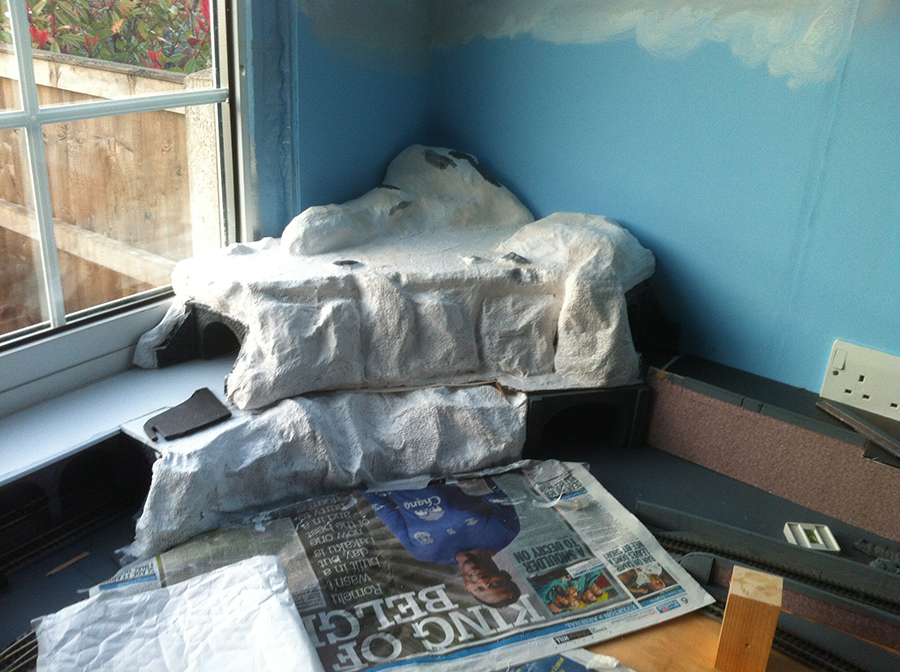
I am now developing an L shape layout with half a figure of eight with an elevated section on the curve.
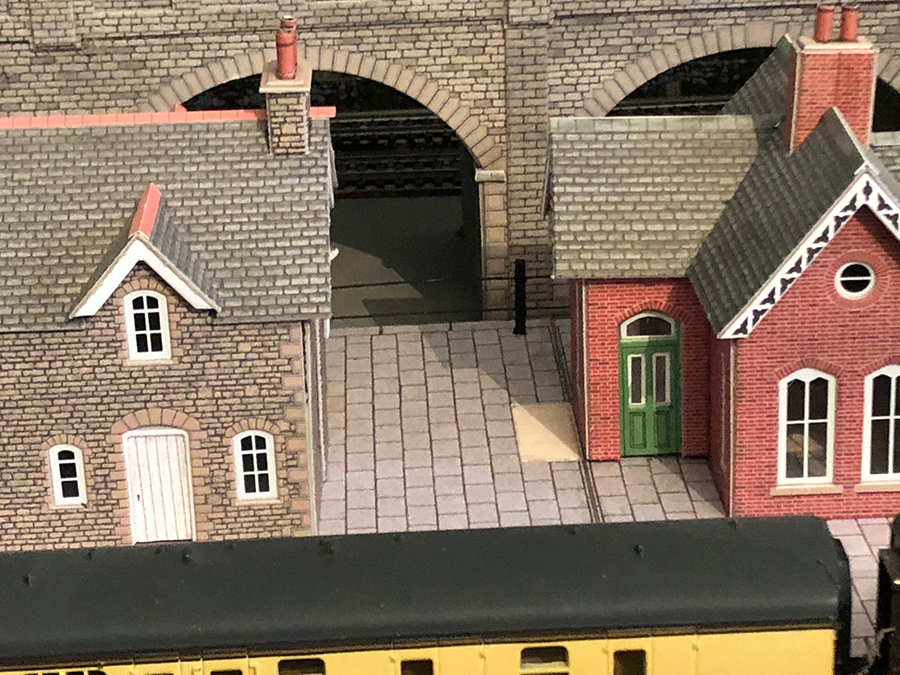
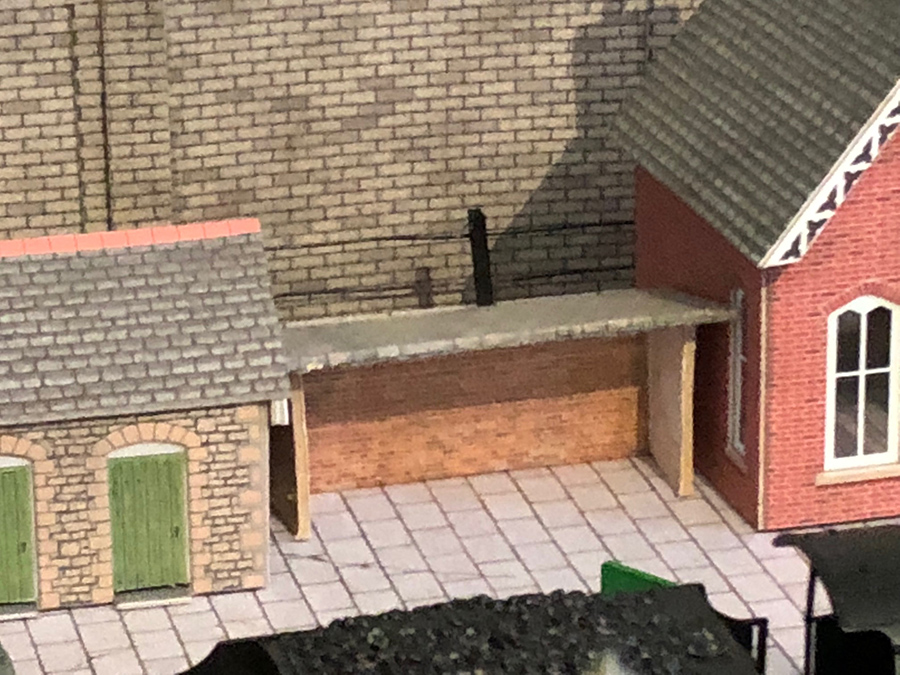
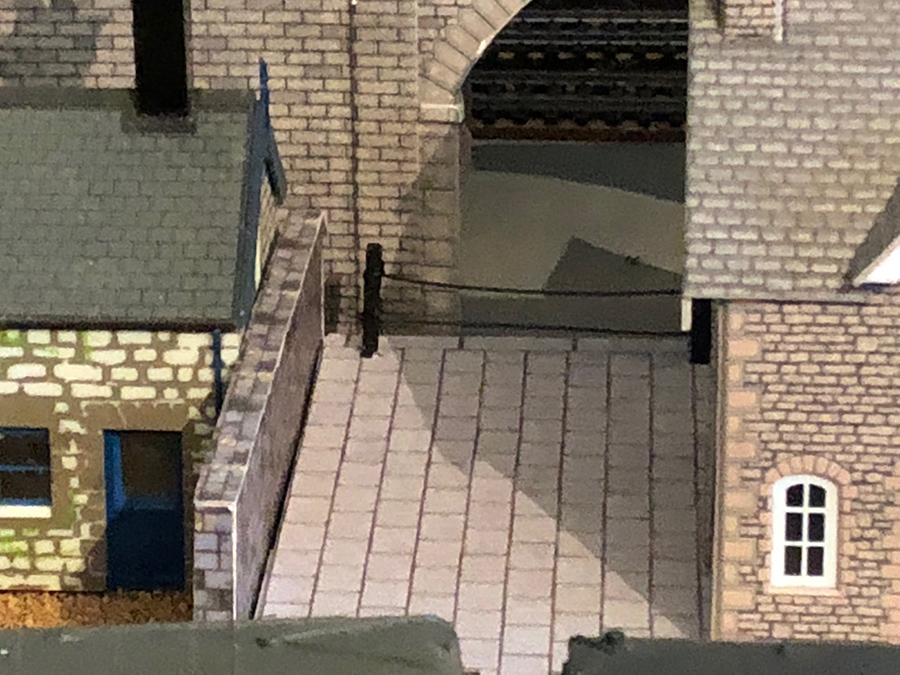
The village will be under the elevated section, I am at the moment doing the Station section and I must say it’s coming on well.
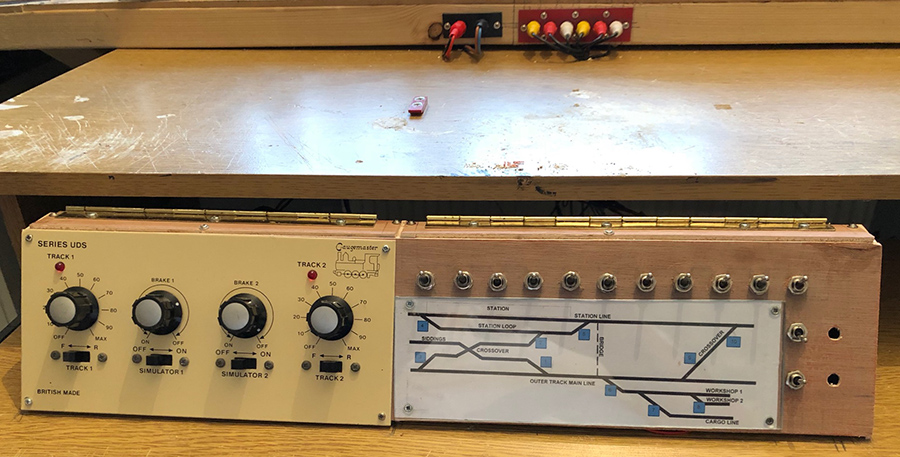
I have also reverted back to DC from DCC as it was too expensive. My controller is fitted under my work table as an integrated system. More pics to follow as I develop the sections.
I would welcome comments and suggestions from the plethora of great Modellers out there.
Andrew”
I do love seeing the updates – especially as a layout is never really finished.
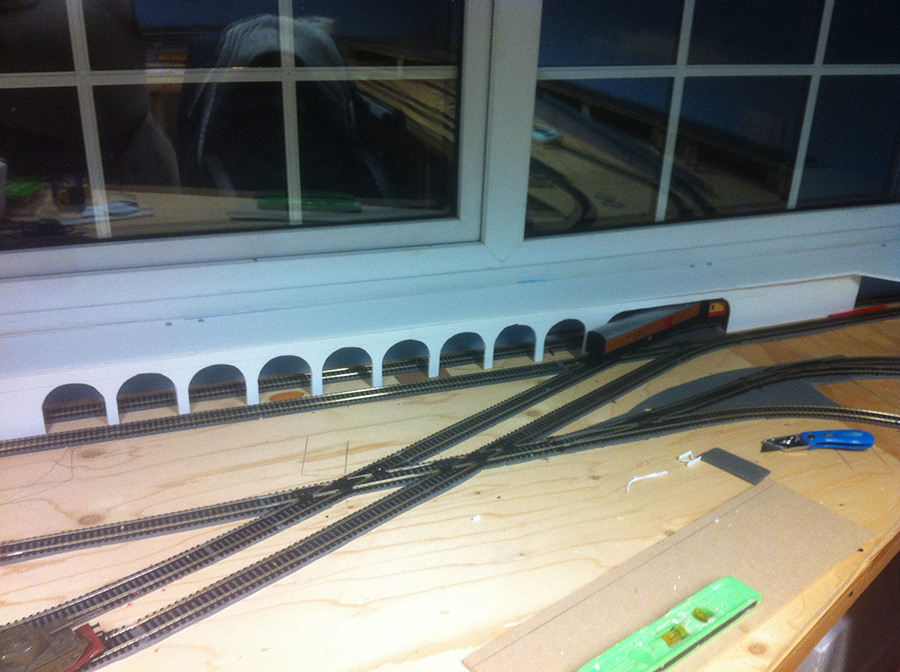
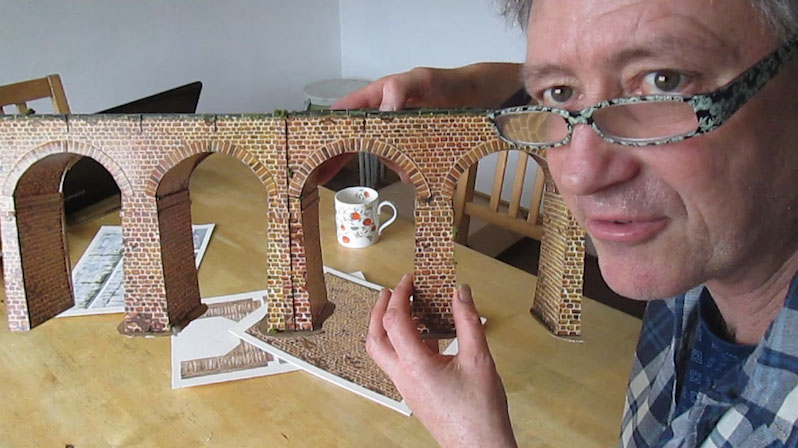
Andrew’s layout reminded me of John’s viaduct / arches:
(You can John’s “viaduct how-to” post here.)
A huge thanks to Brian and Andrew for sharing their HO scale L shaped layouts.
That’s all for today folks.
Please do keep ’em coming.
And if today is the day you get started on your layout, the Beginner’s Guide is here.
Best
Al
PS Latest ebay cheat sheet is here.
PPS More HO scale train layouts here if that’s your thing.


Thanks Al, that’s a couple of great looking layouts. Thanks for your blog to share these. Cary B from Maryland USA
Brian’s video with the logging train was very interesting. It appeared to me that he had high ceilings and that the track bed in the video was actually above the door into the room. Is this correct? Obviously such a configuration opens up all kinds of possibilities.
Never rode a logging train before. Your layout is great ! You have done a lot and one can see there is work to be done yet but then what model railroad is ever complete. Keep it up, one day at a time. Bill
Good stuff!
The answer to high ceilings, the ceiling is of normal height. The top shelves hold a lot of non train models. The upper level of my layout (in the video) is at eye level approximately 5ft 9in from the floor. Brian RSA 🇿🇦
Really nice detail. Excellent period modeling. The ride was through a logging area of our northwest.
The camera works great , very good for finding what needs doing from track level , but nice clear picture …Dangerous Dave
Wonderful video! There seems to be a problem with a worker who is either injured or, heaven forbid, drunk on the job, at 38 seconds in. Have you had him examined by the company doctor?
Nice video–it appears there is also a lower level and I wonder if the two connect and how (steep grade/helix?)
In the logging video, there is a second lower level (very incomplete) and it does not connect to the upper level. The train room is only 14ft X 10ft. The lower level is loosley based on D&RGW with a harbor.
What kind of camera was used? Video reallyneat.
I alaways like a cam ride.
Really great layout with plenty of room for an uncluttered scenic logging camp and railway line with associated engine sheds etc . Nice smooth train ride and the photography works well. Good going Brian very impressed. Regards Pete.
Nice train ride. Always envious but appreciate large and long running layouts.
It looks like Brian number 1 is off to a great start with an interesting track plan. Looking forward to seeing more.
Jim AZ
Your camera takes great videos. I have a mini camera I bought from a train store and I was not impressed with the quality in general. Where did you get yours?
I did end up buying a small Sony HDR-CX405. I have to start the camera and place it on a flat car. It does fairly well, when out in the open, but in certain sections I am limited because the width of the camera is wider that the car. What camera etc. do you have?
Brian, don’t worry about how long it takes at least you are doing it. I have been building a small layout for the past 5 years and it still has a long way to go but the fun is in building it.
Ray – Nerang Qld………….
Great layout of a fine railroad.
The video/still camera that I used for my videos is a GoPro Session cube camera that is about a 2 inches square cube. Alastair may still have a photo of it with an HO figure next to for size comparison. Once mounted on a flat car, it will not foul anything either side of it as seen above passing between to parked trains. Remember that I model HOn3, therefore my flat cars are narrower than standard gauge. If used on HO standard gauge – piece of cake. It works on WiFi, I have the GoPro app (free download) on my cell phone as well as on my iPad. I switch on the camera, place it on a flat car then the app connects to the camera and you can start the video before or as the train starts running without touching the camera. If using a cellphone or iPad, you can watch its progress as if you are sitting on the train and stop the video whenever you feel like it. Very simple to use as can be seen in the video and great fun. A very good investment for me. It has a very wide angle lens and also takes fantastic still photos. Google GoPro for more information on it.
Cheers. Brian – RSA 🇿🇦
Thank You. I enjoyed your pics. I think you are doing a GREAT job. I love your layout and the scratch build of your scenery. Thank you.
Wow!!! That is an awesome layout !!!! That definitely motivates me to want to start building mine for sure !! Thank you for sharing the pictures !!!!
Brian. Great start. It is looking good.
Pretty Kool.!!!!!
Brian…. great backdrop…painting the whole wall….looks great.
Andrew…..great look and great color….I love those trees in the first picture.
Interesting Layout with good photos.. However, I didn’t receive any Video with this installment. Can you resend it along? ~ Mike in N.H. U.S.A.
You are in it now Brian, so enjoy the journey in building your layout.
Andrew, nice buildings.
Frank in Orlando
Brian, could you give me some information on your layout? I’m wanting to build a layout and yoyr looks similar to what I want to do. Yours looks great!!
very nice layout, I dig your glasses!!