Brian’s been back in touch with is model railroad harbor scene.
(Or should that be harbour? That’s the thing with a global platform…)
“Hi Al,
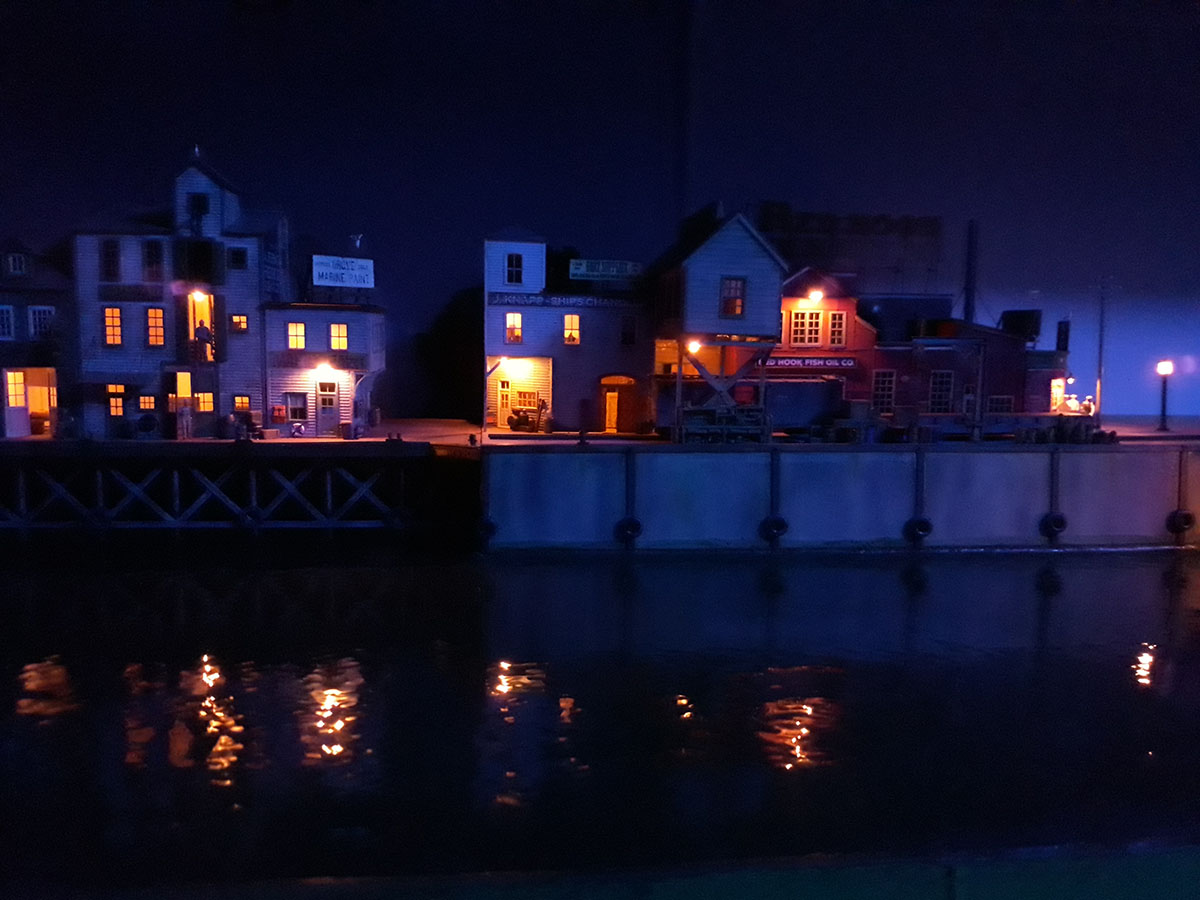
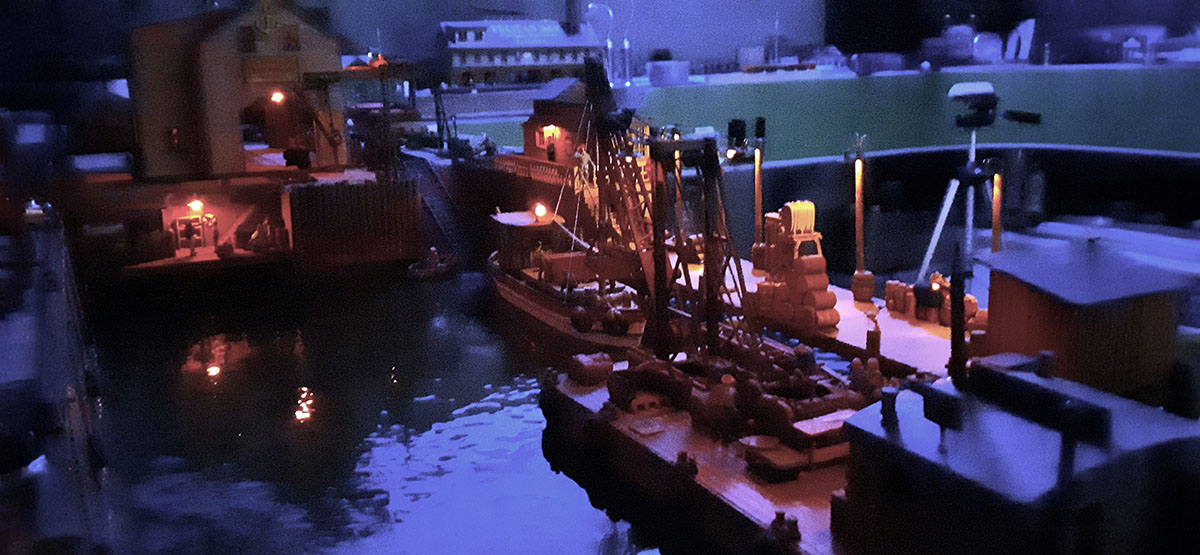
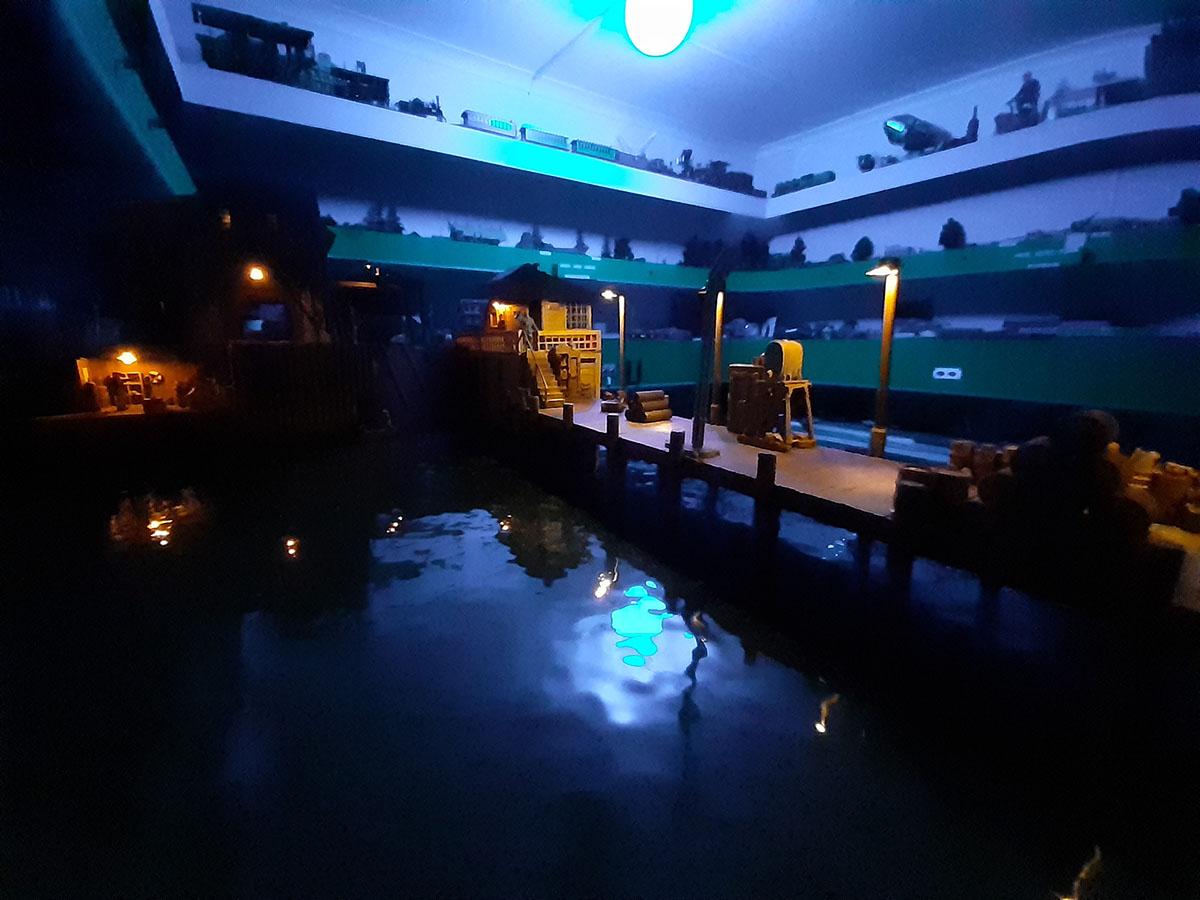
lots of people on your site asked if the water in the harbor was photoshopped as they only saw it in the night shots.
Firstly, I don’t have photoshop nor would I know how to use it (no time to mess with it) and takes away good modeling time.
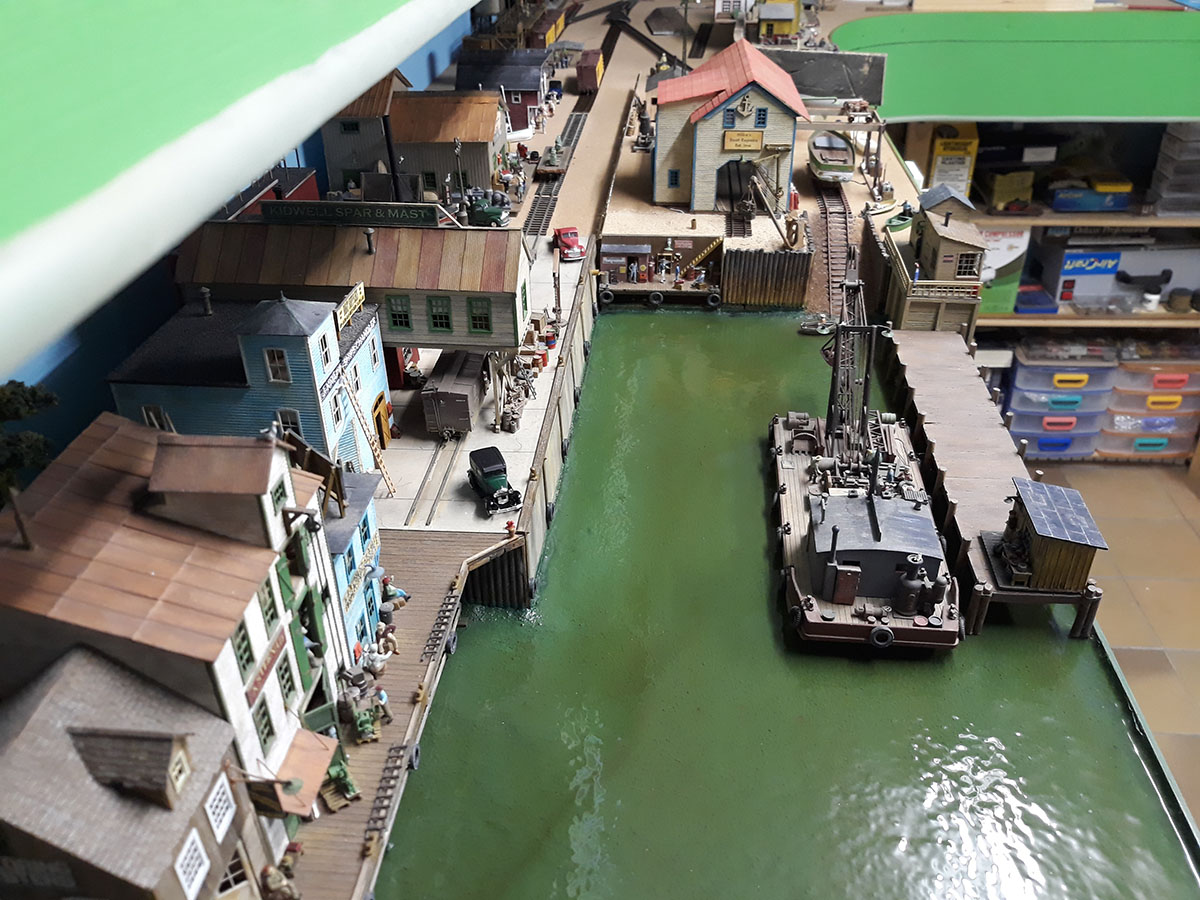
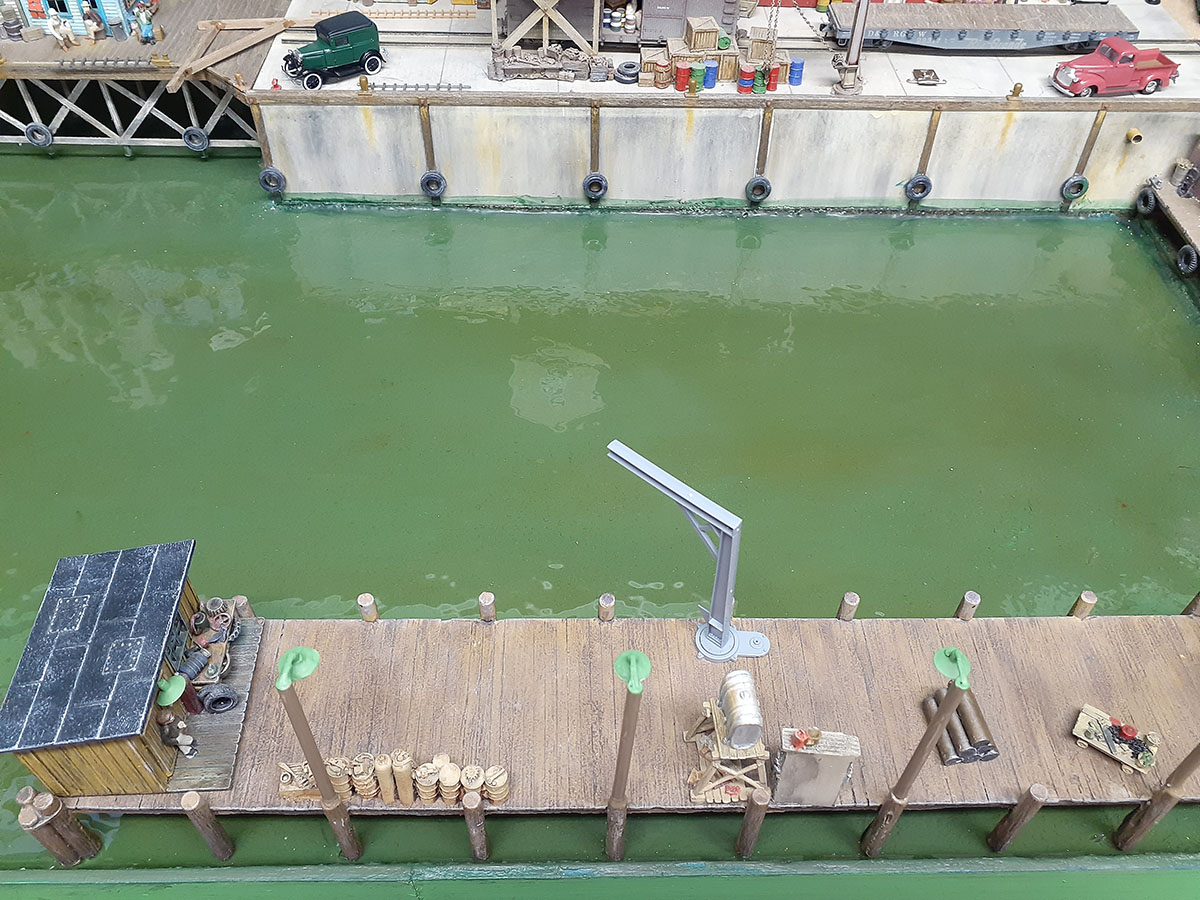
Secondly, the photos below show both night time shots as well as daytime shots of the harbor water in place.
Preparation of the base before pouring is very important be it a harbor, river or lake.
There was a lot of negativity about the Woodland Scenics Realistic water where they had problems with it.
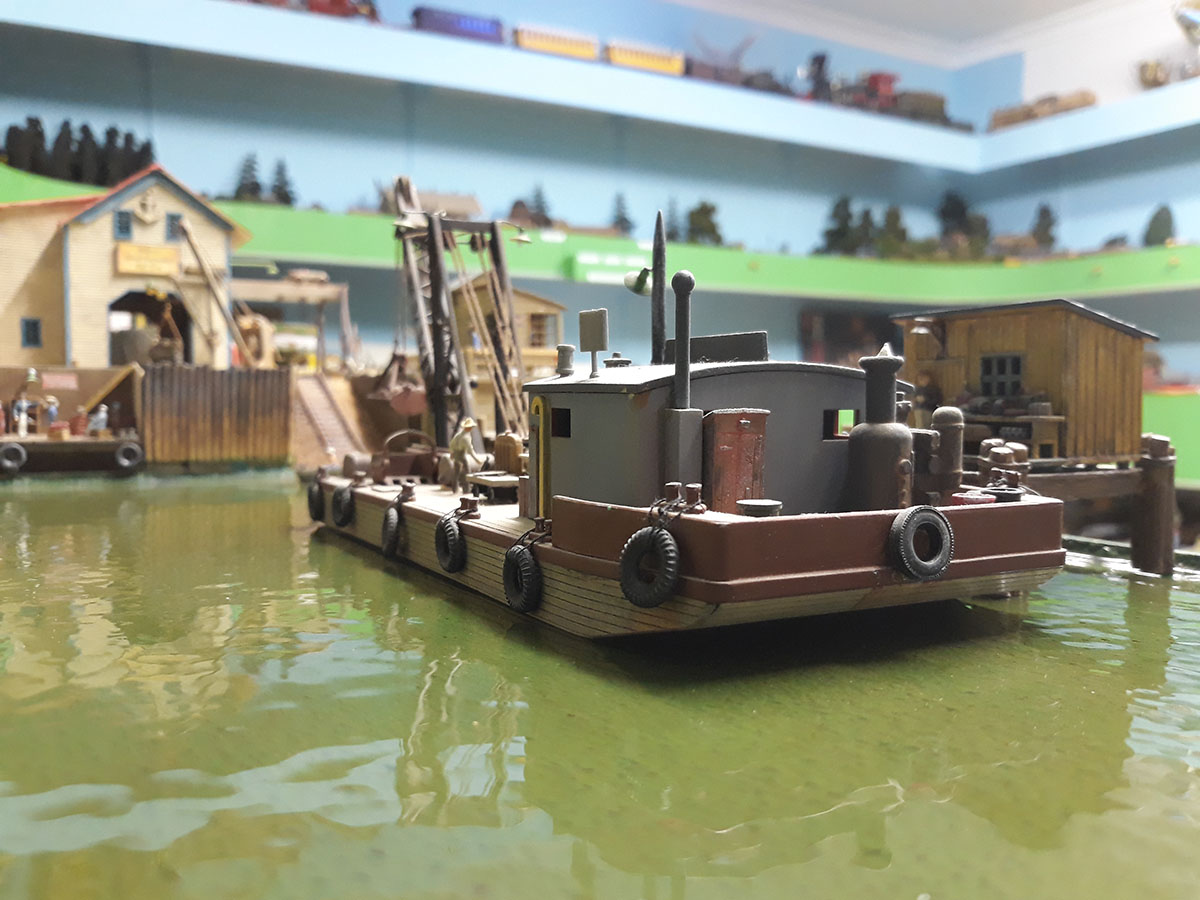
If one follows the instructions properly and stick to the depth that they suggest or less (3mm max), then you will achieve a good result as seen below.
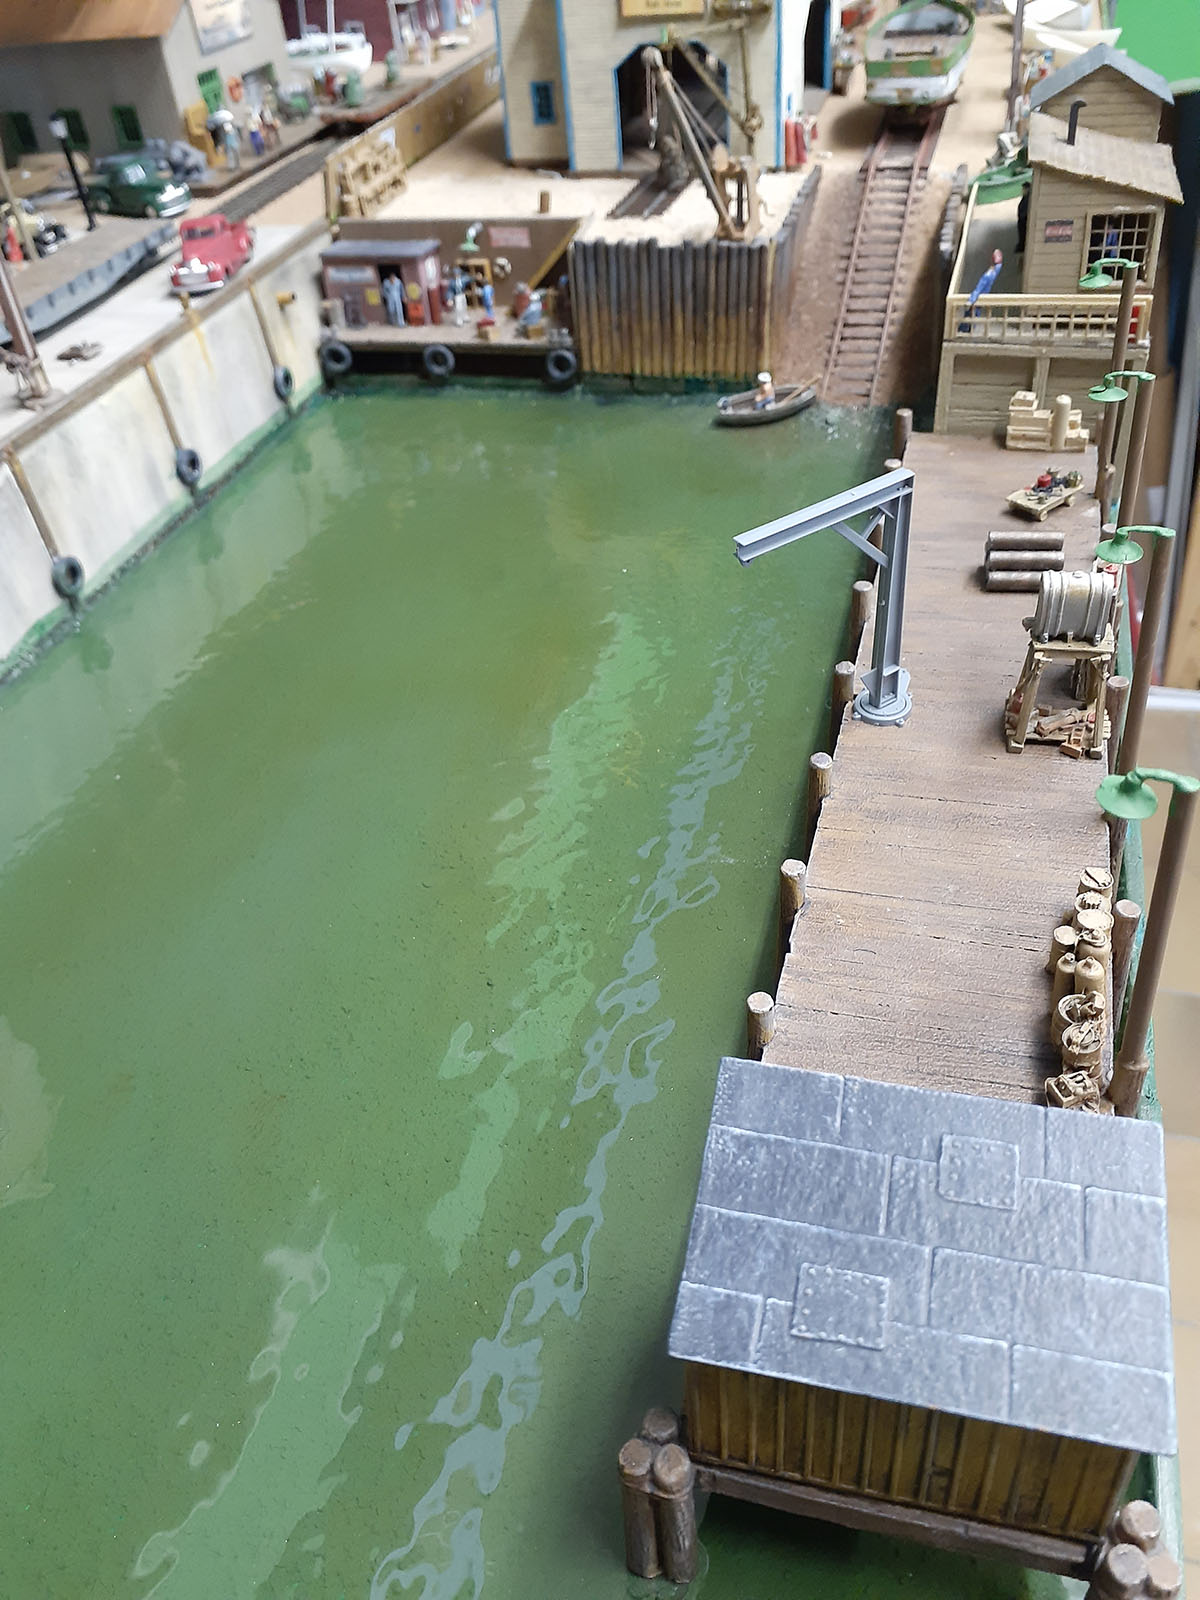
If deeper water is needed (as in my case below) then pour as many layers as required to get the depth needed. I have poured 3 layers so far and I still need to pour 2 more layers to achieve the result that I am looking for.
The most important thing to remember is, do not shake the bottle before pouring as this creates air bubbles which are difficult to remove.
Remember that there is no heat involved in this product therefore no shrinkage. Although it is hard to the touch, do not place anything on it that has to be moved as it will sink slightly and will be very difficult to remove. (I am talking from experience) on this.
As said in previous blogs, I have been using this product since it came out many years ago and swear by it.
I hope this helps all those asked about the water.
Cheers
Brian – Knysna RSA”


“Hello Al.
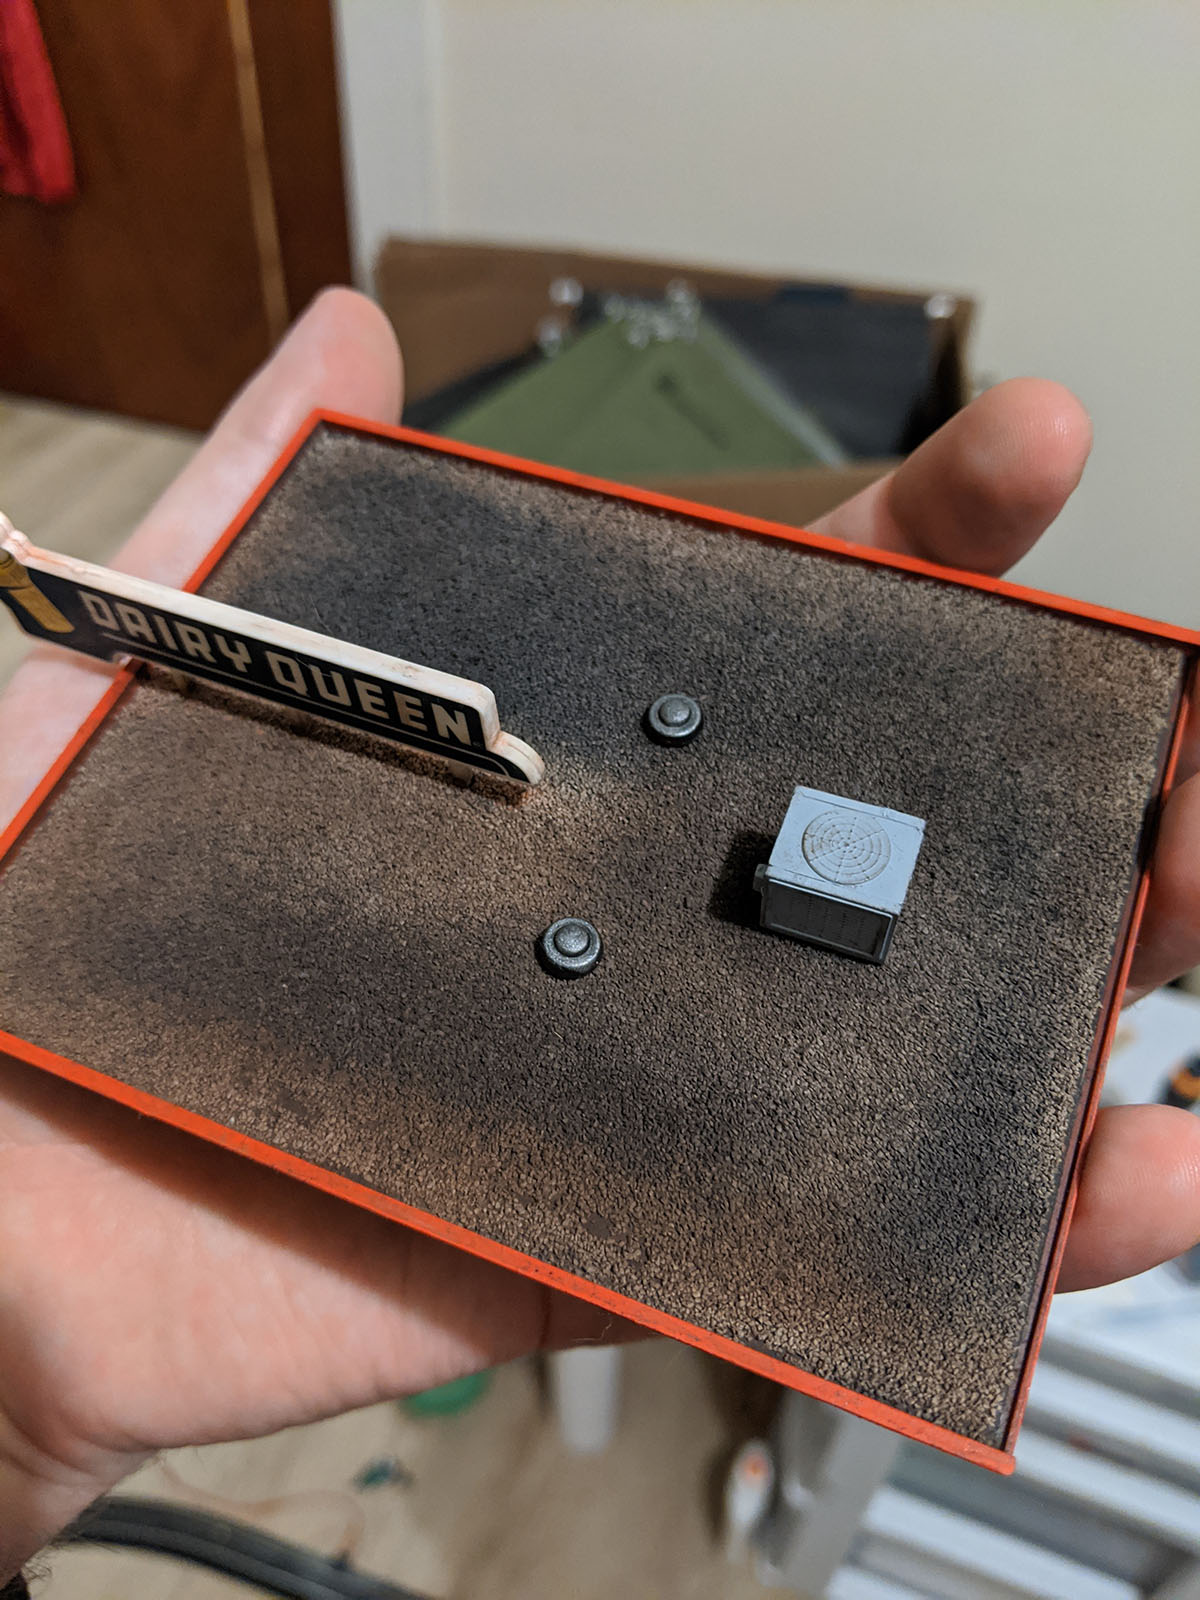
I’ve been building a new restaurant for my layout, and I thought I would share how I detailed the roof. Gravel topped roofs are very common on commercial and industrial buildings, and I wanted to mimic that look.
I started by painting the top of the roof on a charcoal colour to represent the underlying asphalt. Once this dried, I taped the edges and painted the red trim.
Next I brushed full strength white glue over the top of the roof and poured fine ballast onto that. I then sprayed on rubbing alcohol and diluted white glue to fix the ballast in place.
Once the glue dried, I used weathering powders to make the roof look more natural. An overall dusting of earthy brown, with grimy black to show where water may pool in low lying areas. A few dabs of rust under where the sign would sit, and then the whole thing was ready to be sealed with Dull-cote.
The final step was just to add the rooftop details.
Jon”
“Hi Al…
Just uploaded this video showing some new Hunt Magnetic Couplings.
They come with standard and short, stepped and normal, and fit in to NEM pockets which we have on the majority of rolling stock these days.
Think these will be a great addition to our Hobby, making coupling up, and uncoupling far easier, they tell me that hopefully end of this month there will also be N gauge version of these, and will also be able to post off shore.
I think that this is what we have needed for a long time, and would recommend to try the standard length fit and the stepped, to see what you need for different height Loco`s and rolling stock.
Regards
Dave”
A huge thank to Brian for his model railroad harbor update. And to Jo and Dave. (Brian and Dave are both in the Hall of Fame.)
That’s all for this time.
Please do keep ’em coming.
And if today is the day you stop dreaming and start doing, the Beginner’s Guide is here.
Best
Al

Brian’s Woodland Scenic water looks great. I was relieved to hear that he “swears by it”. It was such a dismal failure when I tried it years ago, that I sweated AT it!
Brian’s layout looks fantastic. Jon’s presentation is very helpful. Thank You everyone.
Brian
You are the master. I never get enough of your input.
Jo
Great roofing-thanks
Dave
Thanks – be well
To all the old geezers -Stay safe, play with your trains
George from NY
That looks great, how o you get the “wave” effect in it?
I recently used the Woodland Scenics deep pour and had fantastic results. Had to use 3 of them to cover my 4×2 foot river. Getting ready to use the wave and water effects gel to put in ripples and boat wakes
I use Woodland Scenic s Deep Water pour with their coloring dies. You can pour 1/2 inch in one pour. However, it is more expensive. Hobby used to carry it and with a 40% coupon it was reasonable. They don’t carry it anymore. They now carry Realistic Resin (SceneryProducts.com) I find it works like Realistic Water 1/8″ (3mm) layers..
Dave those magnetic couplets are great. What is the incline and have you experimented on the number of cars before uncoupling?
Looks wonderful!
FANTASTIC!
The realistic look, color and slight movement of water, the enormous details put into it…..just masterful and only one of a kind!
The magnetic couplings are not much good for anybody that has a triangle (wye) or a reversing loop on their layout. Even having a turntable for turning locos would upset the A/B configuration of the magnets.
Brian, very nice details and realistic lighting. How do you manage / keep the dust away / remove dust from you water surface> Since it is so sensitive to placing things on leaves permanent marks on it, I could imagine wiping dust of it could take the marvelous shine? Dust is usually not just dry easy to remove dust, with moisture and other things in the air, it sticks like gue…
Spectacular water scene and Dave another great info tutorial.
Jon, thanks for the how to. By coincidence I received the DQ model from my grandsons as a gift yesterday. So I used your suggestions and did the same to my roof. I love the results. Thanks!
Ray
That’s a great water scene !!! The night lighting is so cool !!!!! Thanks for sharing Chris
Brian,
I had to look twice at your water scenes. The water looks so realistic in the night photos. Amazing effects.
Damian
Don to answer you my incline reaches to 2.5″ not sure what that is in % and I have run with 6 coaches and not a problem …..as for the remark about no good for turntables ..yes got to agree although you could fit normal on the Loco and first car/ ..coach….the main thing is on inclines and uneven track normal coupling do uncouple , this is the answer to that Problem …..Dangerous Dave ,
So realistic , I worked NY Barges tugs, You got it down very nice and realistic .
Superb, Brian. I love the detail and sense of space.
Don’t forget to put in an old tire. Otherwise great job!!
That is the most realistic water I have ever seen on a layout.
I LOVE water scenes these are just spectacular
I have always used clear varnish for my water scenes so cannot really comment on this, but I suspect varnish is probably a cheaper option, and has the self leveling function, and is easily topped off in the future.
Kind regards from a 74 years old modeler
Kind regards, Brian Twigg,