Brian’s been back in touch – he’s been busy building a modular train layout for his club:
“Hi Alastair,
Having manned and run the timesaver layout at the recent model railroad and hobbies fair held in Knysna – my home town, it came to light that the public wanted to see trains running, not backwards and forwards as in shunting to industries.
I made a decision to build a small portable oval type layout in HOn3 for exhibiting at future events. This one will be super detailed as I usually do with my own personal layouts.
It must be small enough to fit in a vehicle therefore the layout will be 5 foot by 2 foot 6 inches and very well detailed with a lot of scratch built buildings on it.
I obtained ISO board of that size and surrounded it with Masonite (MDF) facias.
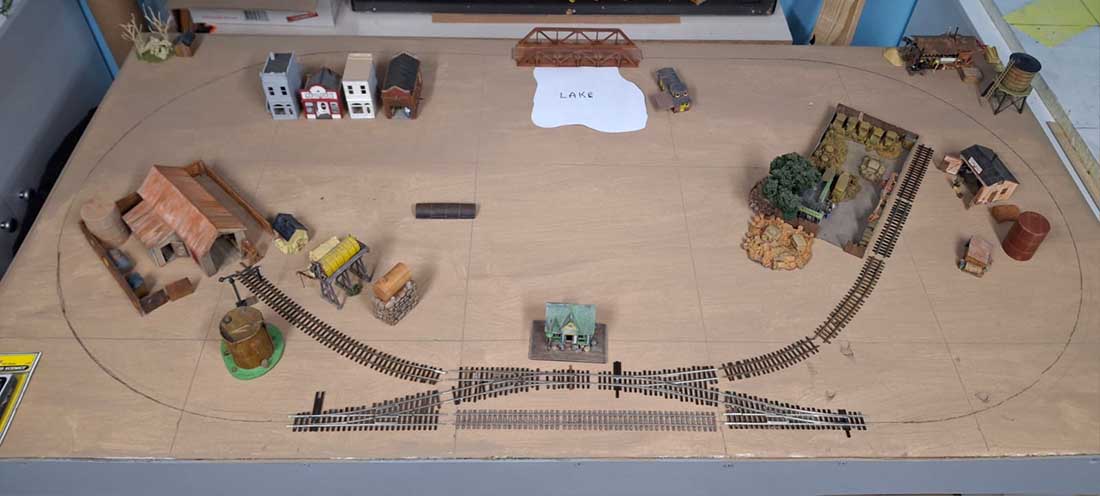
Below is a tryout of the minimum radius on the ISO board before adding the facia.
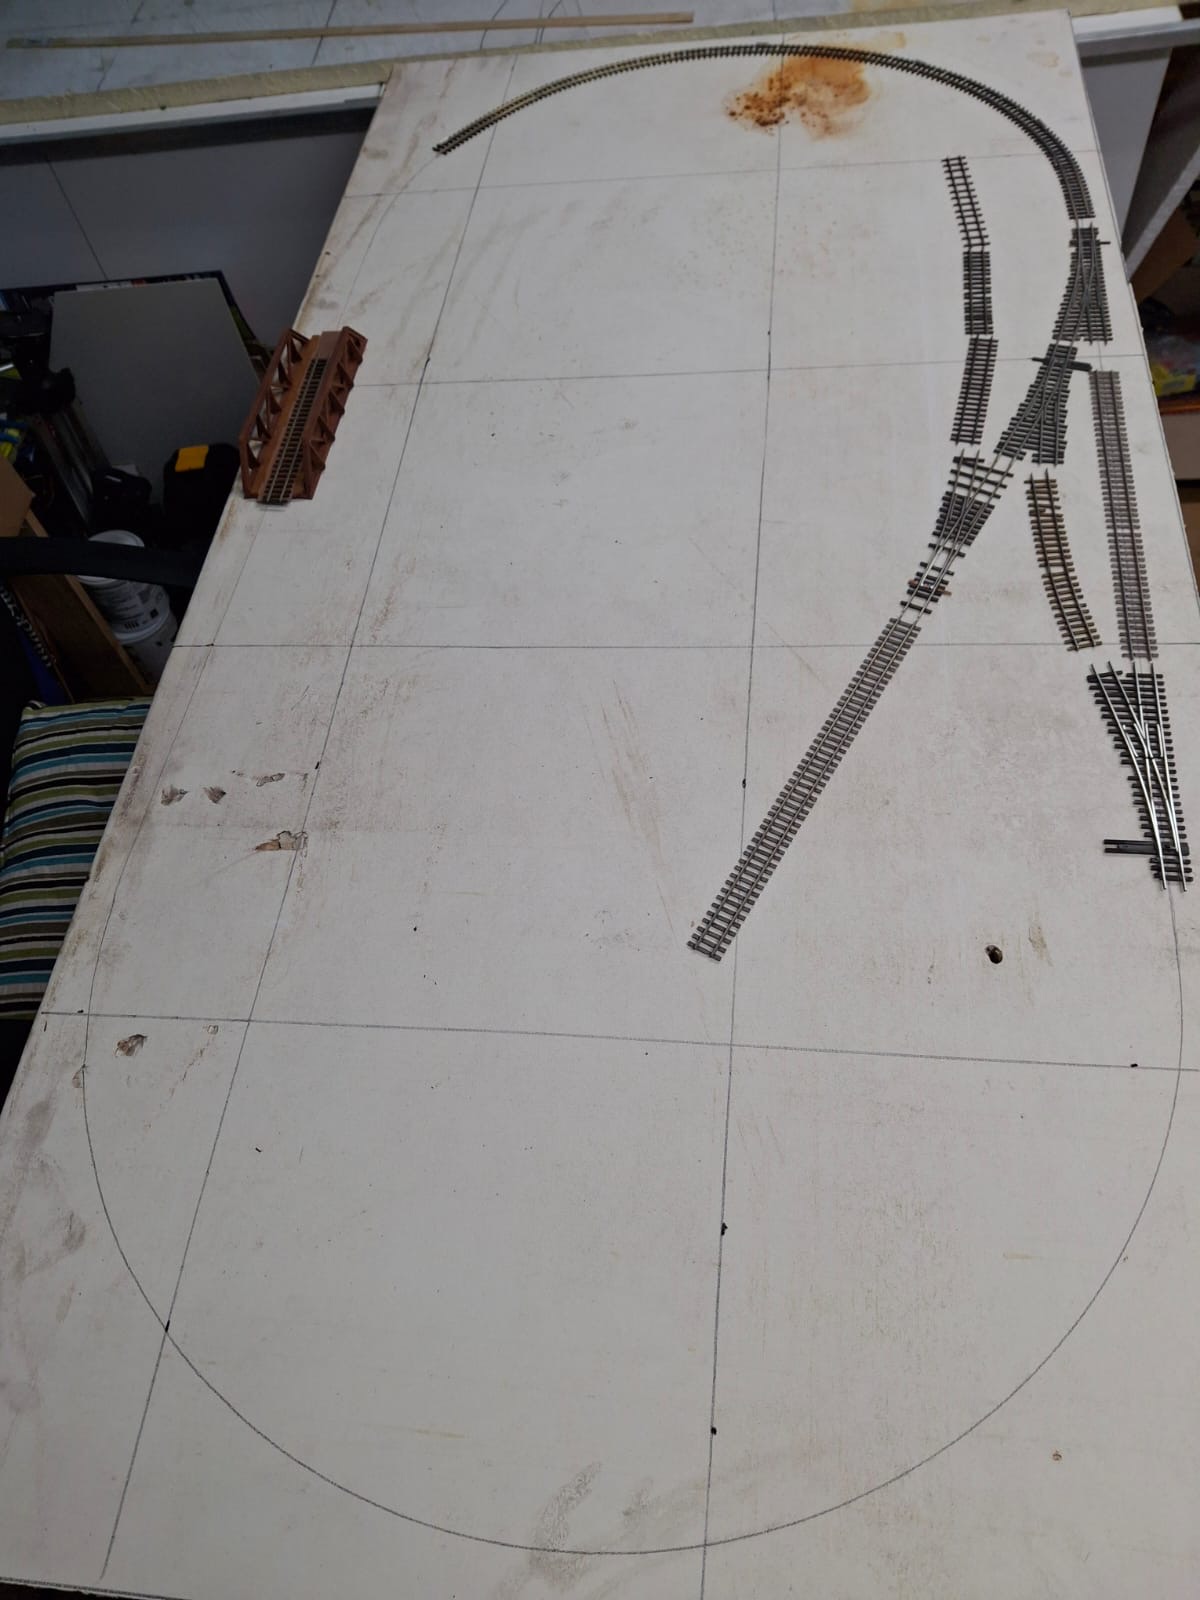
It was then painted with a sand textured earth colour paint and got it ready to mark out the very basic track plan.
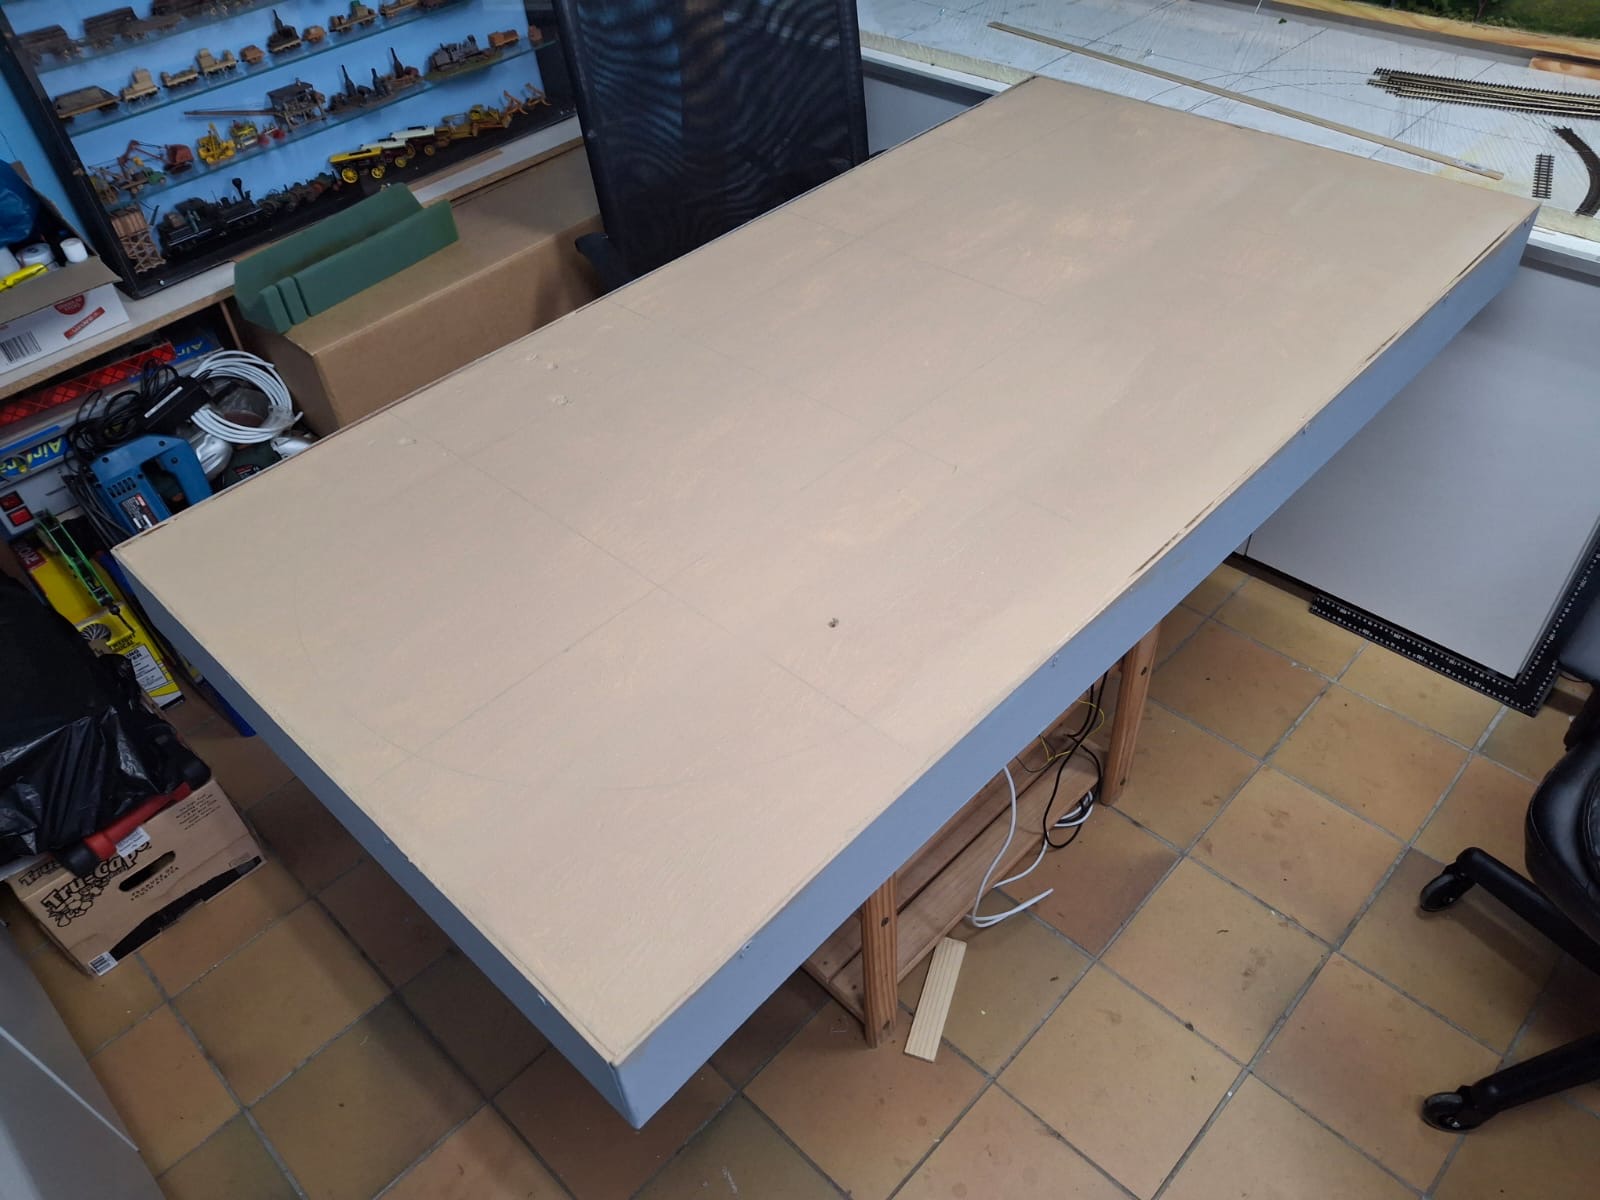
I figured that the largest radius curve that I could get on said board was 13 and a half inches.
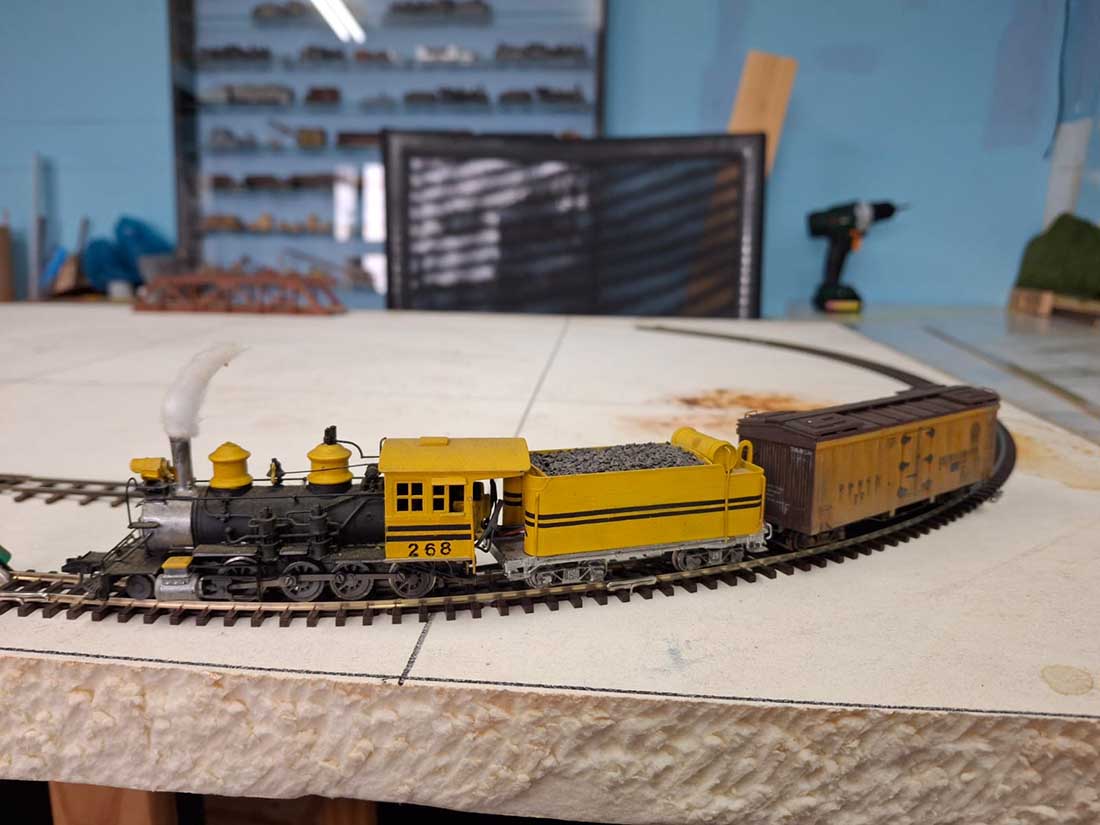
I used a piece of track curved to that radius – almost a half circle and proceeded to test an HOn3 Heisler and an HOn3 C – 16 2-8-0 on it. Both ran perfectly.
Below is the C-16 2-8-0 locomotive.
Next was a track plan to fit and what to put on this layout.
Two main structures that would fit is a scratch built single stall engine house that could handle both locomotives and a scratch built scrapyard.
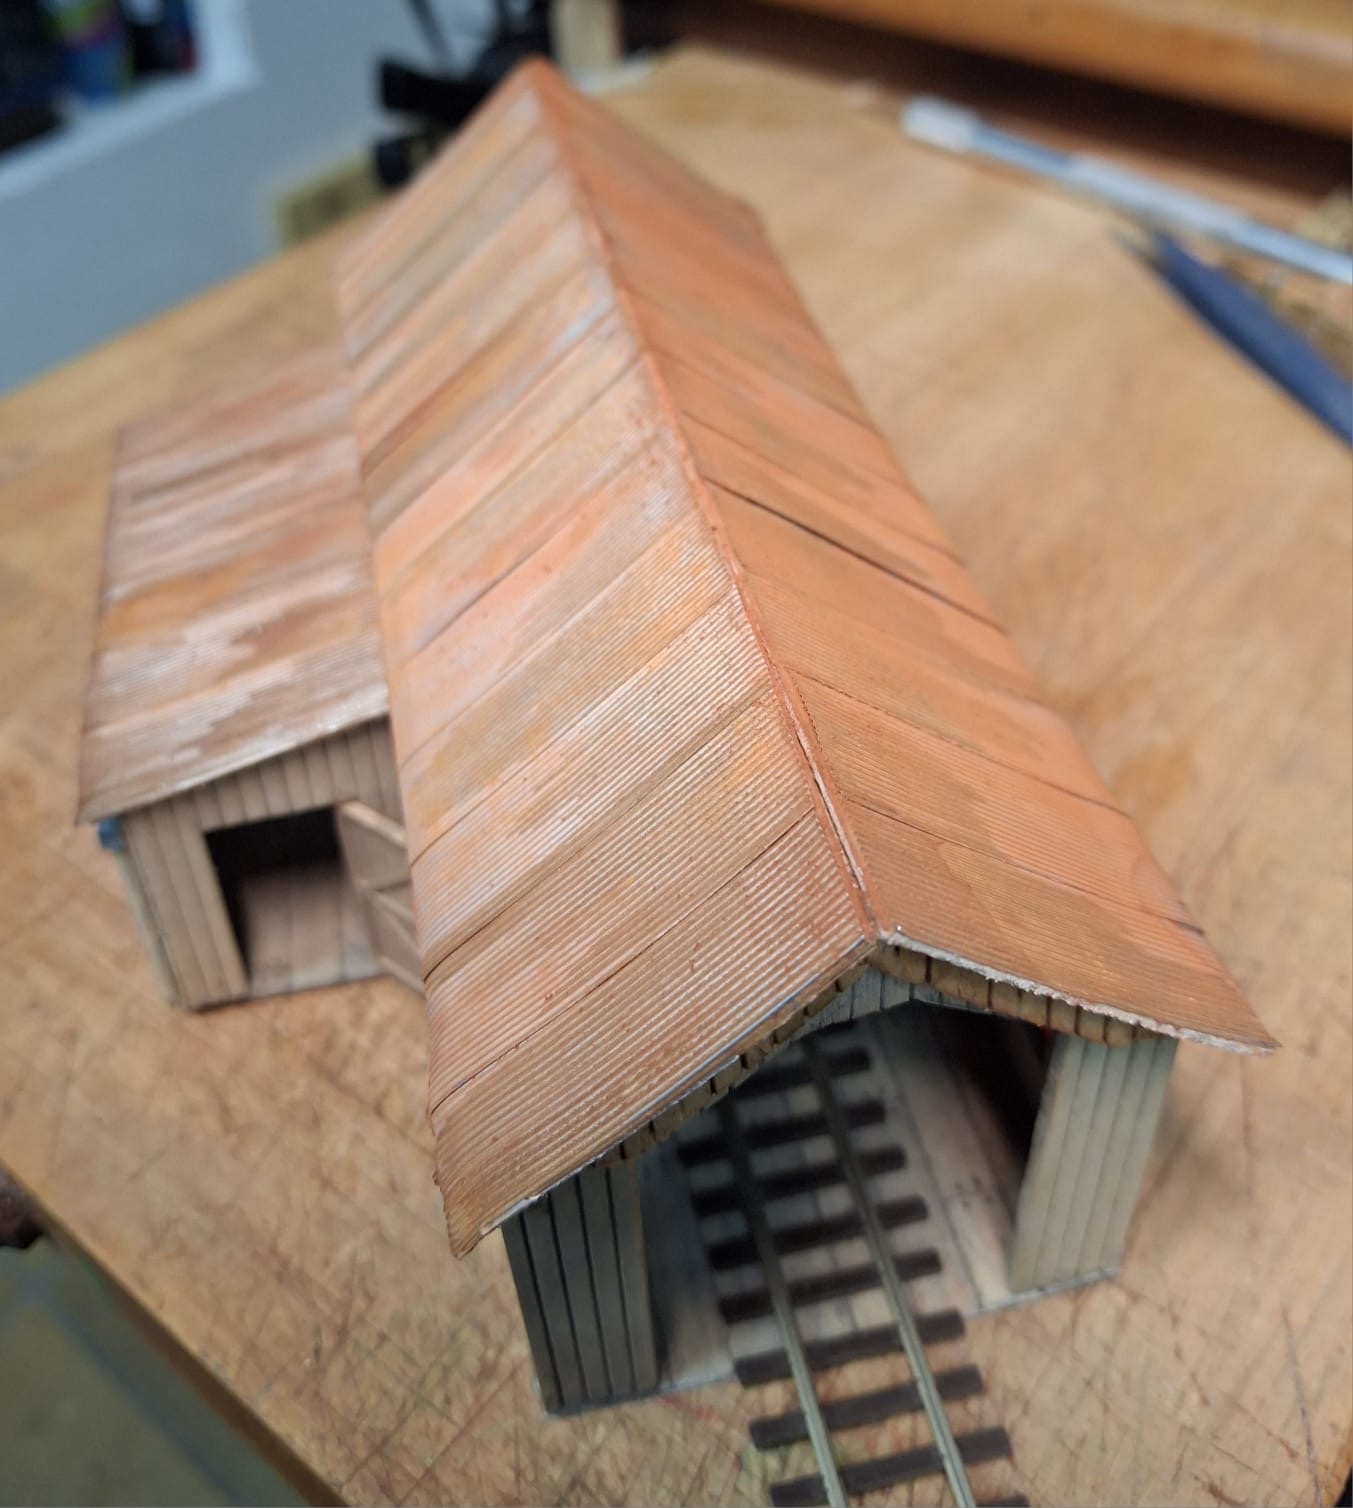
The first engine house that I scratch built was too long for this small layout, so I promptly sold it to a friend and scratch built a new shorter one. The original one shown below with a corrugated iron sheet roof.
Below, the new shorter one showing the HOn3 Heisler inside and was built in a day and a half. All the interior and exterior details came from my ‘bits’ box – some already painted and some needed painting. This shorter length suited the layout a lot better.
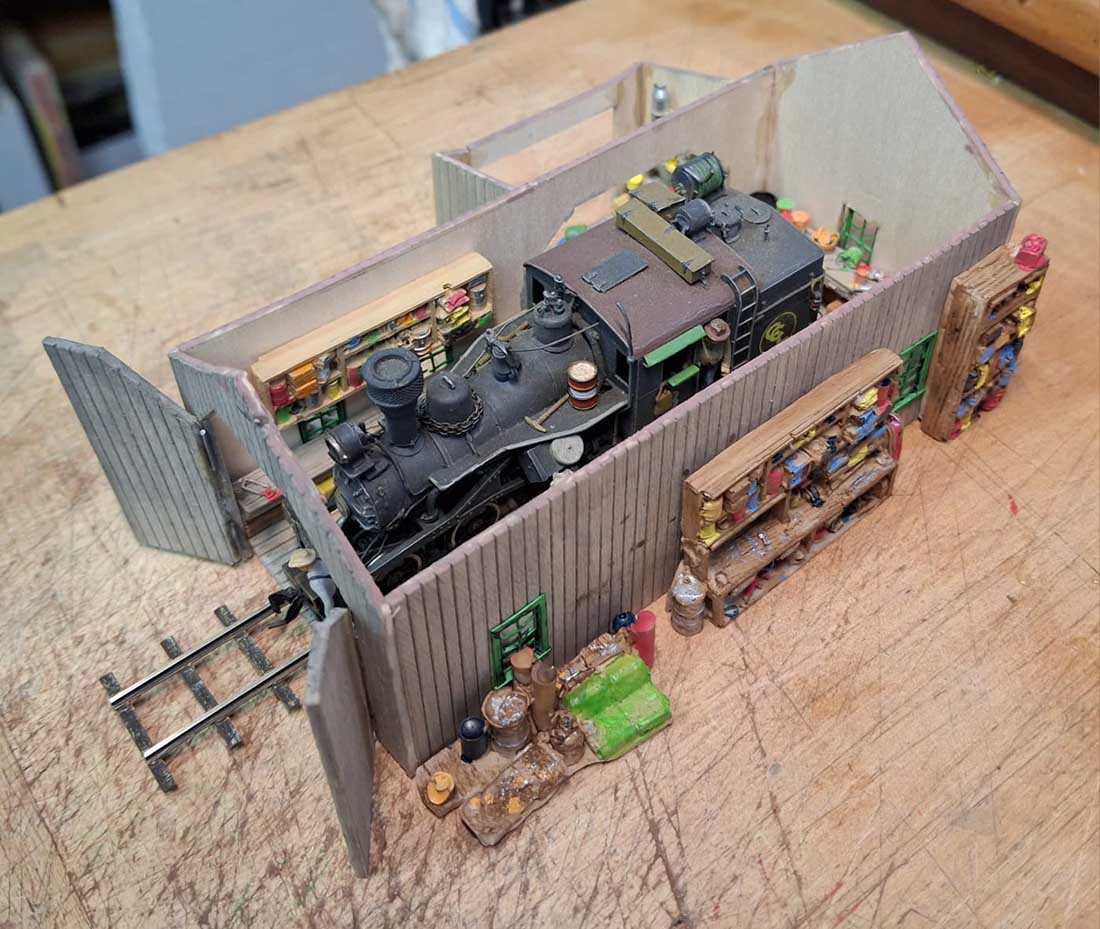
Building a modular train layout:
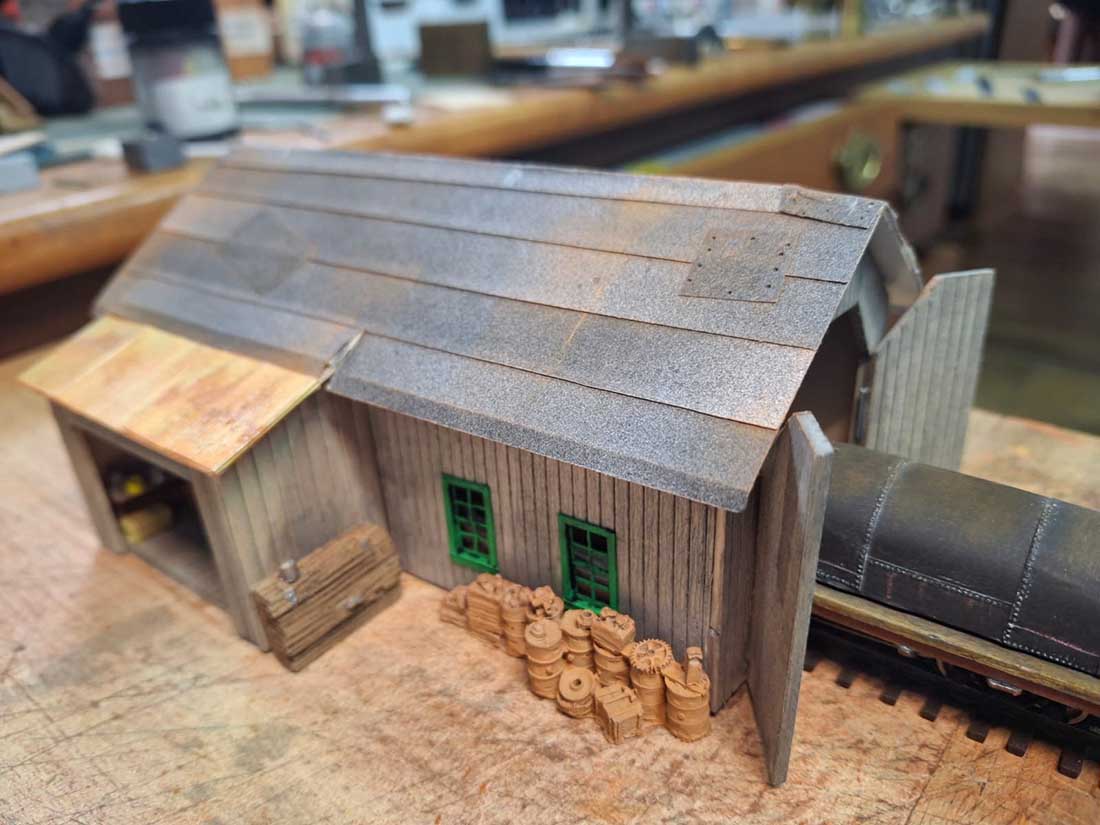
Moved away from a corrugated iron roof to a tarpaper one. (Ran out of scale corrugated iron). The tarpaper is a sheet of A4 white paper sprayed randomly with a black acrylic paint so as not to cover it in a solid coat of paint.
It was then cut into strips and randomly glued onto the roof to avoid the same colour throughout. I Added a few repair patches here and there and then weathered it a bit more. Again all the details mainly the interior ones were added while still on my workbench. As seen above, the roof was made removable.
Below is the scratch built vehicle scrapyard. They are all resin cast from my moulds and glued together before painting and weathering. Next was the ground cover inside.
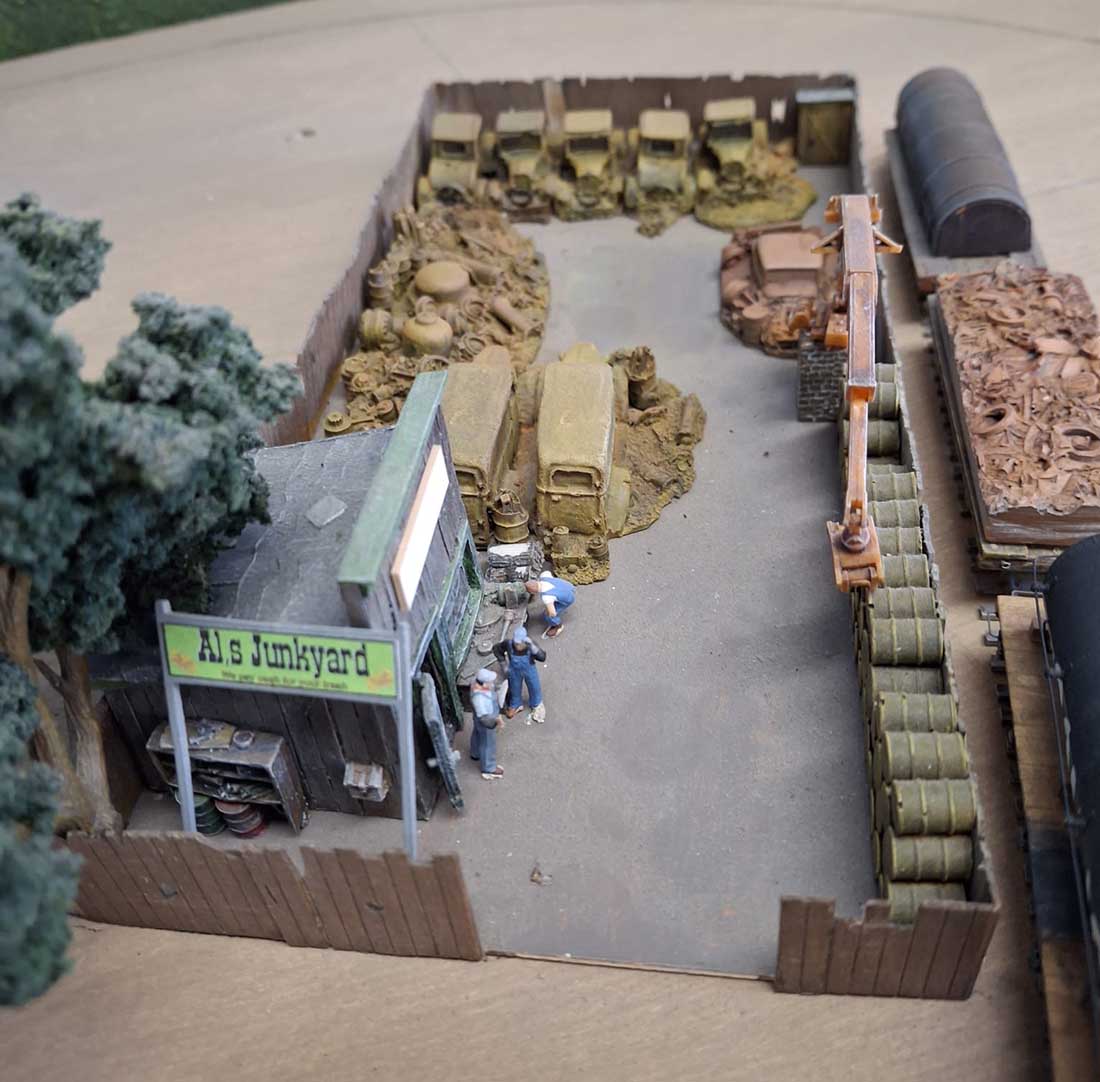
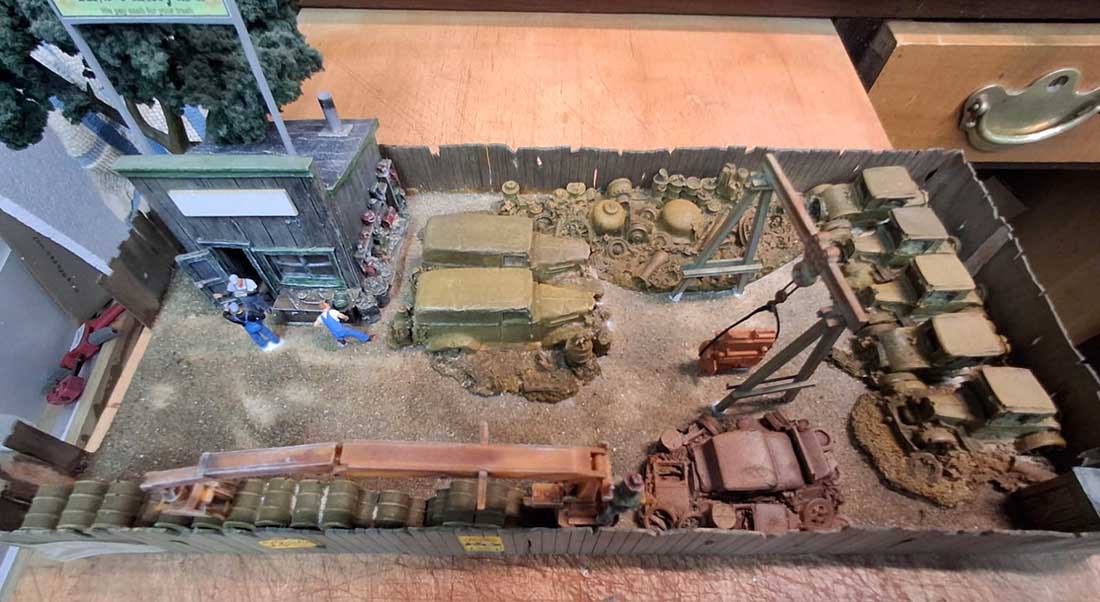
Below is the finished scrapyard ready for installation on the layout.
On one of the corners I placed another general scrapyard. It filled up the wasted corner space with a plausible industry. Note – not yet complete.
The layout had to have a bridge somewhere, so a small lake was placed on the opposite side for the bridge to cross over the inlet to the lake. (The white piece of paper)
As there was a lake to be put into the layout, people had to be able to hire or bring their boats and yachts to go cruising on the ‘lake’. A Scratch built boat hire shop shown below. Again a tarpaper roof was added as described above. The worker is fixing a leak on the peak of the roof.
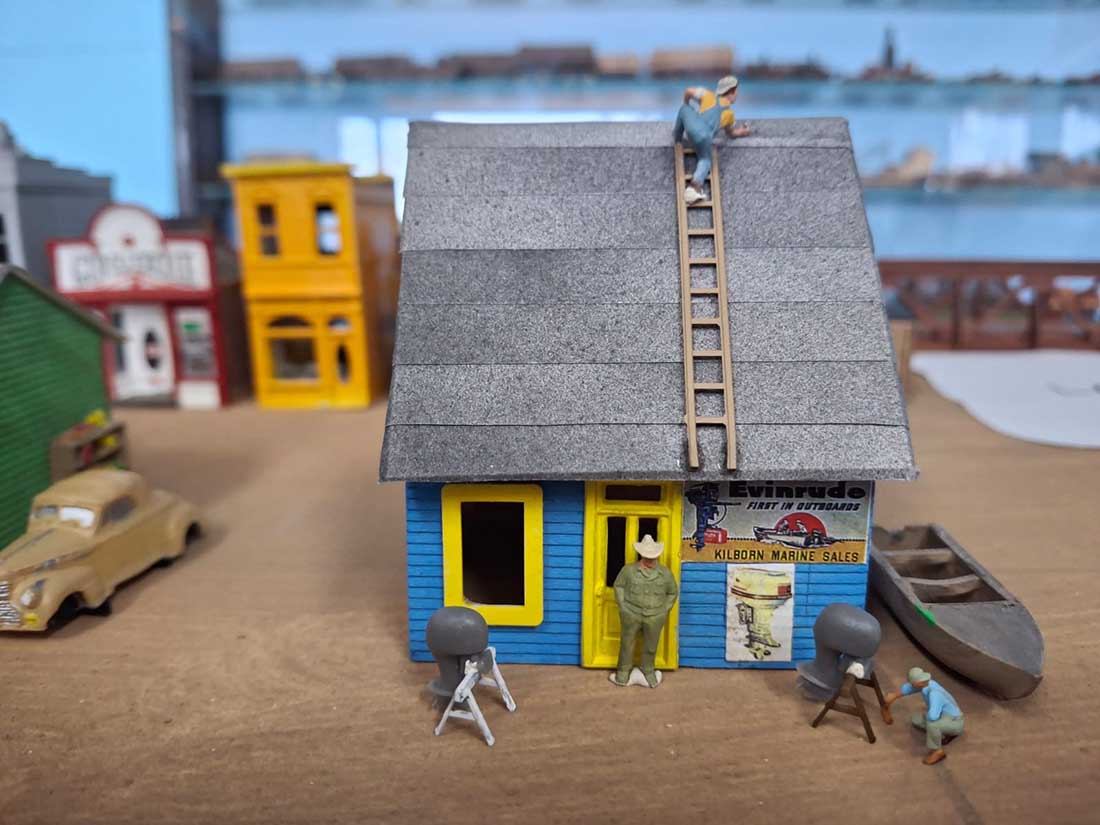
The outboard motors are 3D printed in resin by a friend as well as the sawhorses.
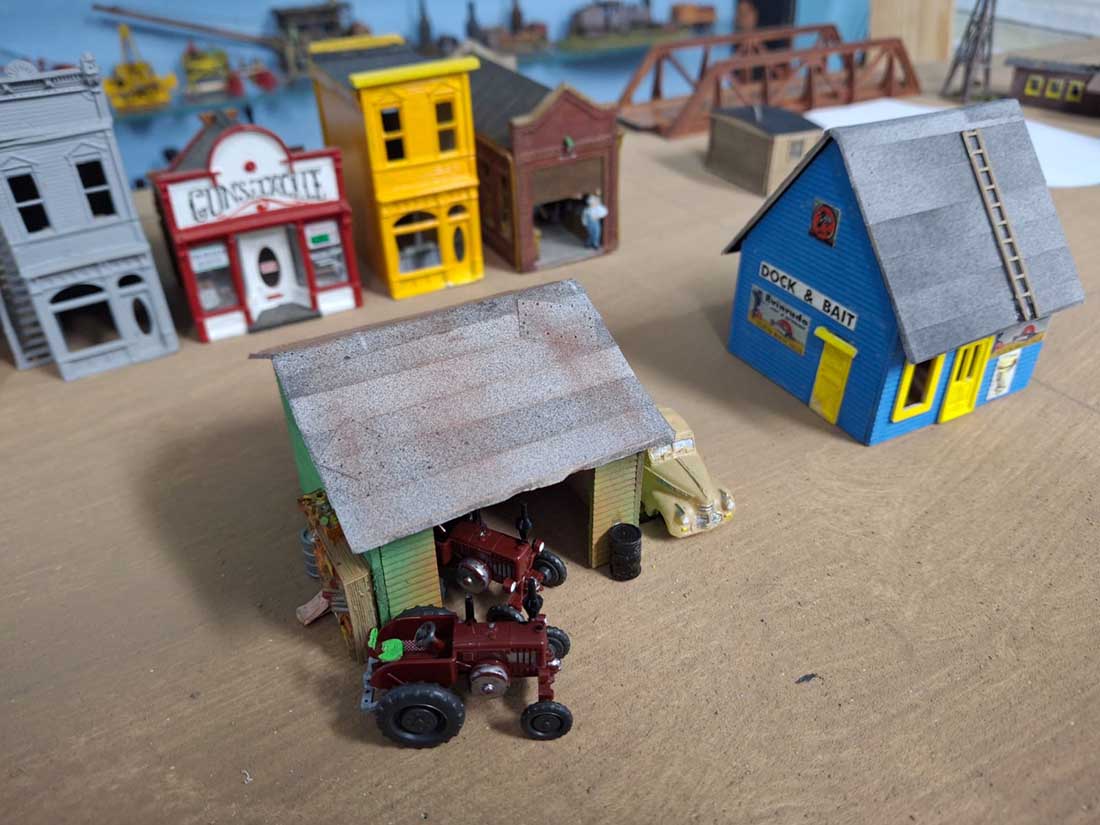
A small town was next with different shops and related businesses. Also added a scratch built tractor repair shop.
On the other side of the layout there had to be an industrial area, so what better place to have it was opposite the vehicle scrapyard just out of picture on left side. A welding workshop is shown in the background. (A woodland Scenics welding shop kit).
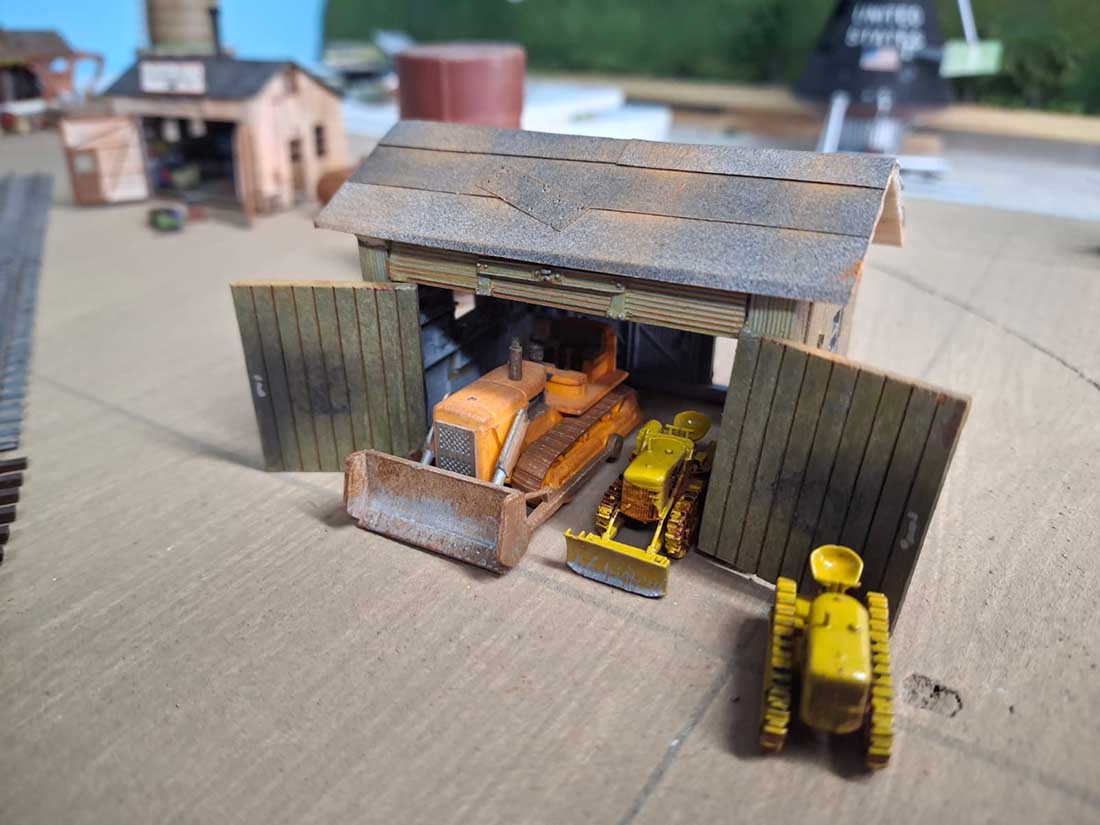
Below is a bulldozer maintenance/repair shop (also scratch built) the dozers will be used in the logging area on the layout.
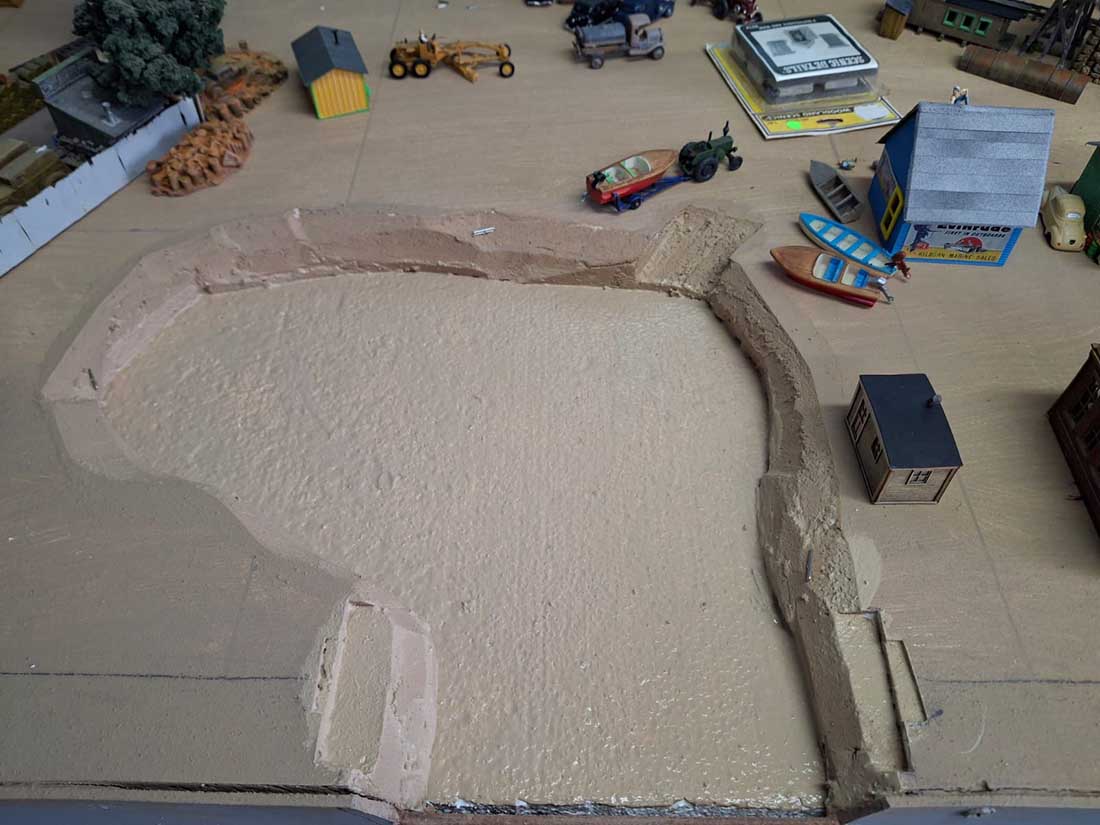
The next part was to cut out the lake area. ISO board (a nice solid type of foam) was cut out to the shape required. The base is 30mm below the surface making it 8 and a half HO scale feet deep. The backdrop does not belong to this layout as it is from my old home layout and is just resting against the back wall.
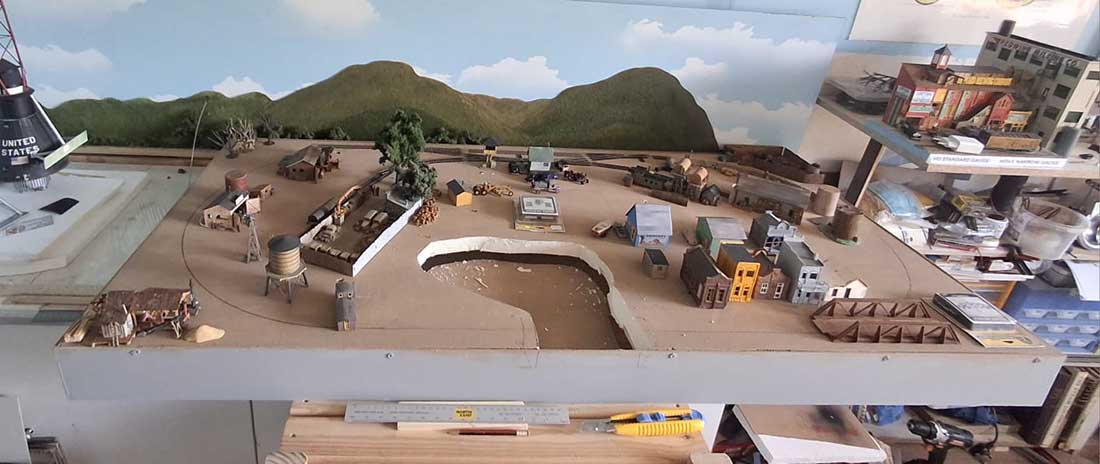
The base of the lake was glued into place and sealed completely to avoid water (resin) to leak through as seen below.
Below is an overhead view to make sure that everything is where it was designed to be including a graveyard (still to be assembled ) in bottom left corner just outside of the (town) also a woodland Scenics kit. No wasted space here. Top right corner will have a moonshine still hidden among some trees and bushes.
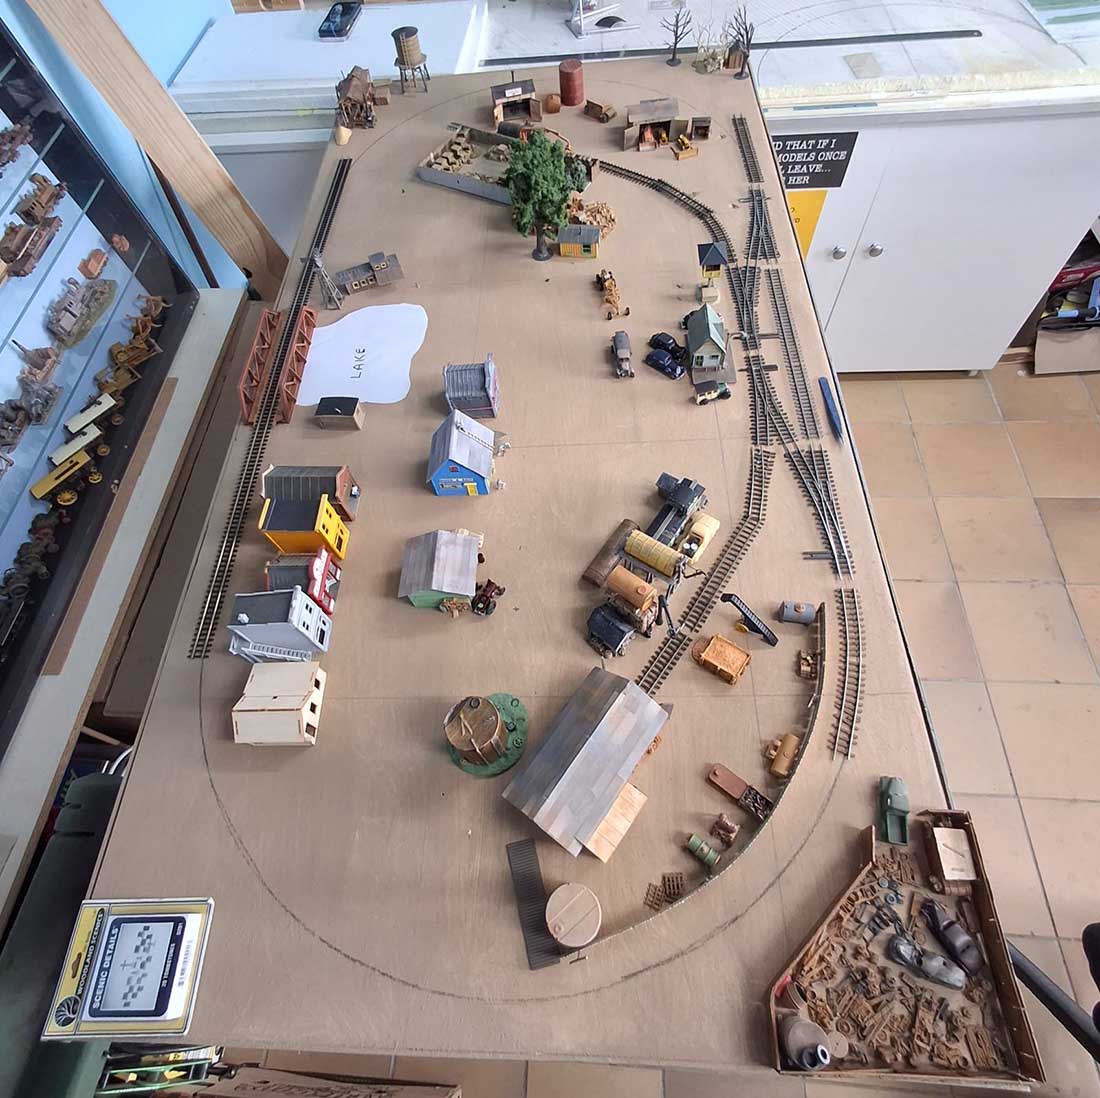
Top left will have a small sawmill where the water tank is.
All the corners have been put to good use and no wasted space here on this small layout.
The layouts main theme is logging hence the Heisler and possibly a Shay a bit later.
This is far as I am with this project and now to start laying the track.
No doubt that there will be a few minor changes and additions as I progress.
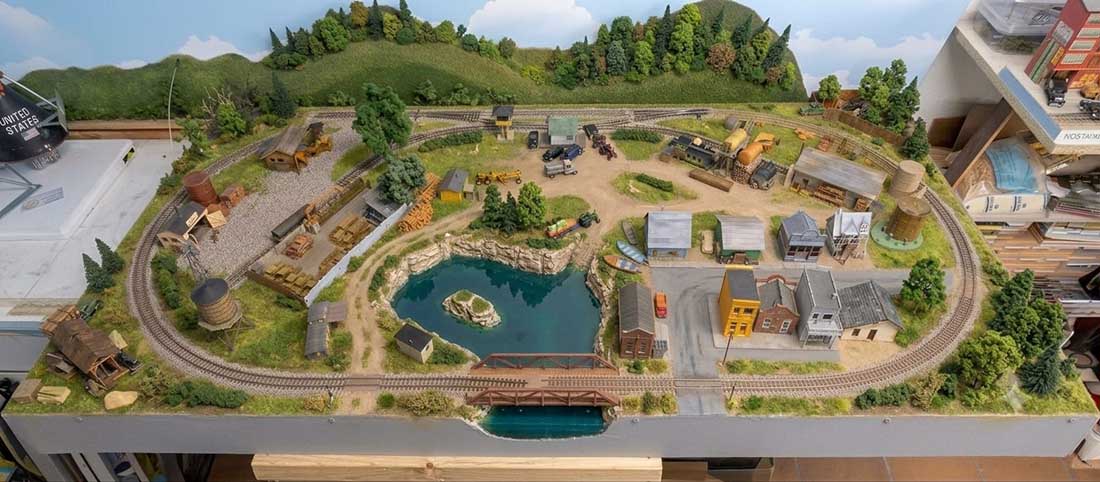
I used Ai (artificial intelligence) to give me an idea on how to scenic the layout and it came up with some excellent ones and I decided the best to follow would be the two shown below. First one was an Ai sketch.
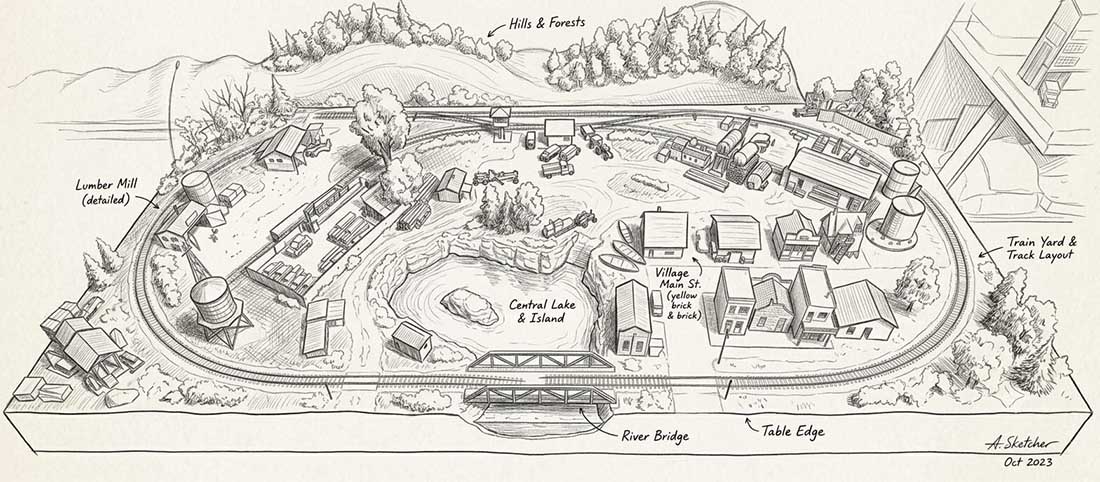
Second one with the scenery below.
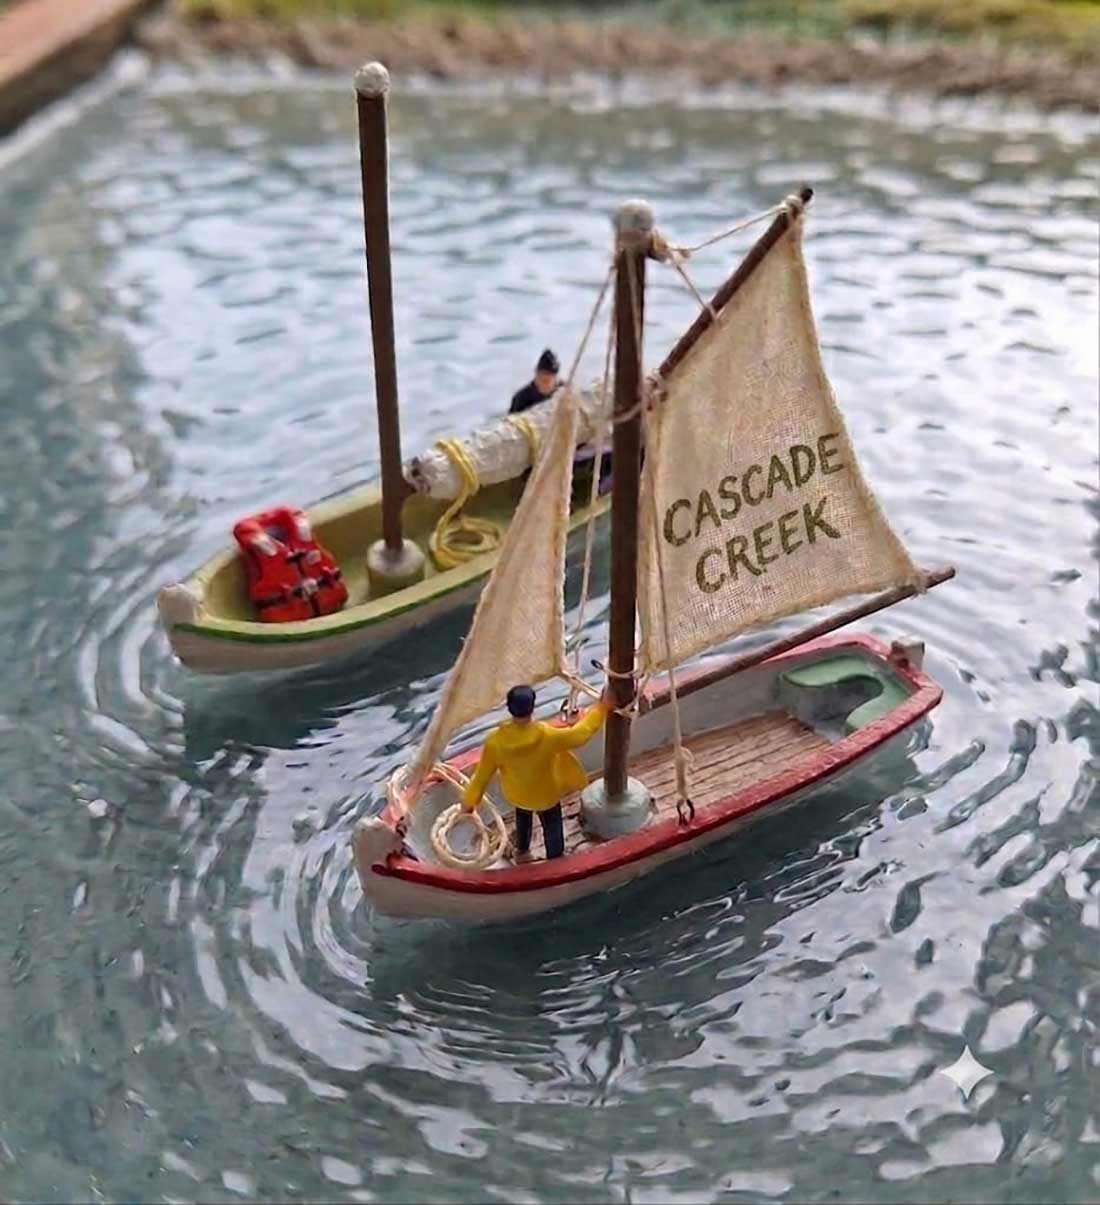
Another one showing the yachts sailing on the lake. I have both yacht models to use.
Part 2 will follow soon and as always Alastair, please keep up the excellent work you do for this site.
That’s all for now and till next time – keep modelling.
Brian – the HOn3 guy in Knysna RSA.”
A really big thanks to Brian for sharing how he is building a modular train layout.
Really looking forward to seeing the finished article.
That’s all for this time folks.
Please do keep ’em coming.
And if today is the day you get started on your layout, the Beginner’s Guide is here.
Best
Al
PS More HO scale train layouts here if that’s your thing.
Need buildings for your layout? Have a look at the store.
They are great fun to make and great value too.

That’s awesome . Good to see your step by step progress as well as your objective to keep it small so as to transport it . Really turned out nice, subtle and very detailed . Relaxing on the eye . Thanks for sharing your creation , great job .
This is a wonderful demonstration of building a layout that is small enough to be portable. Using AI is a creative way to start a layout and get suggestions for adding scenic elements. I like this layout because it is not too busy. When there is too much track everywhere, it doesn’t leave room for the layout to breathe, in my opinion. Great job.
Good story and great work. Love the ripples surrounding the boat hulls!
What AI tool did you use?
what an incredible demonstration your pictures and use of water and scenery are masterful! Thank you for sharing this with us . Enjoy!
Nicely done. Each scene has its own unique and distinct theme and is highly detailed. Better yet, it’s spaced out and not crowded creating a realistic view of the entire landscape.
Jim AZ
That is really a cool use of space and a pleasing overall visual experience. IDK how reliable curved switches are but you could have had a viable passing track if they were used instead of the straight switches off the mainline…constructive comment intended only…
My other pet peeve is the fascia wherein a black or color that blends into the scenery would enhance the overall visual IMHO. I don’t mean to criticize anything you’ve done these are just suggestions. You have created a really fine looking world and the fact that it is portable is the icing on the cake! Great job!
In reply to LO John, I used the Gemini Ai app on my Apple iPad.
Brian – the HOn3 guy.
Impressive.
Another very impressive layout Brian. Your scratch building skills are truly amazing! While I see this layout as being very portable, I don’t quite see how you could call it “modular” since it doesn’t seem to have any potential connections to additional layout modules like Free-mo or T-track. Also, the guy repairing the roof on the boat rental shop seems to be in a precarious position with only the roof ladder and no lower ladder connecting it to the ground. 🙂 I’m really impressed with the AI generated 3D layout plans. How much of it did you have to input to get that level of output?
To Will, you are right – it is not part of or never will be part of a modular layout. It is totally a free standing small layout for display.
Thank you for the kind words on my scratch building skills – about 55 years of experience.
All I did was take a photo of the basic layout and asked Ai to put landscape and scenery on the photo. I tweaked it about three times to get what I thought was acceptable and then asked Ai to sketch it in black and white. Those are the two photos in the article.
The guy fixing the roof will have a ladder from the ground up to the roof ladder once it is all fixed onto the layout.
Brian – The HOn3 guy from Knysna RSA
Good use of space and some excellent craftsmanship. I especially like that you did not fill up your layout with extraneous tracks.