Here’s the easy way to make printable buildings – I’ve made so many of them now, here’s exactly how I do it.
I print the downloads on cheap, everyday printer paper.
I glue them to 2 x 300gsm card.
I find 600gms to hard to handle, cut and fold.
But two sheets of 300gsm glued together feels right for me (but may not be for you).
Also, it’s thick enough to stop the card curving – because when that happens, the buildings do not look good at all.
I stick them together with cheap white glue. I use a paint brush and just apply a really thin layer. If the glue is to thick the paper will tear and the card will buckle.
Once the prints are stuck fast on the card, cut out the building shape with a sharp craft knife.
I always use a minimum of three layers for each side of the building:
1. The base layer.
2. The window layer.
3. The ‘anything on the building that sticks out’ layer, like the windowsills or door frames.
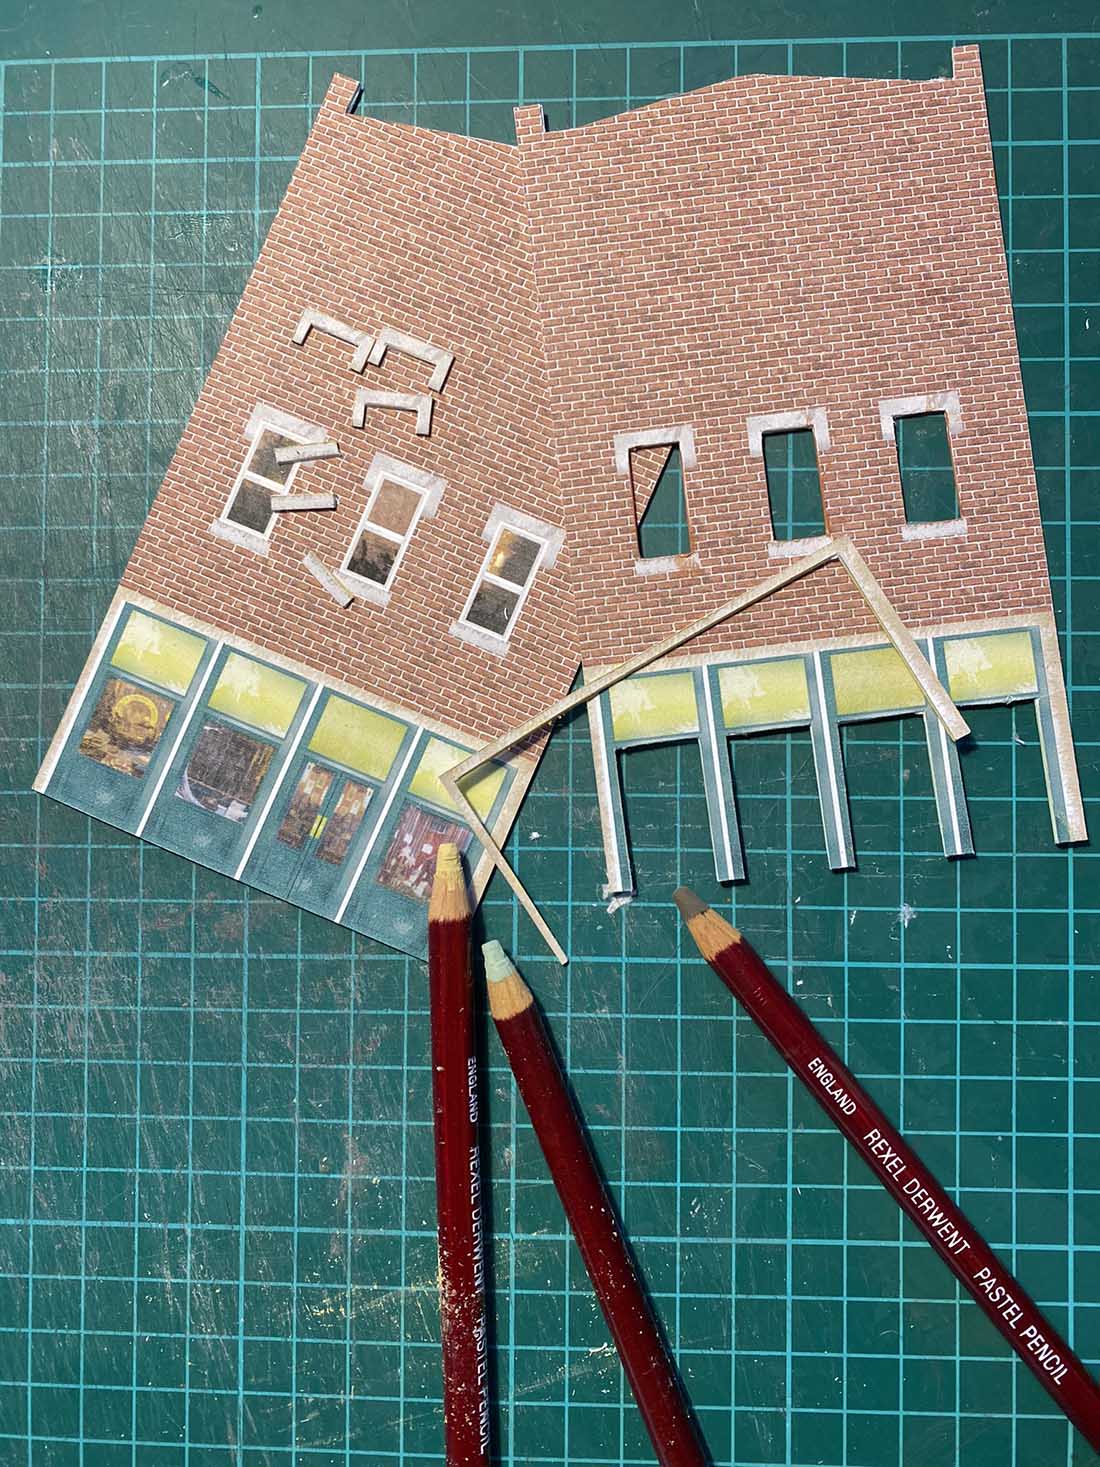
Above you can see the base layer, the window layer and the sticky-out-layer.
Use Crayons or pastels to shade in any bits of white card you see before you glue them all together. Pay particular attention to the inside of window frames and door frames.
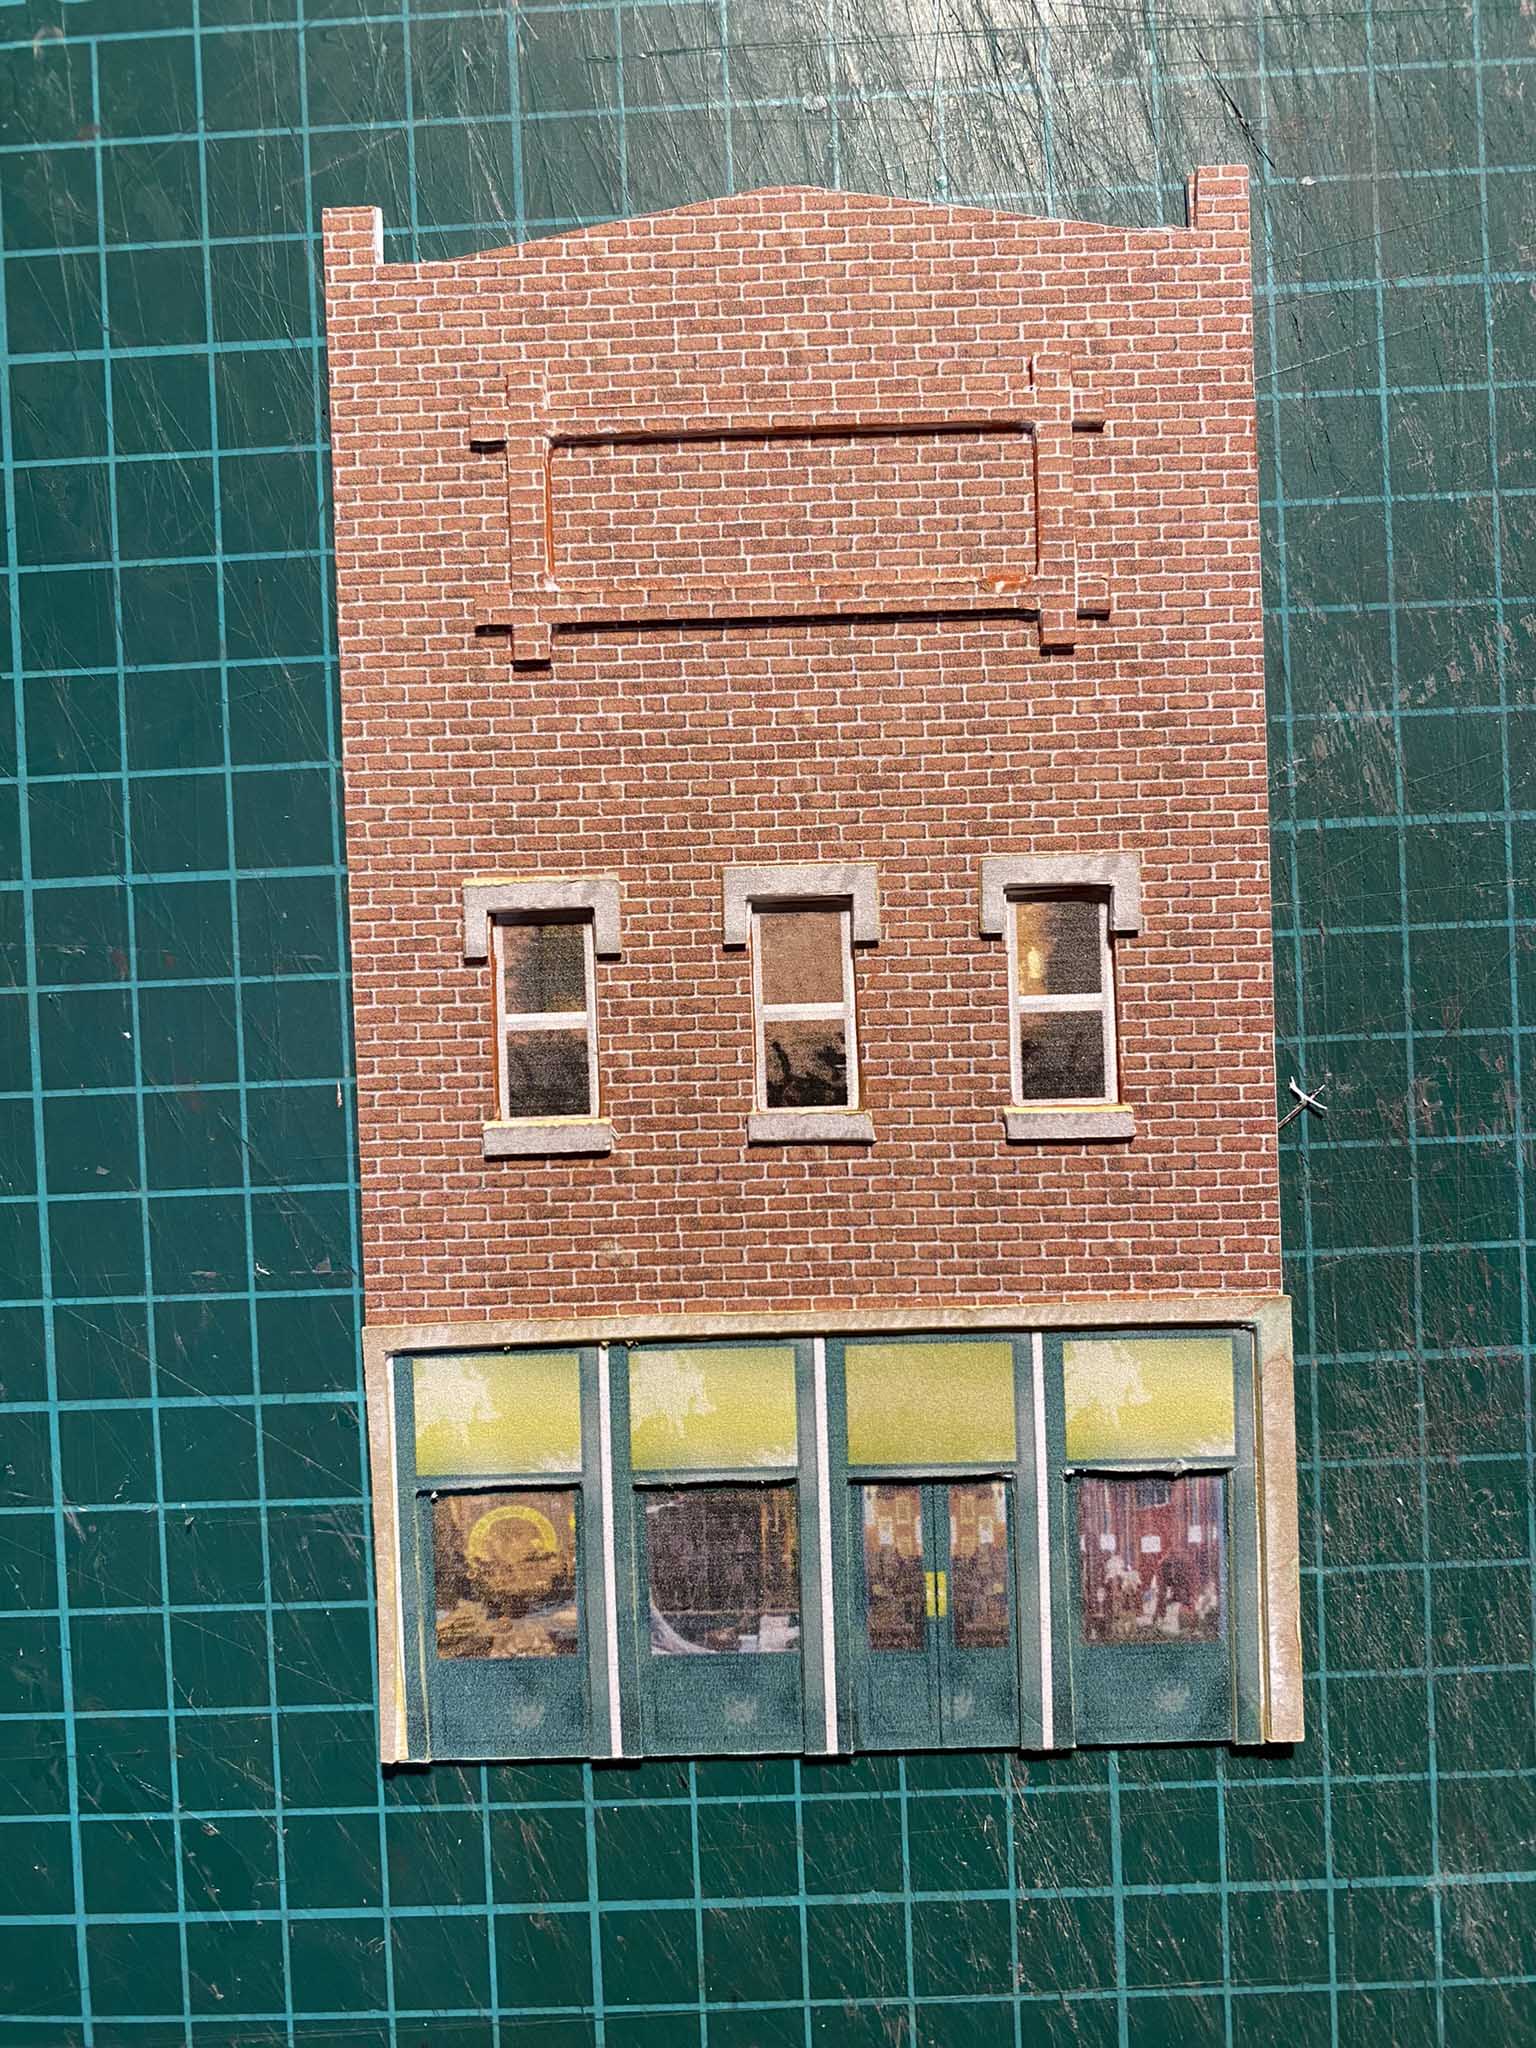
Above you can see all three layers stuck together – they give a nice 3D effect.
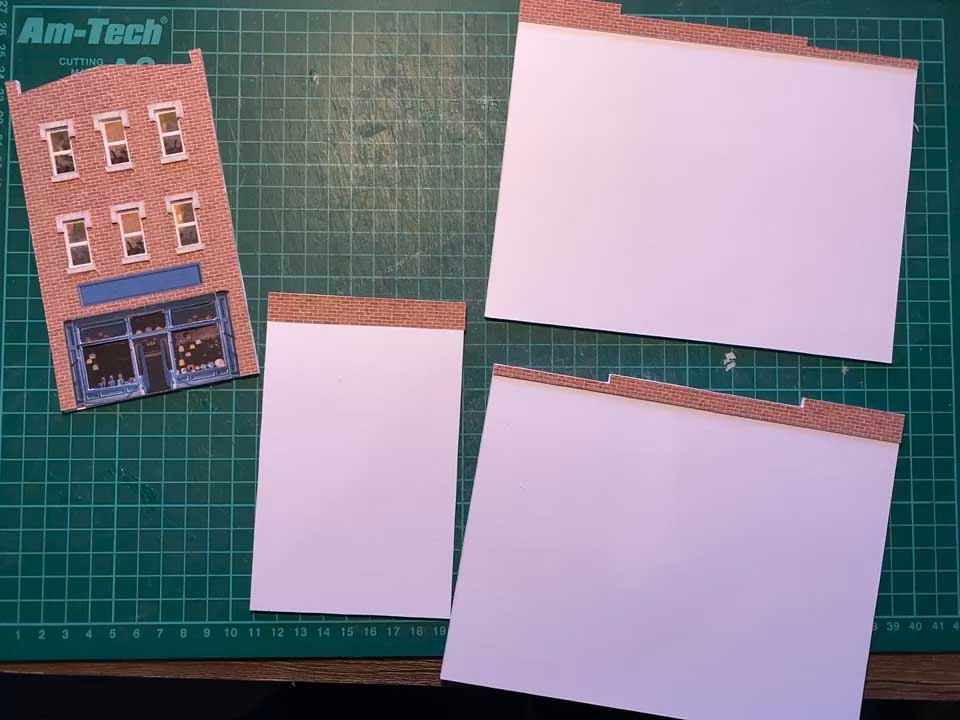
Do the same with all four walls of your printable building (above).
If the design has a roof where you need some brick on the reverse side, glue it before you glue the side together (below).
Trim the roof to size (below). I use foam board (any thick card will do) to cut triangles for gluing the walls together. Three on each side does the trick, and the top one also holds the roof up.

That’s it, you’re done. Easy right?
Here’s how they turn out – and they are a lot of fun too:
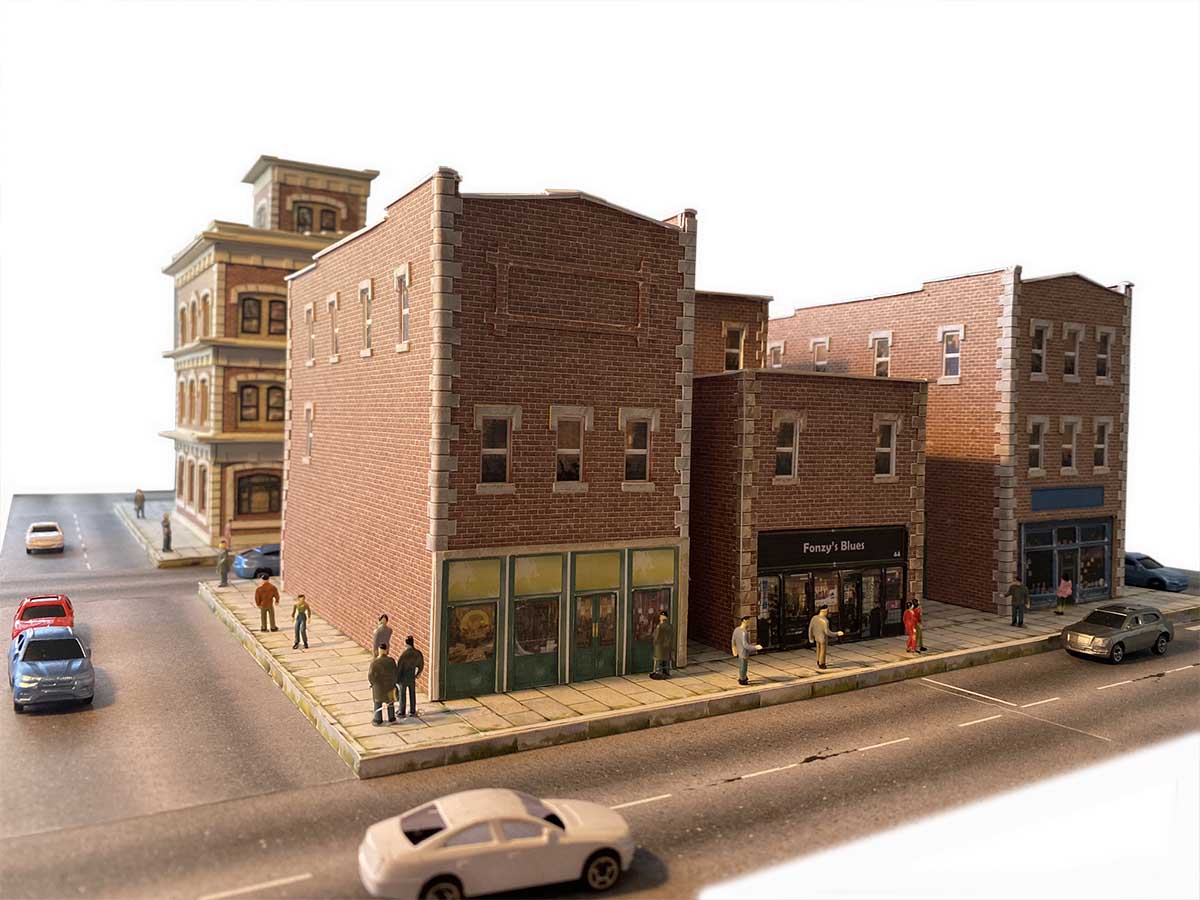
The scene above is all printable buildings.The front row of buildings all come from this download.
You can also add any picture or image you want to add a mural to your wall, like this:
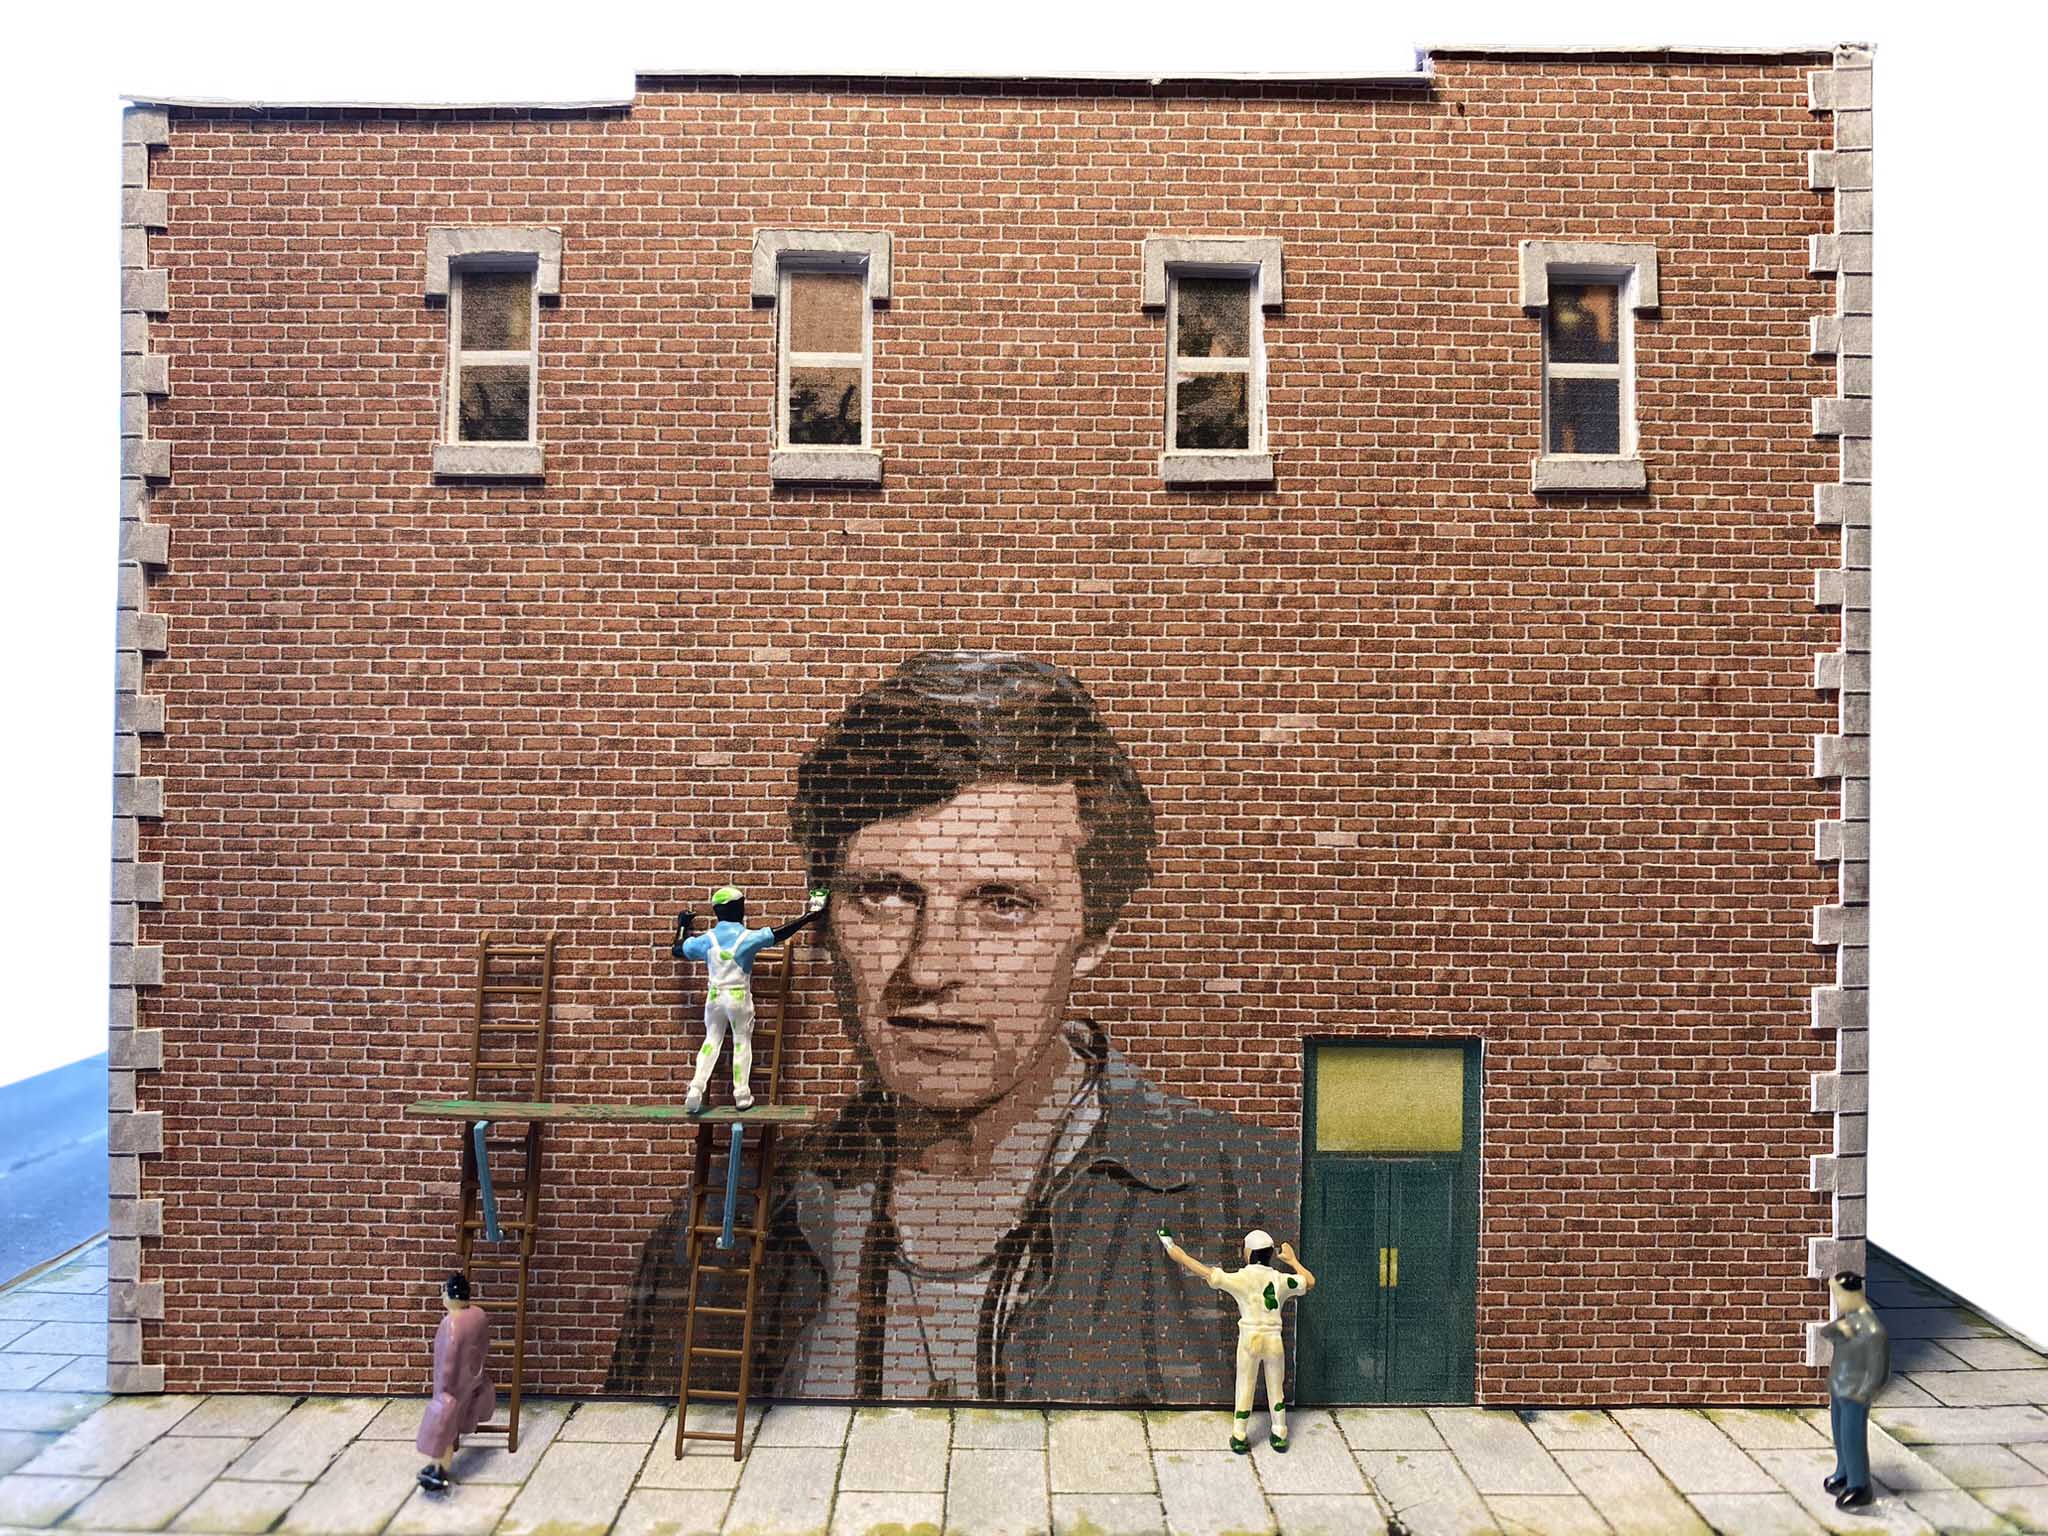
Here’s how to do it.
Once your wall with the picture has been email to you, here’s what it will look like (but obviously with your pic):
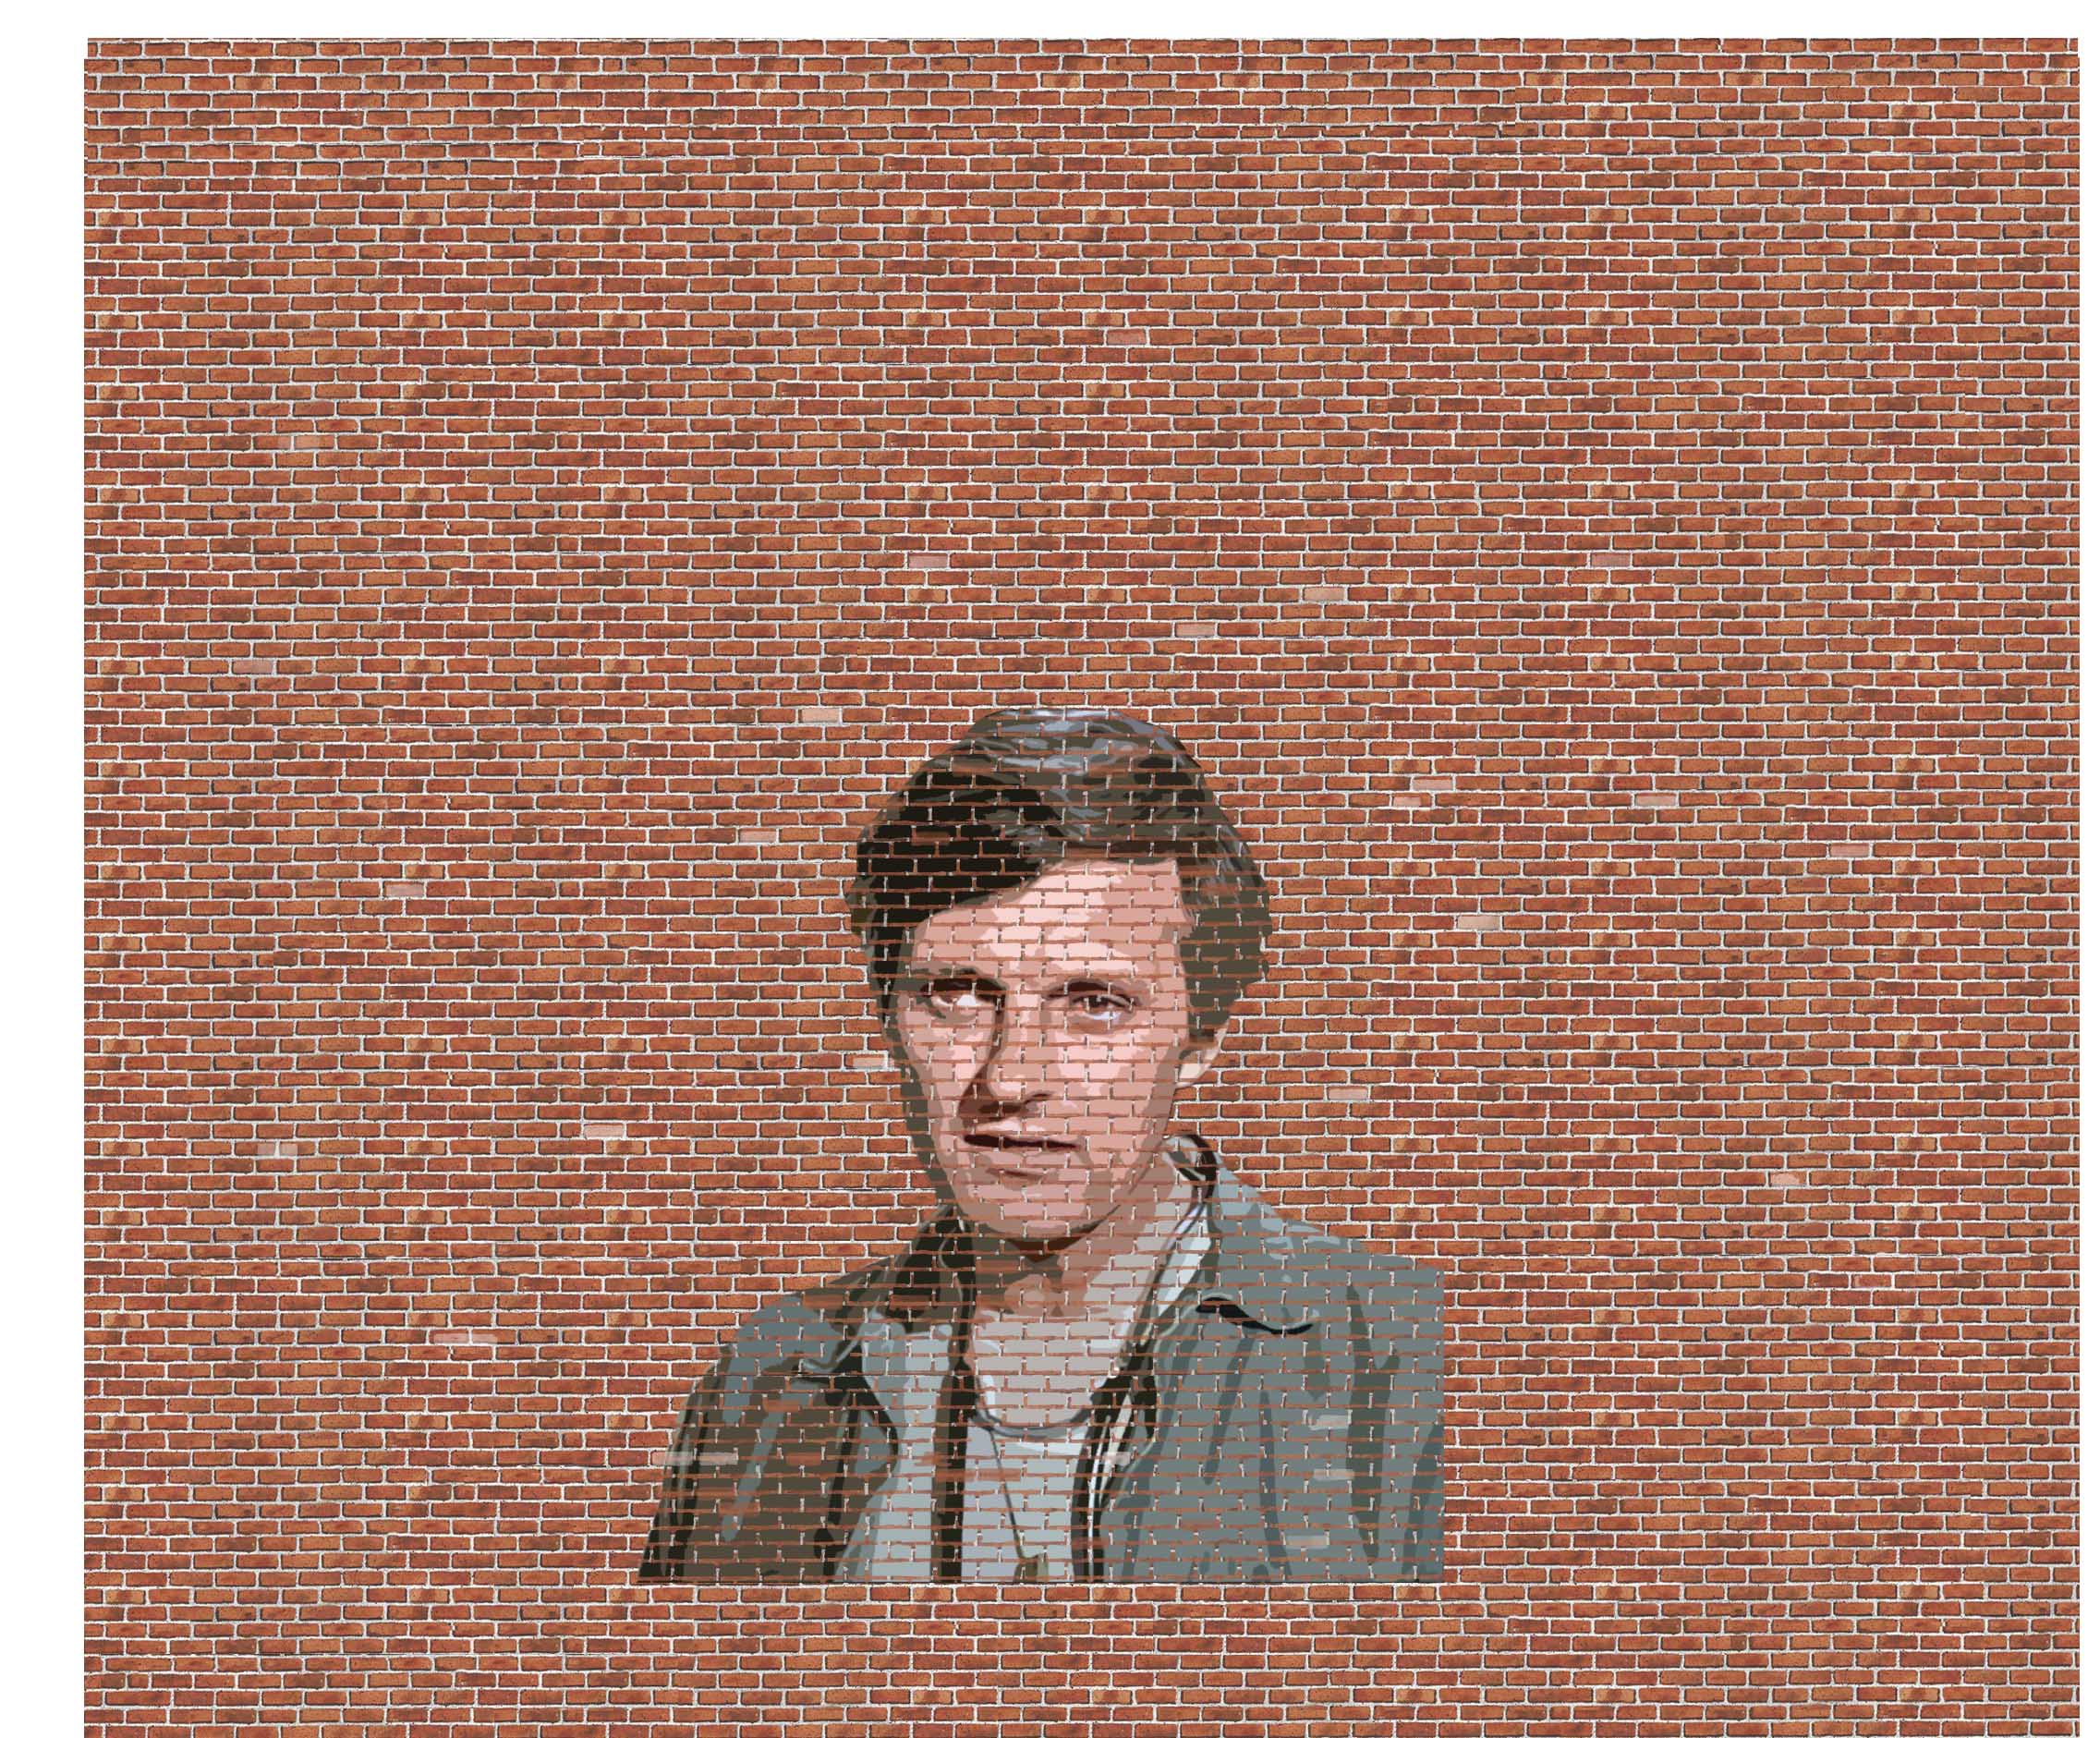
Now you can put it on to any wall of the building.
Lets say you want it on the back wall – you would just make a template from a back wall print:

Place it over the mural print – you can position it anywhere you like.
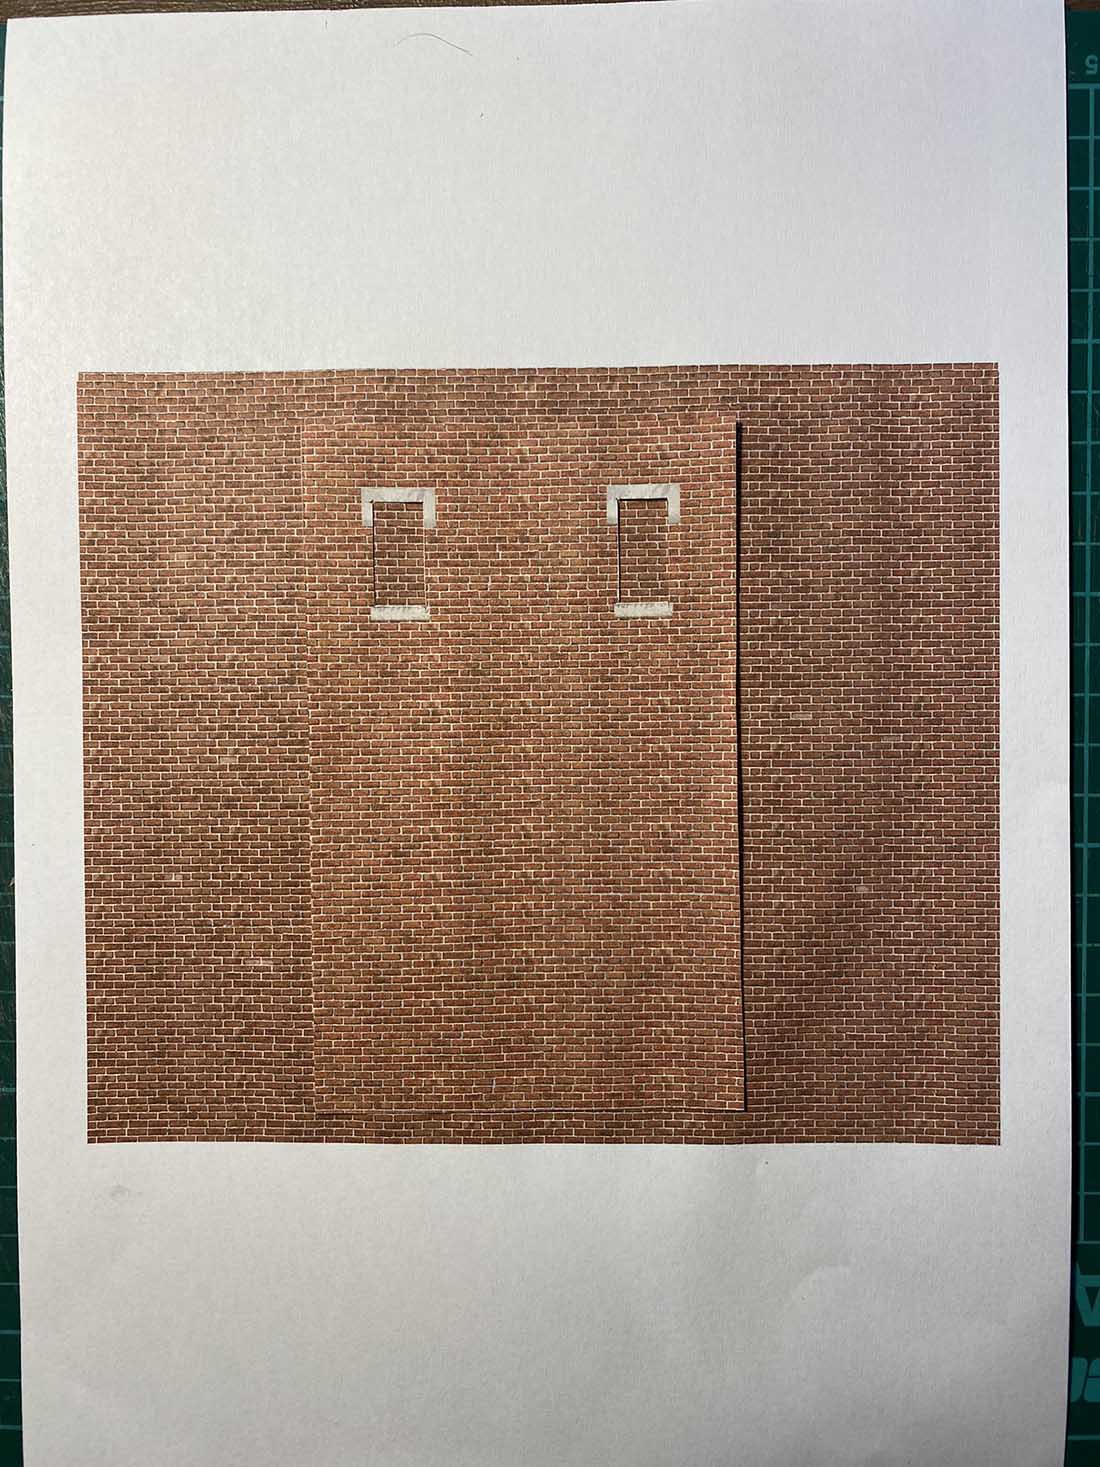
Trace out the shape.
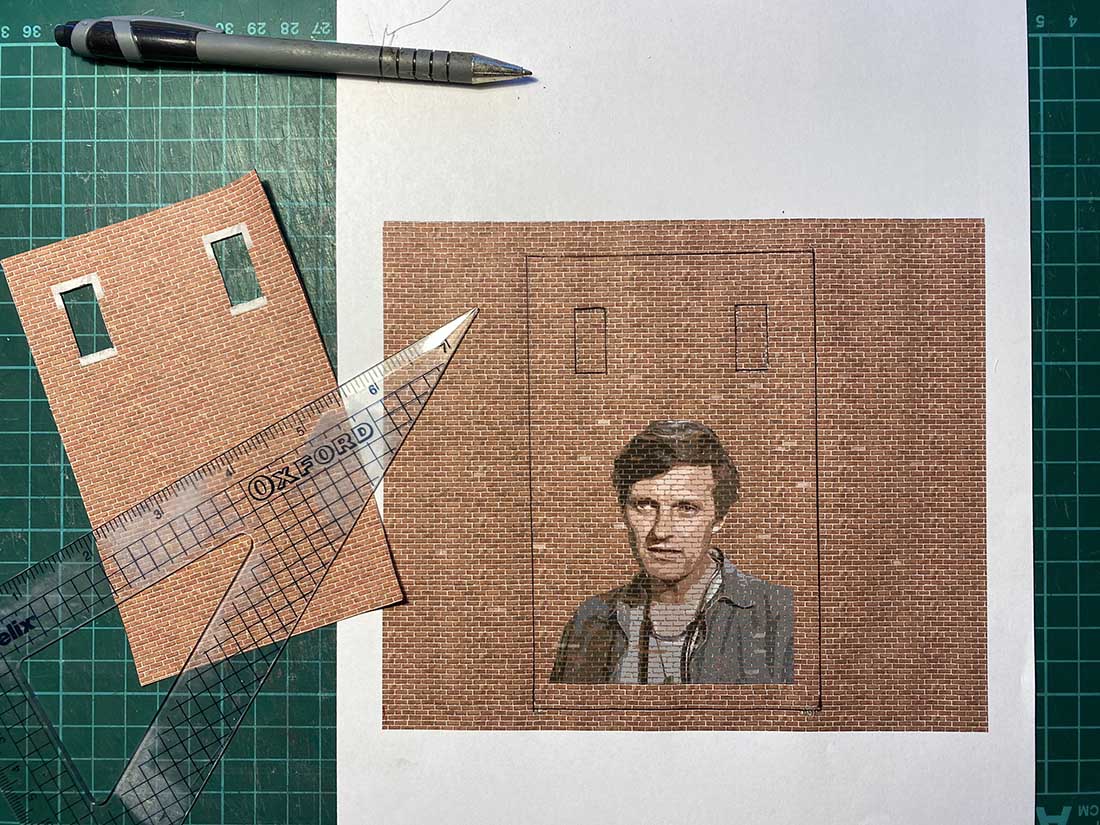
Now it’s just a matter of cutting and you have your ‘middle’ layer that sits on top of the base layer, and below the ‘sticky-out-bits’ layer.
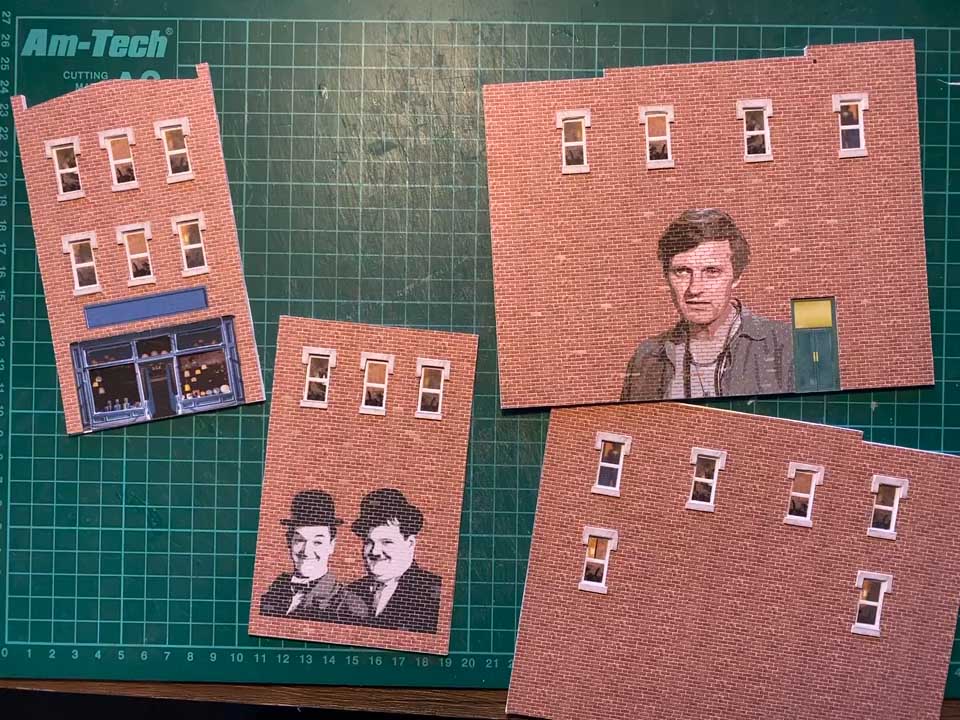
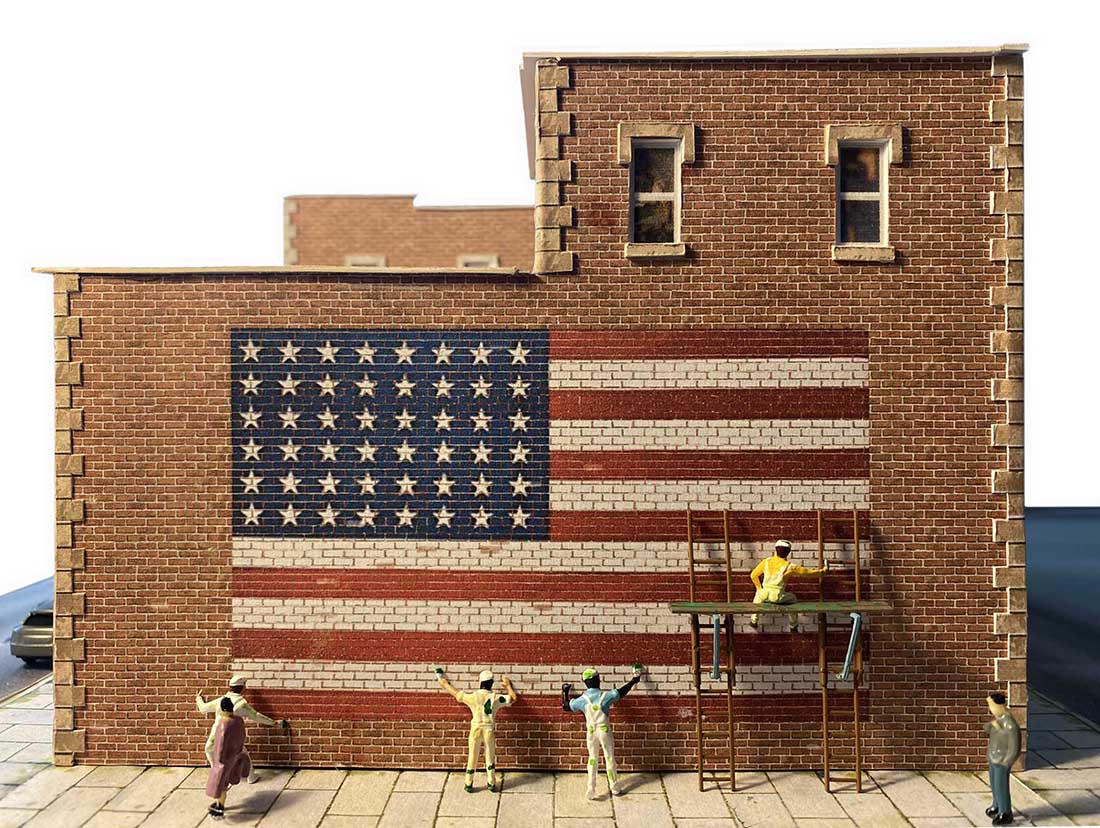
You really can have a lot of fun with them:
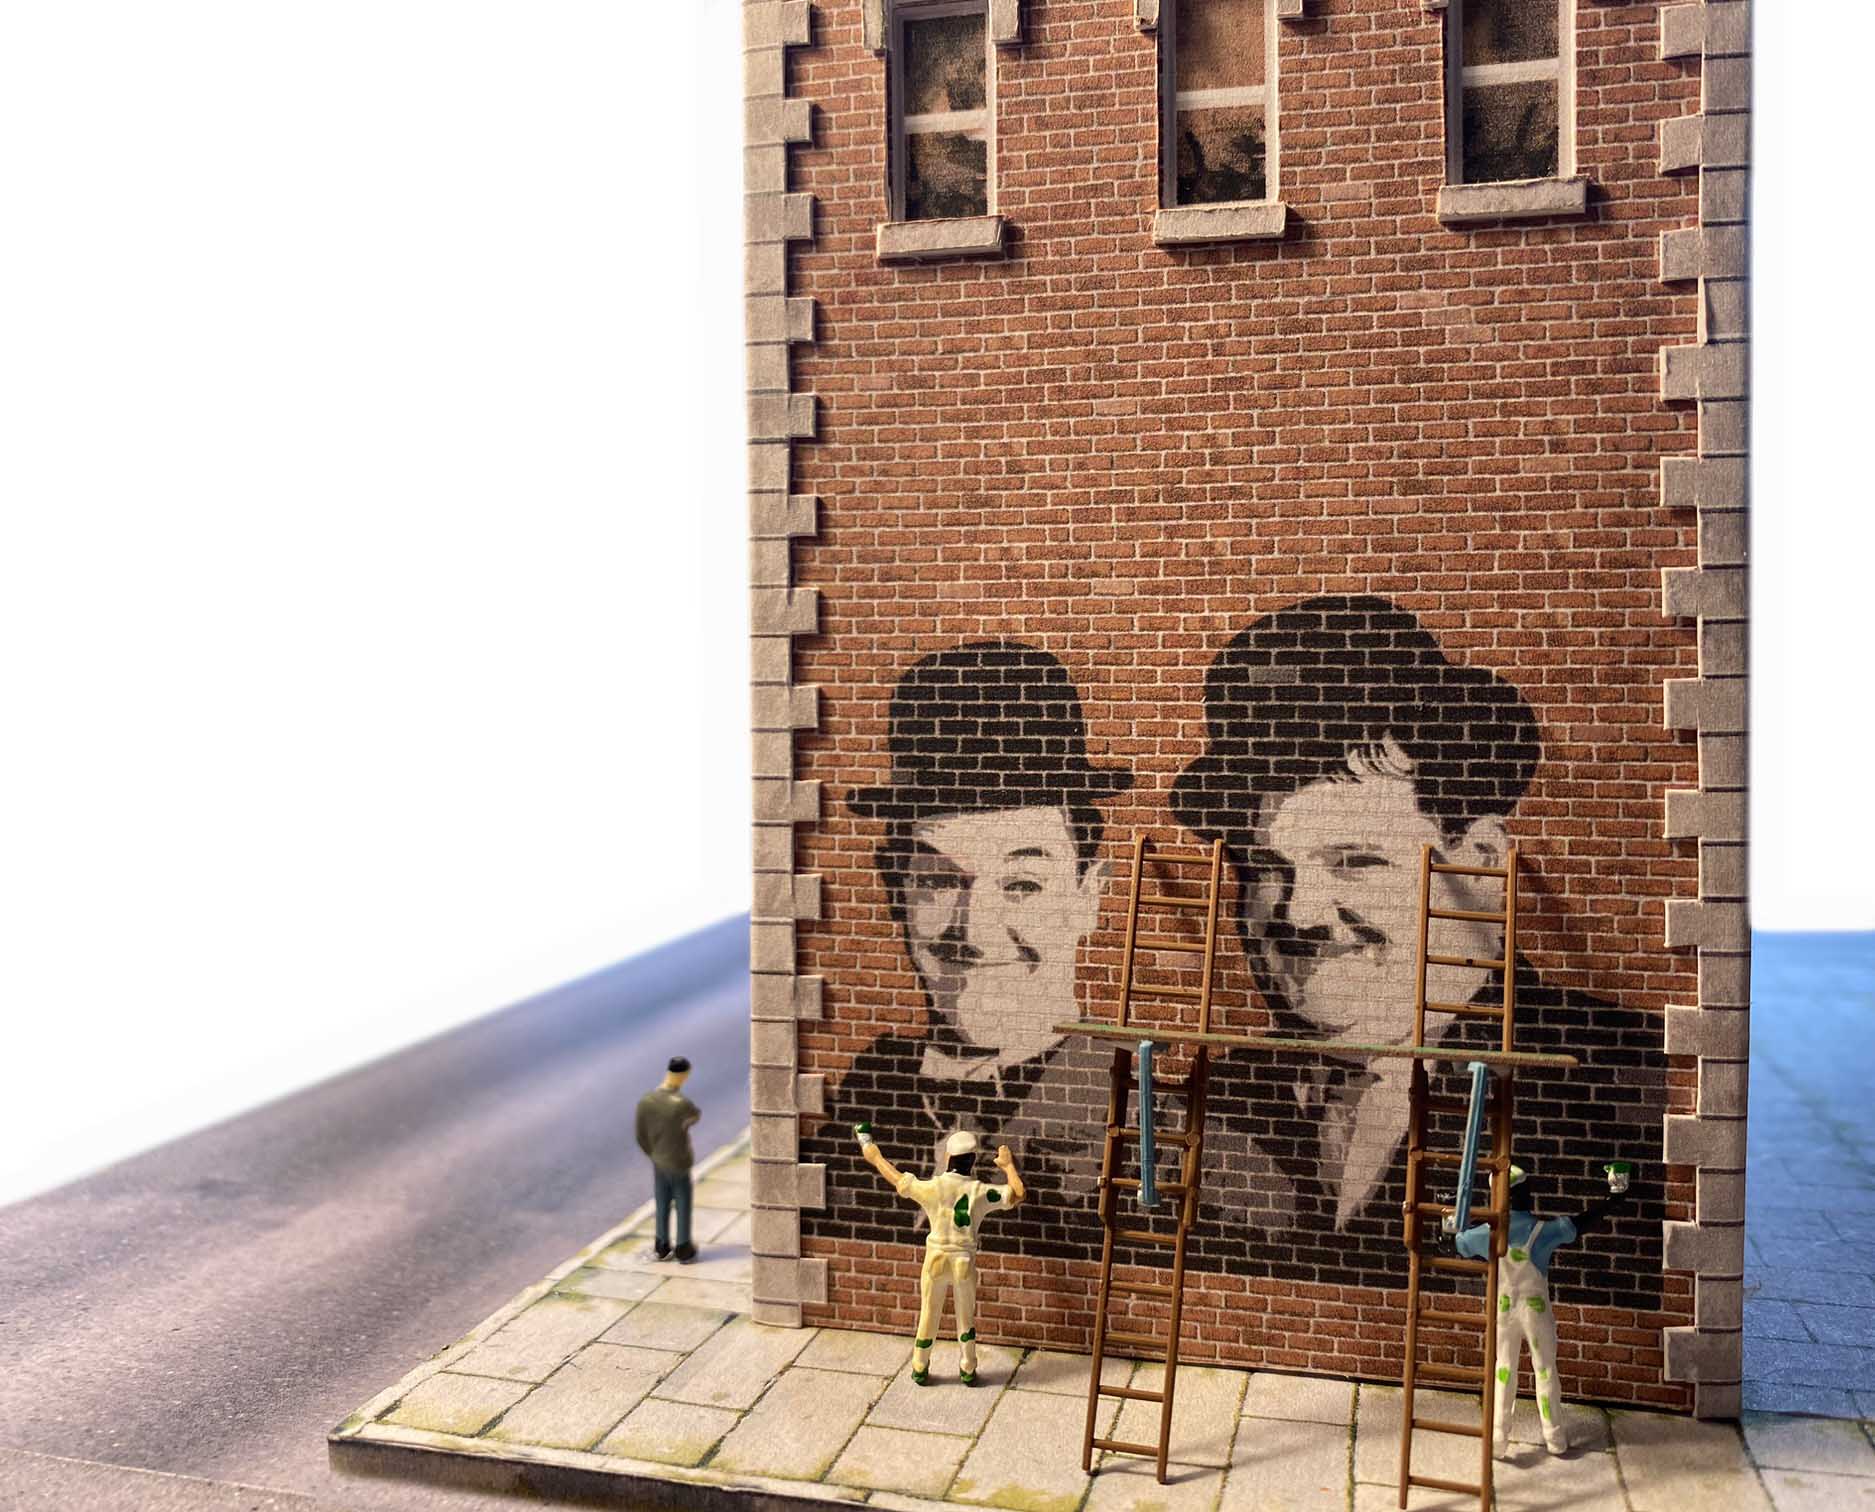
And you can add anything you like – it doesn’t have to be a photo:
Best
Al

Hello,
These images look great. Does the software support “O” gauge print dimensions?
Thank you,
Tom
thank you at a swap meet .guy sold me 4 ho trains .so now i can do the hobby i wanted all my life .they are harly davidson anverzy models still in the raping . set one up .the xmas one . only thing is they are diesal want steam grand father and uncles were engs. will try to trade them foe steam modles… any praise the lord waited 80 yrs.ha ha will order the bulidings
greetings, Thank you for your quick response. I plan to tackle the buildings the 1 st of the year.
after the holiday’s. .I will post pictures as I get them done.
Stephen