Dan’s been back in touch again, this time with how to make HO scale water ponds:
“Here is a pond that is on the Christmas modules I set up at our local KeyBank. I posted that setup previously.
I call it the “Ole Swimming Hole.” There may be some useful hints for the readers. Especially if you want the water near the edge.
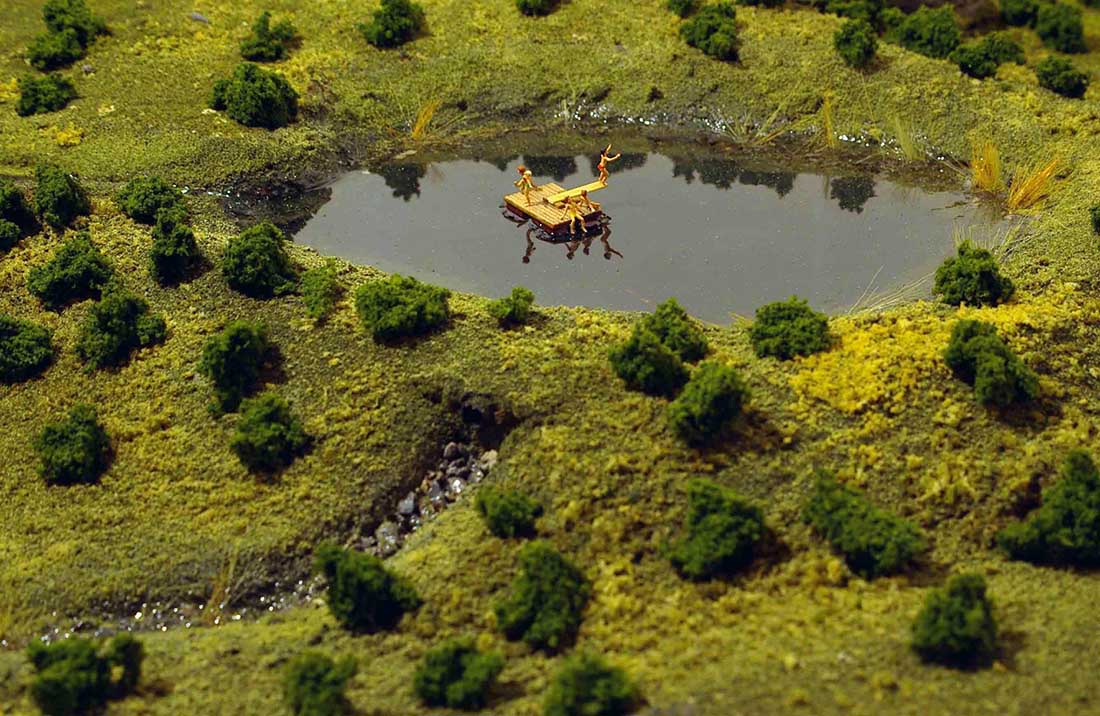
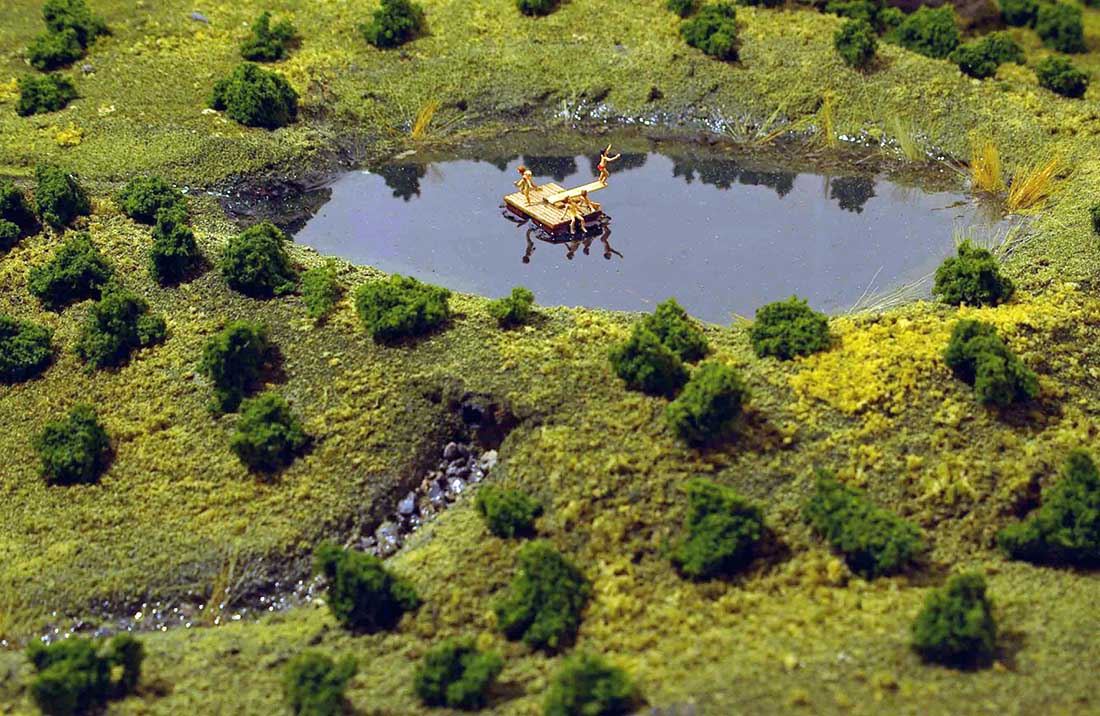
The finished look
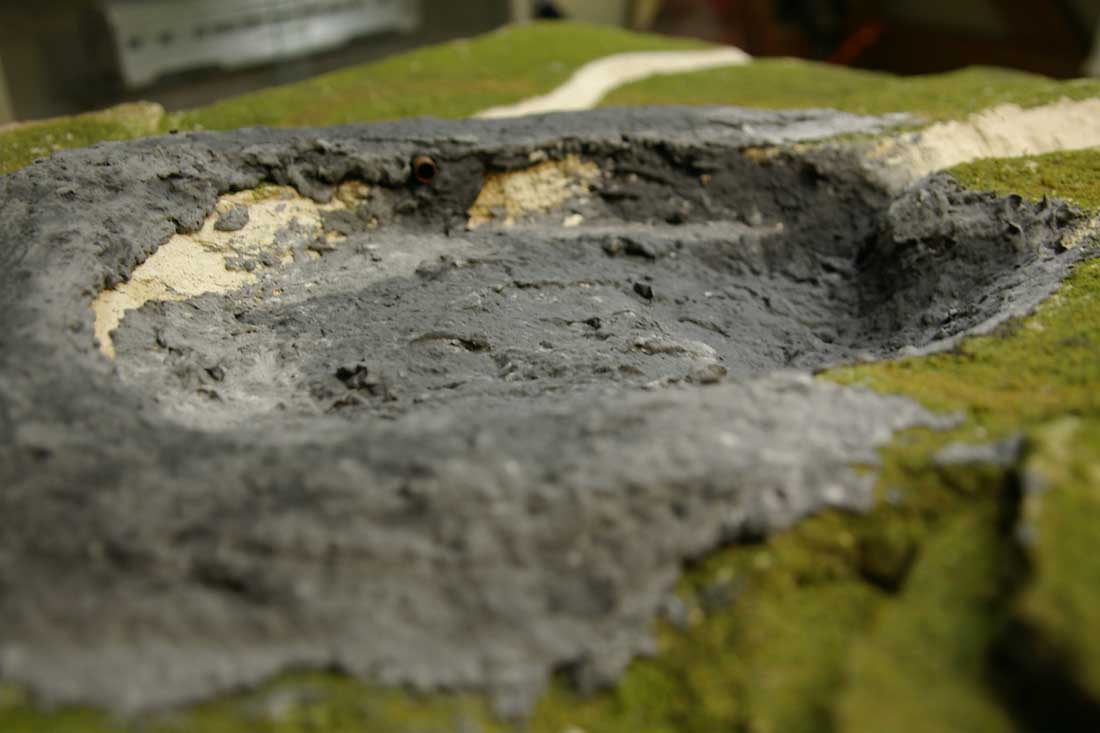
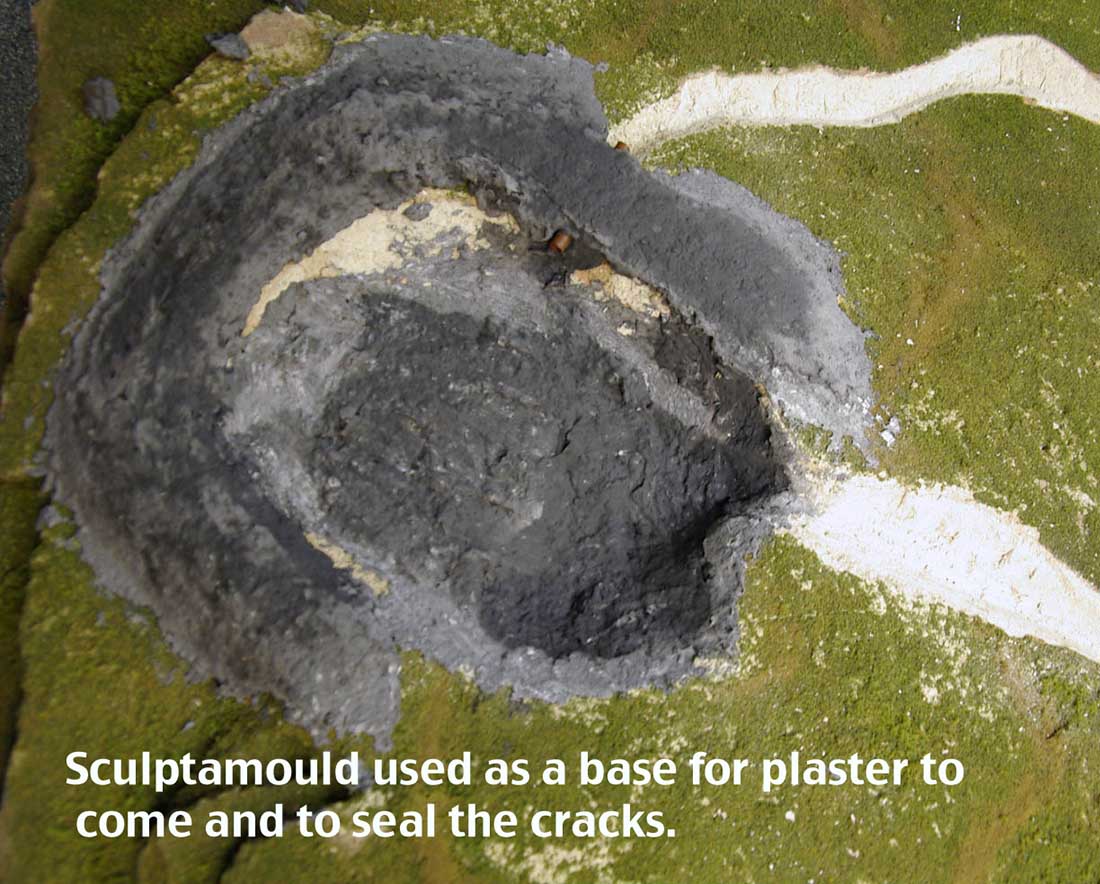
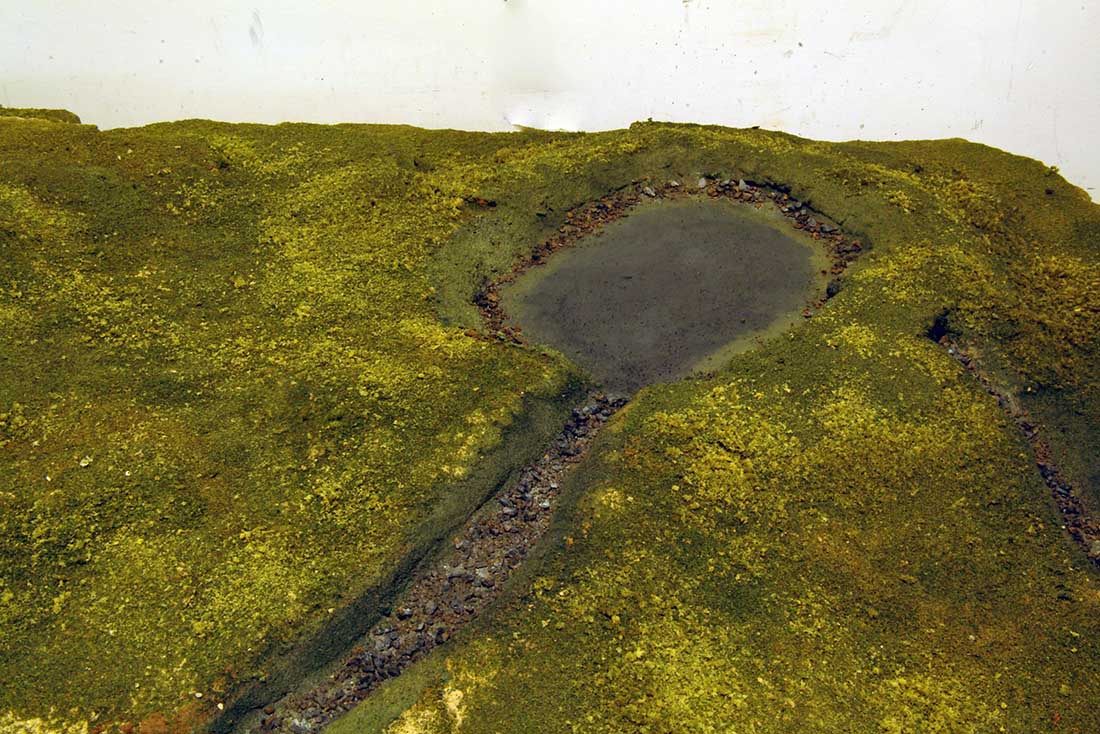
The base is ceiling tile. The base for the pond is hollowed out. On the right side is the inlet and in the upper center is the outlet of the pond. If you look closely, you can see the drain pipe going out to the outlet. (A short piece of copper tubing.)
Be sure to seal all of the possible cracks. I used a product called “Magic Water” for this project. It is similar to Envirotex. But, it has a slower and cooler setting time. These water products will find the tiniest ways to escape.
The plaster base is in.
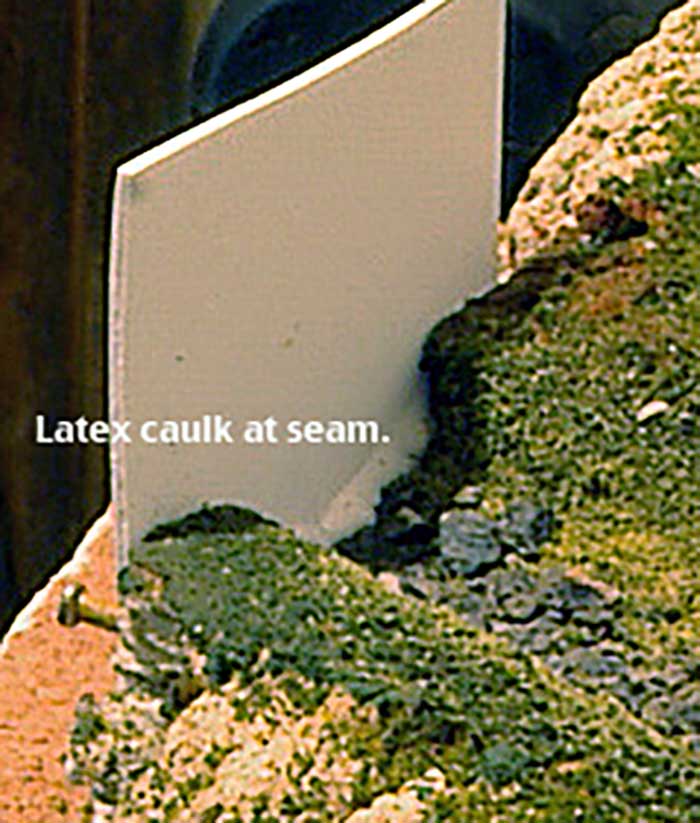
I like to have the water come and go from the layout edge if I can. It adds to the drama of flowing water. NOTE: Look closely at the barrier. I used a piece of sheet plastic and caulk as the barrier. When everything is set just peel off the plastic. The caulk is then removed.
The inlet and outlet dams.
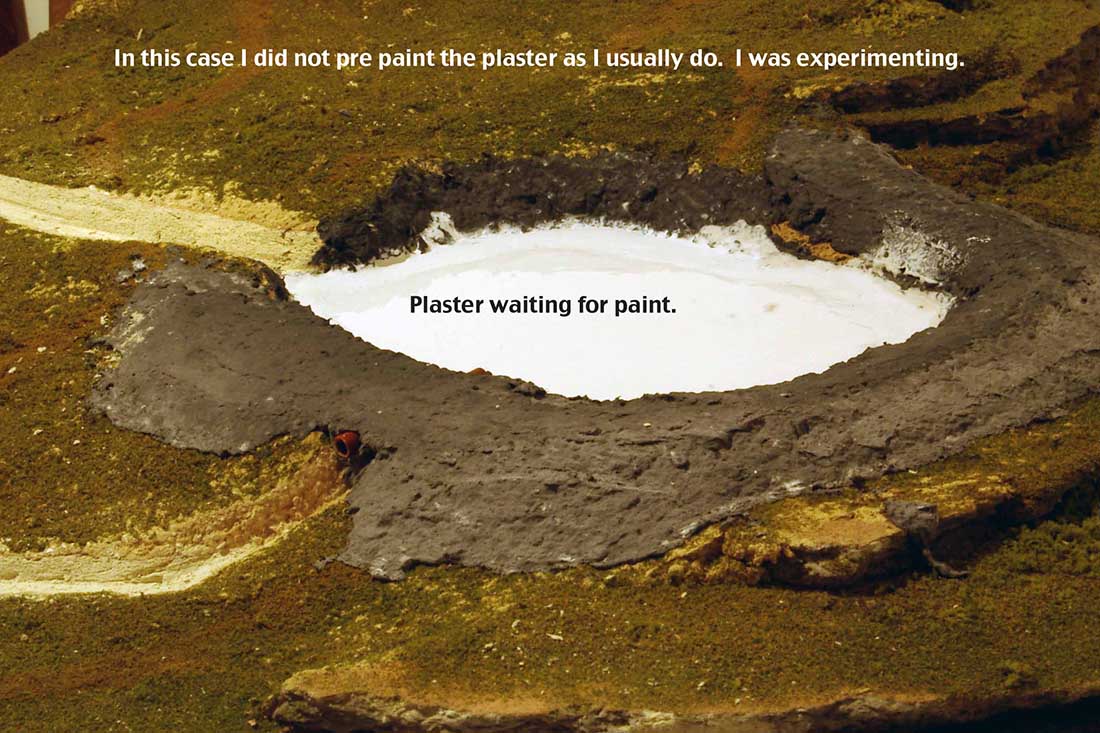
The base colors have been added.
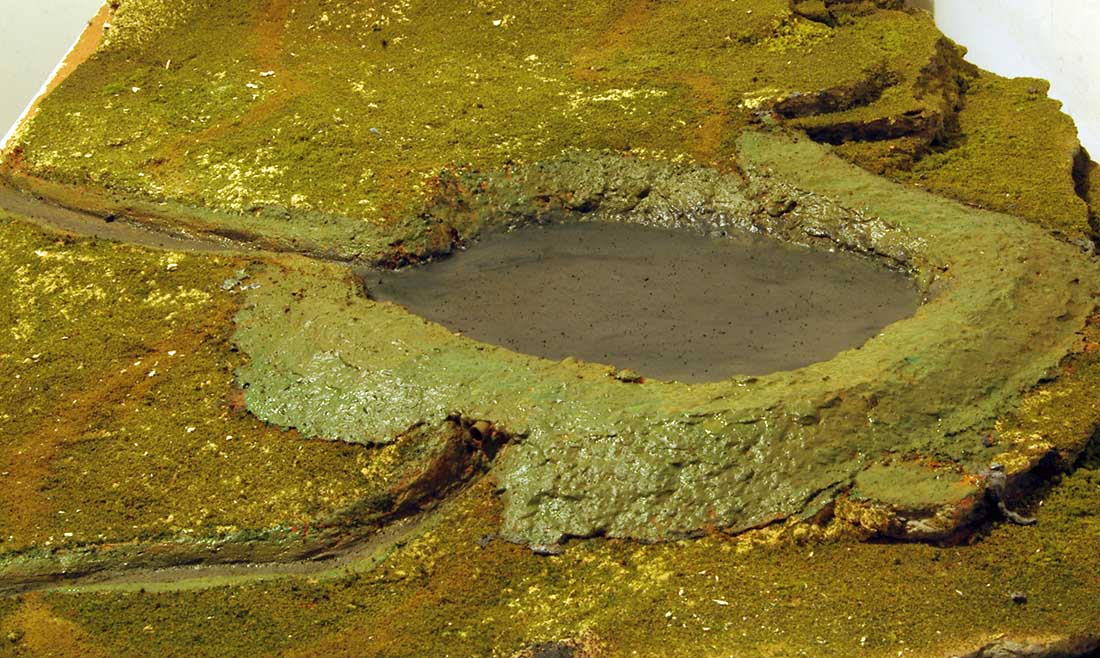
The kitty litter rocks are in place and the pond bottom is panted. You can see the lighter colors for the shallower edges of the pond.
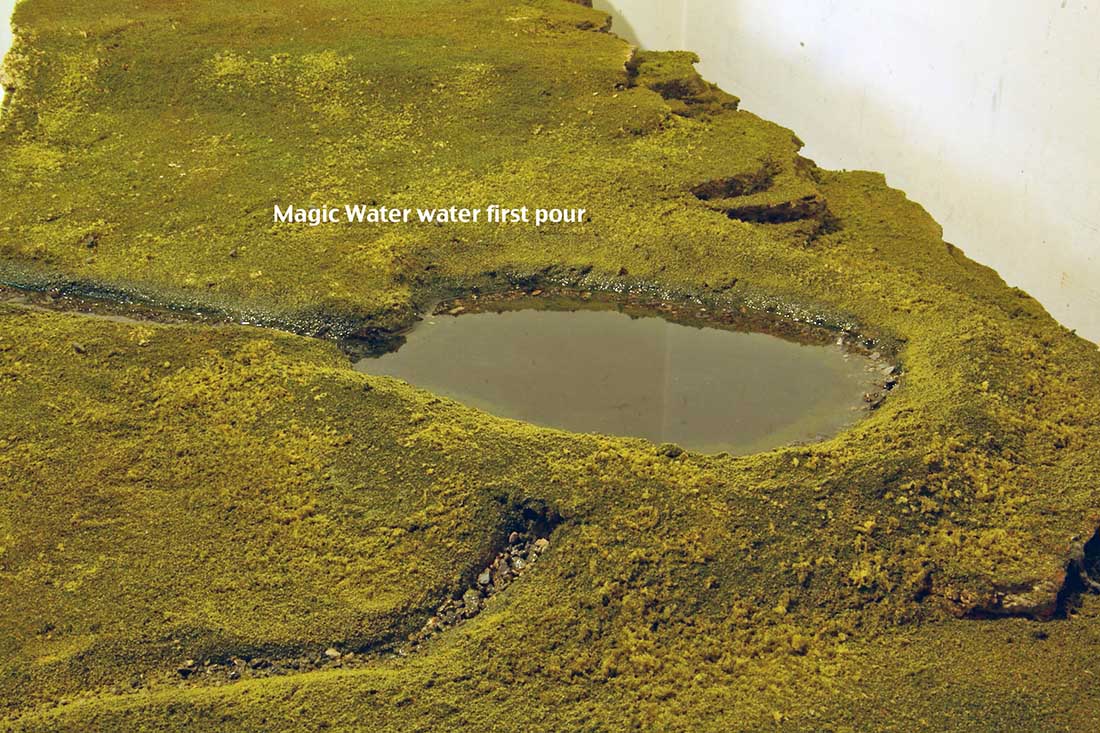
The FIRST pour of “Magic Water” is in place. I let it set up for a day. (Be sure to put a covering over the water so dust and bugs cant mess up the water.) The reason for two pours is the next step.
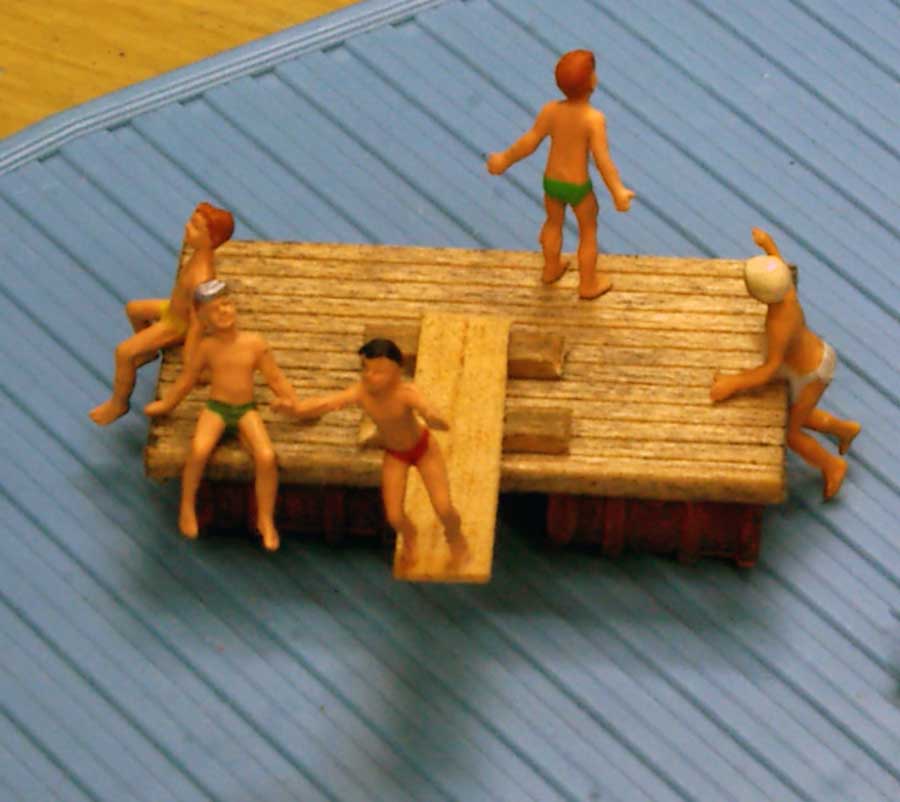
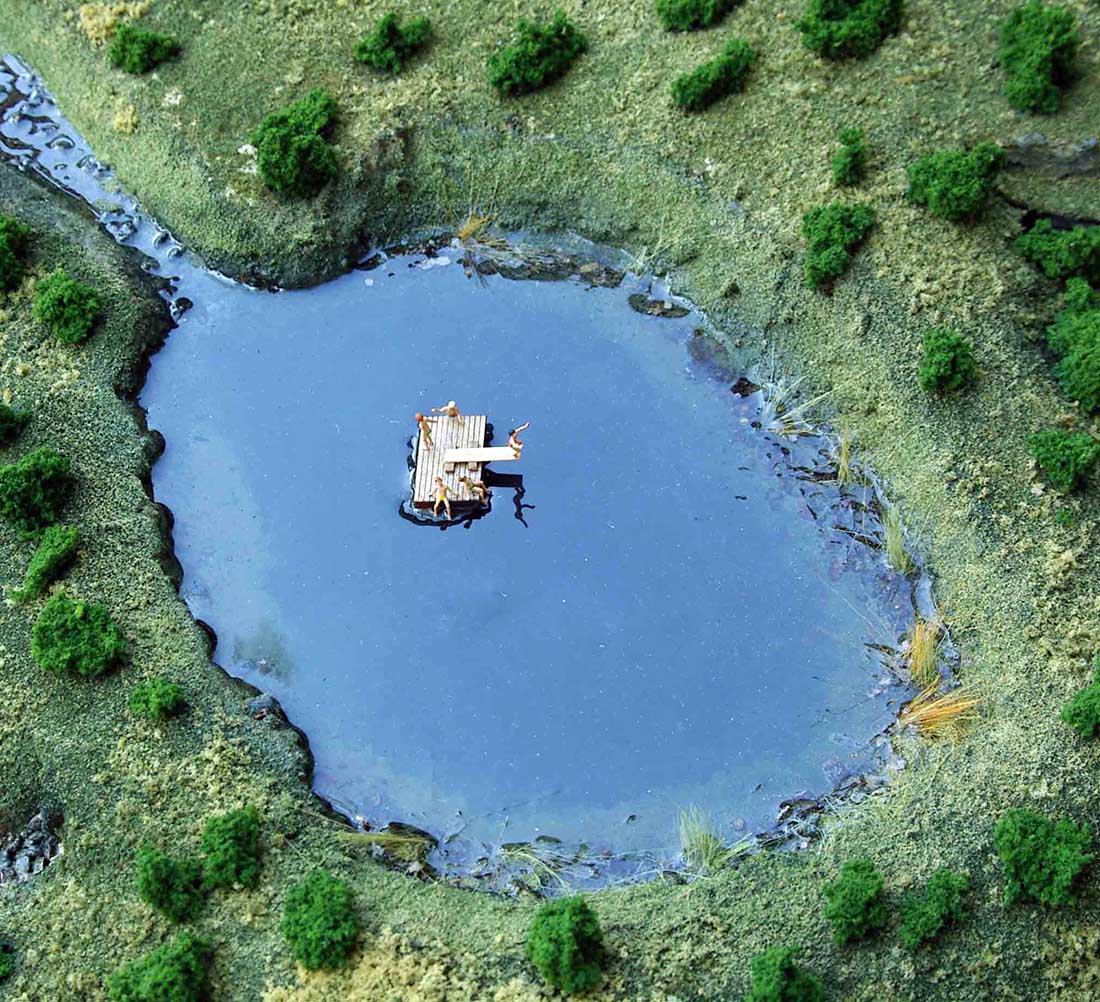
You need kids swimming! The first pour did not fill the pond. The second pour holds the raft in place and then is just enough to fill the inlet and through the pipe at the outlet and down the creek. In a natural flow.
I like the smooth look so folks can see how “deep” the water looks. I get lots of questions as to how deep is the water? They are amazed that it is about 1/8 inch deep. It is the subtle change in color around the pond edge that gives the depth look.
Another view. I made a raft from a left over kit piece of scribbled wood and some HO barrels.
The finished module for the bank display.
A view out side on a sunny day when I was working on the pond.
Don’t forget the sunscreen!
Dan”
A big thanks to Dan for showing us how he makes his HO scale water ponds. It reminded me of these posts:
How to make a pond for your model railroad
Or if it’s running water you want:
That’s all for today folks.
Please do keep ’em coming.
And if today is the day you join in the fun, the Beginner’s Guide is here.
Best
Al
PS Latest ebay cheat sheet is here.
PPS More HO scale train layouts here if that’s your thing.



Brilliant! Well done.
very good. i like the dock. good ides. good work.
Looks more realistic than real water. The way the pond catches the light and reflects sky, have to study awhile… how did Dan do that?
Just reminds me of those brackish, polluted man-made canals in southern NJ! Couldn’t wait to hit the water, maybe 12 years old. Nobody ever mentioned the Bull Shark attacks first part of last century!
R, regarding
Dan,
I’m sure I’m mistaken but from the picture of the damming up of the inlet and outlet to prepare for the first pour, it appears both fall away from the pond… meaning the water supply flowing in would have to run up hill … or they are both outlets and like here in Florida the pond is spring feed from from beneath the surface 🤷♂️
Very nice work and very helpful thank you
the floating dock & how to make the pond look real is well illustrated & well done. good job
What a fun little diorama. I can hear voices laughing and having fun in the sun. Well done. Rob
Scott, that is an illusion. Believe me the inlet/outlet are OK.
Awesome water pond’s and raft kids, I’m finally back on line now, got my cable fixed !!!!!!
Very nice tutorial Dan! I gather that you scratch built the diving platform. The whole pond diorama is very nicely done. It makes me want to find my swim trunks and join the swimmers in your pond.