Joe’s been in touch with some fine HO scale landscaping:
“Hello again,
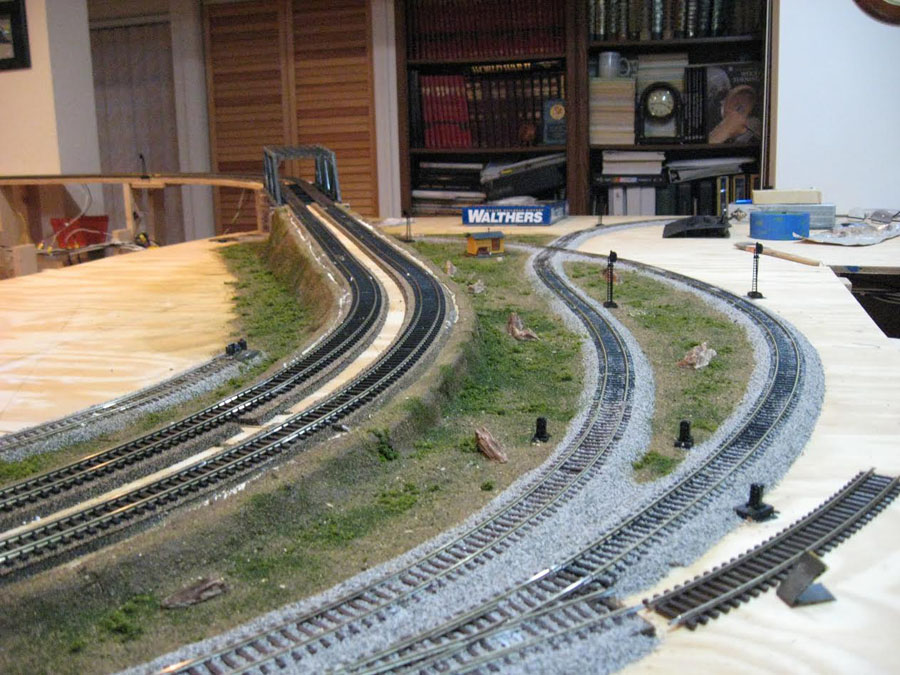
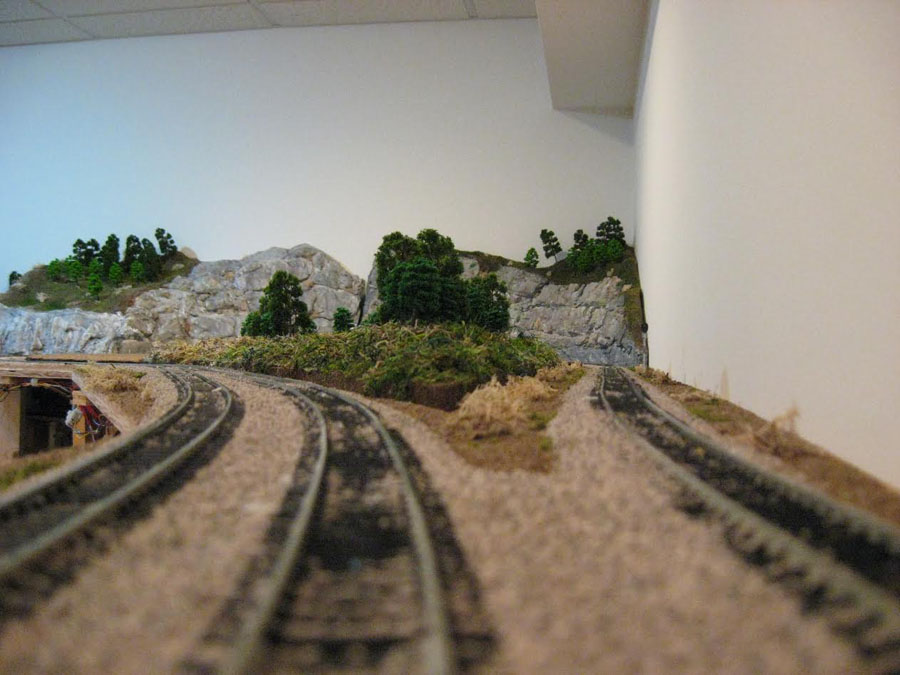
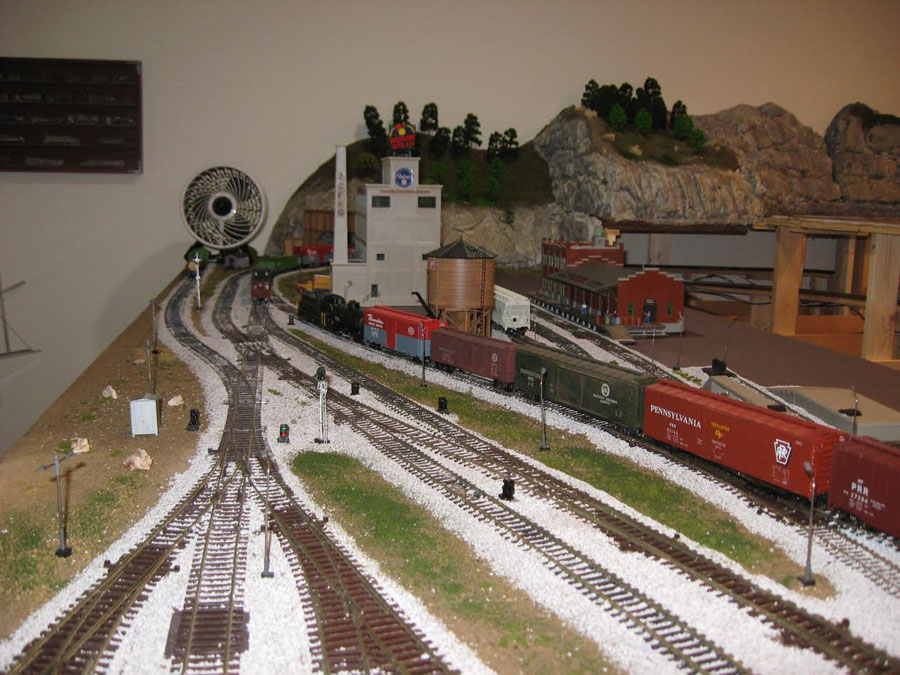
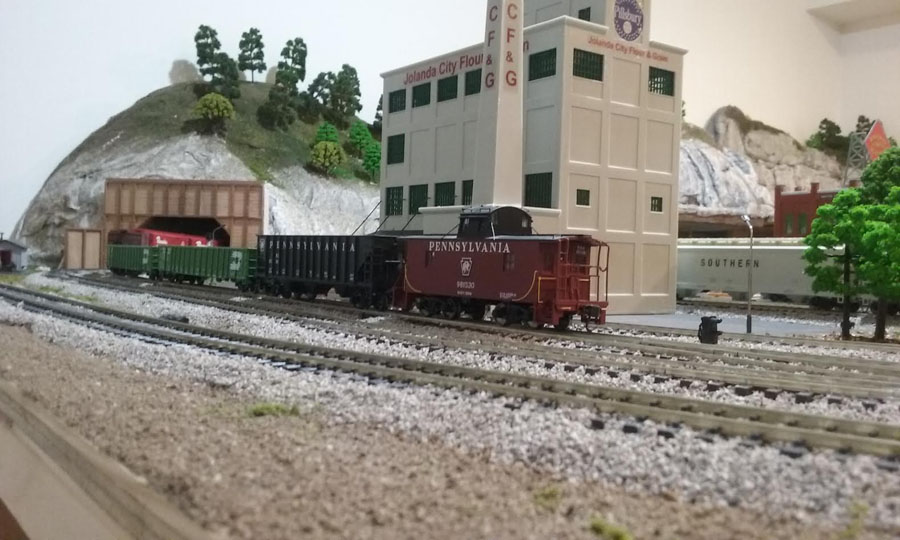
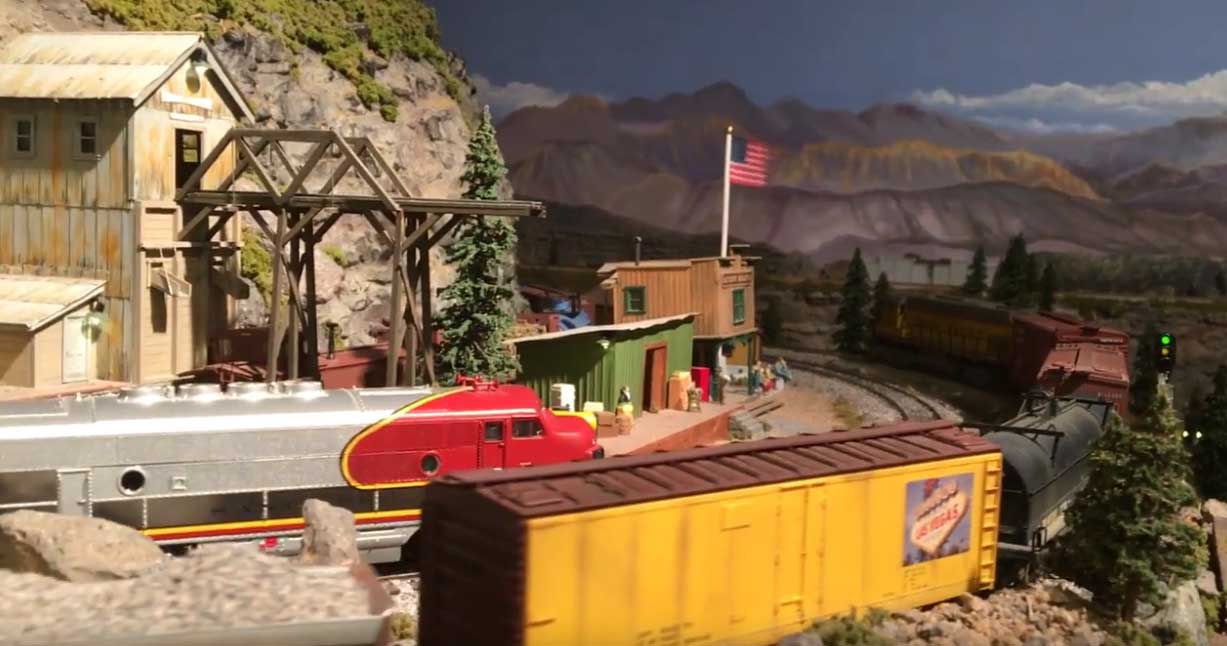
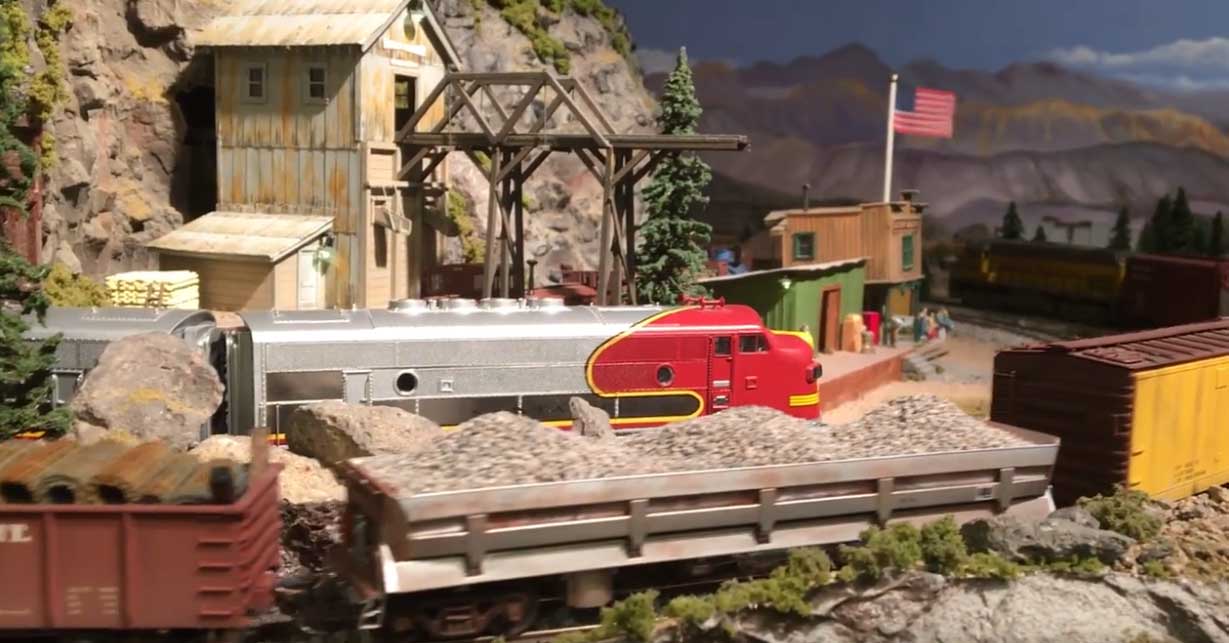
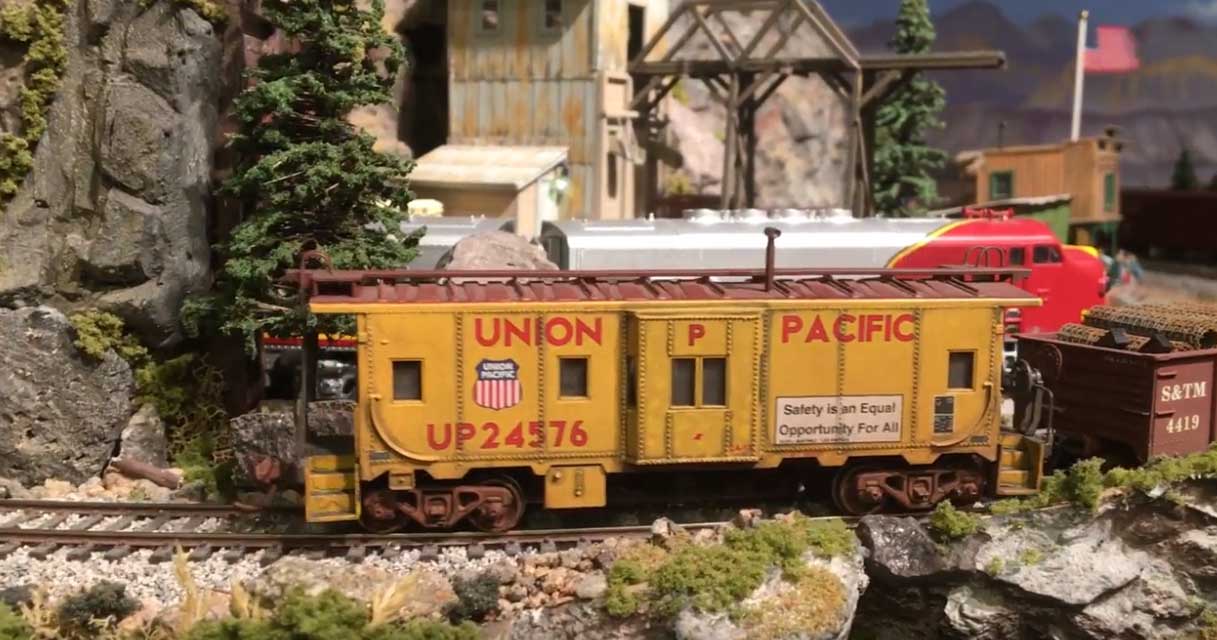
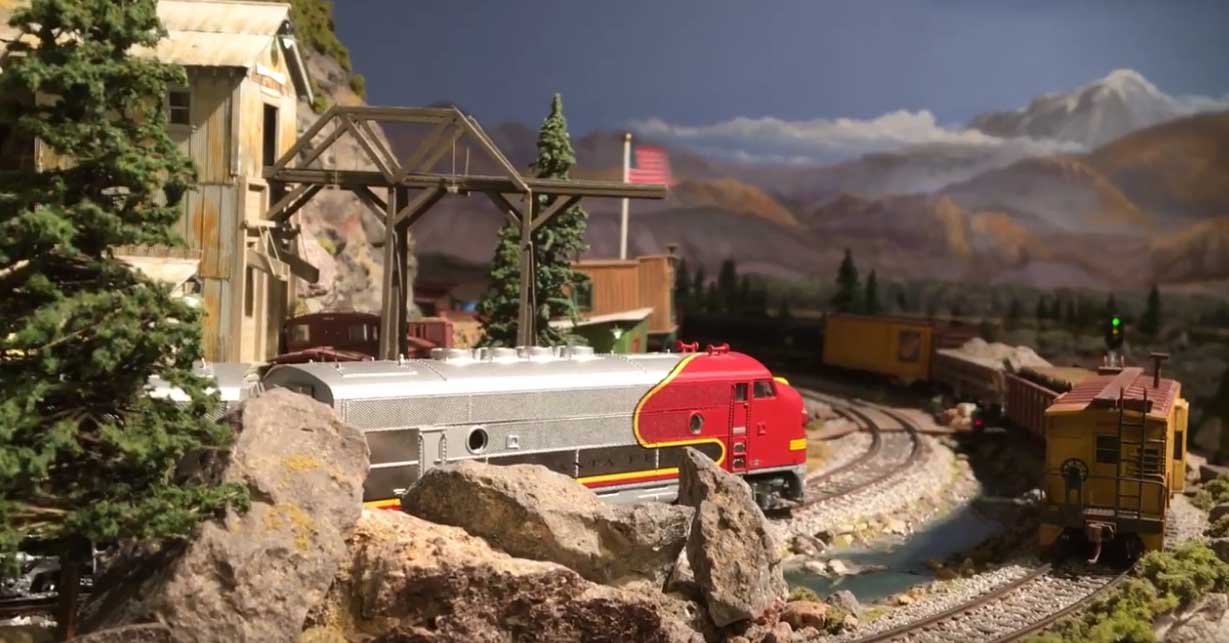
This third installment displays some of the landscaping features and methods used on my layout.
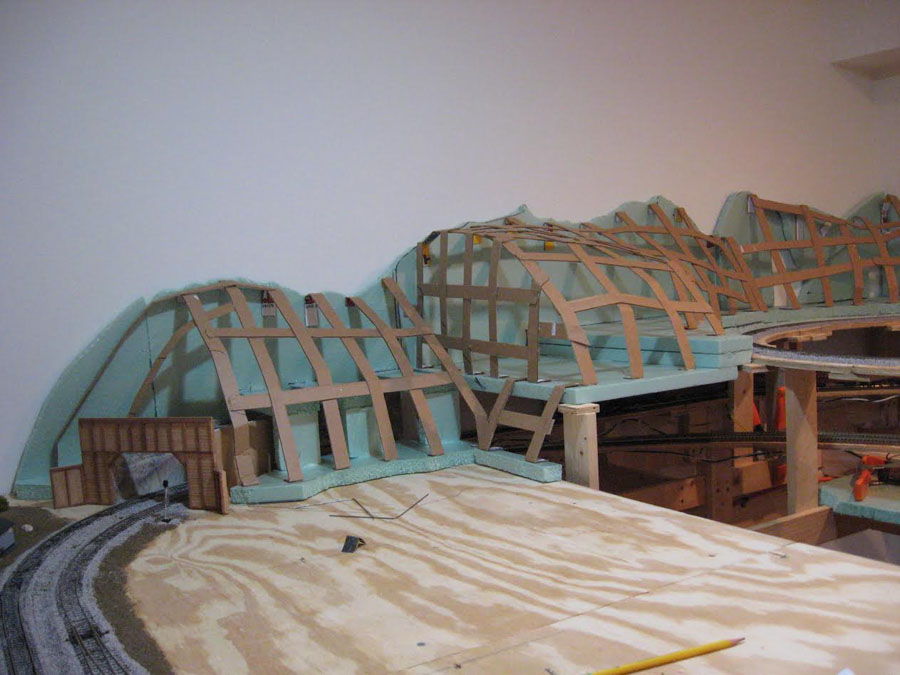
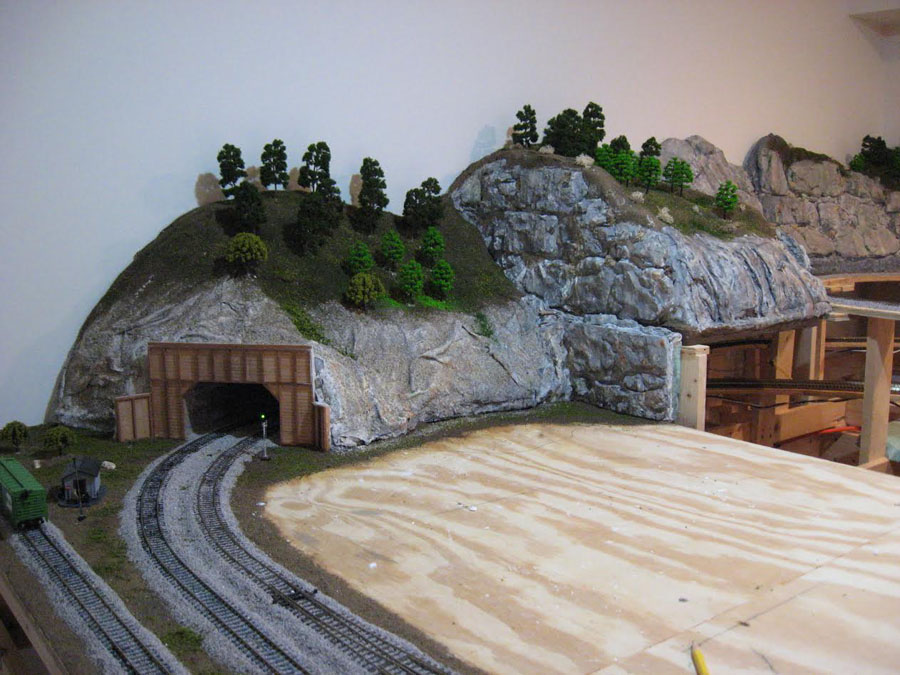
I used a variety of landscaping techniques, including paper towels soaked in plaster of paris, plaster cloth, cardboard strips to support the plaster cloth, molded rocks, etc. Attached are some before and after photos.
The dirt ground cover I use is real dirt from my back yard. I fill up a bucket with dirt.
I then spread is out on a large oven pan and bake it at 300 degrees for about an hour. This dries the dirt thoroughly, but also kills anything that was living.
I then sift the dirt through a strainer and I end up with very fine granules of dirt.
To apply it, I first brush on a thick layer of diluted white glue, then sprinkle the dirt on top, then spray it with soapy water.
After it dries, I apply any vegetation that seems to be appropriate.
The use of cardboard strips has been very successful, particularly for mountain building (see photos).
You can build amazing shapes and contours, and the end result is very effective.
I will send more photos of HO scale landscaping features next time.
The video represents fully automated operations. None of what you see is being controlled by a person, but all by computer.
Thanks,
Joe”
You can see Joe’s last post here.
A big thanks to Joe. It reminded me of one of Rob’s posts:
Now on to Hall of Famer, Mark:
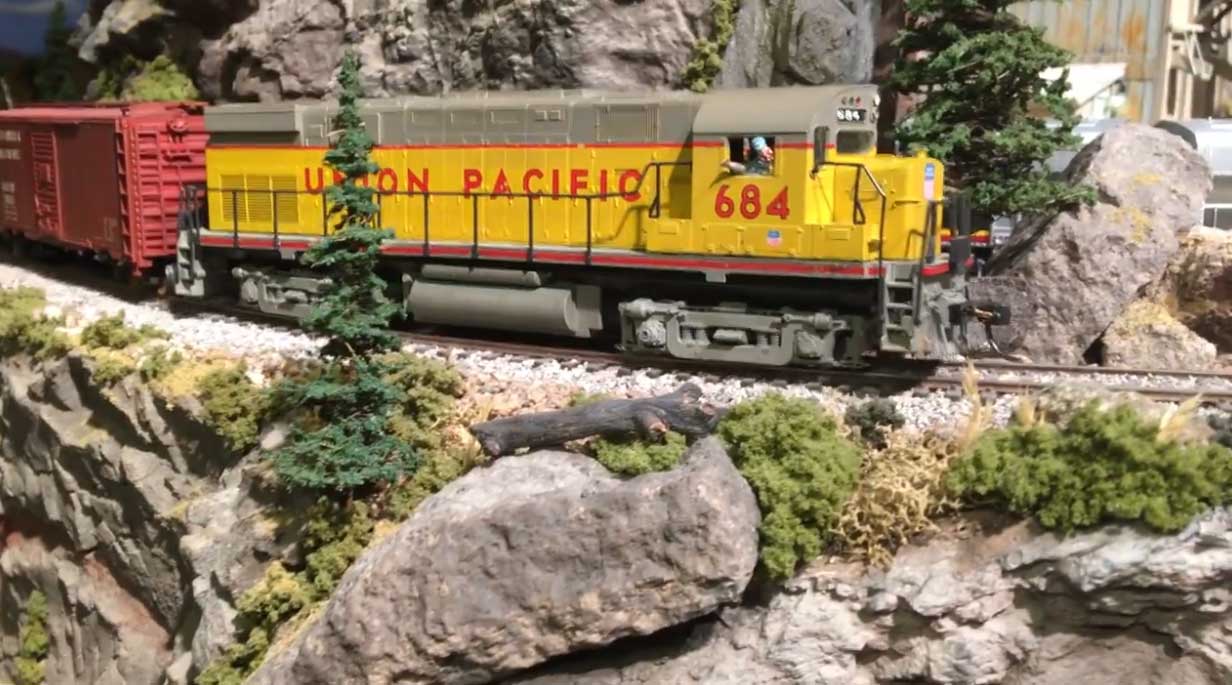
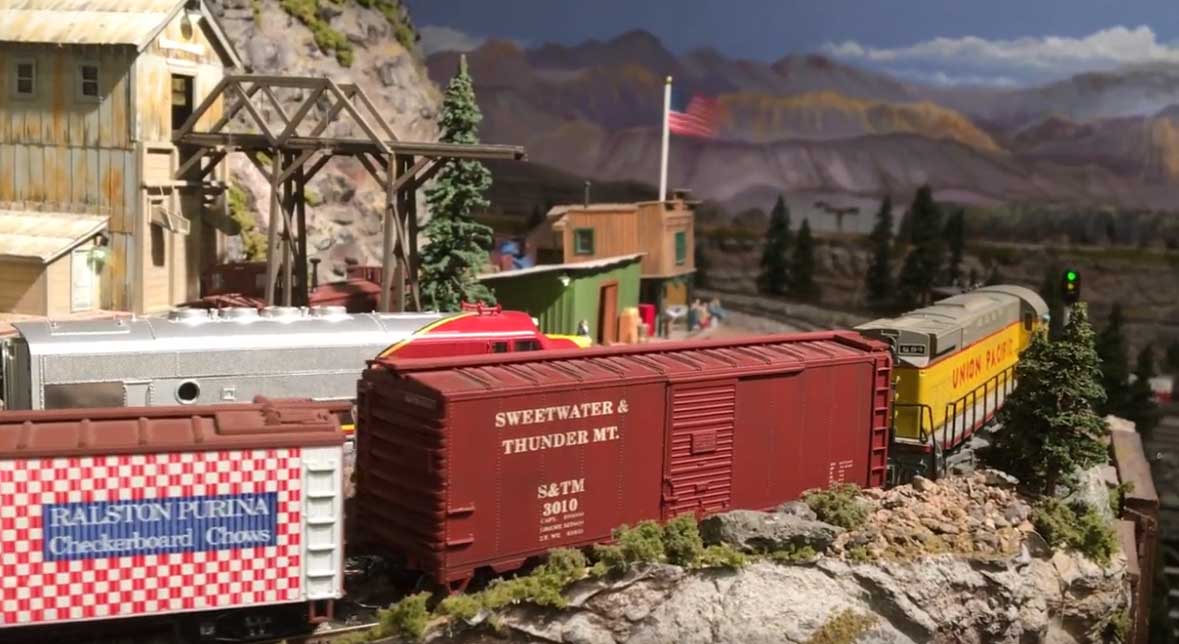
“Hi Al.
Just out shooting a little video on the layout.
Wind was blowing so strong that it was hard to hold the camera steady! …or maybe I just need to break down and buy a tripod
Mark”
Stunning stuff from Mark. He was also kind enough to help edit the Beginner’s Guide too.
Lastly, on to Bob, he’s shared some sound advice:
“HI AL … plan to keep your layout flexible … do not make everything so rigid that it becomes too much trouble to make modifications …
allow for the rearrangement of some scenry (trees) and layout accessories and buildings … minor adjustments to track … maybe add a siding …
the whole concept being similar to rearranging furniture in your home to offer a new perspective … I have found that this approach gives me new incentives and extends the pleasure of the hobby by working the mind …
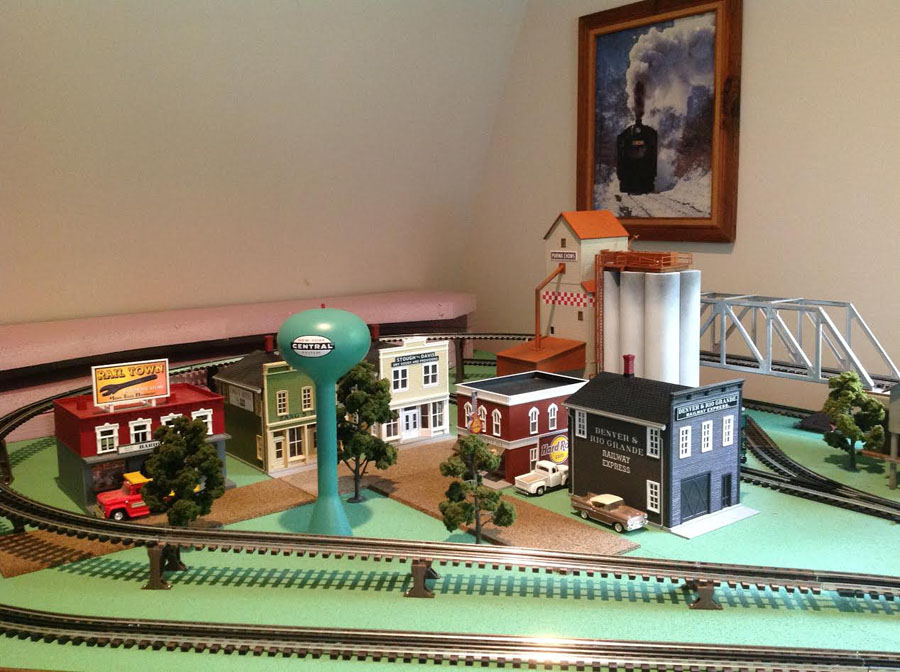
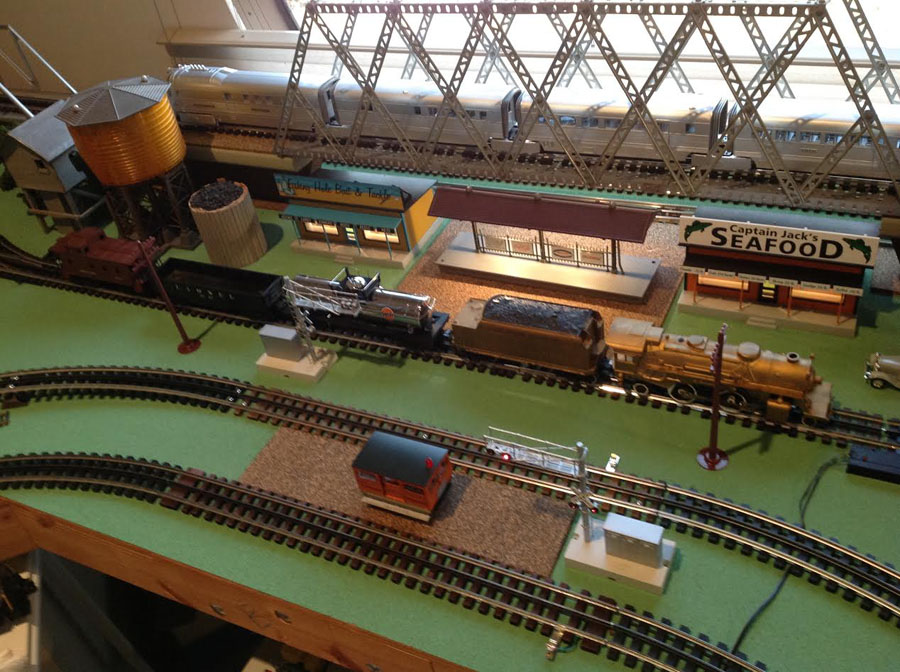
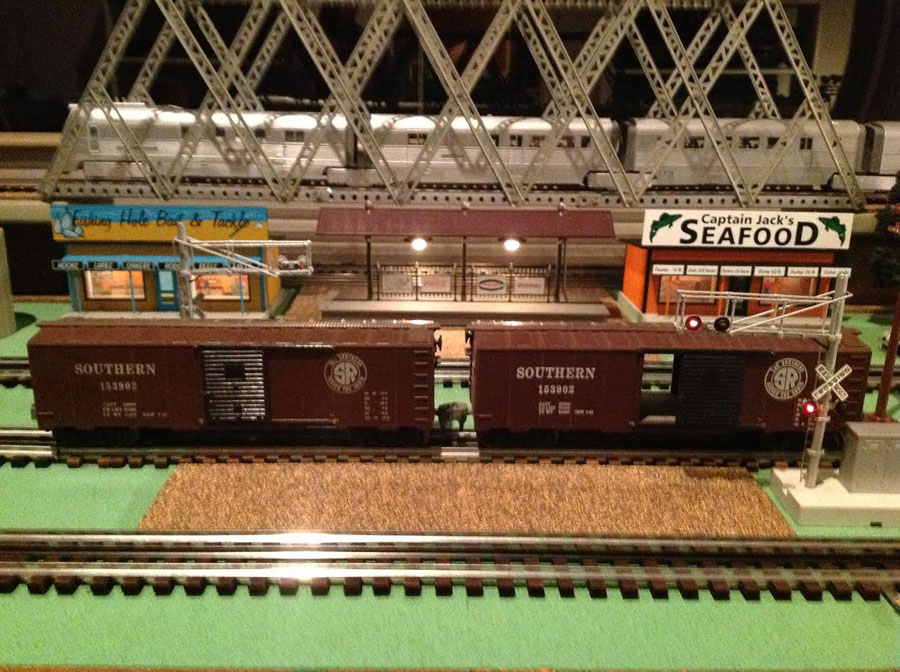
always have a theme in mind for your layout … give a function to different parts … city … industrial … rural … give the trains a place to go … for me it was the small town USA … along with coal, oil / gas and freight …
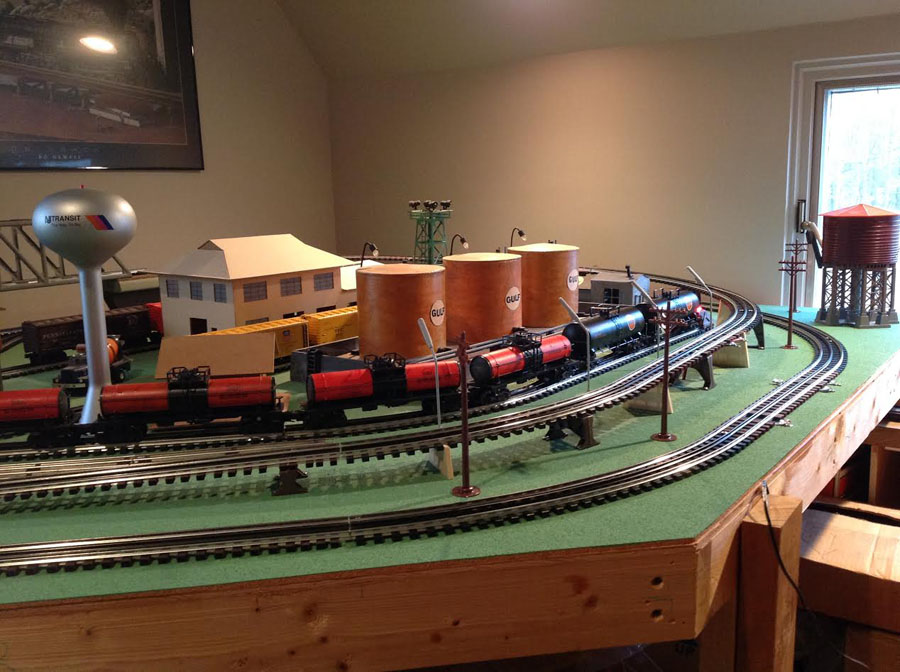
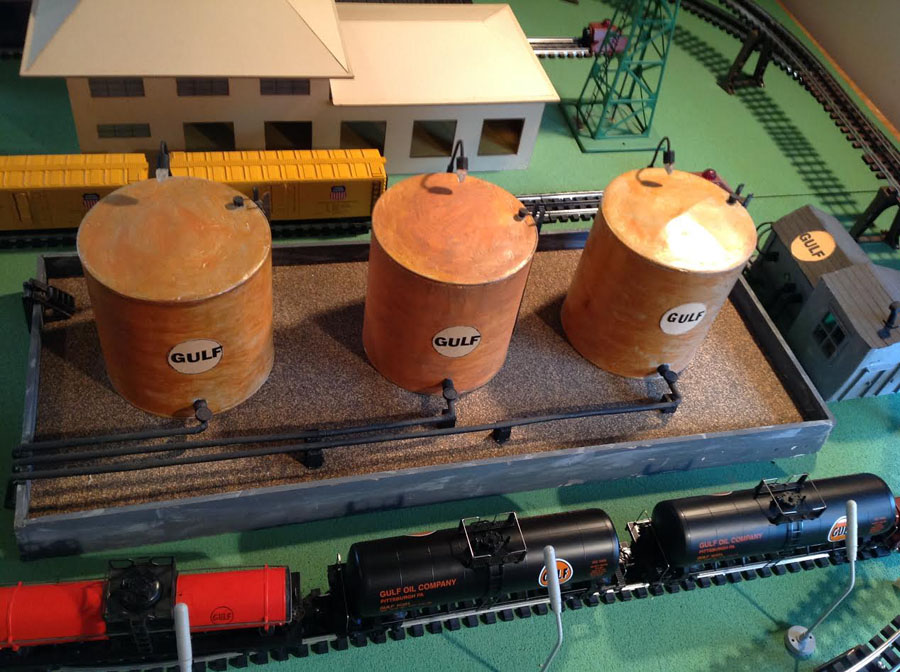
FYI, the Gulf oil tanks on my layout were made from coffee cans … 6 1/2″ in diameter and 6 1/2″ tall …
my layout is a 6′ x 18′ dog bone, 3′ wide in the middle … 90 sf of table top surface … runs two trains, over and under action with bridges … four sidings … fun to run
BOB”
A huge thanks to Joe for sharing his HO scale landscaping, another cracking installment! I do love seeing a layout being created from the very start.
And if it’s inspired you, the Beginner’s Guide is here.
That’s all this time, folks. Keep ’em coming.
Best
Al
PPS More HO scale train layouts here if that’s your thing.
Need buildings for your layout? Have a look at the Silly Discount bundle.

that was an awesome video and train layout. GREAT JOB, MEN!!!!!!!
Joe; What is your secret being able to fit 30 plus hours in a day, and 9 days into a week? Seems like just last week we saw grid work going up for the layout, now scenery, wiring and computer controlled everything. Soon you will be expanding into a 40 x 80 layout. Keep up the good work. Send more pictures and videos. Most enjoyable. Thank you, Frank G.
Looking good Joe I think it is coming right along.
Domie.
I’m new at this hobby. I am impressed by how good some layout are.
Thank you Alastair for all the work you put into this, it is very much appreciated … Jacques
Thanks. I enjoyed your video. Always great to see the trains in action
Good continuation of the creation of this layout. Only one comment, and it is a constructive one, I would recommend that the dirt is checked for small grit and stones as the heat in the oven may cause them to crack and give off chips that may damage either the light in the oven or the glass in the oven door.
Keep the photos coming Joe. Regards Peter.
Great job Joe! I look forward to more posts!
Joe: love your work (or should I say passion) I know the pleasure of seeing your vision come to reality. Your planning and execution skills are top notch. I am looking forward to your next post. Can you post a track layout plan?
Steve from Toms River
its great to see this I always enjoy a train ride around some ones lay out mini camera on a car in front of the caboose will give me a caboose ride . thanks Ron .
Looks great what does the track plan look like
Joe… GREAT job!
You should be very proud… it looks and sounds great!
Am planning to start a layout shortly and can only hope it looks half as good as yours.
Hope you have lots of fun for a long time!
Joe: Your layout, landscaping and rolling stock are simply beautiful. The fact that you are able to program the action with a computer shows us a level of expertise that’s impressive. I suggest you can improve your future posts even more if you use a little tripod or mini-pod or mono-pod for your video camera. The wobble and shake made it way too distracting to fully enjoy your impressive creation.
-Digital Don from San Diego
Way to go … Joe!
Joe, can you tell us what computer program you are using or did you write it yourself??
Alan …
Joe, great job on your layout.
A comment, however; please use a tripod when making a video presentation.
Fantastic Joe, what an inspiring layout , enjoyed the video!
Excellent video.
Joe, I congratulate you on such a fantastic layout. One small detail, if I may. Flamables should always be put in the back not close to the locomotive.
Frank from Orĺando near Mickey Mouse
Joe thank you for sharing this great layout with us. Love this site for tips and inspiration. Please keep posting.
Can you show more about how your signals work and do an over all walk around the layout
Tremendous achievement, but somehow watching a computer play with my trains for me, would not seem like an improvement. I really like being hands-on and with the sound in my head. I was talking to an operator on a DCC sound-equipped layout at the Bristol show the other day, and complimented him on the realistic sound effects from his Class 20, and he gave it a rather rueful look and said “yes but after a while the whistling drives you crazy,” but then it was his third day of it!
Rod
Great Joe just one silly question. What brand and gage track are you using? Thanks so much, keep us posted. Tom Payson AZ
yeeeeeow….Superlative Creativity!!!
now THAT’S what Im talkin about….
joe knows how to do ‘old school’ scenery making
using REAL dirt is the REAL DEAL
and it looks real…(duh)…
and the cardboard stripping for contours
like I said ‘it looks REAL”….
goood job Joe!!!
keep em runnin fellas
stjohn in long beach calif
That is totally awesome and will be a phenomenal layout when completed!!
Joe,
Please slow down your pan! Moving too fast blurs your subject. Great layout!!
Joe….great scenery tips……..Thank you.
Loved video
Joe: I love all the progress you’ve made on scenery for your model railroad. The mountains built of cardboard strips turned out really nice. I gather that you enclosed the tunnels in formboard to protect the track from getting covered in plaster. Can you still access the inside of the tunnels in case of a derailment? The video helps a lot in understanding your track plan — it would be a bit easier to watch if you moved the camera slower when panning or changing position. I got a little dizzy with the rapid camera movements. 🙂 Anyway, thanks for sharing your progress. You’re doing a great job.
Joe Great Job! Nice looking layout!
Looks good would like too see more
Joe. Great job on the layout. I’m also interested in your crossing signals and how they are activated. Do you use IR sensors or some other means? I’m planning to do something like this for my next layout and am curious.
Again, great job.
Pops Somerfield
I use dried coffee grounds for dirt. Coffee wakes me up, then I get to work! Good tips here as always.
Needed a bit of Dramamine to watch the video. I was hoping there would be a explanation of how to computerize the layout. Sounds like a good idea. Have any of the other members done that and if so can we get a report?
Terry/Idaho USA
Great tips here as always. One thing I use for dirt is dried coffee grounds. Very realistic.
For Mark, very cool, especially the flag. How do you get that to flap?
To all of Al’s contributors whose photos can be enlarged when clicked on, THANK YOU! These old eyes of mine like being able to see the details.
And lastly to Al, thanks for your blog. I look forward every day to getting it.
Happy holidays everyone.
Joe your layout really looks nice, great job on scenery. Mark, nice outside layout. Bob, good advice when laying out your layout and good looking layout.
where did you get your backdrop love it.
very nice work.
Love the first layout. But the video made made me ill, To jumpy.
Ya gotta love this hobby. So many great ideas and wonderful layouts. Good job by everyone.
Jim AZ
The whistles are very nice but if you are modeling a prototype the whistle is two longs one short and one long as you go across a street crossing, with the last one ending as the locomotive finishes the crossing.
Joe, nice layout and nice work. Thanks for sharing and have a great day!