When it comes to model railroad planning, there are always a few things to look out for.
Here, John shares his:
“Alastair, your looking for ‘disasters’
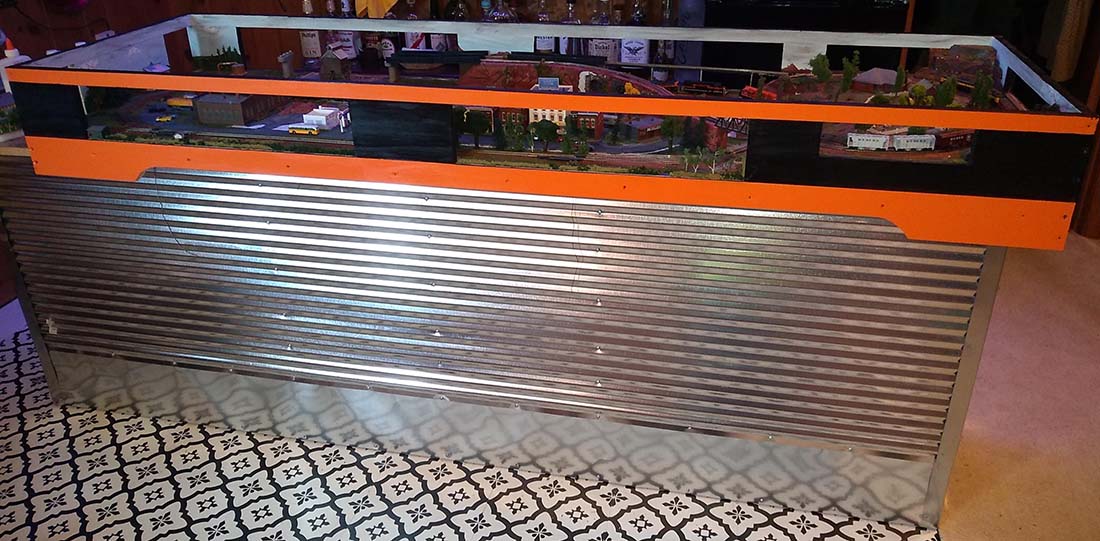
I was finishing my ‘bar top’ table for a show (before I permanantly installed it as a bar). Two days before the show I discovereed 3 disasters/errors on my part. (Photos attached)
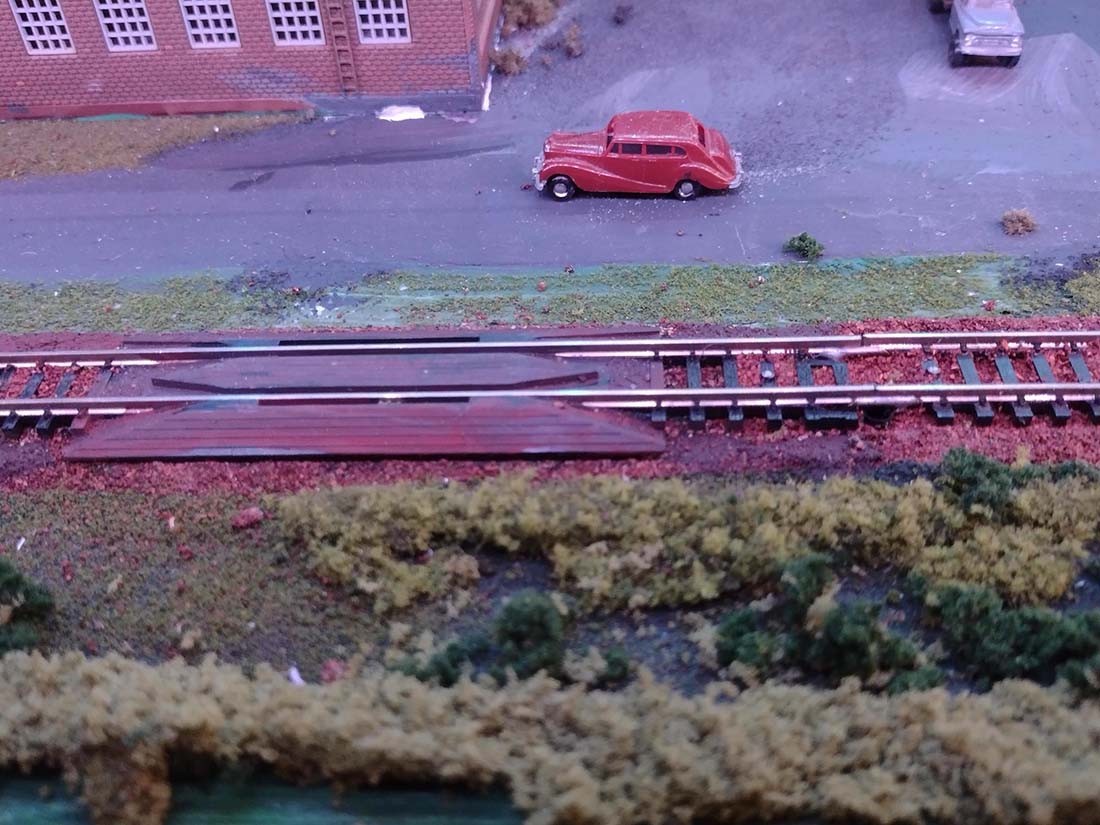
1) I forgot to install power to the track as well ss a rerailer track! I had to remone a section of track, install a rerailer, and terminal wires, then of course re-ballist and paint the area just repaired.
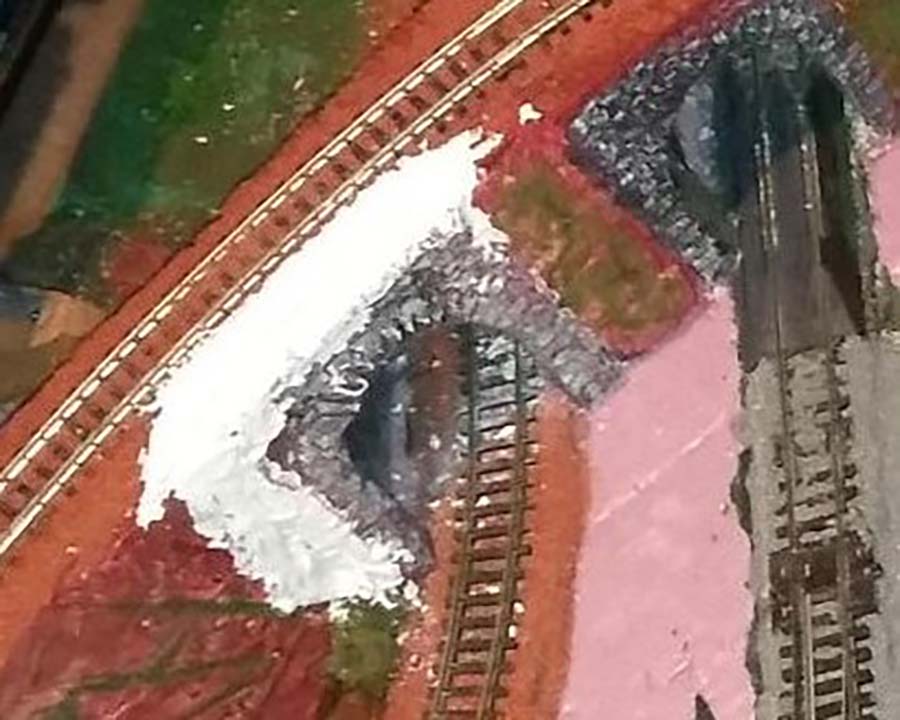
2) A tunnel I installed earlier was too small for ANY cars to pass under it; thanks to a Dremel rotory tool and a hand-held vac I carved out the portal so even a 40′ N scale high-cube would pass through without bumping. Of course I had to repaint and detail the portal again.
The first two repairs were accomplished in 1 day and, as they say the “show must go on” was the word of the day.
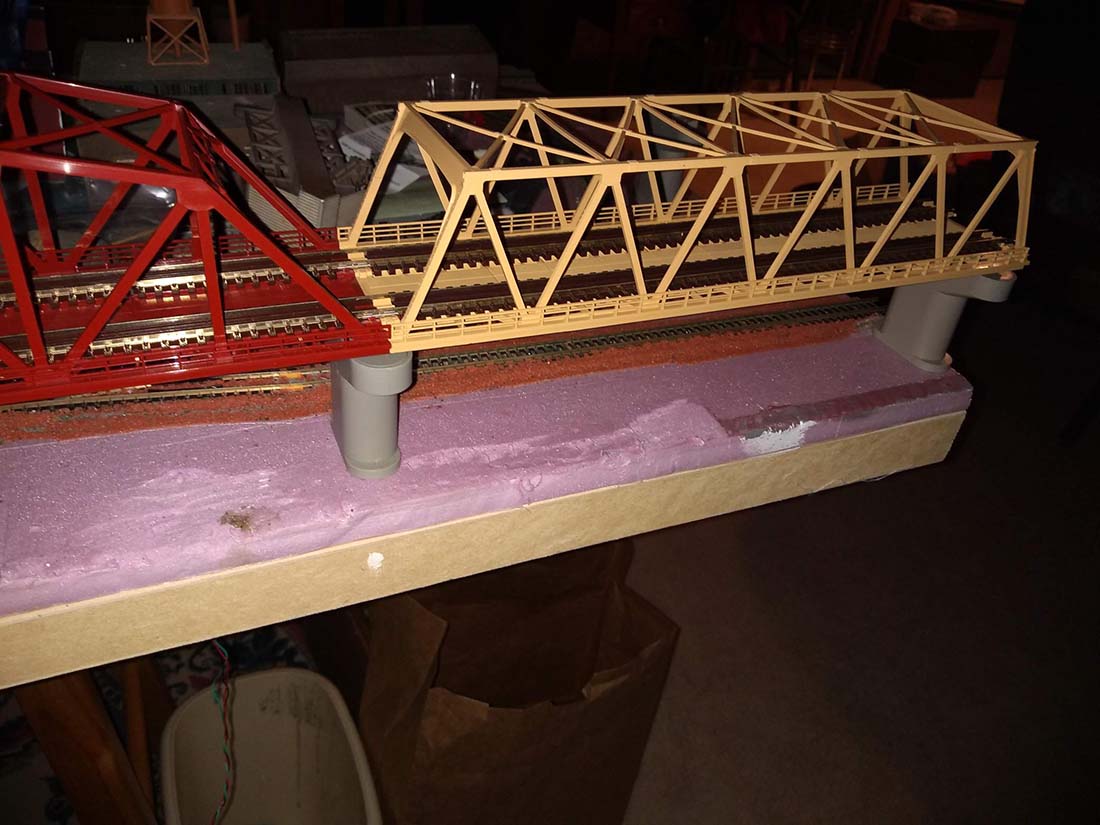
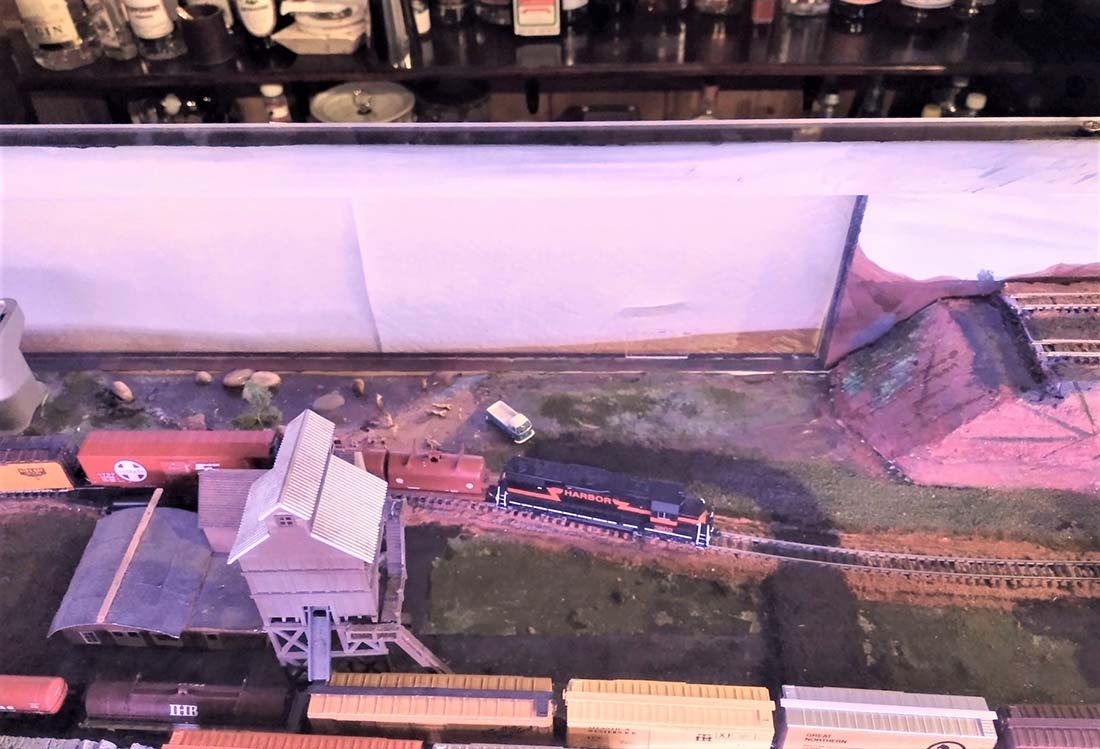
3) The trestle bridge was bumped before I enclosed the table and the train set sitting in it derailed; I had thought I could install the trestles and reach inside through the ports (windows) but even without the sides on the table I could NOT get the engines. End result is I am still working on a girder plate bridge to span a scale 450 feet.
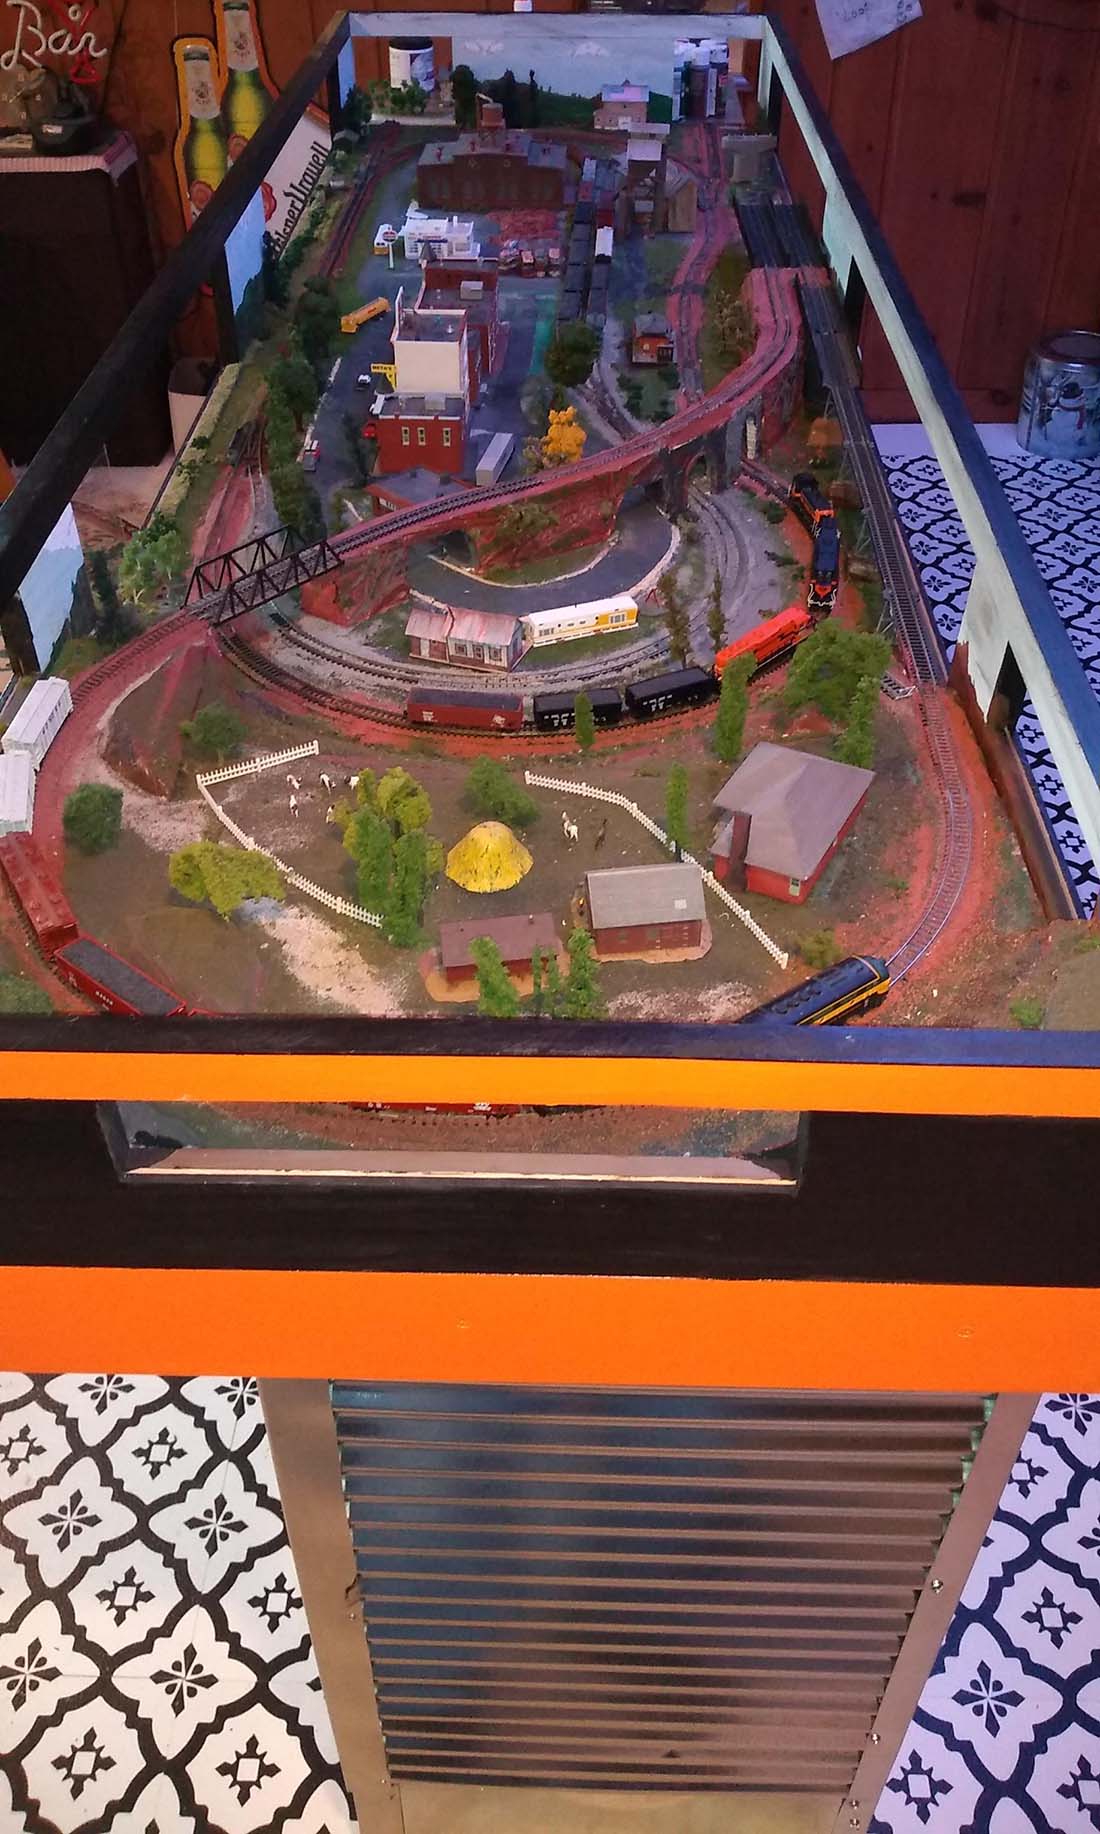
It should be noted that this is step one of four separate tables/tracks that will cross the room on two different “book shelf” tracks onto another “turn around” table. I’ll keep you posted. The intent is to have the “end of bar” table done next, the turn around table before October and the book shelf tracks done be Christmas. A bit ambitious but I believe I CAN do it if I only FIRST get the 450’ girder plate bridge built.
John – Chippewa Falls, Wisconsin”

It just goes to show, time spent on model railroad planning is seldom wasted.
And now on to Hall of Fame member, Rob:
“Hi Al,
Here is a video you may like.
Rob”
Rob talks us through his layout in his last post, which is here.
But perhaps the post you’ll remember Rob most from, is this one, because who doesn’t want moving cars on their layout? They look great and are a lot of fun.
And there’s also his scratch built crane that is very memorable too.
A huge thanks to Ron and John.
That’s all for today folks.
Please do keep ’em coming.
And don’t forget The Beginner’s Guide is here if you want to grab the bull by the horns and get going on your very own layout.
Best
Al
PS Latest ebay cheat sheet is here.


Great job, and the most impressive shots about model trains that I never saw.
Congratulations Sr.
Ole Rob sure keeps you interested doesn’t he ? Love his tutorial.
The Critic
Great ideas and workmanship. I LOVE IT. How lucky to live in Chippewa Falls,
home of my all-time favorite beverage (Linenkugel). It makes me thirsty, just
thinking about it. Have a “Liney” for me.
Great narrative Rob. I stand humbled in your presence 👍
Pretty Kool.!!!!
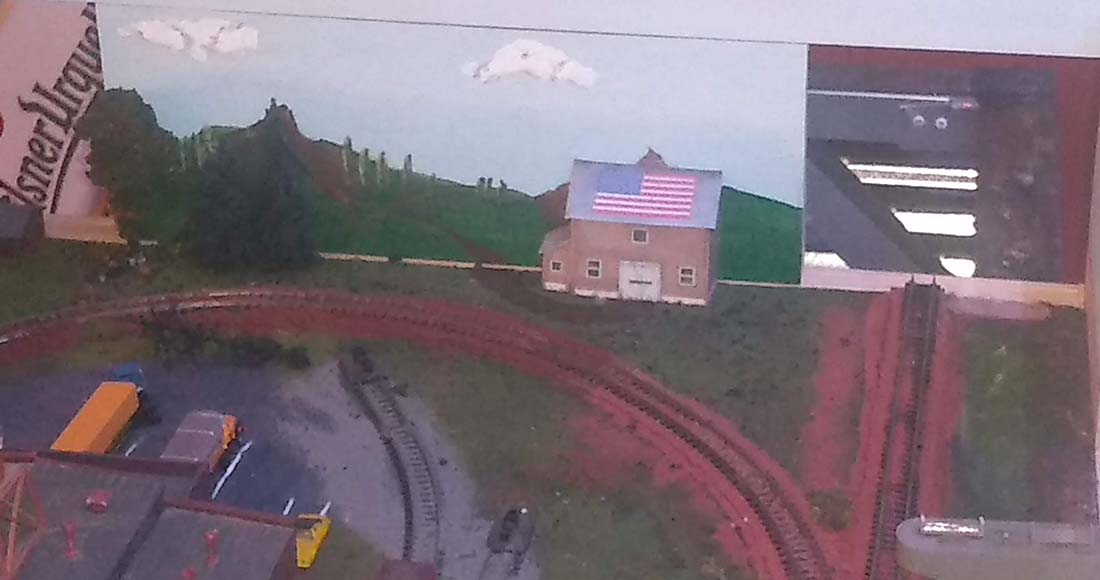
If any layout needed a picture of the track plan…this is it. Looks like a wonderful layout that I could adapt for my own use. Please ask John to submit one.
John, we have ALL had times like that, when things don’t end up like you had them planned. It gets weird at thoise times.
Hi Rob:
You mentioned that the switch has not been used until your short showed up. Is tit a possibility that the switch only powers the selected track and when it is thrown for the siding, could it be that your drop down(feeder wires) need to be reversed to correct polarity on the siding track? That is, if you have feeder wires on the siding track.
John, as mentioned we have those times for sure, I know I sure do. It’s lookin’ good.
Dick
Jack M. Yes I live 4 miles from the brewery and know Jake & family personally. Good folks.
Terry M. I’ll remember to publish a track plan with next update; currently working on the “end of the bar” table section – about 73″ X 46″ in an L format. As it sits now the upper track makes no sense; it will.
The big plan is to connect 3 roads, IHB, CNW, and Milwaukee Rd. and have a removable section to take to train shows.
For your bridge repair if you have not already corrected it, may I suggest that you use a scalpel and cut the bridge from its base along the bottom next to the base. Then attach a bridge length piece on the bottom of the girders. then simply attach the lower (base) to the upper (girders) so that it can be lifted off if it should derail in that location again. Several pins pushed through the lower wood strip should hold it in place.
Jim Kennedy, the bridges are Tomytec and they slide apart however I have plans for them on another stage of the layout (9 ft of book-shelf connecting two tables). At this point making a single section of truss plate bridge is my best bet, I’ve already ordered some flex-track bridge sections (more ties, longer and closer together). Atlas girder plate bridges on either end of the span will help lighten my work load.
Thanks for the suggestion. Most wouldn’t have thought of that.