Bill’s been in touch with his model railroad in garage:
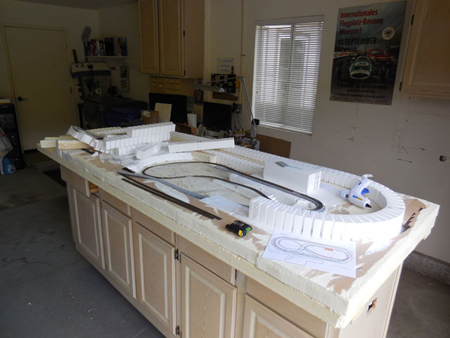
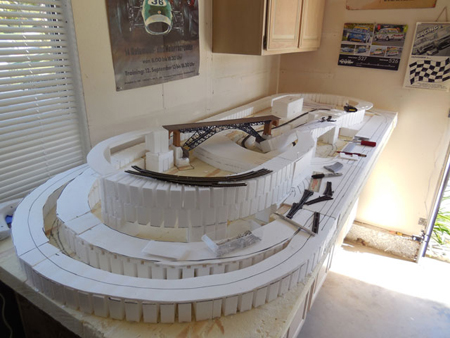
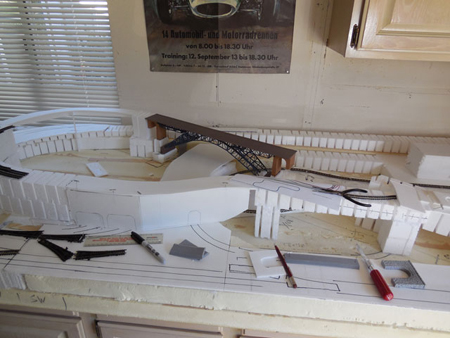
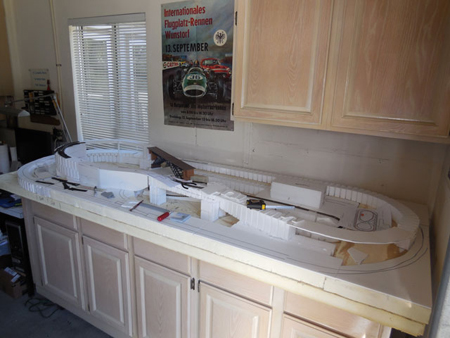
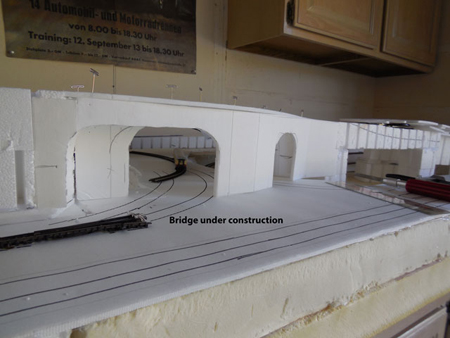
“Al….Your emails have been a great influence on me. I have been collecting European N guage houses and rolling stock for some 35 years, always saying “Some day I’m going to build ‘my train’ “. My wife and my children never thought it would happen. After studying Dave’s videos and the Woodland Scenics book for what seemed ages, I finally decided to begin. Here are photos of my progress so far.
The support is the old pennisula from a recent kitchen remodel. I took the counter top off and added two small furniture dollies underneath.
As this project is in the garage, that gives me the convenience of moving the whole platform into the center of the garage so I can work around it instead of bending over it. And I have drawers and cabinets to keep “stuff” in. The base layer of the layout is 2 inch insulating foam from the local hardware store. The rest, so far, is styrofoam from Woodland Scenics and bits and pieces that I have been saving for months. So far it is all held together with hot glue!
I will send more photos as my work progresses.
…Bill”
Bill – can’t wait to see the next update. What a start!
I know Bill’s layout is N scale, but it reminded me of this: HO scale track risers.
Now on to Joel:
“hello,
Im new to model railroading and i really love all the tips, and pics of everyones layouts !!
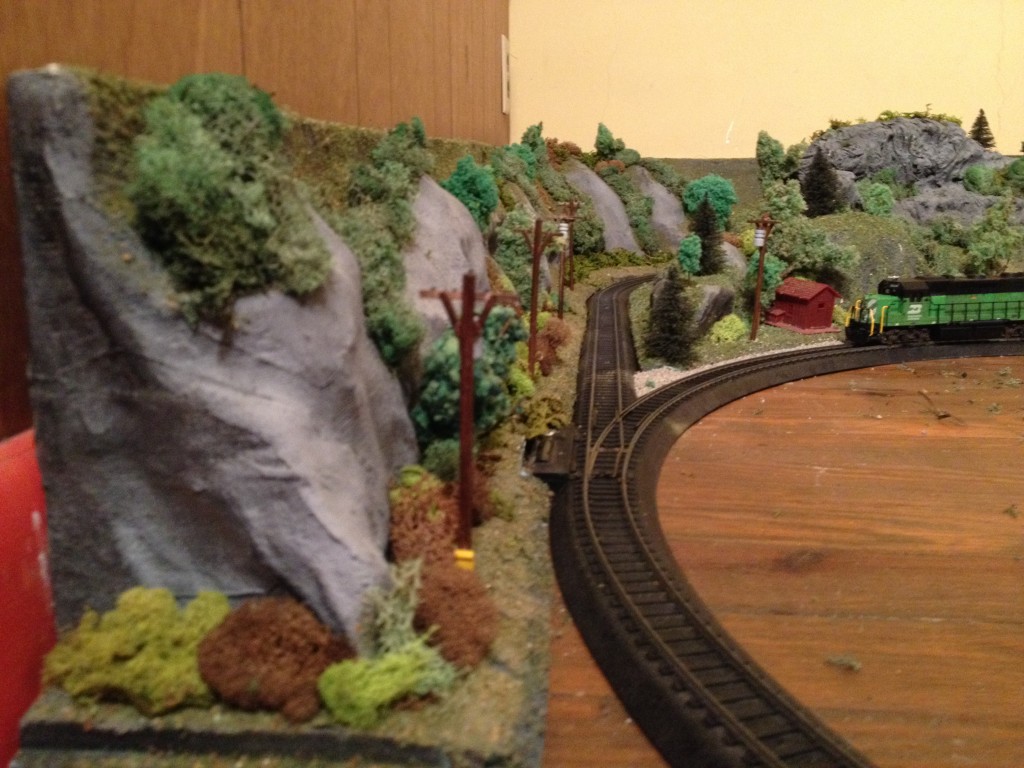
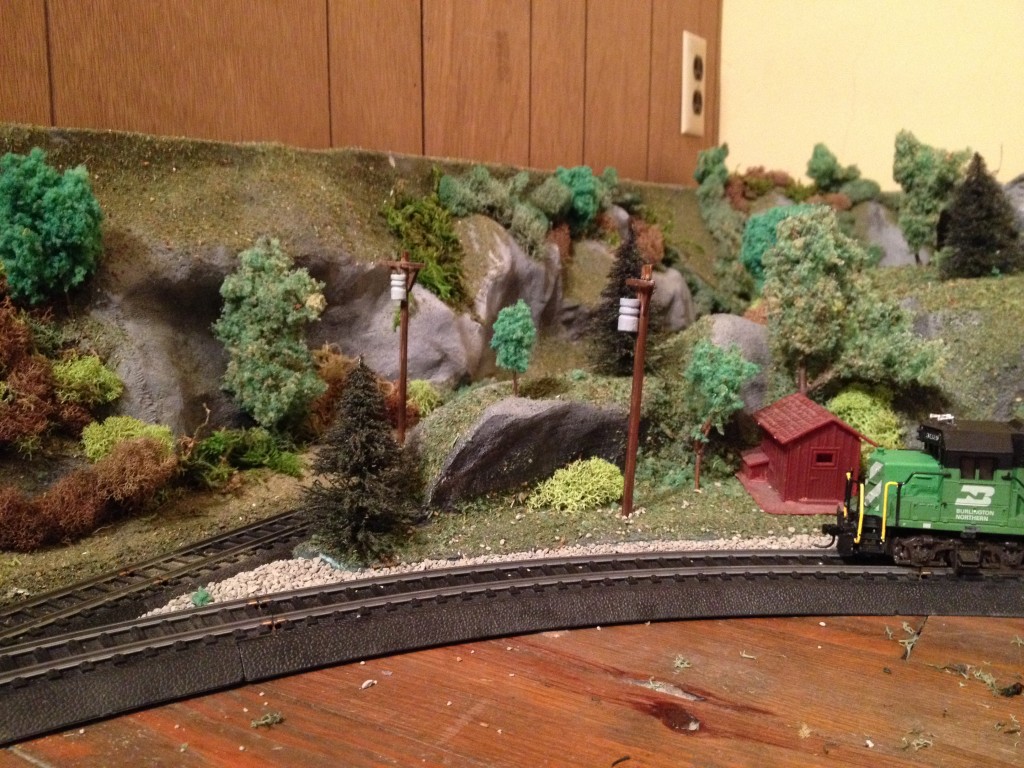
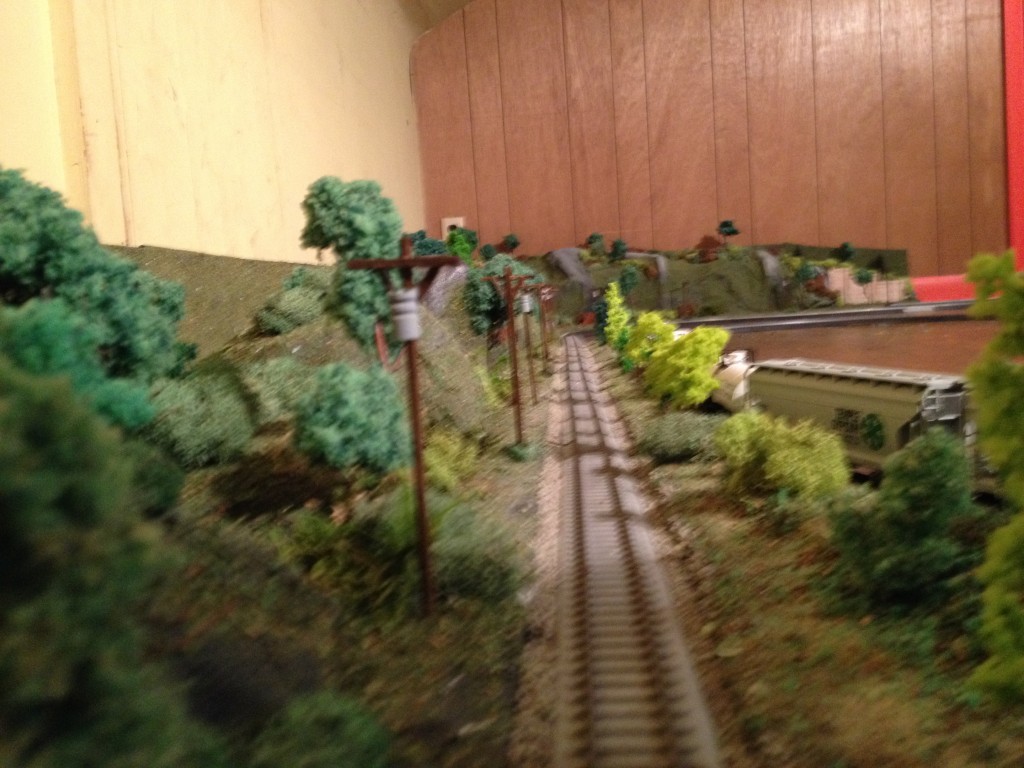
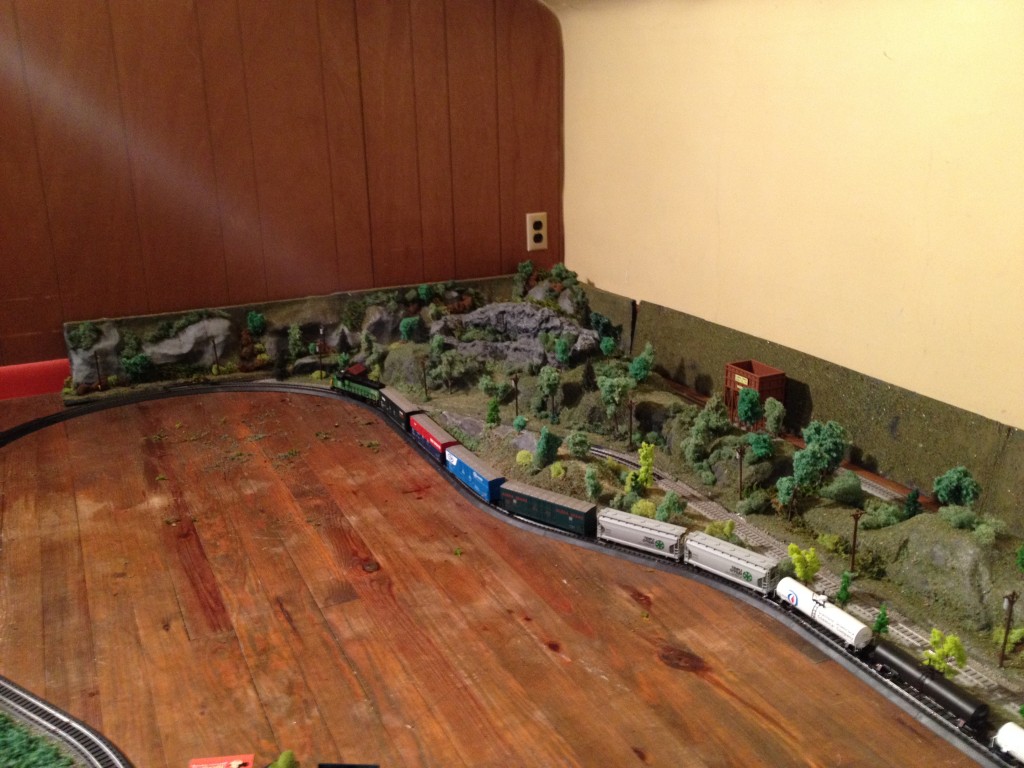
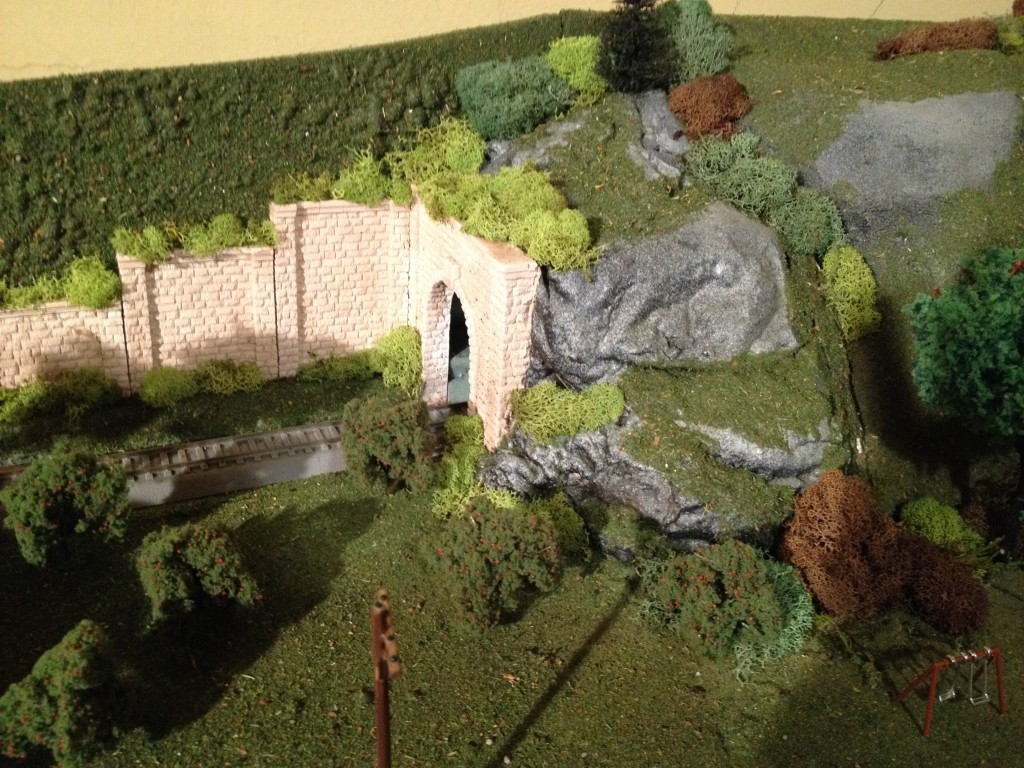
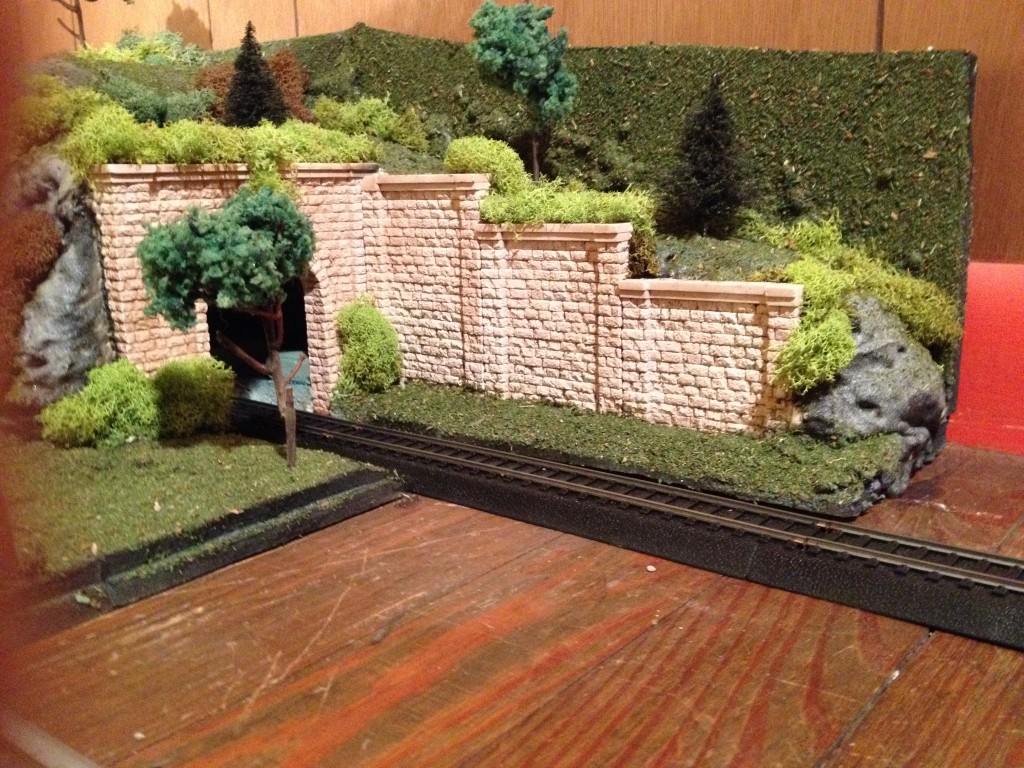
thought i might share some pics of my first modest attempt at a layout of my own, every thing is hand made from the trees to the telephone poles, it is just in the begining stages, keep in mind i rent and did not want to make something permanent, in case i decide to move !!
so i am making it a floor model and making it so it can be taken apart very easilly.
thanks for all the tips and pics
joe”
A big thanks to Joe, and to Bill for sharing his model railroad in garage.
That’s all for today folks.
Please do keep ’em coming, because it’s getting very quiet this end.
And if today is the day you poke boredom in the eye, the Beginner’s Guide is here.
Best
Al
PS More HO scale train layouts here if that’s your thing.
Need buildings for your layout? Have a look at the Silly Discount bundle.

hello Bill
this is looking good like to see more
cheers
Albert
Surely all these tips are for the benefit for amateur enthusiasts that have very little money and are looking for the cheapest way to build/enlarge their set up. Can the plans designs be emailed so that this is a way to save money and help others less fortunate!
lovely video. Good to hear how you run the vehicles
Hi Bill, is your Garage sealed completely off from the outside weather? I’m asking, because I had started a layout in my garage, but had found after about 1 yr. that things had started to corrode. Now I have a custome built outbuilding, with heating, etc. which protects all the expensive metal components of my layout. Just a thought….
Hi Bill, looks nice.
It may be the camera angle, but at appears you have some mighty steep grades there, particularly at the bridge. I hope your locomotive plans support them. I made the mistake of including some 4% because Woodland Scenics sold them on my first layout — The one I’m building is limited to two, which I’ll not exceed in future designs.
Alas, the curves on that inner loop, particularly the reverse curves, look mighty tight for most steam and all passenger cars. But you’ve gotten a whole lot of track in that space you couldn’t get otherwise and the finished result could be quite dramatic. I assume you know the trade-offs.
Just don’t want you done and disappointed after all that work. Have fun!
Bill I really like that all your stuff and layout was from the kitchen… Very nice Bill….
Looks like the making a a nice kitchen top model railway Bill , and you have storage underneath great idea , like been said though the incline is ok probably with diesels , but a light steam engine can soon skid with a heavy load , but test as you go along before you make it permanent , but all in all should turn out well .
Ken well what can one say …..marvelous !!
what tools did you use to design the layout?
looks great. Im exactly like you before you started. my plan is to use abundant styrofoam but come up with a support method to maximize ground space for my bldgs and toys.
cheers
alex
Brilliant idea, using an island on wheels!!!
I bet if you talk to some contractors, you could probably get an island being removed cheap…
Bill….I want to see you do the wiring for the track!!! I NEED to learn that part!!! I love the part about being on a mobile base. Bending over to do stuff can be a royal pain. And the storage is important. Good re-use of stuff.
Bill, I love the design. Did you do it, or is it available ?
Great layout… Congratulations are in order on your detail.
Bill perfect every inch is reality.
Good job.
Bedros Anserian
Bill, Great use of old kitchen cabinets. Better than hanging in garage for storage cabinets. Keep photos coming. Hat
Great job so far, cannot wait to see the finished project.
I have a small layout 36 in X 80 in. due to room constraints. I’m just starting a new layout on that small footprint. Does anyone have a sample layout that I could use or see, the one I have is a bit out of date. I use Kato track and accessories, styrofoam elevations like yours and am wondering why you have two tables as a base. What reason please? How do you anchor your track. Do you have other suggestions for a retired man getting back into his N scale setups.
Regards
F. d. Elliott
What a great idea for your layout platform using an island kitchen unit
Doug…Thanks for the comments. I’m sure it is the camera angle for the grade is 2% from Woodland Scenics, some 16 ft of it! And I agree that some of the curves are a bit tight but none smaller than 10″ radius. The one track visible is for a German (2 wheel) trolly and it will negotiate the 3″ radius curve. However it is not permanently installed.
Claus…Yes, the garage is sealed off from the outside weather, but then I live in San Diego where the temperature swings are nominal. I think it should be OK.
Albert…More will be on the way
Thanks all for your comments…Bill
Great idea Bill using an Island for your layout. I can’t wait to see more in the future.
AS for Ken’s video, what a great job. I really enjoyed your detailed repor on your layout Ken. Next time can we see the water feature operating as it sounds fantastic.
Thankyou both for sharing your layouts with me. Cheers!
Hi Ken,
Great layout. The vehicles on the road seem to be following a wire in the road bed. What is this system? The vehicles must have their own motors, correct? Did you create this and if so how?
Great engineering. Lot of thought went into it. Most amazing life-like modeling
Nice idea Bill using ex-kitchen units on wheels !! Look forward to seeing your progress.
Ken – That is some impressive layout – lots of movement both road & rail. I like your shipping back-scenes.
I LIKE THE SMALL LAYOUT. LOOKS VERY GOOD
Nice Layout Bill you sure still got a lota work to do but its looking great nice job cool vid too
thanks for sharing mate
Love the use of the cabinet base. Hope the wiring has already begun. Realized on mine just a bot late and had to remove some things to wire correctly. With this you might be a le to do some from underneath bit would be harder than implanting as you go. Looking great so far! Keep us posted with future pics
GREAT LAYOUT ,ARE THE ROAD LAYOUTS MODIFIED SLOT CAR TRACK?
Bill –
I too love the detail. I am also enthralled with your system of moving the vehicles around. Could you please send some pictures with more details on the pulley system, especially hoe the vehicles get attached.
Thanks,
Barry
Ken, How do the trucks and buses move? Is it a kit, Home built? Steve
Hey Ken, I commented before on your layout. Very impressive for sure. Are you in Boston? Detecting a little accent there? We’re gonna be up there for the holidays. I was in Amsterdam for 3 days on tour in Europe playing music, it was among my fave 3 days of the “trip”. I didn’t take a train in, we actually had a car, but we walked all over the city,and you have done an excellent job recreating it. Thanks for the memories 😉 Peace
Very liberal use of recliners and risers. I can visualise that it will look fabulous after completion. I am longing to see once it is complete. Cheers.
GOPAL DAGA/ CALCUTTA/INDIA
Hello Bill,
Congratulations on your layout. The finishing touch was the mobile traffic – most impressive to watch everything moving. Just a little worried about the apparently steep rail gradients. Are they for real, or was it the camera angle? Looking forward to any more videos.
Yours aye
Peter Feiler
On ya Bill, get some track down and get a train moving (even on a short bit of track) its a great incentive, you will see.
I look fotward to seeing your progress!
Pete
So when your wife came home and saw that on her kitchen island, what did she say. I hope the garage was heated.
That is going to be excellent!
Just kidding. Maybe you should turn this garage into a kitchen and move the island back in the house. Who needs to eat when you have a layout to consider. Women just don’t understand.
Bill.
Great looking layout. I noticed a paper layout plan on the table at the bottom corner of the first picture.
For benefit to all, please take a shot of that and post.
Thank you.
Hi Bill that’s a great idea you had for you’re left over table. The layout looks great! What scale is it? I’m concerned that the grades may be a little to steep. You might have a problem with the train uncoupling on the bottom of the grade and also pulling the grade with a. Slow approach. I would not like to see you build the layout and then find out you have a problem. Have fun building you’re own little world. I enjoyed building and weathering my HO layout..
Great job Bill, I like the wheels underneath your Train table, great idea. The idea of having everything under your table works out perfectly. At Christmas I had an oval track around the Christmas tree, I had the opportunity to get all of my Locos out and dust them off while they went around the Christmas tree. I kinda went out of control and had to stop setting up my Oval track, it was only three meters long, lol. I was getting the inch to start setting up my layout, but I still have to make all of my tables to go around a ten X ten room. As soon as I start cutting wood for the tables, family would show up and stay two to three days and away went the tools & wood. Lol soon, very soon I will start again. Keep on railing.
SDG St.Petersburg Fl
Bill,
Thats going to look GREAT!!!!! I love he under-table storage and the surroundings you choose for the whole thing! NICE JOB!
Can’t wait to see more of this being done!
Keep up the GREAT WORK!!!!!!
~Hemi
Re: Ken’s wire controlled roadway: Awhile back Al posted a video from Rob McCain on how he installed the same roadway on his Farland Howe layout. I think it is a German product. Rob has a YouTube channel where you many also find this video.
Hi Bill
Looks like a great plan. Just one thing the changes in height of the tracks looks to be fairly high and the angle of the track will have to be pretty steep in such a short distance for the trains to climb. Have you laid a piece of temporary track on the gradients and tried a fully laded train up the slope?. Just a bit concerned that you do all this great work only to find that the trains won’t be able to climb the gradient.
Just thought you had buses/truck and the tram a wee bit fast. maybe slow them down a bit to be more realistic.
Great layout in de kitchen top.
HC Treintje België (Herman).
Bill
What a great way to reuse that kitchen island good luck
Ken
I can’t wait to see those boats everything looks great
bob from florida
great beginning…………………………simplistic………..not overwhellming (like i am prone to feeling………………….this project should be rewarded with a few pints on down the road………..
For F Douglas Elliott- a layout I modeled is Scenic and Relaxed found in Atlas’ Nine N Scale Model Railroads, 2nd Edition. Check that one out, their table is 36×72, mine is 31×96.
really nice, keep going.