The talented Boyd has been back in touch – this time he’s added a model railroad lumber town, complete with a Jurassic Park, which I absolutey loved.
It’s the theme and the personal touches that make a layout!
“Hello Al,
It’s hard to believe that another year has passed since my last email. As mentioned before, I pursue outdoor activities and spend several weeks up in Nova Scotia throughout the warmer months, and only work on the layout over the Winter.
As usual, I did not get as much done as I planned, but did commit to getting a good start on the next section.
If you recall, there will eventually be a section dedicated to each of the grandkids, and this year’s goal was to get in the basics of Jaxonville.
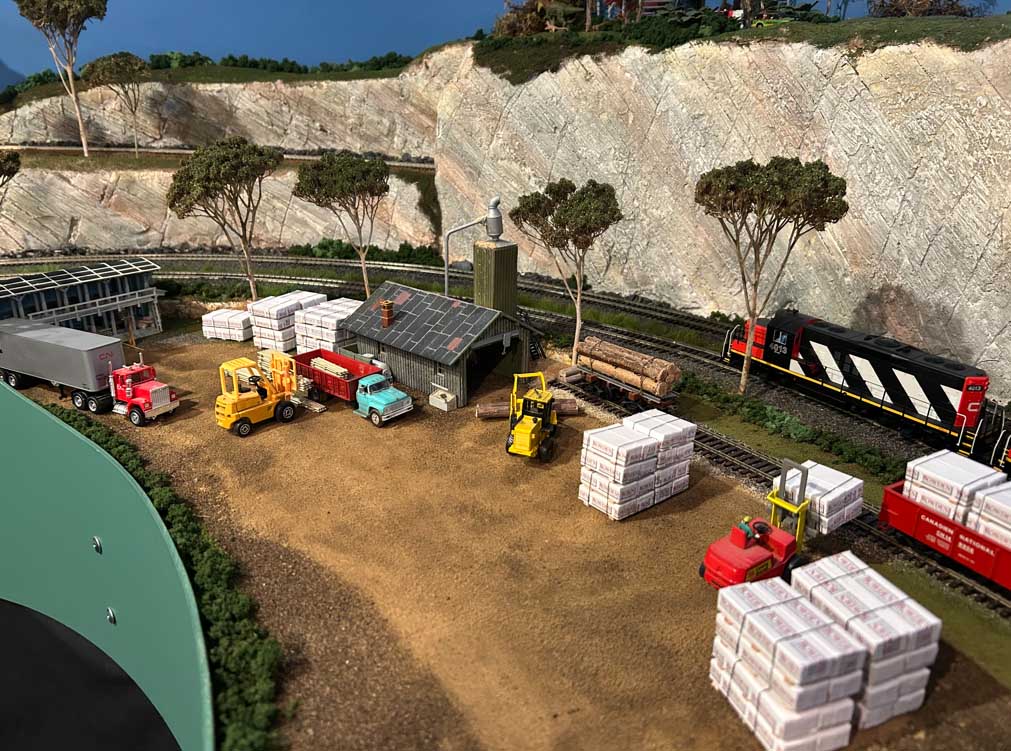
The scene begins at the bottom of Mila’s Mountain with a small family operated lumber mill that processes the timber from the logging camp up on the mountain. There is a siding to bring in the logs and take away the packaged lumber products.
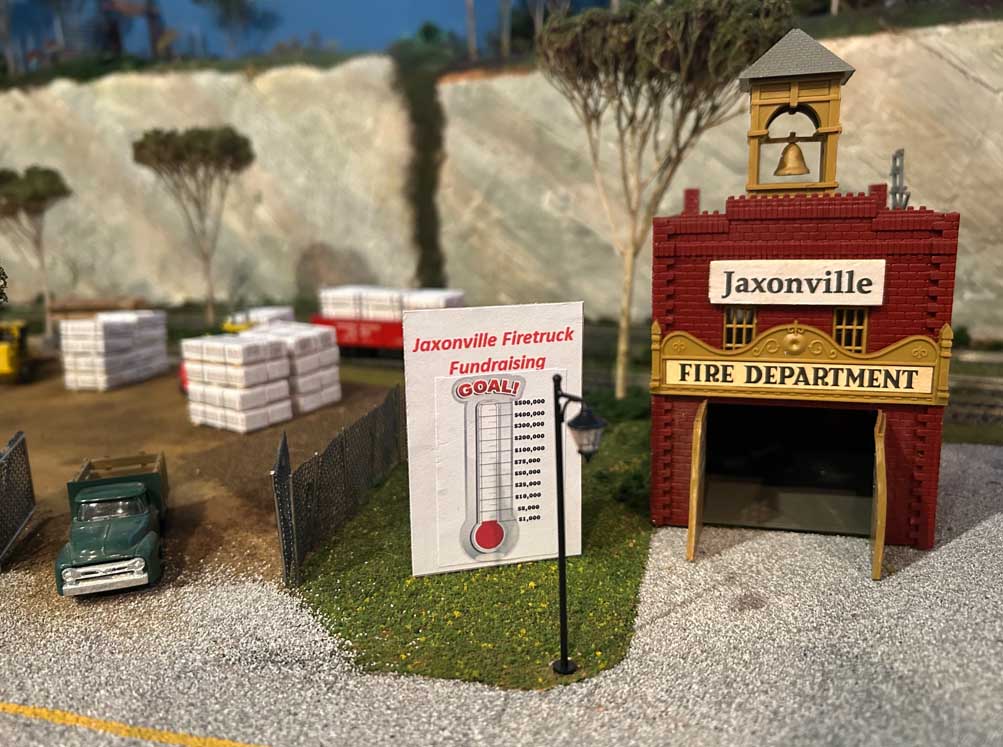
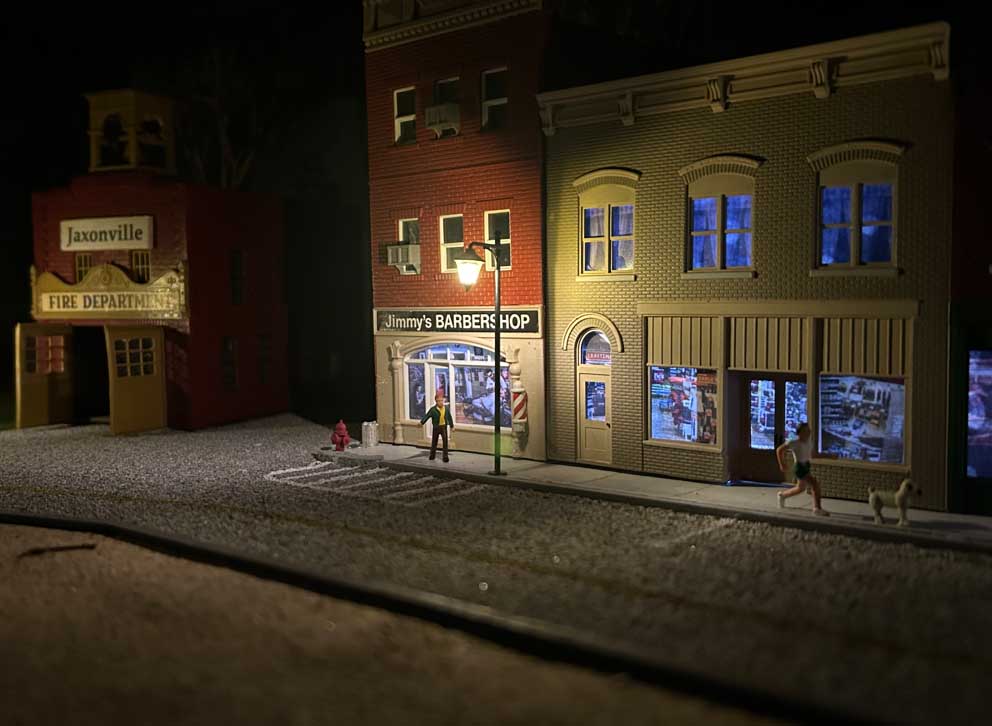
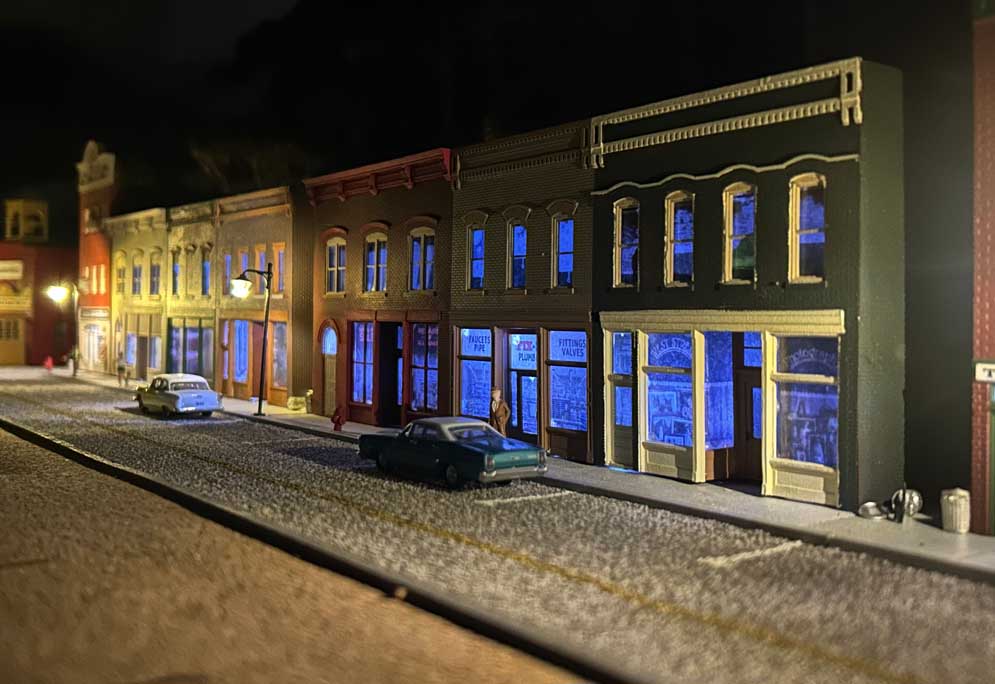
As you pass the mill and head into town, you first pass the firehall ( there is currently a funding campaign underway to purchase a new firetruck, but it appears to be off to a slow start ), then there is a section of retail stores, a Tim Horton’s drive through ( I was born and raised in Canada ) then the scene ends with a brewery, which also has a siding to bring in raw material and take away the brew.
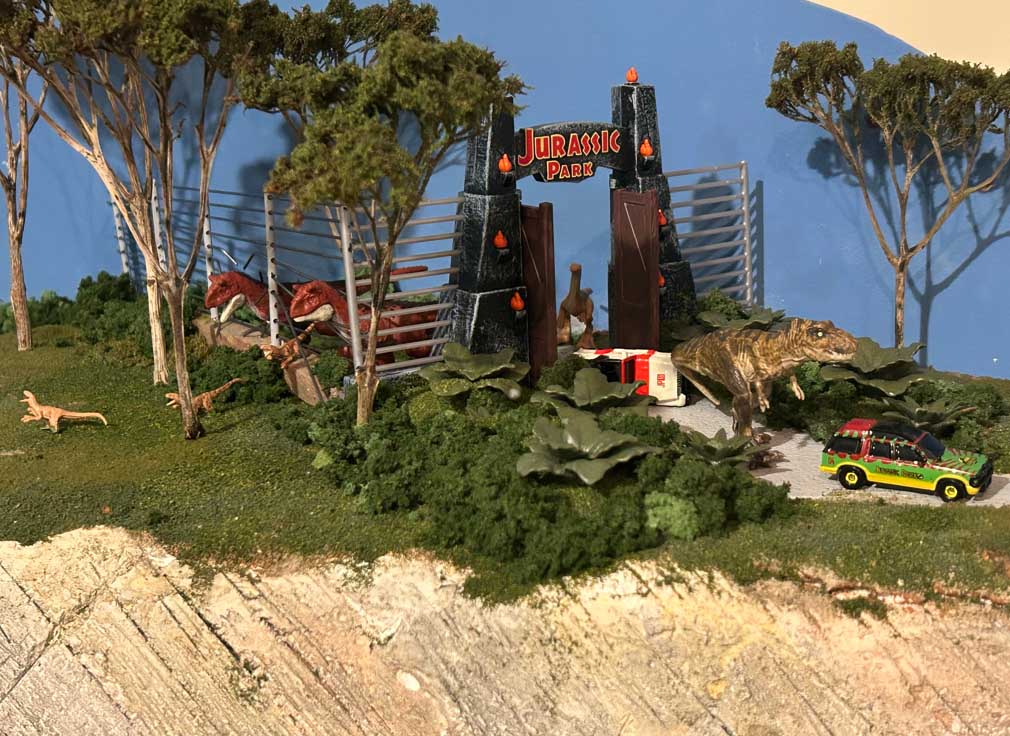
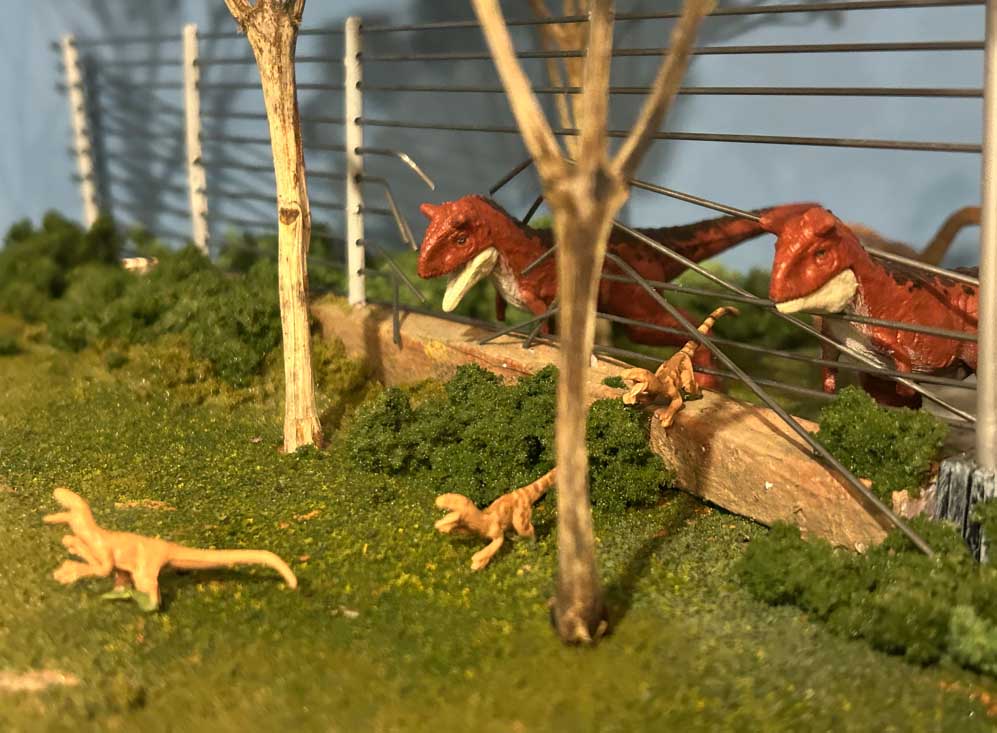
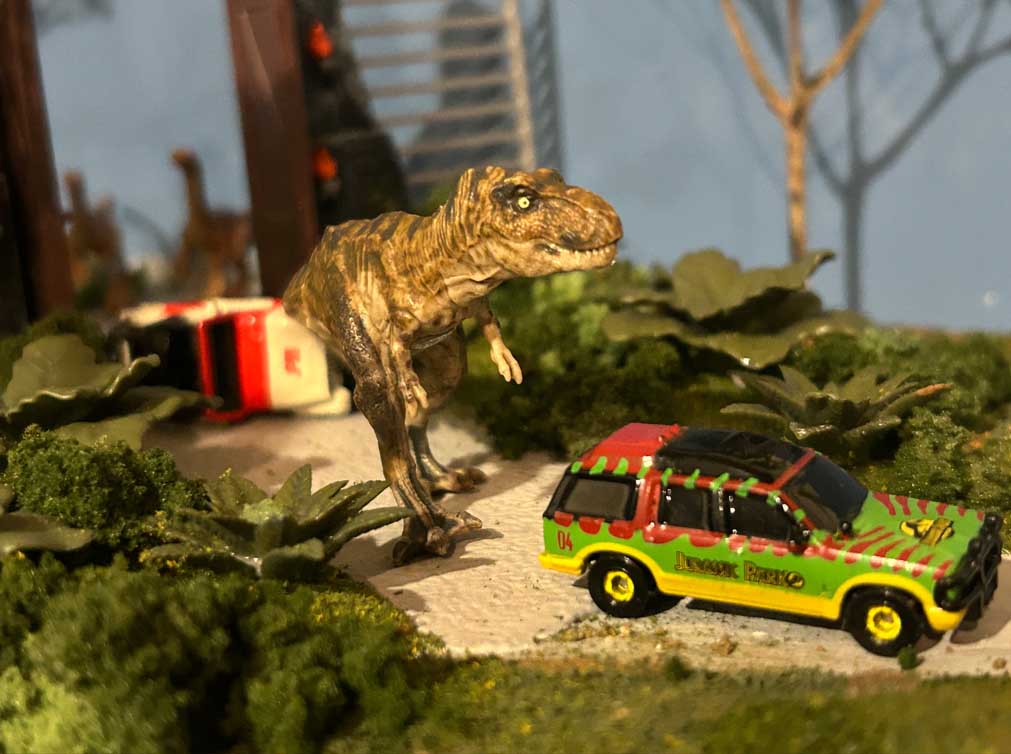
Above Jaxonville is a Jurassic Theme Park to reflect one of Jaxon’s main interests.
Each of the stores has interior lighting, and there are streetlights along the main street. The wiring was a new learning experience, and took some time, but I think the end result was worth the effort.
There are still many details to fill in, more people, vehicles, etc., as well as a playground and park to finish out the foreground. That won’t happen until next fall, so I thought I would send in progress to date.
I will also send a video showing some trains as they pass behind Jaxonville, it is not the greatest of quality and runs a bit long, use as you will.
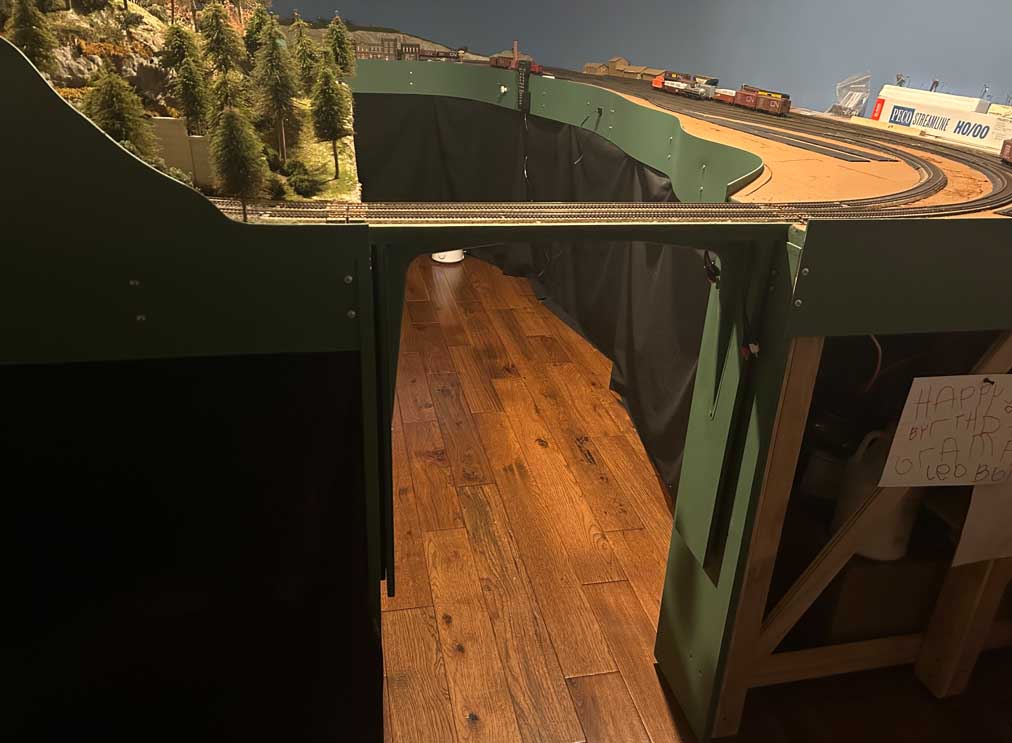
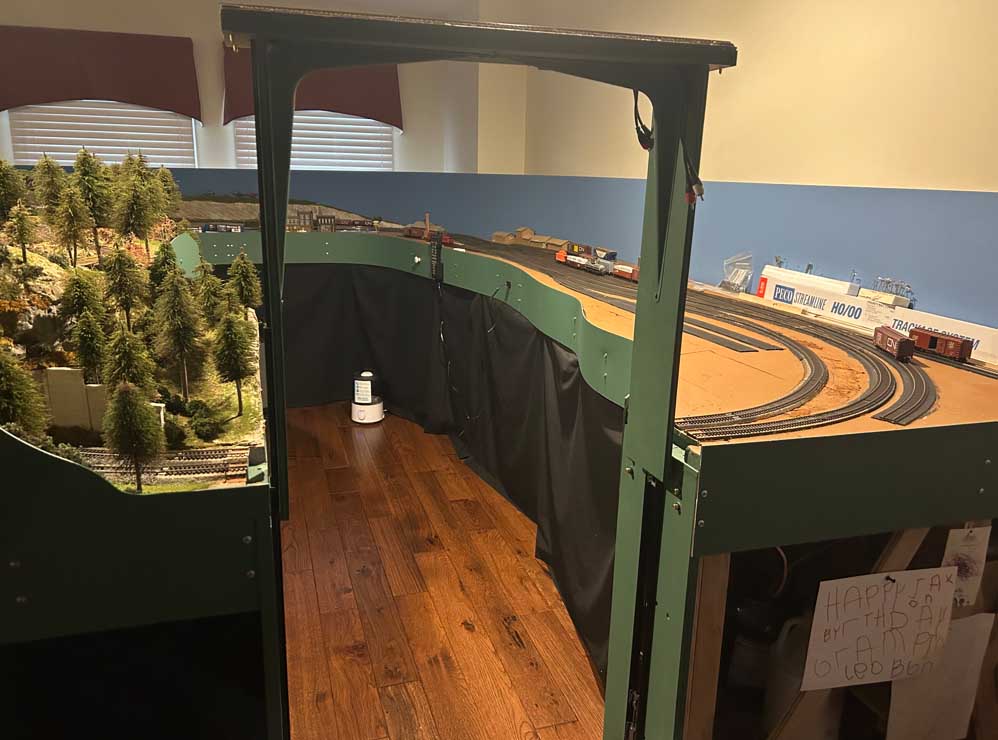
One other note, my layout originally had a duck under to access the interior space. I knew I would probably tire of that eventually so I had a temporary bridge in there until I decided which direction to go for the final solution.
I stumbled upon a Youtube video of a fellow who designed and built a lift up section using drawer slides, and fashioned a similar unit for my layout, I’ll attach a couple pics of that as well. It is not as professionally finished as his, you can see his video here.
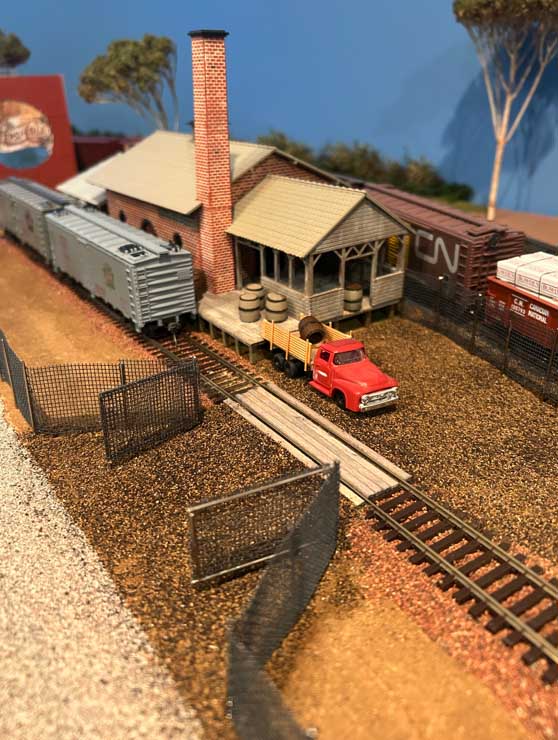
Lumber Mill area
Jaxonville Fire Department
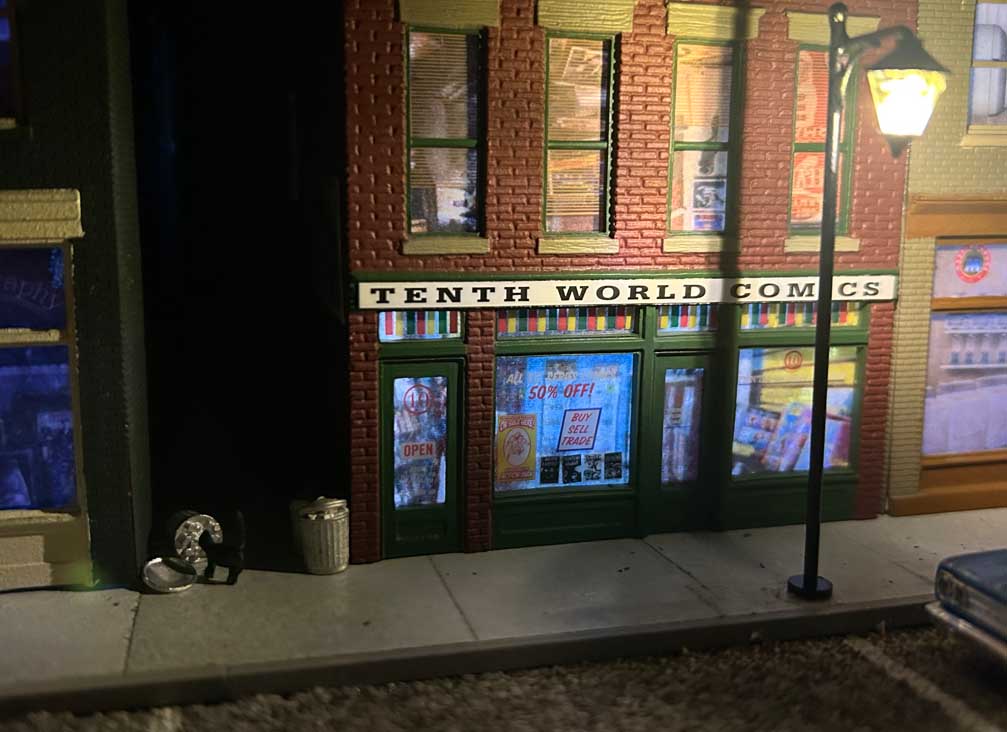
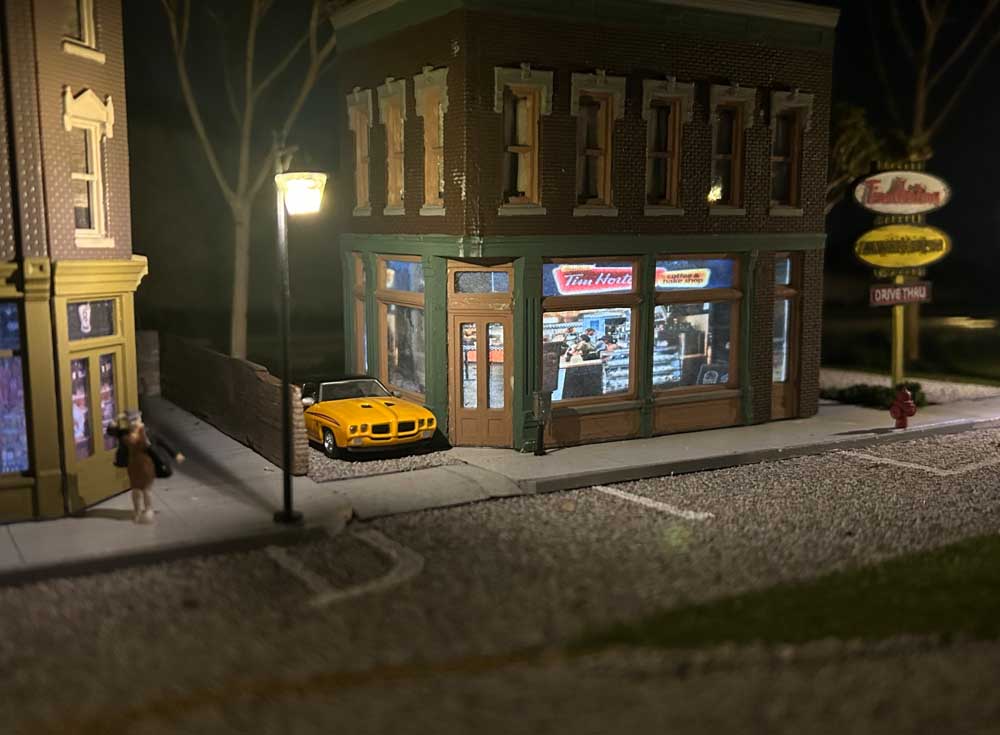
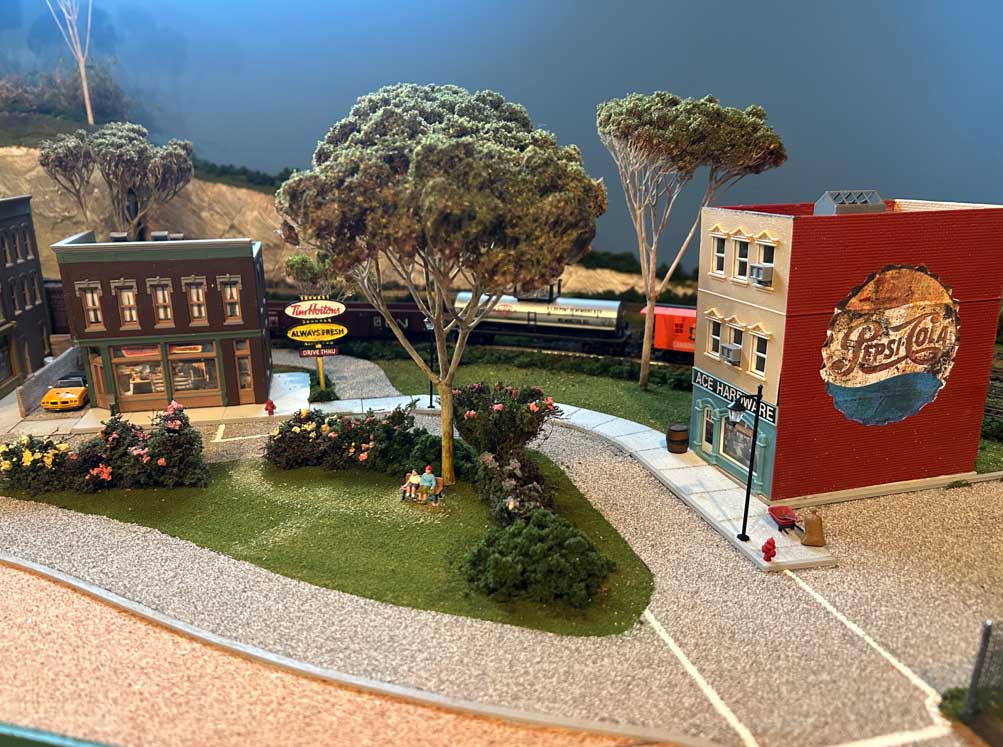
Jaxonville retail area
Brewery
Jurassic Park
Duck under and glide up solution
A continued Thank you for all you do to support the hobby.
Boyd”
A big thanks to Boyd for sharing his model railroad lumber town update.
His layout is one of my faves on the blog. Here are his earlier posts if you want to see it from the very start:
Boyd’s update also reminded me of Paul’s Jurassic Park layout.
Recently I’ve been a bit despondent about the blog, I think this is because it’s really thin on the ground at the mo, people have stopped sending stuff in. And then I get something like today’s and I remember why I do it.
Hope you enjoyed it as much as me.
keep ’em coming.
And if today is the day you get started on your layout, the Beginner’s Guide is here.
Best
Al
PS More HO scale train layouts here if that’s your thing.
Need buildings for your layout? Have a look at the Silly Discount bundle.

A very ingenious way to gain access!
Very nice layout.. one problem that I see is that the Ace Hardware store is not weathered at all but the sign on the side. The Pepsi sign is seriously weathered. Looks kind of strange.
I’d like to see more details on the lift mechanism. Seems like a novel approach to an age old problem. Very clean layout. Not over crowded. Great work.
Very nice layout , very clean layout , great idea on the access gate .
Boyd, You have created some wonderful scenes here. Great layout. It is obvious you are having fun with it. Nice touch with the Jurassic Park too for the kids. Neatly put together I might add. Rob
I also would like some info on your lift mechanism because I have to put one in on my layout.
Very nicely done.The interior details are especially realistic,and the night scenes are realistic and stunning.I give this layout a BIG 10!!
Larry/Dennis, the “video here” link at the end of the narrative above will give you detailed explanation, drawings, etc, that guy does a very nice job of explaining it all. I simply made a framework to fit the opening, attached a couple L-brackets for support, and attached the 24 inch slides ( purchased on Amazon ) per the instructions that came with them. They will tell you how to measure, what gap to plan for, etc. I used table leaf alignment pins, 2 on each end to make sure the slide always goes back in the exact same spot. I soldered dropper wires for each track and ran them down and under the shelf, then soldered on RCA plugs for the droppers and track power bus to make the power connection. You can see the alignment pins and the RCA plugs in the “raised” photo. I also glued thin copper covered PVC board ( same thickness as your rail ties ) to the baseboard under the track where the openings are on each end, removed a few ties and soldered the track direct to the copper board. This keeps the tracks aligned and prevents them from moving side to side. I did leave a bit of a gap so allow for track expansion this summer, we shall see how it performs then. Post back if you have any specific questions and I will try to answer. Hope that helps, his video is much better than my explanation.
Great looking night time scenes. The lighting and the interiors of the buildings are amazing. And the details of your streets are incredible. Great bit of modeling on display here.
Jim AZ
Nicely organized but the buildings and cas & trucks are too out of the box…
If you plan to weather them, this layout has potential…… Keep going!!!!!
The dinosaurs are an amazing touch. I’m very tempted to do that on a free-mo module I’m putting together.
good idea
Hi Boyd, What a great job you have done on your railroad! Quite satisfying to observe with one exception IMHO. While your fascia application is impeccable I find the green color distracting. It’s your empire so you can do what you want but I’m always advocating for blending the fascia into the scenery as opposed to making it a hard stop. The pictures of your lifted section tell the tale. I’m assuming that the fascia in the foreground is the same green but it looks dark because of the lighting I’m assuming. It’s blending into the scenery whereas the fascia in the background defines the edge. It’s my observation (no, I don’t have a railroad of my own) that it is more pleasing to the eye to follow the nondescript dark fascia into the scene than the bright green. Why not at least paint it brown if not camo or better yet, incorporate some retaining walls or rock faces or hanging moss at the edge to draw your eye into the scenes. I’m always writing about this so please don’t nuke me for it…just think about it for a moment. Also why have it sticking up above the ground level? It looks like most trackage is safely away from the edge so the border scenery is constricted by the artificial barrier. Jus’ Sayin’ Peace out!
Where did you get the GTO?
Can I donate something to get the Fire Departments Fund Raiser project started?
Great Layout.