Brian’s been in touch, he been busy with his model railroad test track so everything works just fine before the scenery goes down.
“Hi Alastair,
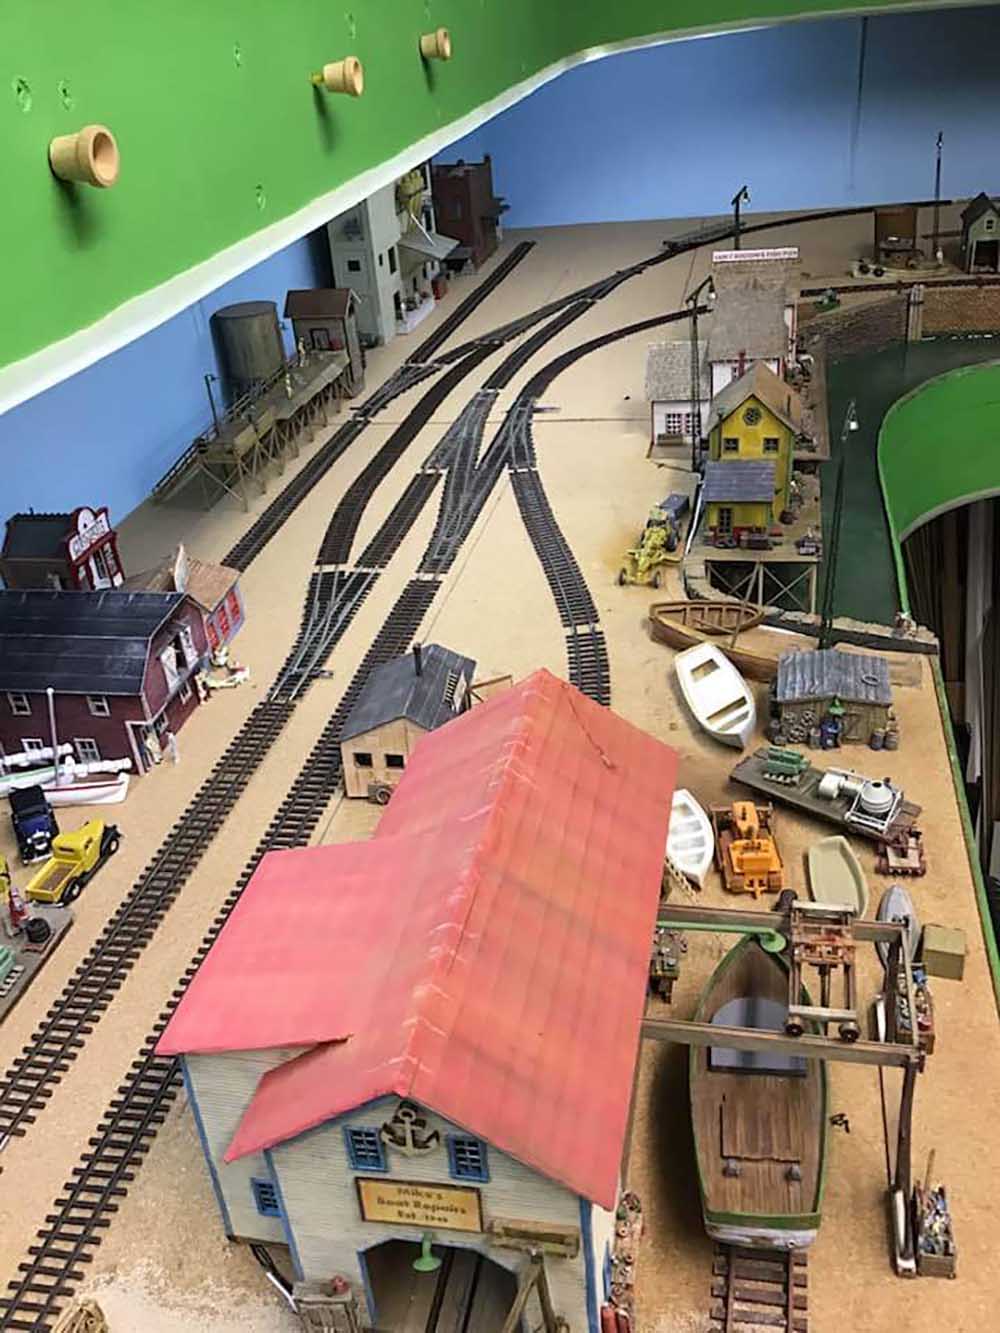
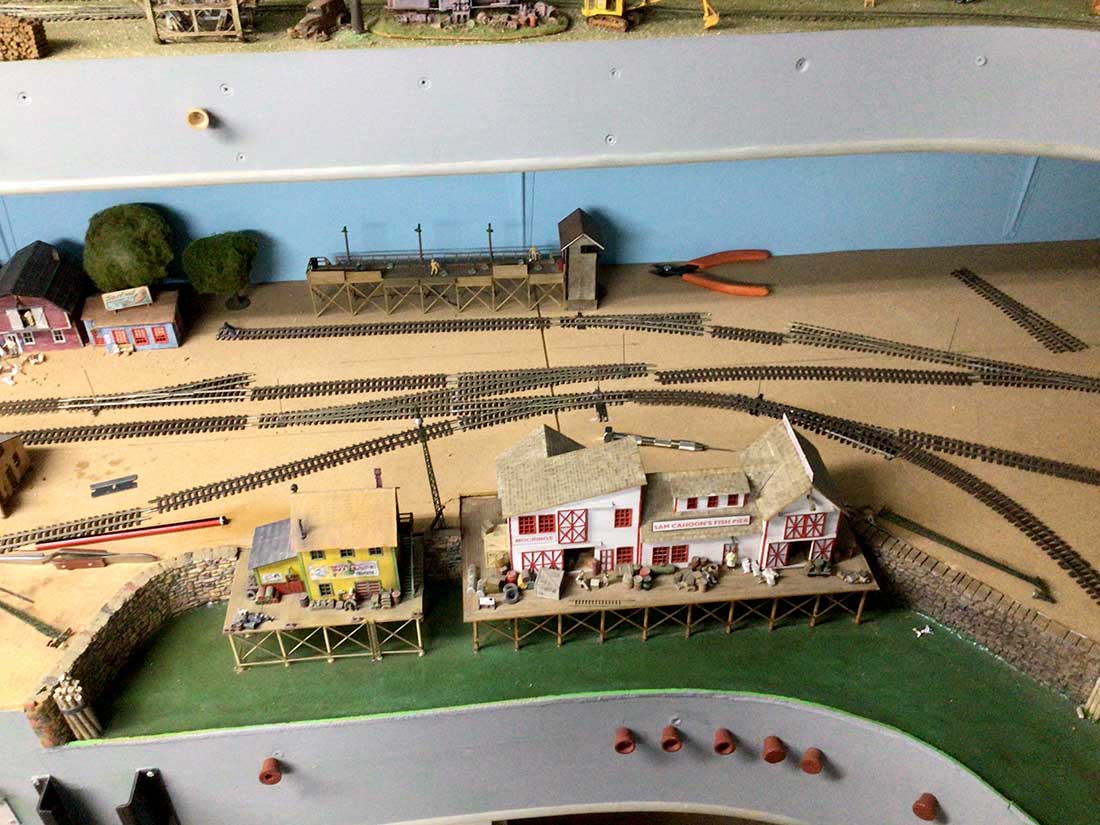
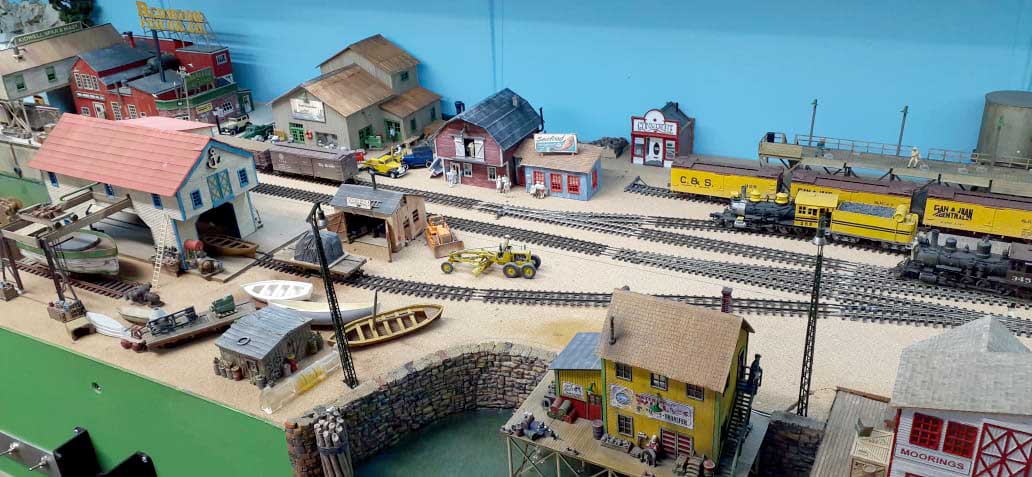
More progress on the lower level beyond the harbour after having temporarily laid the track in place to make sure that it was in the correct position I wanted before fixing it down.
Photos below were taken before I changed the facia colour to grey.
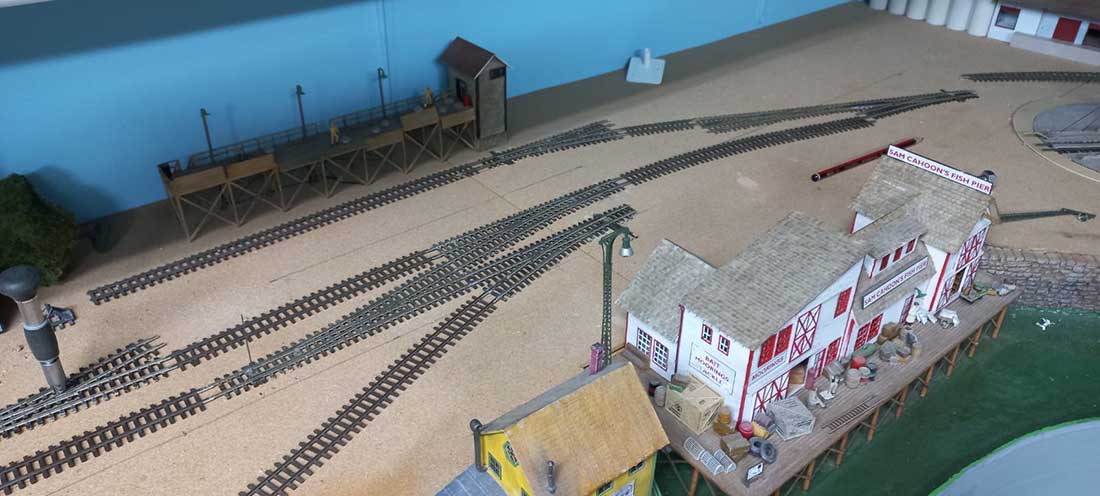
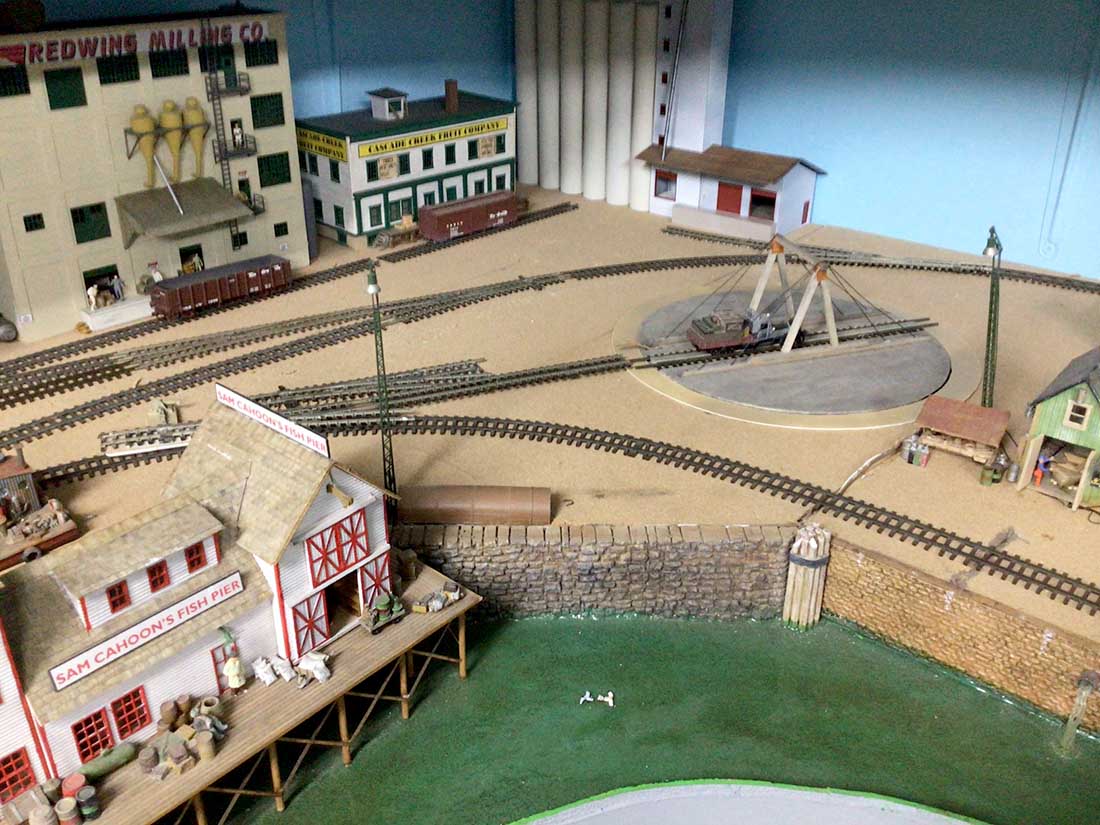
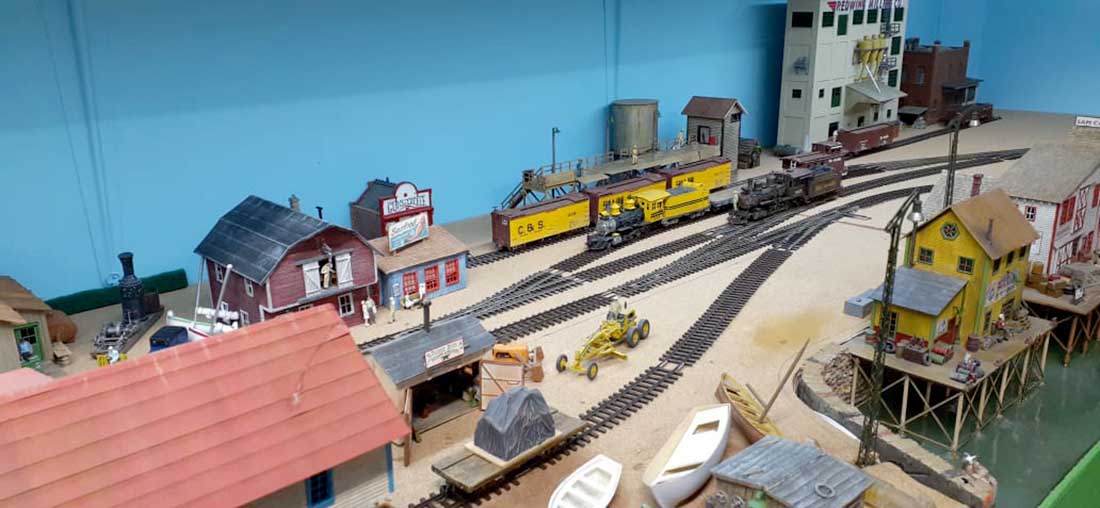
Another view of the proposed track work minus the point still to be added leading to the turntable off to the right.
Below is one of the Blue Point switch machines that I use for all my points (turnouts). They are all manually controlled. This photo shows it upside down and on top of the layout but will be mounted underneath each point (turnout).
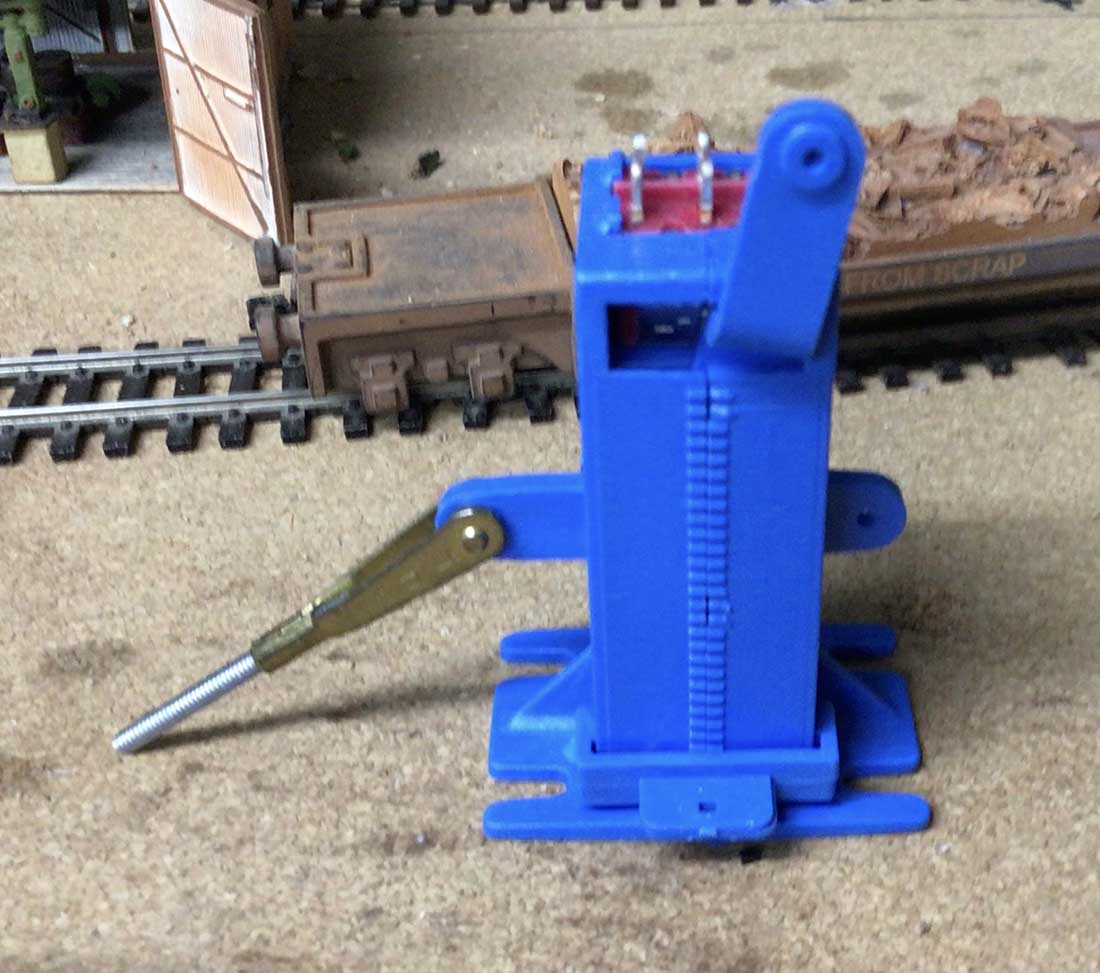
Looking closely one can see the thin spring steel wires coming up from under each point for the Blue Point switch machines. The converted and kit bashed Atlas turntable (manually operated by hand) worked exceptionally well and did not need a switch to change the direction of the locomotive on it when rotated 180 degrees. It does it automatically on rotation.
Model railroad test track:
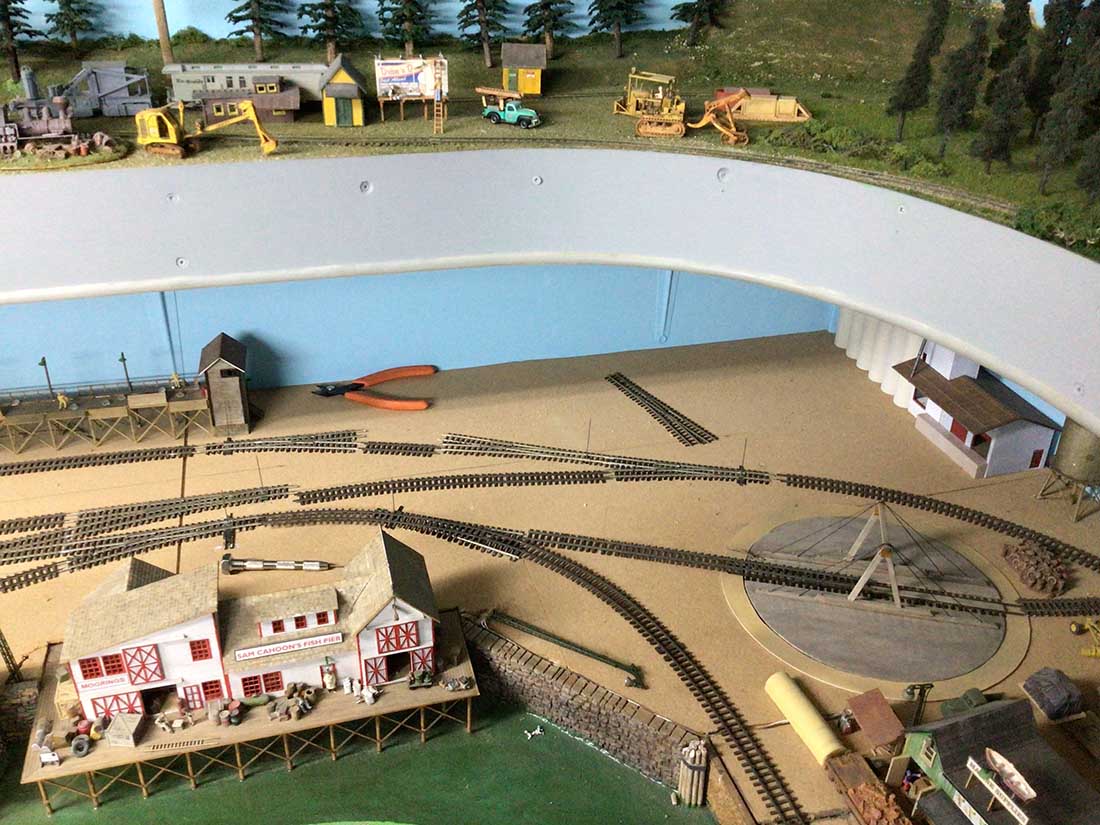
Cutting and fitting the pieces of track in its intended location. Here the point leading to the turntable can be seen on the right.The red knobs on the facia operate the push/pull point machines shown below.
Making a mess in the process while placing the track in it proposed location.
I should have done all the track work before fixing the buildings in place to avoid knocking things down in the front. One is never too old to learn. (Need long arms to reach over them).
The white piece of styrene top middle is the template used under the layout to mount and drill the holes in the correct position for the point machines.
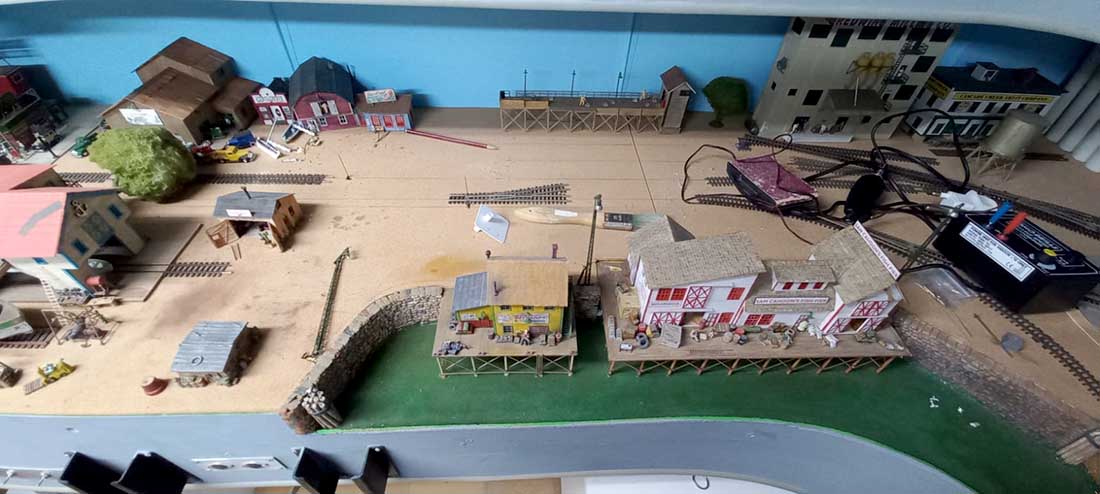
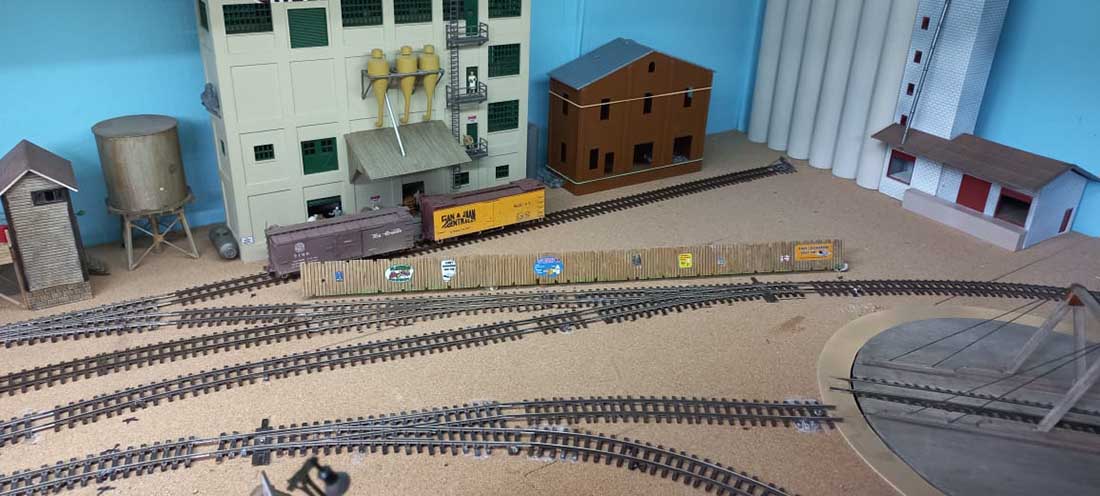
Checking clearances at the back to make sure that the buildings will fit with the track in place. (Below)

An HOn3 Pierce Arrow Galloping Goose carrying freight being turned on the turntable.
Again checking clearance of the track in front of the buildings with different rolling stock.
Slowly getting everything back in its place after testing and re testing the track for any running problems that may have occurred. I did find one electrical short, corrected it and promptly found a second one. All running smoothly now.
A new background building 50mm deep under construction. (Brown brick one)
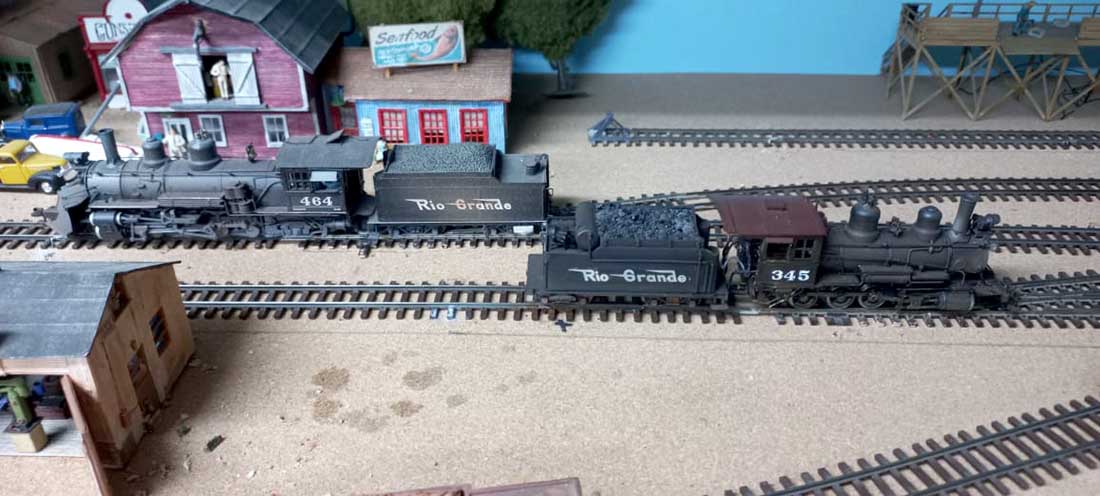
Two of my HOn3 locomotives that were used in testing. A Blackstone K-27 2-8-2 (464) and a brass C-16 2-8-0 (345).
Now to start with the ground cover and the scenery to go with it.
A very big thanks to Alastair for keeping this site going for all the Modellers out there.
Until next time.
Brian – the HOn3 guy from Knysna RSA”
A big thanks to Brian for showing us how he puts together his model railroad test track.
You can see Brian’s last post here: HOn3 shelf layout.
Now on to another Hall of Fame member, Dan:
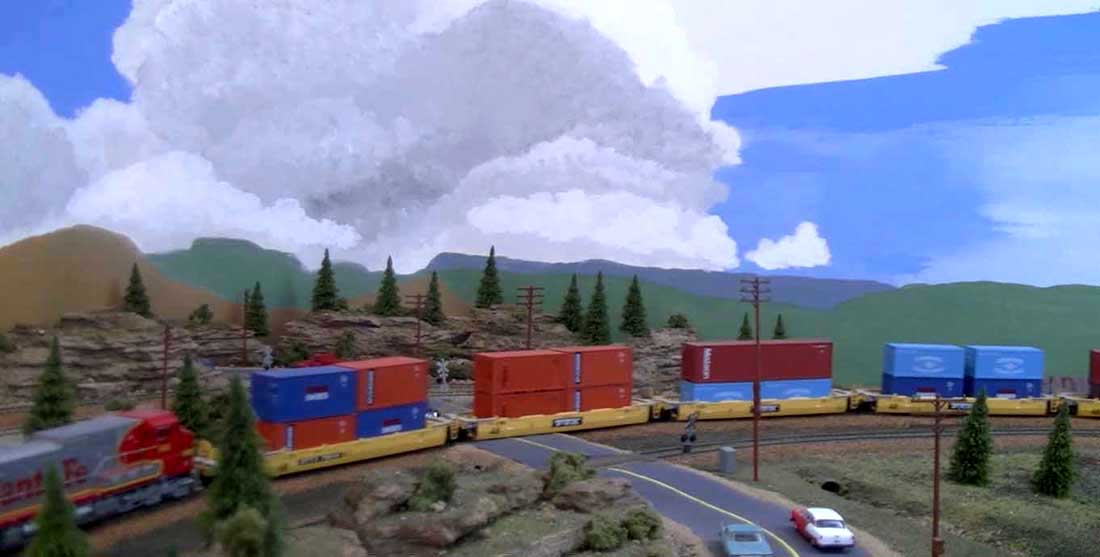
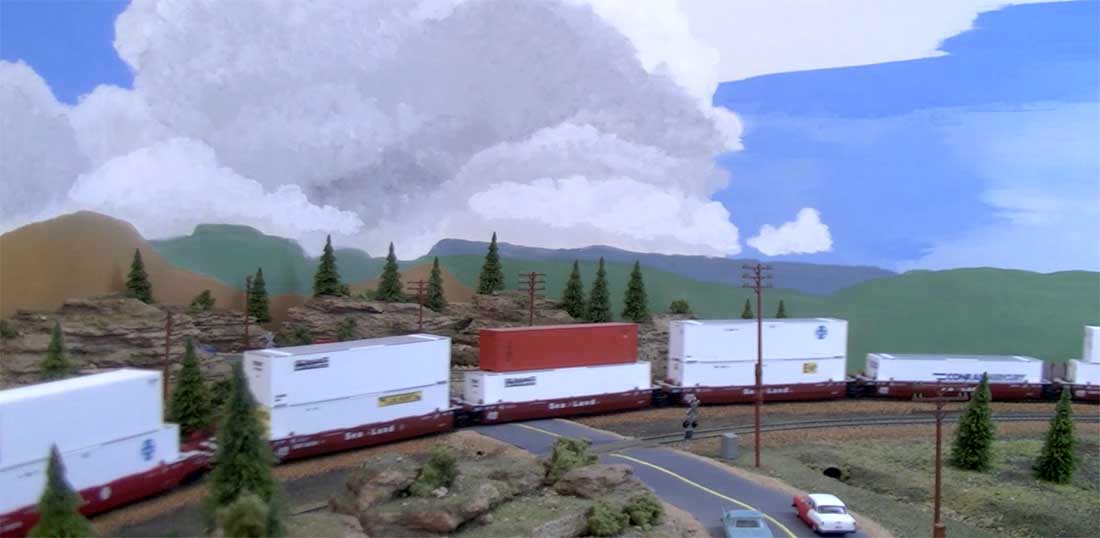
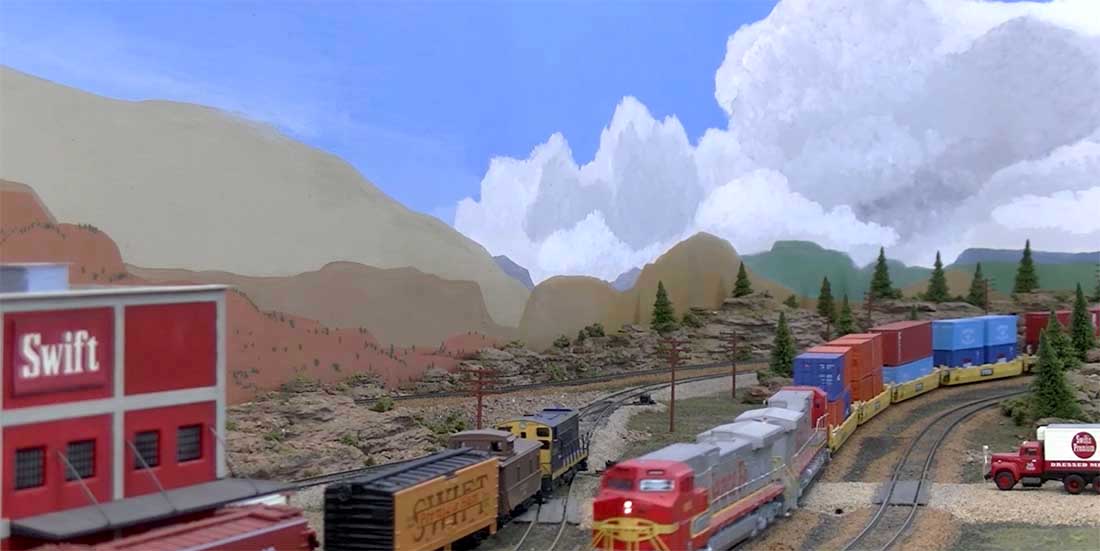
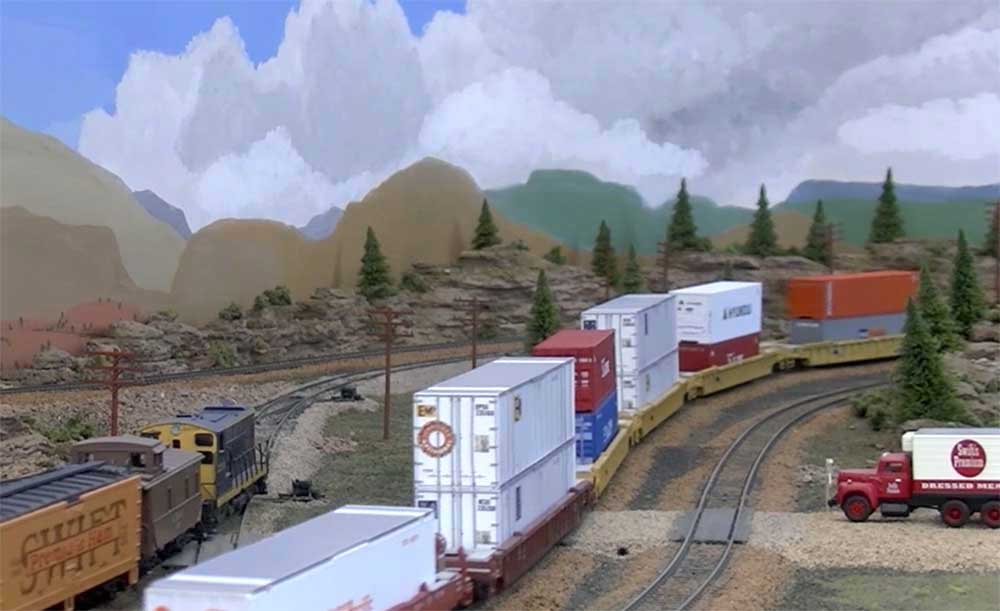
“This video features a stack train. My layout goes through a tome warp from time to time. The layout is “set” from 1958 to 1962. It becomes 1992 on occasion.
I spent a month in Flagstaff Arizona one summer on an astronomy education workshop. We had reading assignments, so I walked to the Flagstaff station where is a small park. I sat there to read and watch trains. When I got home, I just had to have a stack train.
In the 1992 phase an AMTRAK train can be seen from time to time.
Dan”
That’s all for today folks.
Please do keep ’em coming.
And if today is the day you get started on your layout, the Beginner’s Guide is here.
Best
Al
PS Latest ebay cheat sheet is here.
PPS More HO scale train layouts here if that’s your thing.

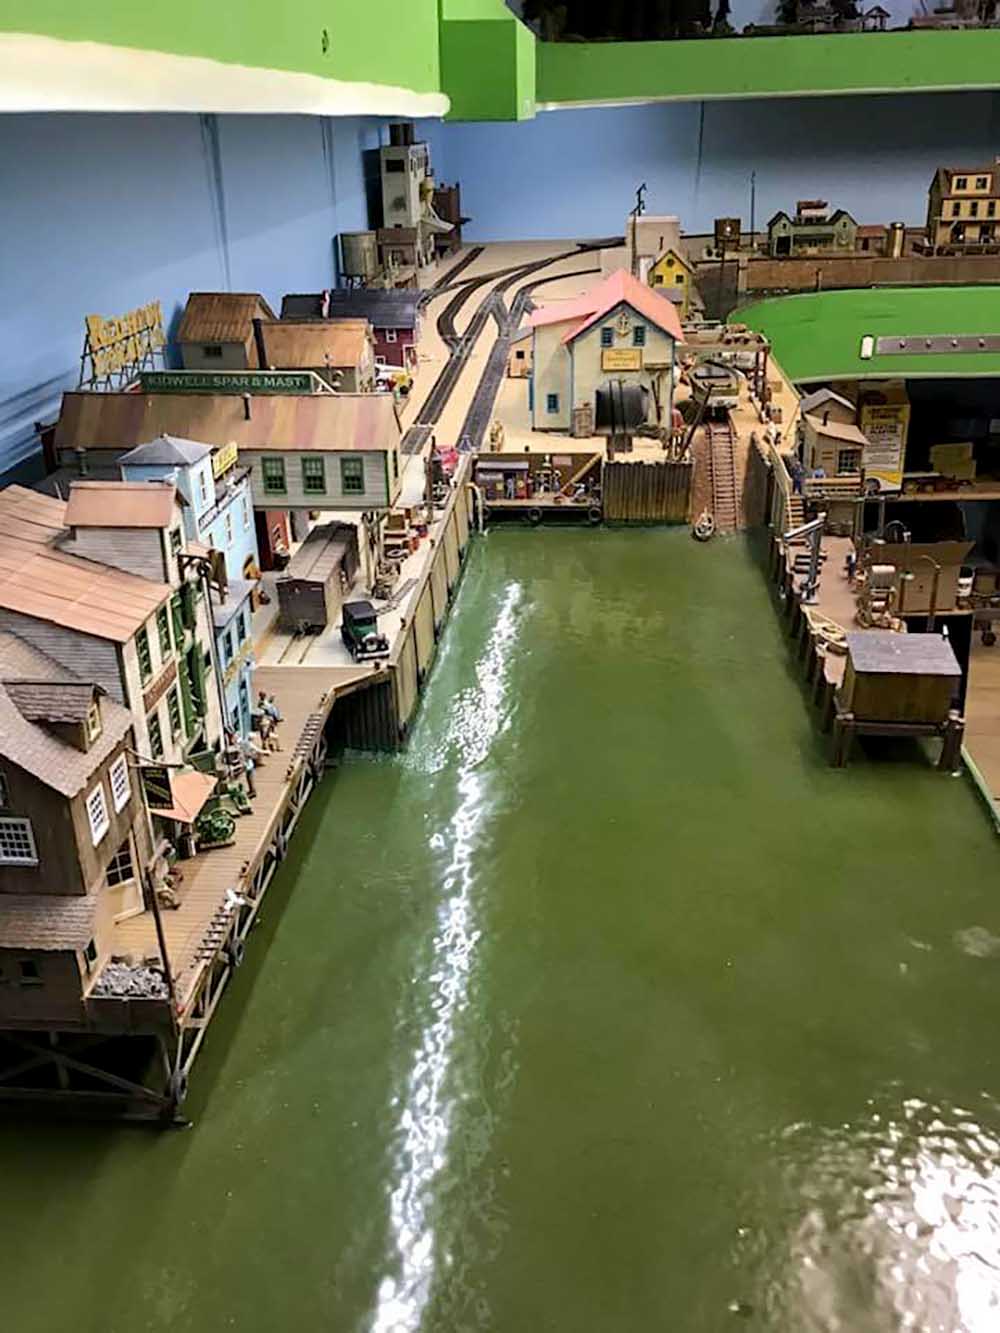
Brian, nice looking layout. Great job! How did you make the water on the harbour scene? And , how did you make the Atlas turntable turn manually by using the push /pull knobs? or were the red knobs just to operate the switch points ? Cheers, Henry.
Brian, I don’t know what it is about harbor scenes but they sure are interesting. I suppose the real thing is pretty interesting too, except they’ve mostly disappeared in the USA. The tracks are all paved over. I can remember as a kid riding through San Francisco around the waterfront along the piers seeing tracks and trains moving freight in and out of the covered pier buildings there and along the streets. Wow, that brings back memories. Rob
Henry, the water in the harbour is a Woodland Scenics product called realistic water poured straight from the bottle with the base of the harbour painted the colour that I wanted.
The red knobs operate the points only.
If you look closely at the turntable photo with aGalloping Goose on it, you will see an arm on the left hand side which is used to turn it manually by hand (finger).The prototype was called an Armstrong turntable where the crew would push the table round to the next set of tracks.
Hope this answers your question.
Brian – the HOn3 guy from Knysna RSA
Brian don’t forget to give us updates.
The Critic
Both layouts are really great. I liked the harbor scenes and the video. Thanks for sharing.
Brian , thank you for sharing your layout and insight . It’s a wonderful layout and very Americana . The wharf scenes are beautifully done and life they reflect there is timeless . Will look forward to seeing more as you progress , please keep posting .
hard work shows that you really want to do a good job.
excellent