Dan’s been in touch again with a multi level train layout that he helped bring to life:
“I had a request to do the scenery for a layout that was basically finished except, no scenery.
It was a multi level layout. Two levels that needed scenery and a lower level that was storage and run through.
The railroad was the fictional “Hoosier Hills” RR. It represented southern Indiana. There are many limestone outcrops, valleys, and rivers in the area. He wanted some of those points to be represented in the layout.
As you will see, there were obstacles to overcome. I will also show a failure at one point in the process.
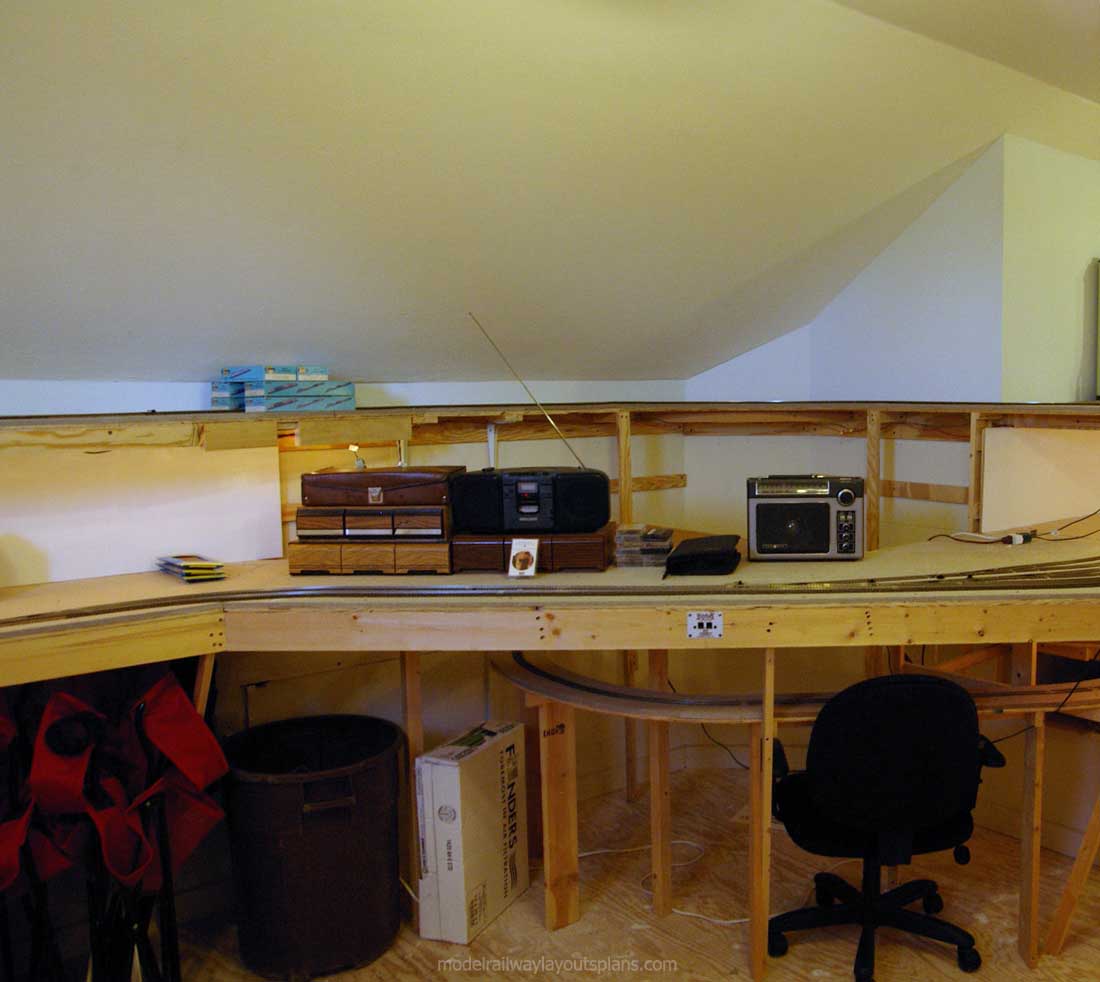
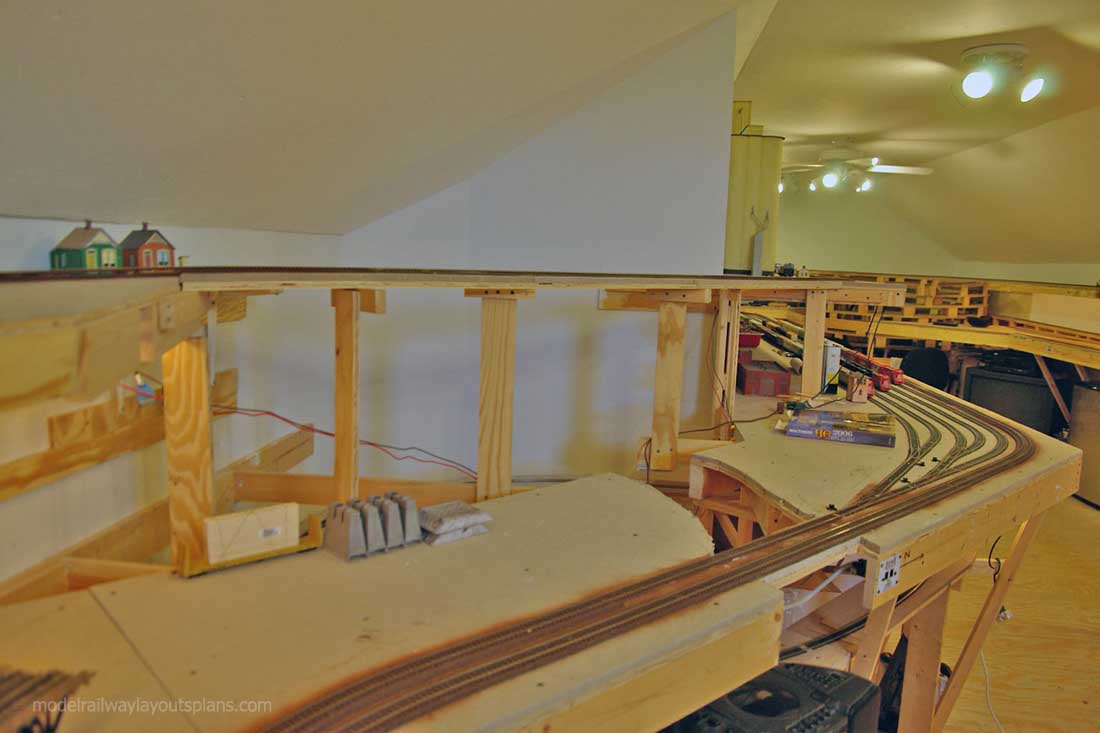
You don’t see failures shown very often. The room was above the garage and part of the house. There was a straight wall and then a small alcove. He had a tight reverse curve on the upper level there.
He thought about a power plant just below on the lower level. That was why the tight curve was there.
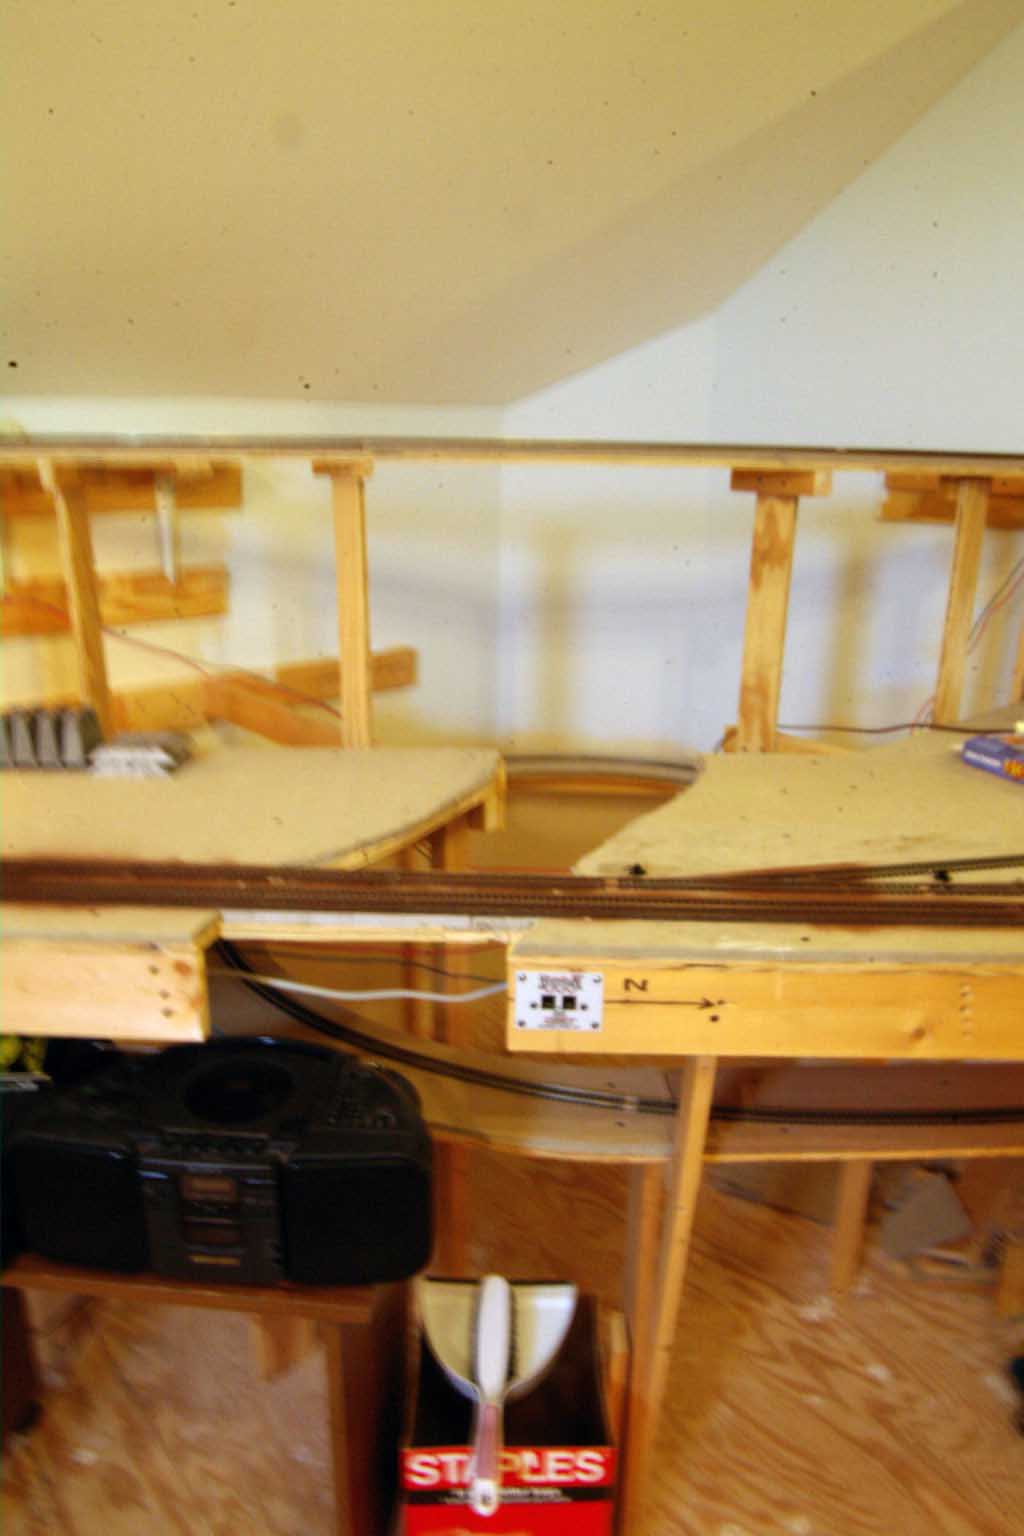
The first thing I did was take a saber saw and remove the curve. You will see the outcome as I go along.
The power plant also disappeared. (At least he hadn’t built it yet.) I used my basic ceiling tile rocks, sculpta mold, plaster cloth, and Envirotex water for the project. Sedum, or often called Everlasting, is the tree material.
The layout features a helix. Common these days. However, I believe they can be a scenic feature. This will be a future post. Worth waiting for I think.
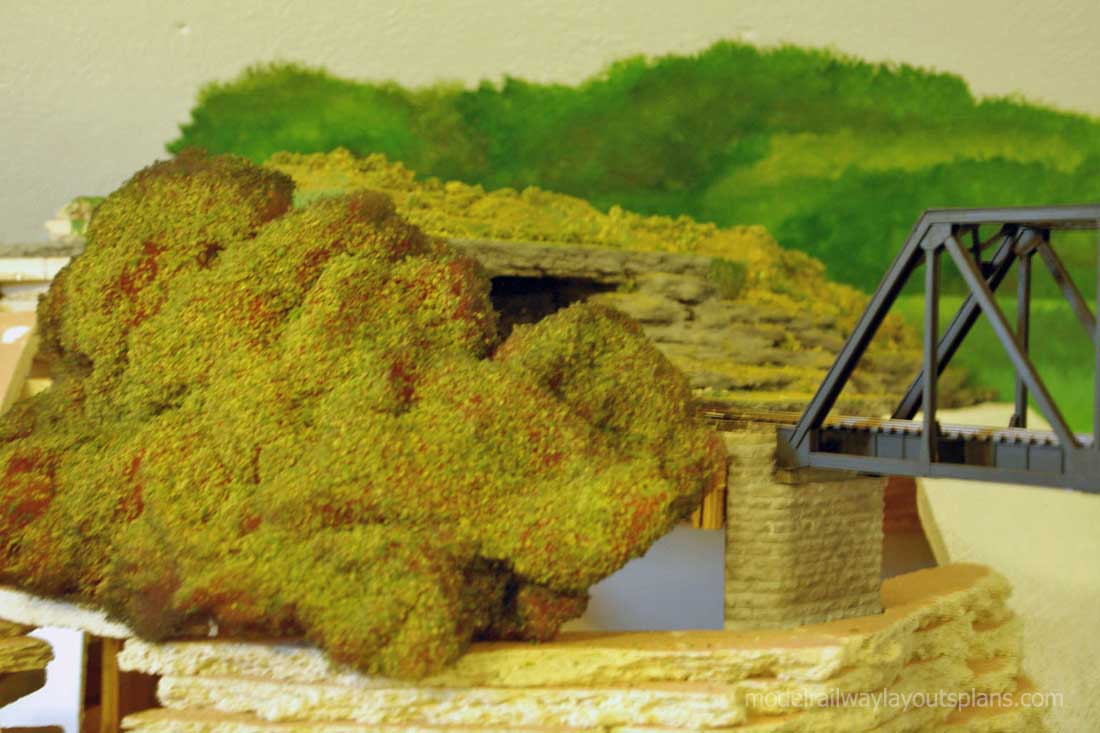
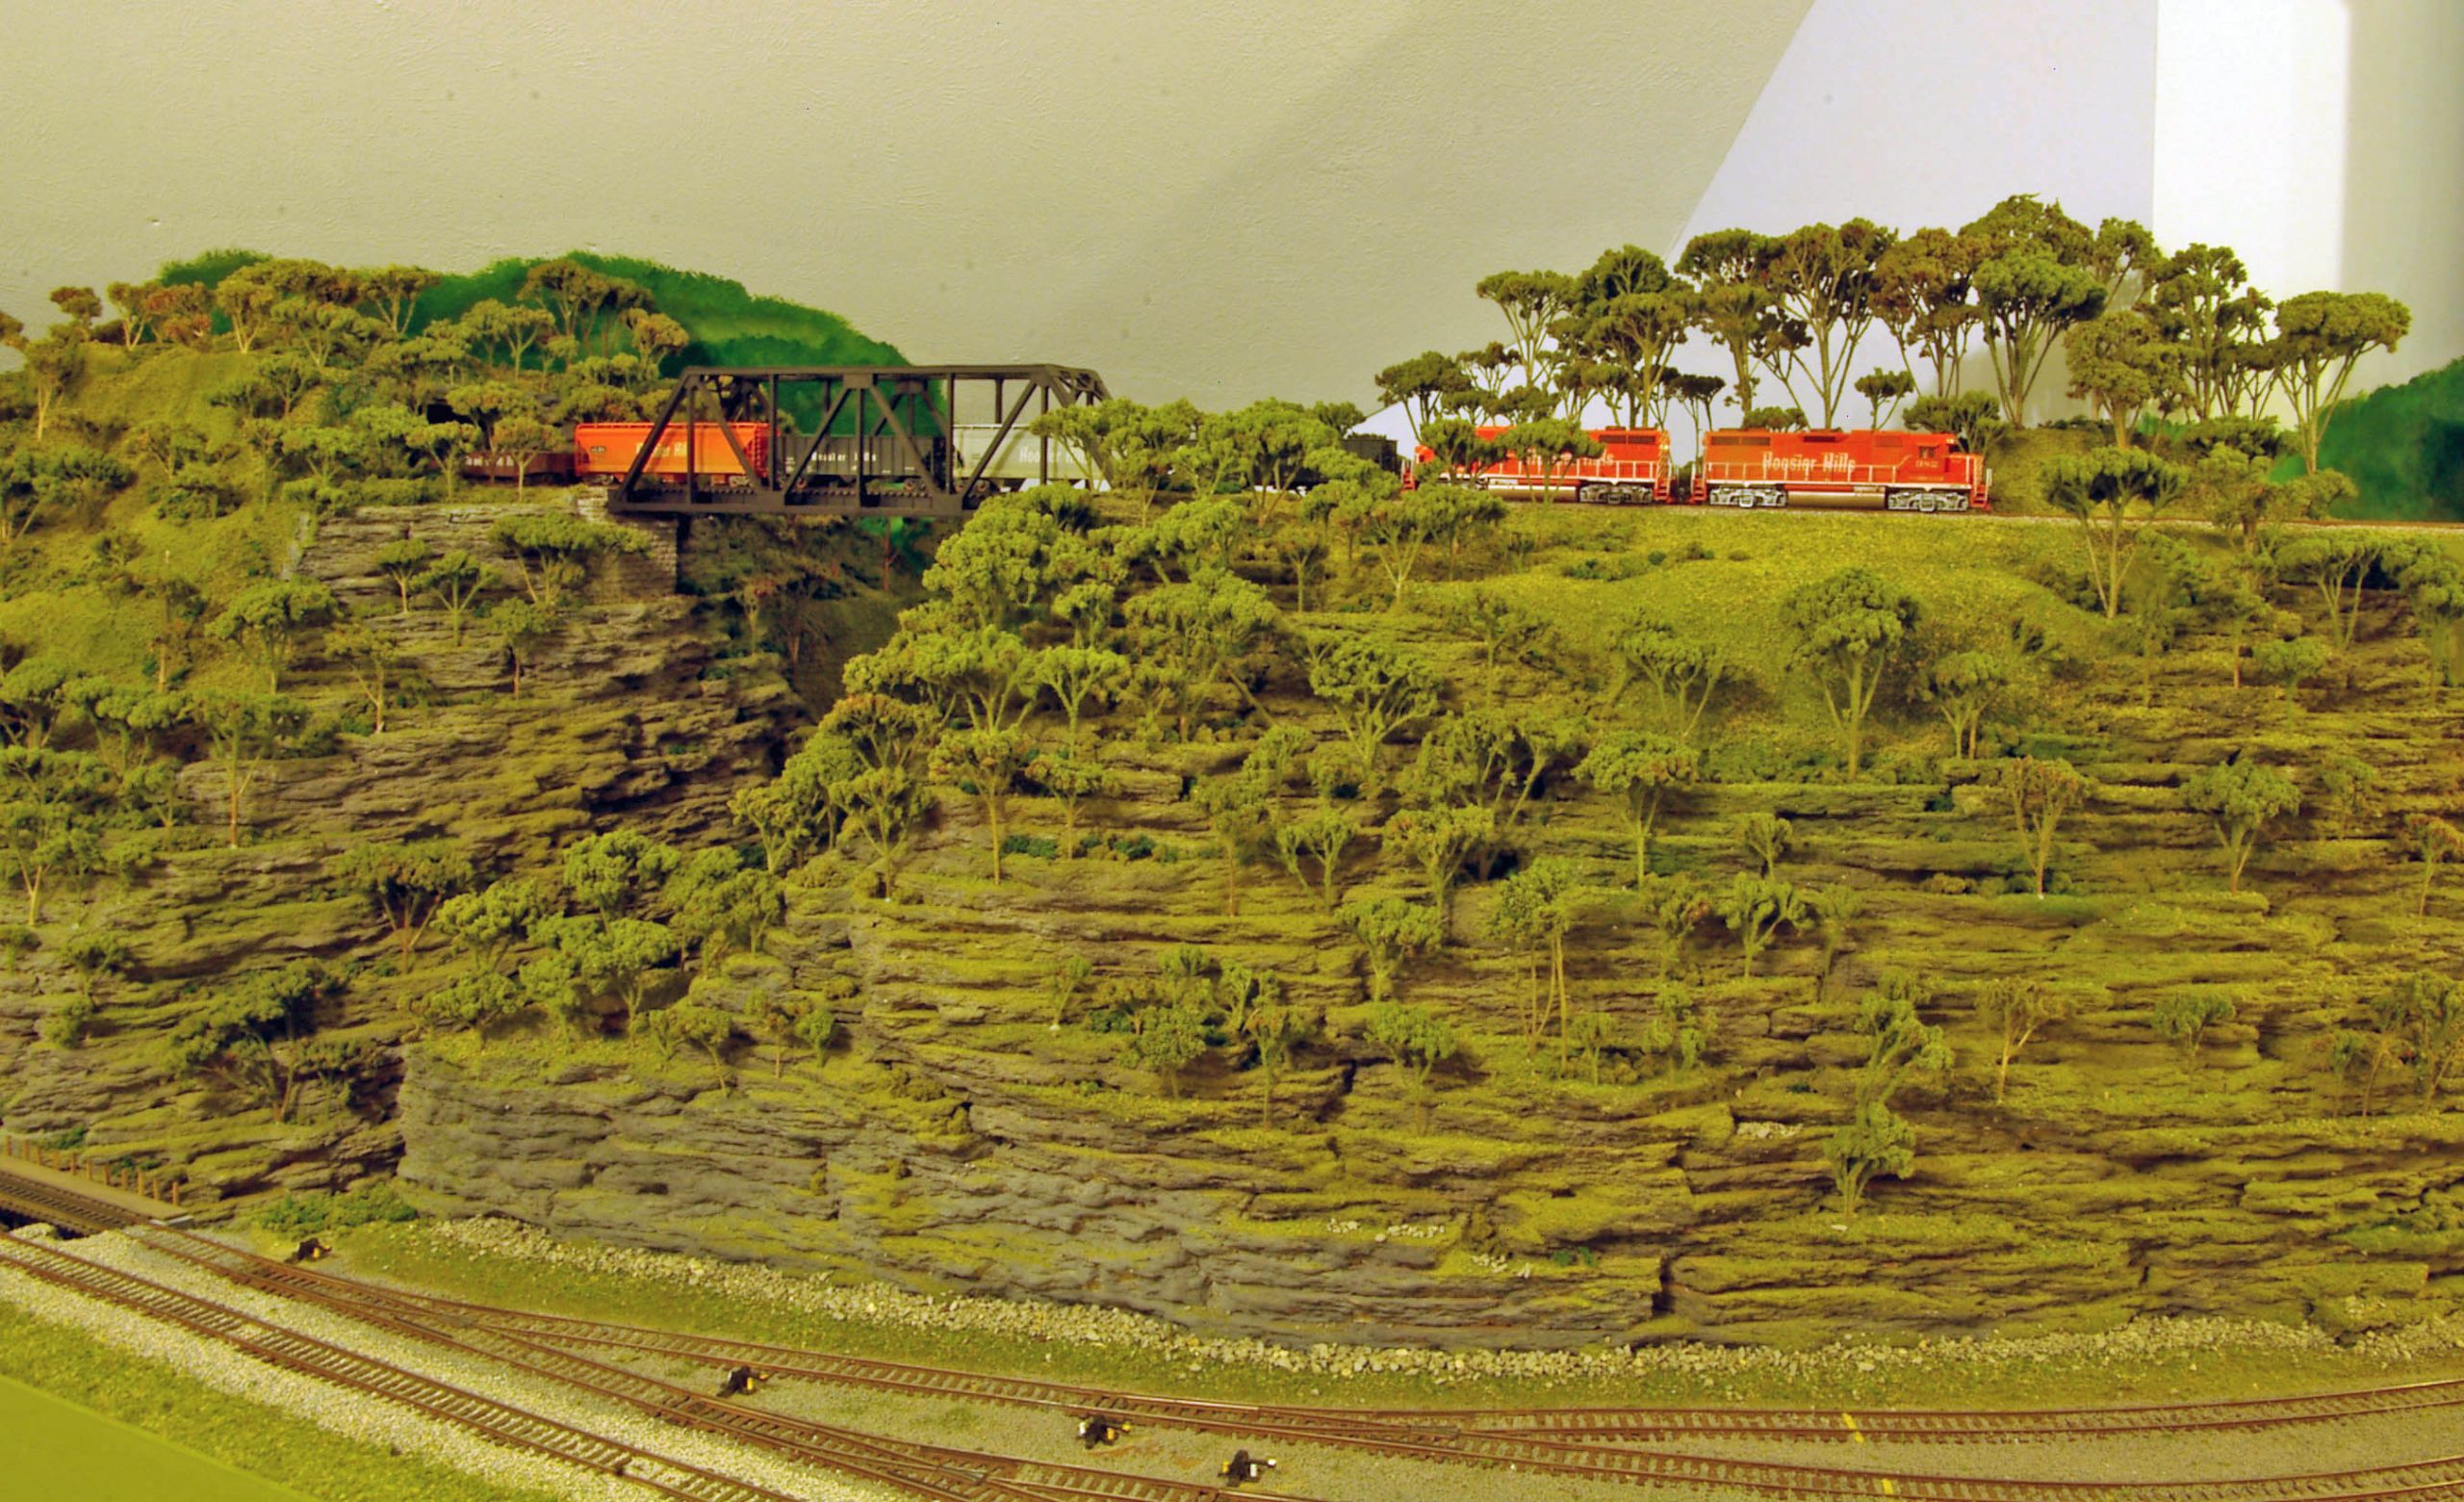
This is the corner with the reverse curve in place. He wanted a power plant where the Boom Box, radio, and tapes are. On the top to the right is a large grain elevator (not shown) on the next level down the track to the right is a switching yard to make up trains and brake them down. On the lowest level behind the chair is the return loop from staging.
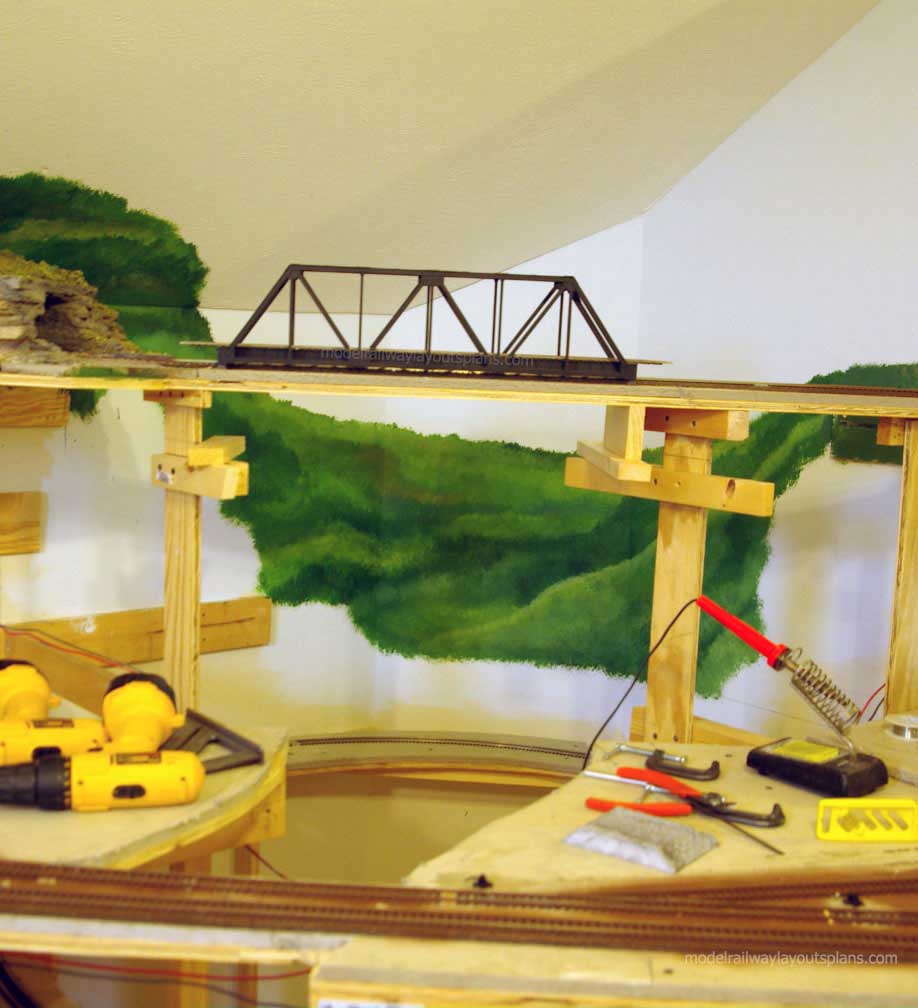
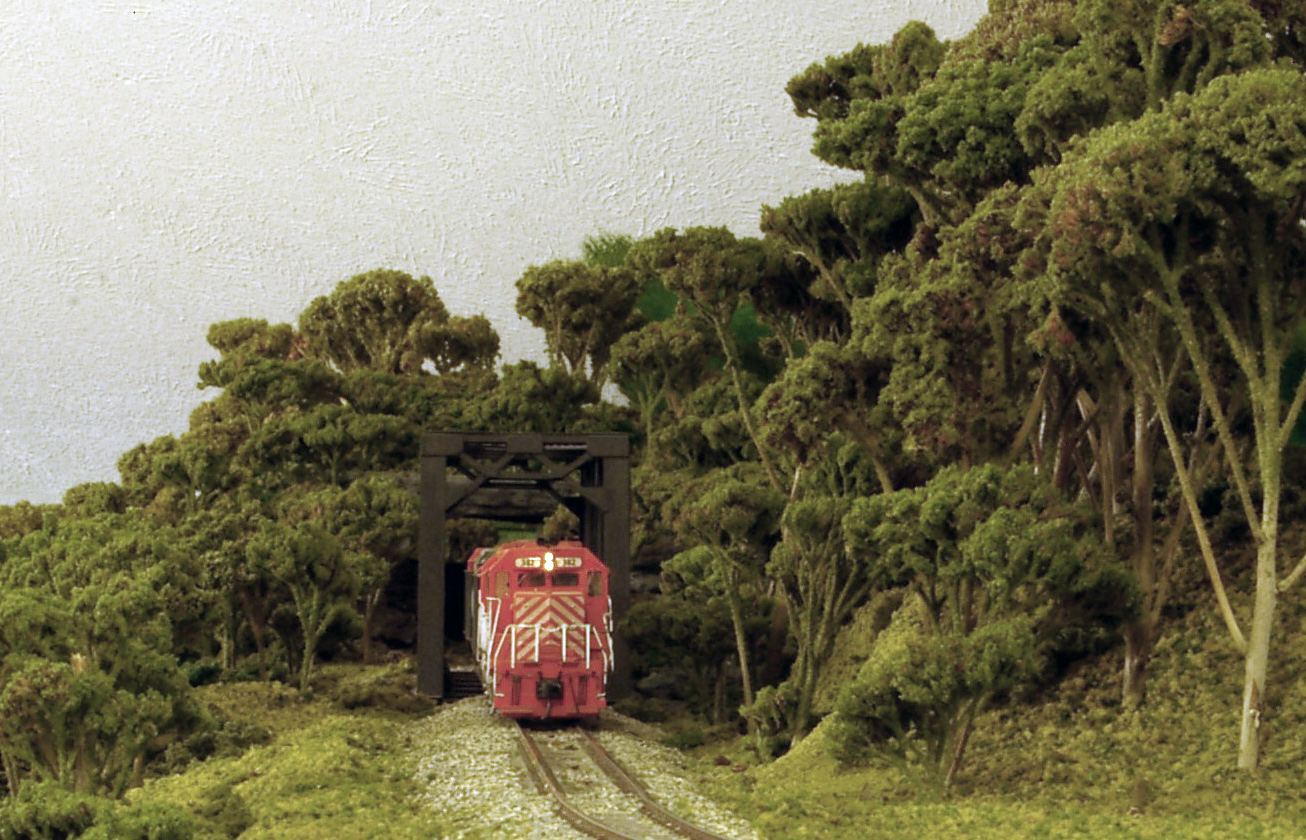
This shows the straightened reverse curve.

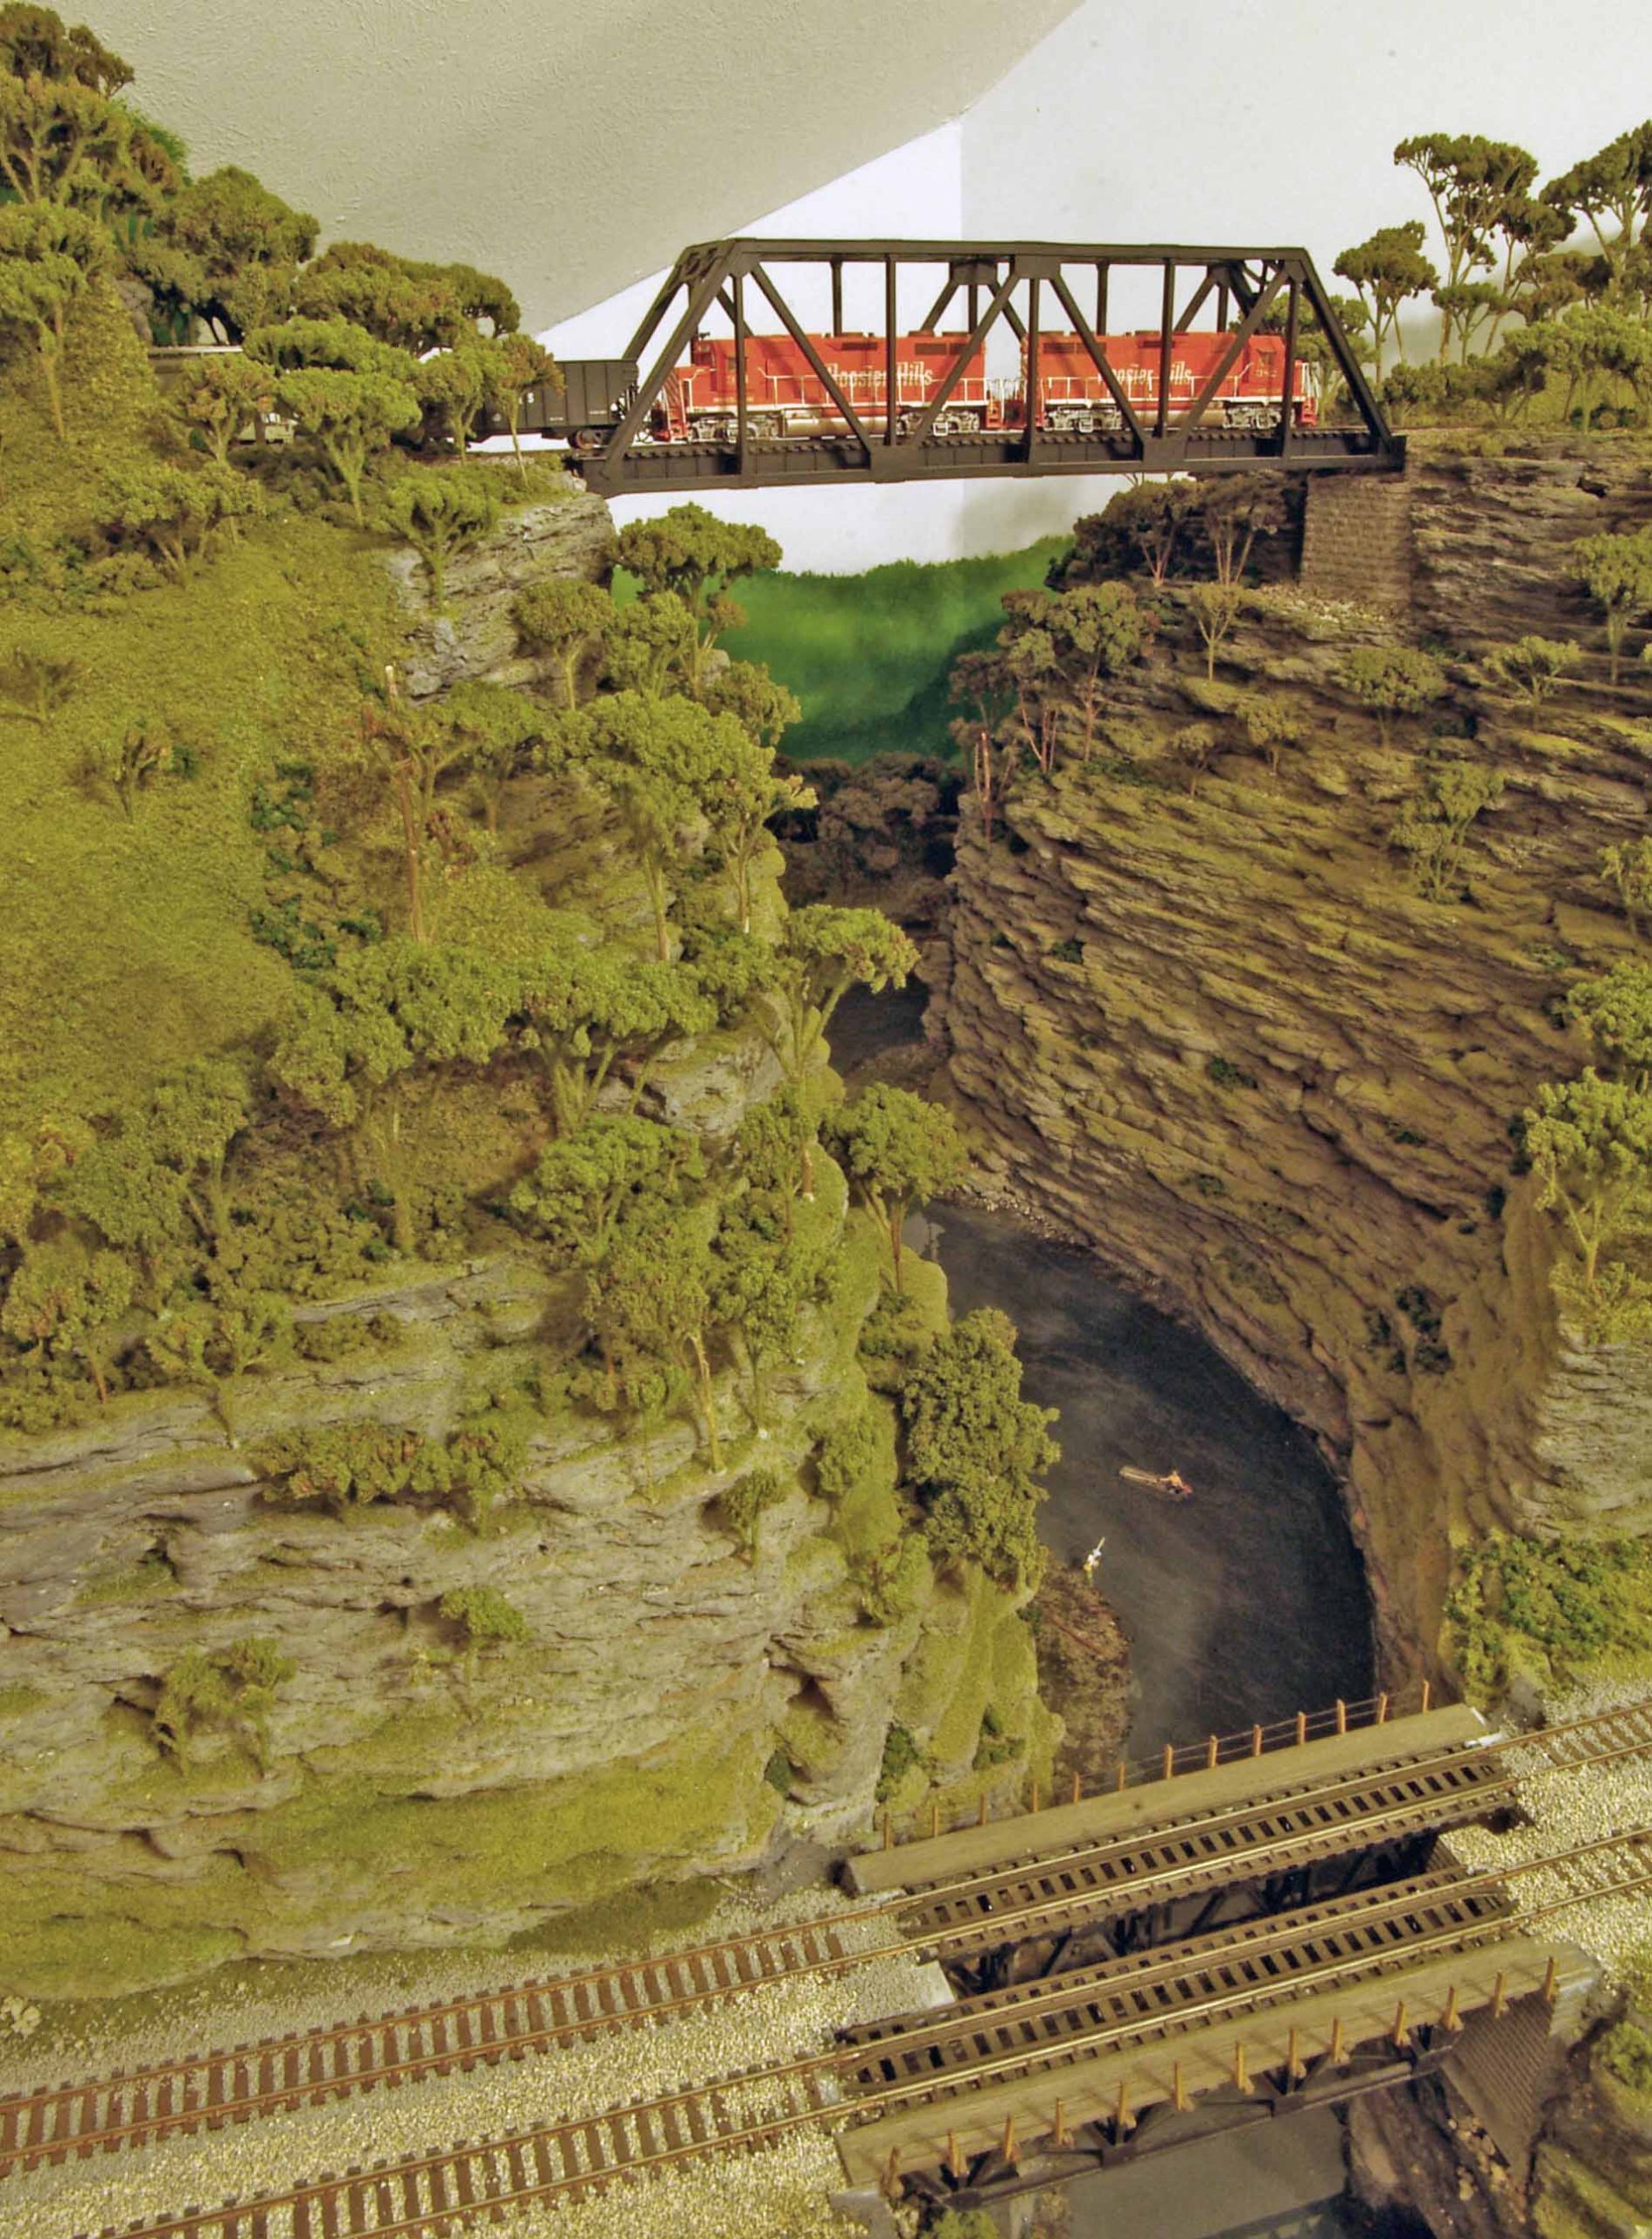
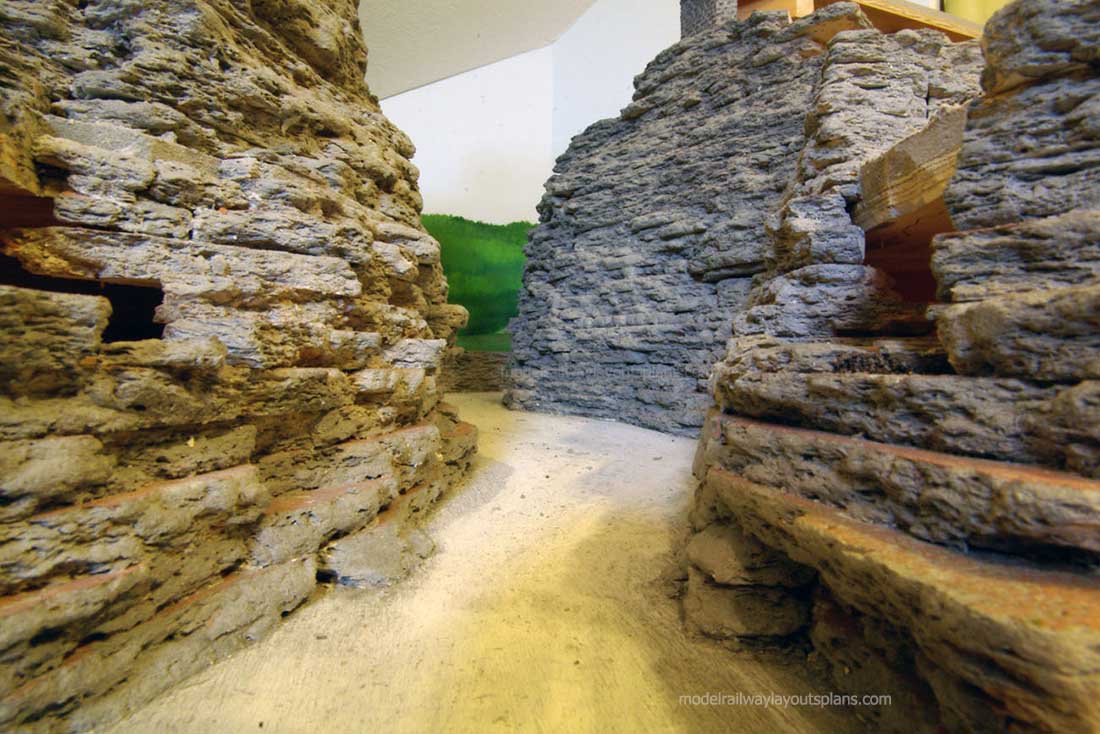
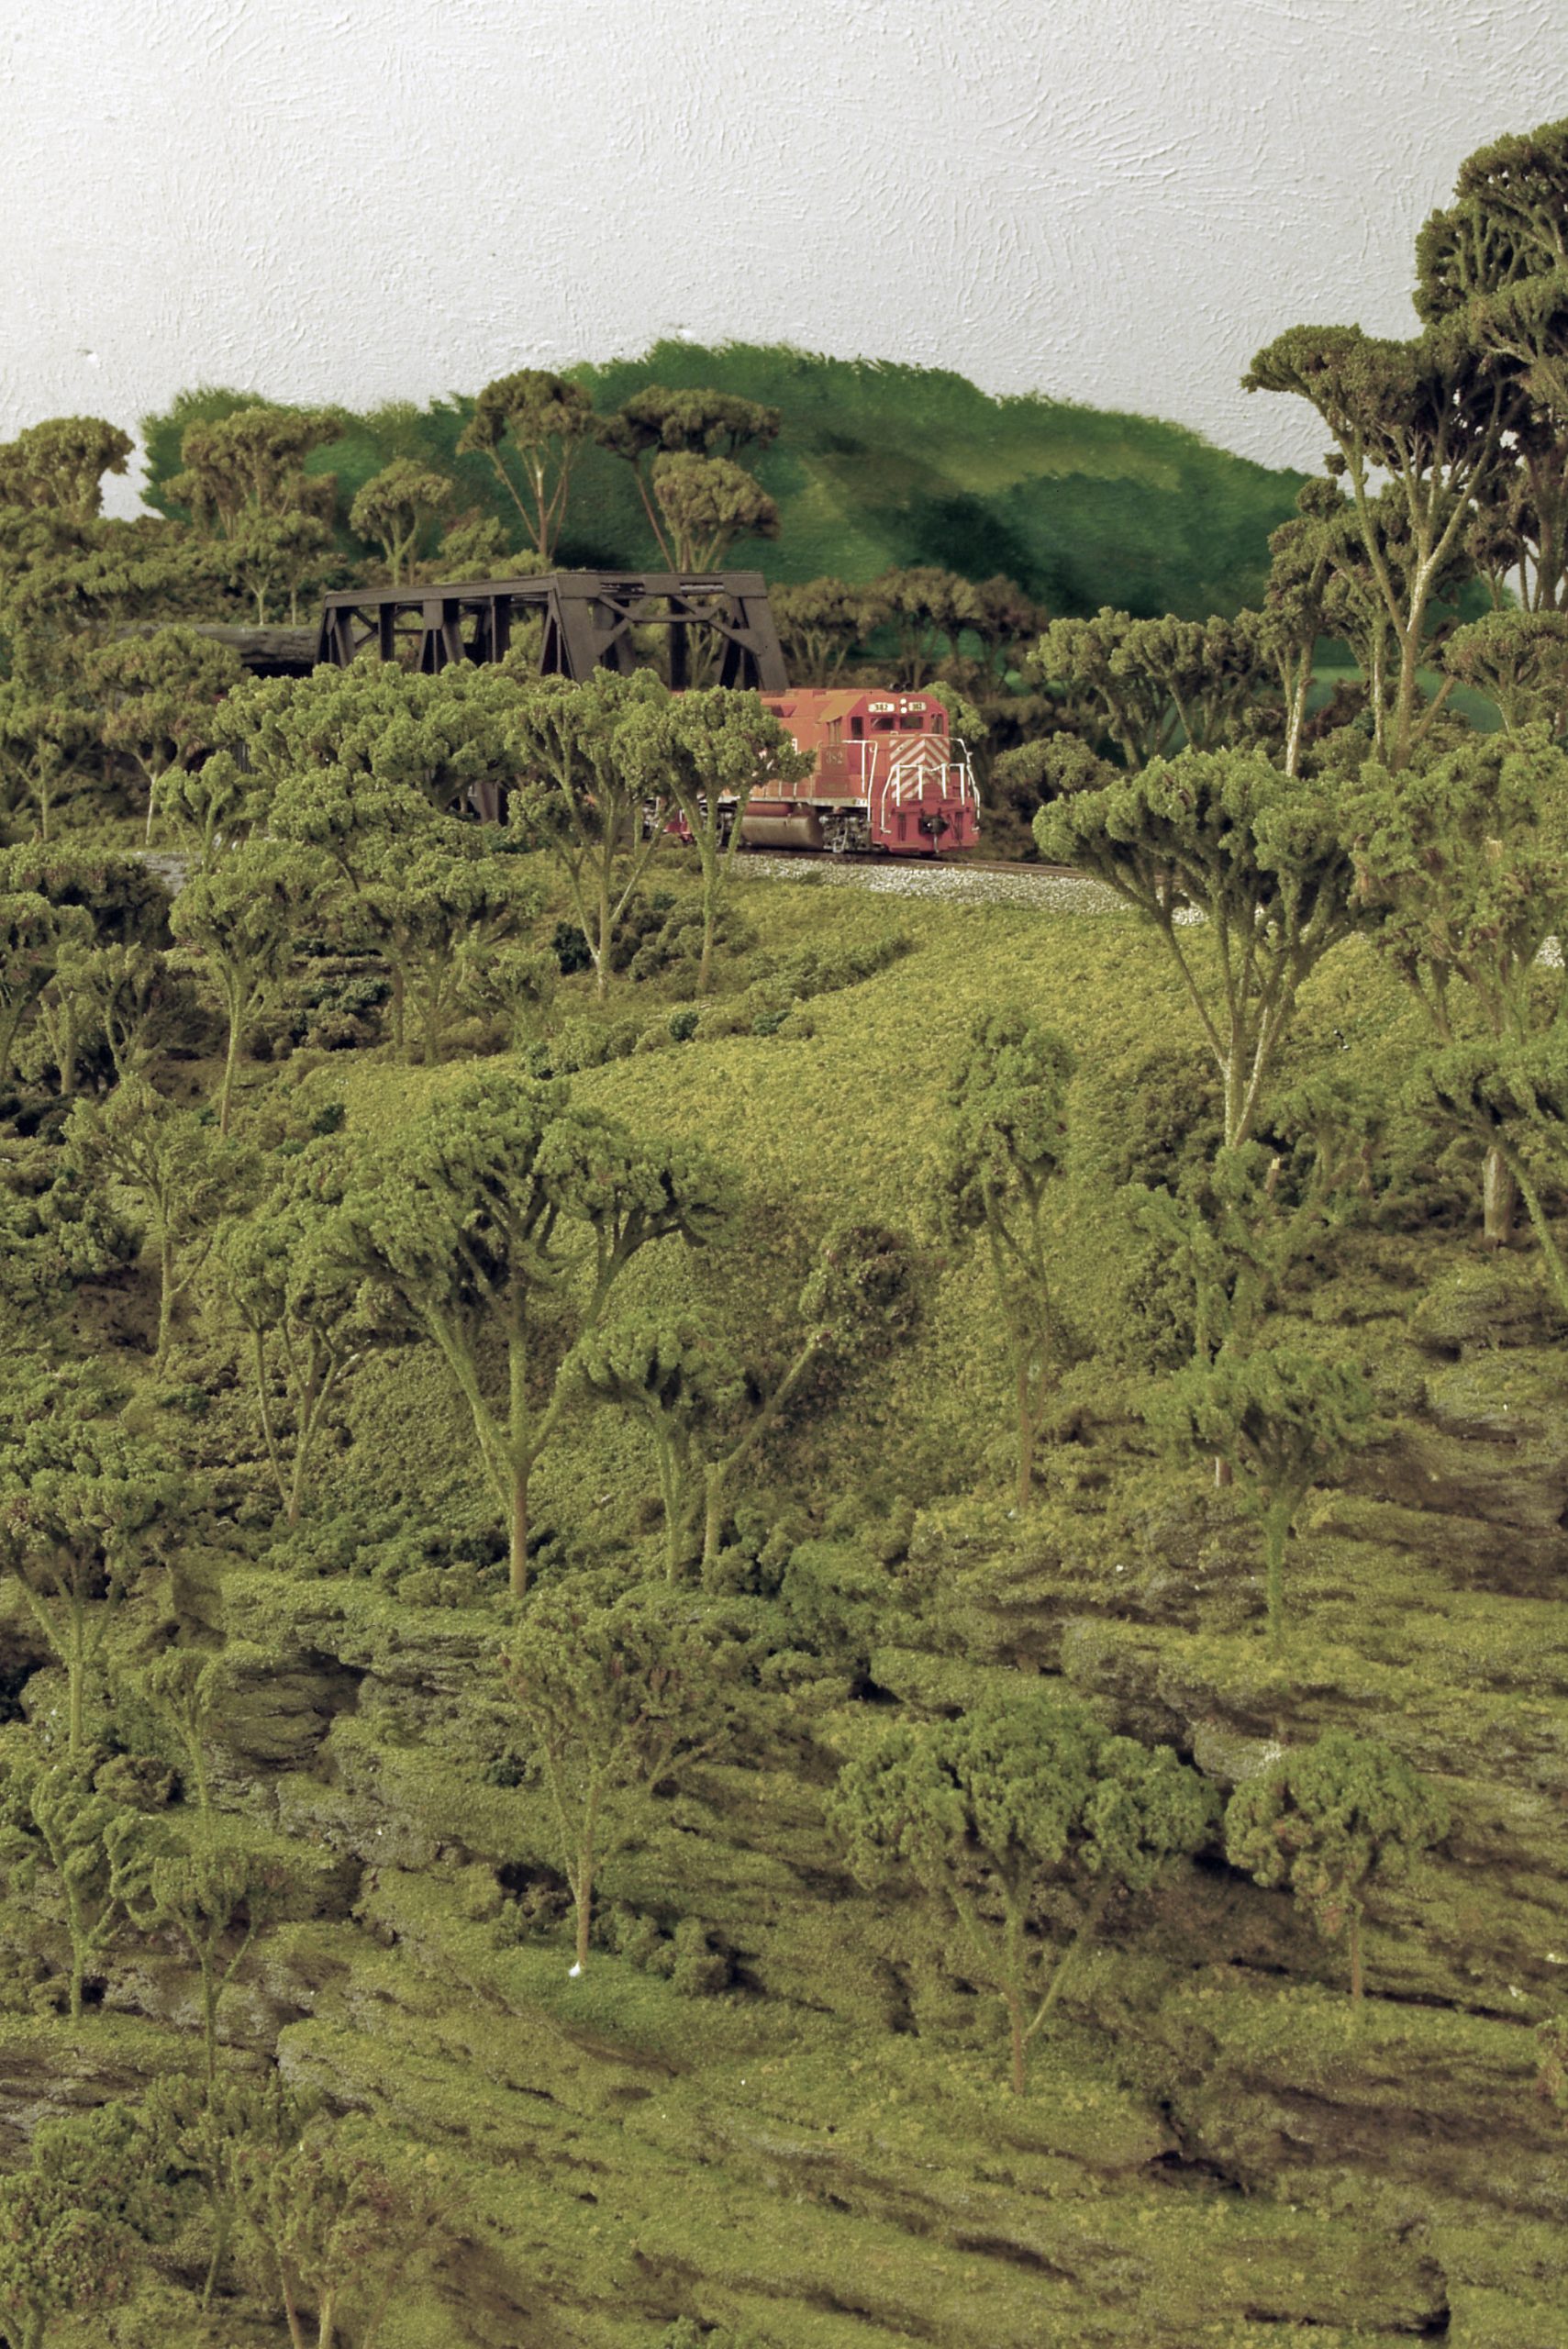
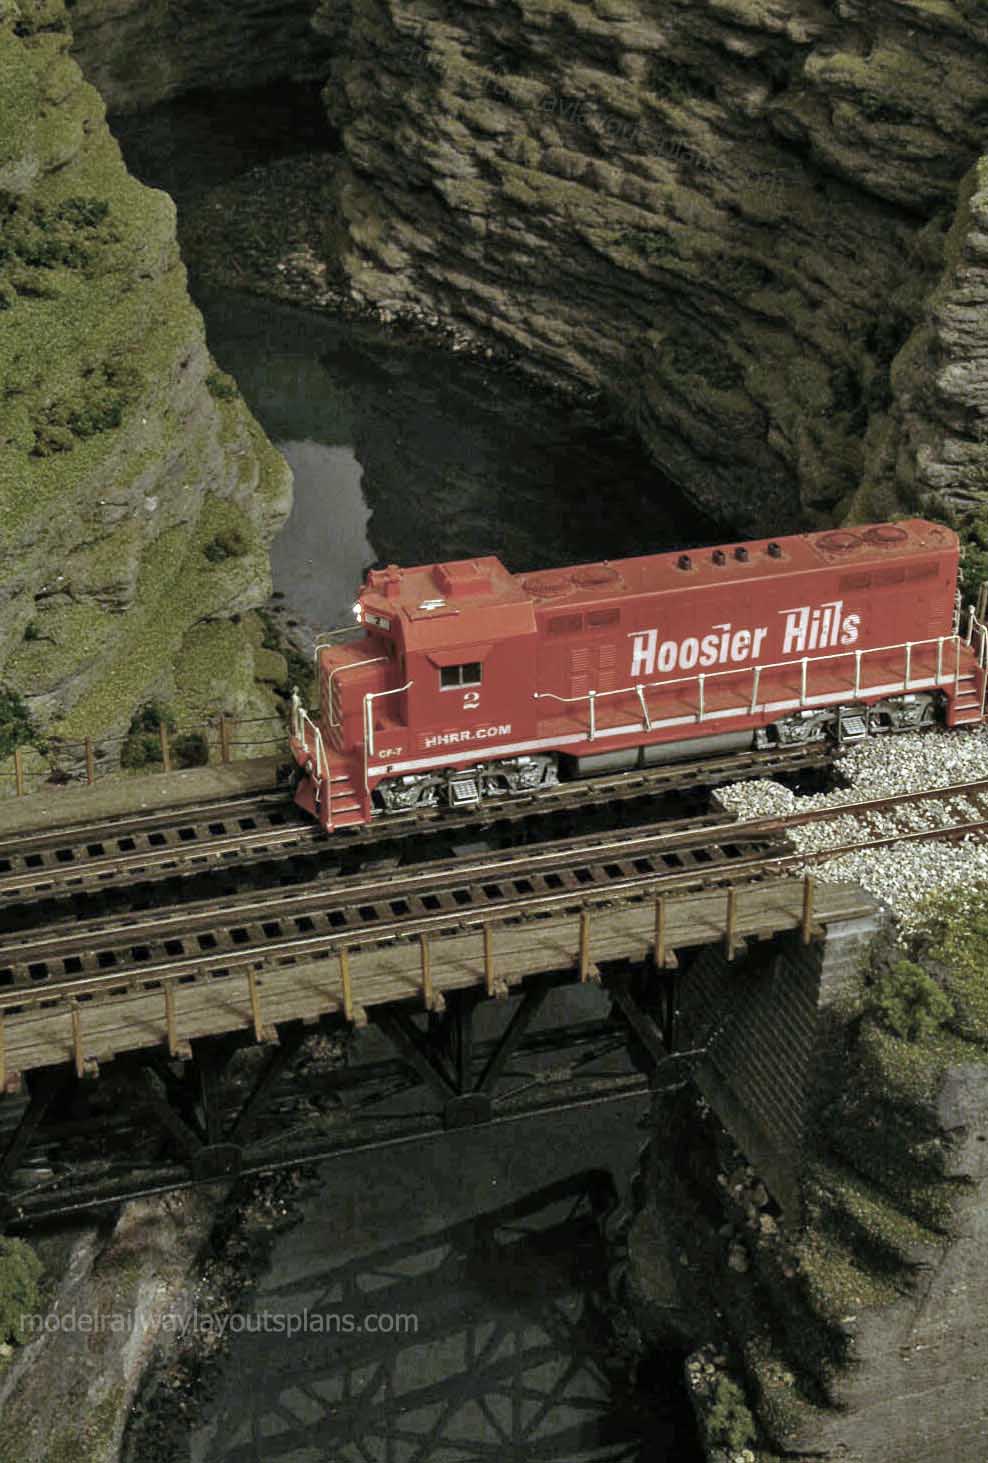
This show the beginning of the Gorge. Sorry for the focus.
Looking back toward part of the layout. The helix is in the distance.
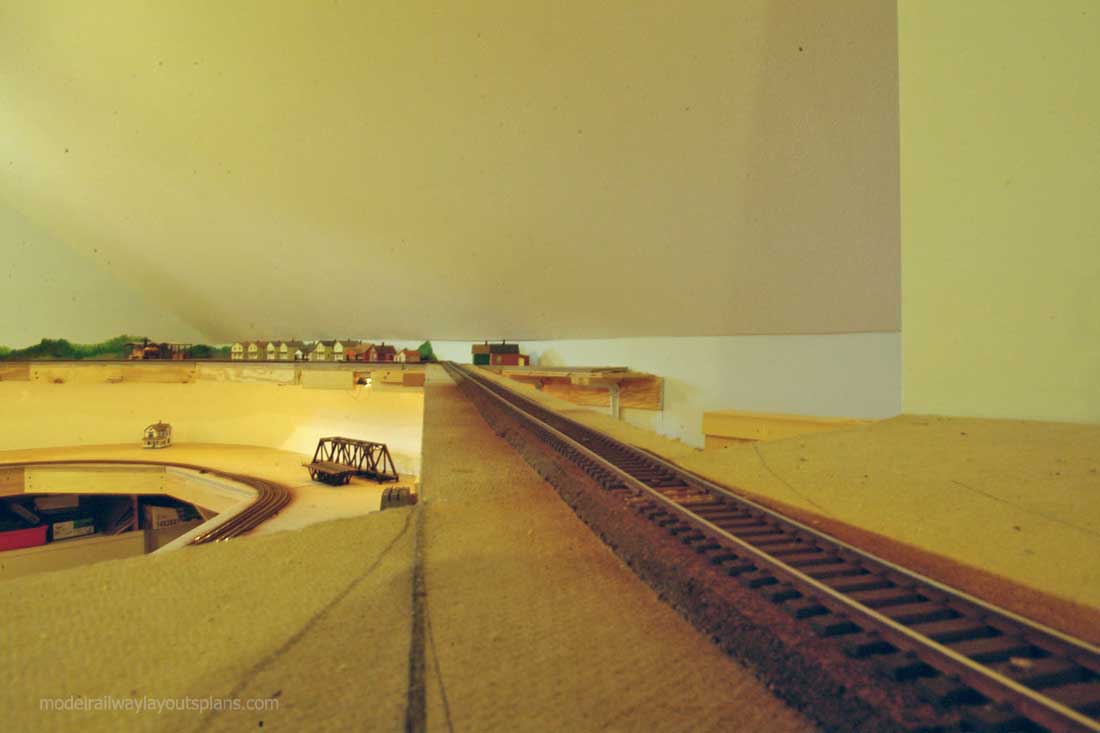
Looking the other way with the straightened stack. The ceiling has a severe slope as you can see.
Next, I painted the background trees and “hills” for the gorge.
Pretty far into the building of the Gorge. Just basic ceiling tile pieces in a “natural” look.
Multi level train layout:
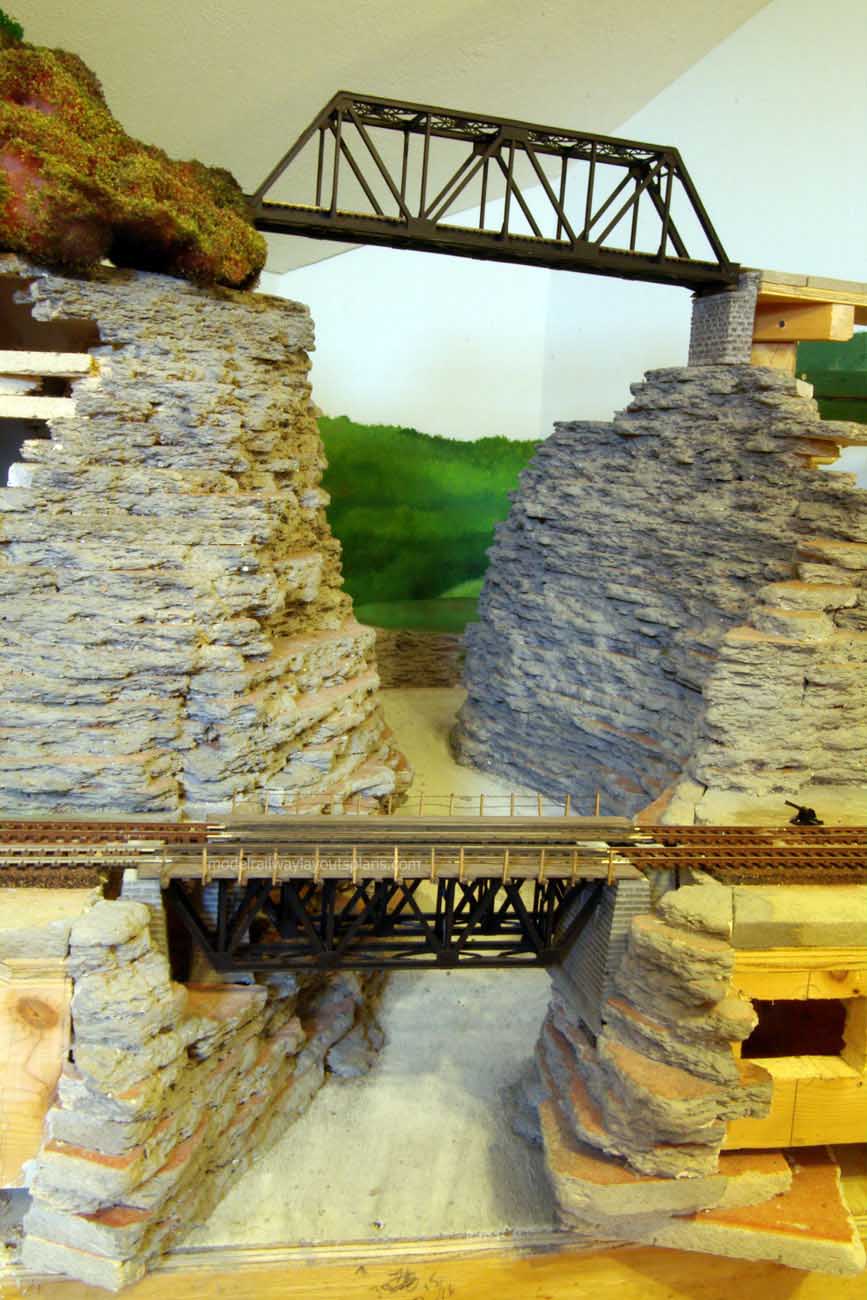
The river goes toward the backdrop and then bends right behind the Gorge rocks. This gives depth and solves where to put the end of the river. The “Failure” I mentioned is in the upper left of the photo.
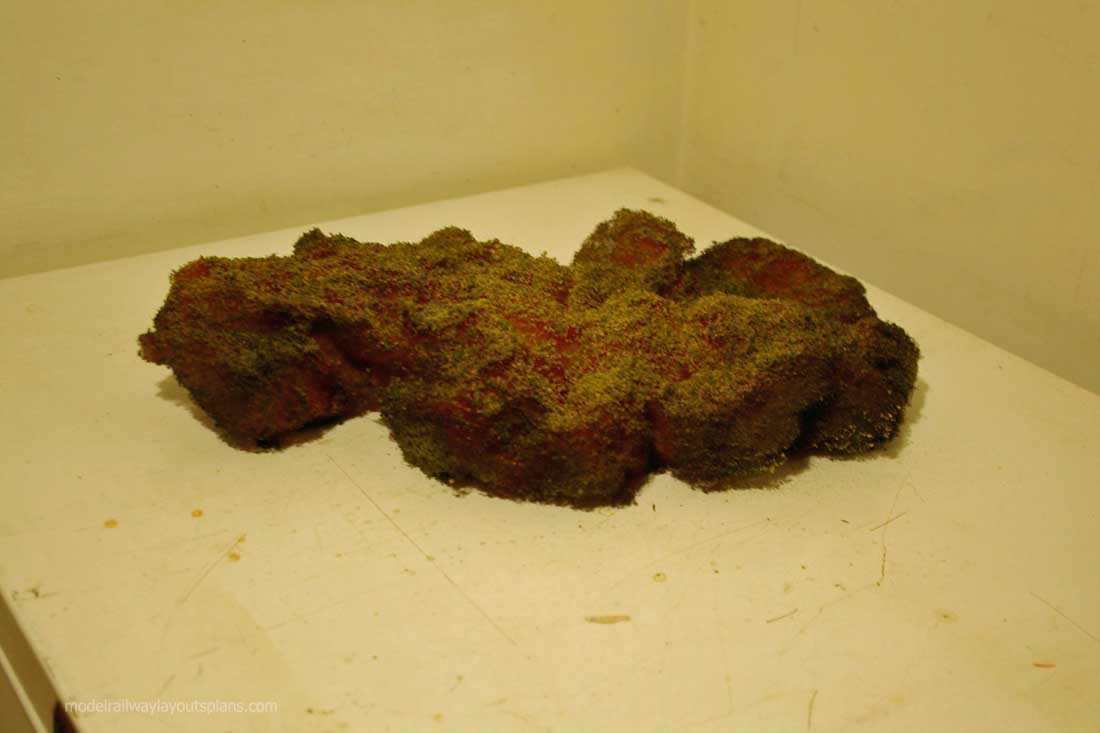
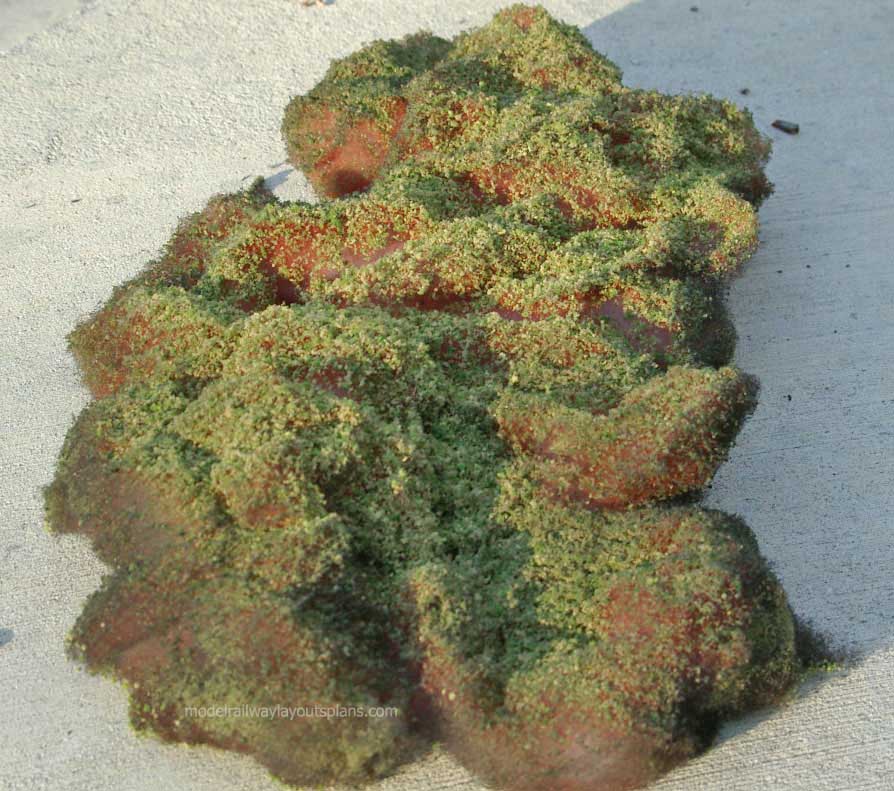
This is black pillow foam filling. I use spray glue and a mix of ground foam to make ground cover. This looked promising….until photo 11. I just did not like it. Some other place might be OK. Just not here.
I settled on plaster cloth and sculpta mold. Then covered with ground foam. The lighting is this room was sometimes impossible. He had a small window that let in bright sun light and mixed with the florescent lights made the color off.
The river plaster is in place and the edges sealed. I run some plaster up along the tile about 1/4-1/2 inch to seal any small openings. The Envirotex will find ANY small opening.

Multi level train layout:
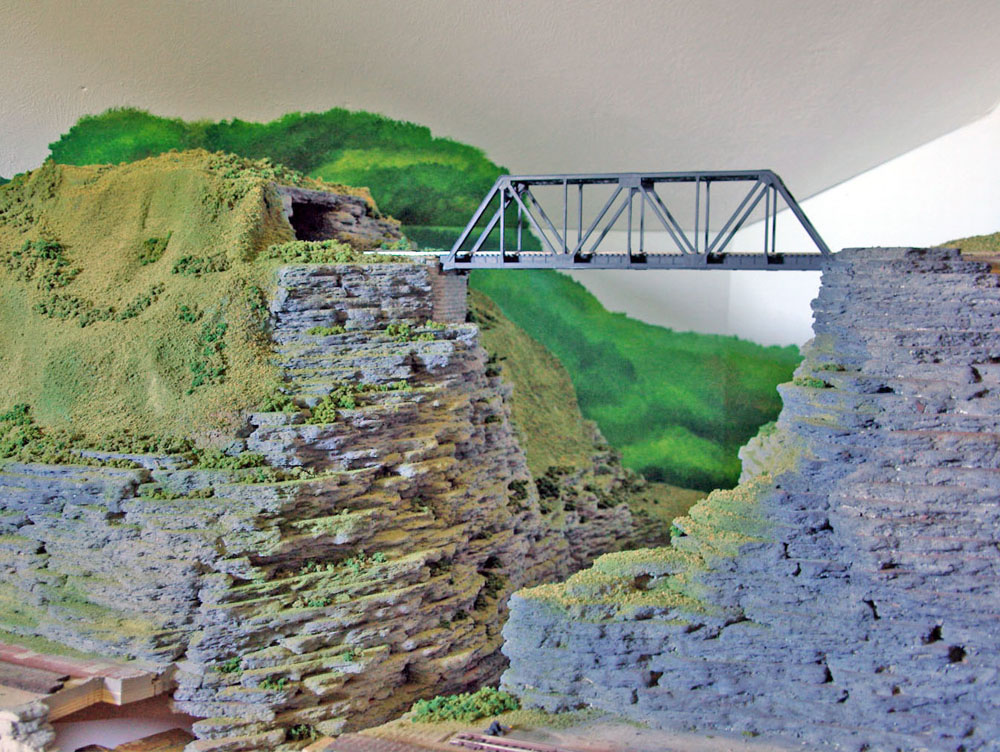
The Gorge! I used the basic scenery techniques. For the “moss” I spread some 50/50 white glue and “wet” water (a drop or two of liquid dish soap) on the faces of the rocks. Then with a stiff sheet of paper, with the colors I want, of fine ground foam and gently puff the foam over the rocks. BEFORE DOING THE WATER. I go back later with small pieces of the clump foliage for added effect in places.
The trees are Sedum or Everlasting. The tops of the plants dry during the winter. (These make small florets that look pinkish during the winter. When dry they sort of look like broccoli. We use spray glue and sprinkle on ground foam of the color of choice.Then I pull appart the clumps for individual trees.
The owner of the layout and his wife loved to fish. She is in the boat and he is fly fishing and the sting is a strand of her hair.
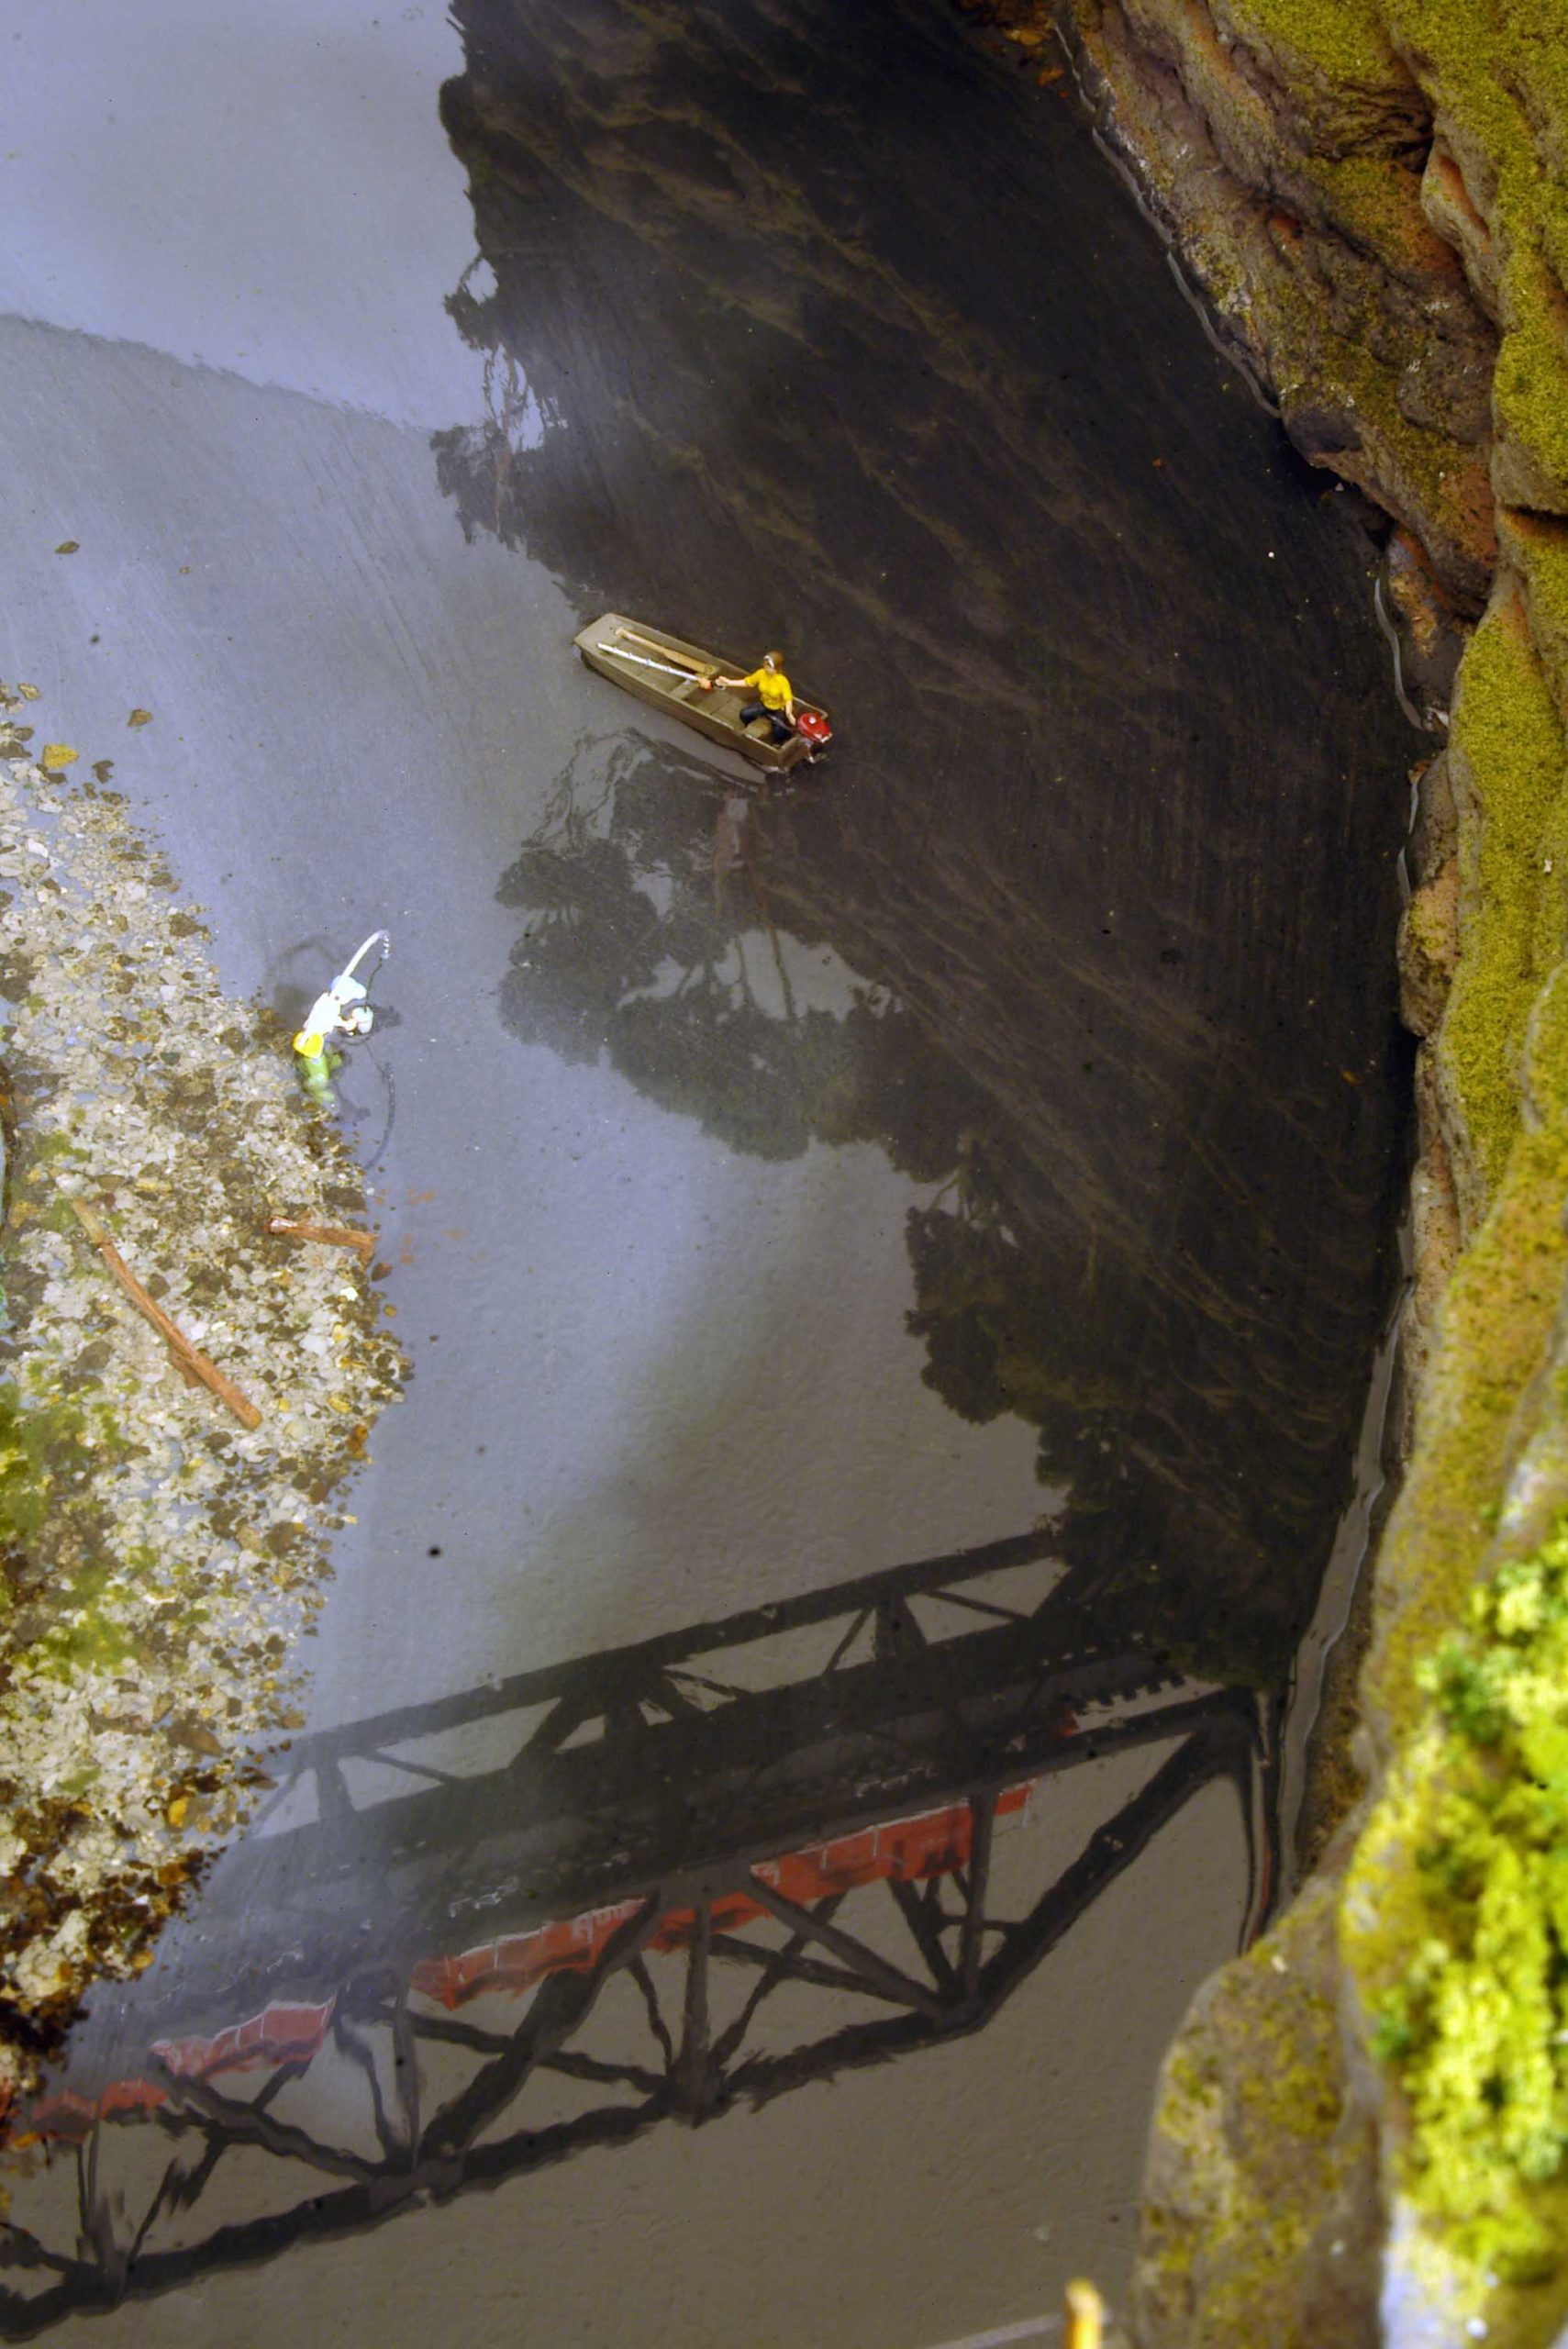
Just a scene of the Gorge.
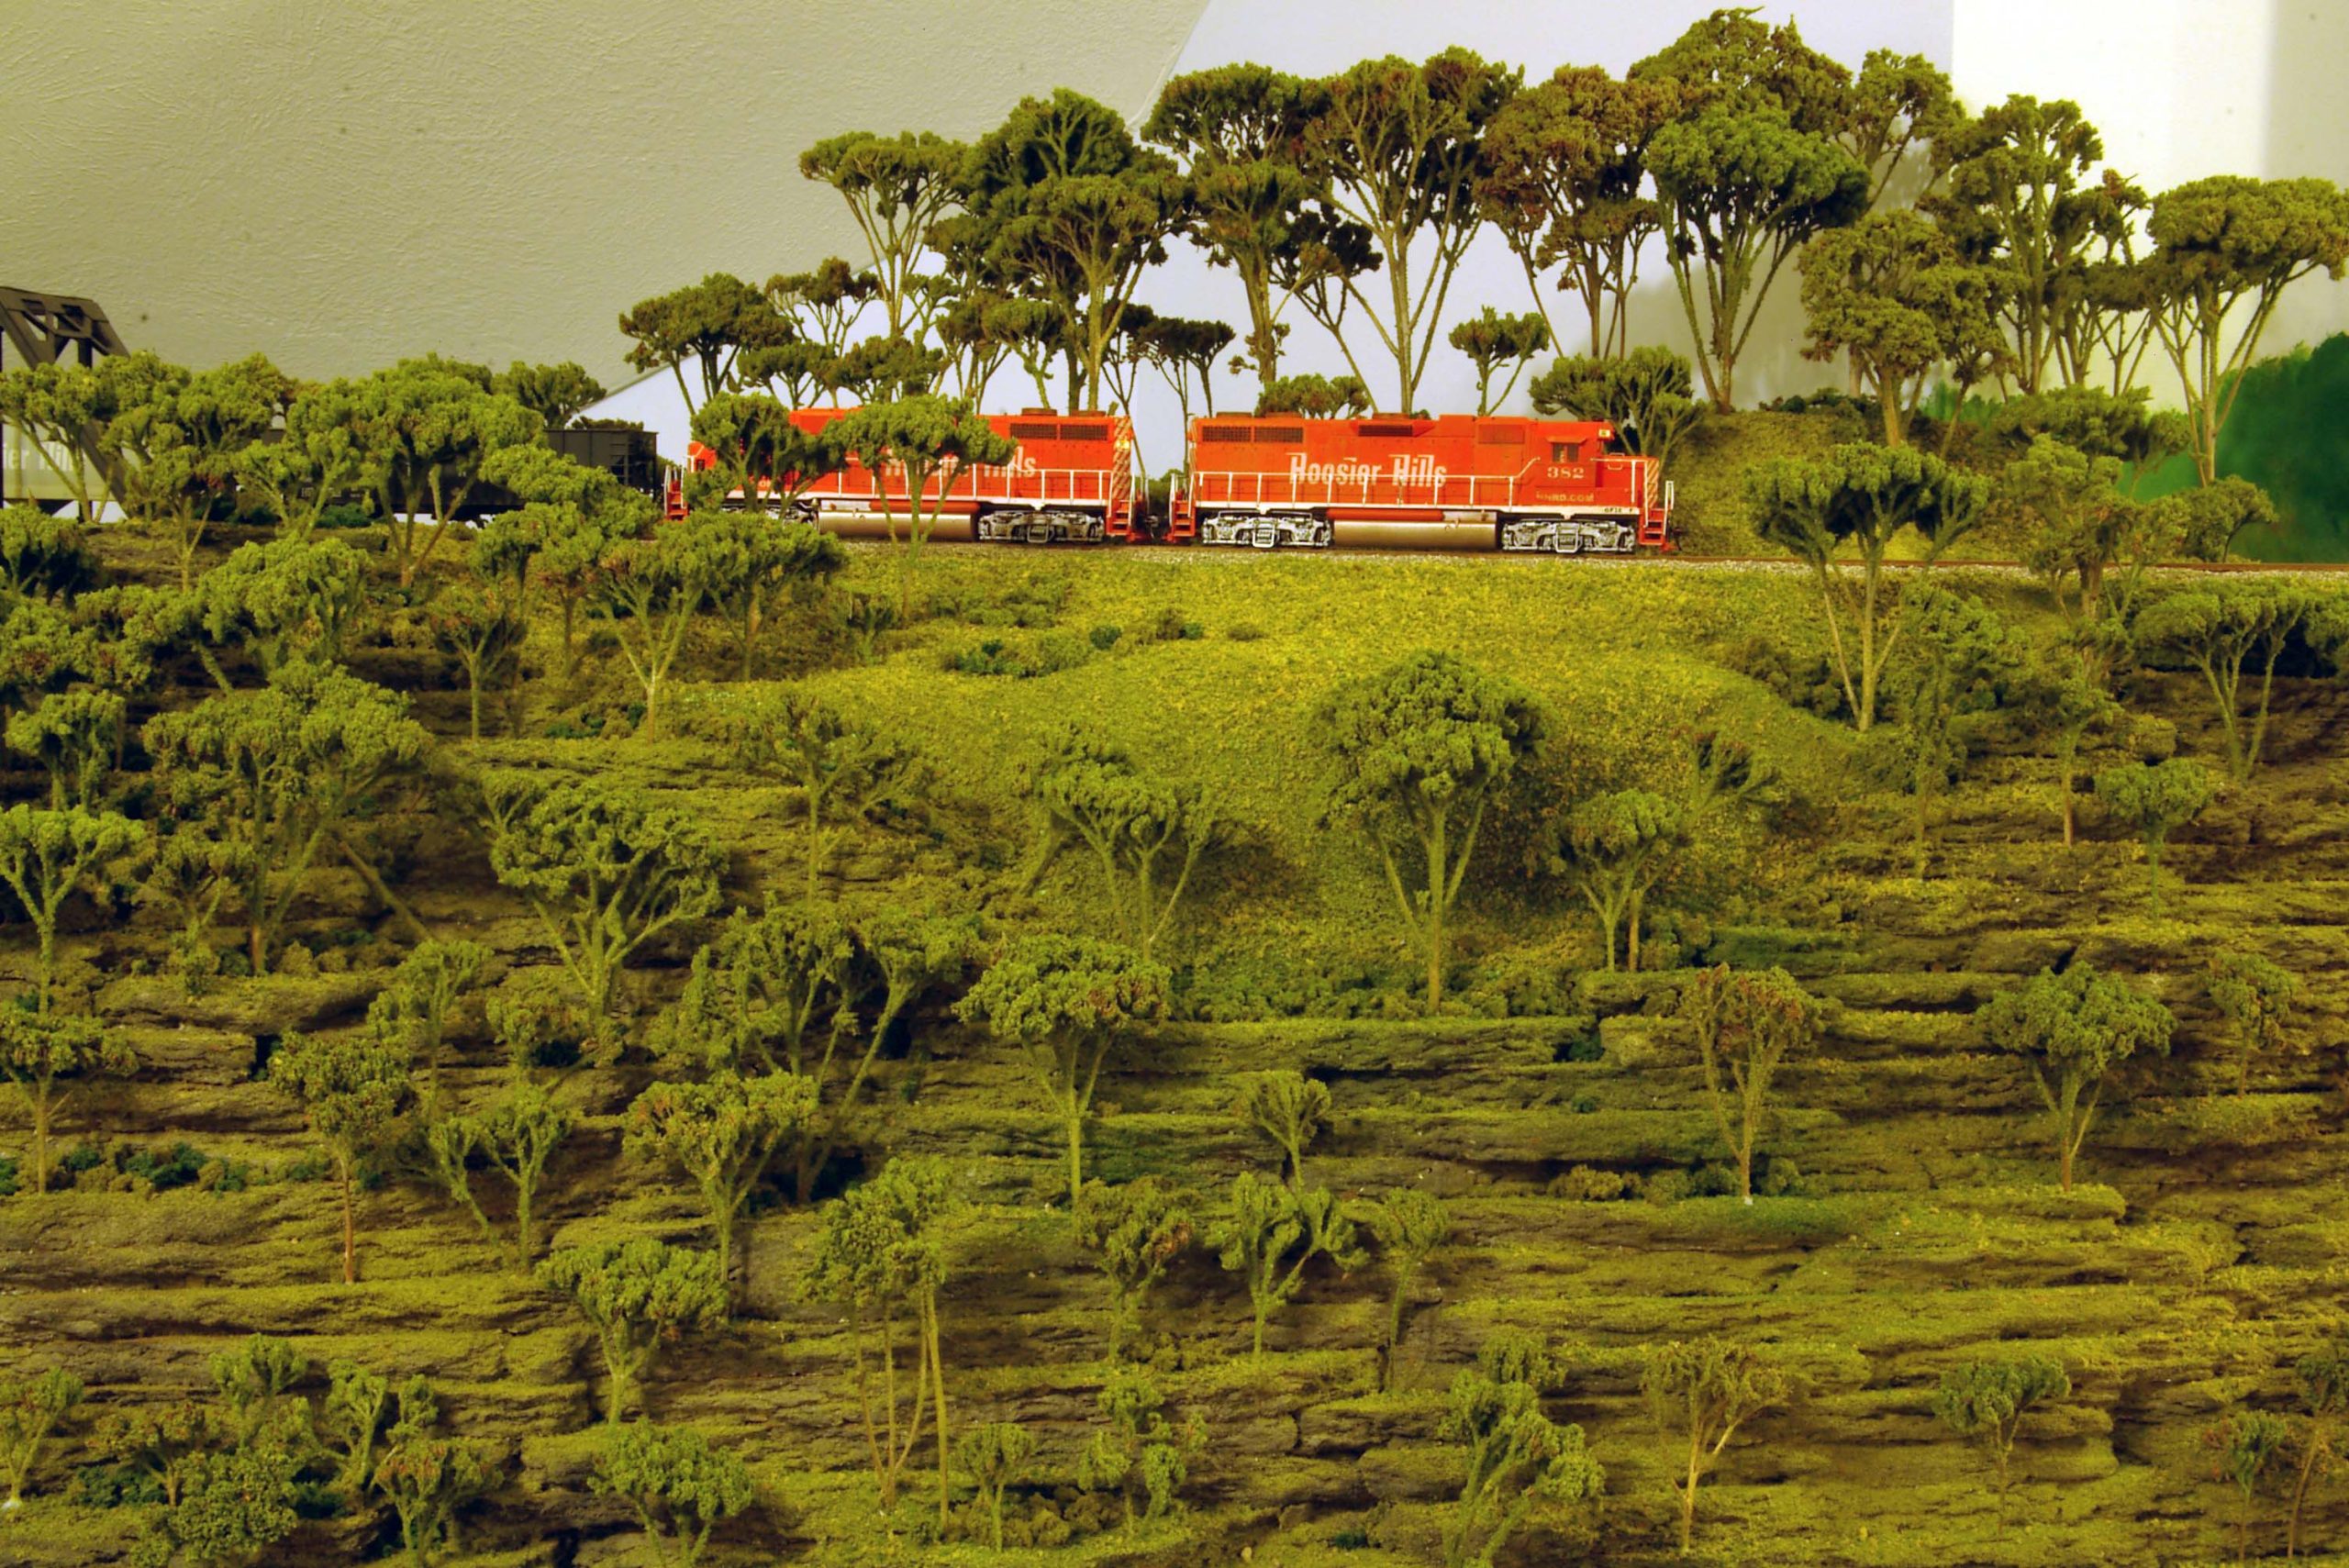
More of the Gorge the train leaving the Gorge.
Overall view.
Bridge crossing.
I hope you liked the building of the Gorge.
SantaFeDan*”
A huge big thank you to Dan (again!) for sharing his multi level train layout.
It reminded me of Luis’s post:
And here’s a little multilevel N scale in the making too: Multi level model railway N scale.
You can see more of Dan in the Hall of fame: Santa Fe Dan.
Lastly, don’t forget the silly sale is still here for the moment.
Here are some of the buildings you get – all for $9:
You get all these buildings – and 34 more – and the Beginner’s Guide for just $9.
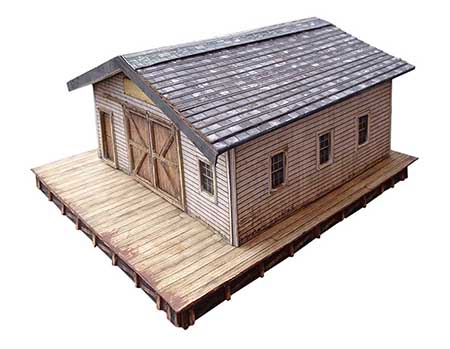
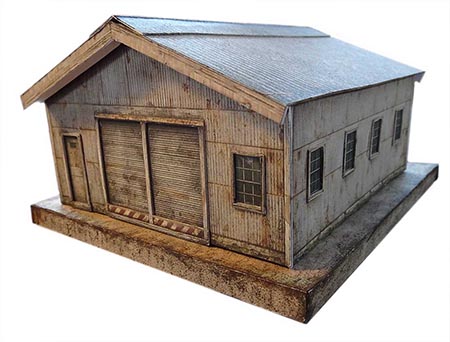
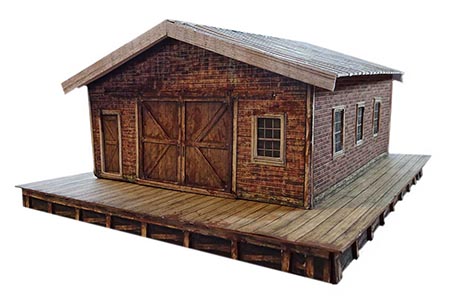
You get these, and 34 other printable buildings, all with the Beginner’s Guide for just $9. But not for much longer.
So if you’re sitting on the fence, it’s now or never…
That’s all for today folks.
Please do keep ’em coming.
And if today is the day poke boredom in the eye, the Beginner’s Guide is here ($9!).
Best
Al

impressive, love the canyon & river below with the fisherman & boat, what an excellent job. Merry Christmas to all across the world.
Some great scenes, fisherman and boat terrific.
Dan
Expertly done and your narrative is awesome. You explain why something doesnt look right and is not right and how you make it right. That client had a Merry Christmas!
Big Al
Have a Joyeux Noel.
Beautiful great rock canyon
Yes indeedy, commenting just here today but the 1940’s era is A+ also once again. Looking at 2 totally different themes, eras and locations. As mentioned before, can not do any wrong with these one right after another greats. May need some new words invented as of lately here with these displays.
And if possible include the DD and what he’s been doing. One also best of the best. The constant demolition and reconstruction on his RR keeps you pondering as to what is he thinking for next time.
So regards with the season, Rich
As a geologist, I always look at how mountains are done in the layouts. I congratulate Dan on modeling some of the best sedimentary strata I have ever seen on a layout. Well Done!
Impressive!
Beautiful and great buildup photos. Thanks!
Outstanding , great effort and such a successful result.
Merry Christmas to all and thank you Alastair for such a successful site.
AWESOME! I wish I had 1/10 of your talent!
very nice cavern and river scenery.
Norman, thanks for the complement. I study the details of nature. (I was a double science major. I am used to checking details. I built two telescopes.) I want the rocks to look natural. The ceiling tile makes the job easier. Back in the day, folks used plaster and dental picks. You can’t live long enough to do what the tile can do.
Dan*
Nice. I like and used ceiling tiles for strata rock formations. Well done.
Jim AZ
Looks good so far. I believe it will look exceptional when completed.
Those Canyon Photos,,, Looked like you are really there… Great Craftsman and Workmanship as well as the photography. Thank you for sharing the specific info on the building materials and methods used… where do you find the plant material you used? WISHING ALL OF YOU AND YOUR FAMILIES A VERY BLESSED AND MERRY CHRISTMAS AND A HAPPY NEW YEAR TOO !!! ~ Mike in New Hampshire, U.S.A.
Mike, the plant is Sedum also called Everlasting. The plant is a perennial flower. Mine are over 40 years old. They flower and then dry in the winter. The plant has a pinkish color when dry. They look good during the winter.
In the late winter we collect them. We spry glue on them and sprinkle what ever shade or mix of ground foam (not too coarse) over them.
The flowers are in a broad clump with many branch lets. I break them apart into smaller clumps. Some leave them alone. I get many more “trees’ this way. You see the results. The trees by my house are over 80 fee tall (nearly a foot at HO scale). If you made the trees scale they would over power the scene. Your brain says these are trees and takes care of the smaller size. It works for me and all of those I have done the scenery for over the years.
Dan*
Dan…..fantastic piece of work.
I’m getting ready to relocate my RR as soon as I finish my new room. The extra bedroom was too small. Thanks for all the ideas on the gorge rock formations. I can hardly wait to get started again.
As a geologist, I congratulate you on the rock! Well done!
That lay out took sometime to assemble and you did a great job.
Dan, very nice photos and narrative. Your ceiling tile mountains are the best I have seen. To me, the Sedum trees look more like Australian flora than US forests, but they still look very good. Your water features all look very realistic, and I loved the fishing boat and angler scene. I don’t know if it’s the lighting or the camera, but the trees and hillsides all look too uniformly the same medium green: I think some more variety of colors or shades of green might look better. That’s just my opinion and I’m not a professional scenery builder.
Will, the lighting in that was very difficult to work with. There was a sky light at one end and the light varied all the time.
nice