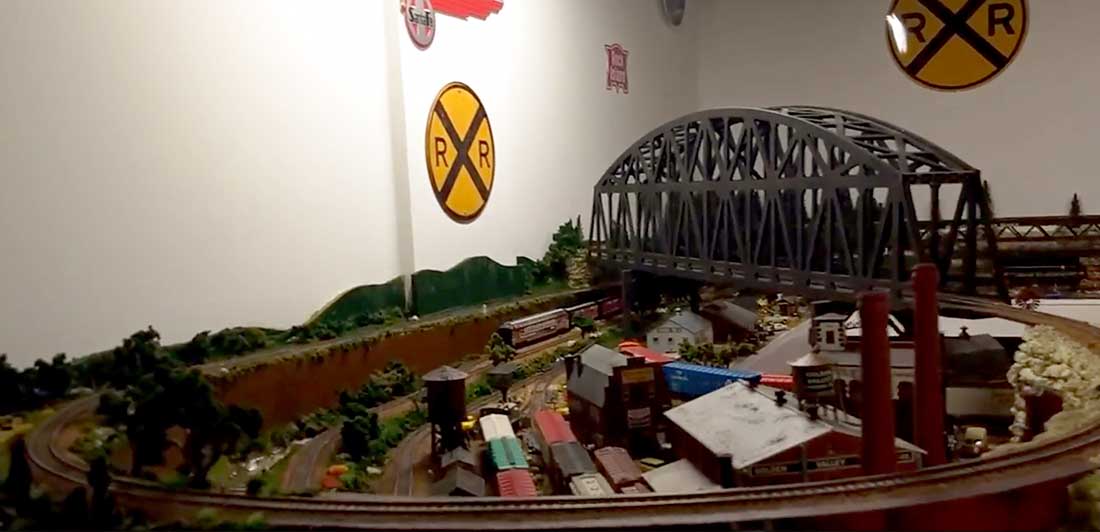
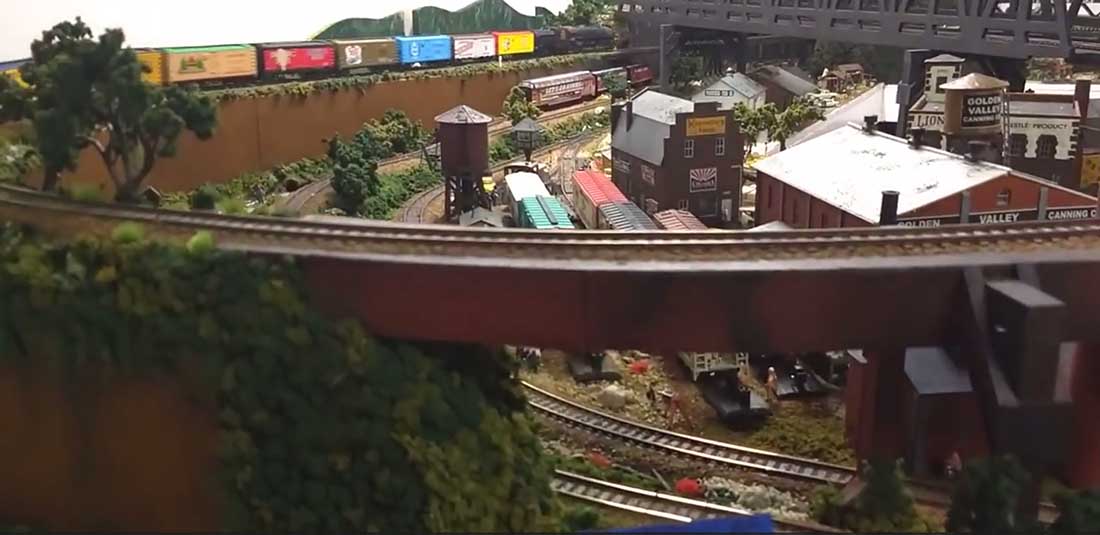
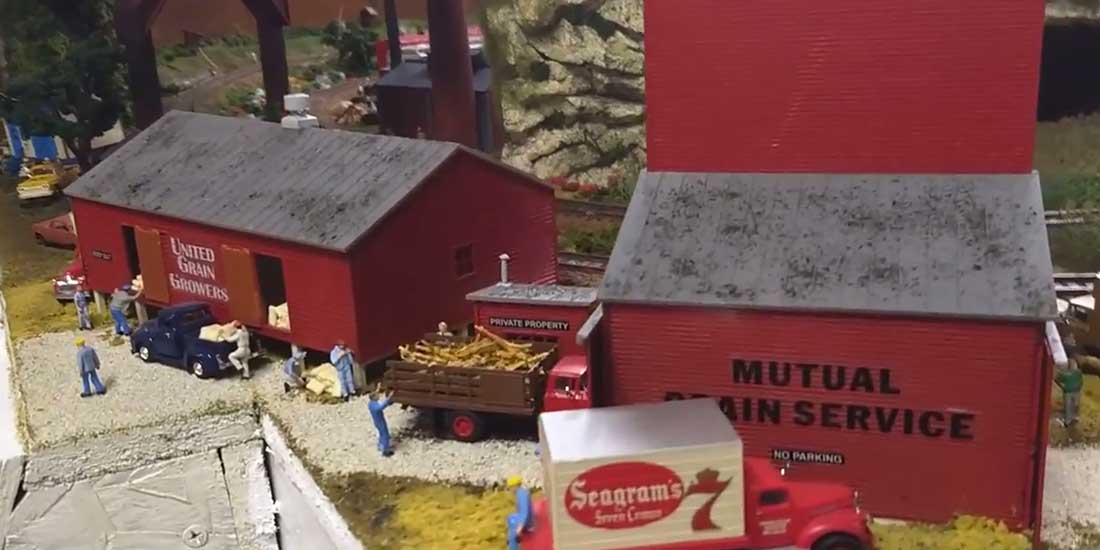
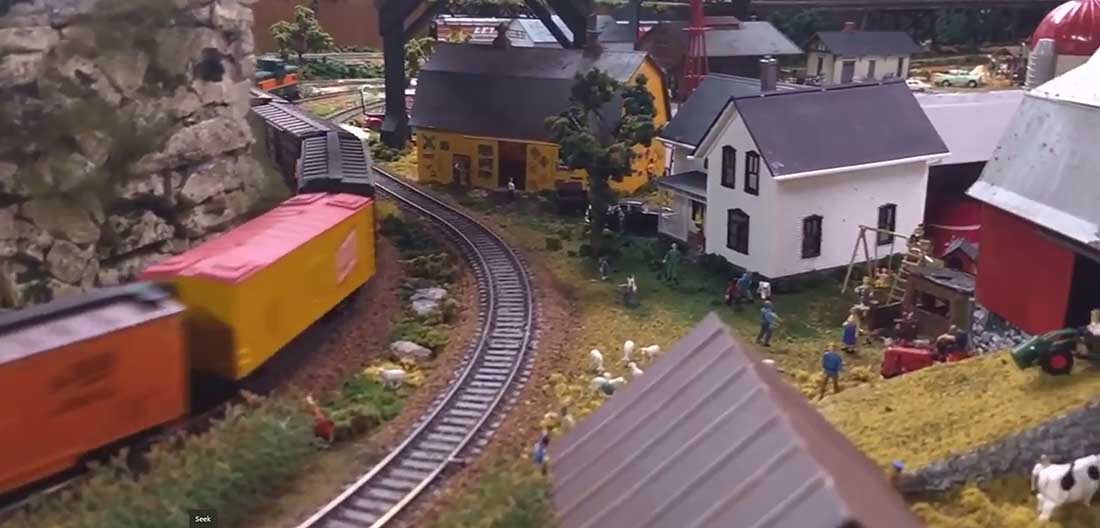
Dominic show’s us what what happend when you scratch build a HO scale trestle bridge. What a layout!
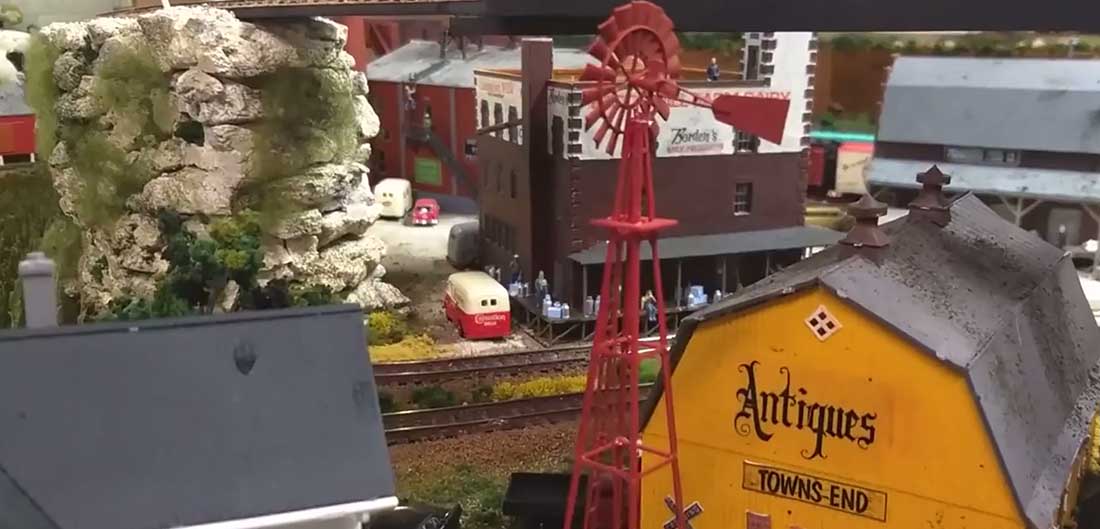
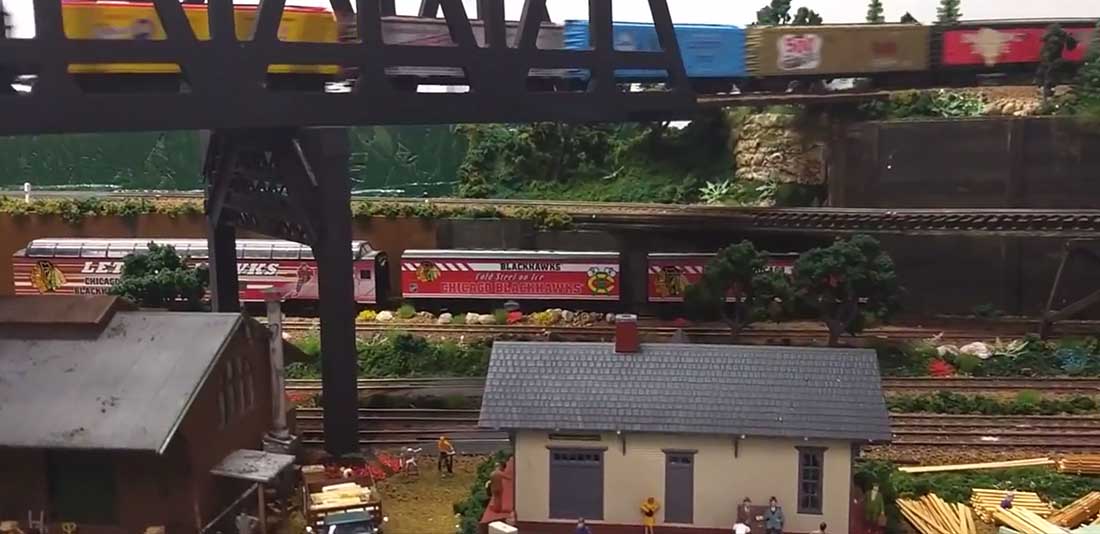
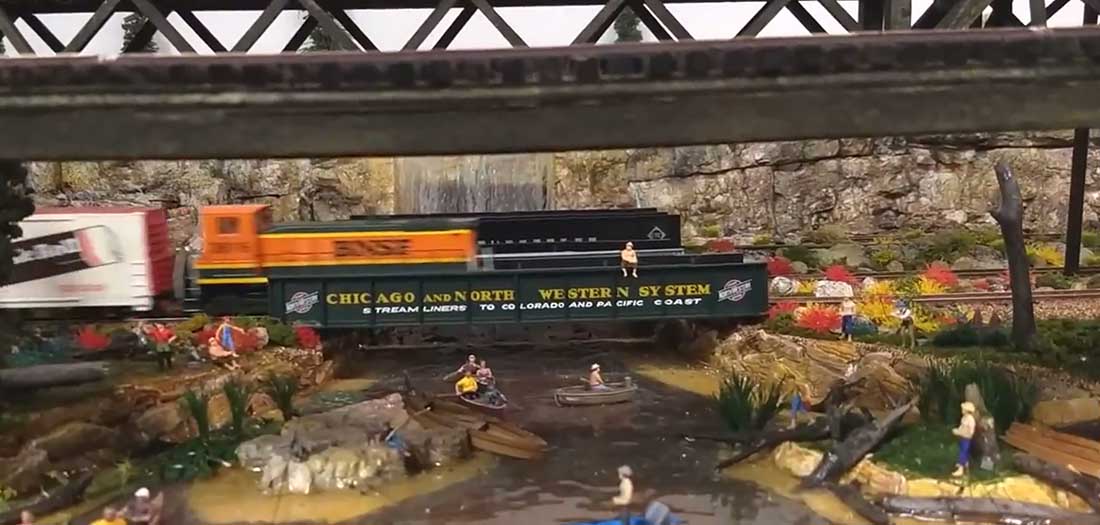
“I started this project 4 1/2 years ago when I relocated to Michigan and bought a home with a basement and much more room than I originally had.
So I had a 12×24 HO scale area in the basement to do something with, as long as I didn’t take away from my wife’s storage area. A much larger area than my original 4×6 layout.
So with some planning, but with no particular track plans in mind, and wanting a little bit of everything, it was a plan as you go project in the making.
And this is what I’ve come up with so far.
It was suppose to be my winter project, but with the winters being so long in Michigan, it turned out to be my project 8 months out of the year.
The trestle bridges were all scratch built which was a challenge but the mission was accomplished.
Dominic”
And when it comes to posts on a how to scratch build a HO scale trestle bridge:
HO scale wooden trestle bridge
HO scale curved trestle bridge
And now on to Paul:
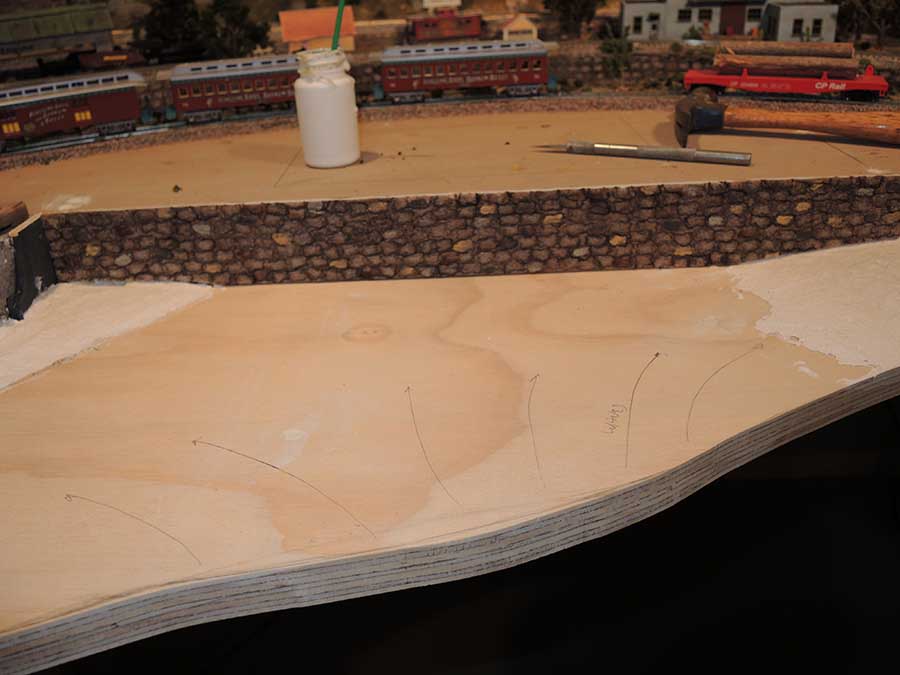
“Hi Al thought I would send you some photos of how I increased the size of my waterfont scene using toilet paper and PVA glue.
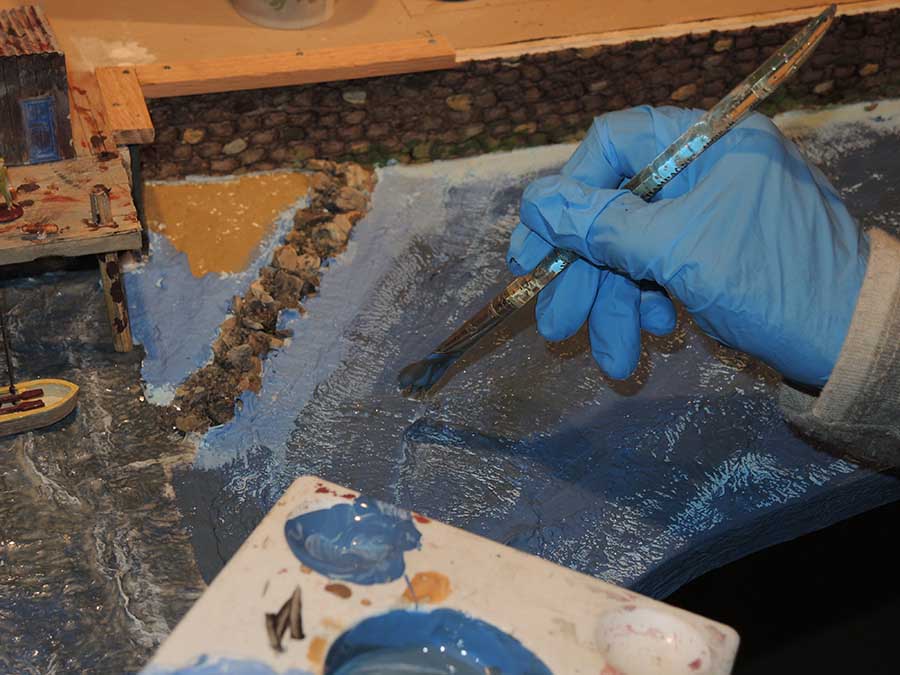
The included photos show the plywood extension and the initial steps in applying the TP & PVA.
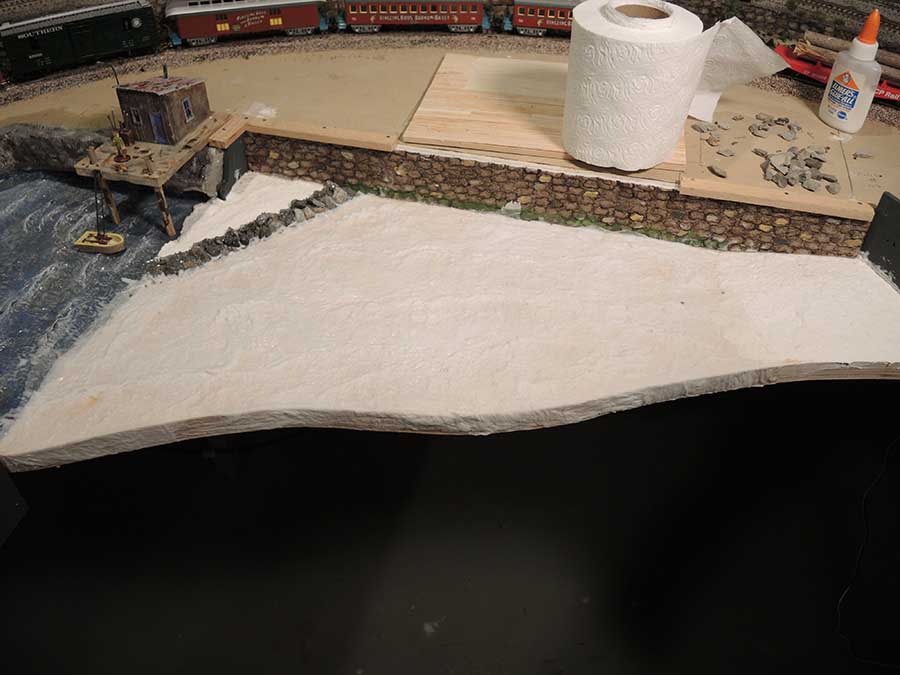
The TP is applied about 4-5 layers thick with the PVA gluing the layers together.
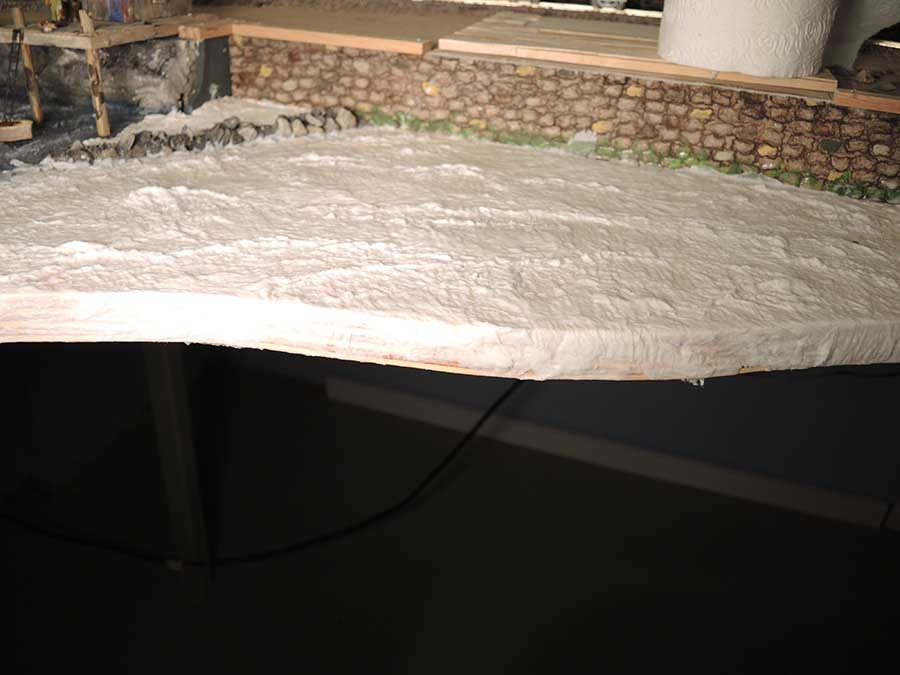
You see me “pushing” the still wet TP with the paint brush to form waves which are heading toward the shore and bulkhead.
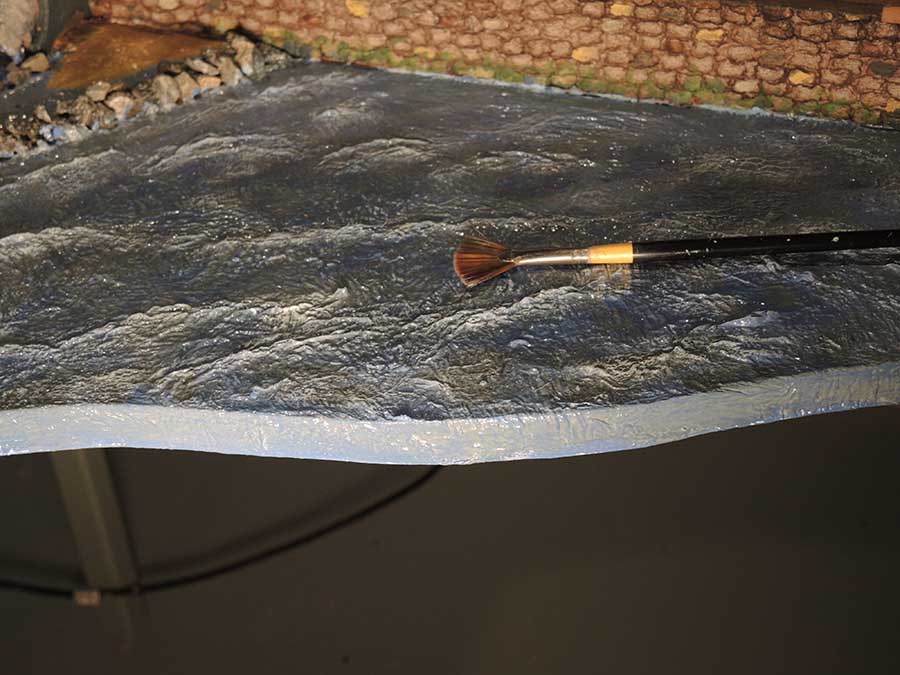
In these photos I angled the light such that it highlighted the waves that were formed by pushing the wet TP with the paint brush. You can see the 3D effect of the visable waves.
At this point you have to let the work dry which takes a few days because of the thickness of the TP.
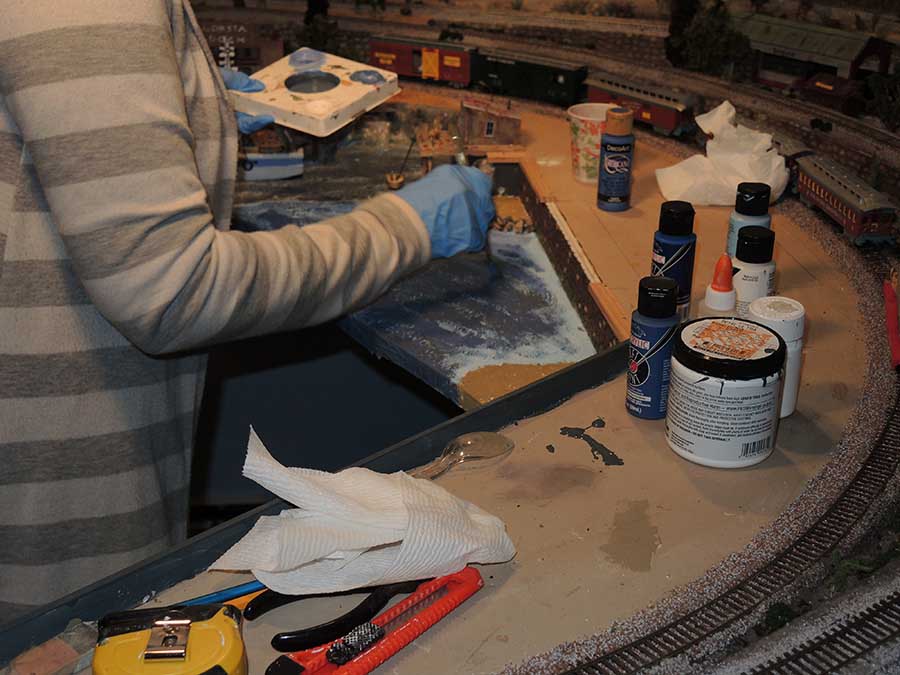
Once dried my wife stepped in because I failed at an attempt to match the color of the existing water scene. Naturally if you were doing this all at once there wouldn’t be any need to color match and you wouldn’t have to hire an artist.
In these photos you can see the fan brush we used to highlight the tops of the waves with white paint.
You must remove most of the paint from the brush by passing the bristles over some waste material. What you are then doing is called a “dry brush” effect on the wave tops.
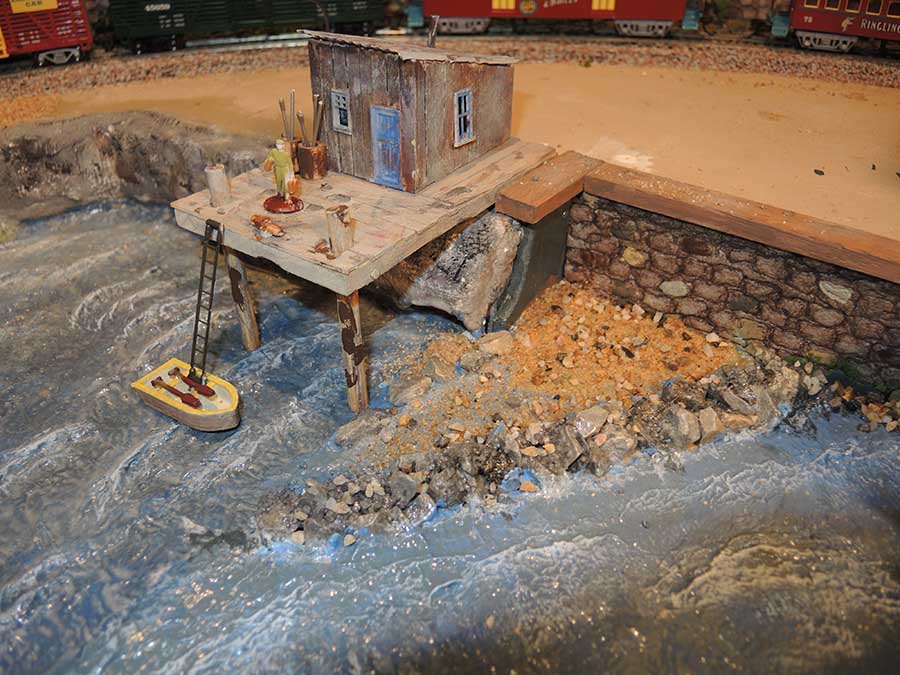
The next photo shows the jetty I built to protect the pilings that hold up the dock by the fishing shack.
This photo also shows the blending of the colors where the old and new water meet.
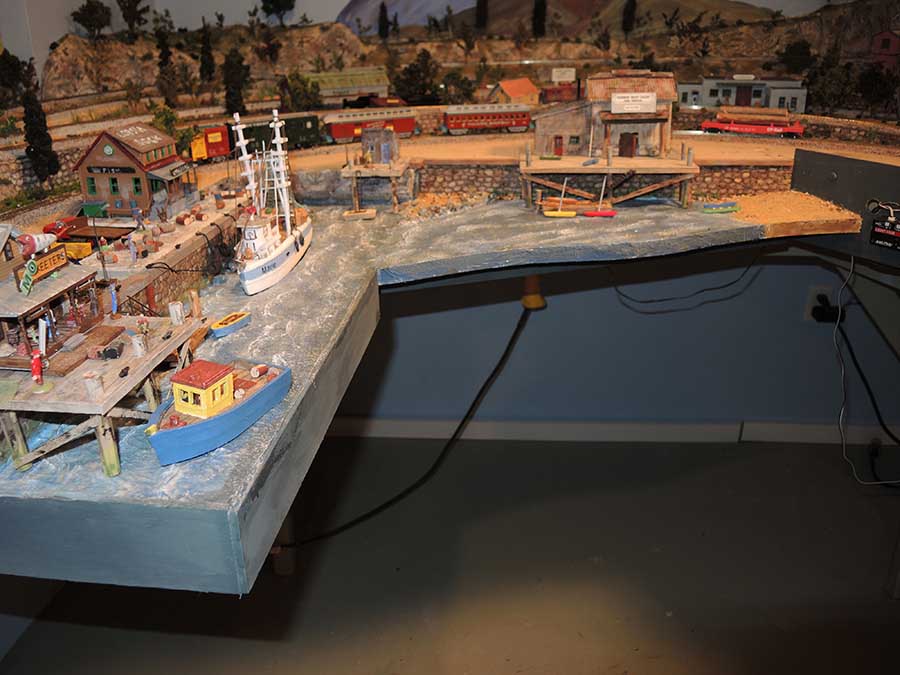
Lastly is a photo of the overall scene. The credit for this method of producing the water effect goes to Marklin of Sweden and his videos. The best part of this method is the 3D effect of the waves.
Paul”
A huge big thanks to Dom and Paul for sharing.
Please do leave a comment below and share your thoughts – would love to know what you think about today’s post.
That’s all for today folks.
Keep ’em coming. It’s still jolly quiet this end.
And if today is the day you stop dreaming and start doing, the Beginner’s Guide is here.
Best
Al
PS More HO scale train layouts here if that’s your thing.
Need buildings for your layout? Have a look at the Silly Discount bundle.


Water can be tough to simulate. Outstanding job!
Paul water effect really good. Especially like the last photo with the river joining the other waters. Thanks for the tip
On to Paul love the depiction of the water scene . I would have bordered off the perimeter and poured woodland scenic real water for that 3D affect everything would have looked the same except with some depth .
The Critic
Wow, the waves, the whole thing is really good.
Dominic , what an amazing display . I’m very impressed with the scratch built trestle bridges . The whole entire display is just stunning . I like the old school detail with the town and homes with children playing along the tracks . Reminds me of my youth . Most impressive display indeed . Very peaceful and relaxing scenery and the trains seem to glide along through as though they are all one . I imagine that when most folks set out to go view a model railroad display that they have in anticipation something like what you’ve accomplished that they will be seeing . Superb work , wonderful display .
Paul … water looks real as can be , great detail and effort and Thankyou fir guiding us through as we all want to have water feature but struggle to achieve realism . Great effects and final results .
What is PVA Glue? Water effect looks good!
Dominic
I really like what you have done. Smooth running, lots to see & ponder, and very well built. If you have stories behind the scenes let’s hear them.
Hope you have many kids peering over your creation- It’s the kind that kick starts fond memories.
Paul
TP method requires an artists talents to get the colors right- That aint me for sure. I like smooth waters in the harbor so you dont get seasick at the dock. Lucky to have a talented wife.
Hi Dominic: Really like your detailed mini scenes within your layout. The people going about their workday adds life to the scenes. Great Heavy Arch Bridge crossing the span over the tracks. Think you can ask the superintendent of that job to bring the work crew back to install Steel Support Girders on one end of the bridge to the edge. Upright Columns and support beams are needed Under the Masonite Roadway the track is laid on. The Bridge is Big Enough to add another deck to it for vehicular traffic if you so desire. Liked the stone foundation beneath the Barn on the farm. The RR needs to put RR Crossing Signs on that farm crossing and planks between the rails and leading up to the crossing. The Farmer would have a difficult time driving over the rails with his equipment to harvest the Corn between both tracks and on the other side. Liked the addition to your harbor with the waves coming in… realistic… you could Add some “Water” hitting the sides of the ships in the harbor hiding the shadow lines at the bottom of the hulls. In the Future, you could add harbor lights and buoys or even a lighthouse. Great Job Overall…. From Mike in N.H. USA.
Dominic….Wow….great layout. Love the bridges and oil refinery
Paul…. Fantastic water scenes. Great work
Dominic, great layout. In particular I like the farm scene and all the action going on. Makes it very interesting to look at all the details.
Paul, thanks for posting the tips on the water aspects of your layout. Very informative!
Some great and highly detailed modeling skills and scenes going on here. Always appreciate seeing great looking layouts. Thanks for sharing.
Jim AZ
cool. i like seeing water features, hopefully i get my fully functioning water fall working right so i can post it.
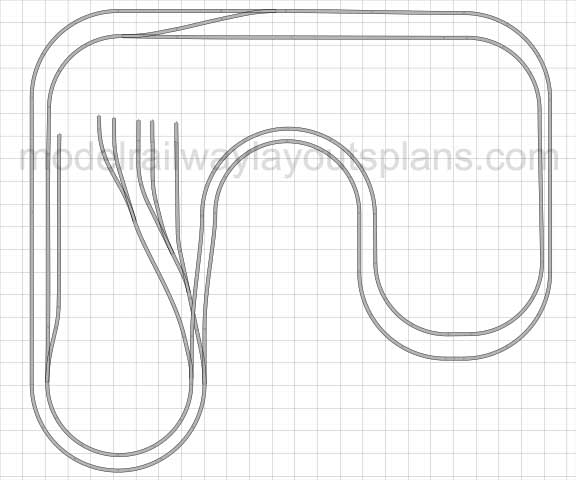
Layouts are nice is it possible to show the track diagrams also
Dominic, a very impressive layout and well done in just 4-1/2 years! I love all the vignettes of village life and the custom-made signage on the buildings. I gather from the Railpower power packs that your layout is straight DC with some kind of block separation scheme. All in all, very nicely executed! Please share more of your story behind the building of the layout.
Paul, a very interesting use of toilet paper and white glue. Getting the water color right is an art. Well done!
Dom’s layout is beautiful and with plenty of detail work in it. I really enjoyed seeing the trains running. Great work.
Paul has a beautiful and well detailed dock scene . Great job also.
Dom! Thanks for sharing your layout with us. I really enjoyed watching your video. Keep up the great work! Cheers! Rossco, Adelaide, Australia
loved the water and the rest of course
I certainly agree with all the positive commentary on your railroad. You have done a really fine job on it what with all the intricate details. That said, I have two suggestions…
Slow the trains down a little when taking another video. Scale speed for a freight is probably 20=30% slower.
Blend your fascia (my pet peeve) into the scenery with a bit of brown and green camo paint.
Anyway, job well done my friend!
Don’s layout is great … very good individual areas.
But PLEASE people do not run the trains so fast … it’s unrealistic.
Paul, I wish that I had a artist to do my water scenes. Your wife did a awesome job. I think I’m going to have to find me a artist !!!!!!!!
Dom! what a great layout. Thanks for sharing. I’m envious of the room you have. Cheers Rossco South Australia
making the waves is tougher than it looks, nice job.
A waterfront and railroads just go together well fresh seafood and imports from exotic lands treasure hunters and pirates !! brings adventures together of worldwide travel .
Both are great layouts!!! Love the video thank you for sharing and your ideas very helpful! Chris- Michigan