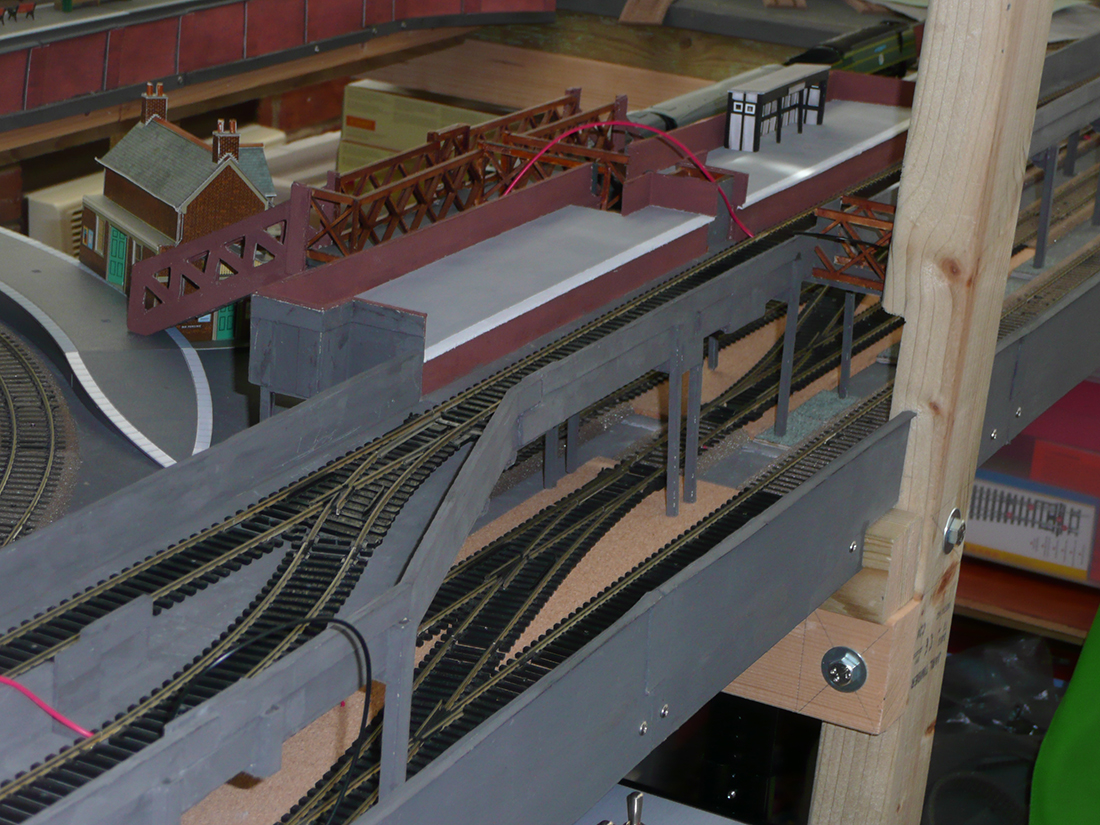
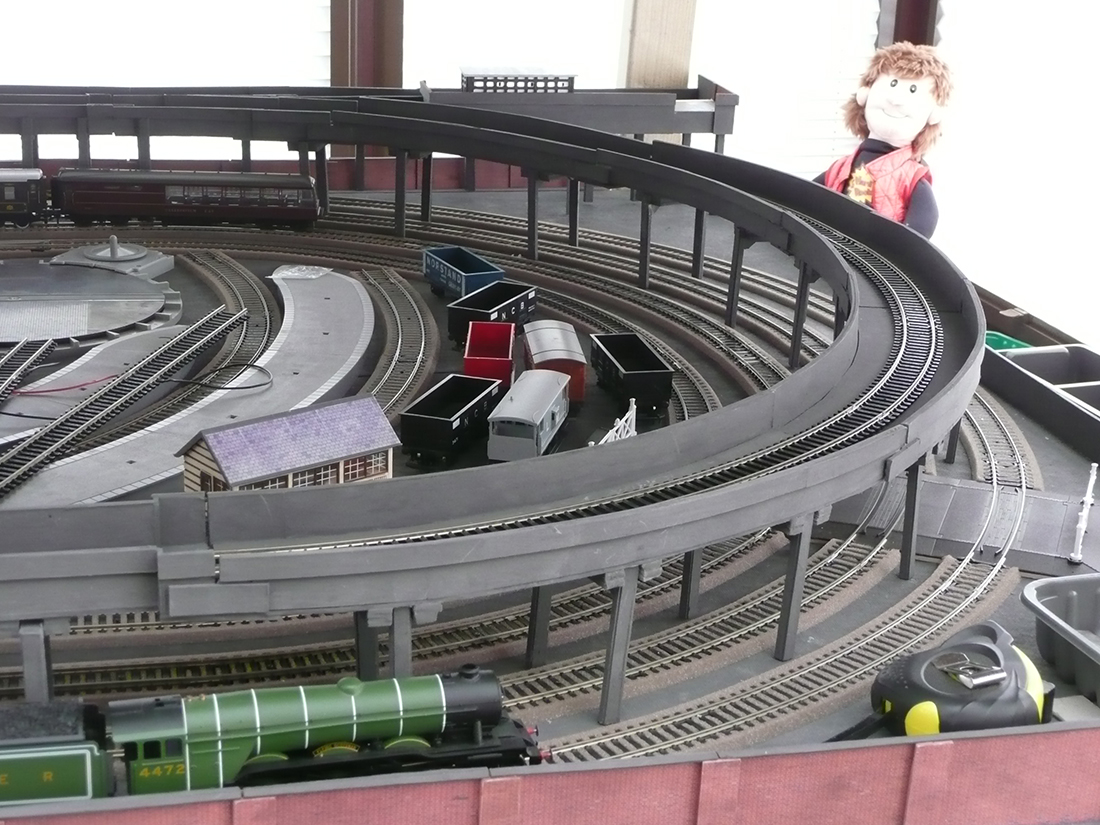
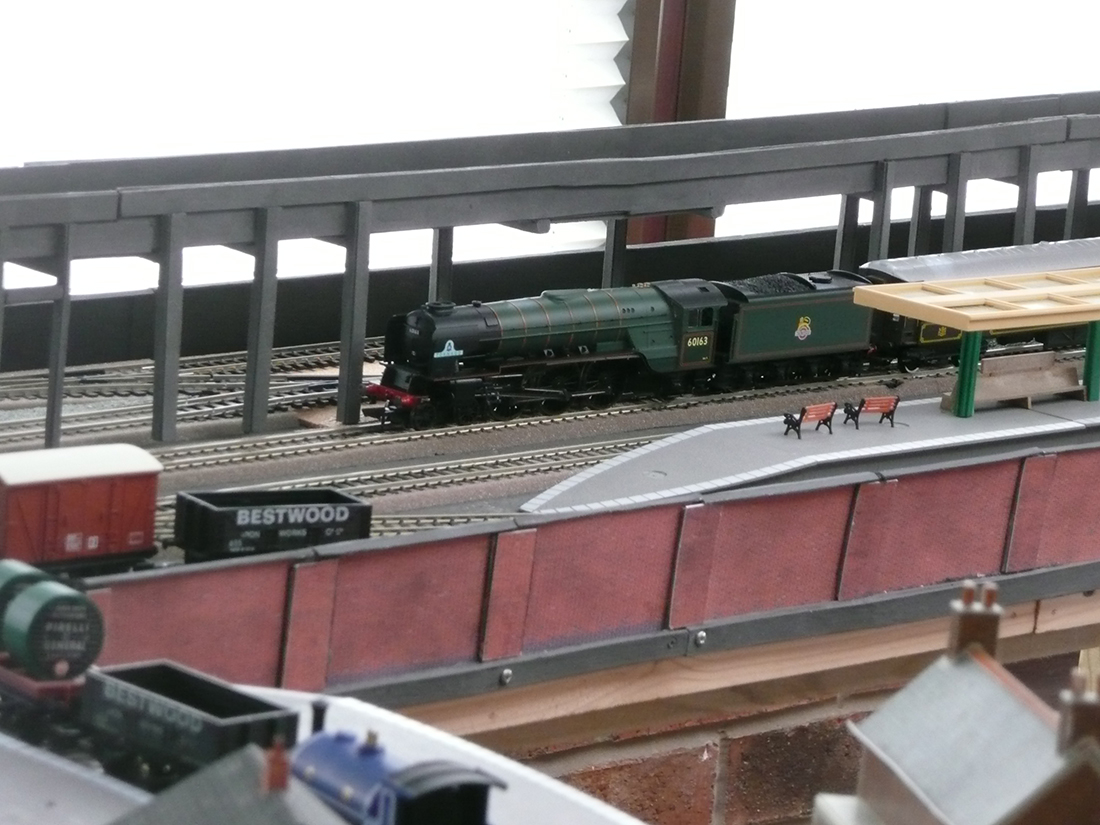
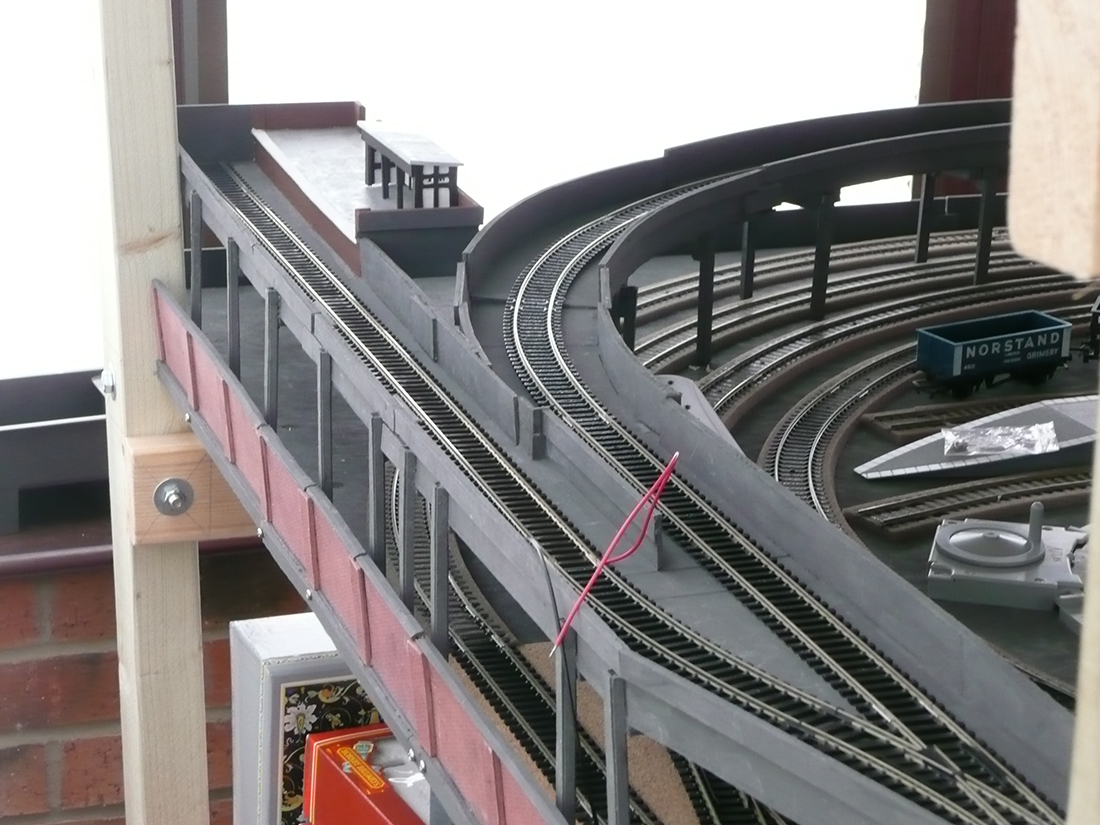
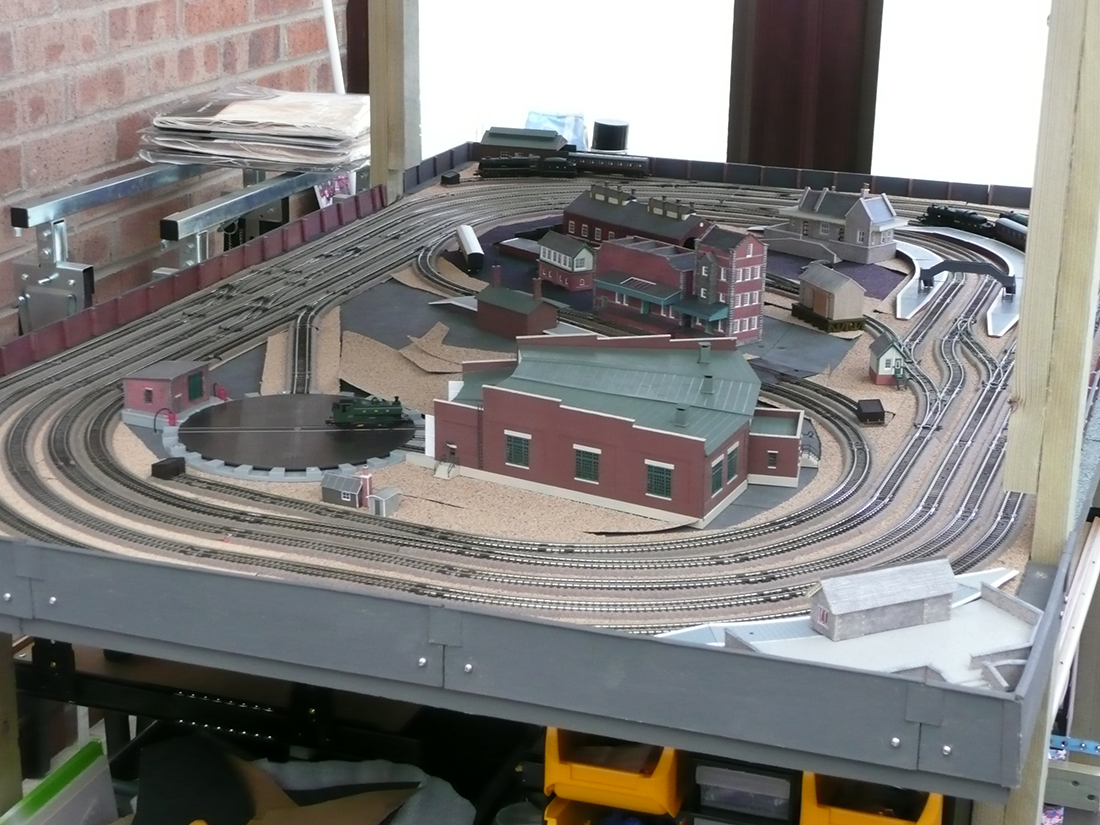
Steve’s created this multi level n scale railroad:
“Hi Al,
My wife and I moved our railway stuff from loft to loft over a period of 40 years.
Finally, and a few years after retiring, I decided to bring it down and take a look.
Some was HO gauge (my wife’s) and the other was n gauge.
In respect for both gauges I started to build two separate layouts.
Not happy with the results, I took over the conservatory and started again.
Each layout has two tiers with the intention of going DCC on the second tier.
The layouts are ‘flat’ and have as much track as posssible, as my main interest is in running the trains.
Also, we intend to move house/area within the not too distant future and so everything is designed to be taken apart.
Just this week I have completed a raised oval of track above the 3rd radius already in place. The trackbed and supports are made from 1mm/2mm greyboard with matchsticks running through the centre of the supports to give greater strength.
Eventually I redesigned the supports so that they could be moved laterally and avoid obstucting the trains running below.
I shall run two EMUs on this raised track. This is a single track with two sidings.
We had to have a ‘Flying Scotsman’ featured on the layout as we were both born in Doncaster.
(My wife’s first full-time job was at British Rail Engineering, Doncaster.)
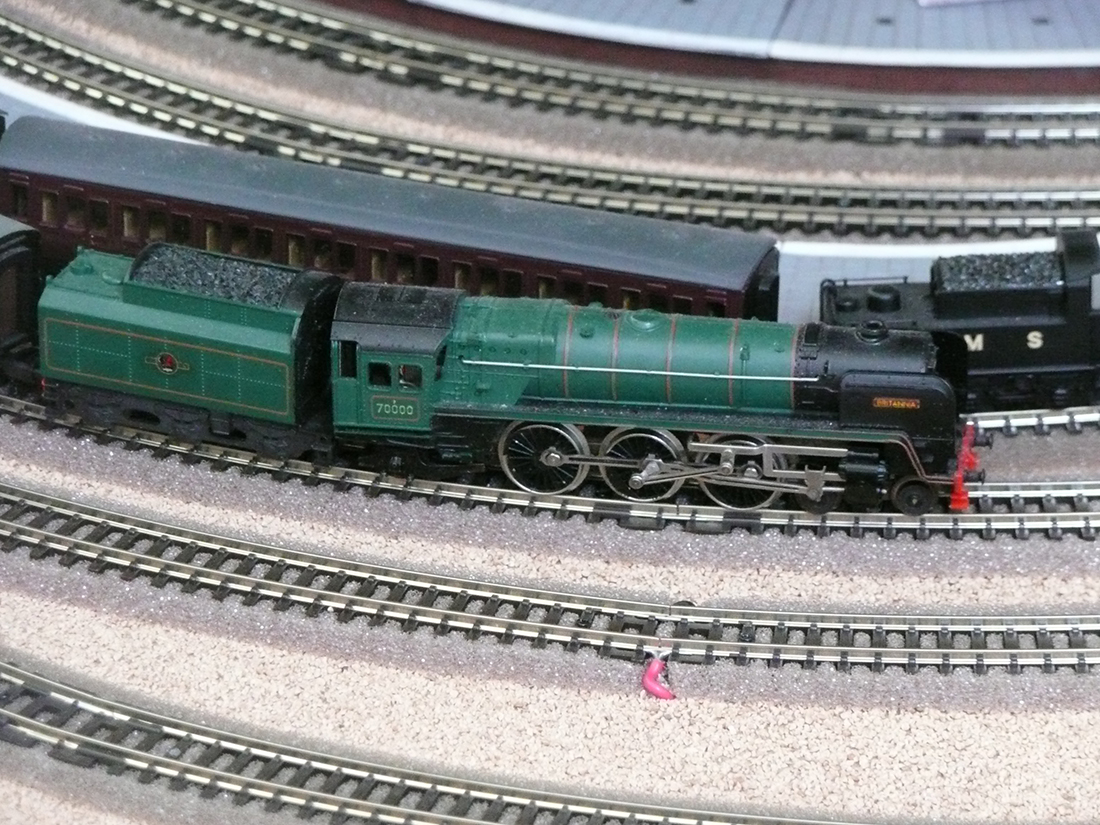
The Minitrix Britannia featured on the n gauge layout was purchased in 1972/3 and it ran perfectly at the start of this venture.
Kind regards
Steve”
Now on to John, who has sent in this ‘how to’ on making trees:
“On my N scale layout, I have large spaces that have been “Zip Textured” and need to have trees and vegetation to cover the wide spaces, Buying pre-made trees or tree “kits” is not in the budget.
Here is my solution.
Step 1. Use brown # 12 or 14 stranded wire and cut into “blanks” . Cut the blanks a bit long as they can be trimmed later. The area that is not stripped will serve as the trunk of the tree. Don’t try to strip all the wire area at once. Do it a small section at a time. It will work better.
Step 2. Un-twist the strands and fan them out
Step 3. Trim the “fans” into a profile of a tree shape
Step 4. Take the trimmed fan shaped strands and bend them into a tree shape. You can use nippers to trim the branches. Place on a foam board that had holes punched with an awl. You will use this panel to use to spray paint the trees.
Step 5. Take the shaped wire trees and mount them on a foam board to be sprayed. I use a hunter green or light tan to prep trees for the next step. You can rotate the foam board to get full coverage. Also spray directly from the top.
Step 6. After spraying, attach to the “wire branch tree” stretched out Woodland Scenics “Turf” to give some body to the tree.
Step 7. Take the tree and hold it in a clothes pin to spray with an inexpen- sive extra hold hair spray . Spray it away from your work area / catch bowl.
Step 8. Before the hair spray dries, shake blended turf, fine turf and fine ground foam on the still wet tree over a box or bowl. You can push parts of the turf foam into a more realistic shape and trim off any strands hanging off. You can also spray the tree again with a light coating of hair spray to hold the shape.
Step 9. Place the completed tree on another foam board prepared with holes to carry your “forest” to the layout.
“Hi Al… Just uploaded this short video, its a poor wet day, so what do we do? …start running a few Trains… no good sitting in the garden getting wet… just a few running mainly with Freight for a change.
Regards
Dave”
That’s all for today folks.
A big thanks to Steve for sharing his multi level n scale railroad, and to John and Dave too.
And if today is the day you take that first step towards your own layout, the the Beginner’s Guide is here.
Best
Al
PS Don’t forget the latest ebay cheat sheet is here. Still going strong.



Would like to know where Dave got his backscenes from
Very clever stuff today…
Steve’s layout looks like fun…
Although it is a much smaller scale, it reminds me of the layouts my uncle would make for his Lionel… Running trains was his joy, no scenery necessary.
John’s Tree Tutorial is fantastic…Really special.
What amazes me is that John has used an old idea that dates form the 1950’s. The special part is how John has taken that idea and has brought it fully up to date with modern materials. The result of his work and innovations is a tree that really looks better than most of the commercial trees on the market. The best part is that he has achieved his very realistic trees at a fraction of what he would have paid for a commercial equivalent.
Have memories sitting up at Edinburgh Castle one day in the summer of 1954, watching steam trains come and go, even though I never rode the Flying Scotsman.
Great stuff love the trees. Thanks Dave for the freight trains I am a freight train lover. Like the old German Bavarian trains the most. We could use some of that rain here, in upstate NewYork. Thanks again Al.
Steve, I have trouble with raised curves like yours. What exactly is “greyboard”? It looks pretty flexible, and could be what I need.
Love those trees. My son is an electrician and can get me all the scrap wire I need. Thanks for the lesson and a way to save some real money. Cheers! NJ Mark
Trees have always been my biggest hangup with making scenes look real. John’s method seems like the perfect solution to having many dissimilar trees. Thanks, John!
Well today, there are 2 of my deligt for me.
First, a layout designed for operartion with making trains and delivered the cars to their rdestination mainly LIONELS.
Secondly, running freight train with mixed configuration like the real world, my father was an enginee and made follow the rules..fun, fun, funI had my train in 1948, a Horny tinplate consit of onme saddleback locomotive, freght boxcar, a gondola, tank and a caboose, a oval to run with very old transformer.Not knowing the value it have now, i took it appart.
Lastly thanks to Steve for is trees fabrication.
A good train dya for all.
Léo, Québec, CA
Ok Dave…like your layout VERY much and your videos when you actually have something innovative/of consequence to share…REALLY do. But posting at least one or two EVERY week of basically the same, same, same Is getting to be way too much in my opinion. More is not always better!
It’s been a wonderful summer here in Ohio, USA! Many days in a row bright sunshine and temps in the 90’s F…32’s C. So our summer is here!
You have changed so much of your layout! It seems every time I watch one of your videos there’s a bunch of new stuff!
Would you do a video showing your layout like 6 months ago and current.
Thanks…Stay Safe and Well…..HAPPY RAILROADING!!!
like dave, i am pulling my trains out after a leave of the hobby of over 25 years! most of my stuff is gone, so i am starting anew. What got me restarted, was a nefhews father in law passed and i was offered the majority of the table work if i would hual it away.
So, some ebay visits and digging out what remains of my former collection, and i should be able to start laying track within a month.
Dave, fix your “people”! Too many of them are about to fall down. I realize that you have a “railroad” but people count too.
Steve……. what a cool looking layout…….. has a great look to it…..nice work.
John…..what a fantastic idea for making trees…….really cool. Even though my layout is HO…… I am going to try your method.
Pete , I got my backscenes from Gaugemaster …they are in sets of 3 for approx £8.50 …just google there sight and you will find them
Al would it be ok if I shared John’s tree tutorial with my wargamer group on Facebook? Its very clear and concise, as well done as any I’ve seen. Thsnks.
Dangerous Dave does it again. Thanks for another amazing video.
Excellent A+ work!
I was becoming so discouraged by the prices of trees and kits. This will make a forest of difference for my Pennsylvania layout! Thank you so much for sharing!
I remember a Model Railroader article from decades ago where the builder needed a deep heavily covered forest area. Rather than buy or make the individual trees he just covered the area with window screening and glued clumps of scenic foliage on top of the screen. I think he put some pre-made trees complete with trunks etc., in front of the forest to complete the illusion. Made a very good aerial and ground-level view of a dense forest without a lot of work.
Terry/Idaho USA
Great job! Your trees look great!
Question for Dave or any of the UK modelers — Dave had his freight consists composed entirely of one type of car, e.g. all tank cars; all lumber cars; all box cars. Is that realistically how trains are composed in the UK or Europe?
I have rarely seen an American train consisting of only one type of car; there are usually multiple types of freight cars in any consist. Now that I think of it, I have seen a consist composed of only one type of car when the train was pulling a load of cars from coal mines. Just curious. Thanks.