John’s been in touch again, with an update on his model trestle train bridge.
(his last post is here if you want to get up to speed).
“Al,
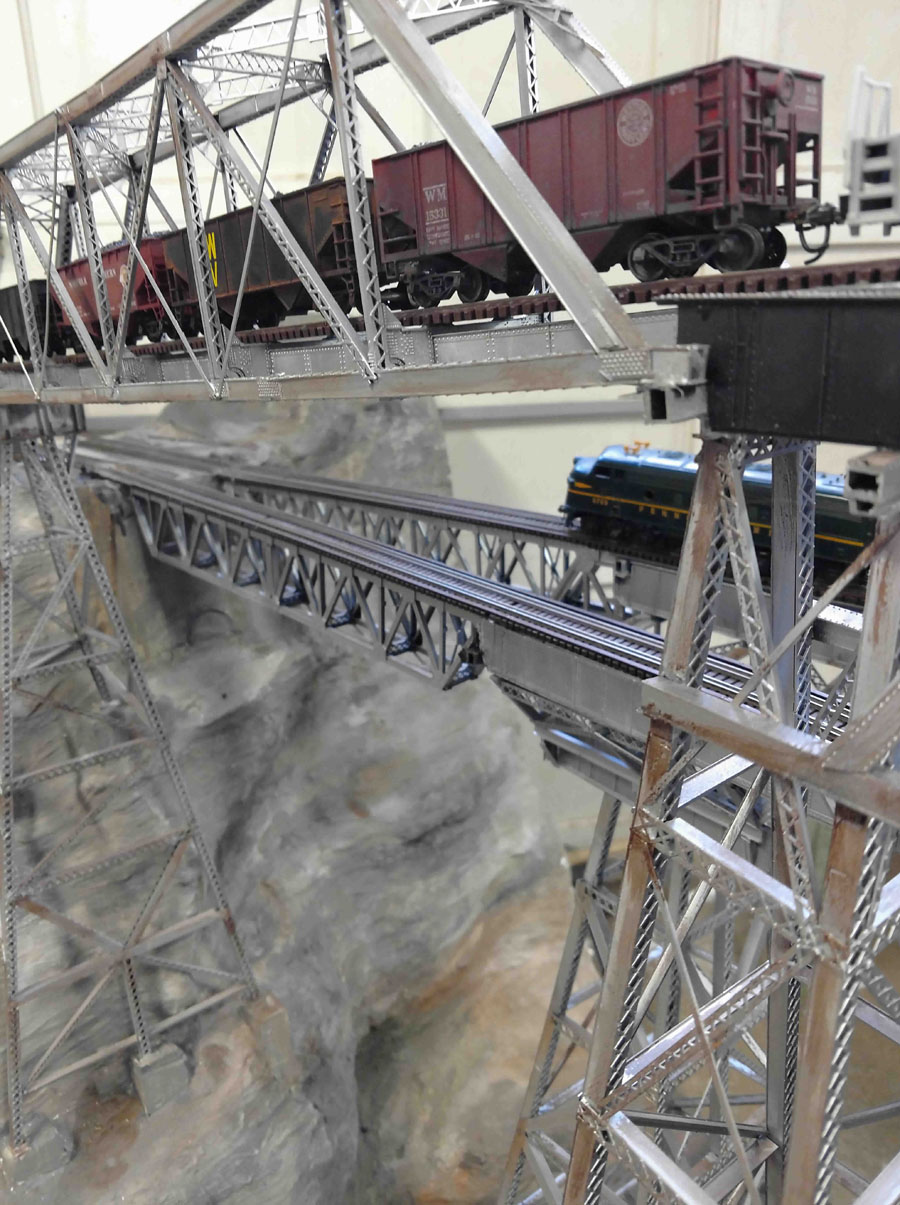
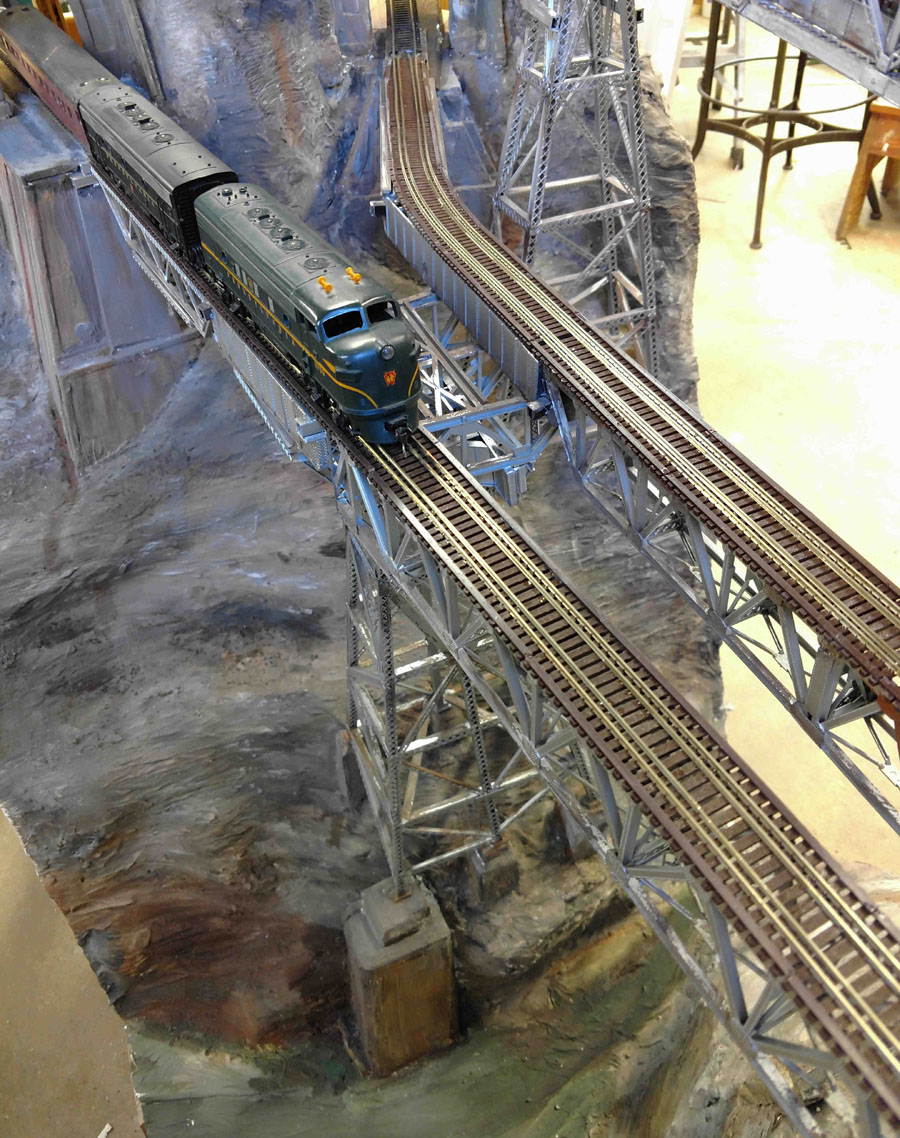
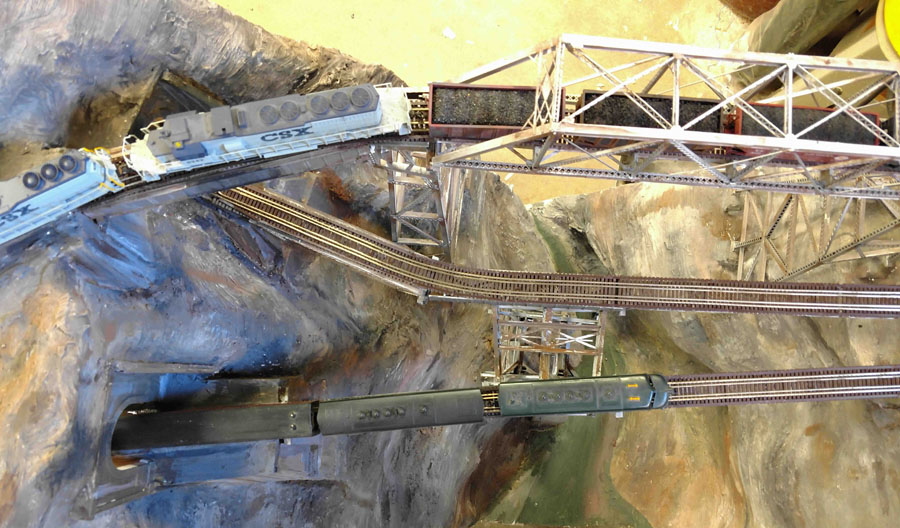
The bridge module is ready for scenery, trees, dirt and water.
Bridges came out pretty good so far, I’ll be going back for “super-detailing” like power lines, safety platforms, tunnel liners, and signals for the tunnels.
Probably not going to be able to get back to this for a while, as I’m traveling again starting tomorrow, and am teaching some Transit people how to troubleshoot a new train-control system.
John”
John’s contributed a lot to the site over the years, if you scroll back through his posts it’s a joy to see his layout come to life over the months.
And he’s really nailed it with the bridges – they look fantastic. His post today reminded me of John’s pics: John’s trestle bridge pics.
Now on to Hall of Famer, Dangerous Dave.
His layout is constantly evolving – it just goes to show, a layout is never really finished:
“Hi Al , just uploaded this video… I did say I was going to make a few changes, well here we are, doing a bit more than intended, but now giving me more platform area, a loop track around the Station area, and a smoother run with the curved areas, few tips here on using track spacers, filling in track joints, and maybe a few more on Laying track…
Regards
Dave”
Latest ebay cheat sheet is here
A huge thanks to Dave and to John for sharing his model trestle train bridge update – stunning stuff.
That’s all for today folks.
Please do keep ’em coming.
And if today is the day you get started on your layout, the Beginner’s Guide is here.
Best
Al
PS Latest ebay cheat sheet is here.
PPS More HO scale train layouts here if that’s your thing.

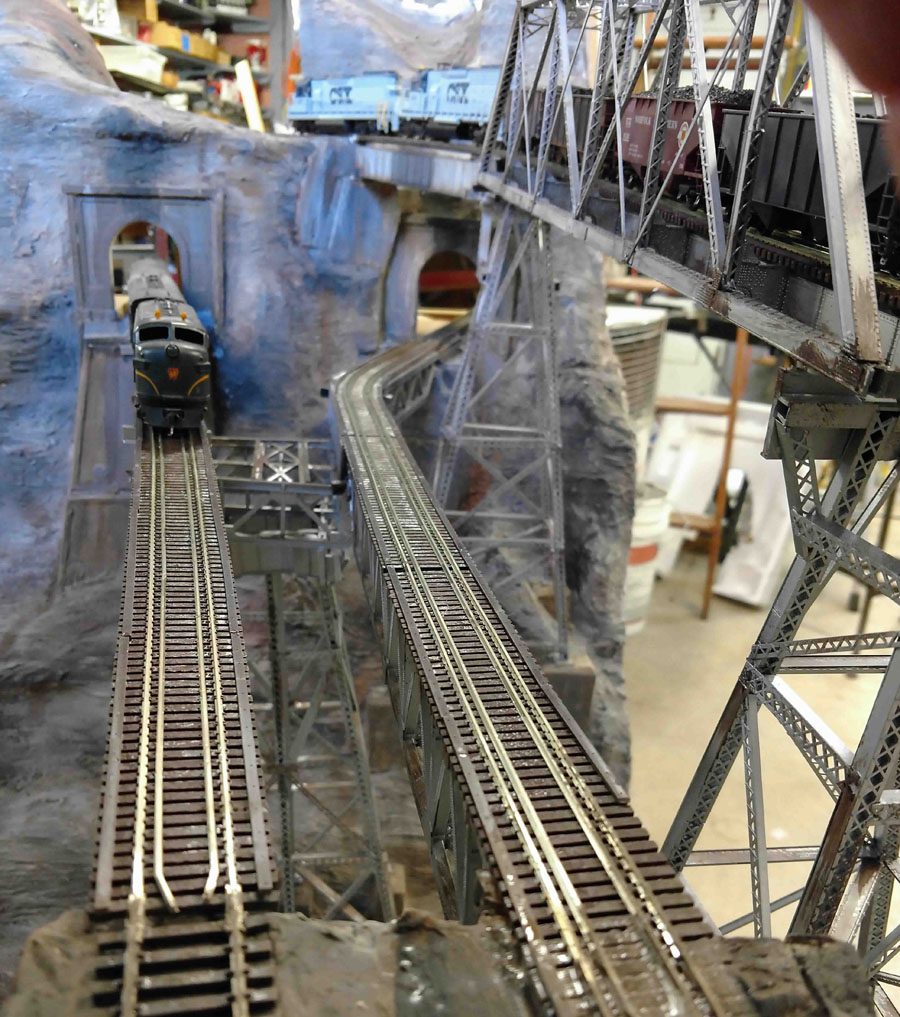
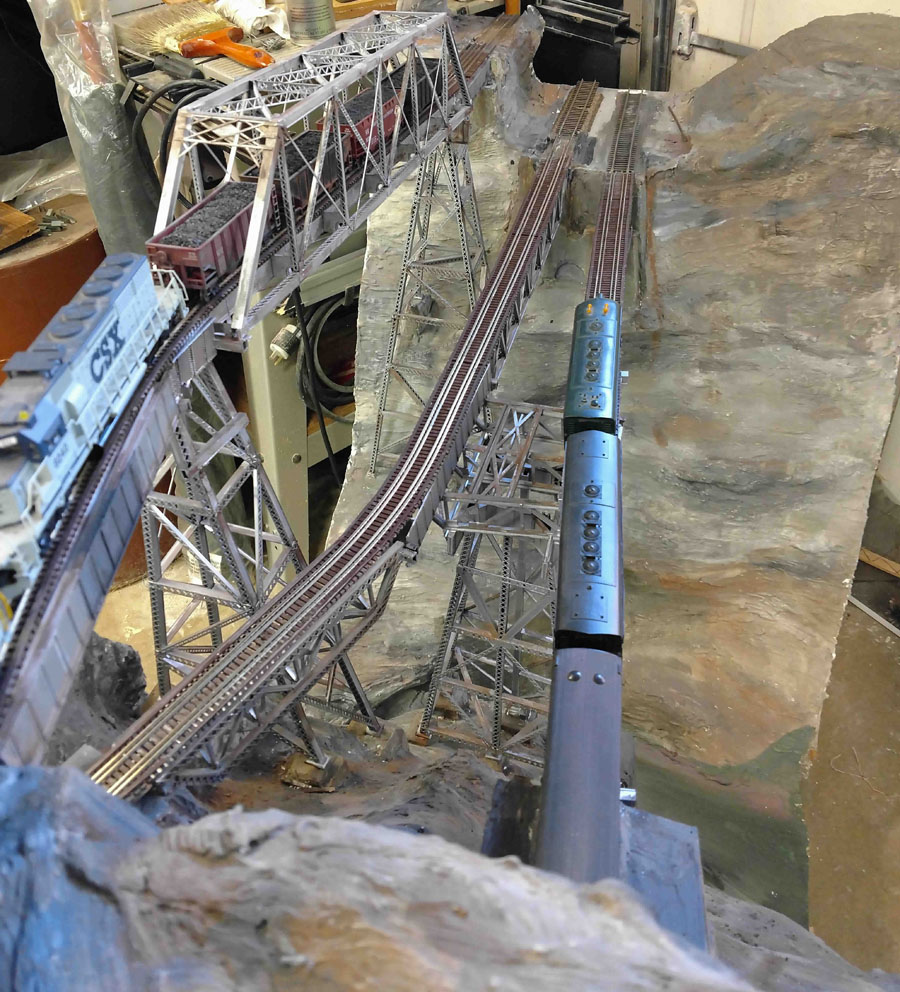

Those bridges are extrodinary, also like the derailing rails on the crossing spans. Is that just spare rails glued to existing track? A detail few incorporate.
Rich
John How big is your layout? Those magnificent bridges appear to be monstrous. Not only monstrous but quite beautifully crafted as well. Dave I didn’t think your layout needed any change but you showed me. It looks great so far. Cheers! NJ Mark
John Outstanding craftsmanship on the bridges, the 3rd picture looks very close to the trestle at the end of our street. Awesome job!
To Rich, Some track manufacturers have that style with the “keeper” tracks available it is just that most hobby shops won’t stock it unless you specifically ask for it. Also you can get the approach track for that.
This is a module, 2 1/2′ by 5′ and is designed to be a “visual centerpiece” of the railroad. it’s just the start of a U shaped 15’X13′ Appalacian Mountaun coal hauling railroad.
The rails laid in the center of the tracks actually come with bridge track, and are “super-glues in place.
good questions, thanks, John
Outstanding craftsmanship, how about more views of the layout
I use O Gauge scale and built a 7 foot bridge but
could not find structural shapes or lattice columns.
I know you are in HO gauge but what is your source for
Those shapes you used?
the layout will be built as 3 major modules, this is just the first one being built in my wood shop as the place for the rest of the layout is not prepared yet (too darn much stuff to move!) so there are no other pictures to take. Check the link Al has provided above for my previous update, it has what will be close to the track plan.
John
outstanding detail of those bridges not something you can do in an hour or so. you must have amazing patience and a good eye for realism. Nice changes to the layout Dave a lot of good tips and the curves are very gently thanks for sharing
The most complex bridging I’ve ever seen at any scale, including 12 inches to the foot! The photo showing the train approaching from the top left corner almost makes one dizzy looking down. Outstanding work.
After seeing the rebuild job Dave has done I may get busy and refigure my lay out .I cant run completely around mine on a loop to just watch the trains run and can’t run a passenger that way station to station . but i do move a lot of freight with a lot of switching .
Hey, John:
Very, very, nice. Congratulations.
Dave, thank you for showing how to insert a sleeper (tie) where lengths of track join. It is really easy, but I have seen many otherwise finished layouts with eye-catching spots where there are missing sleepers. They appear at the three ends of turnouts and then every meter thereafter.
Where there are rail joiners, in addition to cutting off the spikes and plates, I often need to file down the bottom of a sleeper to make it fit under the joiner.
Keep on training,
Carl in Kansas
I have procured most of my lattice and pier materials from vendors on Ebay, also some from Walthers. As for other scales, I don’t know much, as the only other than HO scale stuff I’ve bought are trees. HO trees are a little taller than locomotives, real trees are up to 5 times taller.
Some of the more interesting detail parts were ordered from Tichy Train Group. They have high quality specialty stuff in several gauges.