Hall of fame member, Rob, has been in touch with a video on wiring your model railroad.
“Hi Al,
I have a new video that concentrates on wiring a model train layout.
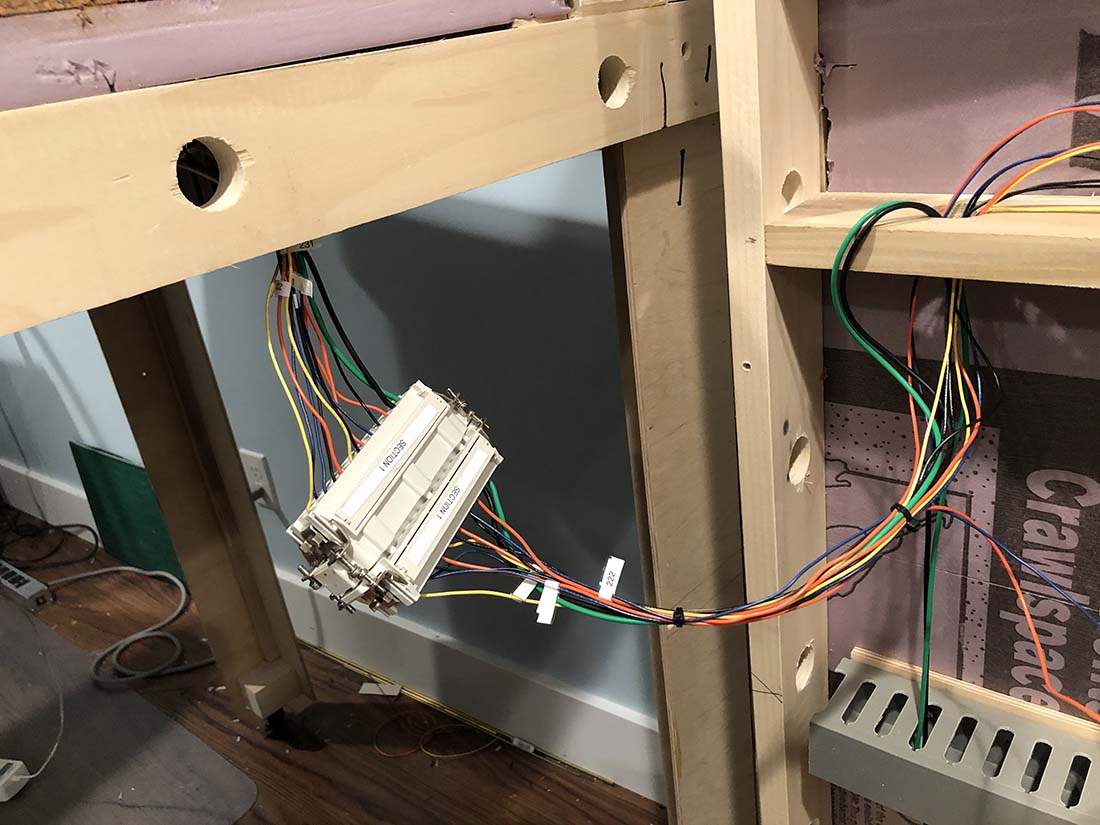
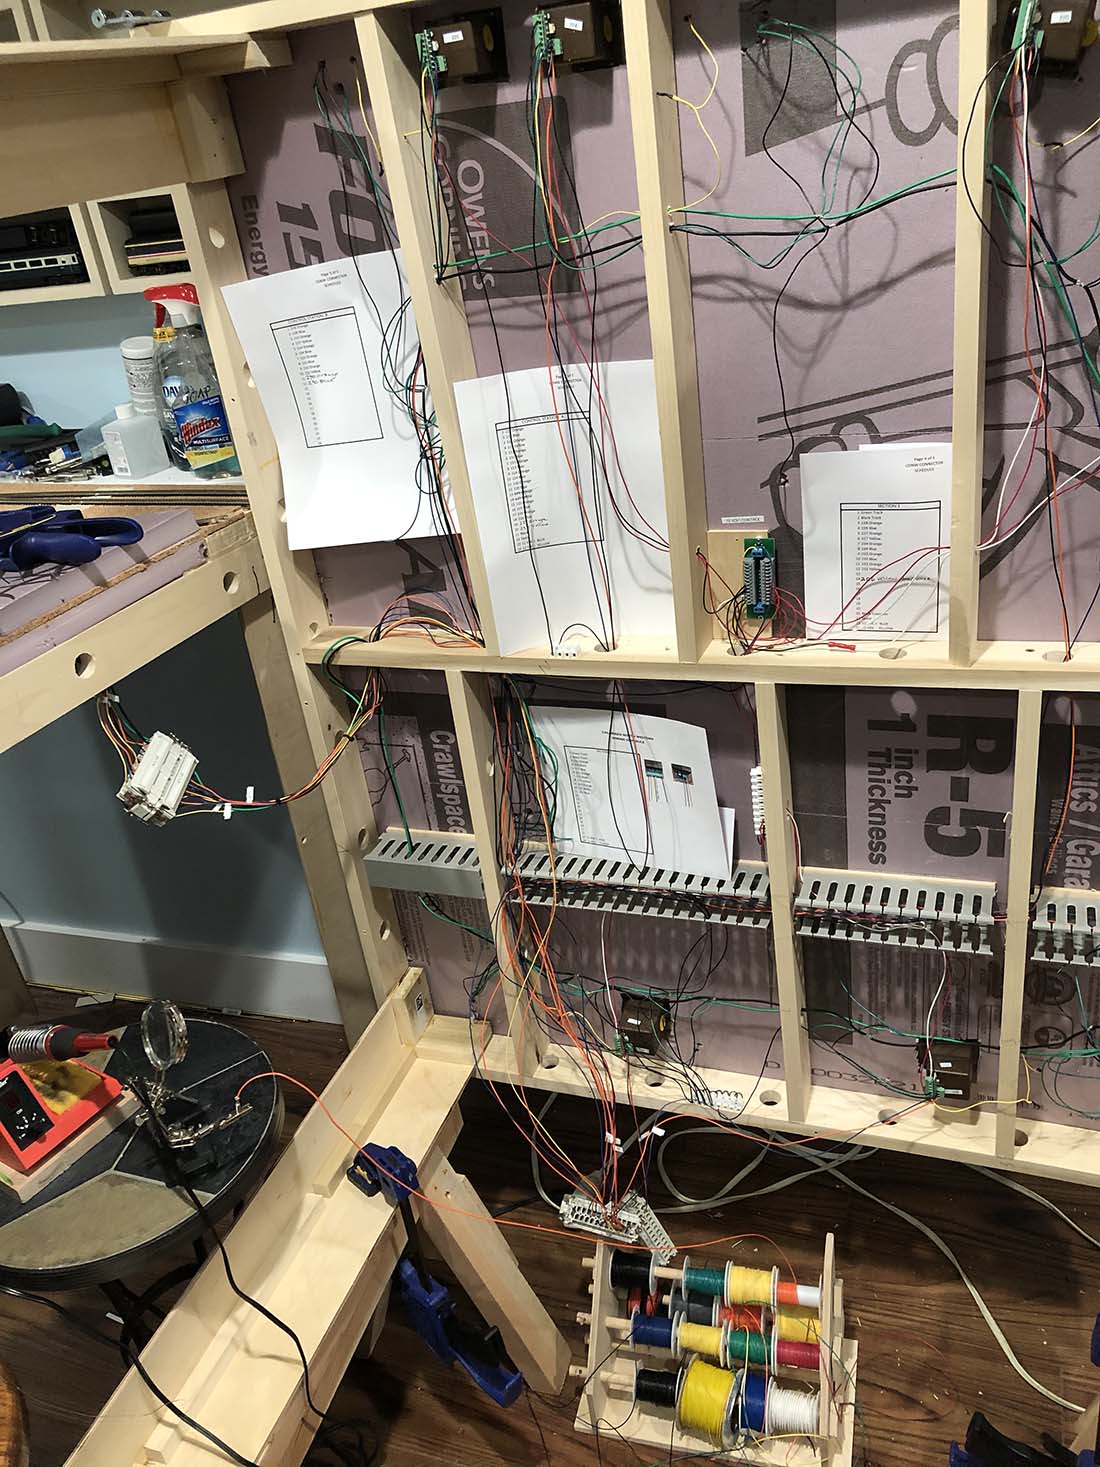
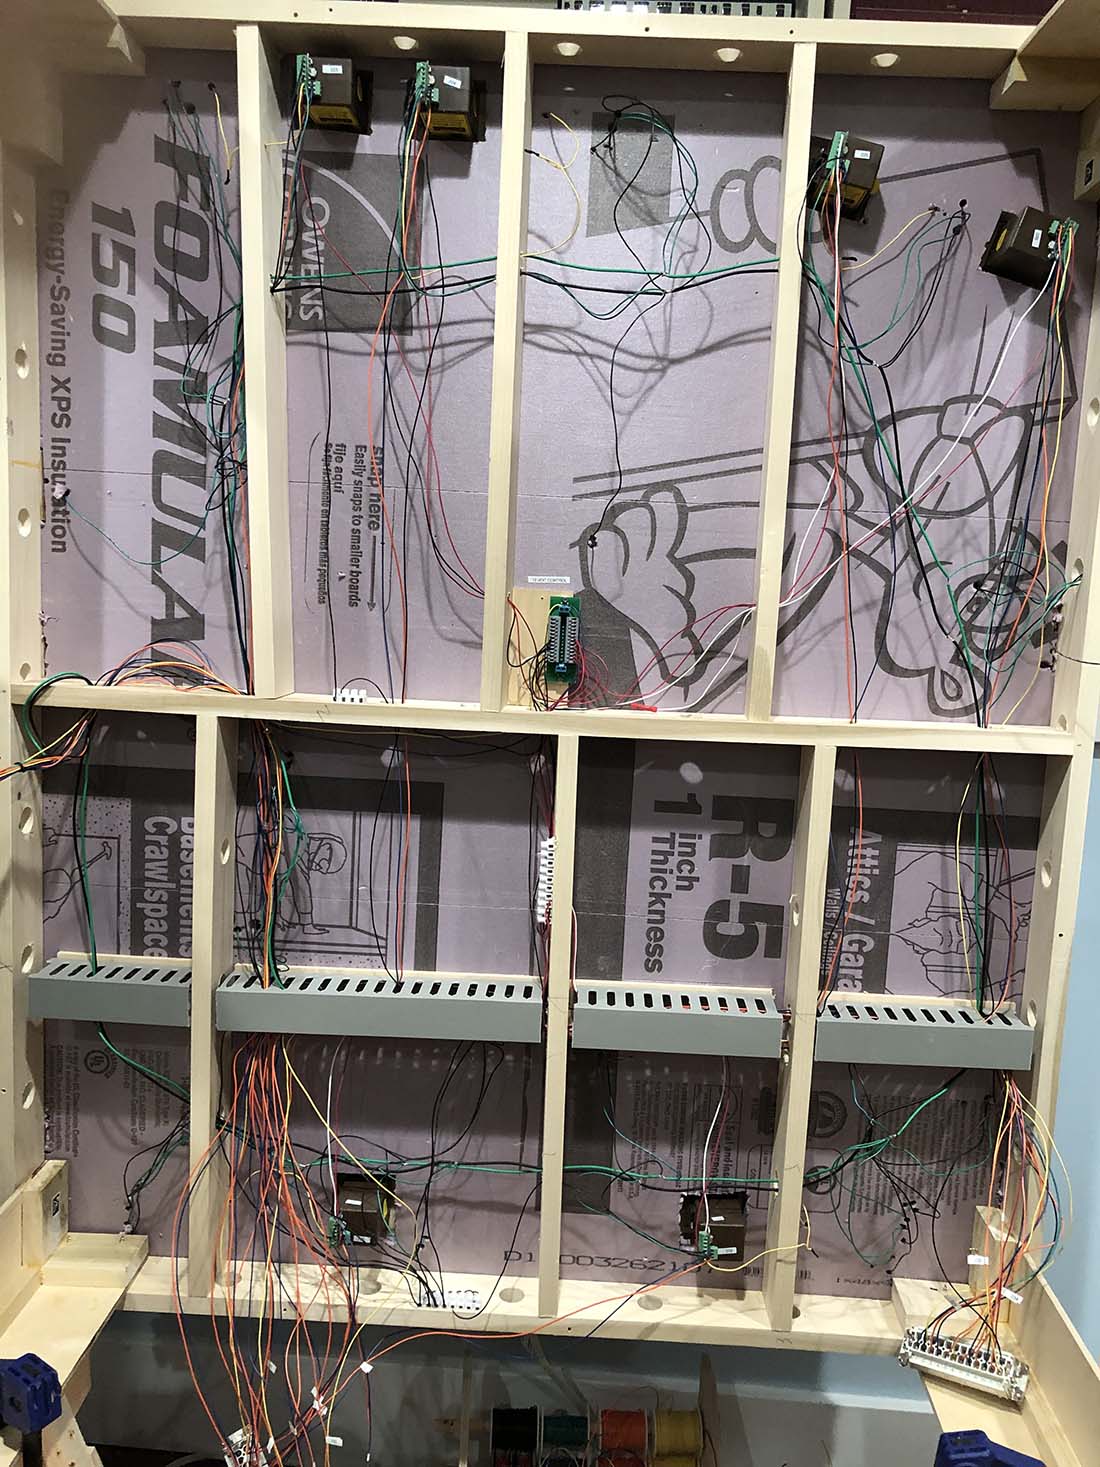
I experimented with industrial wireway to contain the multitude of wires that seem to grow on their own under a model train layout.
I was not sure how it would work in the beginning but now that the layout is quite mature, I find there could have been more of them to keep things neat and tidy.
It is too late for this layout now but if I ever build another, I will add more wireway. Wireway is a sort of conduit for wires with a snap-on snap-off cap.
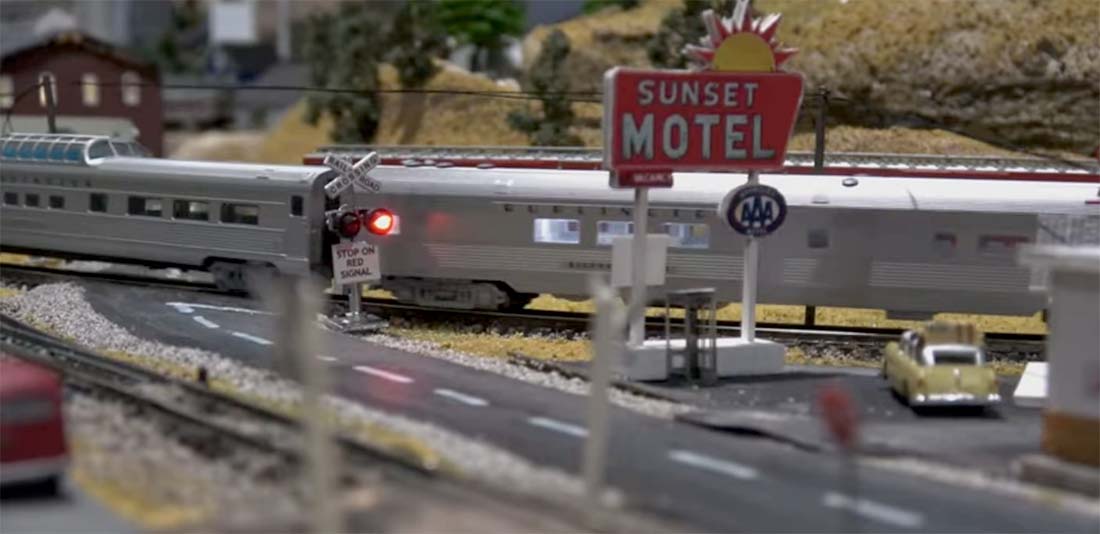
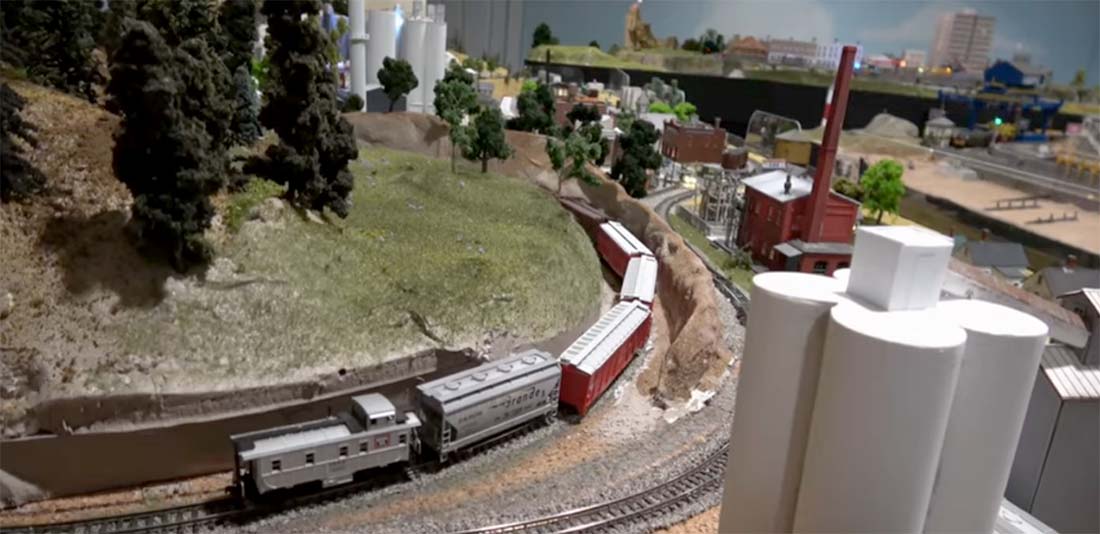
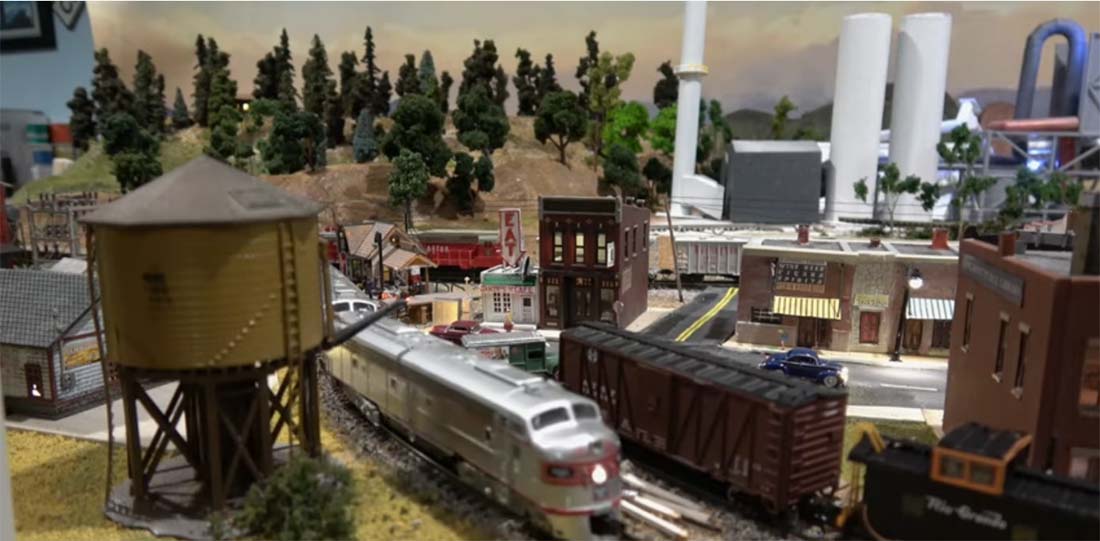
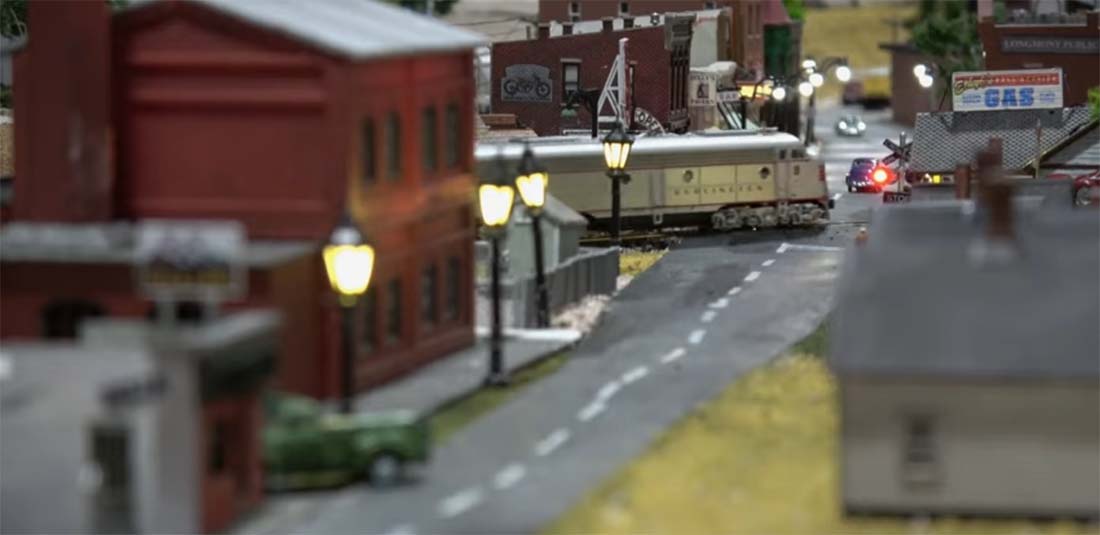
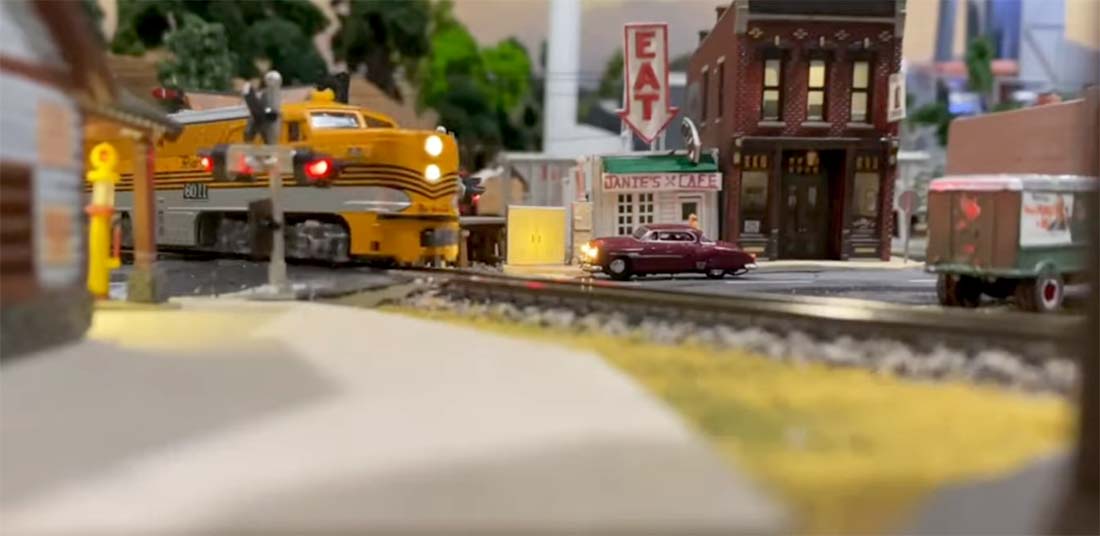
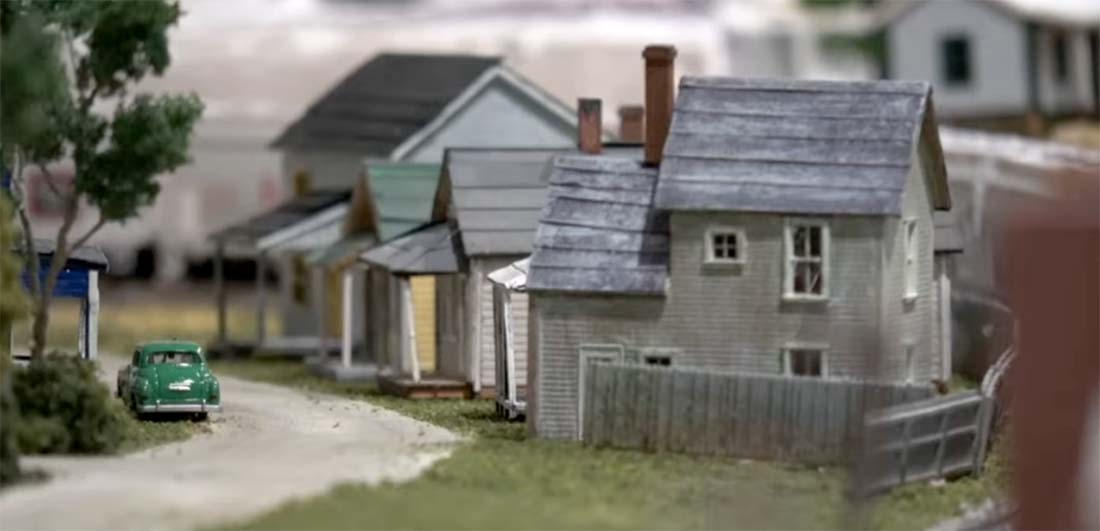
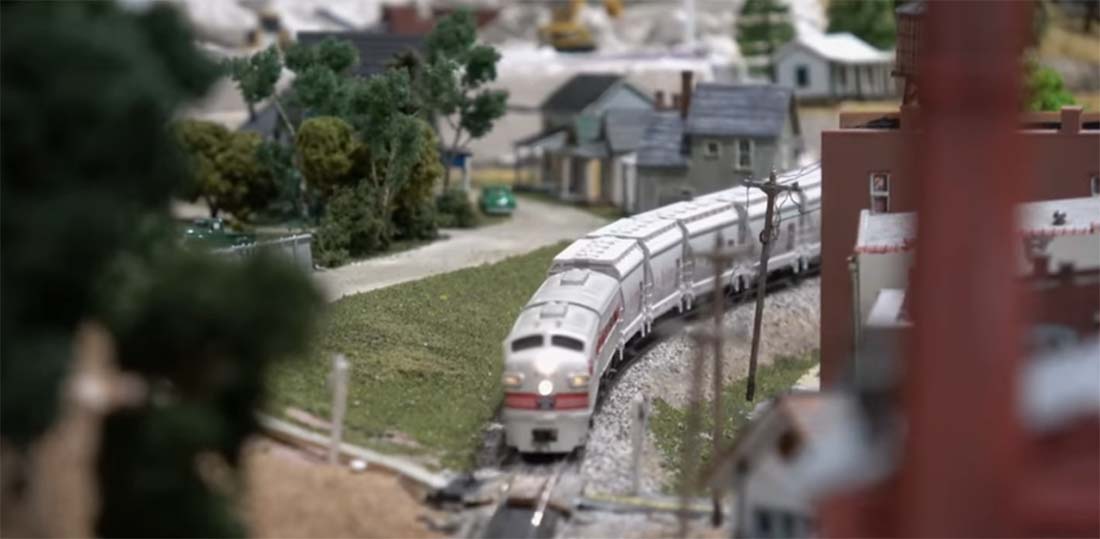
I have really enjoyed n scale. This layout was intended as a portable one with the ability to take it down to three 48-inch x 40-inch sections that are completely independent. In this way, it can be moved from one location to another.
I hope to display it locally. I think it will resonate with the citizens of Longmont, Colorado since it incorporates many of its landmarks and I have been told it has the local feel as well. That was certainly my intent.
The Colorado and Southern was the railroad that first laid tracks through Longmont and the current BNSF tracks follow the same road.
The Chicago Burlington and Quincy bought the Colorado and Southern and eventually merged with the Northern making the Burlington Northern. It was subsequent to that the Burlington Northern Santa Fe, BNSF, was born.
Here are some pictures while I was in the early stages of constructing and wiring my n scale layout.
Thank you so much for this platform that allows people to share their knowledge and accomplishments in the modeling world.
Rob
Farland Howe
Colorado & North Western”
A huge thanks to Rob – I do find his stuff very watchable and very useful too. Wiring your model railroad is a topic that often pops up on the blog.
That’s all for today folks.
Please do keep ’em coming.
And don’t forget, the Beginner’s Guide is here if you want to stop dreaming and start doing.
Best
Al
PS Latest ebay cheat sheet is here.


Rob
You’re the man. Your vid was so clear & understandable and we thank you for that. Did the variable volt power supplies allow you to negate resistors on LEDs ? Sorry to see your work bench so clean. It means you’re slowing down-LOL.
Be well & safe
George from LI, NY.
Hi Rob & Al:
Another tip. You Can go to Best Buy, Walmart, Home Depot or Harbor Freight Tools and buy packages of this flexible wrap around slotted plastic “tubing” type wire guides,, used for stereo, computer, control wire bundling.. The Tubing is like a narrow slinky, and you can pull your wires out of a bundle where ever you need to branch out. The “tubing” is about 1/2 ” or 3/4″ in diameter. Takes up very little space beneath the layout surface. Maybe less expensive than the industrial wire trough that you displayed in the wiring video. My Father introduced me into the industrial wiring as he was an electrical contractor and I learned to utilize all the tricks of the trade from him and Tech School later on. Another method is the use of these short plastic “rings” that come apart, to put around a wire bundle, and go back to their original shape held closed by a nub on each end. I remember using a black twine material to wrap around the wires to create a bundle as well.
Hey Rob, nice job on the video. I should say “as usual”, because I’ve always had a high regard for your quality contributions to Al’s site. It’s good to hear that you are enjoying N scale … it’s been my choice since I constructed my first layout as a teenager, 50 years ago. It’s really something how, even for a careful and conscientious modeler, the wiring still ends up being the proverbial bird nest!
Looks pretty Kool.!!! I hope mine turns out that good.
Hi Rob. The layout looks superb. However, the layout of your wiring I don’t think has been a great success in this instance. Having said that I appreciate that this is an update to an existing layout and the principal of the cable trays is well accepted.
I would assume that using the trays from day one on a new layout would give much tidier cabling.Thanks for submitting this article.
Rob, is right in saying that wires keep multiplying. I used telephone cable (solid wire), which has 4 wires and is sufficient for lighting, points and signals etc. The track power requires a thicker gauge.. You can run one ‘bus’ wire around the track as a common wire and can be tapped for lights, signals, points etc. Plastic wire tracking in 6 or 8 ft. lengths run longitudinally will contain and hide all the wiring.
Rob, Another great video. The use of wireways is a good idea. However, I went another way by supporting the track bed 25mm above the table. In this way, I ran wires anywhere I wanted to (using screw terminal blocks). Yes, its a mess under the track but its completely out of sight and very easy to re route wiring, or alter wiring etc, AND , records of wire colours and the use is very important.
Steve (Sydney)